Gears of War 3 Guide Campaign Walkthrough Act 5
Chapter 1: Home Away From Home
Objectives
Collectibles
|
 Secure the arrival terminal area.
 Follow the maintenance tunnel.
 Search for an alternate entrance to the Maelstrom Facility.
 Traverse the train tunnel to reach the Maelstrom Facility.
 Search for the Maelstrom Facility.
 Pamphlet
The plan to bypass the Maelstrom by going under it has worked. Dizzy docked the submarine at Azura’s arrival terminal without detection. Now the squad must navigate its way to the Maelstrom Facility and disable the artificial hurricane so Baird, Cole, and the reinforcements can reach the island safely.
New Arrival Terminal
 Secure the Arrival Terminal Area
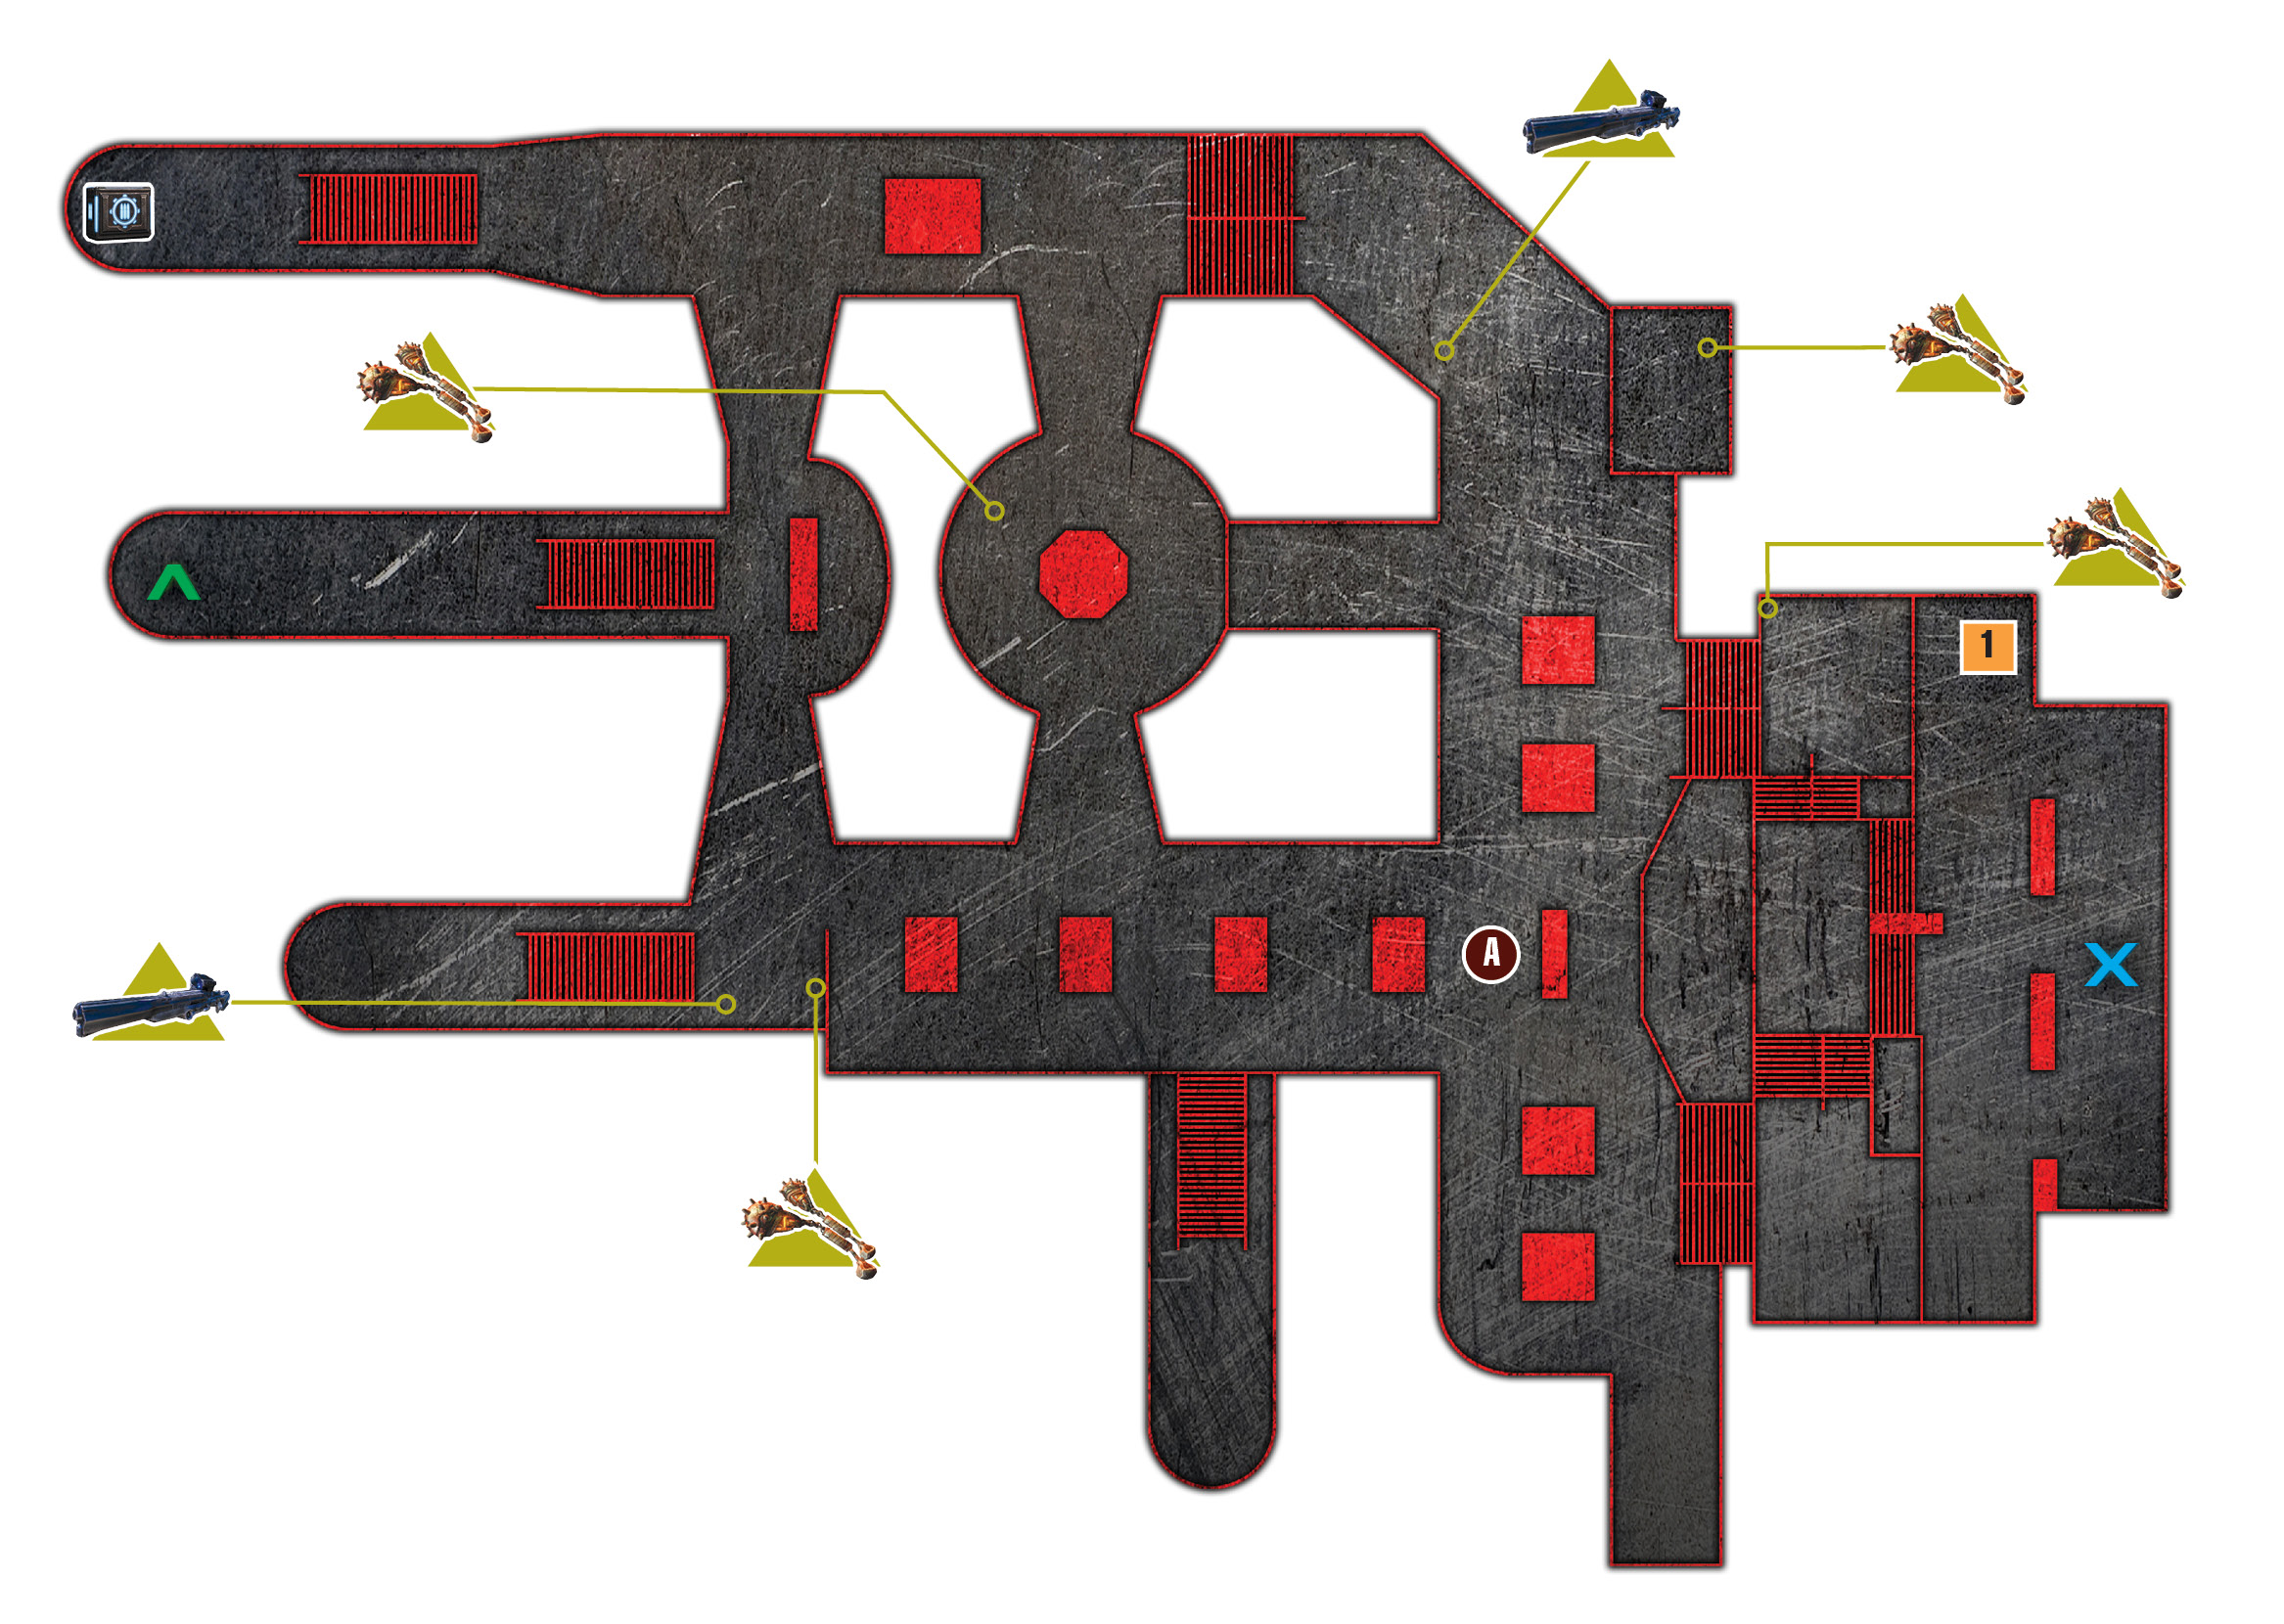
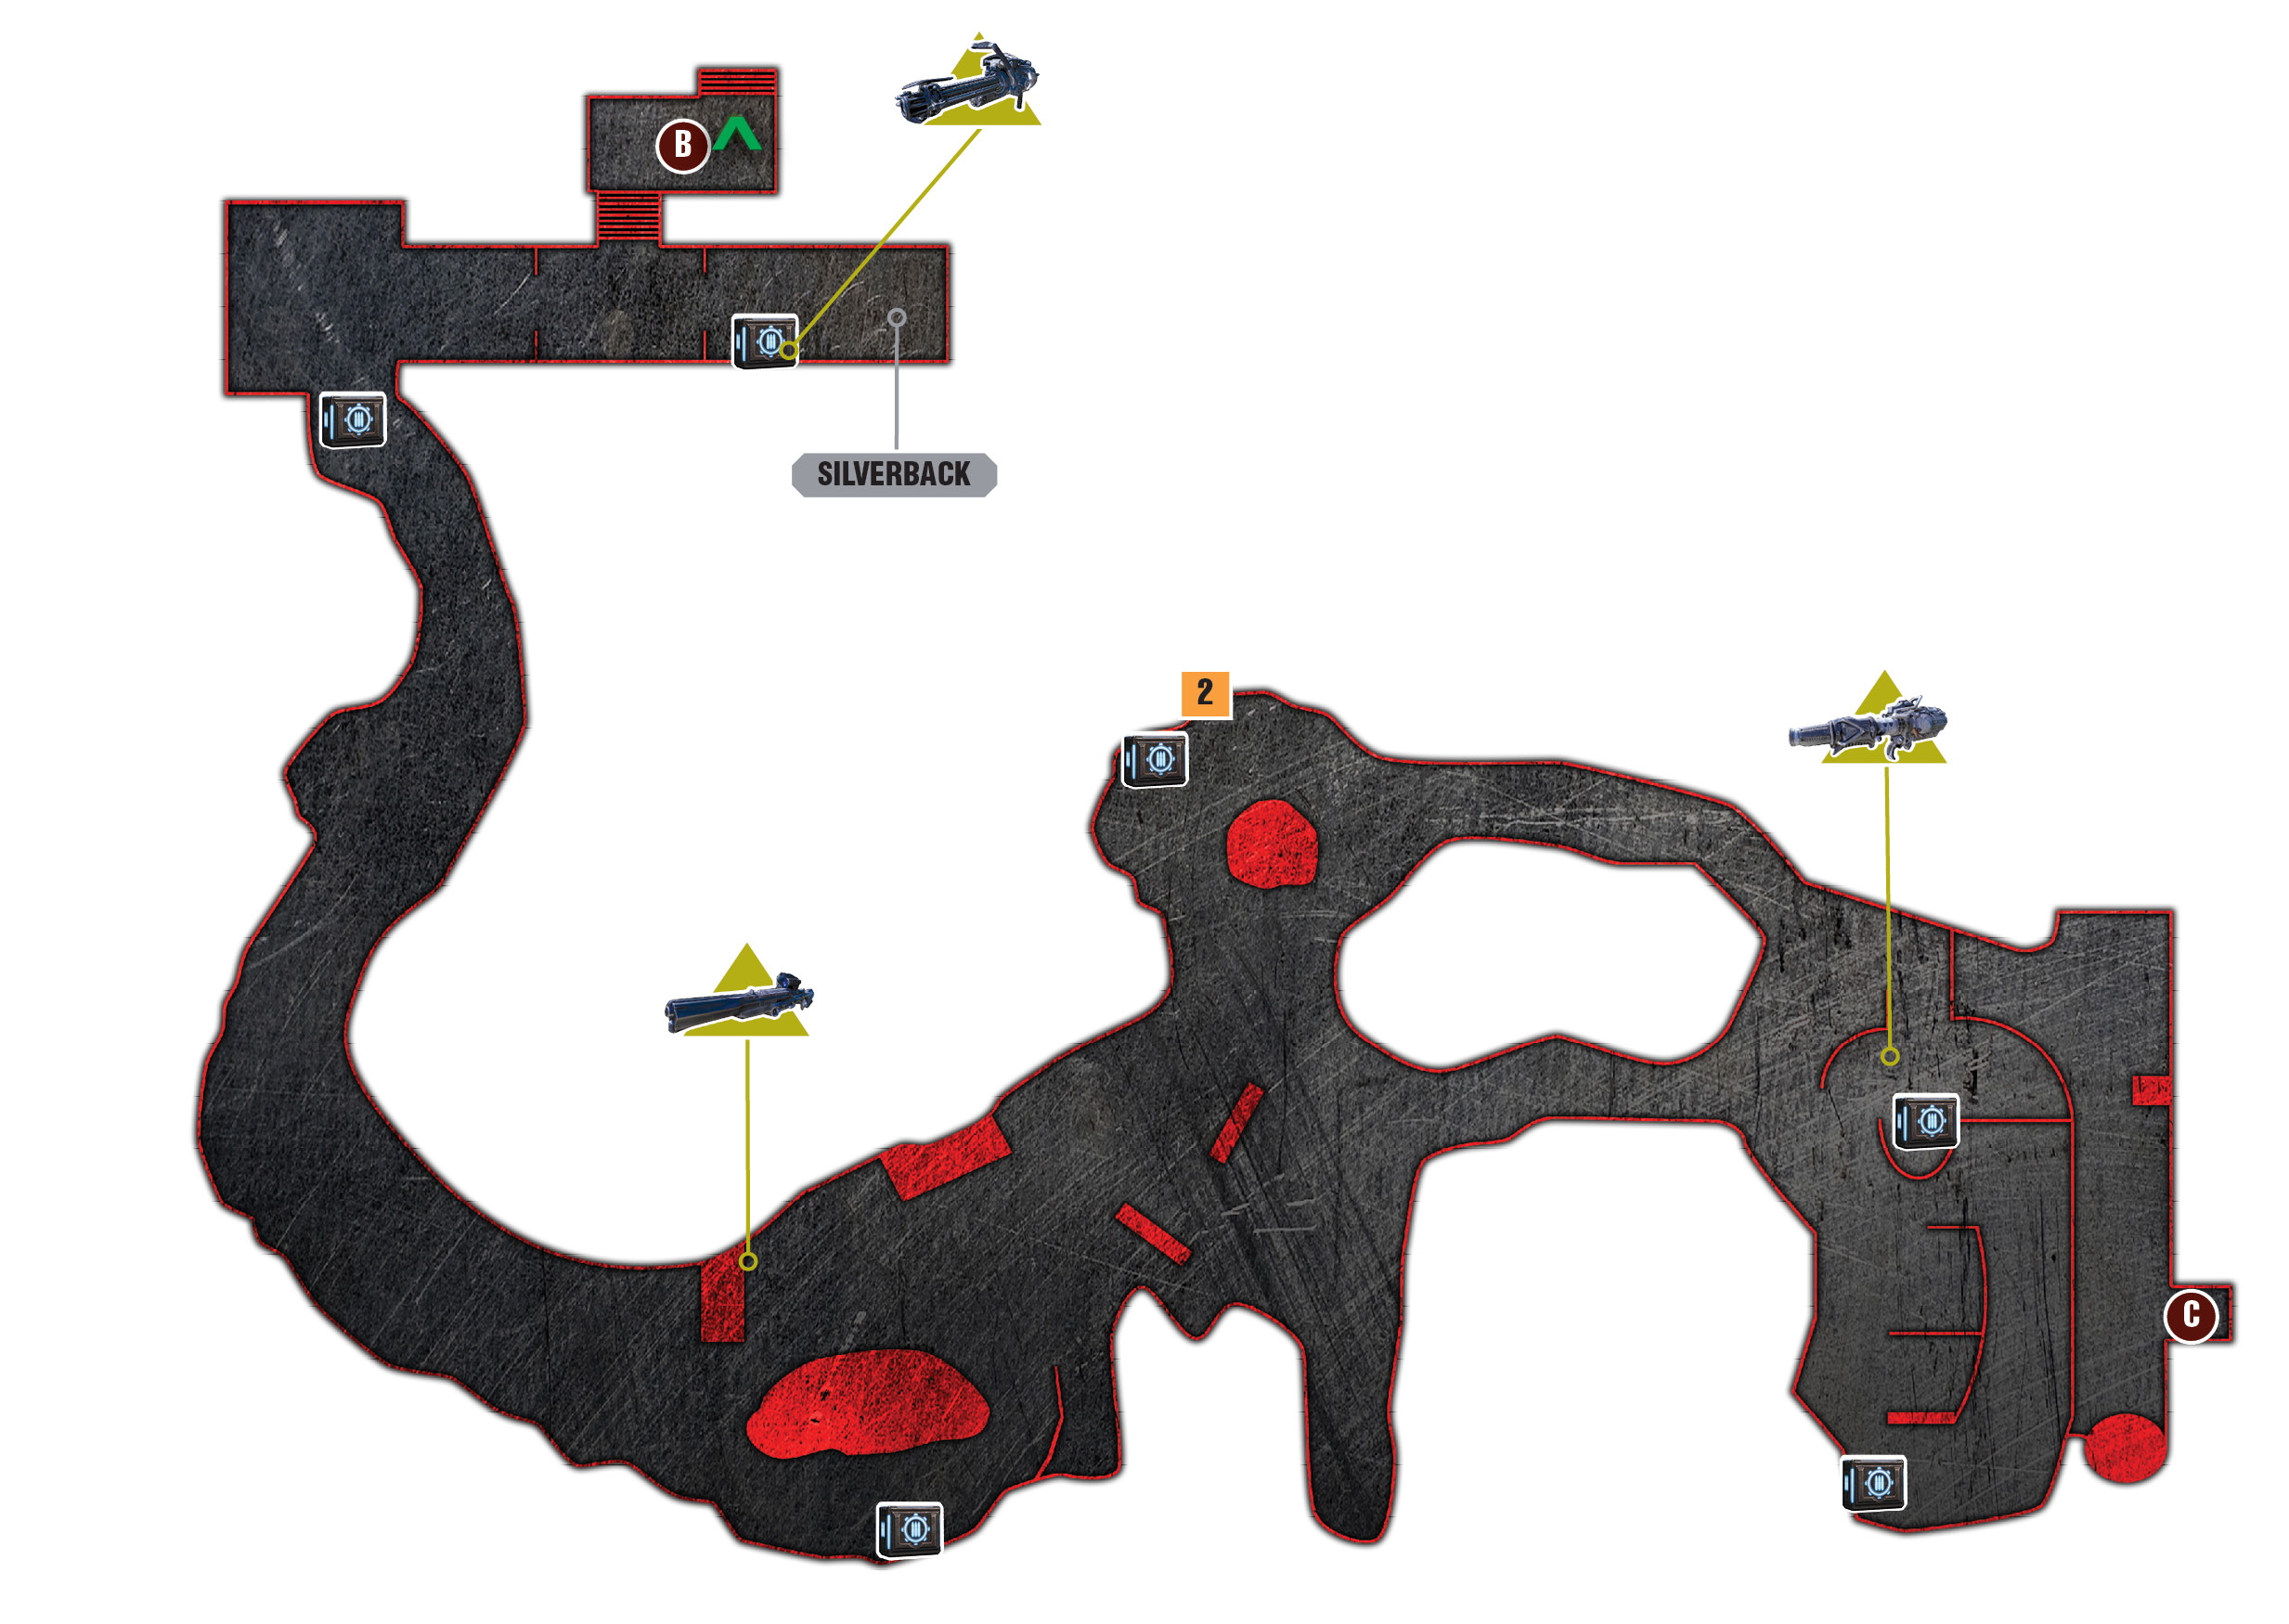
The COGs disembark on the arrival terminal’s middle pier, and it takes only a moment to spot a patrol of five Palace Guards and Therons in the distance. The squad’s cover isn’t blown yet, but it takes only one trigger squeeze to draw the Locust’s attention. The Palace Guards loop through the area ahead in a counter-clockwise circle. They come in from the upper left, cross near the benches in the center, and then head back up the stairs to the far right. Marcus and the others can try to be as stealthy as they want, but there’s no avoiding armed conflict forever. The key is to initiate the engagement on your own terms!
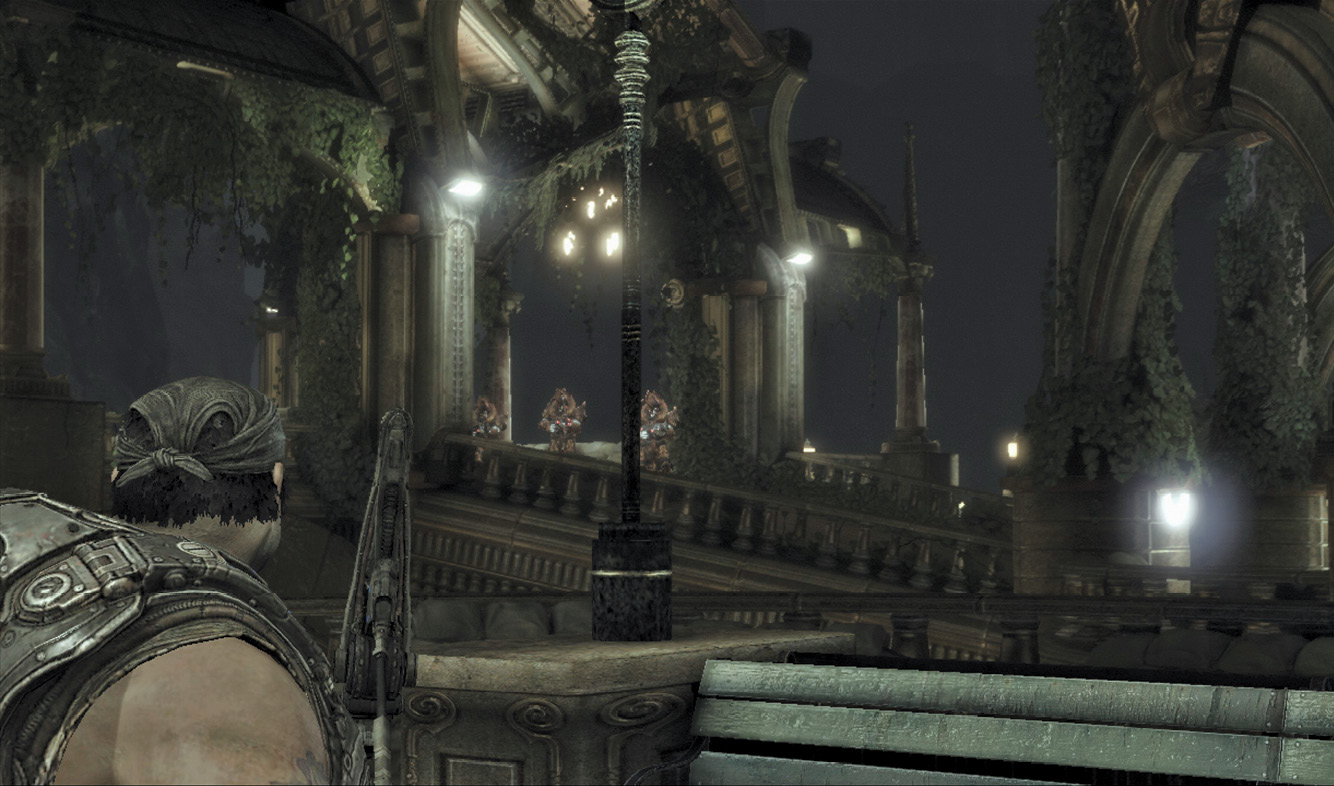
Rush up the stairs and sprint down the aisle to the right to find the Frag Grenades and Longshot. Move into cover near the walkway directly ahead, on the left. You’ll likely be spotted if you try to plant grenades in their path. Simply stay in cover, wait for the five Locust to snake their way around the sandbag barriers, and then bounce a pair of Frags at them.
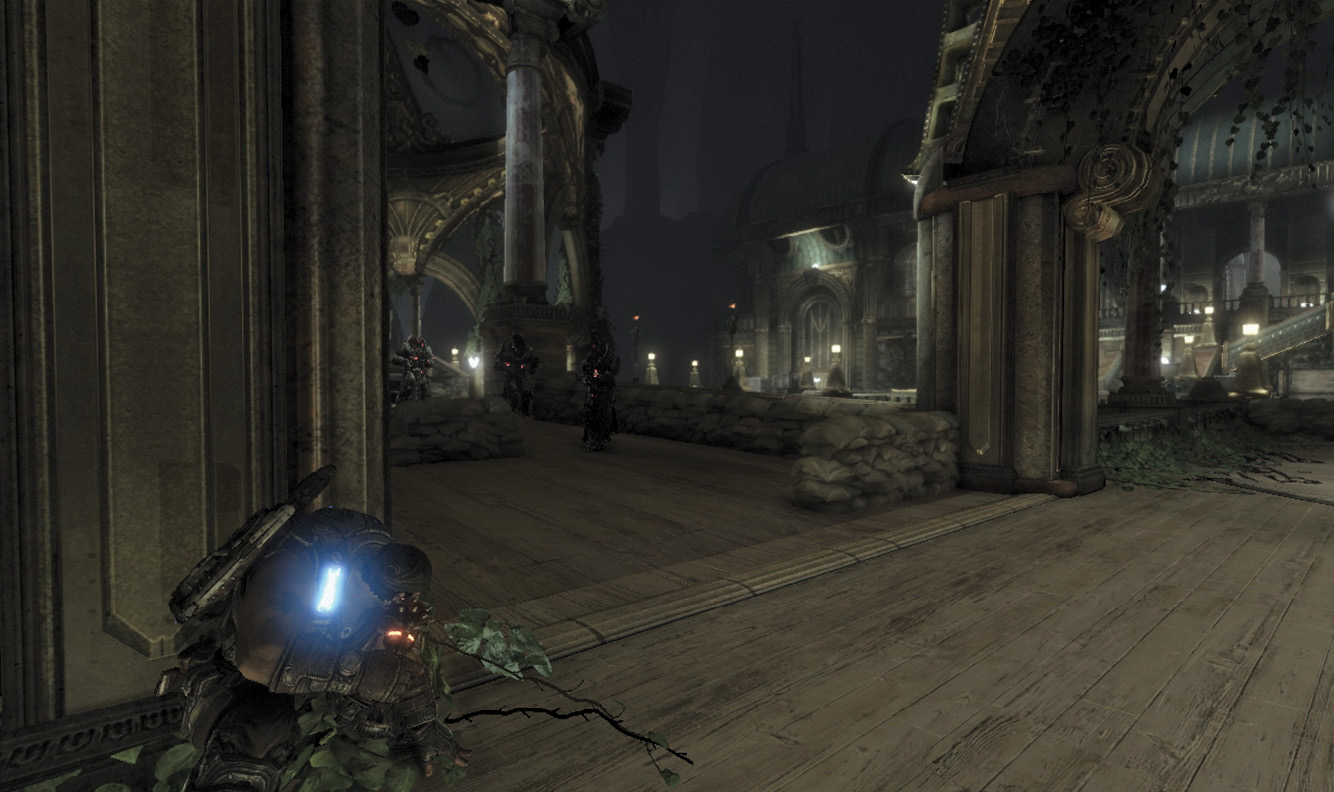
Collect the trove of Torque Bow ammo and the Frag Grenades near the park benches. Continue across the map to the far left corner. The other COGs continue advancing along the right side, which is exactly what you want to happen. Temporarily swap out the Torque Bow for the Longshot behind the sandbags, and snipe the Troika gunner atop the stairs.
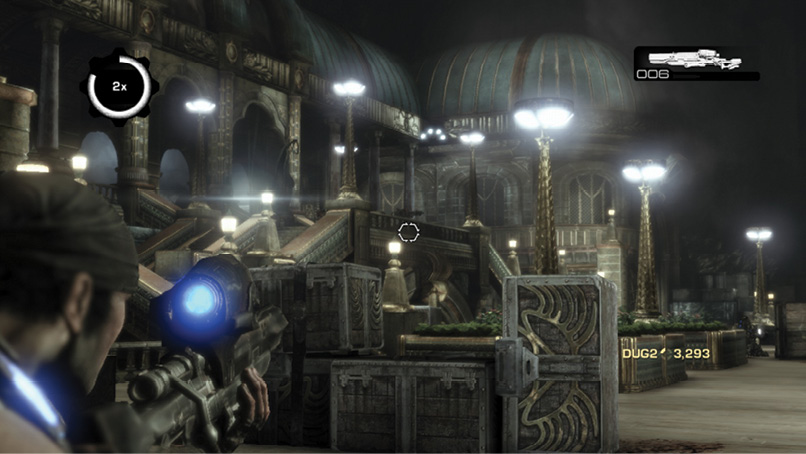
Wretches may attack while you’re sniping. If so, switch to the assault rifle and gun them down before you resume your sniping spree. A lot of Palace Guards are on the stairs, particularly off to the far right corner, where your squad is likely drawing their fire. Distracted targets are the easiest to headshot! Expend all the ammo in the Longshot, then reclaim your dropped Torque Bow and ascend the stairs.
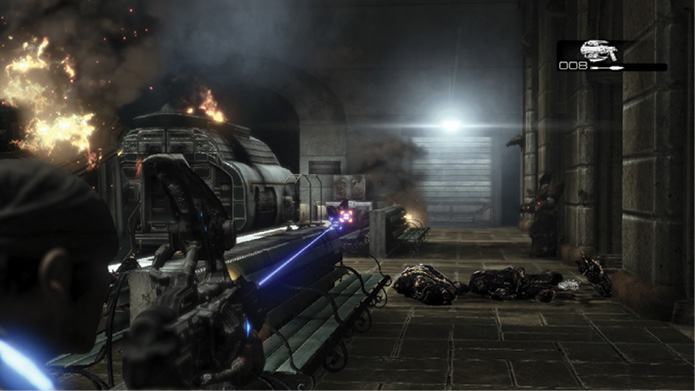
Once you deal with all of the initial Palace Guards and Wretches, a train pulls into the station. The last train car, the one on the far left, has a Troika positioned next to two large fuel tanks. Fire the Torque Bow into the fuel tanks and watch the resulting explosion burn all remaining passengers aboard the train.
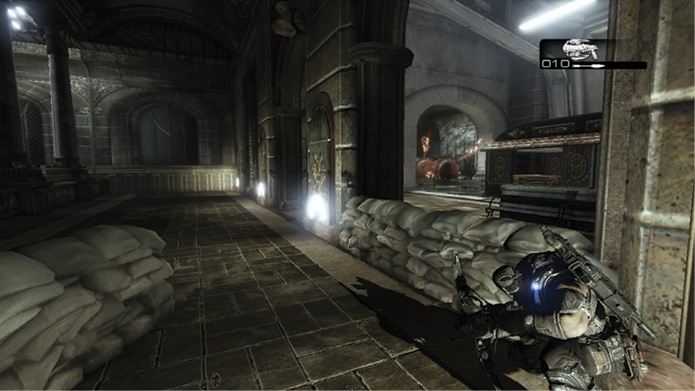
Stay near the hall’s far end and step out onto the platform to flank the Palace Guards that disembark in the center. They’ll probably focus on your squad, making it easy to pick them off.
|
 CO-OP TACTIC
Beach Access
 Follow the Maintenance Tunnel
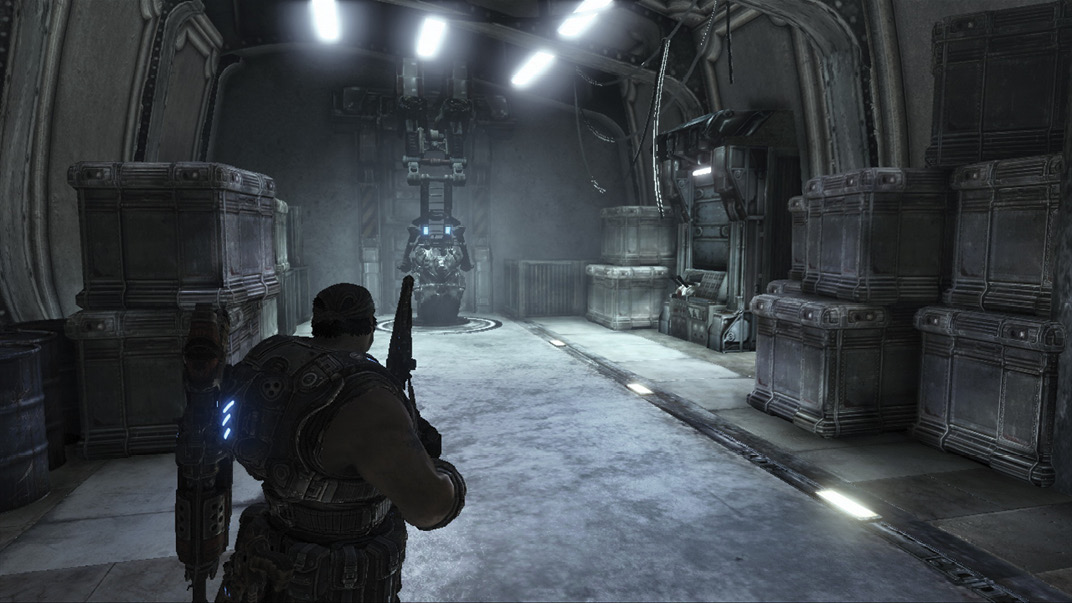
Adam Fenix makes radio contact with Anya and accesses a maintenance tunnel that parallels the train tracks. The going is tough, so Adam recommends taking a Silverback. Descend the stairs and board the Silverback on the left. Pull the lever to release it from its cradle.
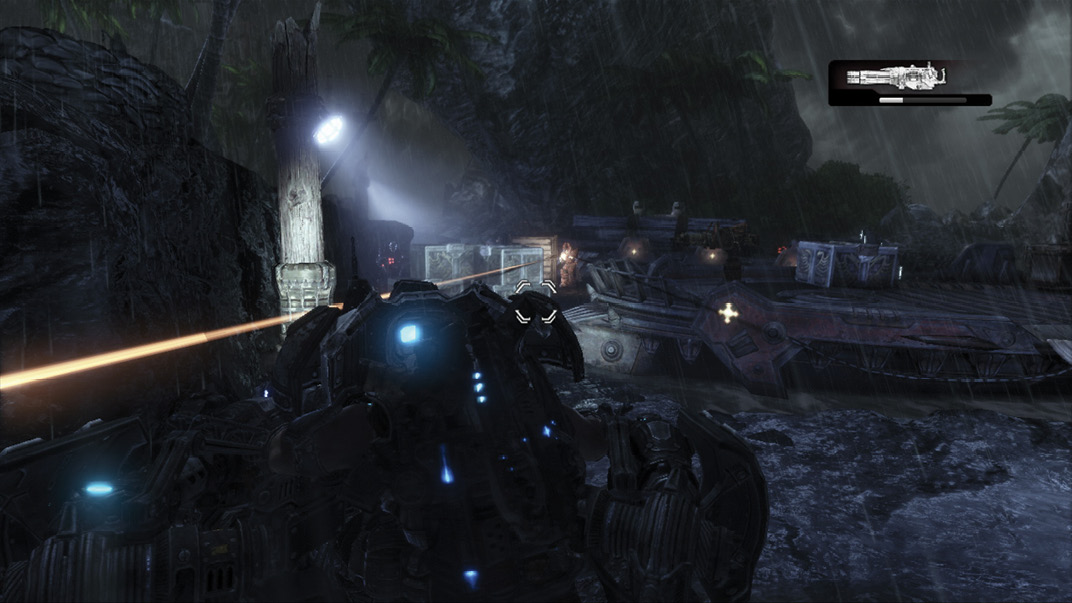
Proceed outside with the Silverback and lead the way through the canyon to the beach area. Mow down the two Palace Guards carrying ammo crates—they aren’t expecting you. Advance with caution, and be ready to hunker down into the Silverback’s cover stance as soon as the Reaver appears. Fire three rockets at it, force-reload the rockets, and continue on your way.
 Search for an Alternate Entrance to the Maelstrom Facility
The path splits ahead and, although it’s possible to stay high, it’s also very dangerous. We recommend using the Silverback to flank along the lower route, near the barges.
Like the squad A.I., the enemies in this area, including the Boomer and Palace Guards, focus mostly on whichever route you select first. Regardless, you should head along the beach route, ignore the Troikas on the barges, and use the guns to rip any Palace Guards to shreds. If you spot a Boomer on the lower route, use the Silverback’s rockets to take it out. Stay off the barges, as there’s no way off the far side.
Proceed up the rocky path to the left of the second barge, and continue along the right fork to flank the Palace Guards in that area. Ignore the narrow path on the left.
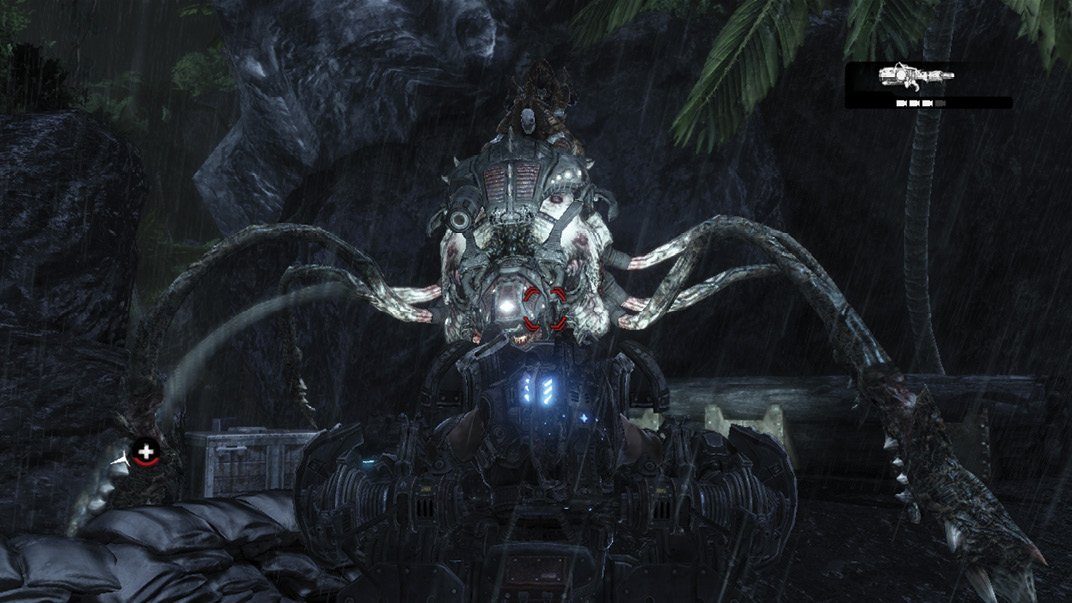
A second Reaver attacks at very close range. Quickly back away while you fire the guns. Then switch to rockets and kill it. The Reaver fires Boomshot-like projectiles, and there’s a chance your own rockets can harm the Silverback with splash damage. Try to keep your distance and take out the Reaver right away! Turn to the left after you kill the Reaver and finish off the remaining Palace Guards near the barricades ahead.
A Locust contingent is armed with a Mortar further up the path. They don’t know your exact position, but they fire the Mortar at random, hoping to hit you. It’s too dangerous to go straight through the trenches. It’s better to head into the cave opposite the path leading up from the beach. Swing wide to the left to skirt the Mortar’s range and to present a smaller target to the Wretches and Boomer inside the cave. Hang back out of sight until the Wretches attack. Then stomp them to death before you fire rockets at the Boomer. Finish off the Palace Guard in the cave as you enter.
Continue up the wooden walkway leading out of the cave to the upper trench system. The Locust wielding the Mortar is forced to set it down and attack. Lots of Palace Guards and Wretches are here, and a Boomer makes its way in from the far right corner, in the rear trench. You can walk along the top of the trench and drop Frag Grenades down on him, or even open fire with the assault rifle.
You have multiple options here, depending on whether or not you want to continue using the Silverback. Note that you can’t climb back up the ledge on the left, near the locked gate. Once you drop down, either with or without the Silverback, there’s no going back.
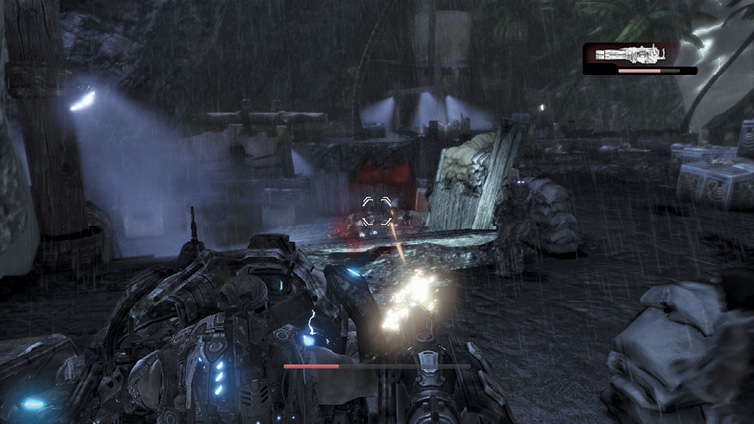
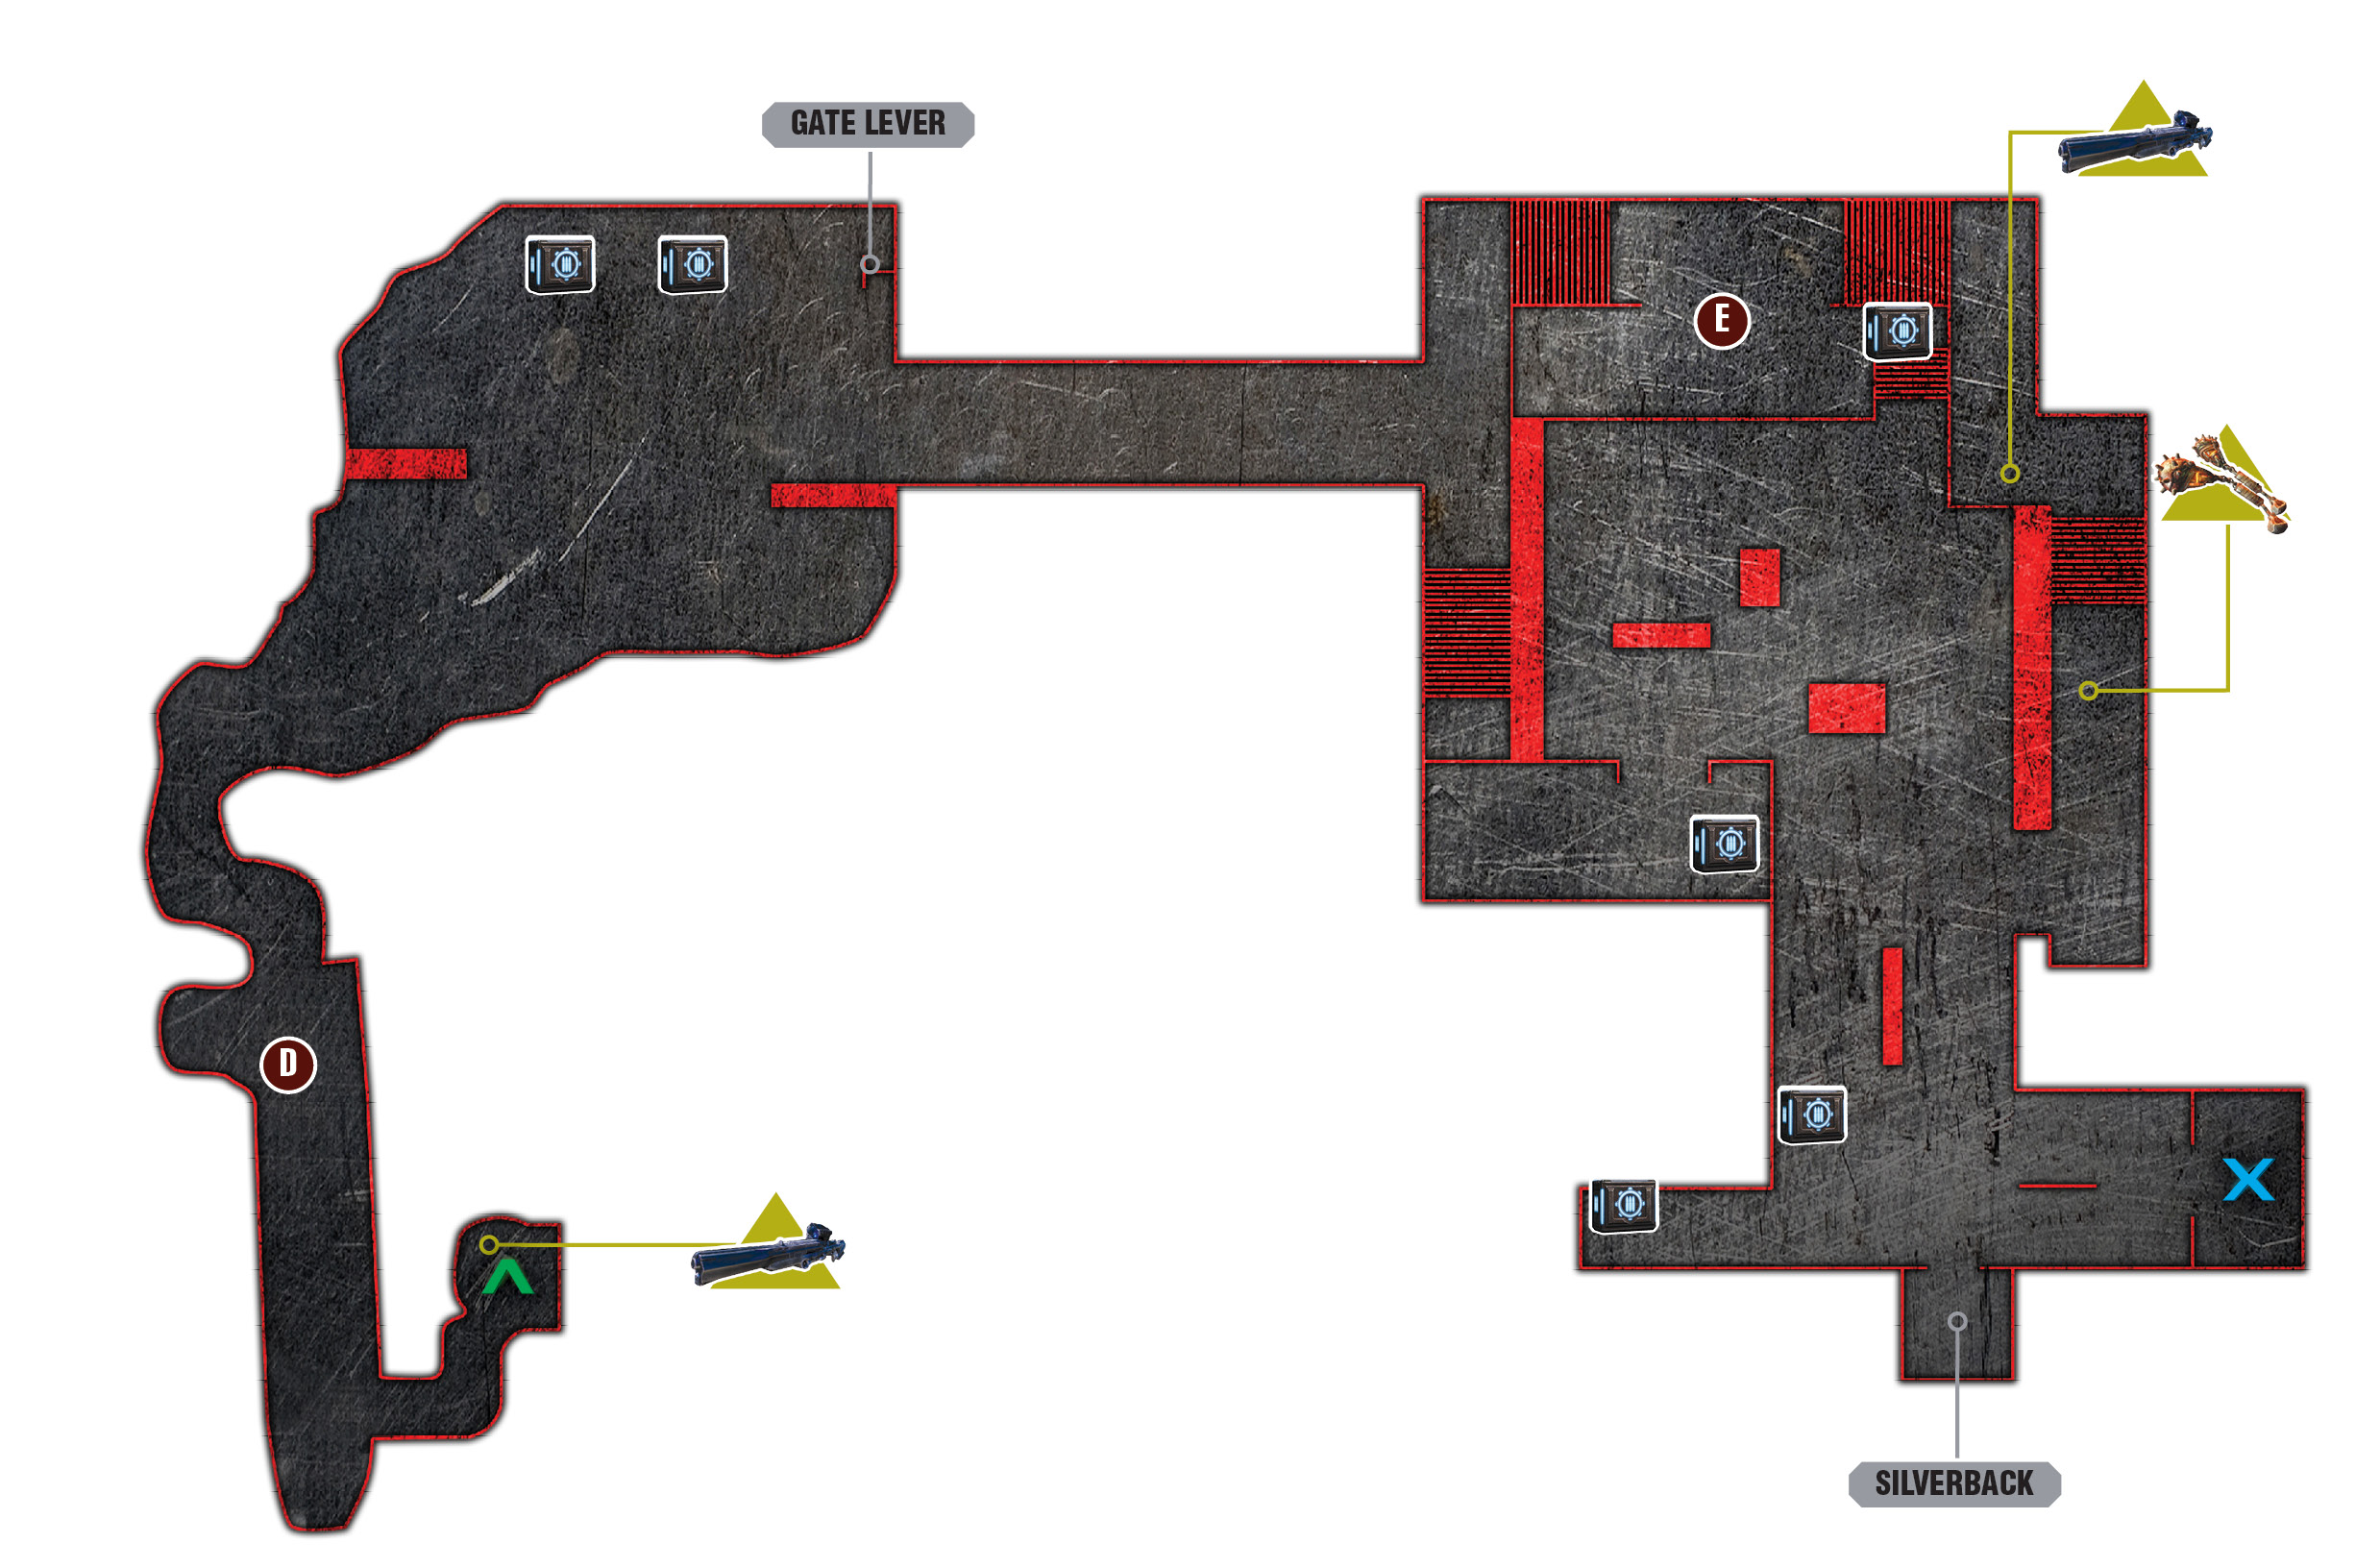
One option is to stick with the Silverback and step it off the ledge. Use it to kill the Wretches and Boomer off to the right if you didn’t kill them from above. Leave the Silverback in the middle of the trench and grab the Frag Grenades. Then round the corner to the barricaded door to get the Longshot. The squad must look for another way in, so go back to the Silverback. Return the other direction and be ready for two Boomers to burst through the massive doors. Light them up! Alternatively, you may want to leave the Silverback off to the side and just use Frag Grenades to kill the Boomers. Gather the ammo, get in the Silverback, and continue to the train tracks.
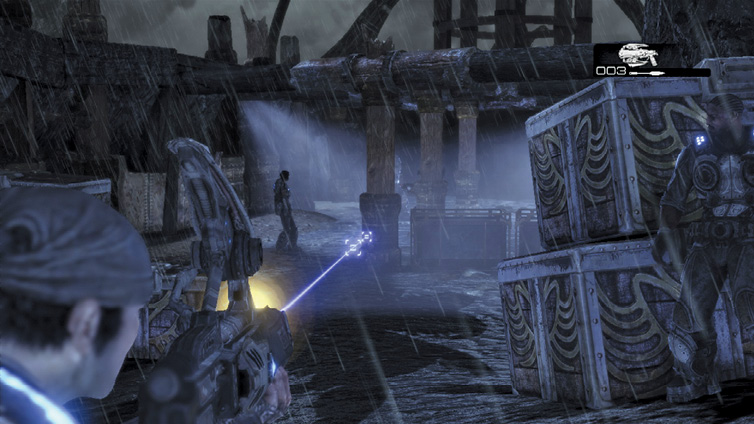
If you’ve lost the Silverback or you’d just rather go on foot, you can grab the Mortar that the Palace Guard dropped. Get the Frags and Longshot described above, and use the Mortar to kill the two Boomers as they exit the cave’s massive gates.
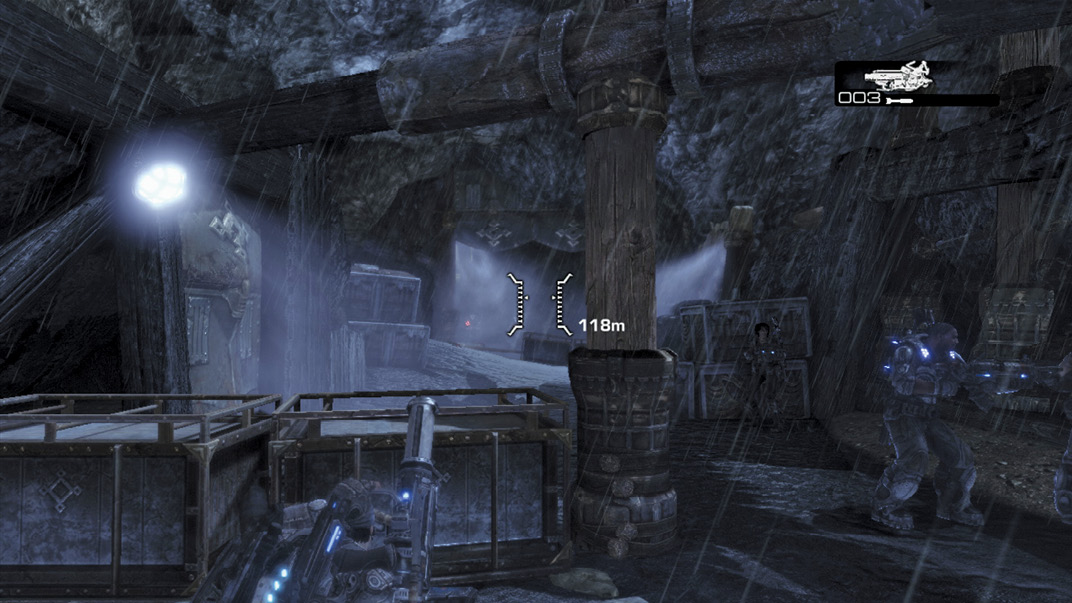
Train Tunnel
 Traverse the Train Tunnel to Reach the Maelstrom Facility
The Locust have connected their trenches with the existing train tunnel. Advance to the maintenance platform near the gated tracks. If you no longer possess a Silverback, use the Torque Bow and Boomshot you’ve accumulated to take out the Palace Guards. First, focus on the Kantus on the tracks, as he can resurrect any of the Palace Guards you down. If you still have the Silverback, exit it and pull the lever across the tracks to open the right gate.
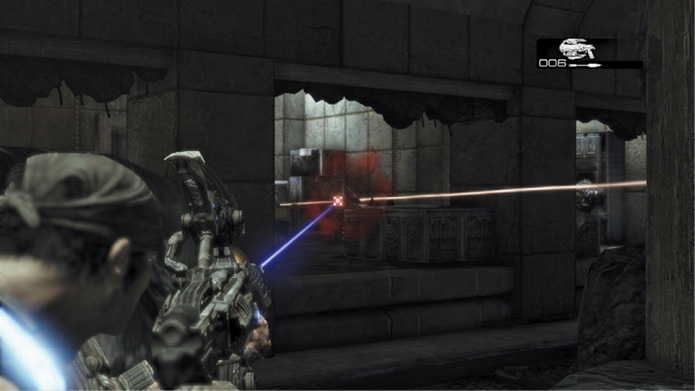
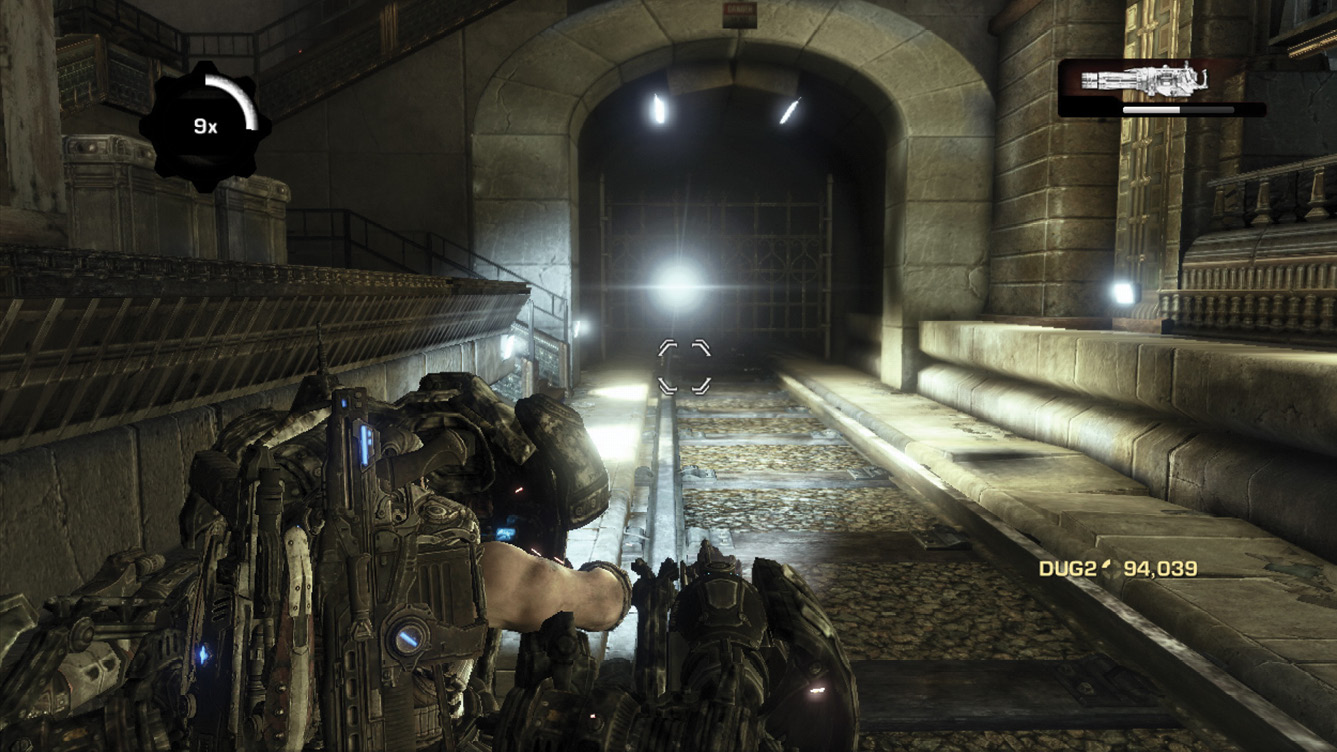
Proceed along the tracks to the station for the Maelstrom Facility. The stairs leading up off the tracks are on the left. A train eventually comes. It’s best to start sprinting once you see the oncoming light. Stick to the left side of tracks.
|
 Search for the Maelstrom Facility
The tracks lead to the station near the Maelstrom Facility, but a number of enemies are closing in from across the tracks. Ascend the right-hand stairs to secure the Longshot. Snipe the Palace Guards that attack from across the tracks. Additional Palace Guards and Boomers eventually arrive to continue defending the facility.
If you have the Silverback, position it on the stairs low enough to fire rockets under the impenetrable, raised windows, toward the enemies in the back.
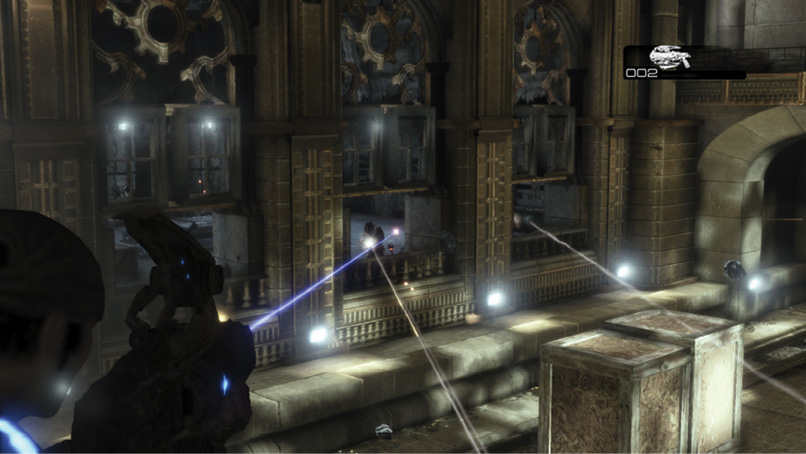
If you don’t have the Silverback, use the Longshot from the stairs. Then cross over to the other side via either of the upper hallways. Both lead up and over to the far platform. You can launch an attack from the relative cover of a side room. Gather any power weapons and head down the hall to the Maelstrom Facility’s entrance. Marcus radios his father for advice on where to go next.