Gears of War 3 Guide Campaign Walkthrough Act 5
Chapter 2: Blackout
Objectives
Collectibles
|
 Take the freight elevator to the top floor.
 Search for the service ladder.
 Find the Maelstrom Facility.
 Locate the generator room.
 Shut down the Maelstrom generators.
 Close the coolant valves.
 Escape the Maelstrom Facility before it explodes.
 COG Tag
 Schematic
The train tunnels lead from the beach to the service area beneath the Maelstrom Facility. Baird and the others are counting on Marcus and his squad to disable the Maelstrom’s power supply so they can reach the island. Meanwhile, the Locust have been instructed to stop Marcus by any means necessary—Queen Myrrah is terrified of what may come to her species if Adam is freed.
Maelstrom Facility
 Take the Freight Elevator to the Top Floor
A freight elevator is around the corner to the left, but first be sure to visit the massive ammo cache behind the crates on the right. More importantly, a Silverback is in the bay directly ahead. Press the green button on the right to access it, and ride the Silverback onto the freight elevator.
 Search for the Service Ladder
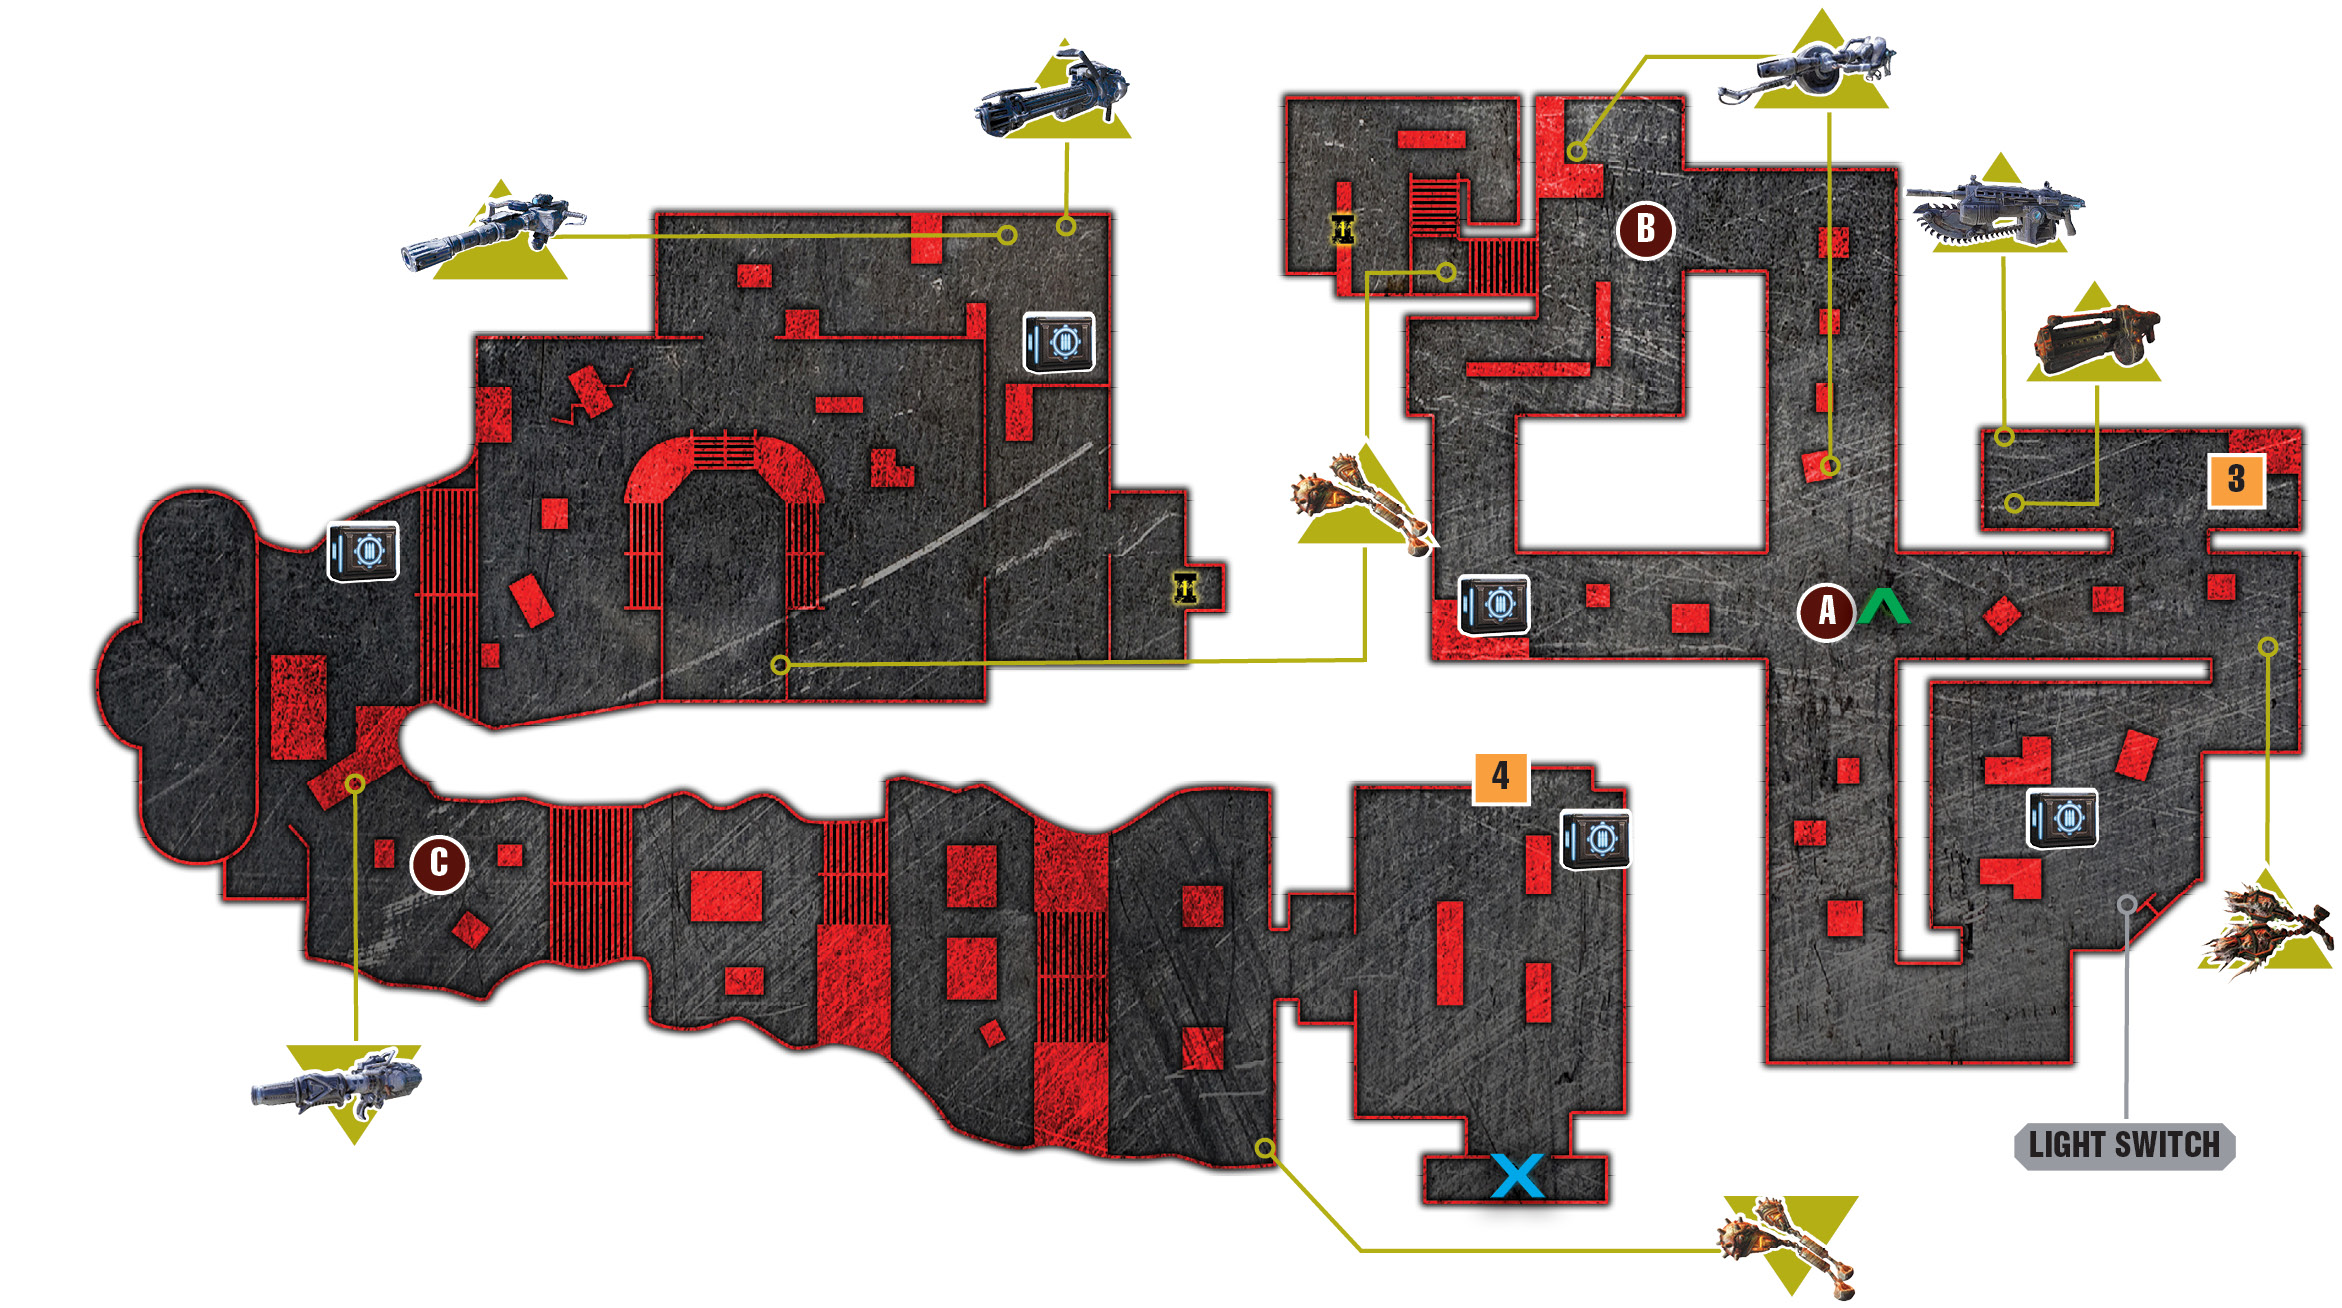
The elevator stops one floor short of your destination, on a storage level. The storage floor is shaped like a figure eight with four individually numbered hallways. Halls three and four connect to form one loop. Halls one and two connect to form another loop that leads to the control room, where you find a service ladder leading to the upper level.
A lot of Wretches are in this area, along with Flame Grenadiers. Complete a lap through hallways three and four to loop back to the starting point. This leads you past a collectible and the power switch controlling the lights. You might as well flip on the lights while you’re over there.
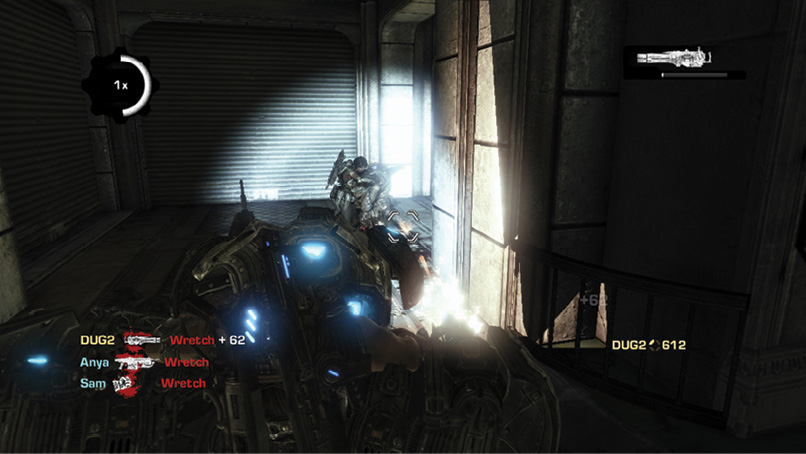
Proceed down hallway one to the control room. Watch for stray Flame Grenadiers along the way. Pause when you see the stairs to the control room. Three Palace Guards exit the control room and descend the stairs. Use the Silverback’s rockets to take them out. The control room is located where hallways one and two join, so either hall gets you there. That said, it’s much better to use hallway one; it puts you in perfect position to attack the Palace Guards. Taking hallway two puts you off to the side of the enemies, giving them a chance to fan out before you get a solid bead on them.
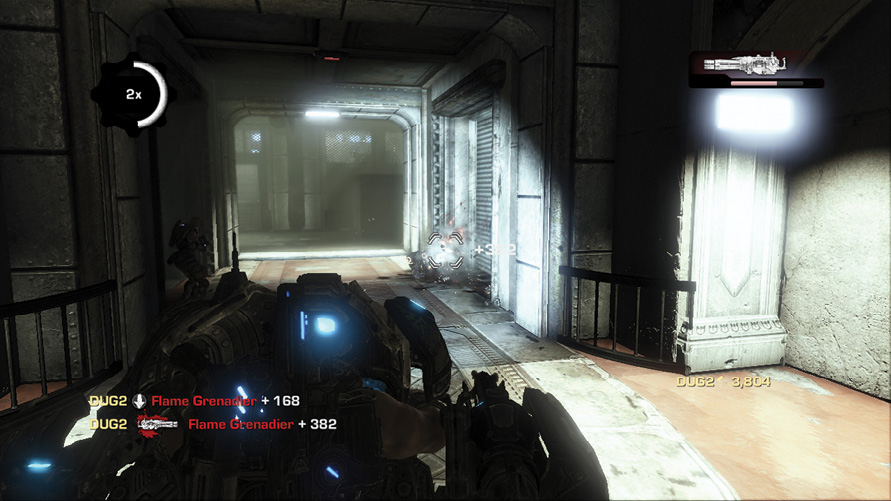
Grab the Frag Grenades from inside the corner of the control room. Then climb the ladder to the outside. The squad isn’t at the Maelstrom Facility yet, but they’re getting close.
 Find the Maelstrom Facility
The ladder leads up to a terrace on the cliffs, just a short distance from the Maelstrom Facility. It might not be far, but it’s extremely well-defended. Don’t advance beyond the warehouse just yet; first find the secret weapon stash!
Exit the warehouse shelter and make your way into cover near the steps that lead up to a terrace on the left. A Reaver touches down within moments—don’t hesitate to take it out with the OneShot. Multiple Palace Guards move in from the distance. Advance with the OneShot to where the Reaver was. Use the Longshot, Boomshot, or Frag Grenades to neutralize any immediate threats before the second Reaver arrives. Use the OneShot to take out the second Reaver with a single shot!
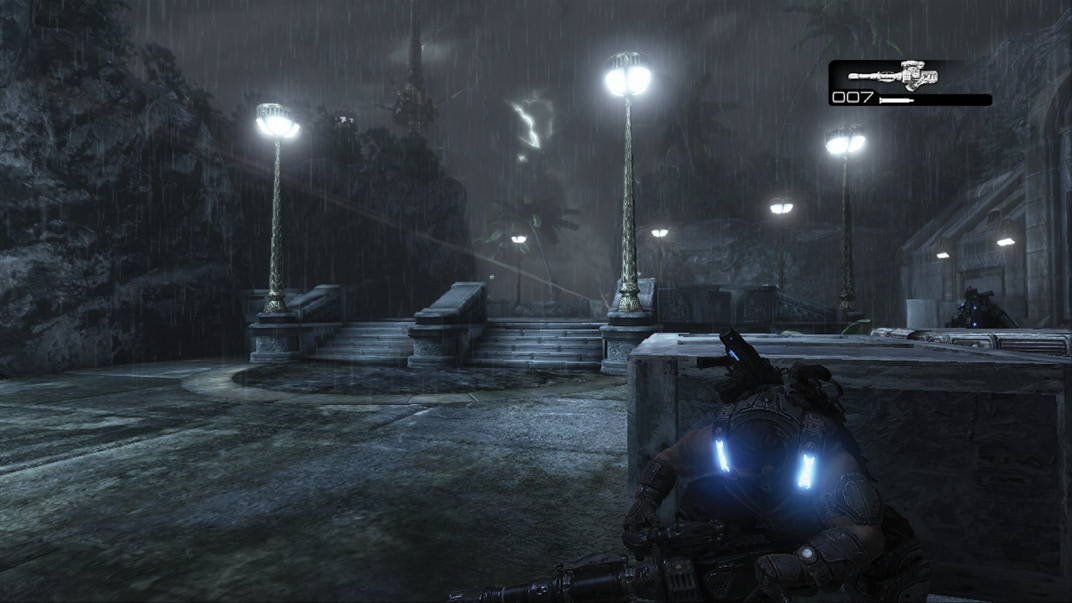
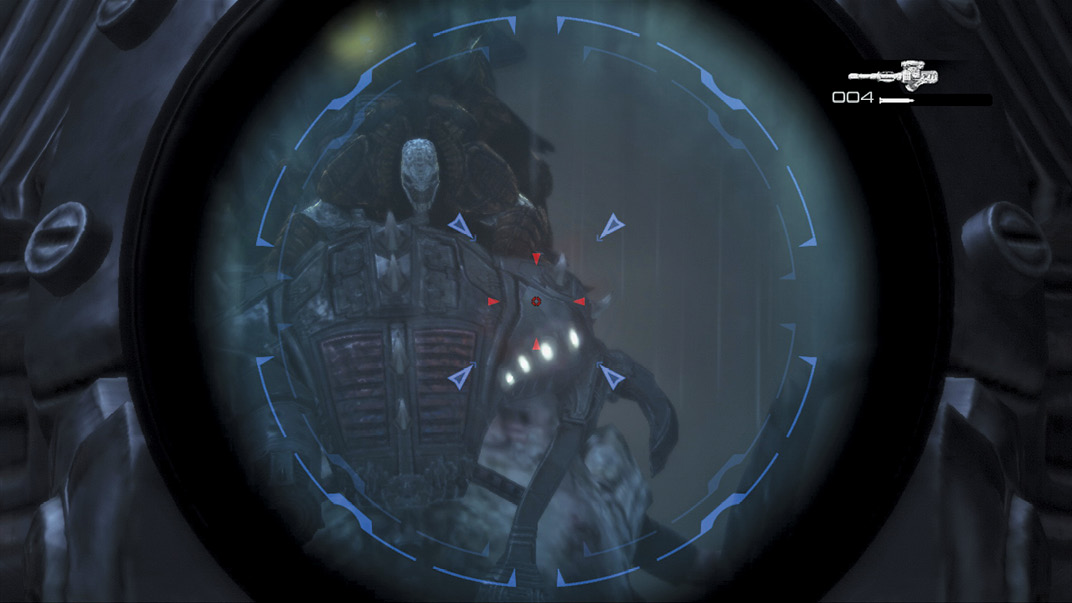
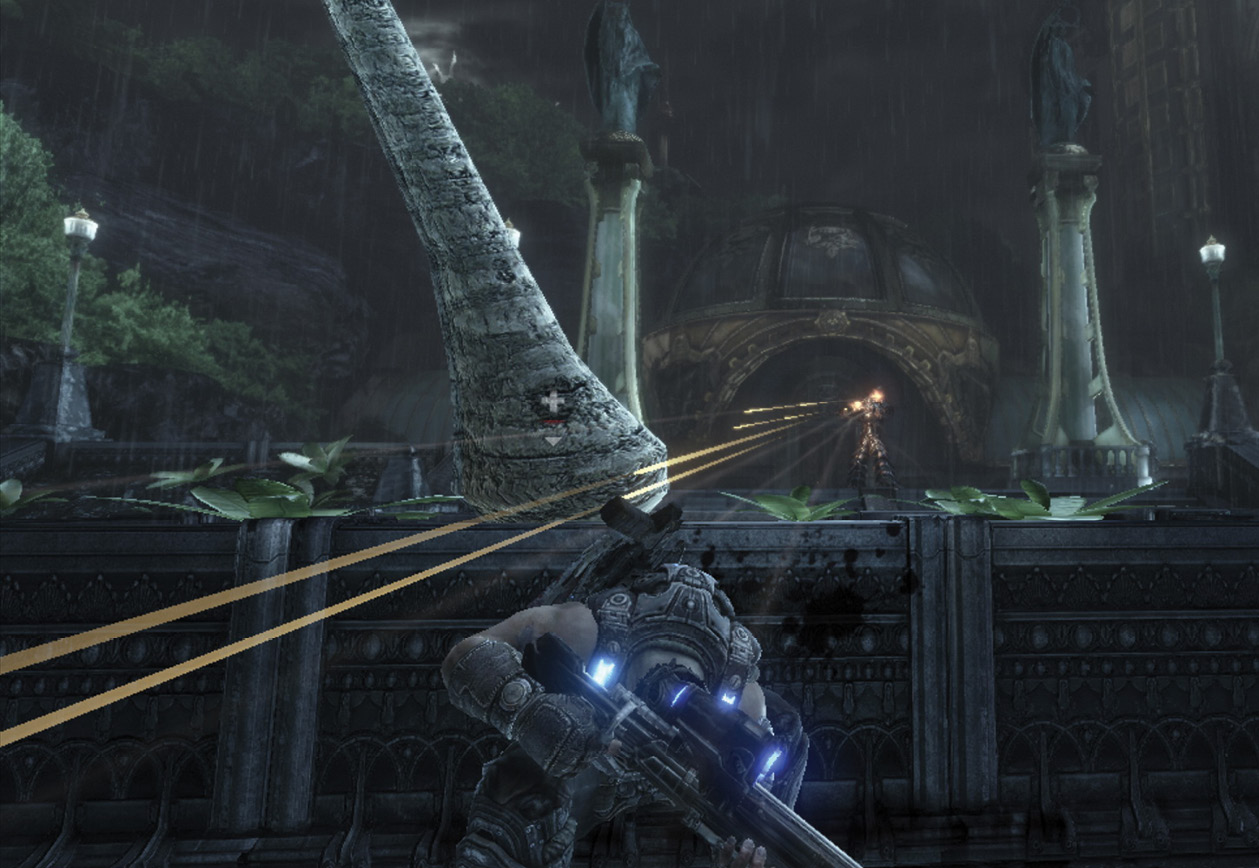
Kill the second Reaver and continue around the corner to the left. The steps that lead up to the Maelstrom Facility are there. A large contingent of Palace Guards and Shriekers emerges to defend the entrance. Immediately turn to the left and locate the Mortar in the open gray container in the corner.
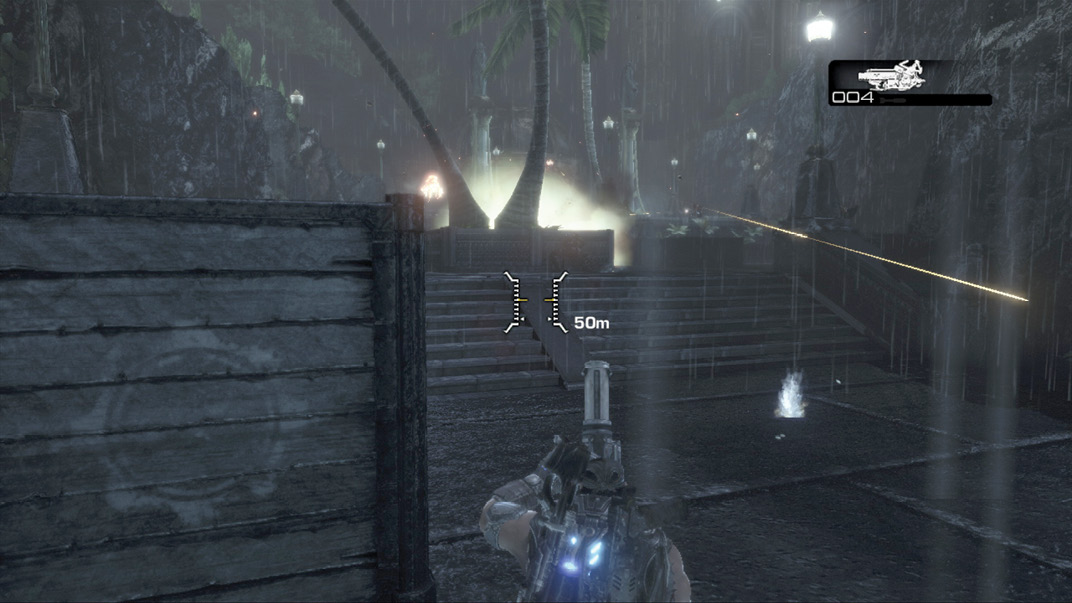
The Mortar has five shots, which should be plenty to wipe out most of the enemies on the stairs. The enemies can be hard to spot, and they move around a bit. Try to blanket the area in a crossing pattern of Mortar fire.
An Armored Kantus eventually exits through the center doors. Hit it with the Mortar. Alternatively, you can grab your Longshot or a dead Palace Guard’s Torque Bow and shoot it straight through its mouth as it screams.
 Locate the Generator Room
Climb the stairs to enter the Maelstrom Facility, and ride the elevator down to the lobby. Take out the Palace Guards in the lobby, but hang back and wait for the Flame Grenadier that enters from the previously closed door on the right.
Exit the lobby through the door that the Flame Grenadier opened. Fight past several additional enemies to reach the generator room. They typically attack in pairs and enter from the side rooms, so have the Scorcher or a Frag Grenade ready to make quick work of them.
 Shut Down the Maelstrom Generators
You need to disable three generators in this room, but you have to contend with Wretches and Flame Grenadiers in the process. The Scorcher excels at halting multiple enemies in their tracks, but nothing makes a Flame Grenadier squirm more than a bullet to the fuel tanks on its back.
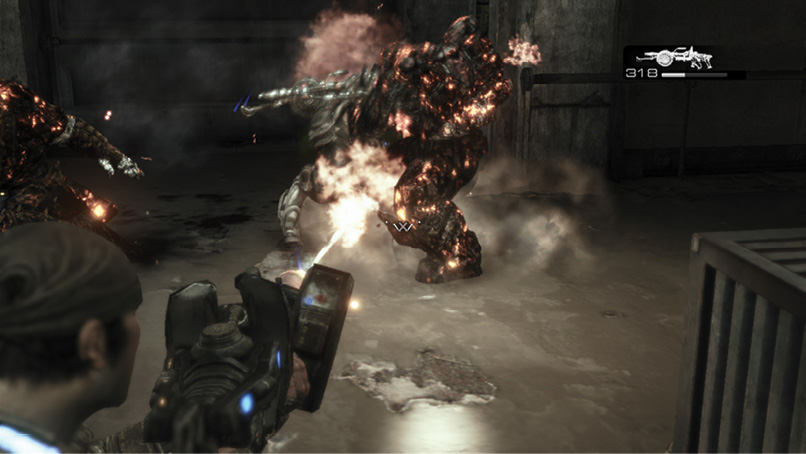
The first lever is directly ahead. The second is in the aisle between the first and second generators. Throw the lever to power it down. Then take a moment to enter the storage room on the right for more Boomshot and Lancer ammo.
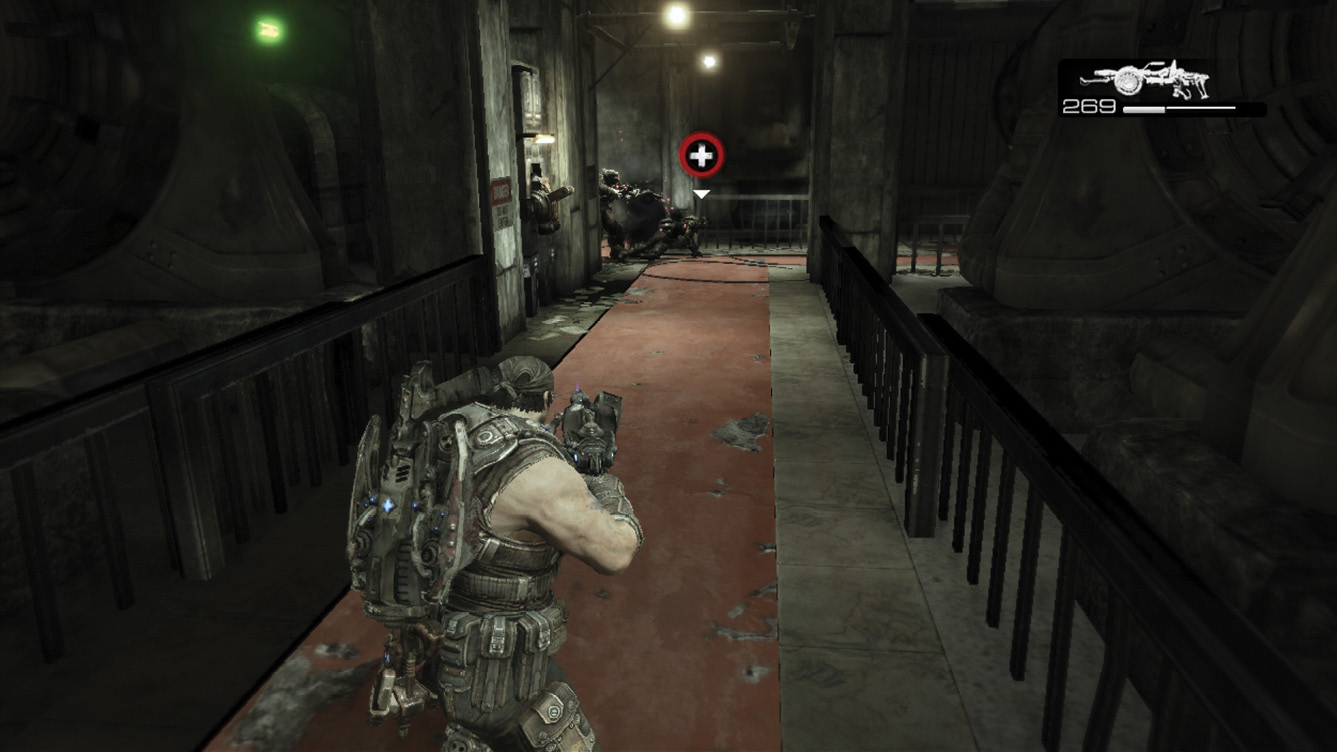
The third lever is at the third generator’s far left end, along the side aisle. Be careful around multiple Flame Grenadiers and Wretches. When in doubt, back up and lob a Frag Grenade or blind fire a Boomshot from cover.
 Close the Coolant Valves
The Locust have rigged a separate power source that the COG don’t have time to find. Instead, Marcus must kill the cooling system, overheating the entire system and causing a major meltdown.
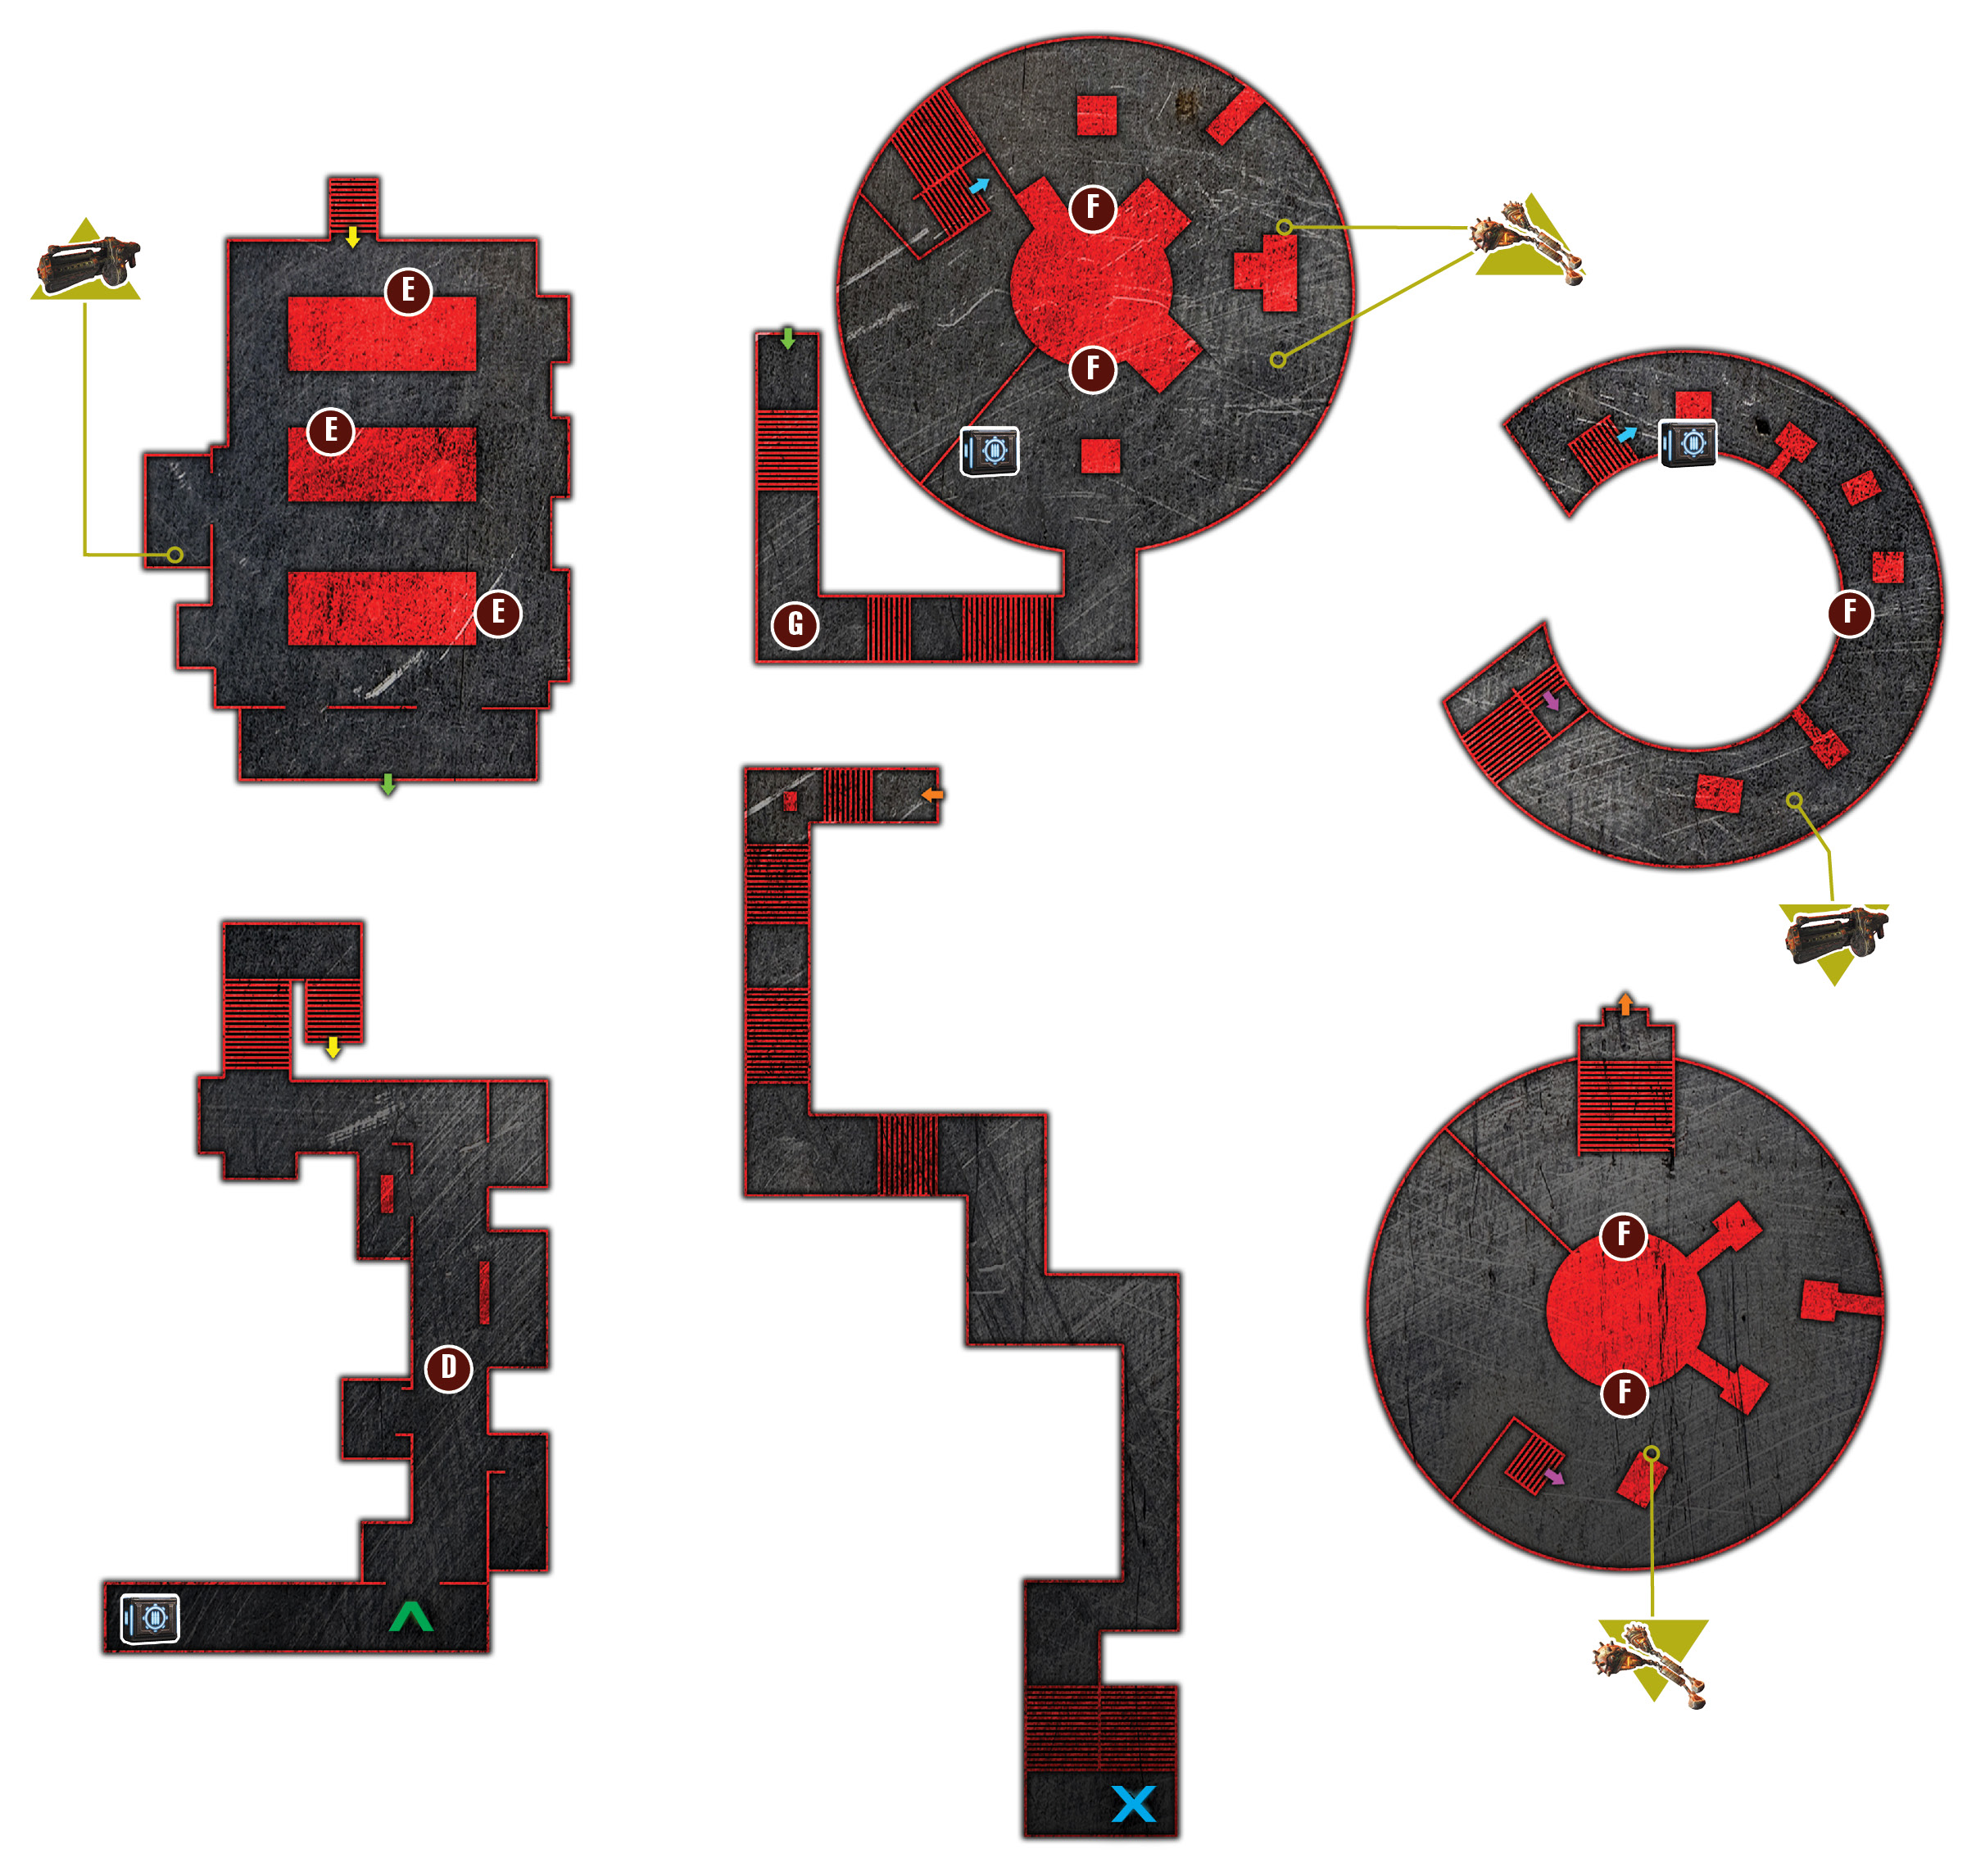
There are five cooling valves: two on the upper floor where you enter, one on the middle floor, and two more on the lowest floor. Equip Frag Grenades, the Scorcher or Boomshot, and either an assault rifle or the Gorgon SMG. You need these weapons to deal with the Armored Kantus that guard the valves.
Climb the stairs and close the first valve, easily identifiable by its green glow. Multiple Palace Guards attack from the windows along the cooling chamber’s perimeter. Take a shot or two at them if you need to, and then run clockwise around the cooling tower’s perimeter to the second cooling valve.
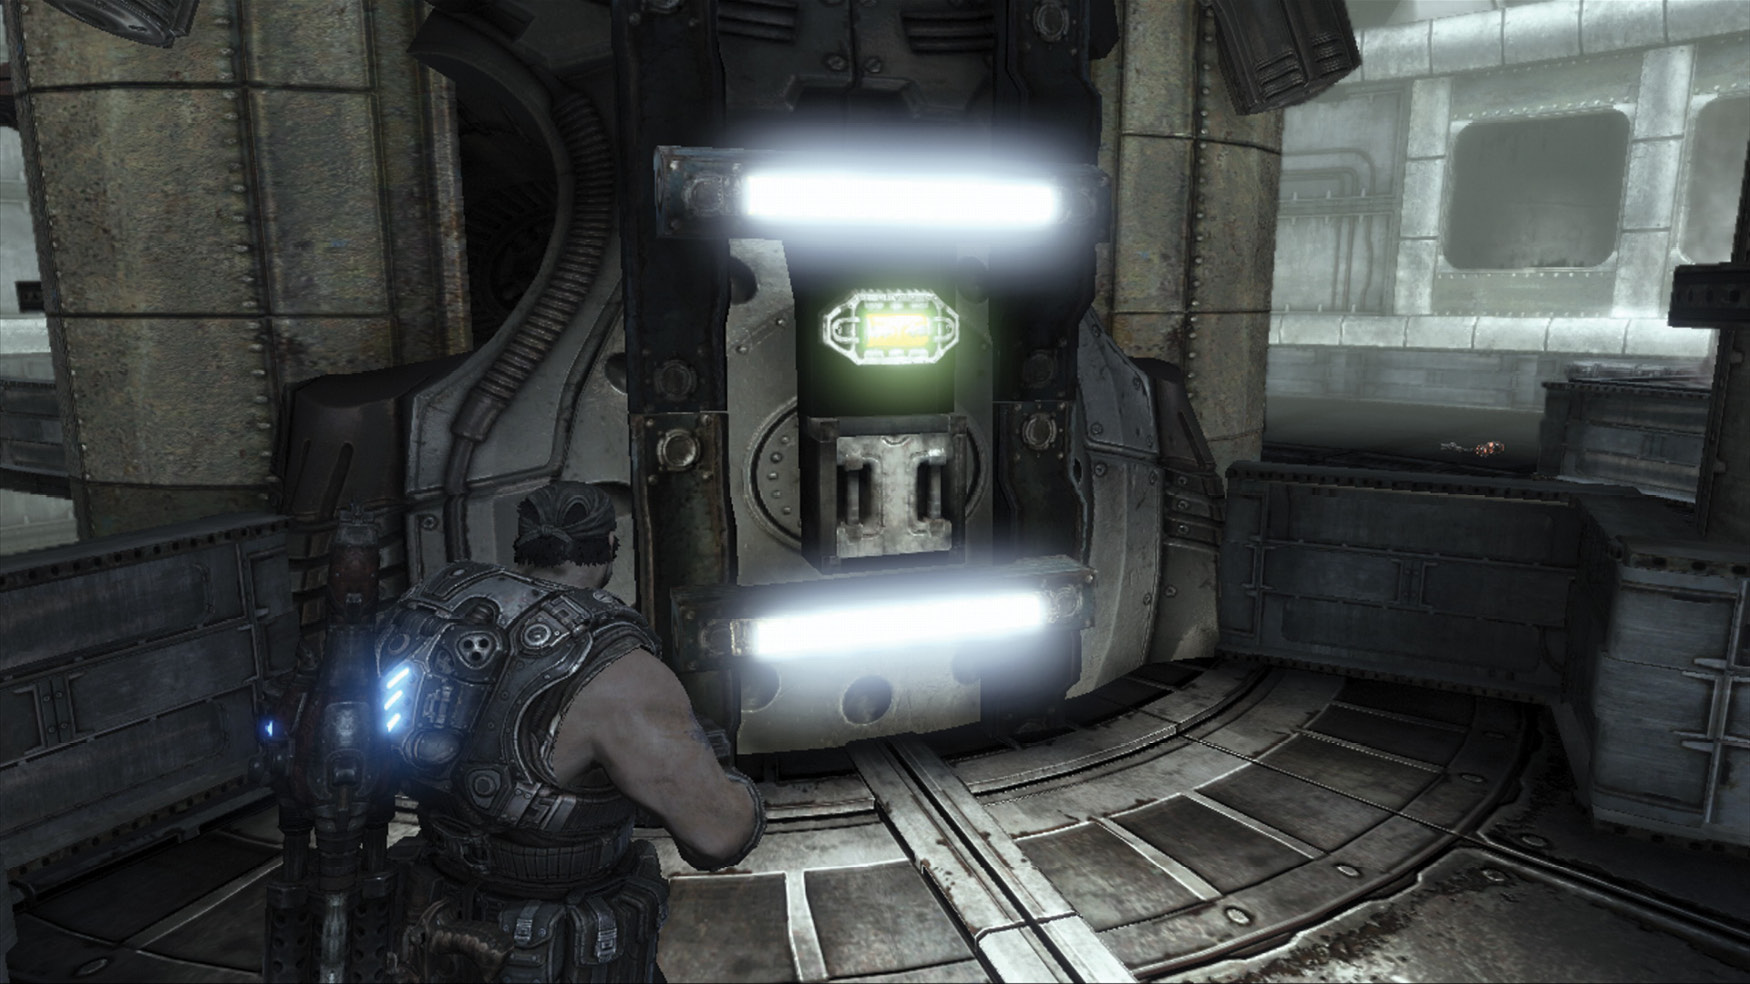
Before you turn the second valve, grab your Boomshot and fire at the Grinder entering from the double doors directly behind you. Otherwise, you are completely exposed to Mulcher fire from the rear. One direct hit with the Boomshot should kill it.
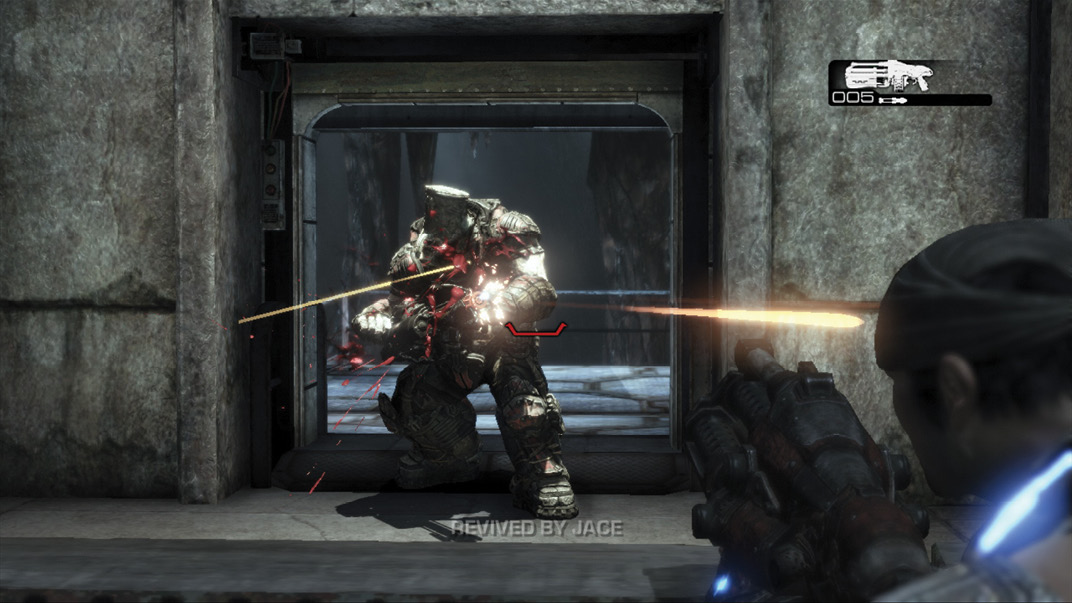
Descend the stairs to find an Armored Kantus. The Armored Kantus looks a lot scarier than it really is once you know how to fend it off properly. Fortunately, you’re perfectly equipped to handle it. Fire a Boomshot to knock it down. Move in front of it and switch to your assault rifle or Gorgon SMG, and wait for it to get up and scream. Fire at its mouth to kill it. Extra Frag Grenades and a Boomshot are on this level. Close the valve, grab the Frag Grenades, and descend the stairs to the lowermost level.
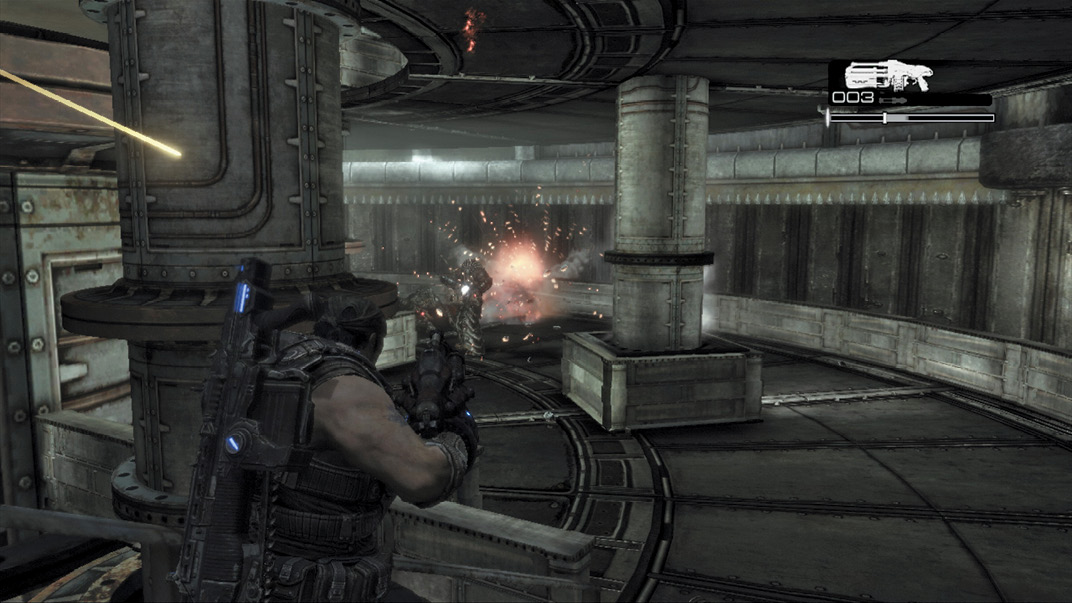
Two Armored Kantus protect the last valves in this area. Take them out in the same fashion: Boomshots and Frag Grenades to down them (or the Scorcher to cook them inside their armor), and then blast away at their mouths during their screams. Close the valves to overheat the system and send it into meltdown. This effectively cuts off power to the Maelstrom, but now you have to escape!
 Escape the Maelstrom Facility Before it Explodes
Depending on the difficulty mode, you have roughly 50 seconds to escape through the Maelstrom Facility’s base (less time on Insane difficulty, more on Easy and Normal). Run up the stairs and duck into the building as it begins to crumble and erupt in flame.
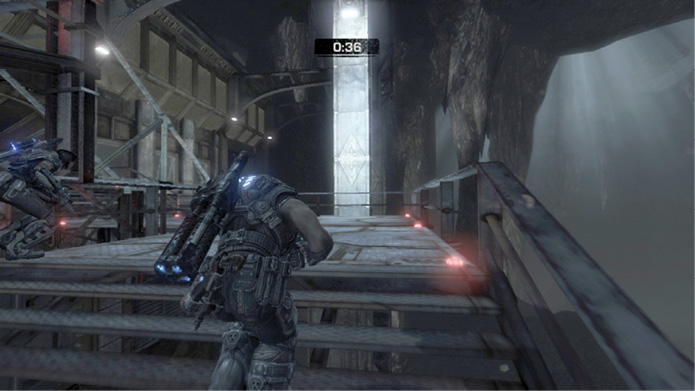
There’s only one way to go, so keep your head down and Roadie Run as fast as you can. The door to the lobby opens and a Grinder is there to greet you. A small explosion kills it before you can injure it, so keep running to safety.