Gears of War 3 Guide Campaign Walkthrough Act 1
Chapter 4: Helping Hand
Objectives
Collectibles
|
 Head to the warehouse.
 Help the Stranded fend off an attack.
 Follow the camp leader and collect a reward.
 Get to Cougars Stadium.
 Defend the bridge.
 Clipping, Hanover Times-Tribune
 COG Tag
Cole isn’t about to let the team head home without seeing some of his fans. The squad’s initial encounter may have been less than pleasant, but Cole is bound to have a few fans left in these parts. Cougar Stadium isn’t far ahead, but the COGs have to get through the warehouse district in order to reach it. No telling what’s been going on there.
Hanover Warehouse District
 Head to the Warehouse
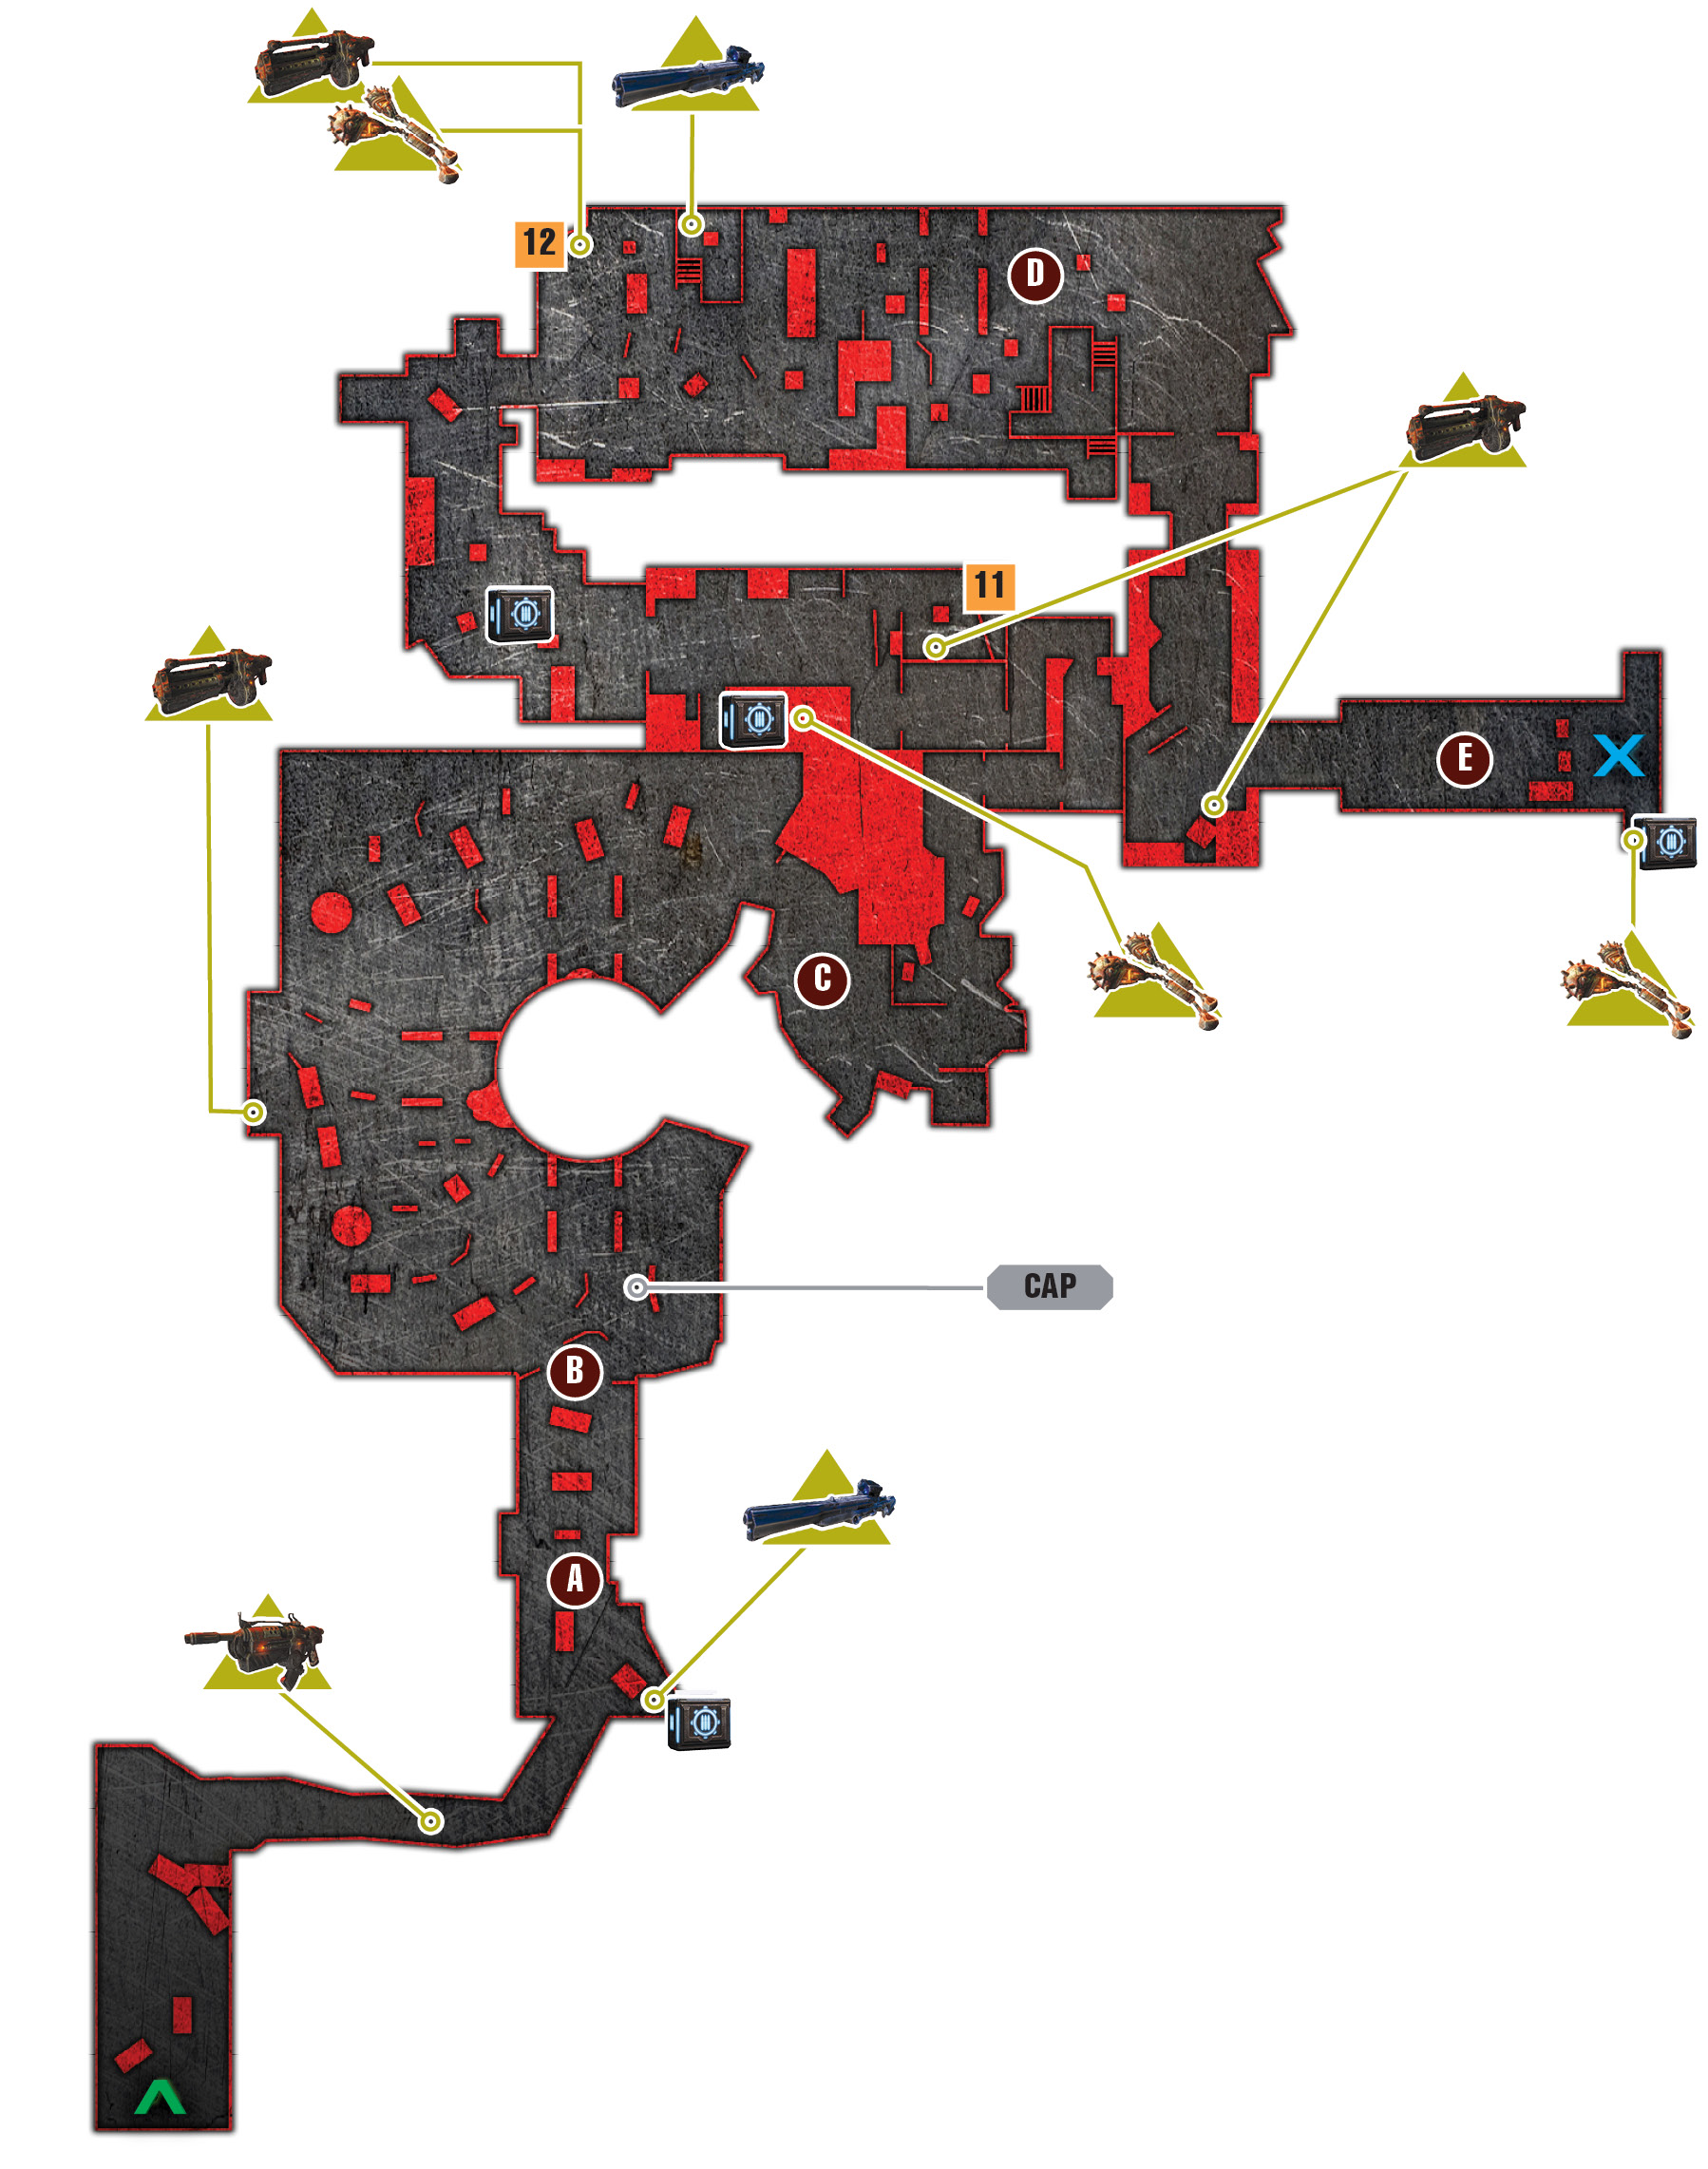
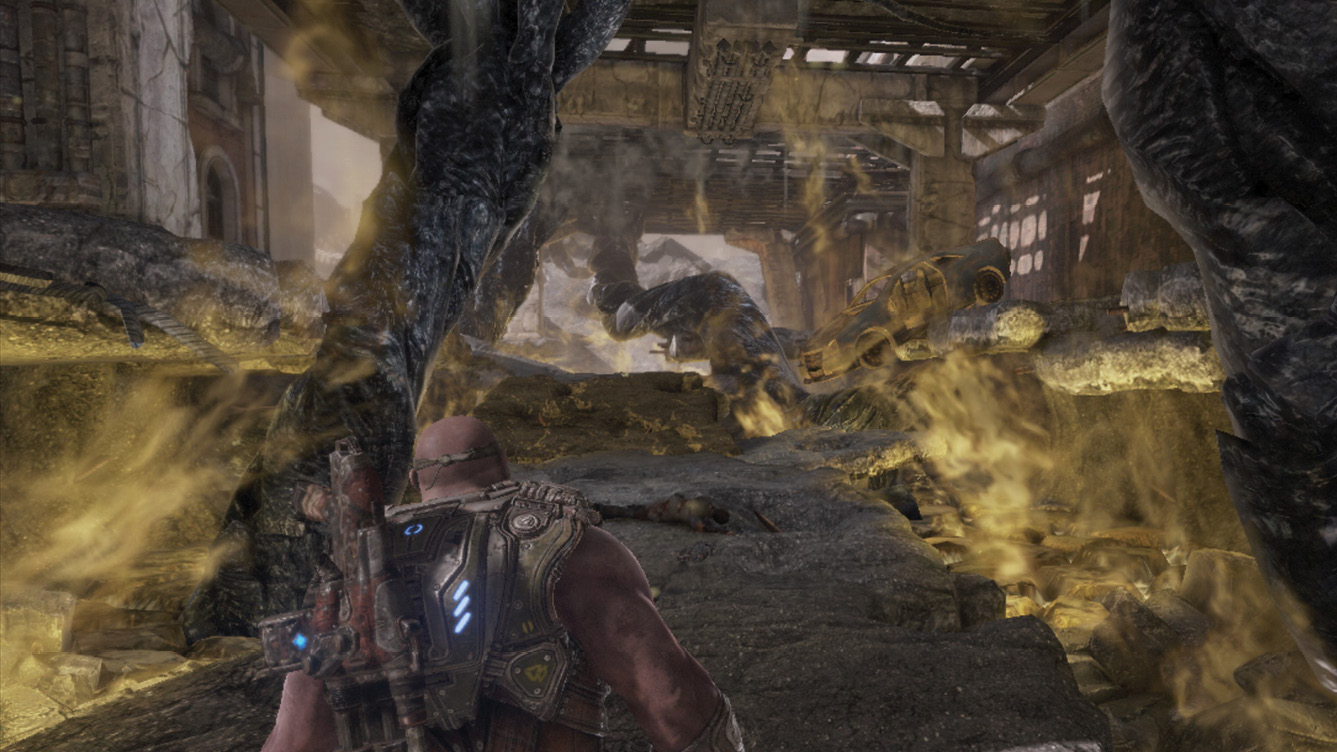
Round the corner to where the Imulsion is seeping up onto the cracked road surface beneath the underpass. Carefully drop onto the sunken asphalt, pick up the Hammerburst if you’re low on ammo, and climb to safety on the left.
 Help the Stranded Fend Off an Attack
Grab the Longshot then the ammo crate on the right. Take cover near the van, where the Frag Grenades are. Multiple Lambent Stalks sprout in the distance, between the warehouses. A pair of Gunkers joins the standard assortment of Lambent threats. Gunkers aren’t just big and ugly; they can lob deadly Imulsion bombs along a surprising trajectory. Stay behind tall cover, use the Longshot to pick off a few Dark Drones and Stalk Pods, and then advance. Maintain a safe distance to escape the Gunker’s Imulsion bombs, and use the Frag Grenades you acquired to take it out. Quickly toss multiple Frag Grenades to do the trick.
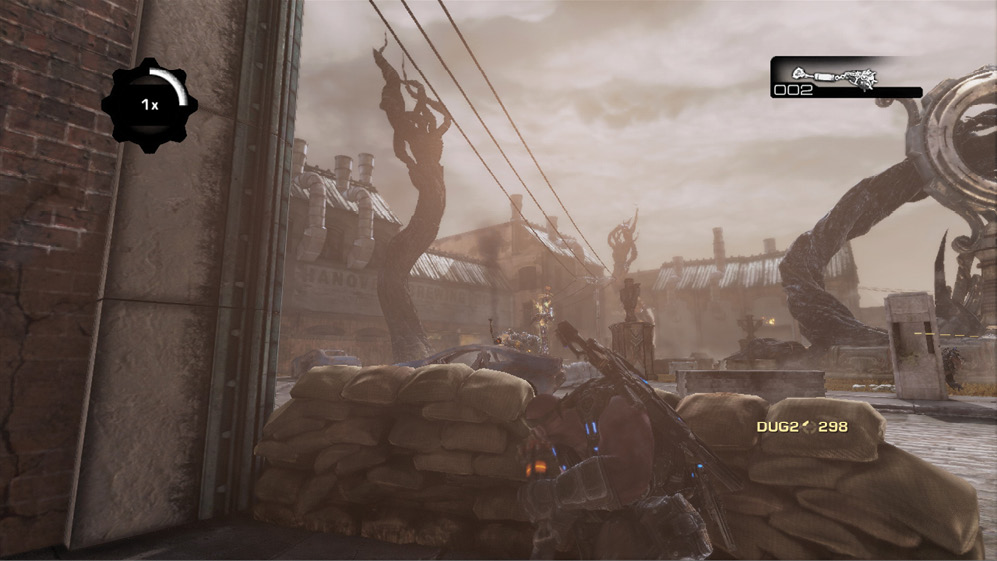
Take out the Stalk Pods on the first Lambent Stalks from afar. Circle wide to the left to swap the spent Longshot for the Boomshot near the brewery. Use the Boomshot on the second Gunker or any remaining Drudges in the area, but try to conserve ammo for a later encounter.
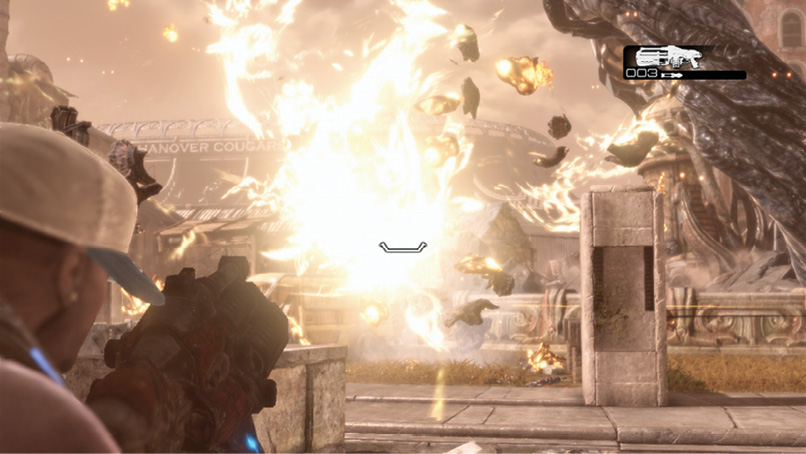
Scavenge for Hammerburst ammo. If you have not been using Hammerburst, this is a good time to do so, as there isn’t much Lancer ammo available outside the warehouse. The Hammerburst is also very effective against Drones and Drudges.
Continue toward the dormant warehouse, where the Stranded have set up an outpost. One of them exits the gate to greet the local celebrity, Cole, and agrees to assist the squad as payment for helping the Stranded fend off the Lambent.
 Follow the Camp Leader and Collect a Reward
Follow the leader into the Stranded camp as she meanders through the former warehouse to the second internal gate. She gradually leads the group to the docks, toward a cart loaded with ammunition. Just after you go through the interior hallways, veer off to the right to find another Boomshot inside an empty blue shipping container.
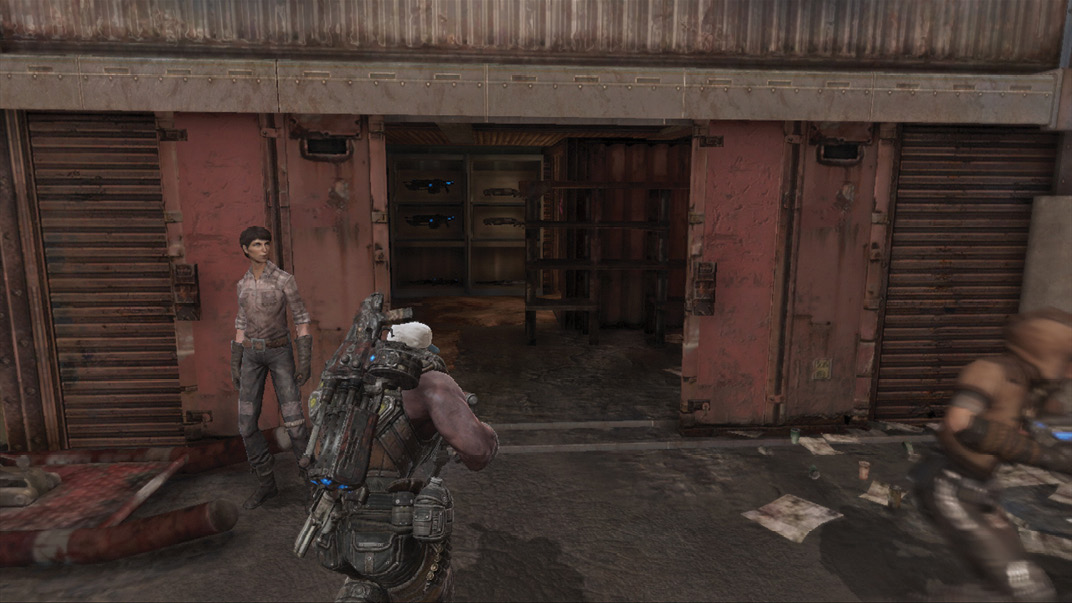
The COGs can resupply from the ammo cart that Bernie hands over as a thank-you for helping with the Lambent. That’s fine for those using COG weaponry, but it’s best to enter the small armory on the left to find some Frag Grenades as well as ammo for the Hammerburst. Round the corner to the gate leading to the docks. Cole puts his now famous good manners on display one more time to open the gate.
 Get to Cougars Stadium
Cougars Stadium is just beyond the docks, but the area is crawling with Lambent. Immediately run up the steps to the raised metal platform near the water. Use your equipped assault rifle to fire on the Stalk Pods.
Another Gunker and Drudges attack. Use the Boomshot if they’re in range. Otherwise, temporarily swap the Boomshot for the Longshot leaning against the crate, and set to sniping. Dodge the inbound Imulsion bombs, and use the Longshot to take out the Drudges and any Drones you can target. “Spot” the Gunker to direct your allies’ firepower toward it, thereby allowing you to save your Frag Grenades and Boomshot rockets for later.
Continue to take long-distance shots on the remaining Stalk Pods and Drones until you’re out of Longshot ammo. Swap the empty weapon for the Boomshot you set down so you don’t forget it.
There are two ways to go about mopping up the rest of Dark Drones and Drudges: You can advance on them near the water, using the trailers and barriers for cover. Alternatively, snake your way through the shipping containers on the right, sneaking up a side set of stairs, onto the metal platform to the right, where they are likely to hole up. This latter approach brings you near another Boomshot, and it’s especially useful if you have a Gnasher and want to blast the foes at close range. It’s also convenient if your allies are still near the water, drawing fire away from the containers through which you sneak.
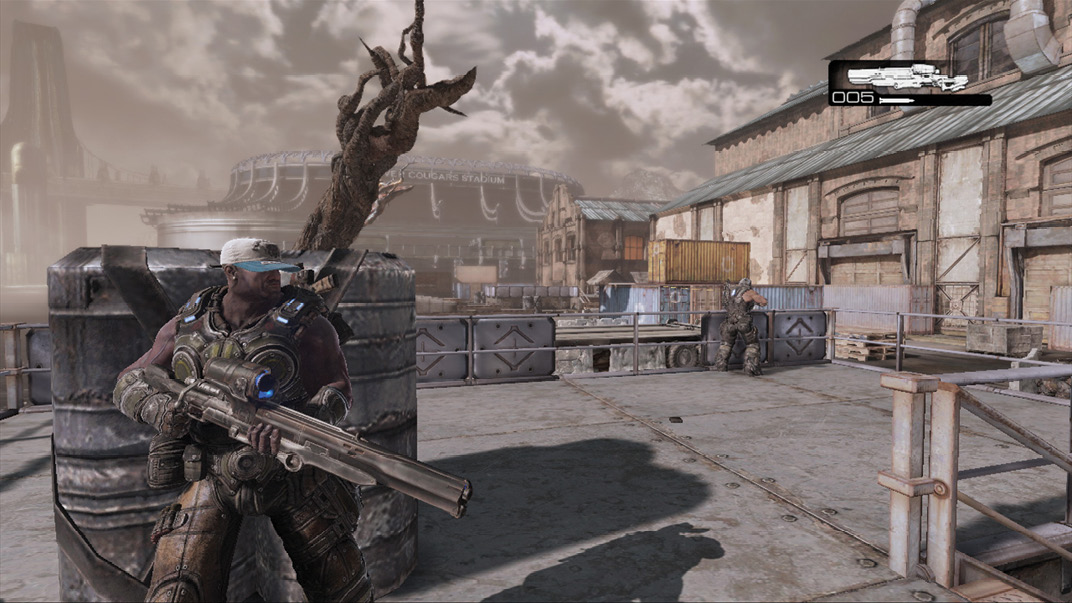
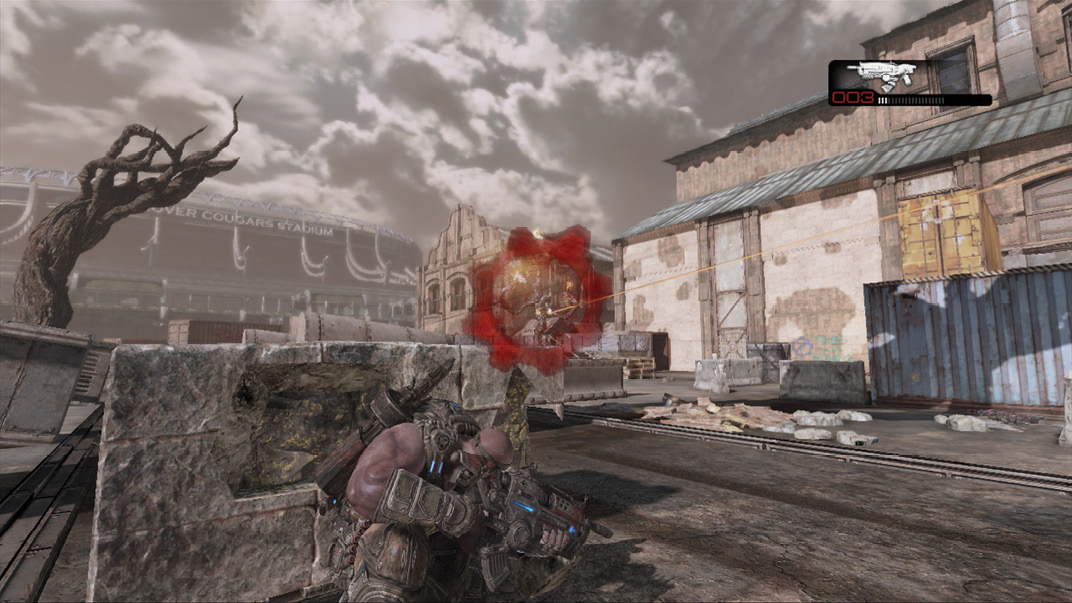
Open the door to the next warehouse and grab the Boomshot from the far left corner before you leave—never pass up an opportunity for more Boomshot ammo! Exit the other side of the building, and cross the bridge toward Cougars Stadium.
 Defend the Bridge
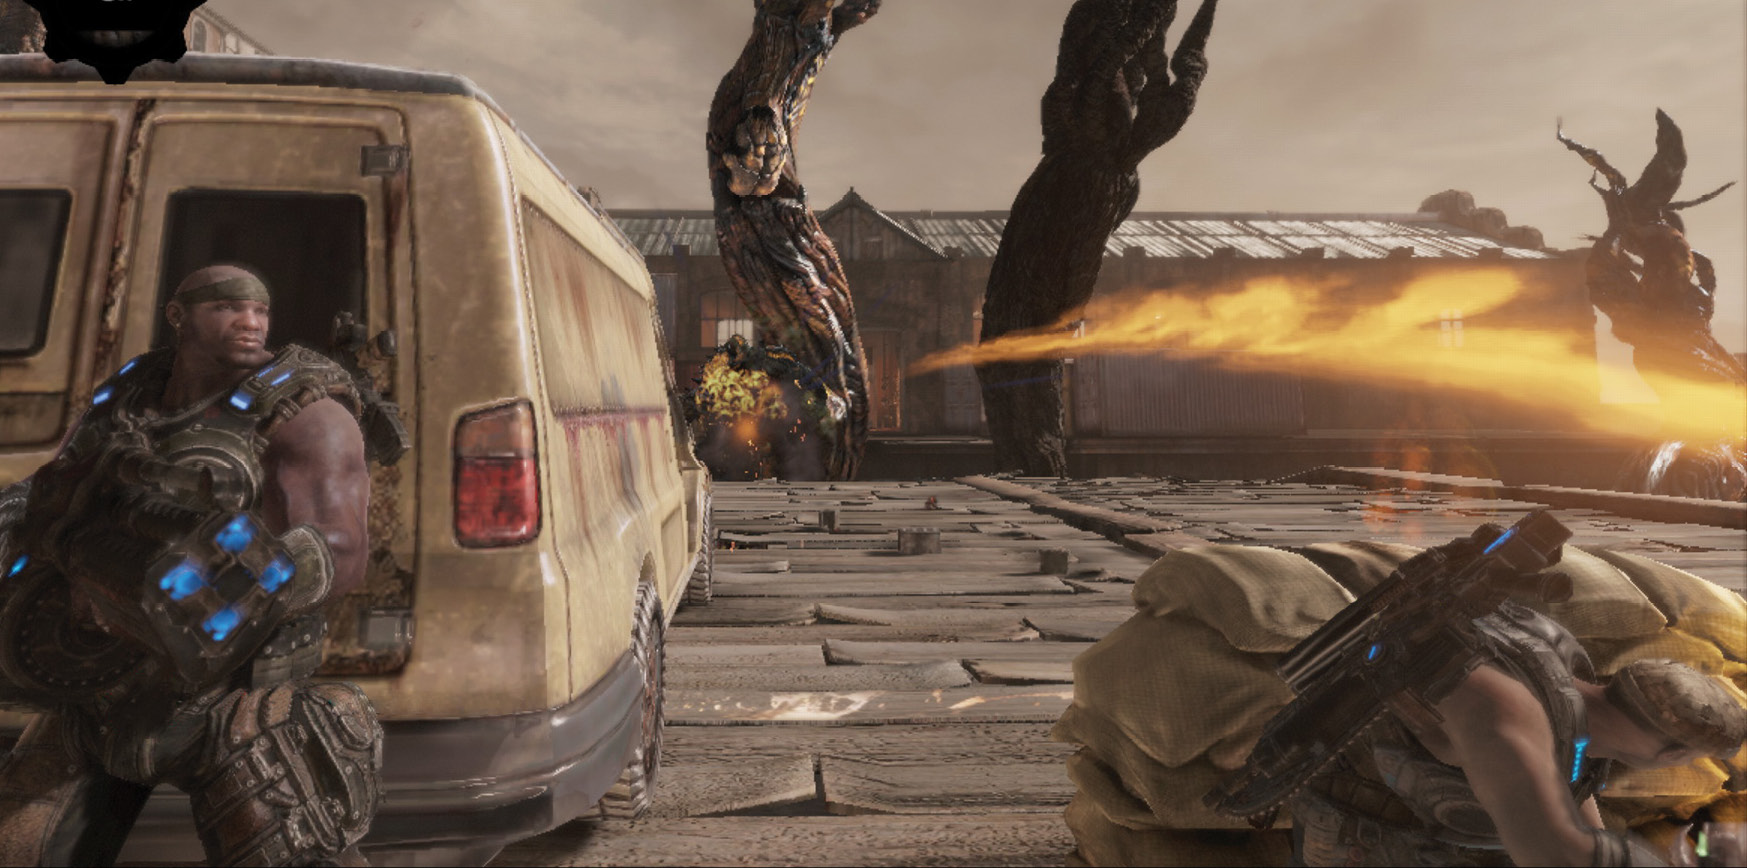
A pair of Lambent Stalks rips through the bridge directly behind Delta Squad. At first, only the right-hand one has a Stalk Pod, and it immediately spawns a Gunker. Take cover behind the sandbags or van—tall cover is better when you face a Gunker. Lob a Frag Grenade at it. Don’t worry about the Stalk Pod for now—focus on the Gunker!
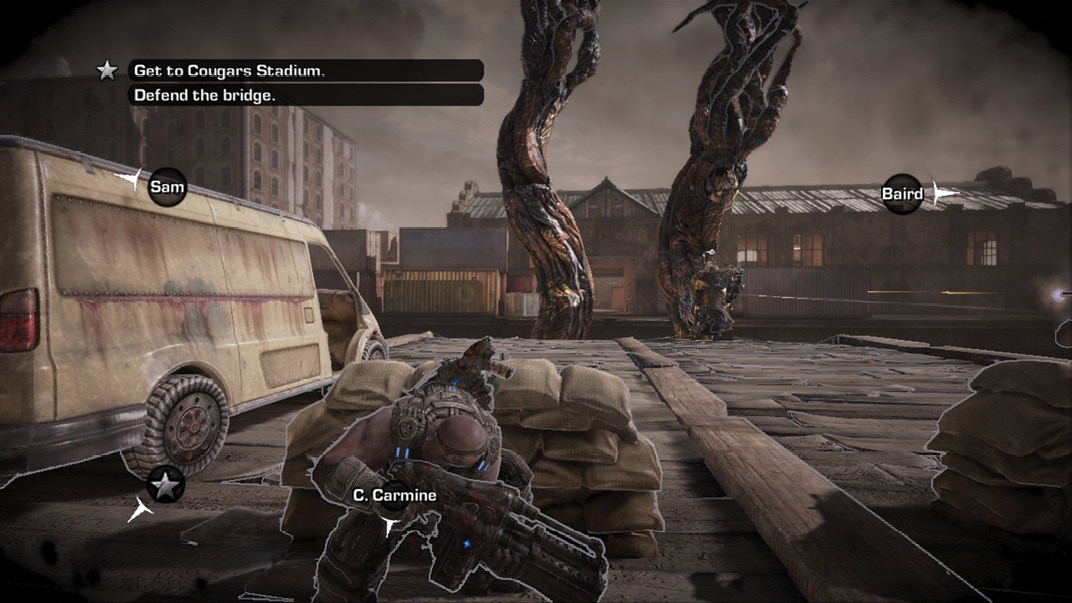
Switch to the Boomshot and blast away at the Gunker. As soon as you destroy it, the Stalk on the left grows a Stalk Pod and another Gunker emerges. The Stalk Pods on the right-hand Stalk begin deploying Polyps and Drones. Focus on the Gunkers and not the Stalk Pods, as killing them kills everything else as well.
Additional ammo is on the left, near the van. Taking cover behind the van is a bit safer, as it offers more protection from the Imulsion bombs. Imulsion bombs have considerable splash damage and can down you from the side, or even if they directly hit the small concrete barrier. Failing to use the van as cover is very dangerous.