Gears of War 3 Guide Campaign Walkthrough Act 1
Chapter 3: Homecoming
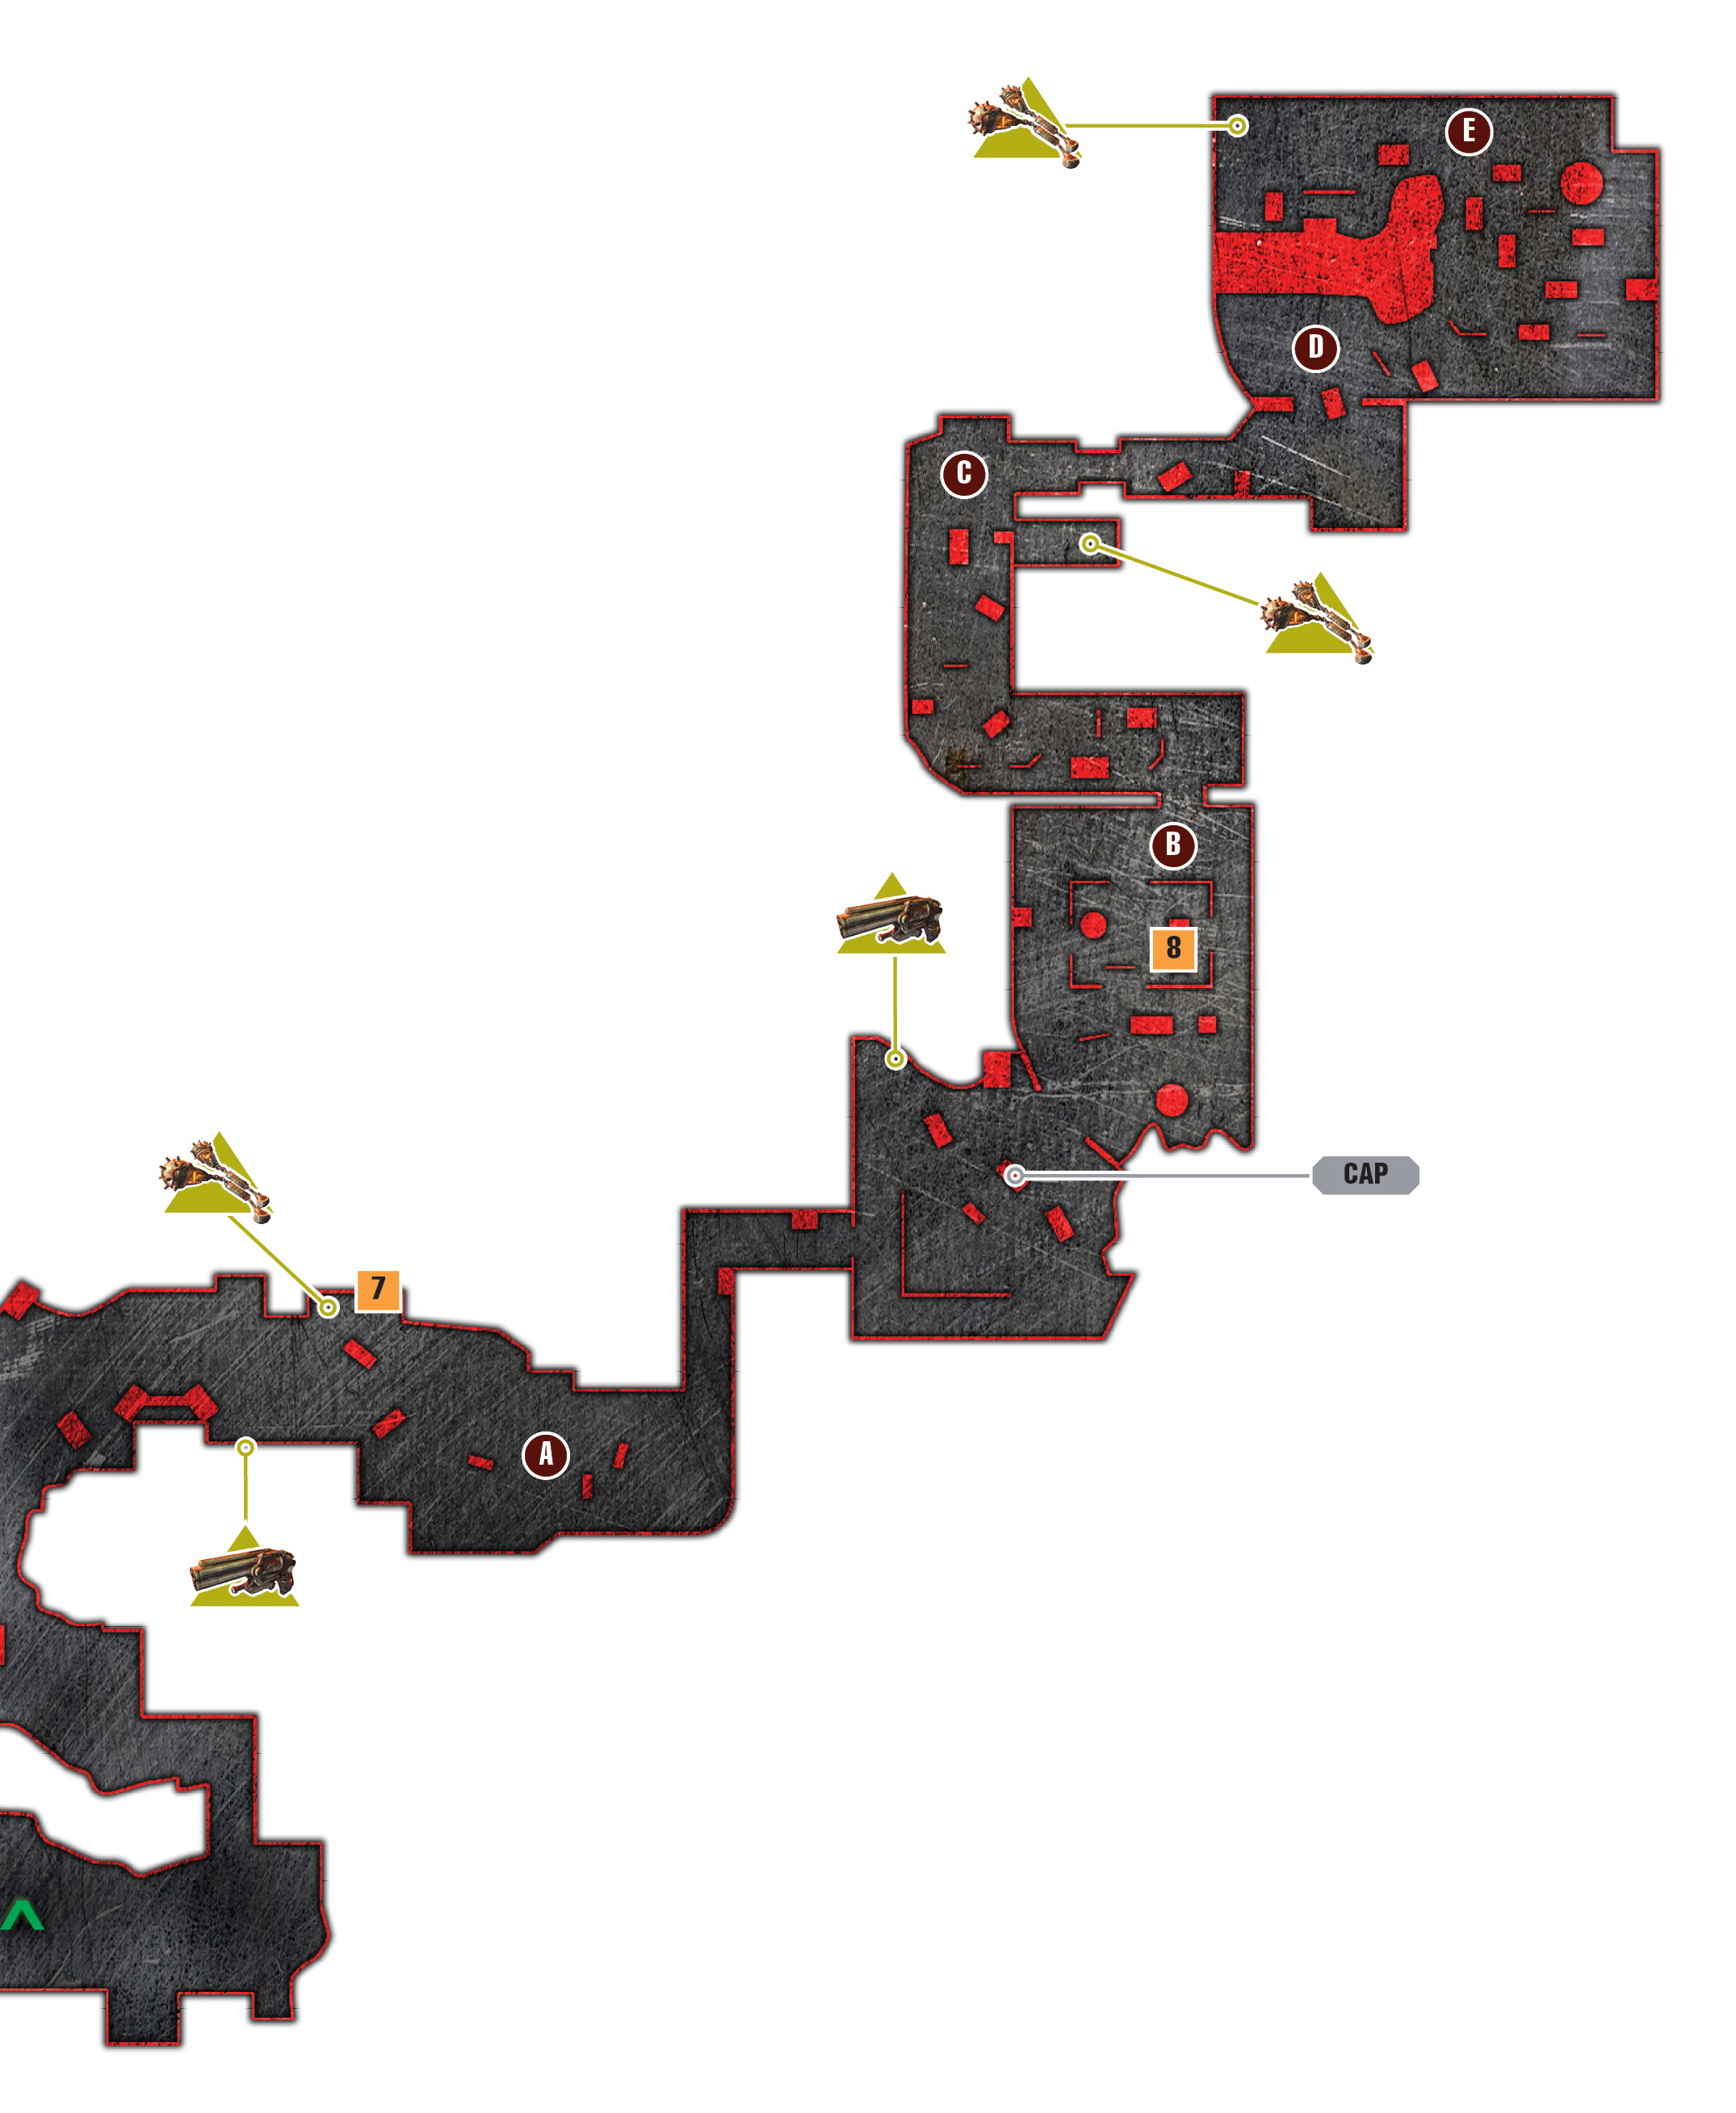
Objectives
Collectibles
|
 Search for survivors.
 Find the shopping center.
 Climb through the razor wire.
 Clear the parking lot of
  Enter the grocery store.
 Search for supplies.
 Find a way to move the overturned locker.
 Pick up the supplies using the loader.
 Use the loader to force the bay doors open.
 Clear landing zone of
  Use the loader to push the car.
 Journal
 Student’s Notebook
 Grocery List
 COG Tag
An hour prior to the Lambent assault on the CNV Sovereign, several of the Gears departed the ship aboard one of its few sky-worthy Ravens to search for supplies. Eyeing an opportunity to pay a visit to his old stomping grounds, Cole talks Baird and the others into searching the town of Hanover. Hanover isn’t just where Cole was born and raised, but also home to the professional thrash ball team for which he helped deliver a championship. Baird isn’t expecting much success, but is willing to allow the Cole Train this trip down memory lane, so long as they don’t waste too much time…
Hanover Streets
 Search for Survivors
The Raven sets the squad down near the docks on the edge of Hanover, just steps from a Stranded outpost left in ruins. There don’t appear to be any survivors, and certainly no food. Gather up the ammo and head down the road to the left, past the seafood restaurant.
Continue down the road to the outpost, where a none-too-friendly Stranded tells the squad, in not so many words, to keep on moving. Fortunately for the COG, the ornery gent at least has the sense to open the gate leading further into town so the team can proceed.
 Find the Shopping Center
The quiet stroll through town is suddenly interrupted as a Lambent Stalk with Stalk Pods appears near the playground. Take cover behind the wall and playground equipment, and target the Stalk Pods to prevent them from dropping additional Lambent. The Stalk Pods grow on all sides of the Stalk, so you may have to move around to get an angle on the Pods on other side. The Stalk dies once you destroy the Stalk Pods (much like grub holes close when you kill Locust in previous Gears of War games).
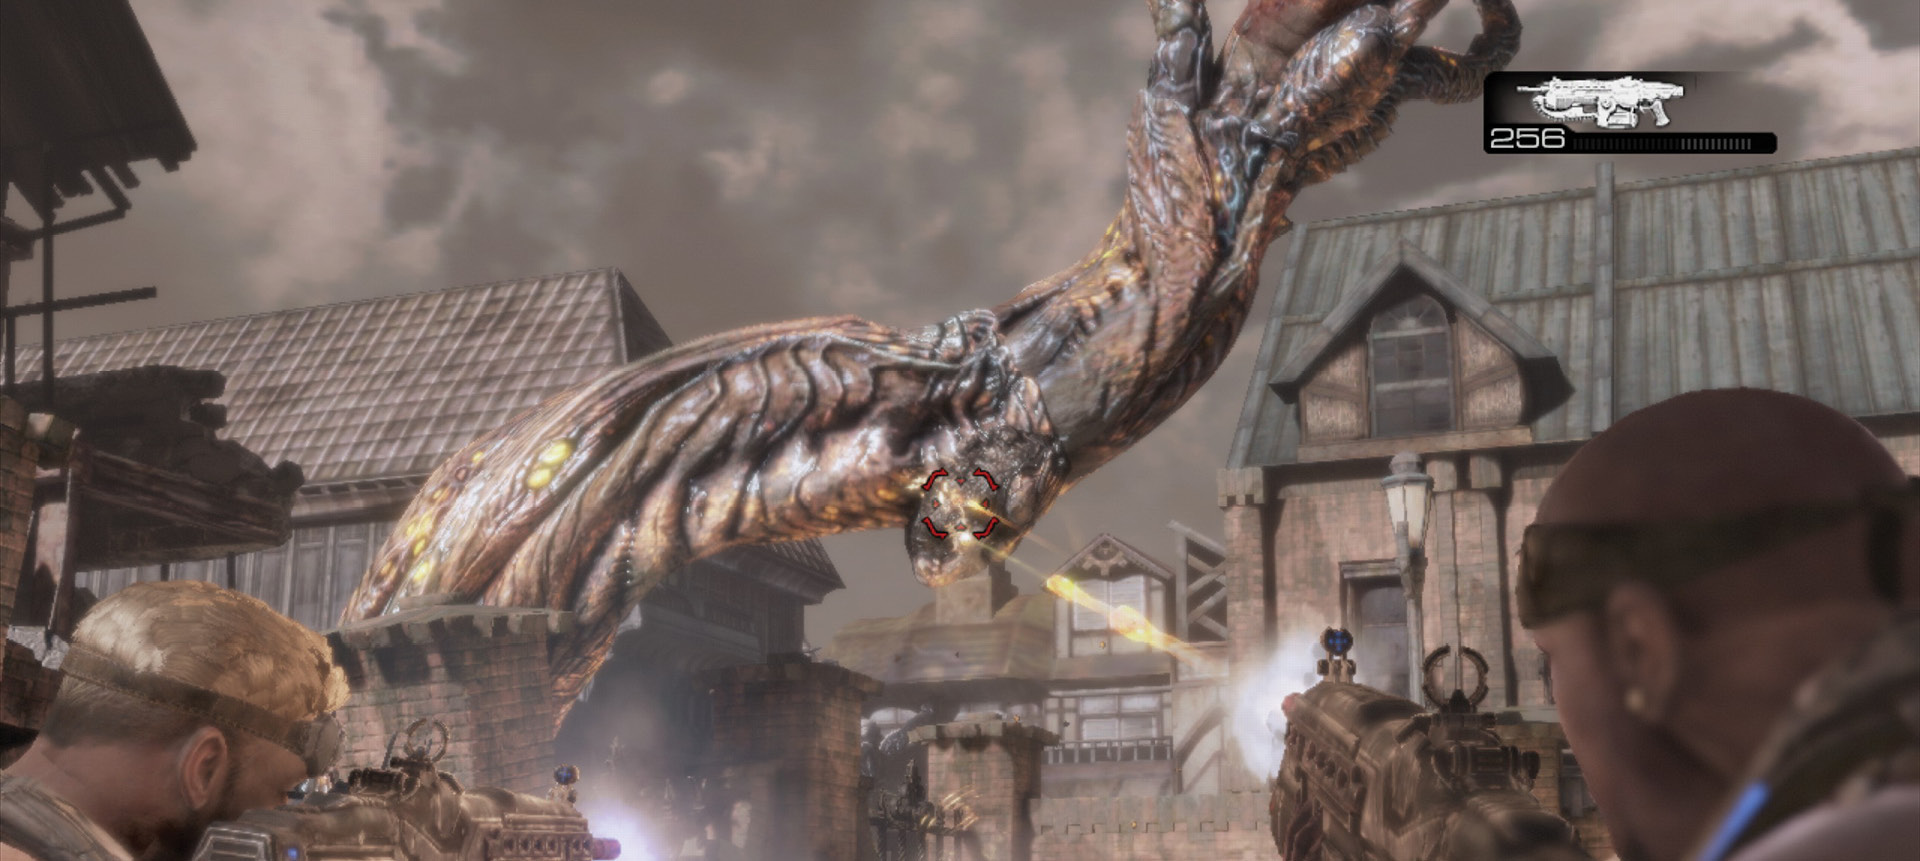
Use cover and flanking techniques to move through this area. Two Lambent Stalks emerge within the playground area and deploy Dark Wretches, Drones, and the first mutating Drudge. Keep your distance, as Dark Wretches can move pretty fast and can claw you to death in a moment. Watch from cover to see which form the Drudge mutates into, and then target its head, arms, or torso to dispatch it quickly.
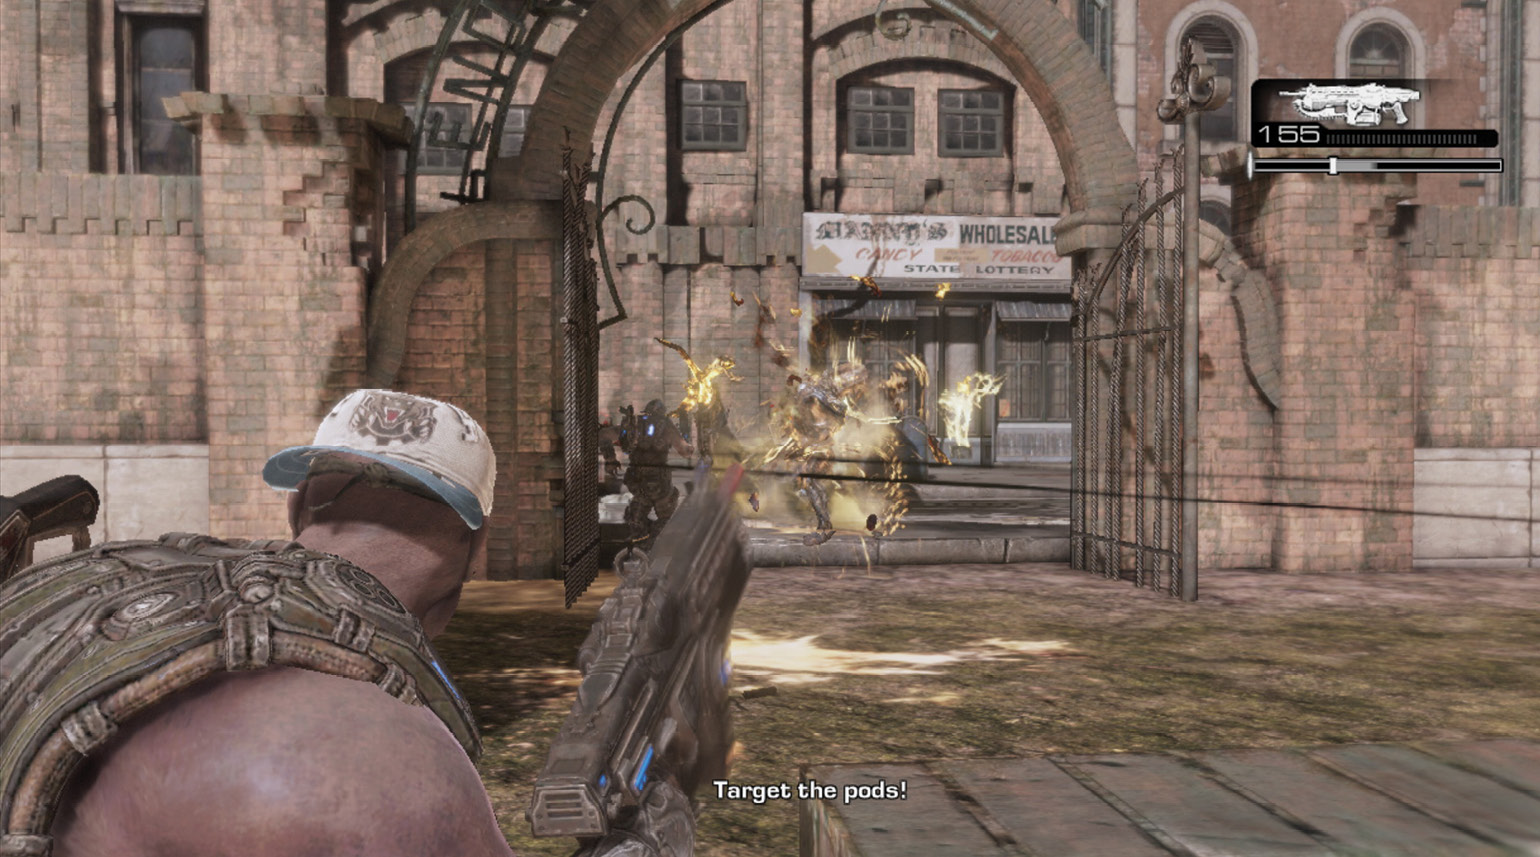
Destroy the two Stalks in the playground area, and then watch for a third Stalk to emerge just beyond the park. Wait for the Drones and Drudges to appear near the gate leading out of park—lob a Frag Grenade at them. Target the Stalk Pods, and then continue down the road and around the corner. Duck into the alley on the right to find additional Frag Grenades.
 Climb Through the Razor Wire
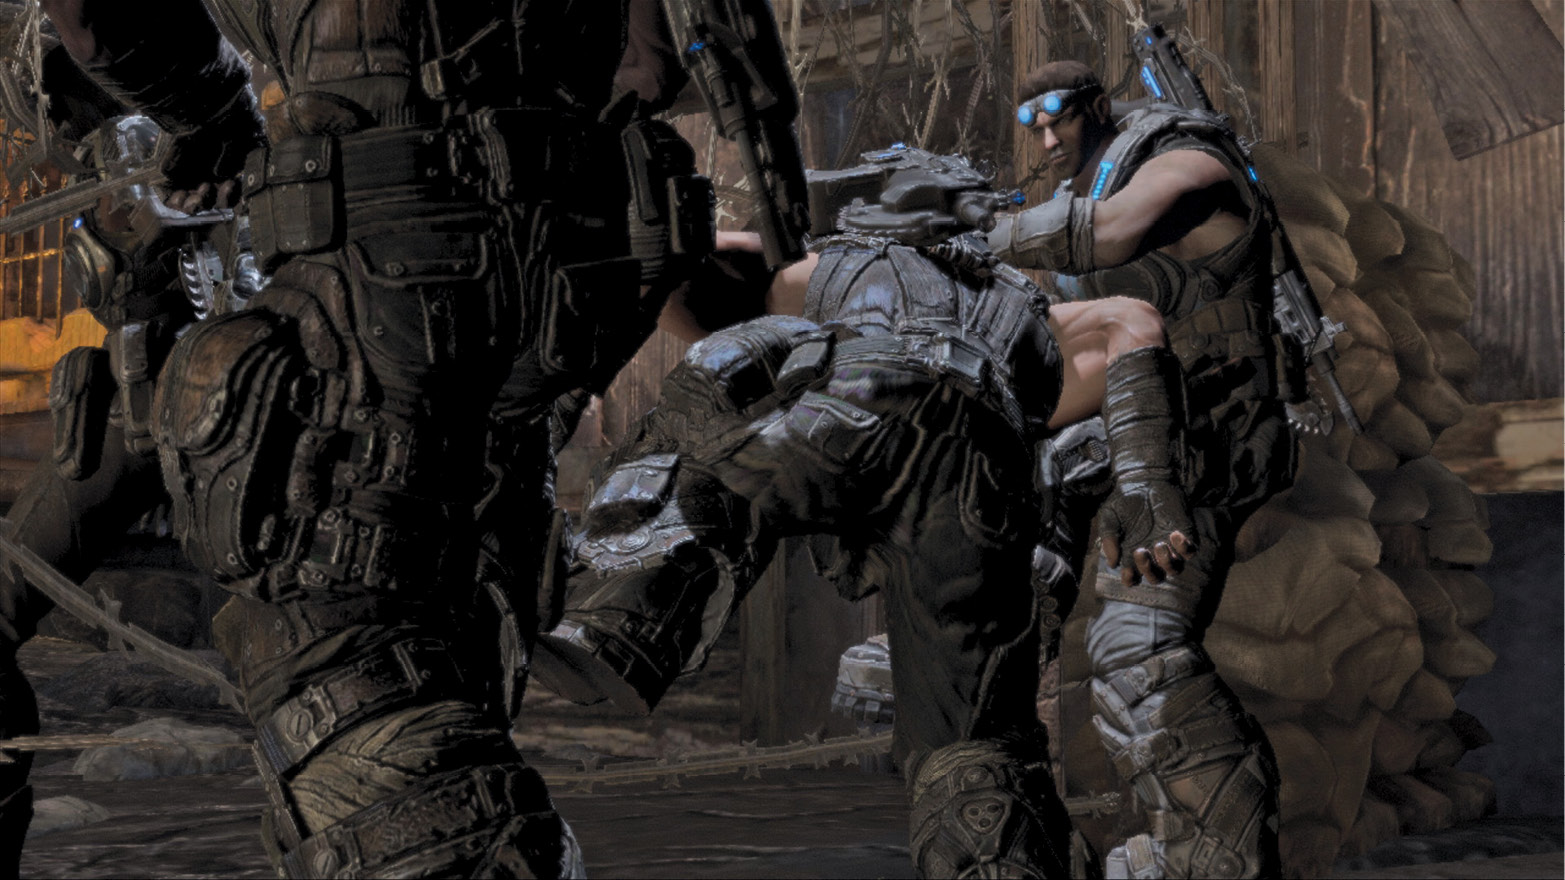
Sandbags and barbed wire heavily fortify the road to the shopping center. Interact with the barbed wire to make Cole and Baird hold the wires apart so Sam and Carmine can slip through.
The shopping center Cole remembered is straight ahead, just down the road and across the parking lot. Multiple Lambent are already out in front of the Super Snack Champion. Take cover behind the concrete barricade near the chasm.
 Clear the Parking Lot of Lambent Locust
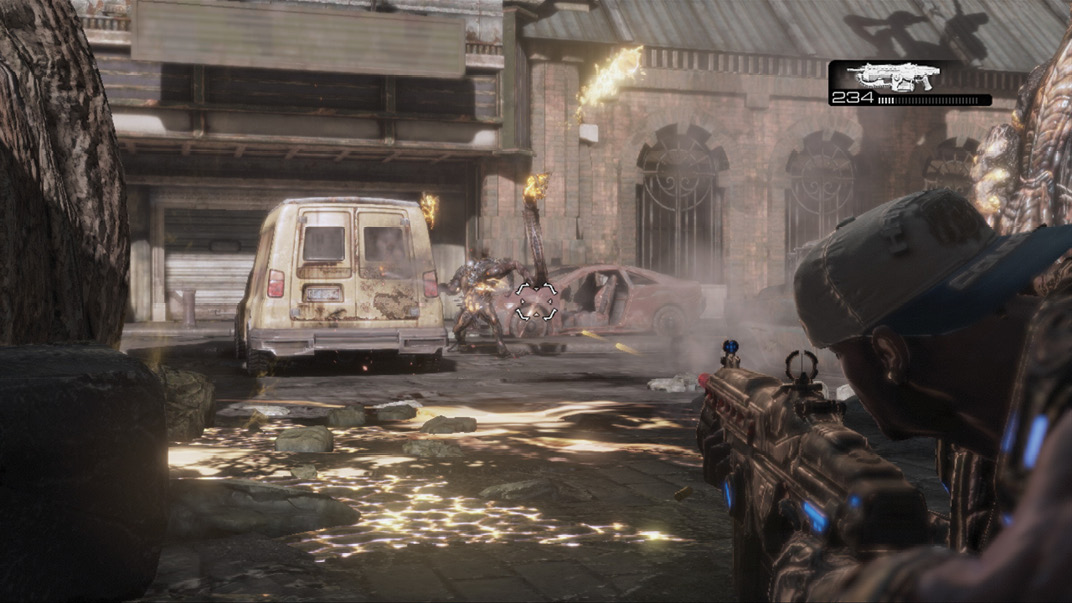
Target any remaining Stalk Pods from the left-most Stalks. Stay safely behind cover, keeping the chasm between Cole and the Lambent. Open fire with the Lancer, but use the Boltok for headshots if the opportunity arises. From this position, eliminate all of the Lambent to the left of the shopping center’s main entrance.
Wait for the next Lambent Stalk to emerge before you advance further to the right, around the chasm. Use the concrete barrier and cars for cover. Target the Stalk Pods if your allies didn’t finish them first. A well-thrown Frag Grenade should work wonders here.
 Enter the Grocery Store
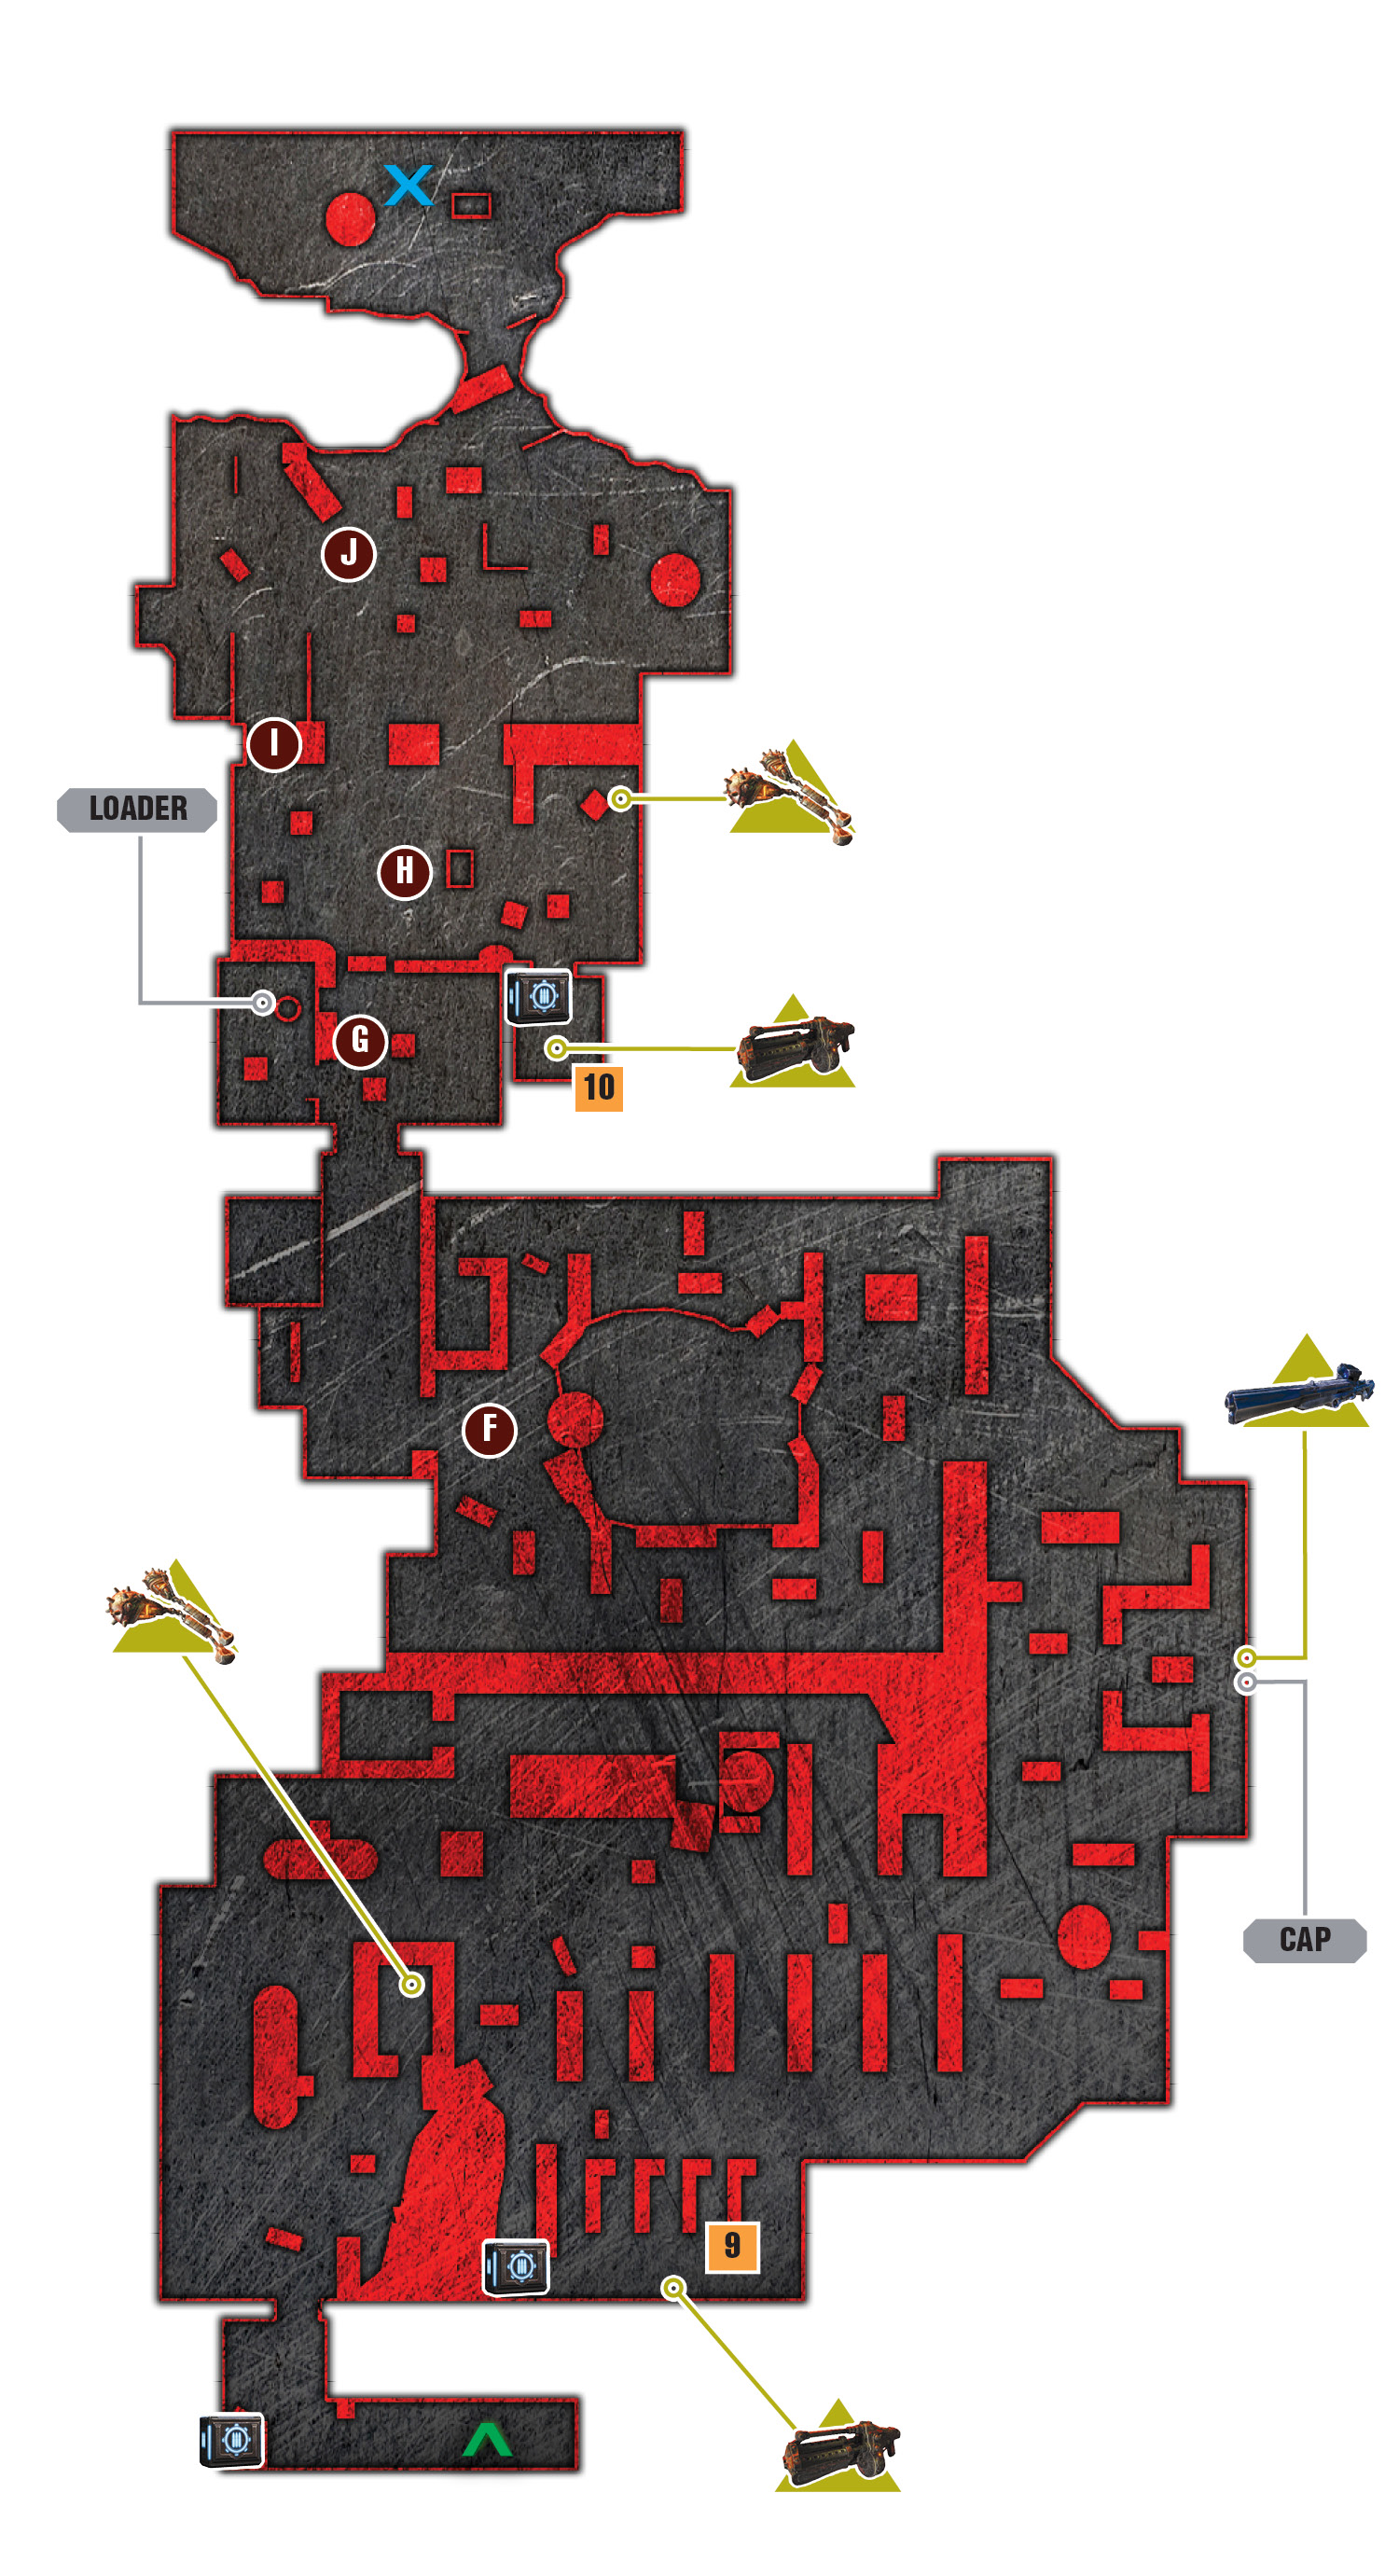
Raise the metal, rolling door in the front of the store to enter the shopping center. Use the chainsaw to cut through the crates in the corner to access the ammo crate and Gnasher behind it.
Super Snack Champion
 Search for Supplies
Make your way into the store, and head straight toward the pharmacy counter to get the Frag Grenades behind it. Sam quickly calls out the Polyps on the roof. Move to the center of the aisle, and be ready with the Lancer or Hammerburst to gun them down. Flank around to the right, ignoring the first Stalk; let the allies focus on it. Swap out the Gnasher for the Boomshot behind the checkout registers.
Advance around the corner toward the home electronics department. Use the Boomshot to clear out any Drudges or groups of Dark Drones. Stay behind cover and advance gradually toward the sporting goods department. Don’t be afraid to use up the Boomshot rockets, as a Longshot is in the sporting goods department up ahead.
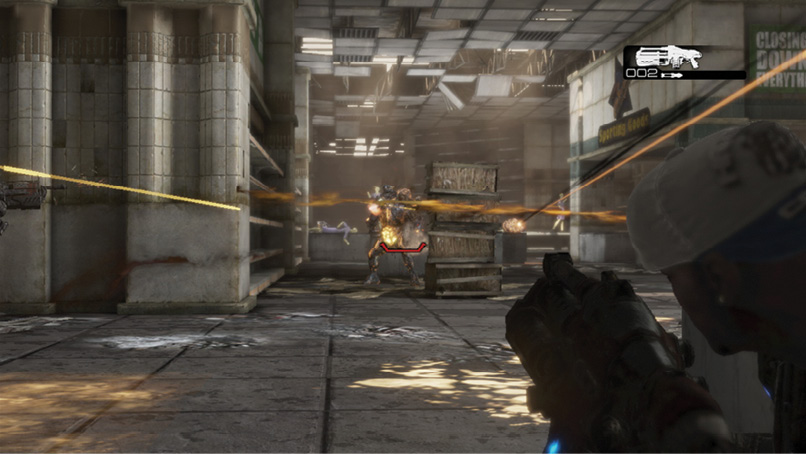
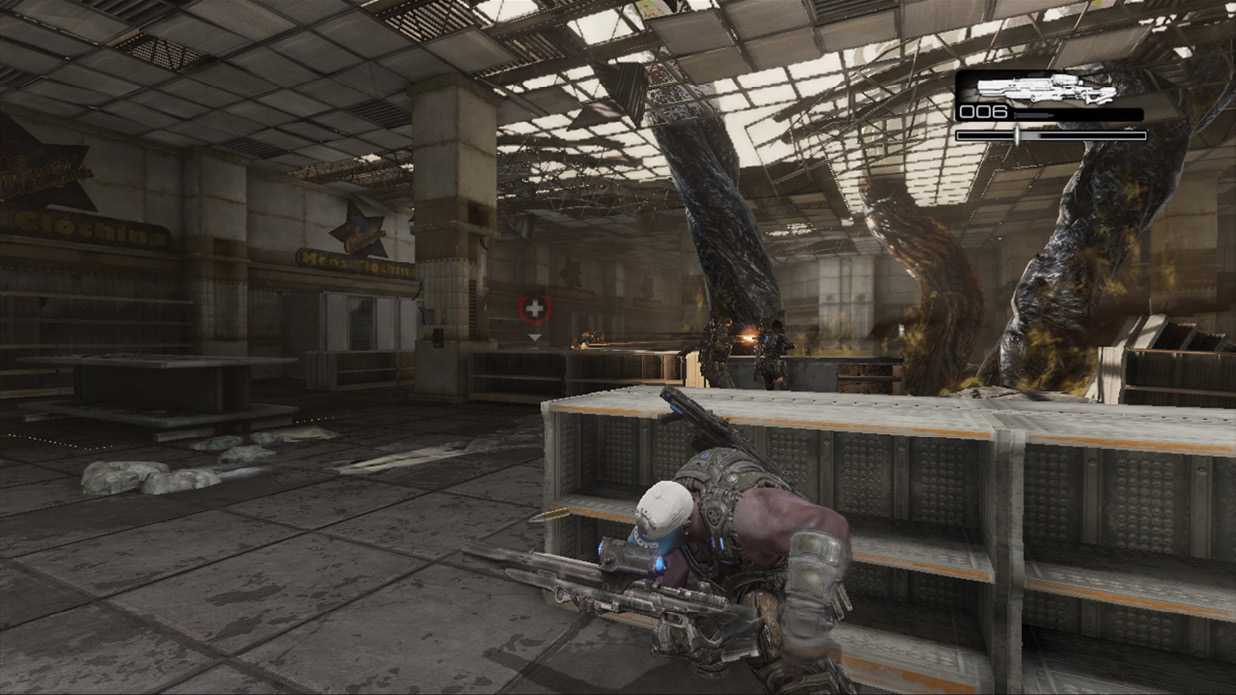
Use the multiple shelves and displays in the housewares section for cover, gradually advancing on the Stalk and other Lambent near the clothing departments. Use the Longshot to snipe as many Dark Drones as you can, and save the Frag Grenades for the Drudges. Keep your eyes peeled for fire-breathing Drudge Head Snakes, as they can seek you out and engulf you in deadly flame.
|
 CO-OP TACTIC
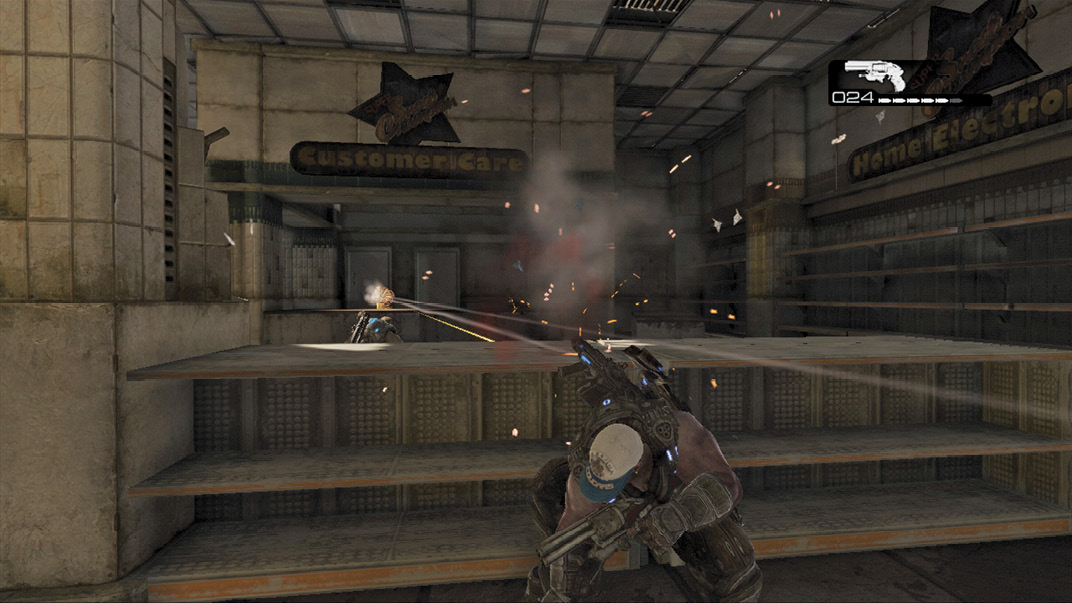
The final group of Dark Drones is likely to be behind the Customer Care counter in the far right corner. Use the Boltok or Hammerburst to take them out. Gather up any ammo to the left, and then cut the chain on the rear door to enter the employees-only area.
Climb the counter inside the manager’s office to swap the spent Longshot for the Gnasher, and gather up more ammo. Continue through the second door to the loading area.
 Find a Way to Move the Overturned Locker
A giant locker blocks access to the loading dock, but a mechanical loader is in the adjacent room. Cole just needs to access the lever in order to open the door. Chainsaw or shotgun through the wooden crates blocking access to the lever, and then pull open the door and board the loader.
 Pick Up the Supplies Using the Loader
It doesn’t help Baird fix Jack, but a large crate of food supplies is in the center of the loading dock. Don’t pick it up just yet! Hop out of the loader and get the Boomshot from the room on the right. Don’t forget the Frag Grenades behind the racks in the corner, beyond bay 2.
Press the A Button next to the supplies to make the loader pick them up. You can open the bay doors first, but the loader can perform its defensive kick while carrying an item.
 Use the Loader to Force the Bay Doors Open
Kick open the bay doors with the loader. The one with the Emergency Exit sign overhead is the correct way out, as the others are for trucks. Nevertheless, kick open bays 1 and 2 to get a clean shot on the Lambent outside. Don’t head outside just yet—you risk failing the mission if the loader is destroyed!
It’s much safer to first kick open the bay doors and use the Boomshot and assault rifle to take out the Lambent already in the vicinity. Make sure you kill any Drudge Head Snakes before you go outside. The first wave of Lambent is off to the right. Fire the Boomshot, and then roll back inside to safety. The Lambent can’t get inside the loading dock if the leftmost bay isn’t open.
 Clear the Landing Zone of Enemies and Drop off the Supplies
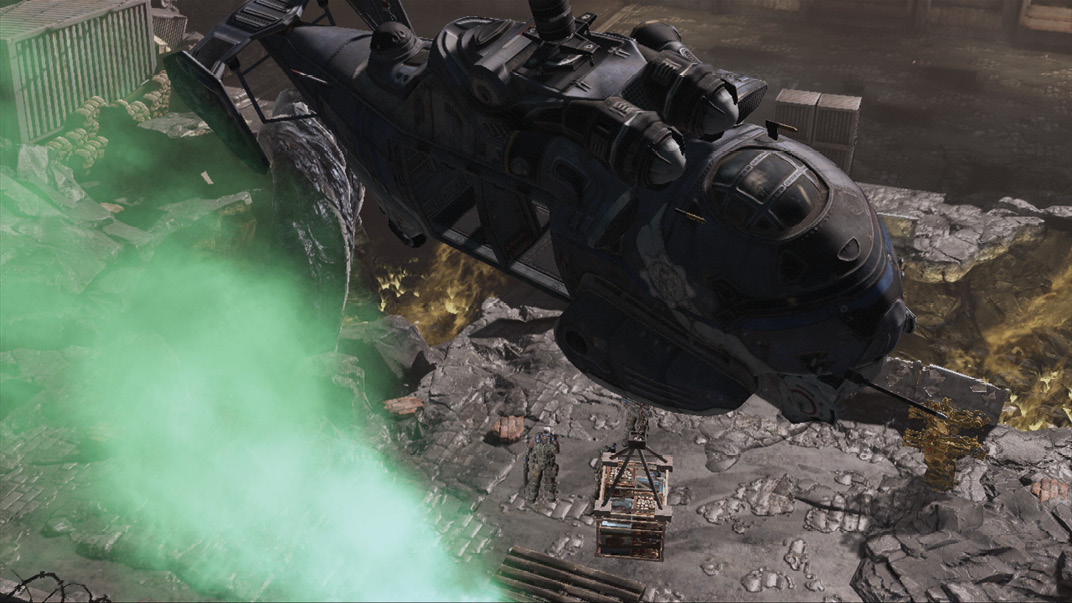
A Raven helicopter has moved into position above a pickup zone and deployed a green smoke signal to mark where you must carry the supplies. The Raven can’t take the Delta Squad with it, but the supplies will certainly be appreciated back on the CNV Sovereign. Little do they know of the Leviathan lurking deep below the ship’s massive hull.
Advance down onto the pavement to lure more Lambent out of hiding. Then park the loader behind cover (or return it to the loading dock) and fend off the Lambent on foot.
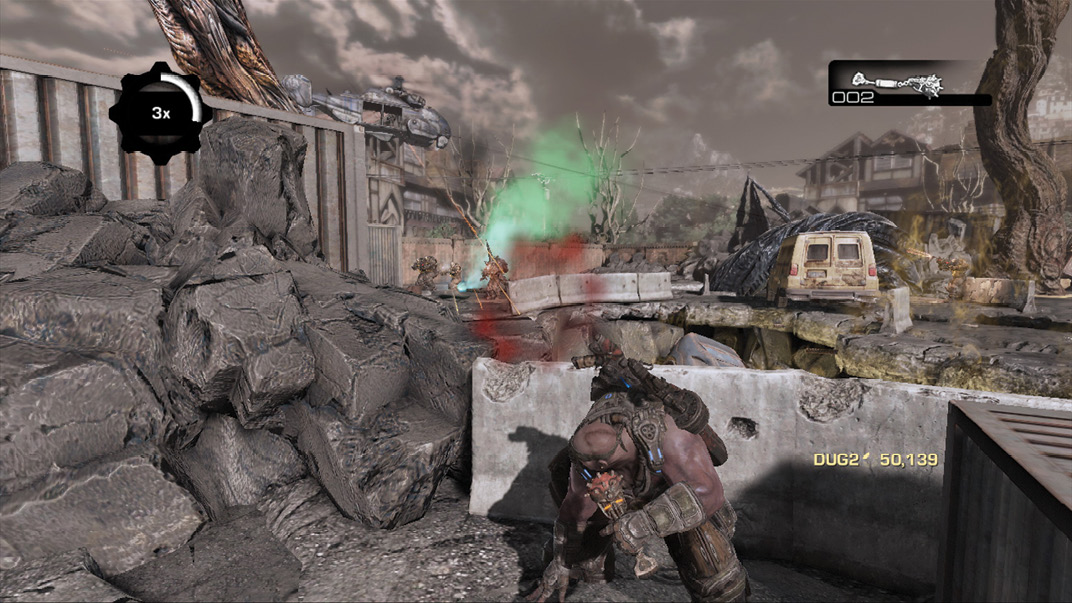
Use the Boomshot and assault rifle to eliminate the Lambent on the parking area’s near side. Watch for another Stalk to emerge on the far left, near the green smoke. Take cover behind the concrete barrier in the corner nearest it. Then lob Frag Grenades across the chasm to kill the numerous Drudges and Dark Drones deploying from the Stalk Pods. Open fire on the Pods to kill the Stalk, and then get back into the loader.
 Use the Loader to Move the Vehicles
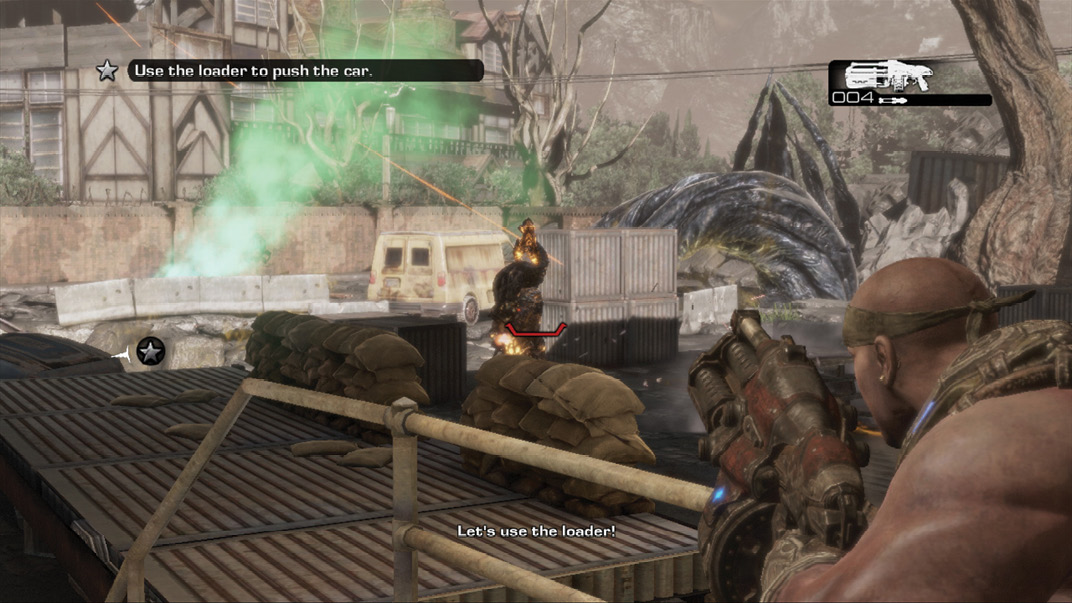
A car and a van block the path to the supply point. Use the loader to knock the vehicles into the chasm to clear a path to the drop-off point. Guide the supplies to the pallet under the Raven. With the area clear of enemies, simply approach the drop-off point to set down the supplies.