
Gears of War 3 Guide Campaign Walkthrough Act 1
Chapter 6: Hanging by a Thread
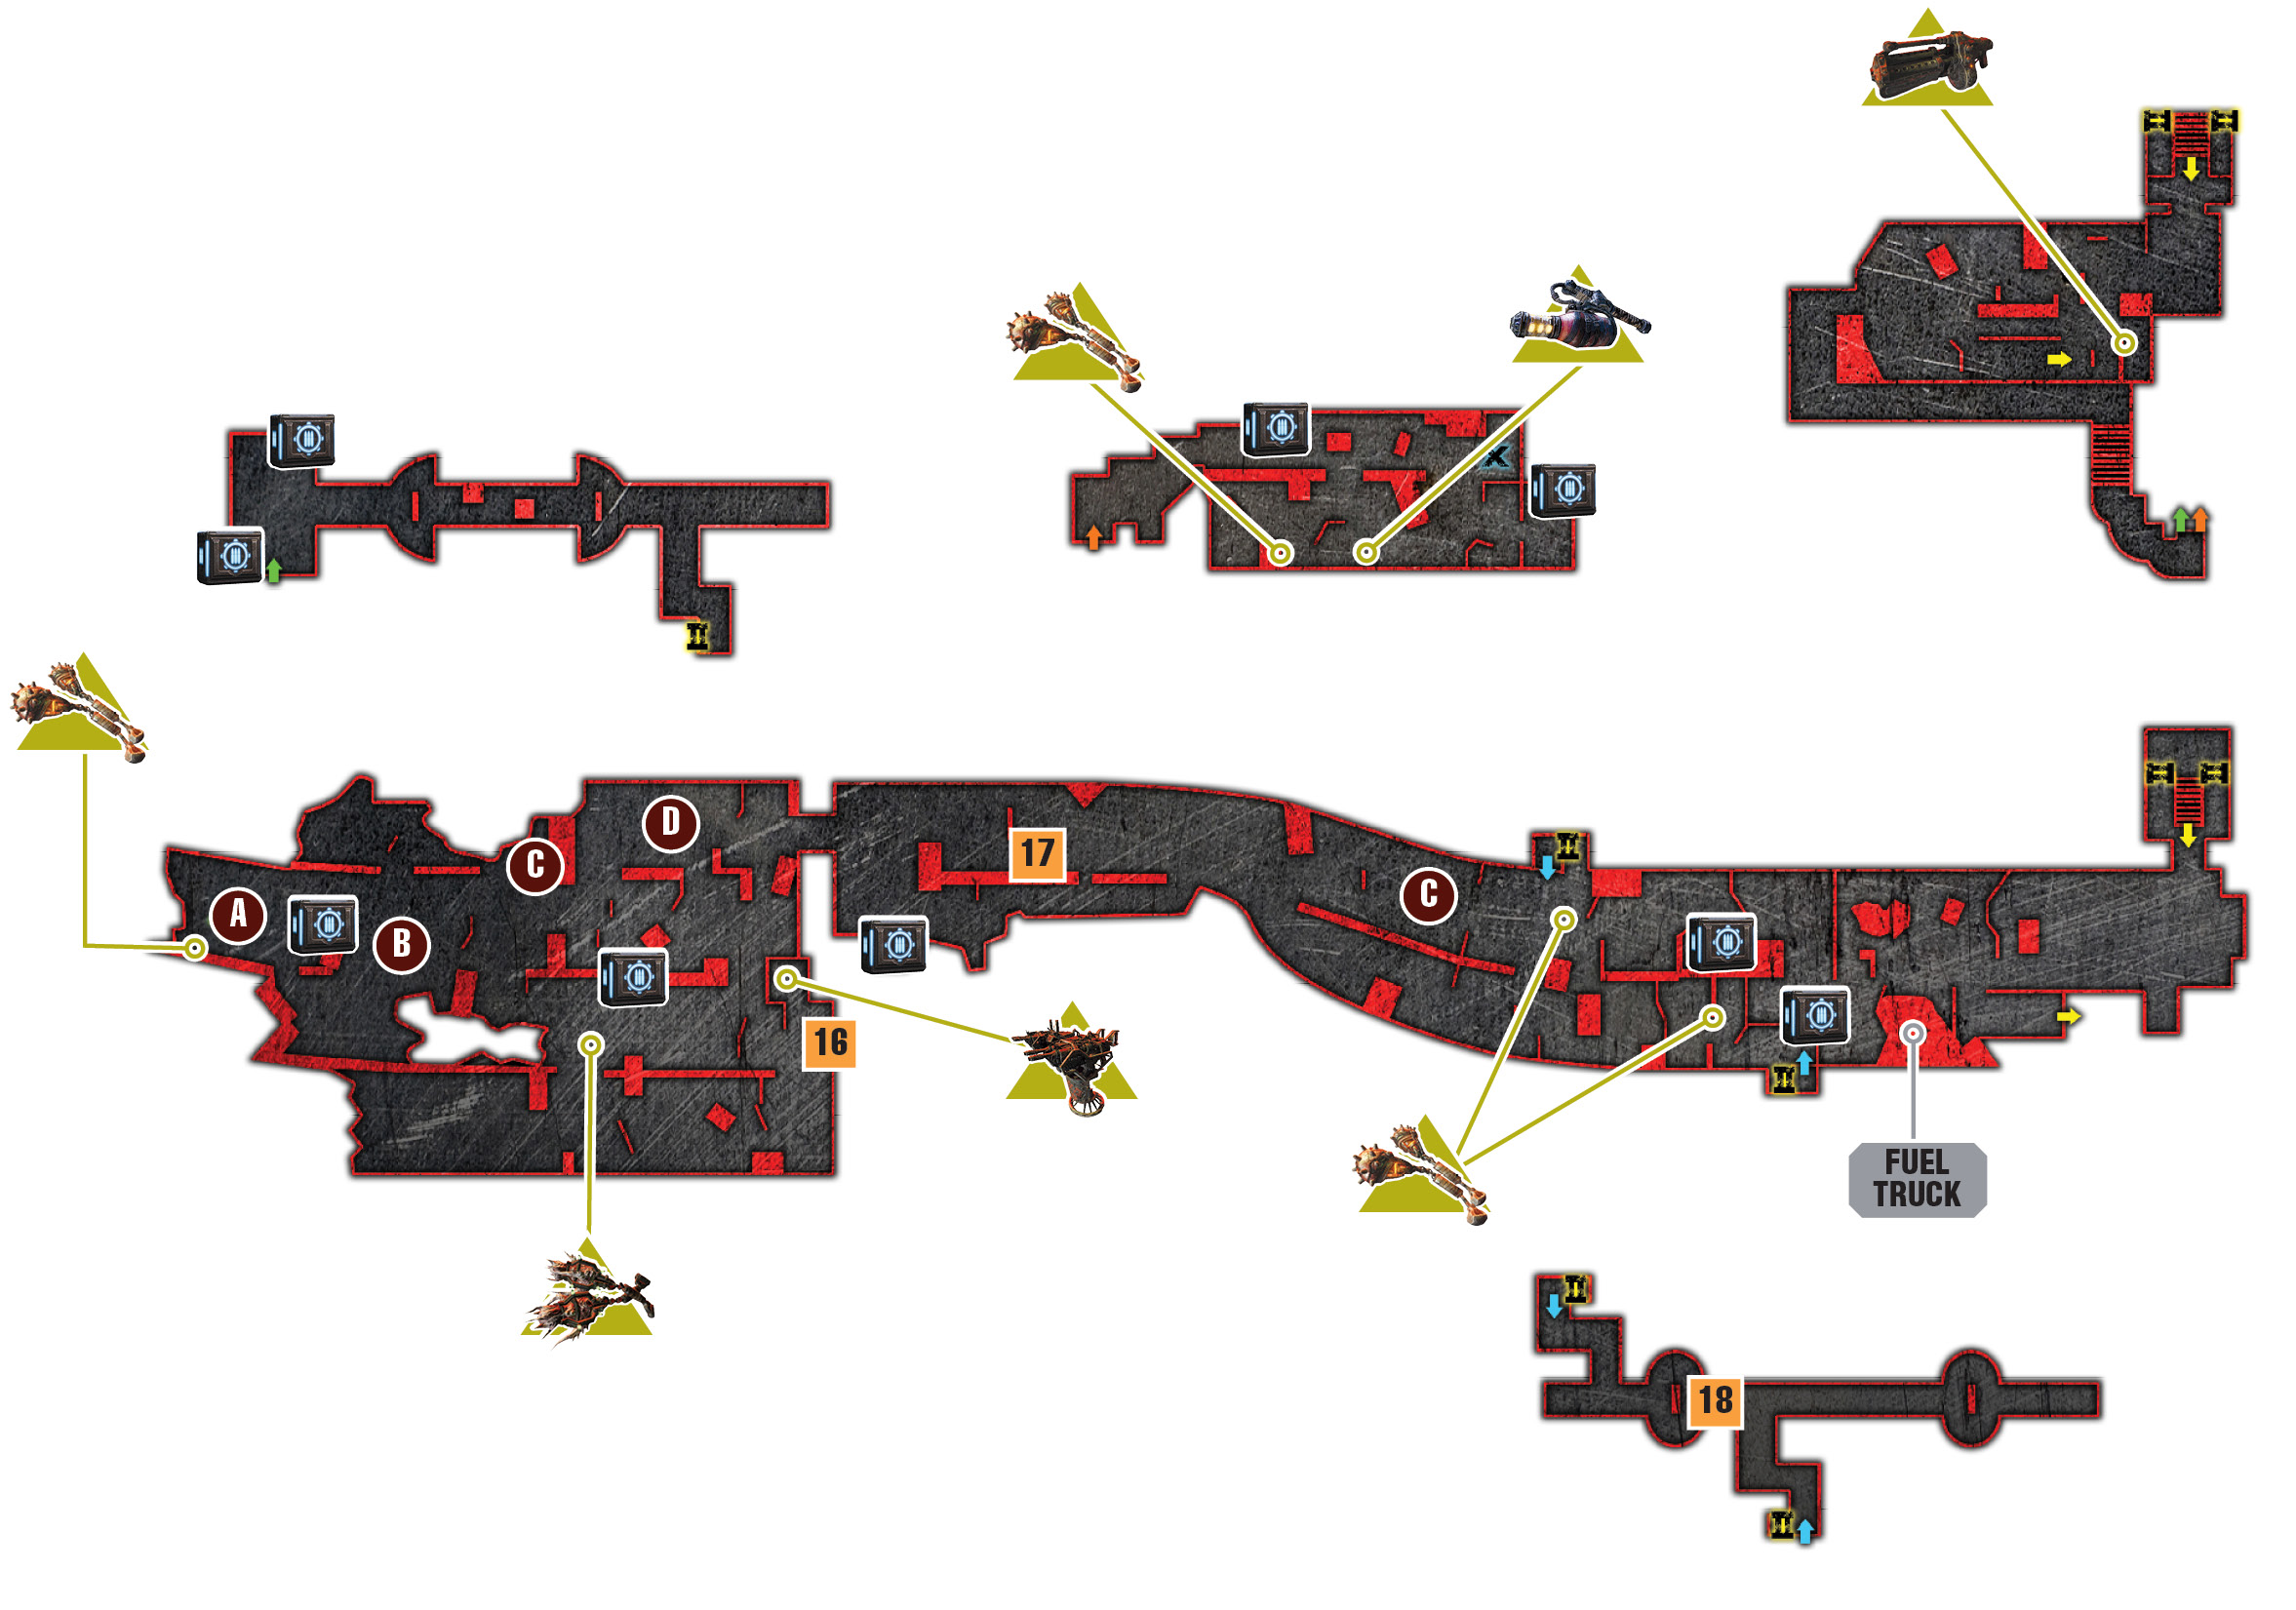
Objectives
Collectibles
|
 Cross the bridge.
 Secure the zip-line landing zone.
 Search the bridge for a Stranded camp.
 Secure the tollbooths area.
 Defeat tickers dropped from upper deck.
 Eliminate the
  Use the Mortar on the
  Locate a Ticker storage area.
 Drop Tickers onto
  Tollbooth Tokens
 Bayonet
 COG Tag
 The Sights of Sera
Cole and the others have reached the top of Hanover Cougar Stadium, but the cable car is nowhere to be seen. Sam finds a few meat hooks that can be used to zip-line down onto the bridge. You have to cross the bridge quickly before the CNV Sovereign down below sails past. With any luck, they can lend Marcus and company a hand with the Leviathan.
Centennial Bridge
 Cross Centennial Bridge
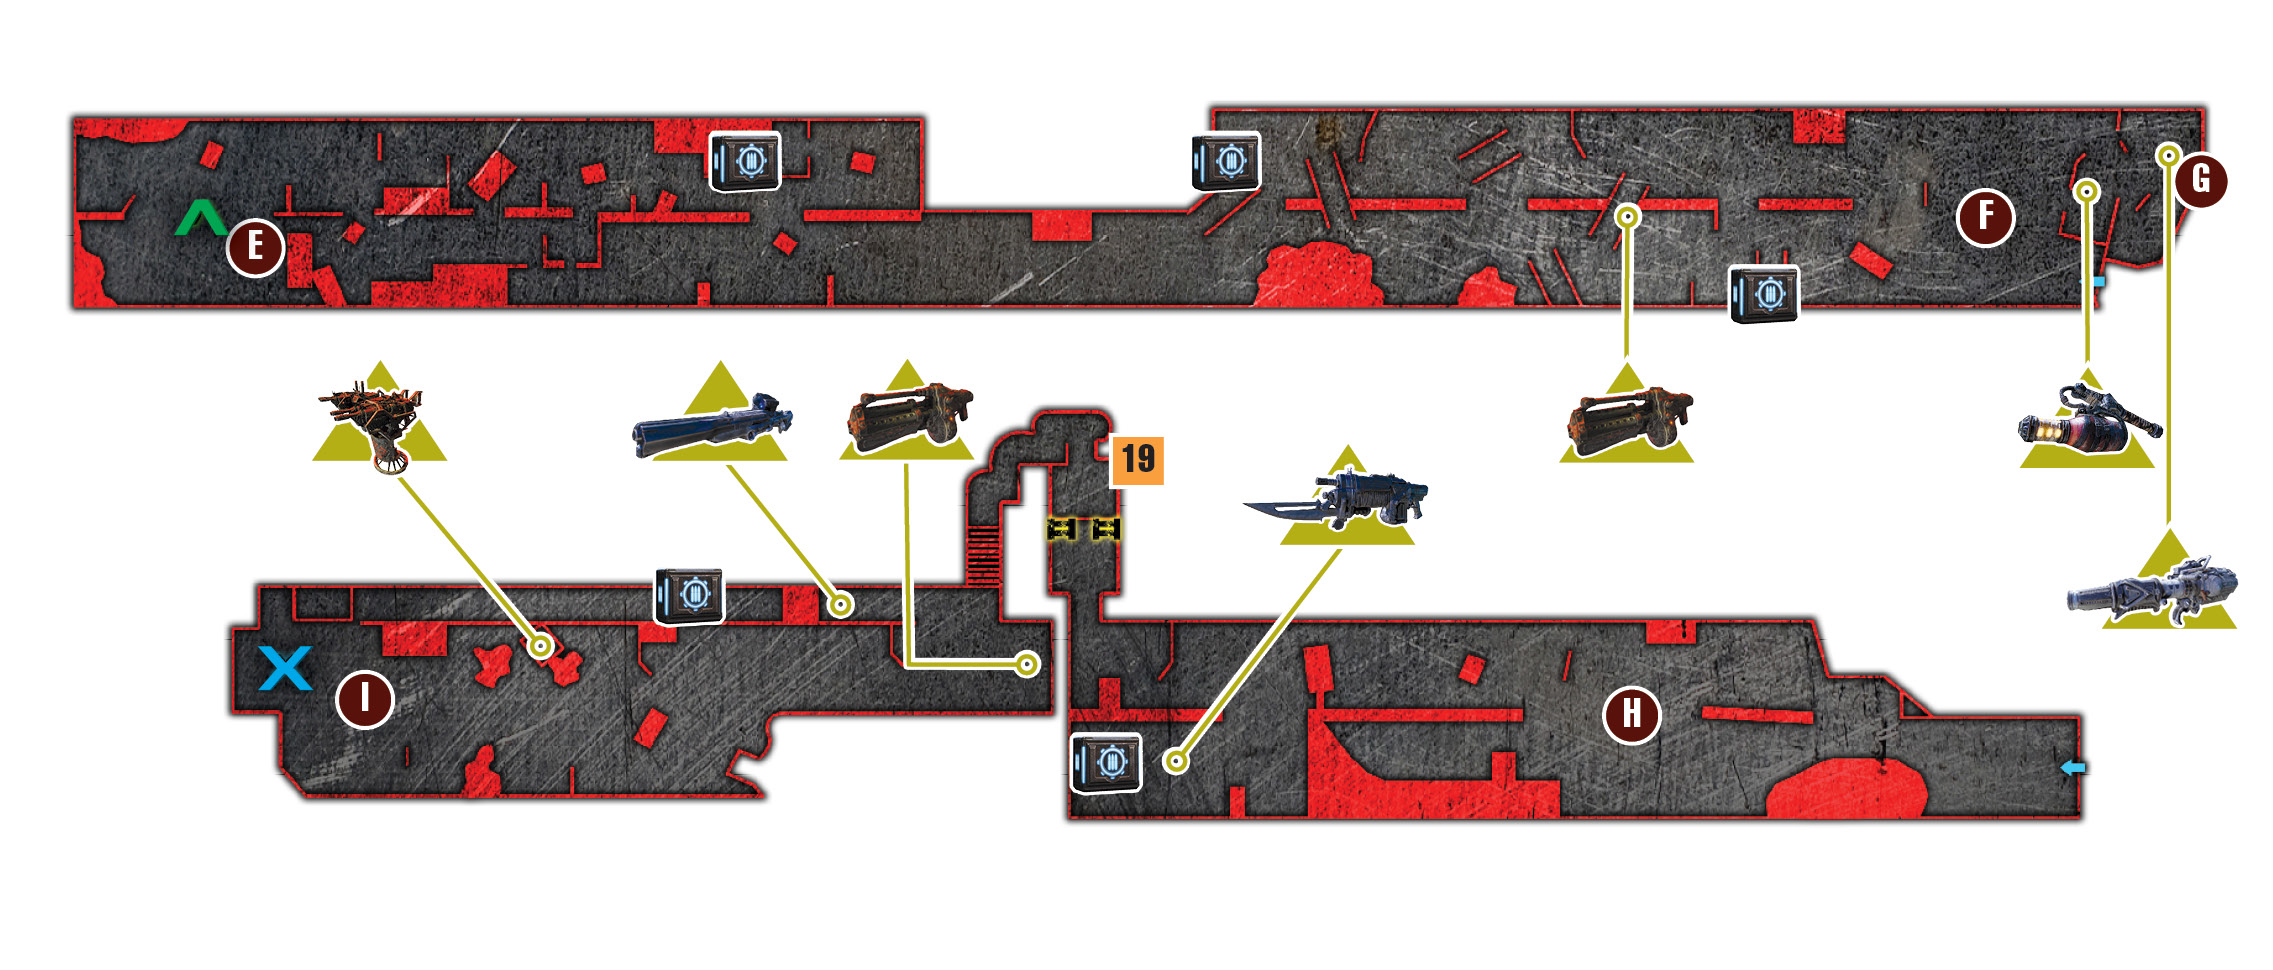
Cole and the others made it to the top of the stadium, but the cable car is long gone. Fortunately, Sam finds some hooks they can use to zip-line down onto the bridge. Use the pistol to shoot the fuel drums on the two balconies to the right, then the ledge to the left. This quickly kills the Drudges in each spot and racks up a number of points for those playing Arcade mode.
 Secure the Zip-Line Landing Zone
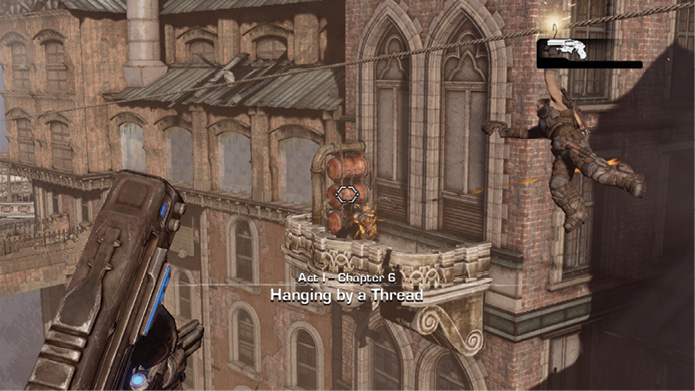
Upon landing, take cover behind the guardrail in the center lane. Wait out the Gunker’s initial Imulsion attack. He has a couple of Drudge with him, so you want to reach tall cover quickly. Lob a Frag Grenade at the Gunker, then run in the opposite direction to find extra Frag Grenades. Advance along the bridge’s left side and take cover behind the blue dumpster on the left. This offers excellent protection against the Gunker and Drudges. Use the Boomshot from the stadium to take out the multiple Drudges and Gunker while squad mates advance along the road’s right side. It’s okay to use up the Boomshot ammo here, but save at least one Frag Grenade.
 Search the Bridge for a Stranded Camp
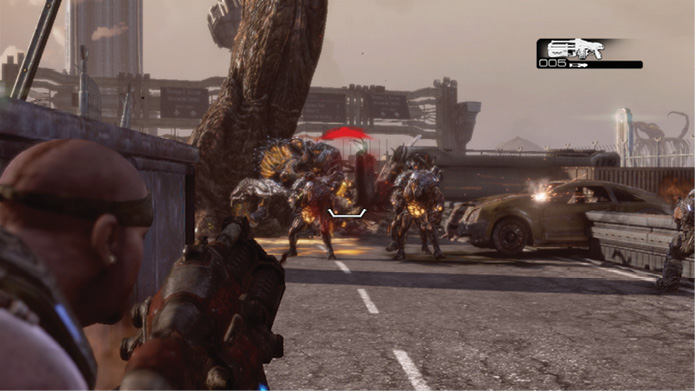
Gather ammo and advance along the bridge’s left side, toward the barricade up ahead. It may have been a Stranded camp once, but now it’s infested with Locust. And it’s very well enforced.
 Secure the Tollbooths Area
|
 CO-OP TACTIC
Roadie Run into cover, and use the Boomshot or a Frag Grenade to take out the Locust manning the makeshift Multi-Turret in the center tollbooth. This is your first priority, but don’t leave your head exposed for long—Snipers are nearby!
Now use the Boltok or Hammerburst to take out the Sniper up above it to the left. Three more elevated Snipers and Grenadiers are to the right, and one even has a OneShot. Use the taller cover directly in front of the center tollbooth, and pan across the structure on the bridge’s right side to look for more enemies.
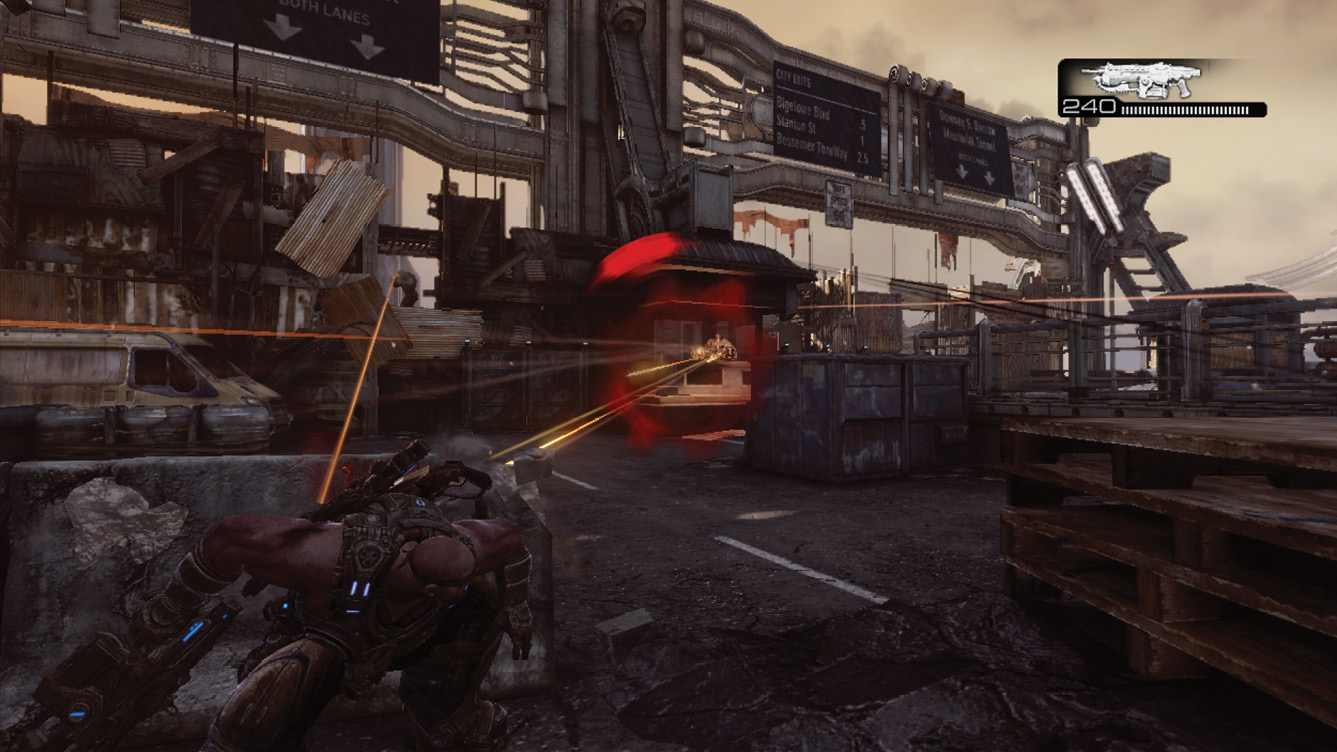
Several other Grenadiers attack from the right. Mow them down and advance slightly closer to the tollbooth, remaining in cover.
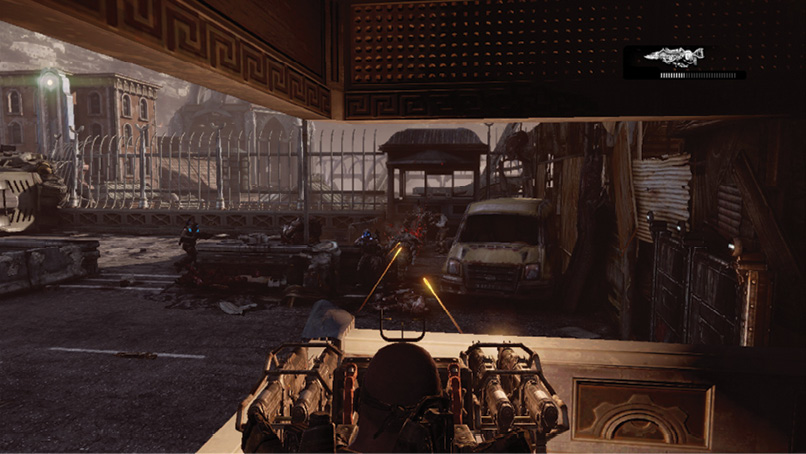
Moments after you kill these left-hand enemies—and Baird is done talking—the gate on the left opens, and a pair of Boomers, numerous Grenadiers, and a Butcher march in. Quickly man the Multi-Turret in the middle tollbooth and open fire. There may be a Grenadier in the leftmost tollbooth as well, though not with a turret. The gun has surprising power and a very high fire rate, but its accuracy leaves a lot to be desired. Fortunately, the targets are quite big. Fill them full of lead to finish securing the area.
 Cross Centennial Bridge (Cont’d)
Continue ahead, down onto the bridge’s lower deck. Multiple Grenadiers are down below, near makeshift fortifications and shacks. This is a good spot to use Incendiary Grenades and to collect Hammerburst or Retro Lancer ammo, along with some Frag Grenades. It also presents an exceptional opportunity for devious flanking maneuvers!
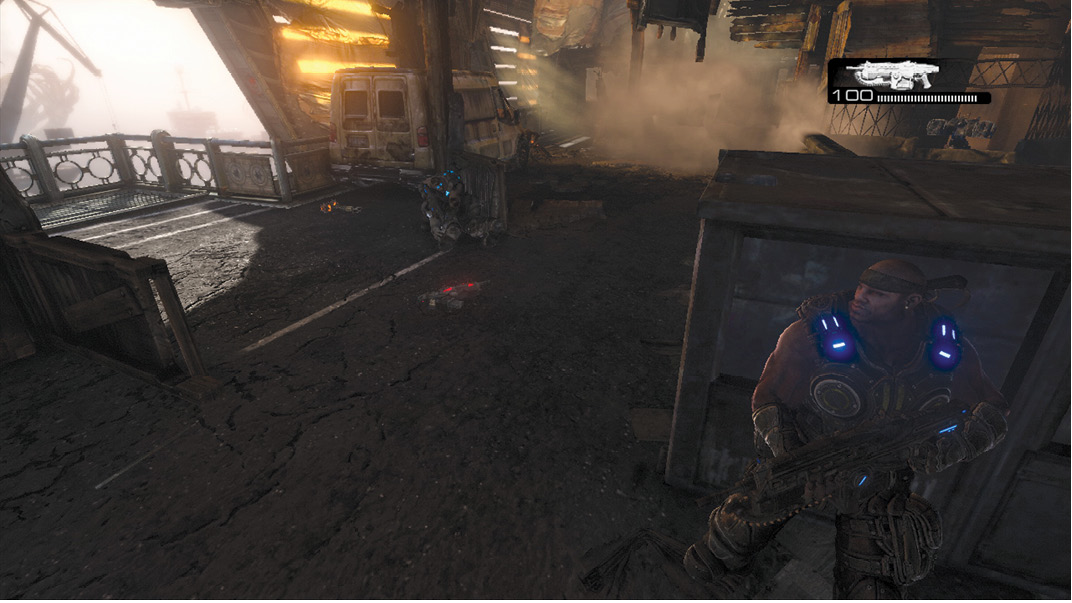
Listen for one of the COGs to yell out a flanking order—this is your cue to head left, past the white van, to a ladder on the edge of the bridge. This ladder leads down to a catwalk below. Follow the catwalk past the COG Tag, to the ladder up ahead on the right-hand side. Climb the ladder to sneak up behind the Locust near the Multi-Turret on that side of the road.
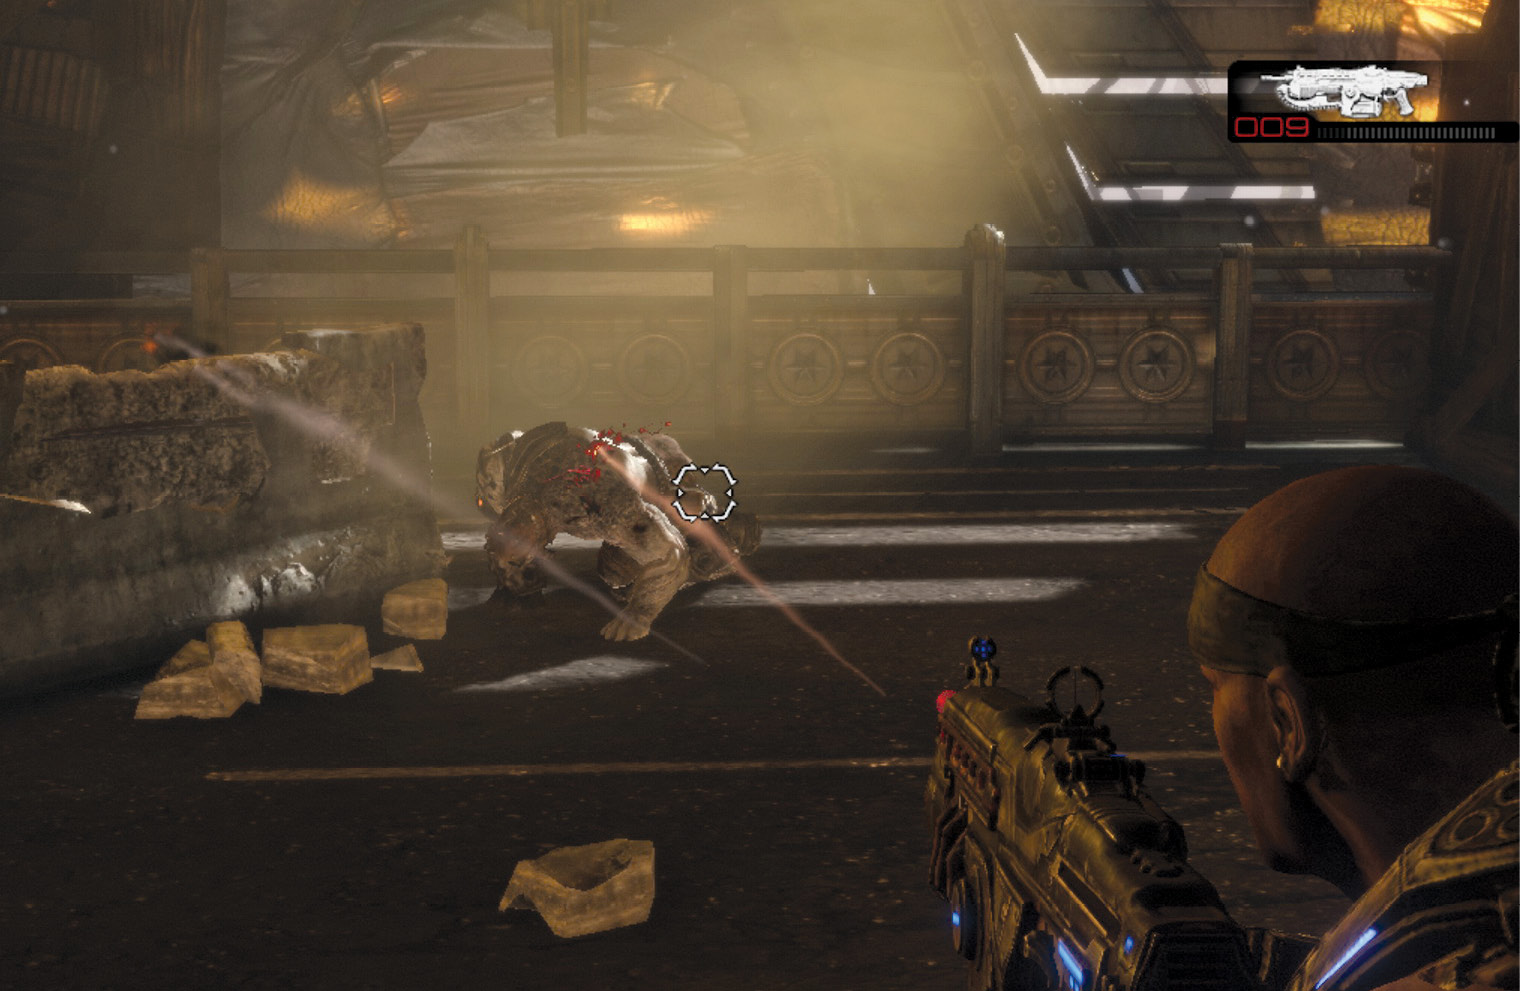
A number of Tickers attack as the group passes the shacks to the left. Your first concern should be the Grenadier on the Multi-Turret to the left. Carmine may take him out with the Torque Bow, otherwise use a Frag Grenade. Take cover, hang back, and use the assault rifle to eliminate the Tickers before they get too close. If you have a remaining Boomshot rocket, hold onto it!
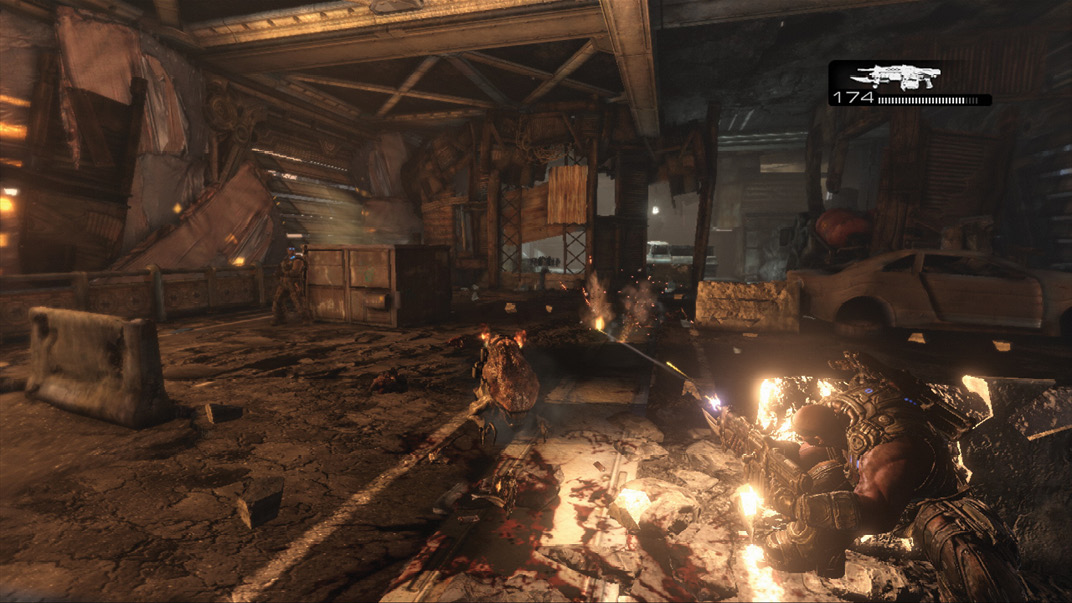
It’s time to head back up to the upper bridge deck, but there are two ways. One way is to climb the ladders at the end of the lower deck. The other way is to detonate the large fuel truck on the right; the explosion drops a ramp-like section of the upper deck and provides a shortcut to the top.
Rush up the sloping road surface and quickly take cover behind the concrete barrier. Use the Boomshot to eliminate the Boomer down the road on the left. Switch to the assault rifle or Boltok, wait for your squadmates to join you, and then sweep the area of Grenadiers.
Slip through the razor wire beyond the Locust on the road. Follow the outer walkway to where the decking begins to crumble. Enter the side room, and descend the ladders to where Cole directs the team to split up.
Split Path: Catwalk
Choosing the lower path requires Cole to fight alongside Sam on the catwalk below. Several Grenadiers are in the distance, on the catwalk’s center. Take cover behind the barrier before you pass the wooden crate, and use the Boltok to headshot the Grenadiers as they raise their heads.
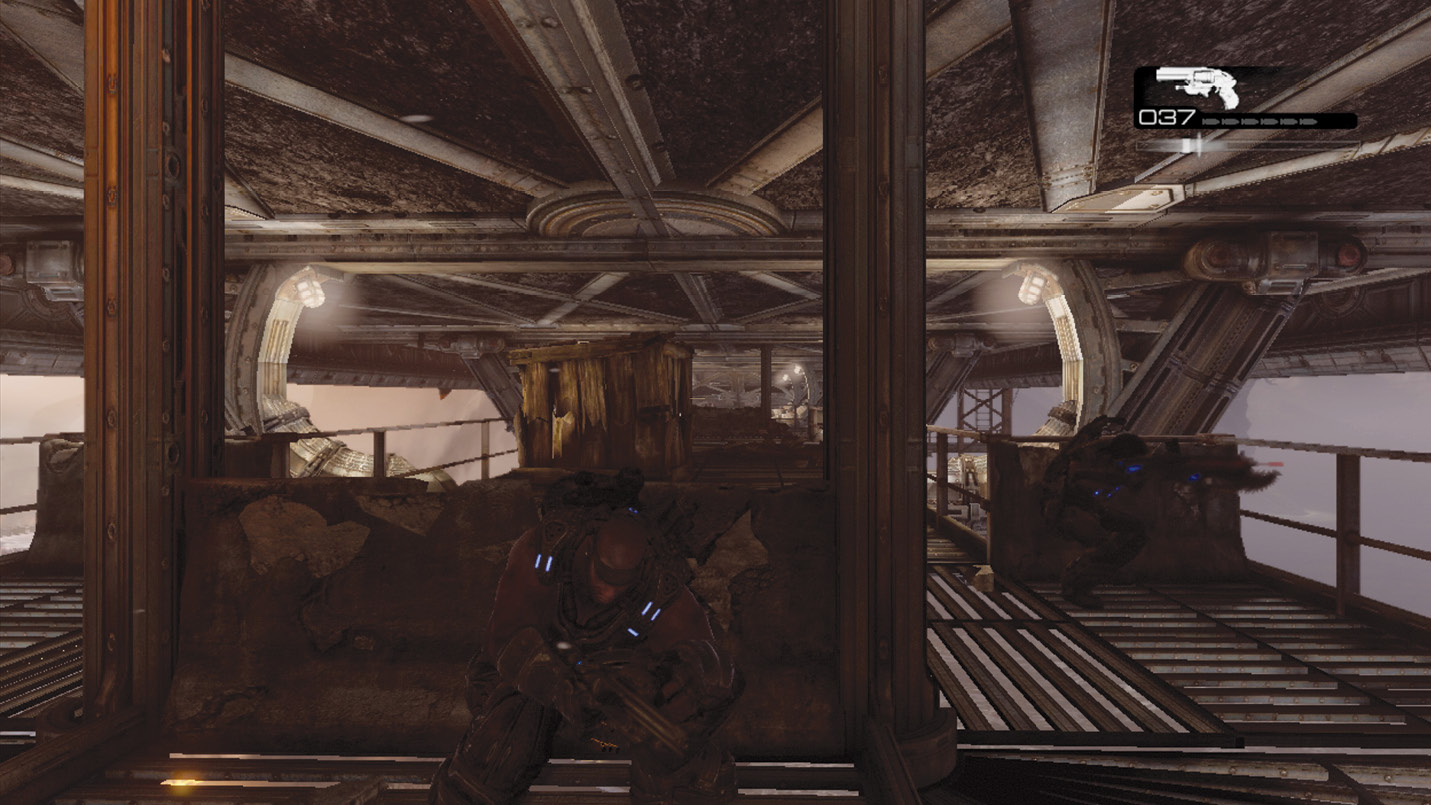
Climb the ladder on the right to assist Baird and Carmine on the deck above. Cole and Sam ascend to a point that offers a great opportunity to flank the enemies above. Gather the ammo, reload your weapons, and continue past the gate.
Split Path: Lower Deck
Grenadiers armed with rifles as well as Incendiary Grenades heavily reinforce the area straight ahead—don’t underestimate their aim with the grenades. Approaching them head-on can be quite dangerous.
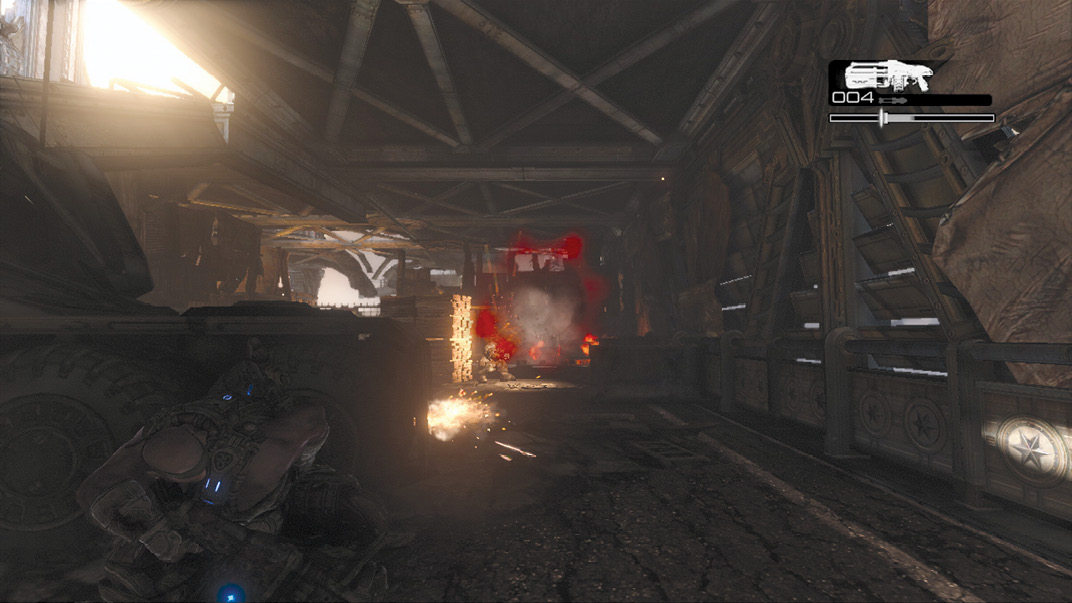
It’s much better to flank around to the right and take cover behind the large truck’s wheels. This gives you a clean shot at the Grenadiers and Grunts without being exposed to grenade tosses. Hold them off while you can to buy time for Baird and Carmine to climb the ladder on the right and flank them.
 Defeat Tickers Dropped from Upper Deck
A large container falls, dropping Tickers onto the road up ahead. Keep your distance and use the assault rifle to pepper the Tickers with shots. If you’re using a Retro Lancer, it’s important to pulse the weapon. Otherwise, you spray a lot of bullets and don’t necessarily hit any of the Tickers. Tickers move fast and get in close to detonate. Immediately roll away if the Ticker stops and begins to shudder; this is the sign that it’s about to explode! Ascend the fallen road surface on the right to return to the upper deck—the COGs must traverse the upper deck to bypass obstacles on the lower level.
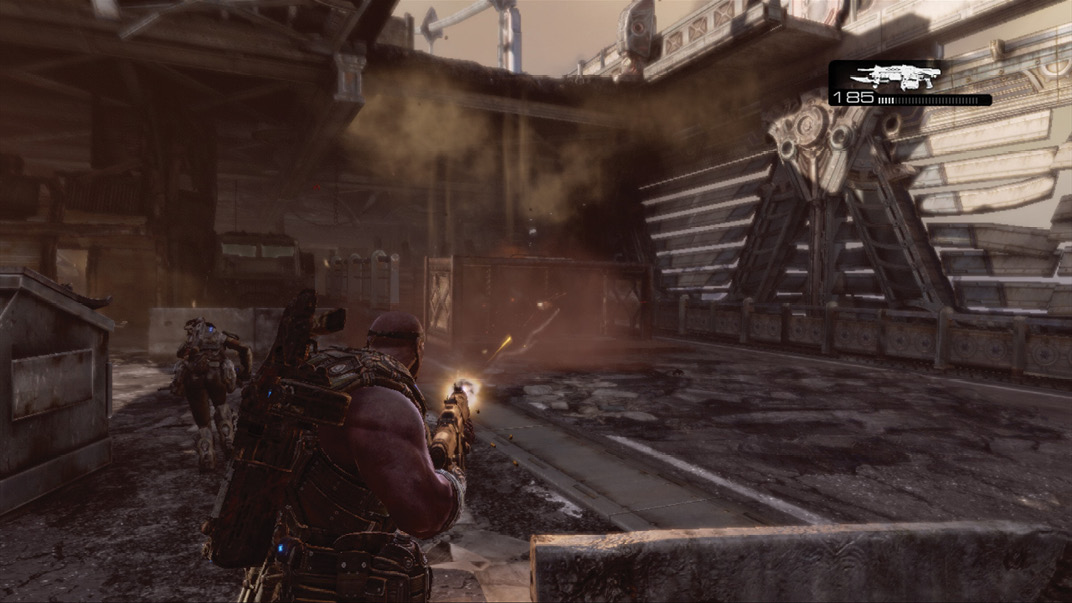
 Eliminate the Locust Mortar Crew
A group of Locust far in the distance showers the upper road deck with random mortar fire. Fortunately, several red shipping containers are scattered throughout the bridge deck. Use them for cover as you advance on the Locust position.
Stay on the road’s left side, as the center median blocks access from the right beyond the second container. Duck in and out of the containers and wait for explosions to stop. Then Roadie Run and dive into the next container for safety. If you get downed, crawl into a container and wait to be revived.
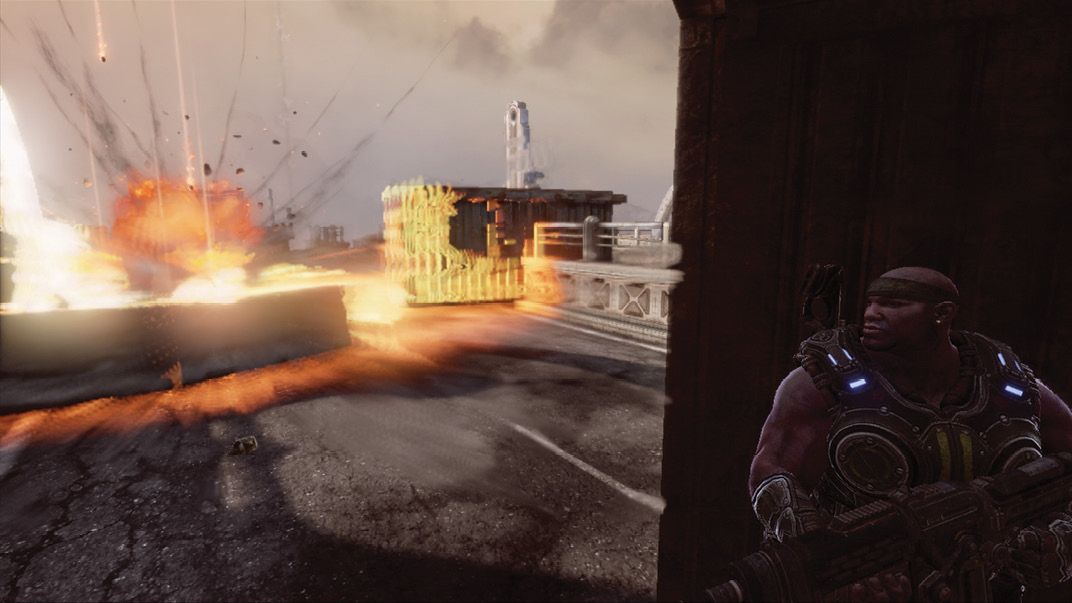
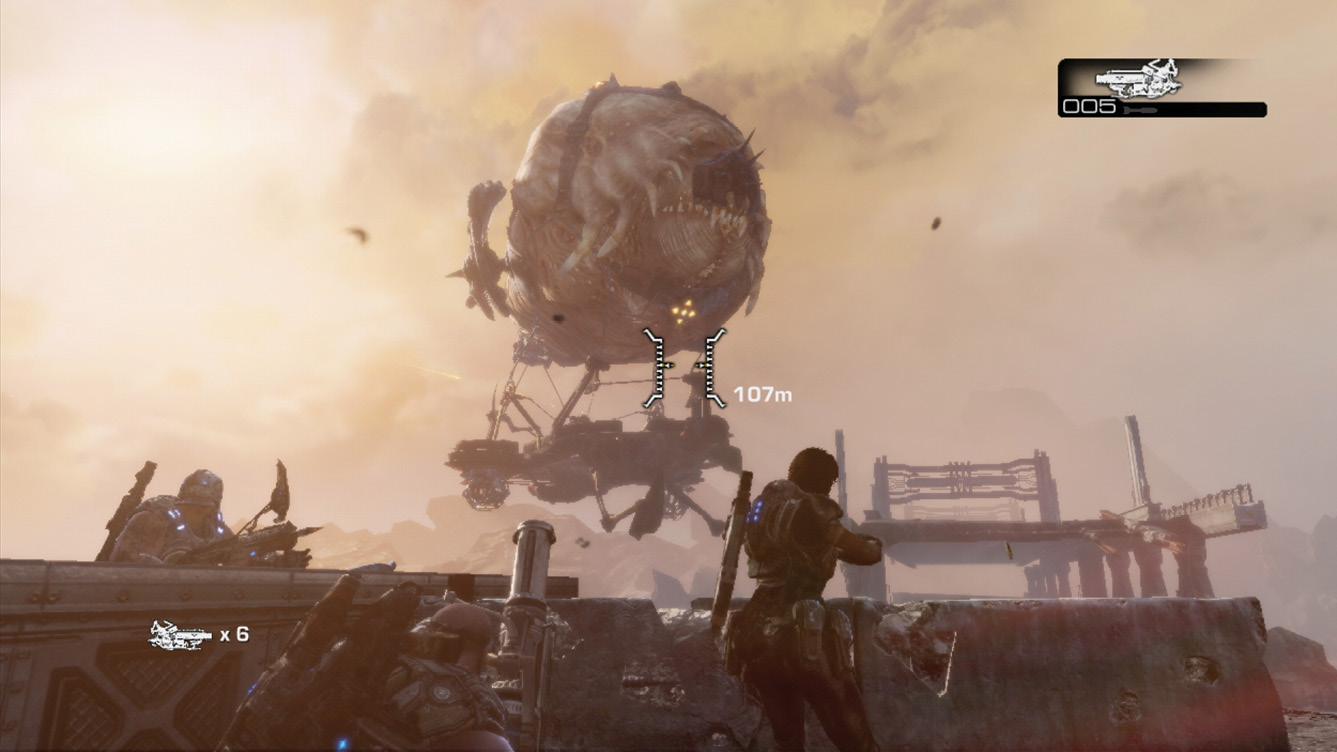
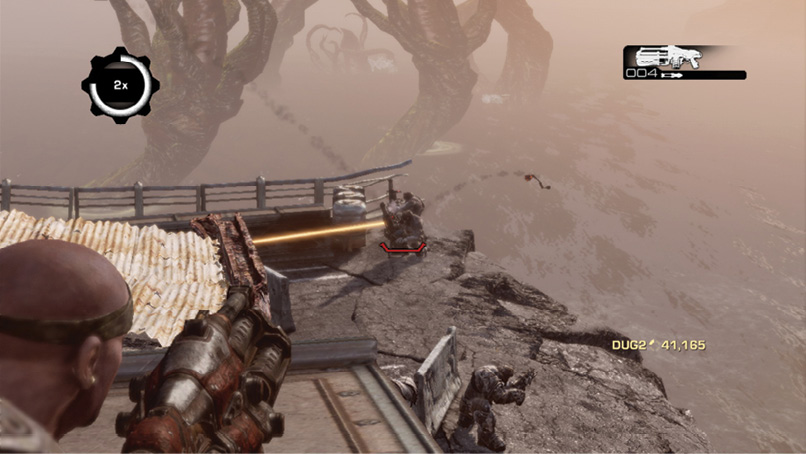
Equip the Boomshot you find in the third container, exit on the left, and sprint to the fourth container for cover. Exit the fourth container and run at an angle to the right, sprinting along the outer sidewalk to where it sticks out beyond the collapsed portion of road. This offers a tremendous vantage point from which to attack the Locust down below. Use the Longshot you found earlier or the Boomshot from the container to take them out.
|
 Use the Mortar on the Locust Gas Barge
Descend the collapsed roadway to where the Locust were, and pick up the Mortar. A Locust Gas Barge is approaching from the left.
The Gas Barge has heavy weaponry, including mortar fire. Quickly duck for cover near the concrete barrier and fire the Mortar at the barge. Don’t max out the range, as the Gas Barge is closer than you think. Just make sure to pull back on the controls (unless your controls are inversed) to aim steeply so the Mortar doesn’t sail low. The goal is to rain mortar fire down onto the Gas Barge from above.
 Locate a Ticker Storage Container
The COGs have come to a dead end, but fortunately the Gas Barge succeeded in creating a ramp back to the lower level. Pick up the Boomshot at the slanted walkway’s base, but save it for topside. The only way to continue is via the lower deck, but cars and holes in the bridge surface block the way. That is, until the Leviathan’s tentacles smash through the bridge and knock aside the cars!
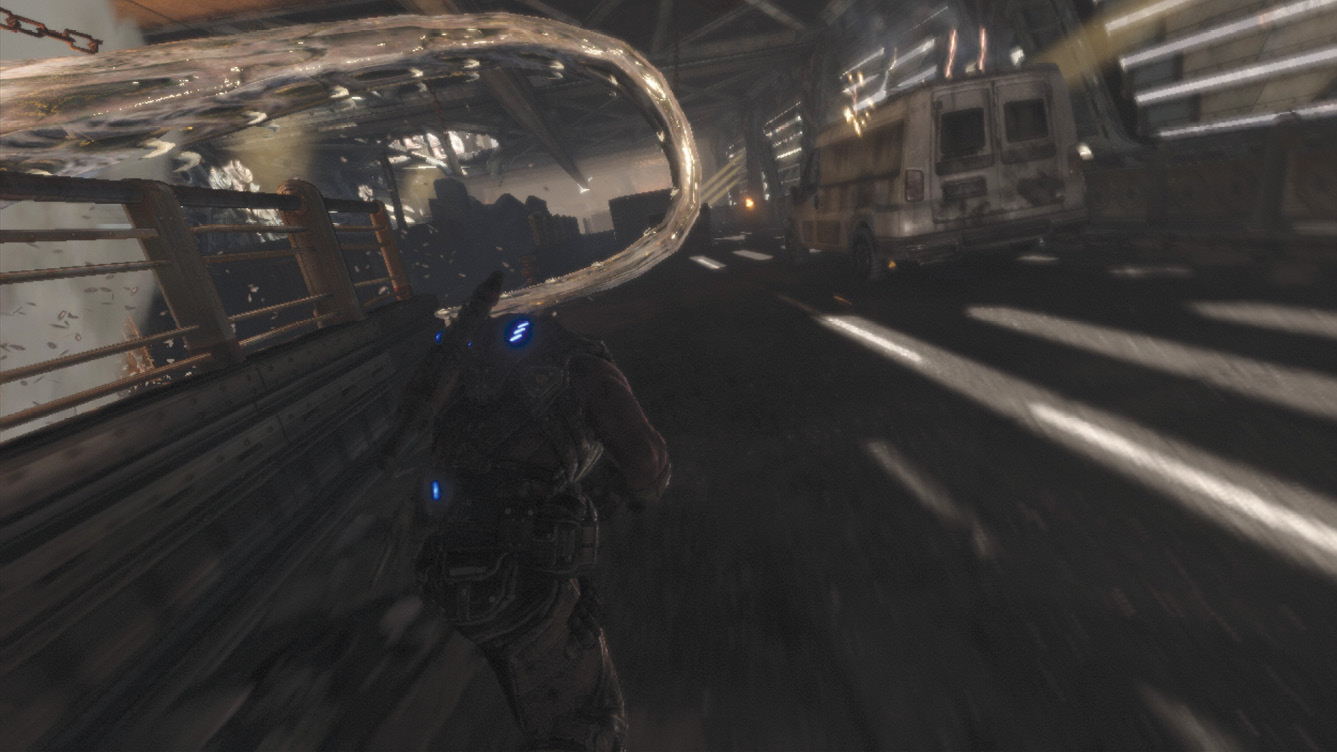
The tentacle may clear the way for the COGs to advance, but tentacles bring Polyps! Have your assault rifle ready, and fire rapidly at the Polyps. Advance slowly and let the squad take the lead, or at least walk alongside them. Most of the Polyps scamper around to the right, while others leap over the crate. Defeat the Grenadiers ahead, and use the ladders in the distance to return to the upper deck.
Locust protect the final stretch of bridge between the COGs and the crate of Tickers. Though it’s dangerous, this actually gives the COGs multiple ways to proceed.
For starters, a Boomshot is on the far left as soon as you walk up the steps from the sidewalk. A Longshot is also on the walkway to the right. Use either weapon and advance along the left side, past the gap in the road. Mantle the barrier, and kill the Locust manning the Multi-Turret inside the hut. Detonate the fuel truck across the bridge to take out any Locust in the area—one may even have a OneShot. Then use the Multi-Turret to clear out the others.
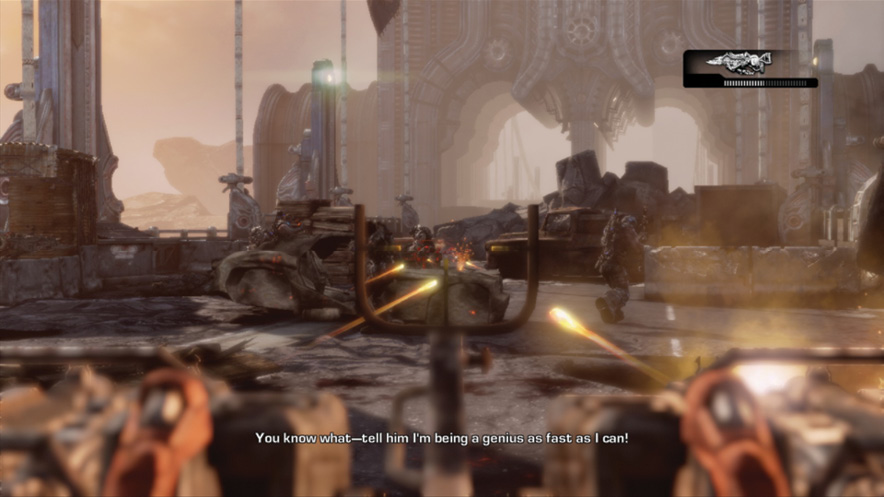
Alternatively, you can flank around to the right and sneak up behind the enemy inside the shack with the Multi-Turret. Kill him, and then use the Multi-Turret or Boomshot to detonate the fuel truck parked next to the enemy with the OneShot. Be fast about it, though, as you don’t want the Drone with the OneShot getting a bead on you!
 Drop Tickers onto Lambent Leviathan
As you near the crate of Tickers, another batch of two to four Locust bursts onto the scene from behind. Mount one of the turrets that you freed and take them down.
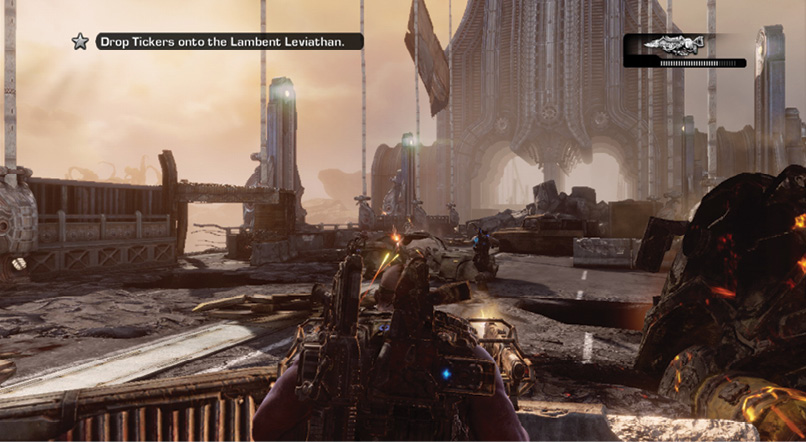
The Ticker container is just ahead on the bridge’s right-hand side. Marcus and the others have lured the Lambent Leviathan to the ship’s bow, directly under the center of the bridge. Approach the container and give it a kick to pour dozens of Tickers down onto the Leviathan.