
Gears of War 3 Guide Campaign Walkthrough Act 5
Chapter 3: Shattered House
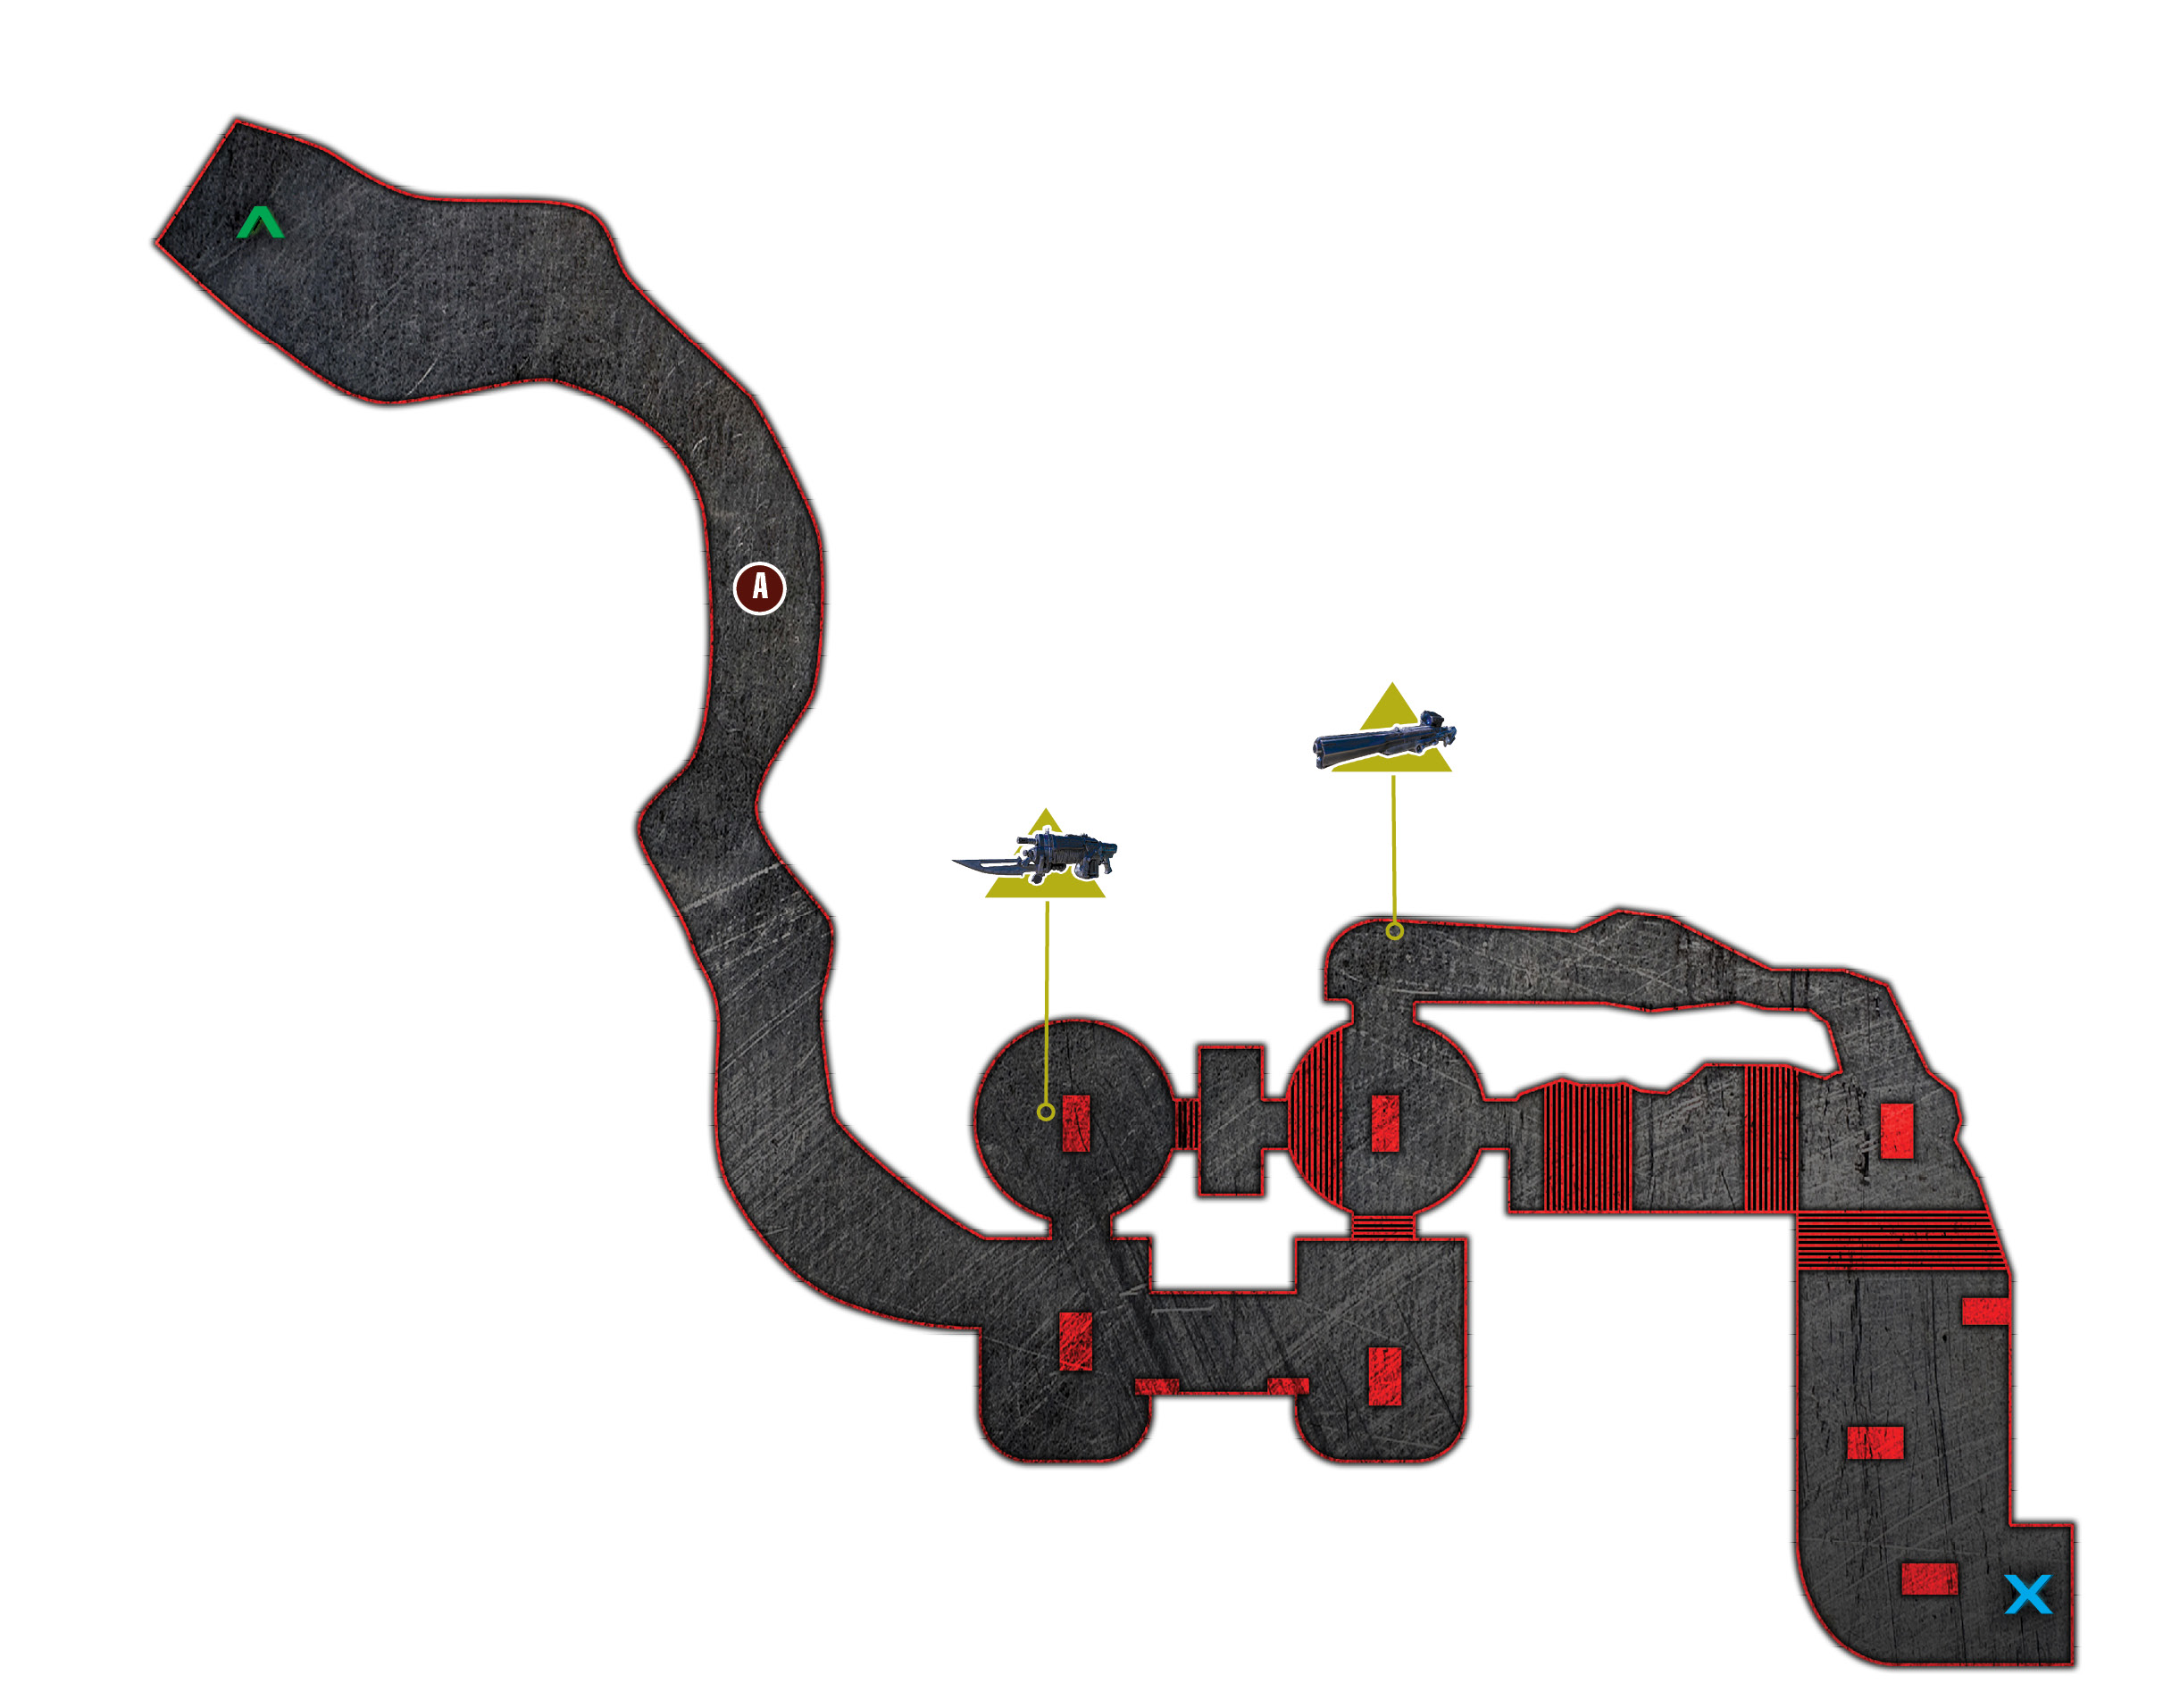
Objectives
Collectibles
|
 Get to Azura Tower.
 Use the Siege Beast to destroy the Gas Barges.
 Locate and destroy the remaining Siege Beast crews.
 Eliminate the Siege Beast crew.
 Use the Siege Beast to breach the dam.
 Eliminate the final Siege Beast crew.
 Use the Siege Beast to destroy the Gas Barge.
 Money Stack
 Diary
Diary COG Tag
The meltdown at the cooling tower successfully disabled the Maelstrom. Cole, Baird, and a squadron of Raven reinforcements reached the island safely. Reunited for the first time since Anvil Gate, Delta Squad’s surviving members are left to push up the Azura coast to the luxurious resort compound and begin the search for Adam. Anya joins the three men, somberly taking the place of their fallen brother.
Kill the Grinder with the explosives and pick up the fallen Mulcher. Carry it around the bend to the left, take cover at the end of the benches, and hold the Aim Weapon button to place the Mulcher atop the benches. This gives you excellent range. It also allows you to fire straight ahead into the cave or pan down to the right, to the larger plaza near the vine-covered pillars.
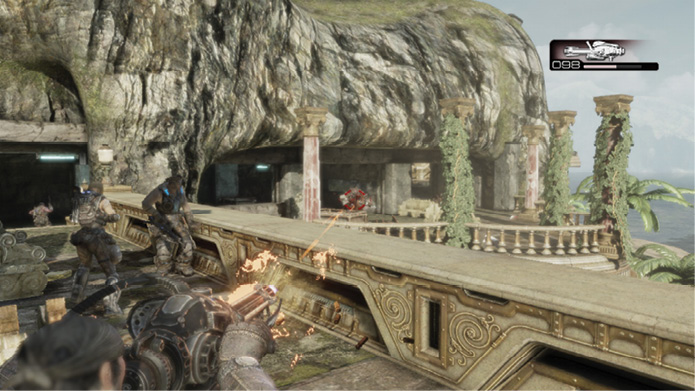
Continue to the tiled plaza protruding from the mountain. The stairs to the right lead past several Palace Guards, but you can wind your way through the cave-like bunker to the left to flank them. This literally spits you out right behind them! Drop a Frag Grenade down the stairs to clear a path for the rest of your squad.
Proceed up the stairs toward the Siege Beast and lay waste to the remaining Palace Guards and Maulers that attack. Use the benches for cover and quickly make your way to the Siege Beast, as enemies continue to arrive on the scene for quite some time.
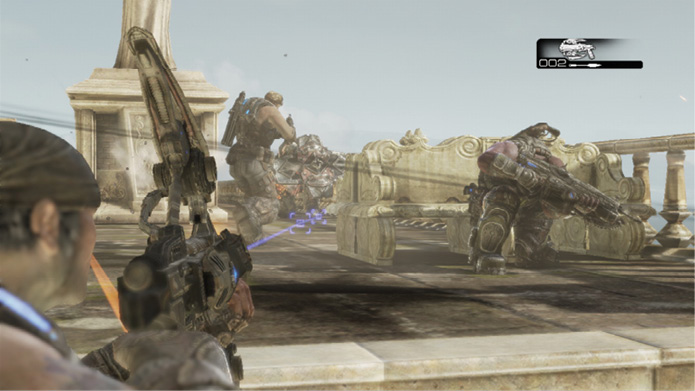
 Use the Siege Beast to Destroy the Gas Barges
Man the Siege Beast’s controls. Beware—the Siege Beast’s front end bites. Aim at each of the three Gas Barges flying overhead. They’re making the skies very dangerous for the choppers, so you must take them down.
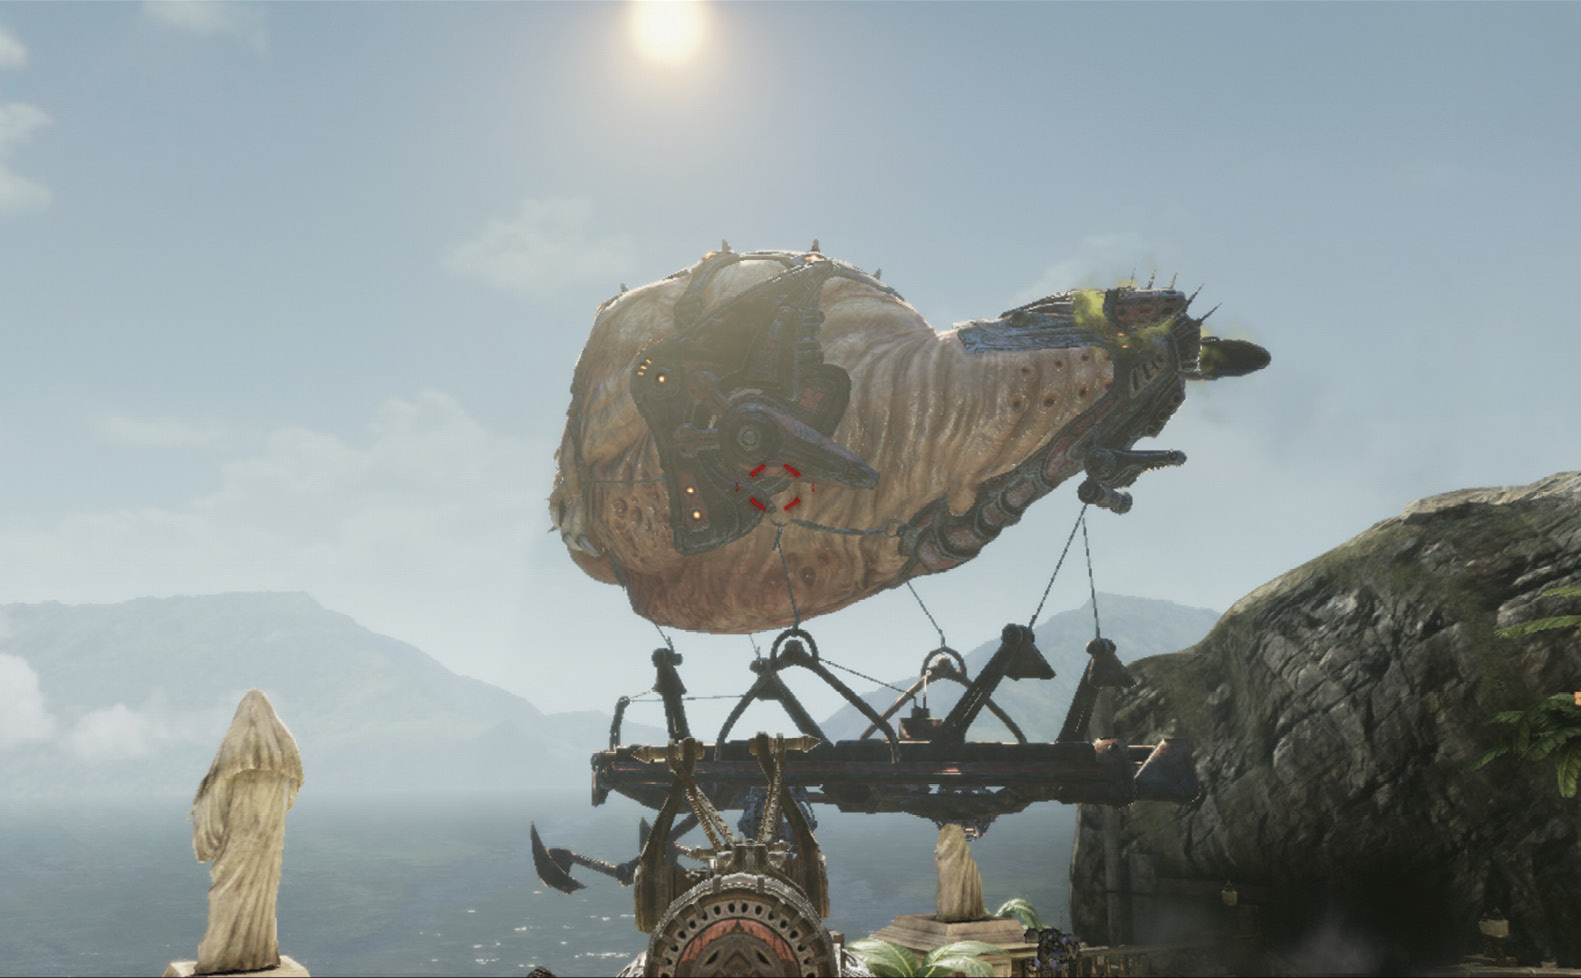
Aim the targeting reticle at each of the Gas Barges and fire when it turns red. Three shots, three direct hits, mission accomplished!
 Locate and Destroy the Remaining Siege Beast Crews
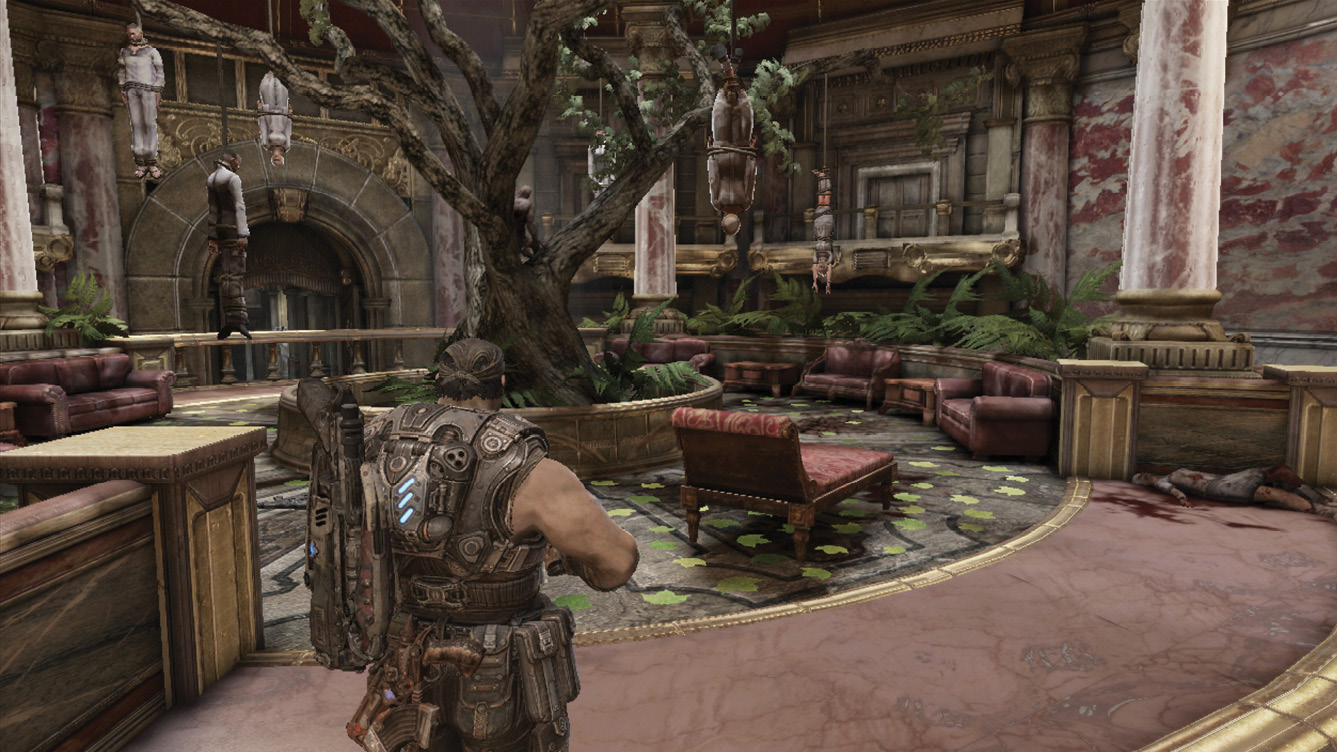
You must dispatch two more Siege Beasts before the Ravens can get any closer. Move inside to the reception area’s lengthy entrance hall. Soak up the blood-stained opulence, and weave around the furniture and planters as you proceed to the lobby.
Enter the lobby with the dead civilians hanging from the tree. Circle up to the sitting area beside the tree. Load up on ammo and weapons before you exit the other side of the lobby. The second of three Siege Beast crews is just outside the door, to the right.
 Eliminate the Siege Beast Crew
The squad exits the lobby onto a circular terrace near a dam. The second Siege Beast crew is immediately to the right. However, the only way to get there is to loop up and around to the left in a lengthy clockwise walk. Take a moment to headshot one of the Locust near the Siege Beast. Then hurry into cover near the bridge to the left. Take out the Palace Guards atop the bridge. Then continue past the statues to the Palace Guard rappelling down from a Gas Barge in the distance.
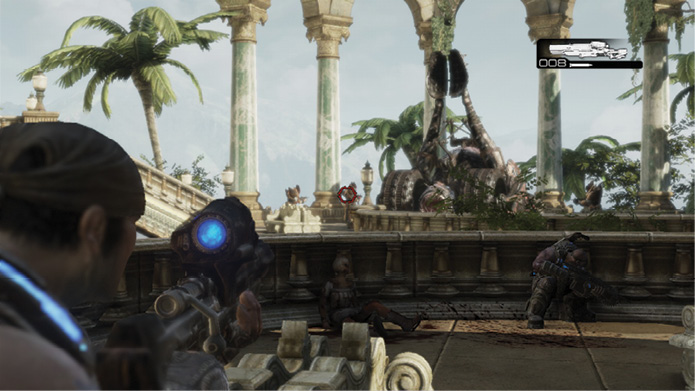
Stay in cover to avoid the Gas Barge rockets. Continue to rely on the dropped Longshot, along with the Torque Bows and Hammerbursts from the Palace Guards, as your weaponry for this assault. Finish off the Palace Guards en route to the Siege Beast, and mount the controls.
 Use the Siege Beast to Breach the Dam
Two Reavers set down atop the nearby rooftops, one to the right and one on the left. Take out the Reaver on the left first, then watch as two Siege Beasts move into position directly ahead, flanking the dam. The Gears’ only option is to use the Siege Beast to destroy the dam and wash the Locust off the cliff.
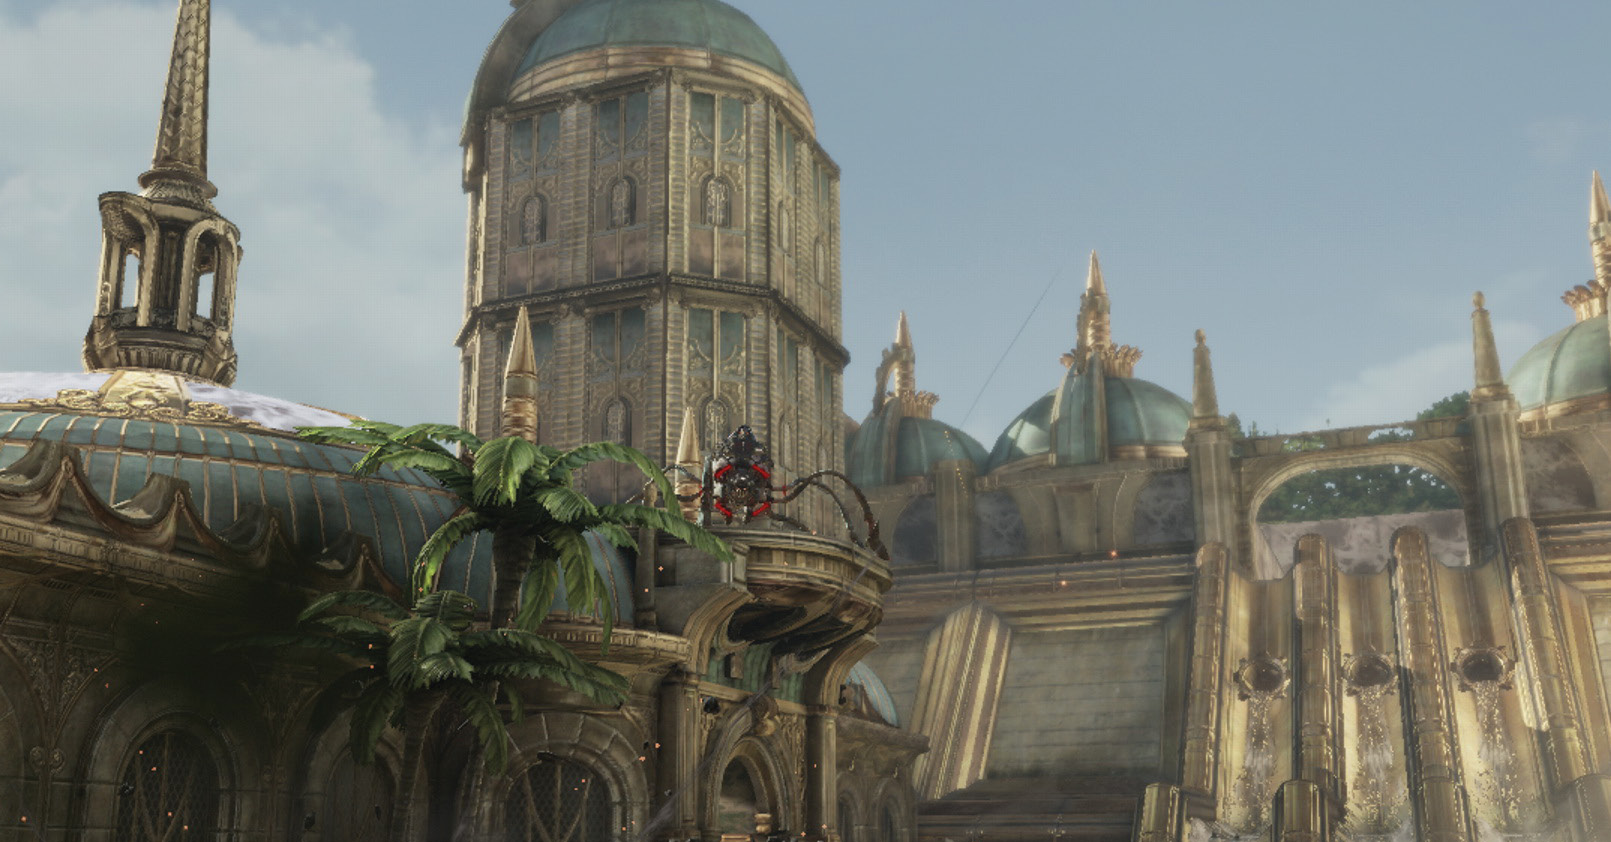
Fire three catapult blasts at the dam surface dead ahead. Place the reticle near the top of the dam to ensure enough distance. Hit the dam three times to rupture it. Marcus and the other COGs automatically sprint to the nearby door and escape the resulting flood.
 Eliminate the Final Siege Beast Crew
The squad enters another lobby filled with the corpses of valued scientists and the elite. There are plenty of weapons and ammo in the room, particularly near the sitting area that wraps around the tree.
The doors leading out of this room bring the COG directly into the main train station. Make sure your equipped weapon is fully loaded, and ascend the steps on the right. You likely encounter one or two Palace Guards at close range atop the steps. This offers an excellent vantage point above the Boomers and other enemies below.
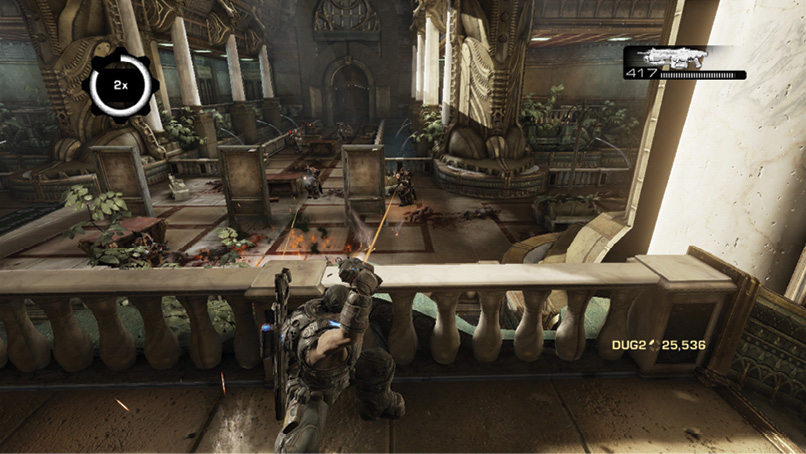
Grab the Frag Grenades and lob one or two at the Boomer and Mauler, but don’t toss any more. First wait to see how much damage your squad is inflicting. You don’t want to waste Frag Grenades if your squad has things under control—you’re going to need them!
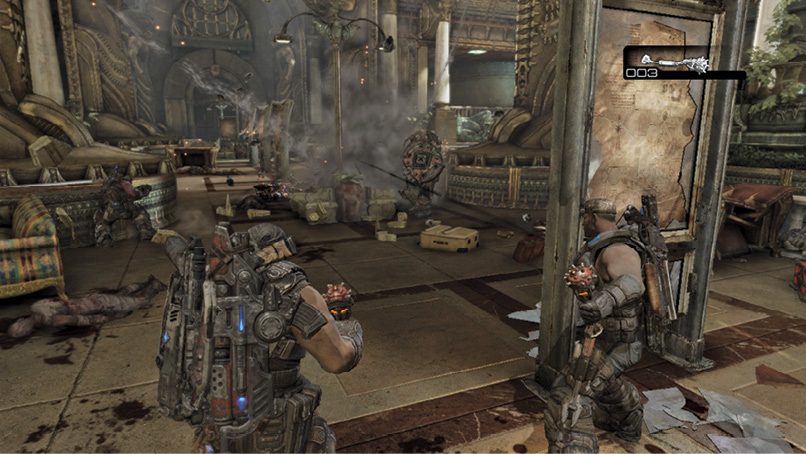
Try to leave one of these initial enemies alive long enough so you can rush toward the door down the hall in the center and plant proximity mines on the nearby furniture. Plant two Frag Grenades on the desk and on the couch to catch enemies on both sides of the entrance in a massive blast.
These doors open as soon as you kill the last initial enemy. Then two Bloodmounts and two Boomers enter, followed by a number of Palace Guards. Pick up a Boomshot from a previous kill, watch the Frag Grenades take out the Bloodmounts, and then finish off the stragglers with a Boomshot blast. This is a great way to put a quick end to what could otherwise be a tricky fight. There are enough Frag Grenades in the area to ensure you can always do this.
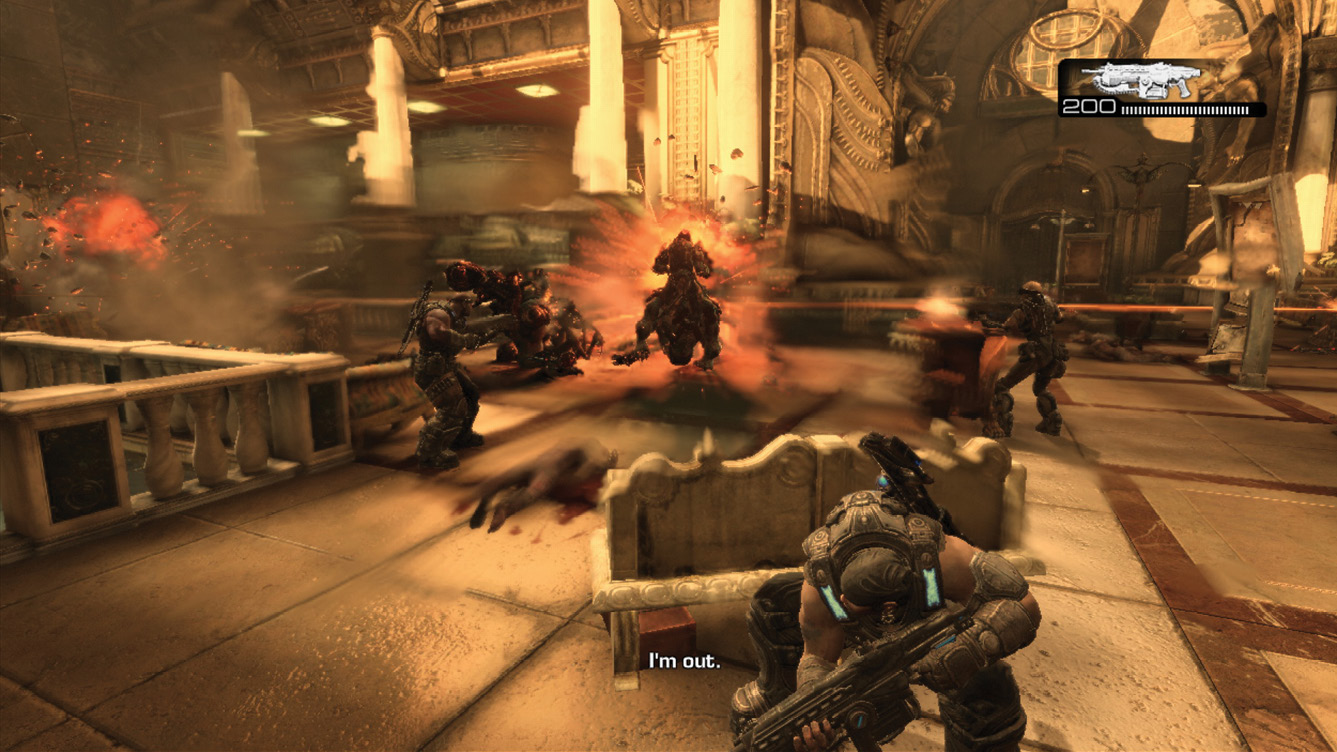
Grab the additional Boomshot ammo on your way out the door, and equip a Hammerburst, Lancer, or Gorgon SMG as well. Having ranged, rapid-fire attack power will come in handy.
The final Siege Beast crew is just ahead, but multiple Armored Kantus and Palace Guards are down below in the courtyard. Stay high on the steps overlooking the area, and use your Boomshot and Hammerburst to take out the Armored Kantus. Fire the Boomshot to knock them down. Then rapid-fire the Hammerburst at their mouths to kill them. It’s a long shot, but the Hammerburst’s iron sights offer improved zoom and accuracy.
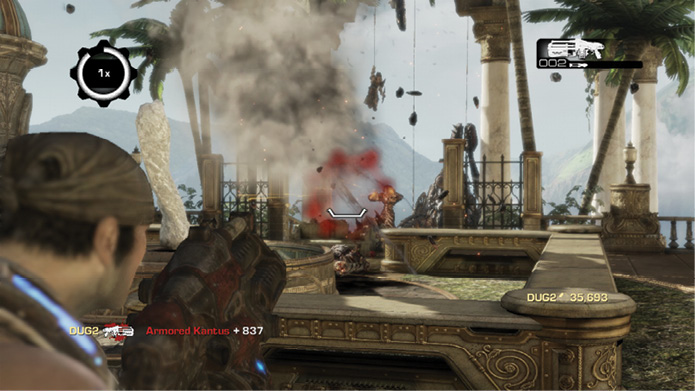
Claim the Frag Grenades on each side of the courtyard, between the tree planters. One of the two small, dome-shaped buildings across the courtyard opens after you slay the last of the Armored Kantus: you get a Flame Boomer if the left one opens or a Mauler if the right one opens. Use the Frag Grenades to take them out, and then continue toward the Siege Beast directly ahead, down the steps.
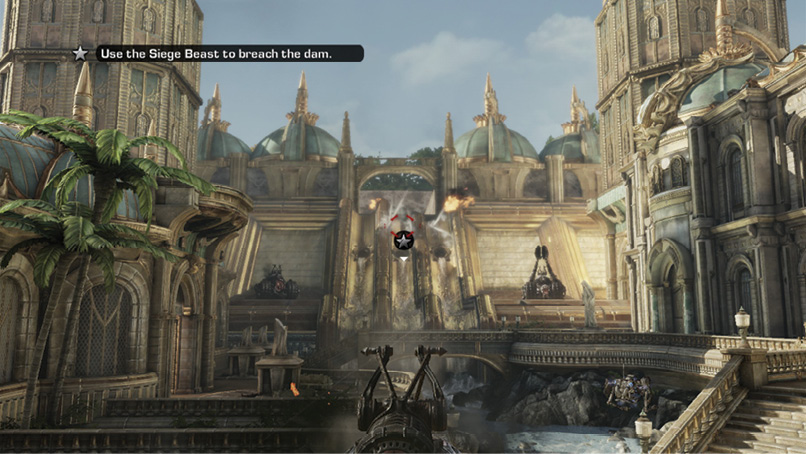
 Use the Siege Beast to Destroy the Gas Barge
Only one Gas Barge remains. Take the Siege Beast’s controls and fire at it to knock it out of the sky. Marcus and the others push the Siege Beast off the cliff to destroy it, making it safe for the other Ravens to enter the area. Good job, Delta!