
Gears of War 3 Guide Multiplayer
Gears Concepts
To excel in Gears multiplayer, you must learn several basic skills. This section discusses each of these techniques and provides tips to help you master them.
Weapon Usage
Basic weapon usage in Gears is simple: point and shoot. The intricacies are slightly more complex. For details on how weapons in the Gears universe function in multiplayer battles, keep reading.
Aimed Fire
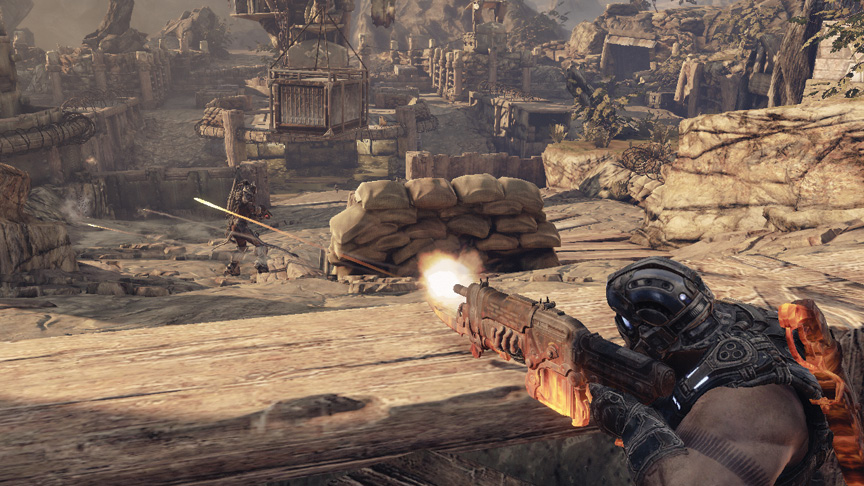
> You perform ‘normal’ firing simply by aiming your weapon and shooting.
Assuming you’re stationary, this is the best accuracy you can get from most weapons. Aiming while moving is still more accurate than shooting from the hip.
Zoomed Fire
> Zoom-Capable Weapons: Snub Pistol, gorgon pistol, Boltok, Hammerburst, Longshot
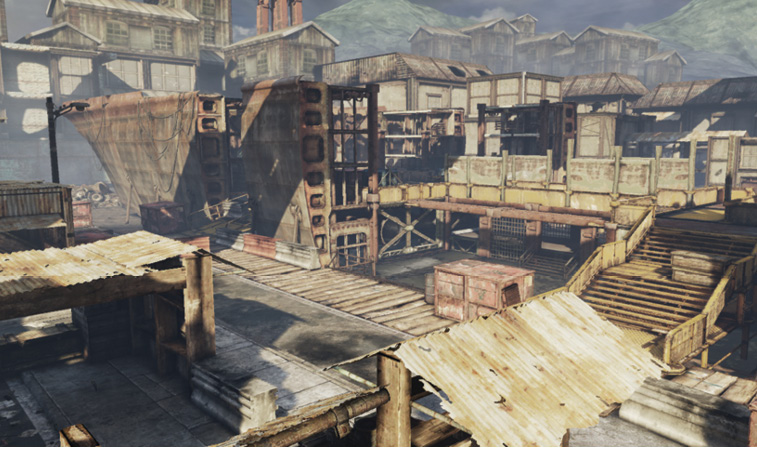
Zooming provides increased accuracy at a greater distance, at the cost of your peripheral vision. When it’s zoomed, the Hammerburst gives you an iron-sights view that allows you to target enemies at much greater range than the other rifles. The Longshot and Oneshot both provide true scoped long-distance views. Use this zoom only when you’re certain that a flanker isn’t about to hit you—you are nearly defenseless while you’re fully zoomed.
The other weapons zoom to a lesser degree, but they’re still useful for picking away from ranges greater than you can normally hit with any degree of accuracy. Remember that the Snub Pistol and Boltok both provide a means to deal damage at a distance if you’re using the Retro Lancer or a shotgun and lack a rifle.
Blindfire
> Press the Right Trigger while you’re behind low cover, or at the edge of low or high cover.
Blindfiring is the act of shooting your weapon from behind cover without direct line of sight to your target. It allows you to fire while barely exposing yourself to incoming fire. It isn’t tremendously accurate, so don’t expect blindfire to down an enemy at a great distance. However, you can absolutely down or even kill an enemy in the open, especially if he or she foolishly charges your position. Don’t hesitate to use blindfire with certain special weapons or the shotguns. Even the Gnasher can be surprisingly effective at medium range, and a corner-fired Sawed-Off Shotgun is lethal at pointblank range.
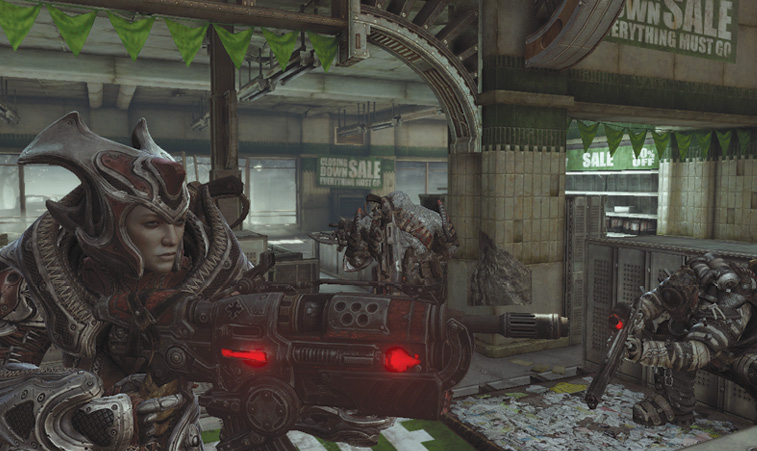
Blindfire is also effective for delivering at least a modicum of retaliatory fire when you’re under heavy suppression from multiple enemies—better to return some shots than huddle completely defenseless.
Hipfire
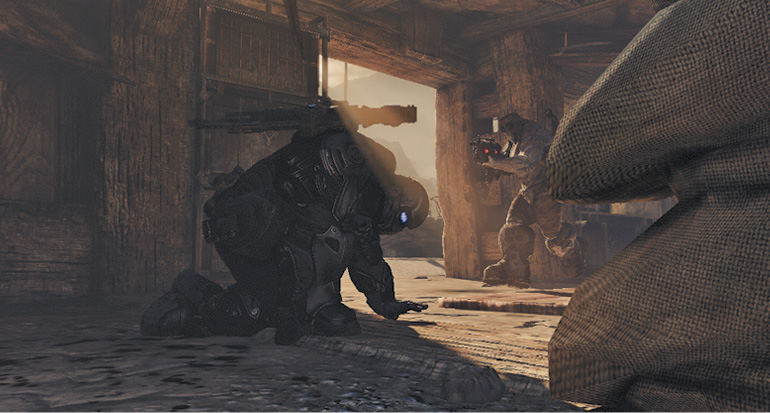
> Hipfiring is simply shooting your weapon while walking around, without taking the time to aim down the sights of your gun.
Hipfire is roughly as accurate as blindfiring, and it’s generally a bad idea for anything outside close range. However, at close range, hipfiring is highly effective with shotguns, and it’s quite dangerous with the Retro Lancer as well.
Active Reloads
Pressing the Reload button triggers the Active Reload sequence for your weapon. You can then either wait for the full reload animation to complete (the slow method), or you can press the Reload button a second time to execute an Active Reload. If you press the Reload button at exactly the right moment, you perform a Perfect Active Reload, which gives your weapon a damage boost for a short period of time.
Every weapon in the game has a different reload timer, and a different time at which you must press the Reload button a second time to land an Active or Perfect reload.
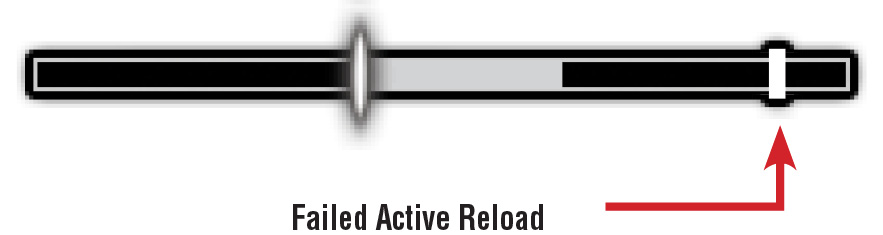
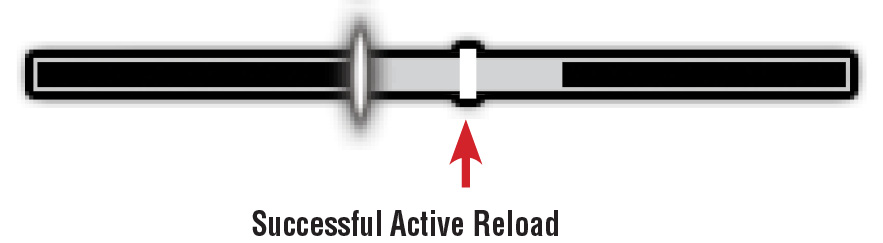
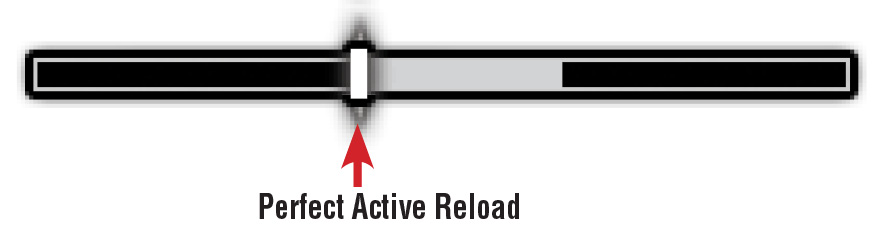
Some weapons have quick reloads with Active Reload windows that fall early in the weapon’s reload animation. This allows you to reload the weapon very quickly. Others have much slower reload animations, along with Active Reload timing that falls later in the animation, as well as much more difficult Perfect Active Reload timing.
Active Reloads are critical to your success in multiplayer. You don’t need to hit every Perfect Reload with 100% success, but you do need to hit a basic Active Reload with close to perfect accuracy!
Perfect Reload Decay
When you land a Perfect Active Reload, subsequent Perfect Reloads become more difficult. Each time you reload the weapon without using another weapon or flubbing a reload, the timing on the next Perfect Reload becomes tighter. With practice, you can still continue to land Perfect Reloads. However, weapons that already have difficult Perfect Reloads can become extremely challenging to hit repeatedly.
Reload Methods
Active and Perfect Reloads are very important. As you gain experience, you should find yourself hitting Active Reloads every time, and Perfect Active Reloads very frequently. Here are a few ways to think about reloading your weapons. They may help you to nail that clutch Perfect Reload in mid-fight.
Sight
> Watch the animation.
The animations for reloading weapons are fixed. Consequently, you can use the animation as a visual cue for when you can land a reload. Using the animation is generally easiest for hitting an Active but not a Perfect Reload. The upshot: it’s very easy to hit that reload without ever glancing at the top-right of the screen.
A few weapon animations do make it fairly easy to hit a Perfect. Experiment with each to get a feel for the animation. Naturally, this method is not as useful when you’re sprinting or rolling!
Sound
> Listen to the reload.
In addition to fixed animations, every weapon has a distinct reloading sound. You can use these sounds to land Active Reloads—experiment in a solo game. Reload with no other background noise, pay attention to the sound when the reload bar enters the Active zone, and then try again with your eyes closed.
With practice, you can use the sound on certain weapons to land a reload without watching the animation or the reload bar. Of course, using sound is harder on some weapons, and it’s much harder in the middle of a very loud firefight.
Timing
> Learn individual weapon reload speeds.
For a new player, this is the hardest reload method. It simply involves learning the specific reload time for each weapon. With practice, you can generally land a regular Active Reload on any weapon without much thought. And with more practice, you can start hitting Perfect Reloads even while in mid-roll during combat. There isn’t any real trick to this method. You simply begin by using the normal reload bar and gradually decrease your visual checks until you are comfortable reloading without looking.
Stopping Power
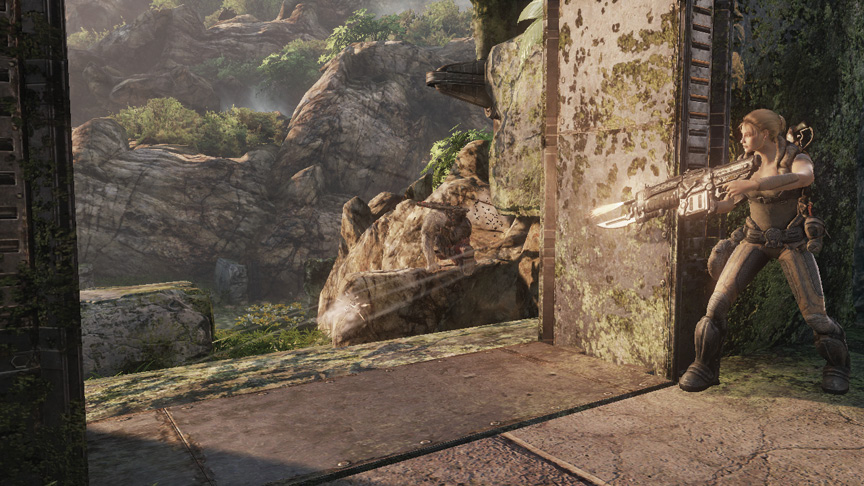
Stopping power is the slowing force that weapons cause on targets moving toward you. Stopping power is reduced against enemies moving sideways or away from you. Weapons with a high rate of fire, for example the Scorcher and the Mulcher, basically ignore direction of movement. Any damage from a weapon causes some slight stopping power effect. But as a rule, rapid-fire weapons, particularly the Lancer and Gorgon, are most effective at stopping targets in their tracks when they try to rush you.
Marking Targets
> Press in the Left Analog Stick while you aim at a target.
Click the Left Analog Stick while aiming at a target to ‘mark’ it as a target for your team. This mark is visible to your teammates, and it makes coordinating kills much easier.
mantle kick
> Press forward and the A Button with an enemy on the other side of low cover.
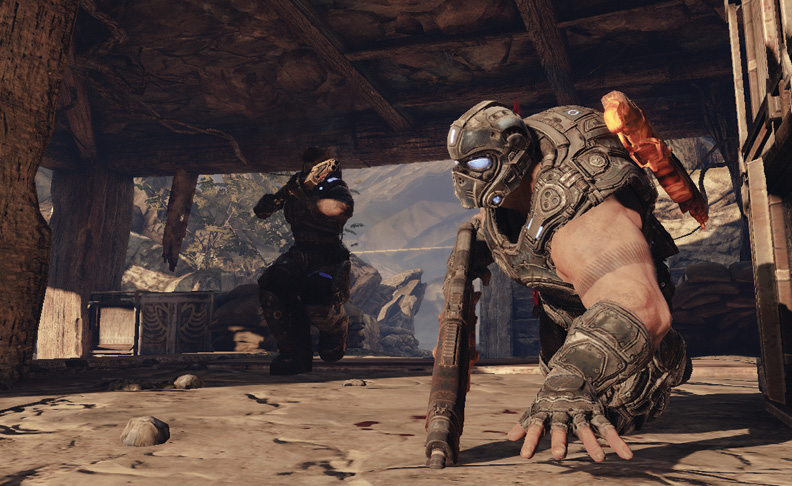
If you vault over cover with someone immediately behind, you kick the person in the face and stagger him. This is perfect for an instant shotgun blast to the gut or a chainsaw to the face. Mantle kicks inflict slight damage, so they can down a target or kill a downed player.
Mantle kicks are very useful, as they allow you to ‘dig out’ an entrenched player, and they usually give you a lethal advantage in combat. Don’t try to rush a player in cover while you’re in the open—stopping power and your own lack of cover are a good way to get yourself killed. If you spot a distracted player behind low cover, or if there’s abundant cover to approach via repeated cover slides, going for an aggressive mantle kick is a good way to eliminate your target.
Reticle Bloom
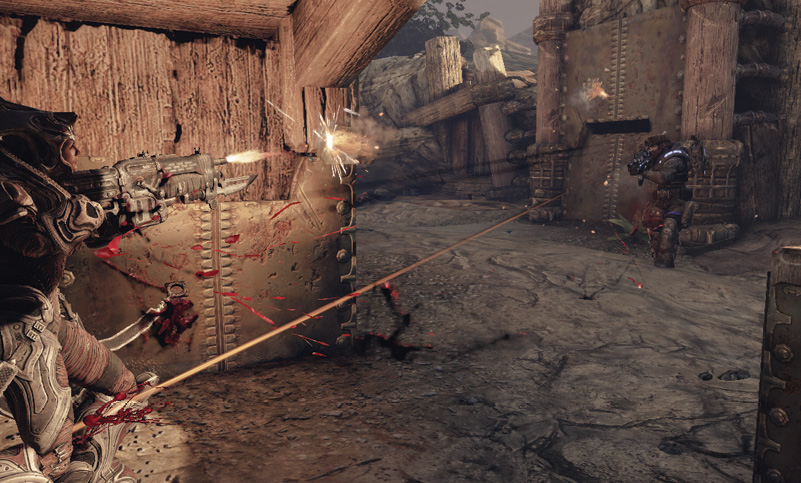
> Moving or firing your weapon rapidly decreases your accuracy, while aiming down the sights or zooming increases your accuracy.
The reticle bloom animation is new to Gears, but its detrimental effect on your accuracy is not. That is to say, weapons in Gears 2 already had decreased accuracy when you fired them rapidly or on the move. Now you can actually see how inaccurate your shots are becoming.
Trading Weapons
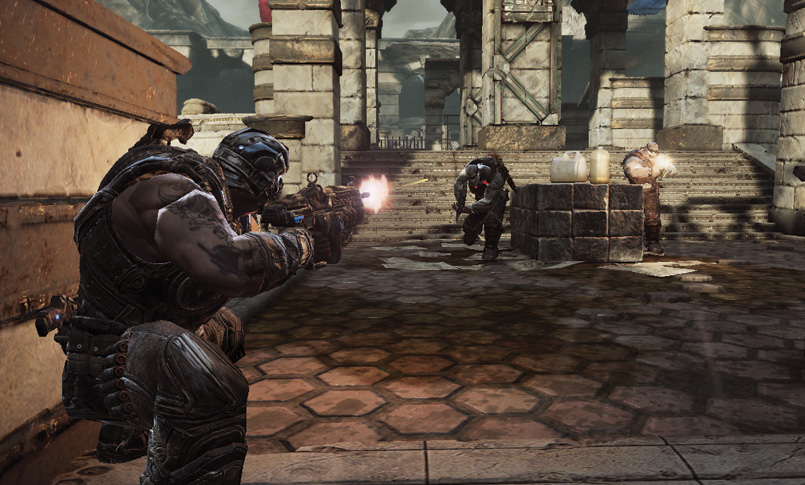
> Aim at a friendly player and press the X Button at close range.
You can trade weapons to friendly players in any game mode. This is vitally important in Capture the Leader, because your Leader needs resupply without being exposed to danger. In other modes, you can use weapon swapping to take a weapon—or turret, or Silverback—from a bot.
You can also trade a power weapon to a teammate. This is great if your comrade is defending a crucial area and you’re planning a dangerous assault on a defended position—better to get backup from your Boomshot than to hand it to your enemies!
Tac/Com
> Hold the Left Bumper.
Tac/Com provides a HUD overlay displaying the location of all friendly teammates and all weapon spawns on the map. You can use Tac/Com to get a feel for how the battle is going by noting your teammates’ positions and comparing them to any enemies you’re aware of, as well as bullet tracers or other clues to enemy presence.
Use Tac/Com frequently when you suspect you may be heading into an ambush. If most of your team is elsewhere and you don’t see the enemy team fully engaged with them, assume that you’re heading toward a defended position.