Gears of War 3 Guide Campaign Walkthrough Act 4
Chapter 1: Ashes to Ashes
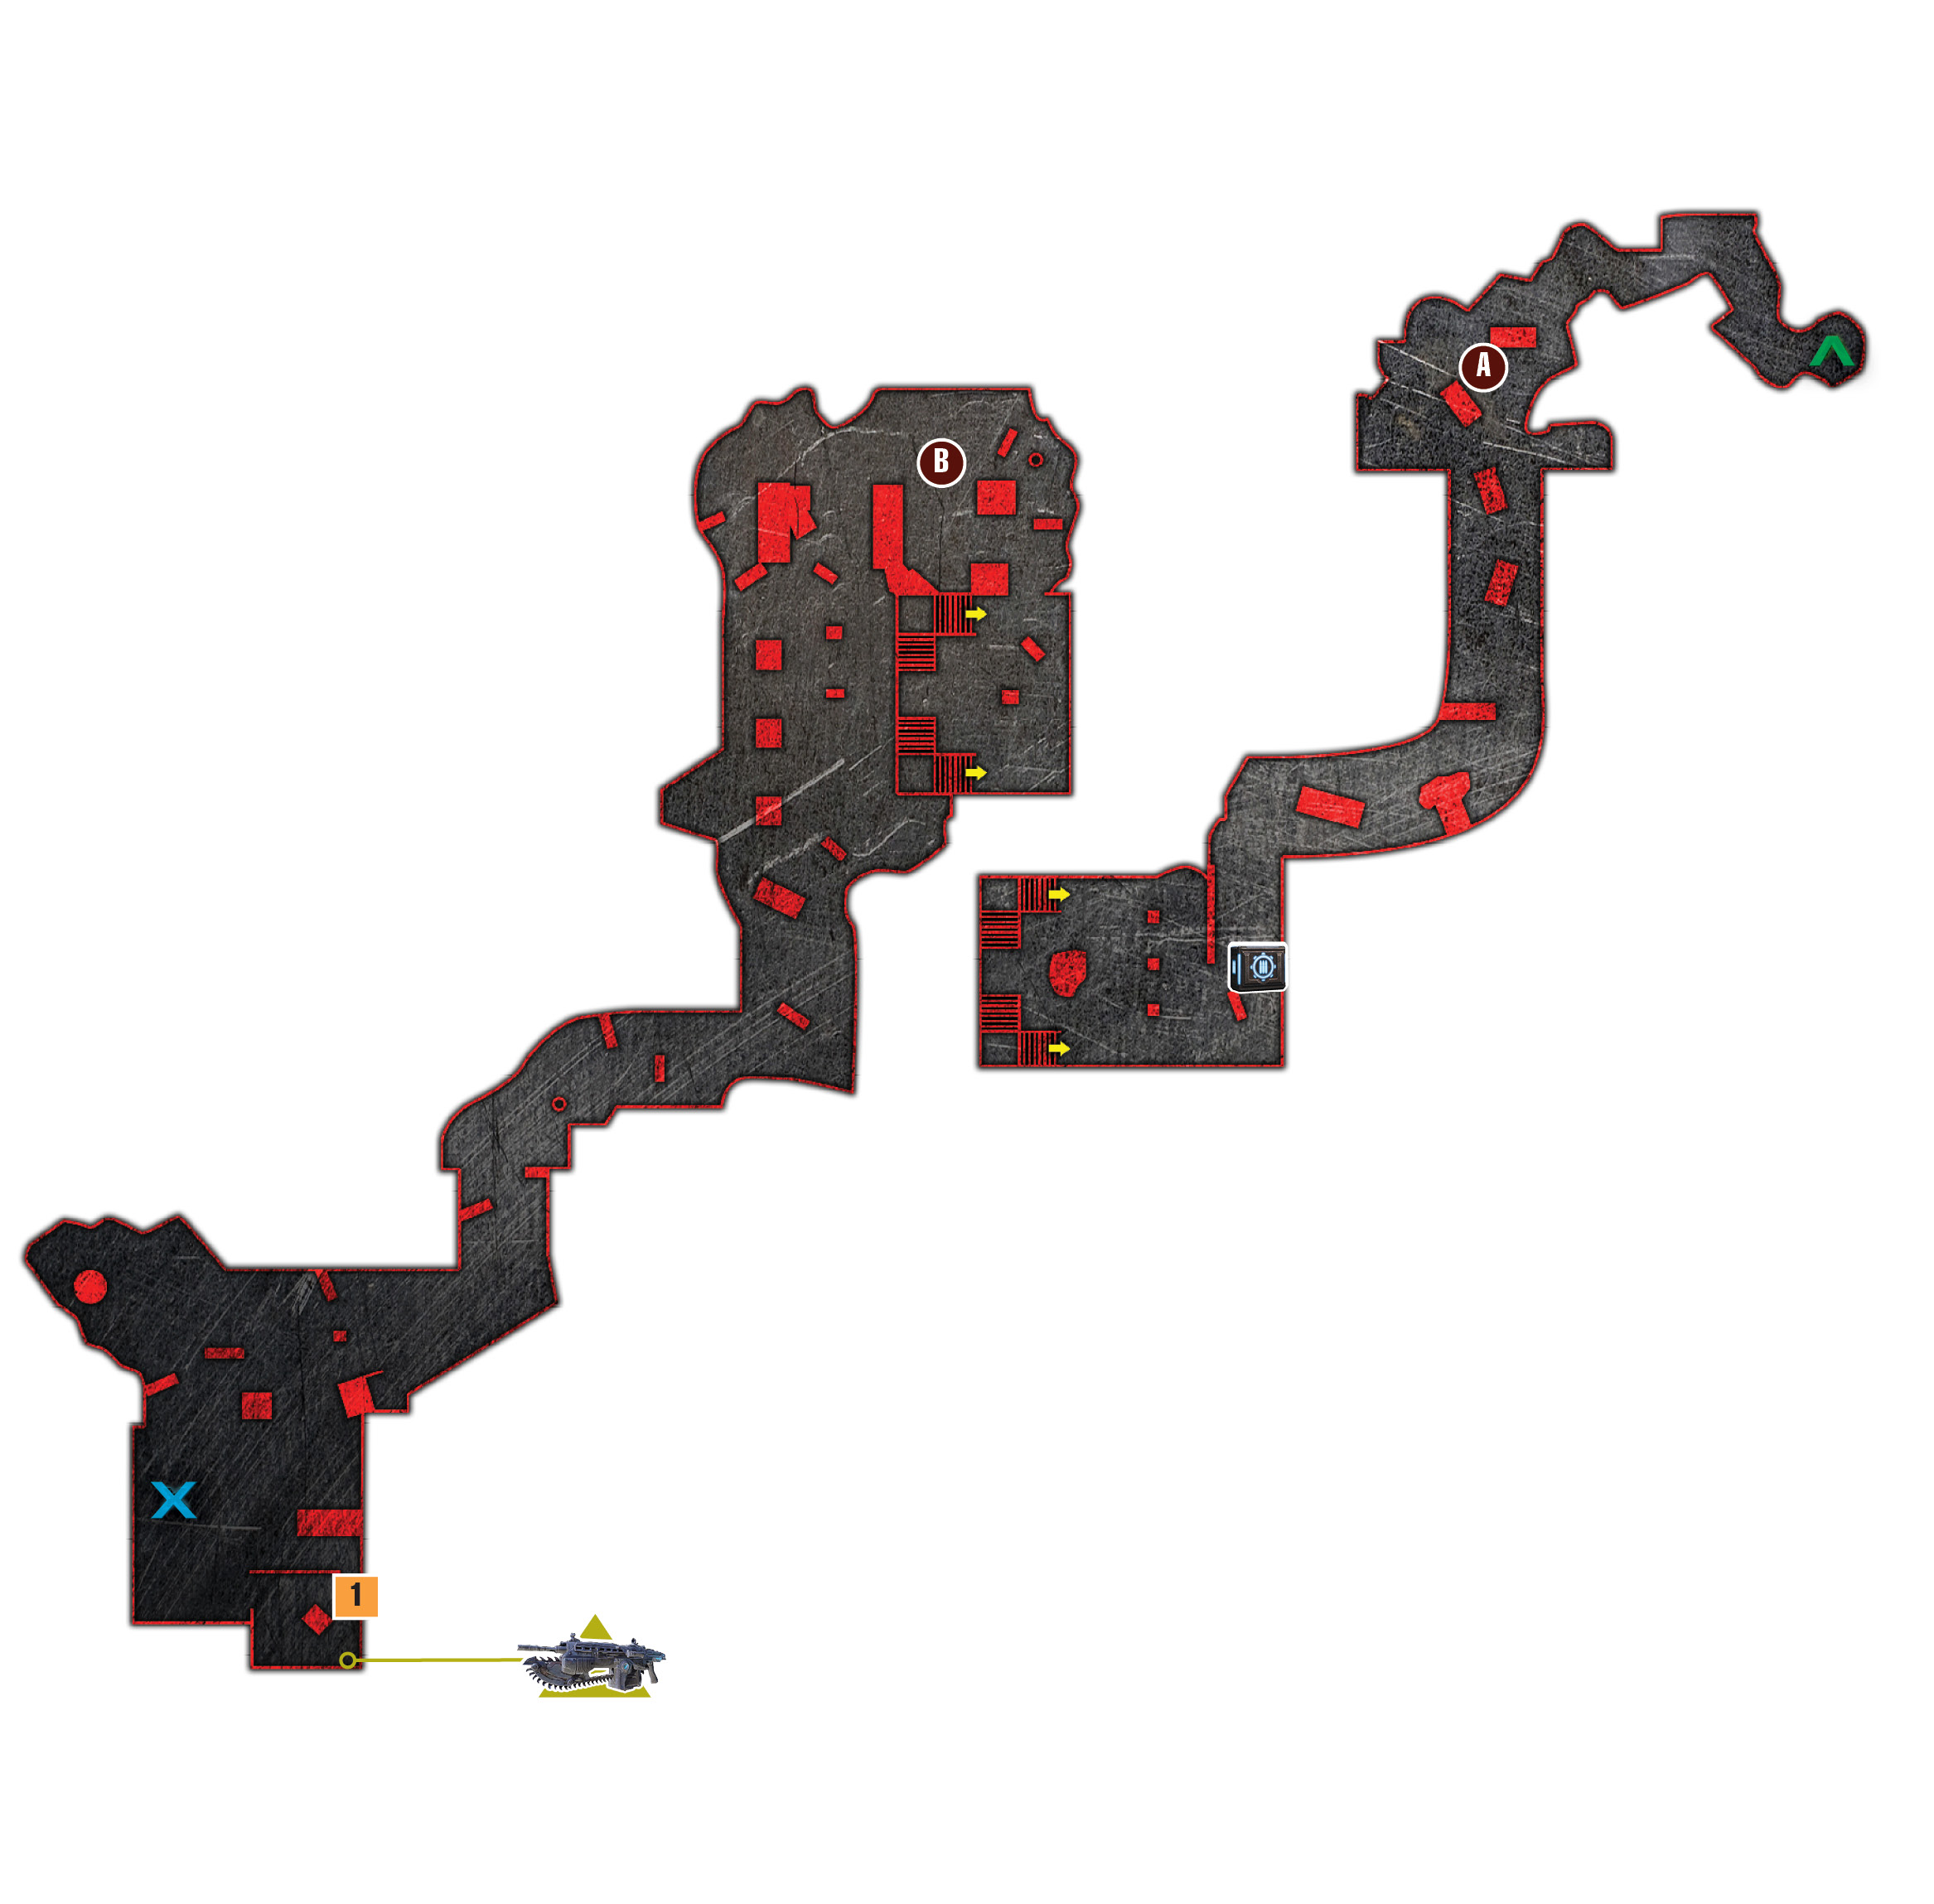
Objectives
Collectibles
|
 Search for local inhabitants.
 Catch Ash Man.
 Survive the attack.
 Talk to Griffin.
 Exit the tower.
 COG Tag
The drive from Mercy to Char was indeed somber, but the squad has no time for mourning. The submarine won’t run without fuel, and there’s no reaching Azura without that sub. The city of Char was one of Sera’s largest cities, teeming with a population in the hundreds of thousands, many of whom worked for the Griffin Imulsion Corporation. Then the Hammer strikes came. The government had no alternative; they incinerated the city with an endless barrage of Hammer of Dawn strikes in an attempt to eradicate the Locust. Many of the victims—innocent men, women, and children—were forever frozen in time as ash statues that dot the city’s streets to this very day. The COG should expect no succor from those left to die among these ruins.
City Center
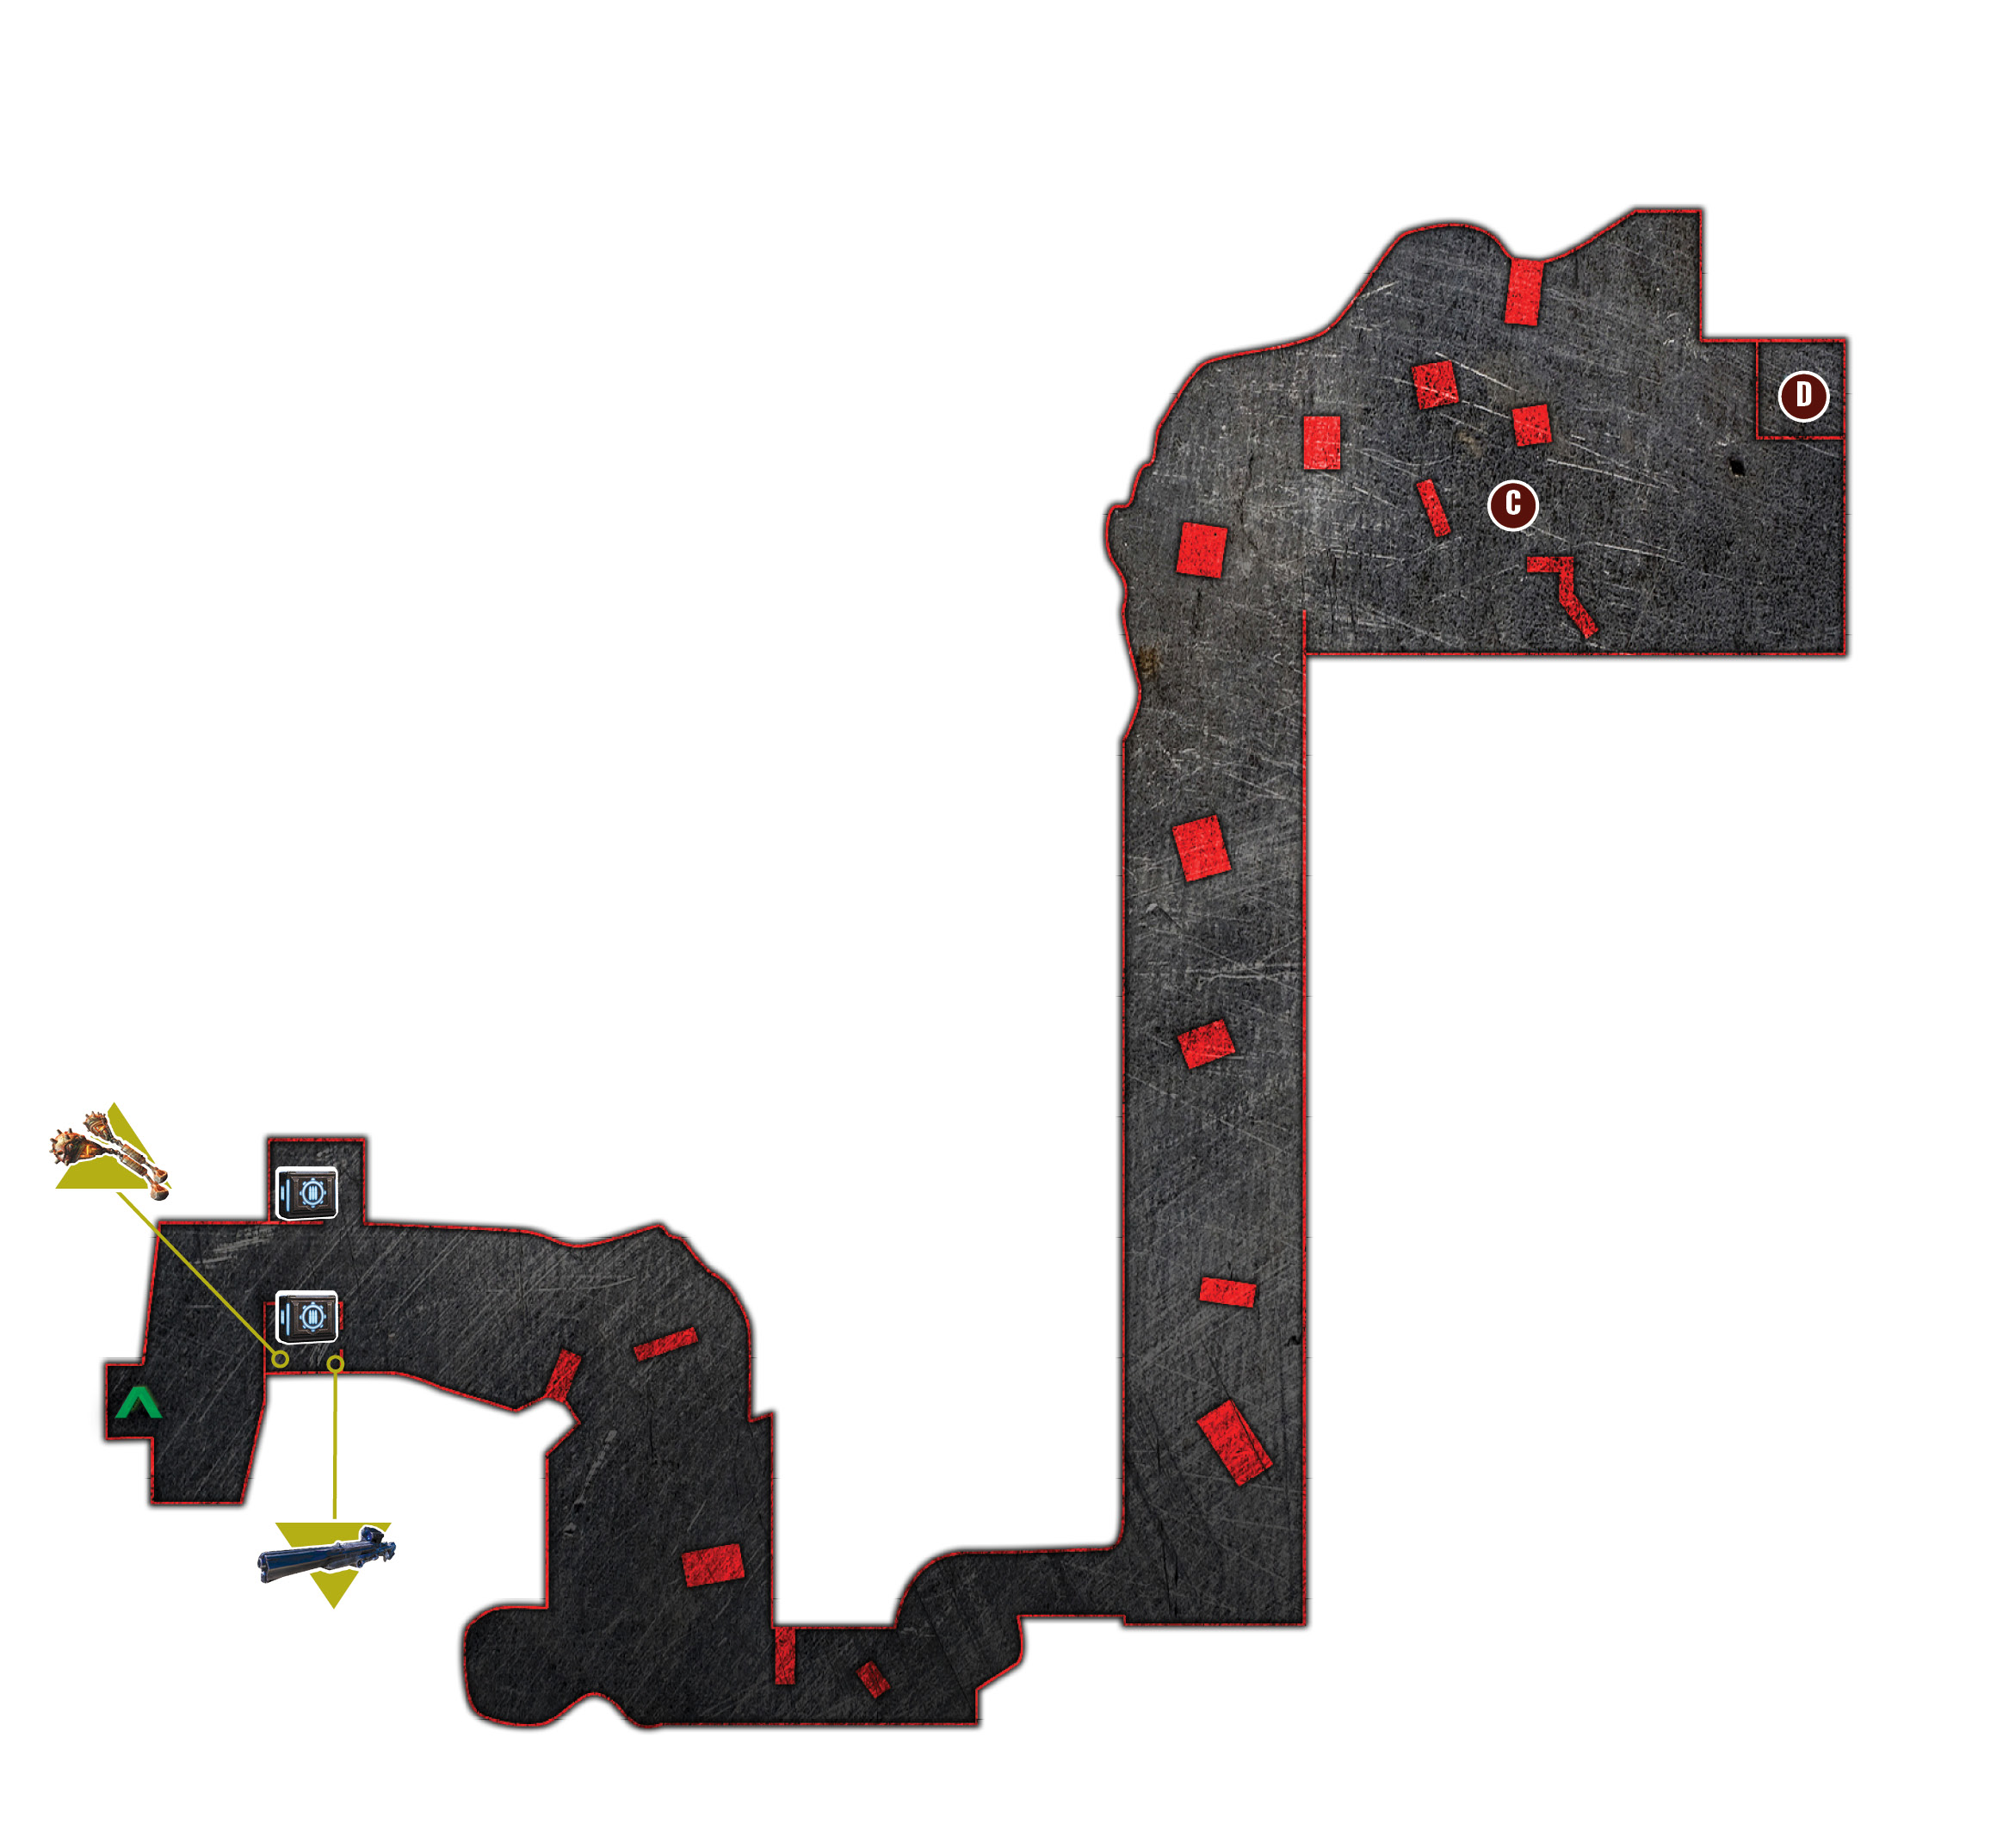
 Search for Local Inhabitants
There’s no preparing Delta for the state of Char’s streets. The horror. The destruction. These streets are a gravesite. Many of the civilians were instantly vaporized, and those who weren’t were turned to ash, frozen in their horrifying stance for years to come. Whether or not you heed Marcus’s solemn request to treat the dead with respect is up to you, but one brush against any of the ashen corpses instantly turns them to dust.
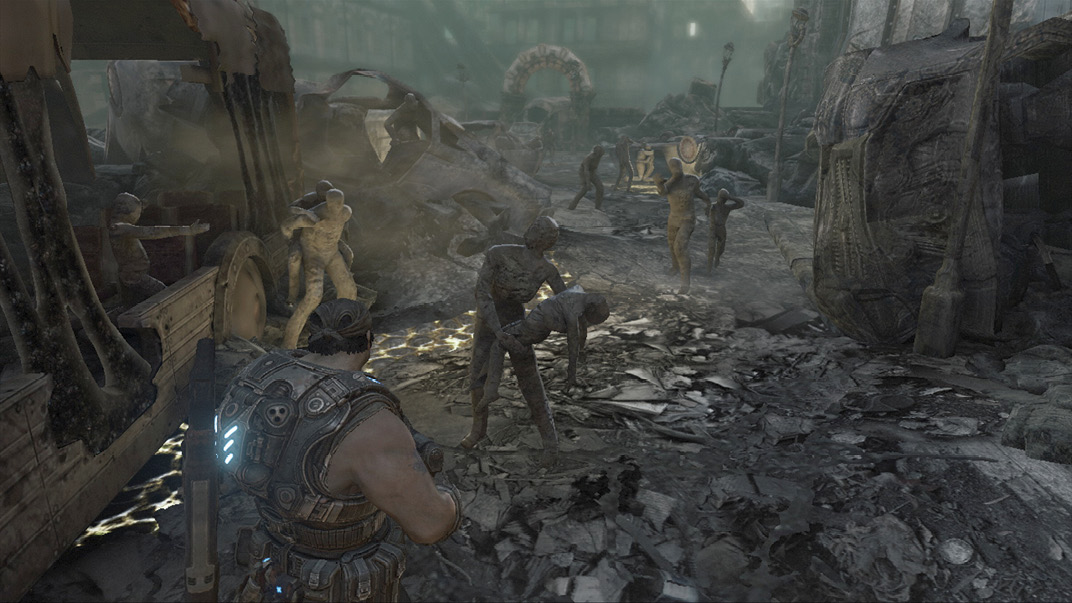
Walk carefully past the ashen corpses to the ledge in the road. Marcus does not raise his gun or run until this point. From here on out, he’s under your control. Run and shoot if you want; it’s up to you. Continue through the city to the church in the distance, just beyond where Dizzy radios to assure you someone is watching.
Suddenly a piano falls through the floor in the church. Head down the stairs to the basement and out into the street ahead. Marcus arrives just in time to spot someone arming a makeshift turret composed of Retro Lancers and a bicycle wheel. Take cover and wait for the guns to stop firing.
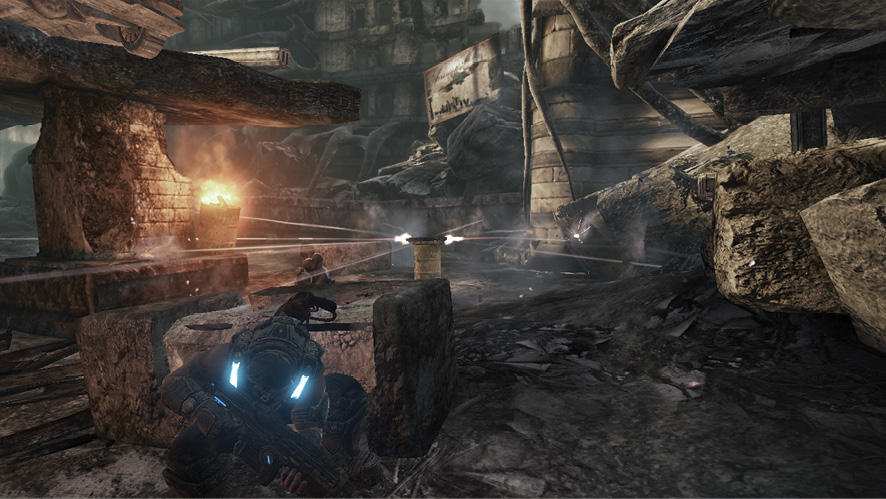
 Catch Ash Man
The man setting the booby traps has dusted his face and clothes with ash to blend in with the charred surroundings. He can be anywhere, or any one of the ash corpses on the street. It’s best to be careful.
Follow the trail of burning barrels, ash corpses, and upturned cars to the base of a hill. Have your Lancer loaded and ready to fire, as the Ash Man is about to spring another trap! This time it’s a container full of Polyps!
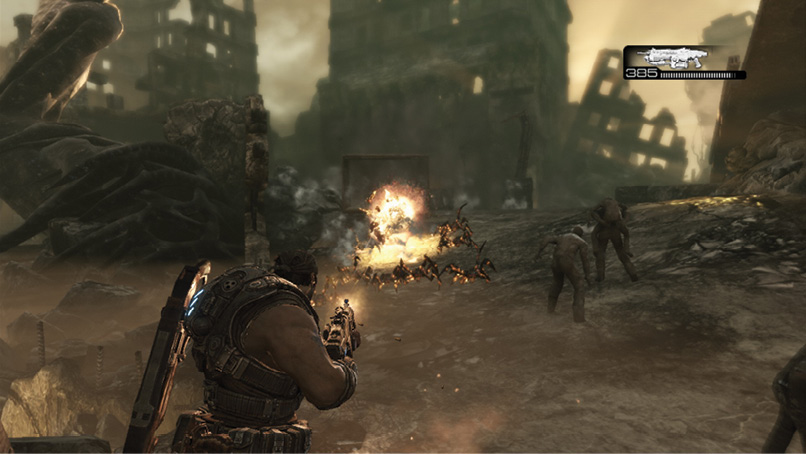
Follow the lone clear path through the destruction, past the solemn playground, to the large gate. Continue beyond the gate toward the sound of a baby crying, but be on guard because nothing is what it seems. The Ash Man has placed another turret behind the metal shielding, along with an audio recorder of the baby crying—inspect it carefully.
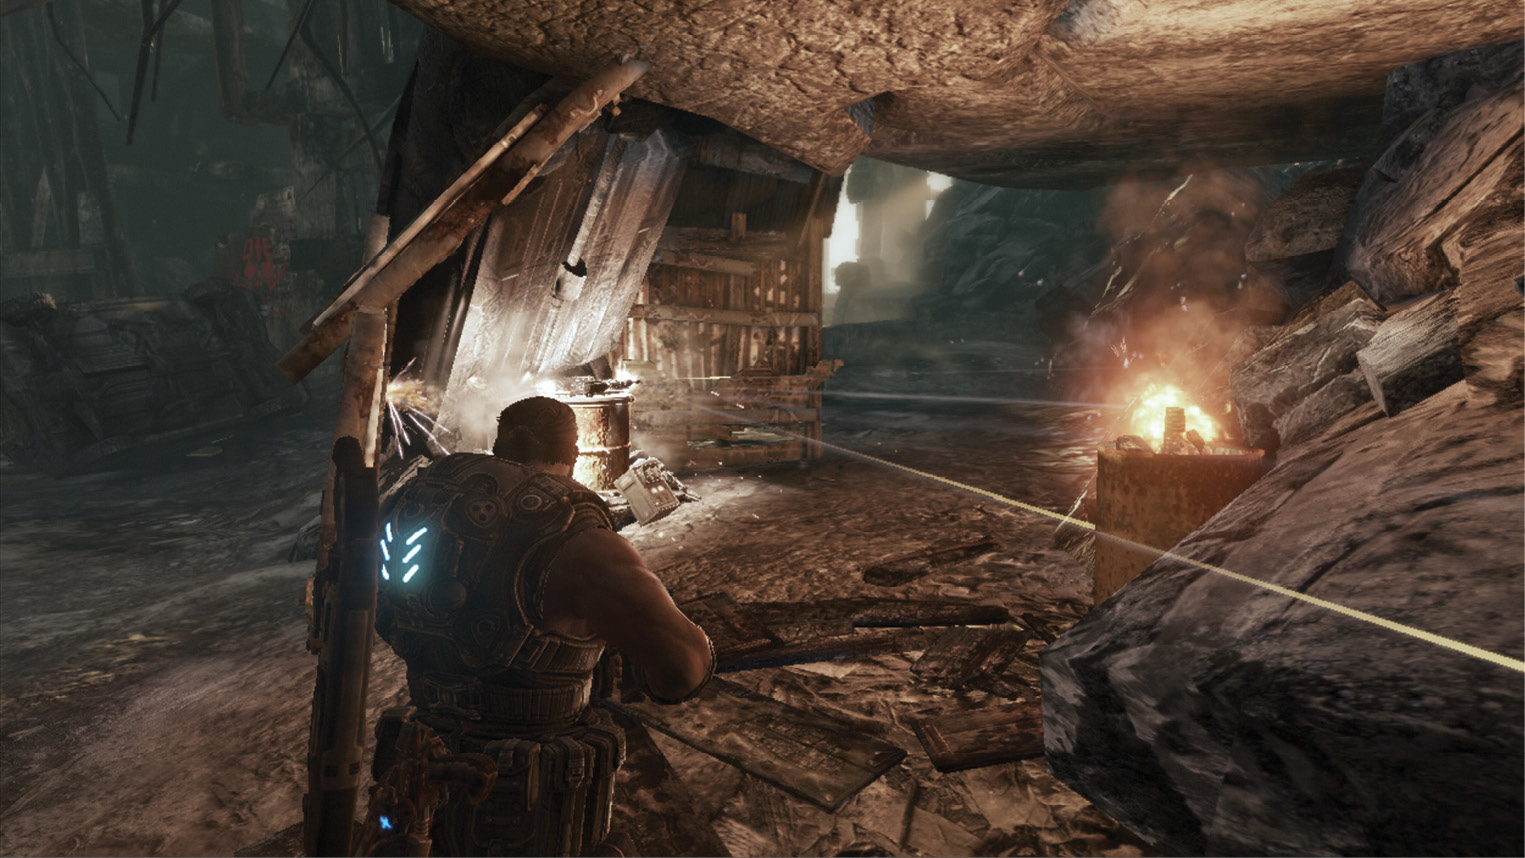
As you round the corner where the edge of the road looks out across the city, Ash Man releases another container full of Polyps. This one attacks at close range, so be ready for it.
 Survive the Attack
The road eventually leads to the base of a tall building, where two turrets begin raining down bullets on Marcus and Jace as soon as they pull near. Take cover behind the crates, the toppled columns, or the short walls as far away from the turrets as you can get. Don’t advance too far, for reasons that become obvious momentarily. Sit tight and wait out the turret fire.
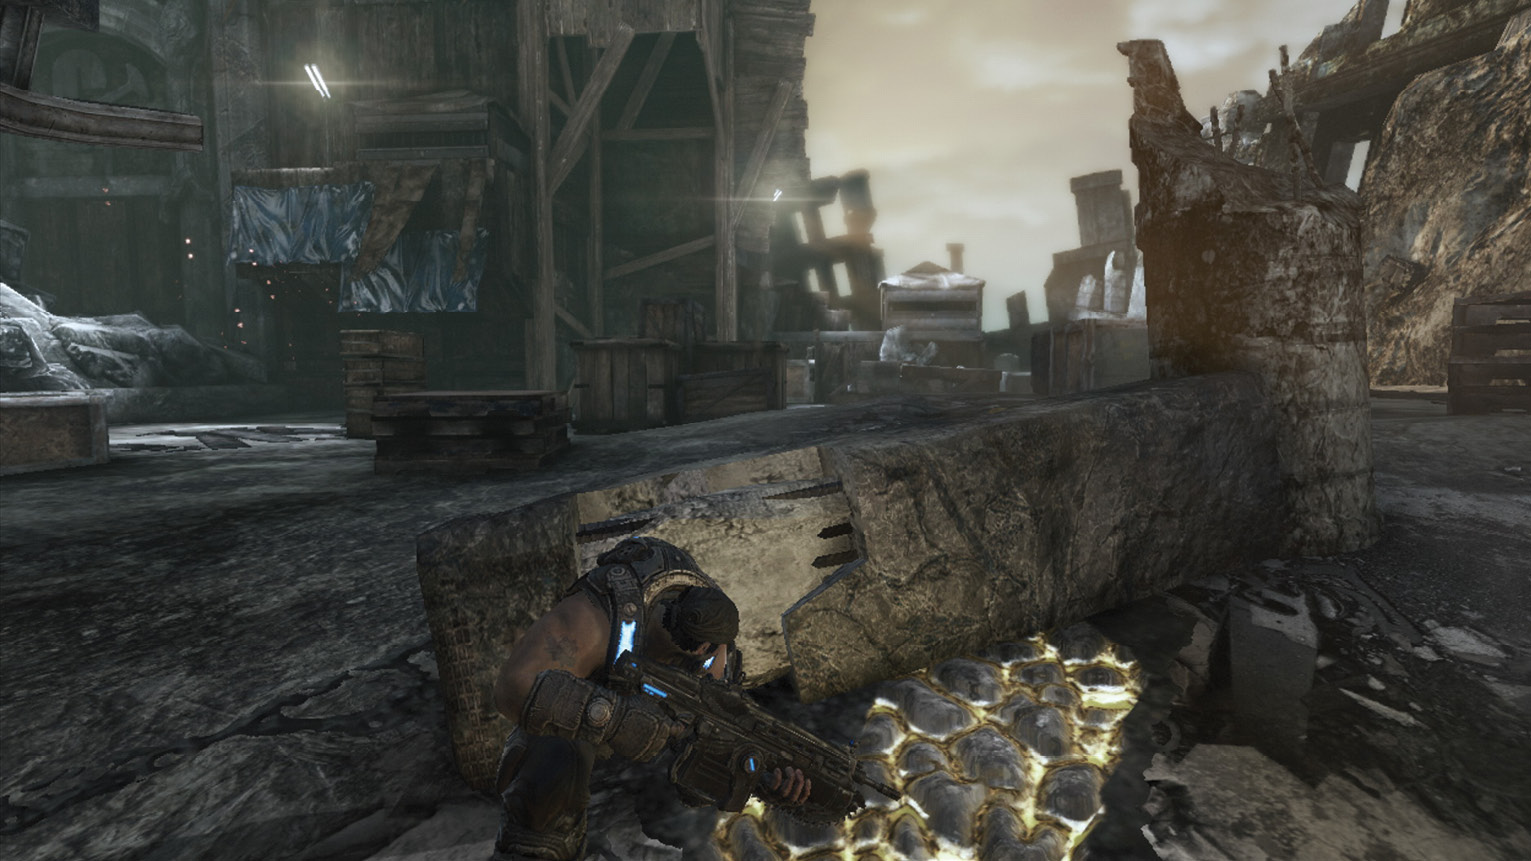
Two Stalks soon pierce the ground and deploy a number of Drudges. Immediately open fire on the Stalk Pods, preferably with blind fire. The turrets immediately train their fire on the Drudges, but the Drudges focus on you, as you’re closest. Quickly move to taller cover and blind fire at the Drudges. The Drudges mutate into forms with arms and even Drudge Head Snakes. Target the arms of the Drudges that morph into this form to avoid the projectiles they toss—these Imulsion bombs are your biggest hazard.
Jace has Frag Grenades, which he uses without much hesitation. Focus on taking out the Drudge mutations, and watch for any Drudge Head Snakes. When in doubt, flee further from the Stalks to escape the Drudge attacks.
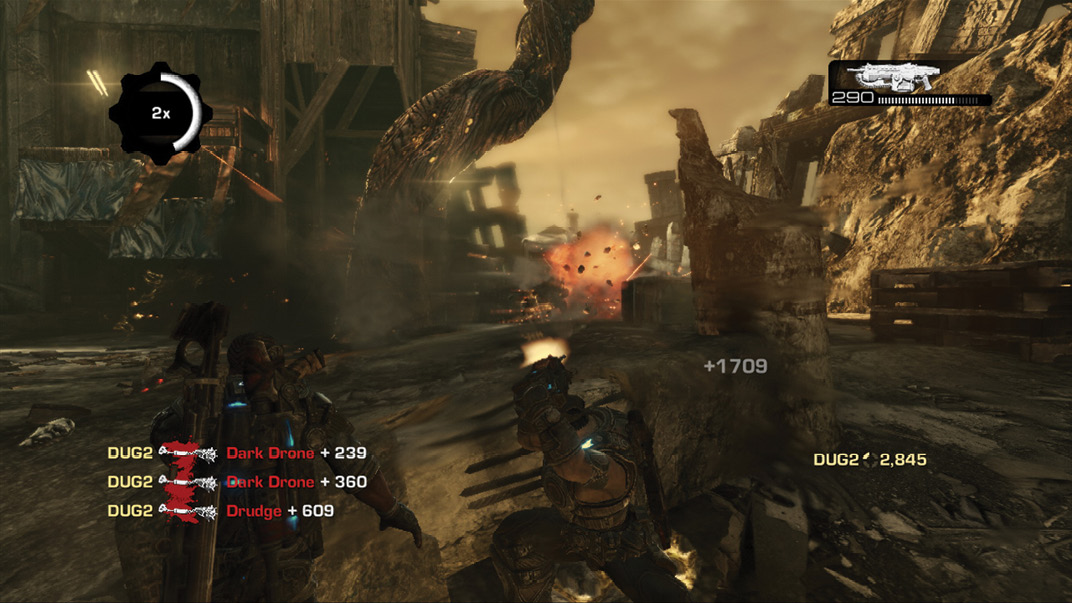
An elevator lowers to the street after the battle. Ash Man feels it’s worth talking to you after you helped them with the Glowies.
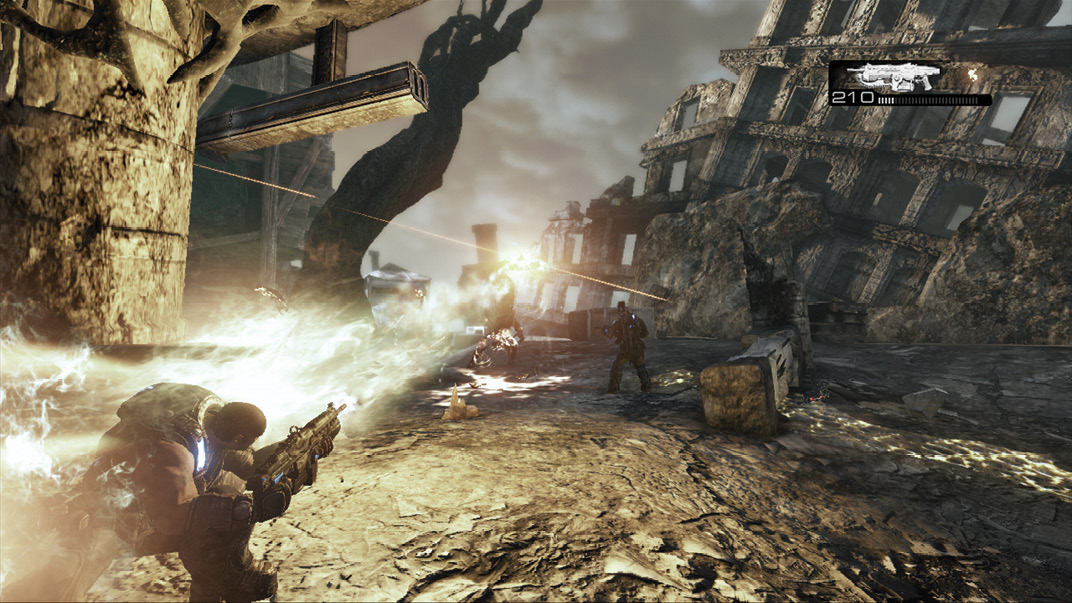
 Talk to Griffin
Ash Man takes you onto the elevator and speaks of the man in charge: Griffin, formerly of Griffin Imulsion Corporation. Ash knows Griffin hates COG, but he thinks Griffin might be up for talking to Marcus and the gang since they helped with the Lambent. Ride the elevator up to the tower high above the street to find a veritable Stranded village in the sky.
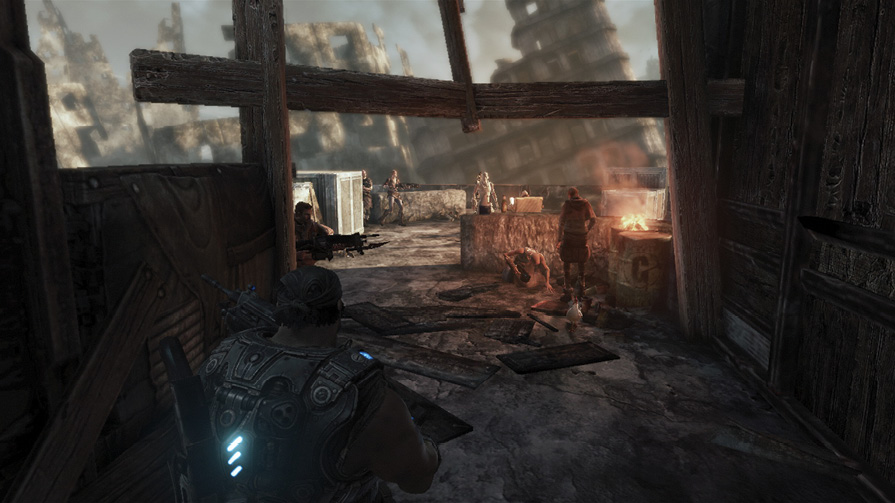
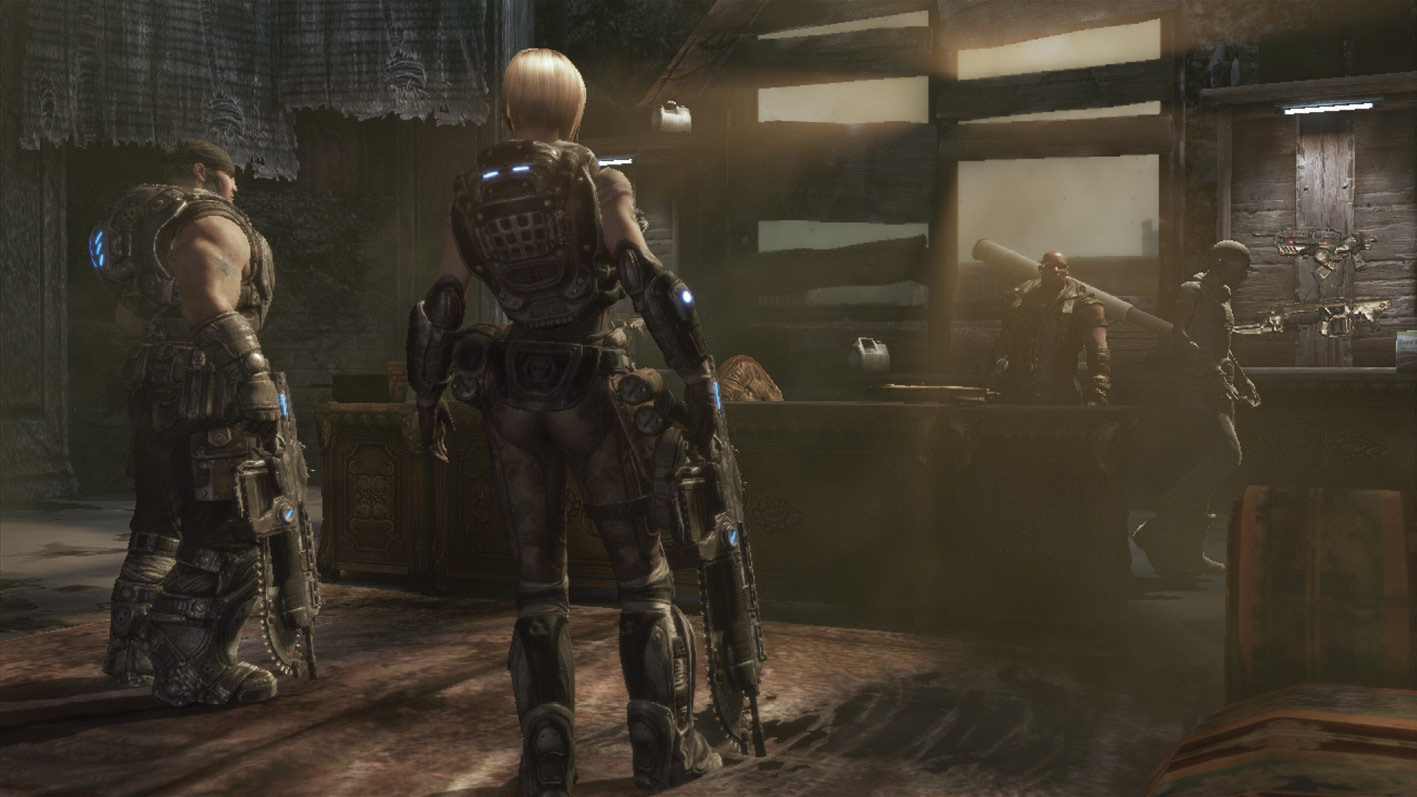
Griffin is up ahead. Follow Ash Man inside so Anya and Marcus can speak with him. Don’t expect a warm reception.
 Exit the Tower
Marcus has no choice but to find his way across the city to Griffin’s refinery. He must bring back the cable car after checking to see what’s holding up the fuel delivery. Only then can he get the fuel he needs for the sub at Endeavour that might be seaworthy. And let’s not forget about getting Dizzy back.
Load up on ammo in the basement. If you took a power weapon from the armory, just gather Lancer or Hammerburst ammo. If you were denied armory access due to your carelessness and lack of respect, then you’re stuck with the Gnasher and an assault rifle.