
Gears of War 3 Guide Campaign Walkthrough Act 4
Chapter 5: Bon Voyage
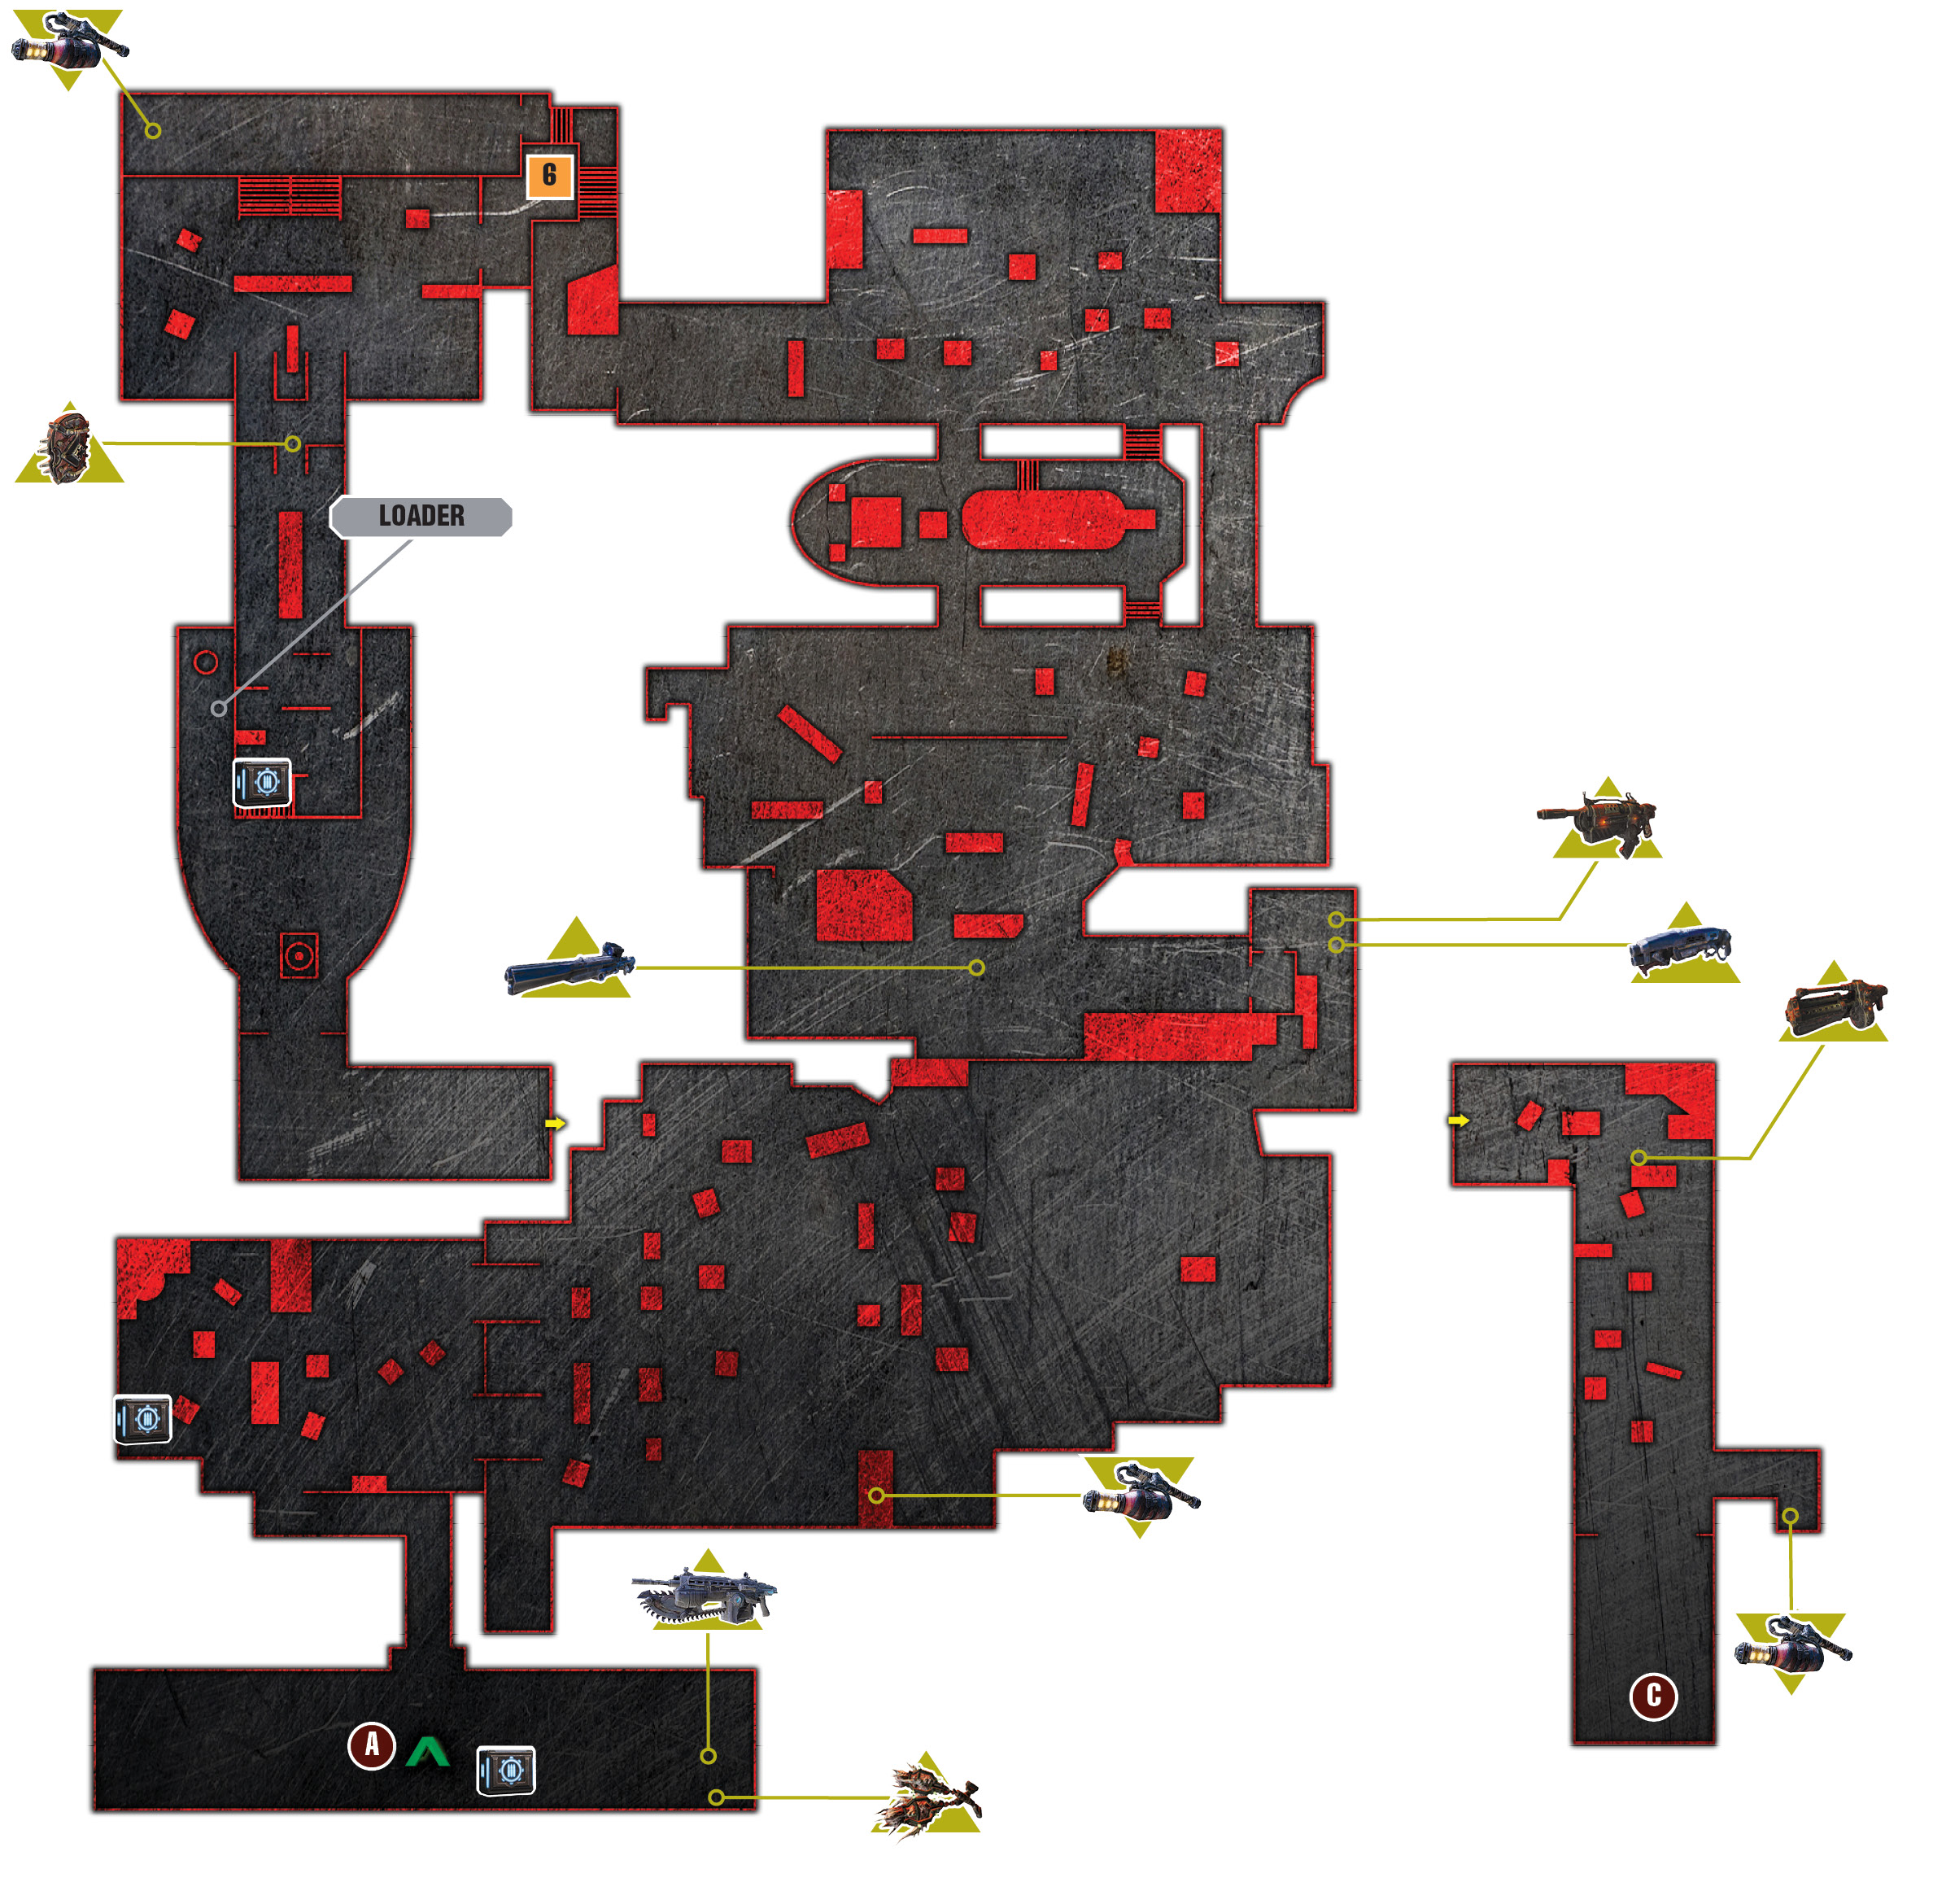
Objectives
Collectibles
|
 Find the rotor.
 Use the loader to pick up the rotor.
 Carry the rotor back to the sub.
 Find fuel for the submarine.
 Use the brow to get onto the COG cargo ship.
 Use the crane to put the fuel on the conveyor.
 Protect the fuel from the counterattack.
 Escort the submarine to the water dock.
 Defeat the Armored Kantus.
 Use the valve control to flood the dock.
 Bulletin
 COG Tag
 Maintenance Manual
Hoffman’s memory wasn’t playing tricks on him; there really was a submarine that had yet to be scrapped at the shipyard. Unfortunately, it needs a new rotor and, of course, there’s a small matter of finding fuel for it. Dizzy hangs back and watches the sub, while Marcus, Jace, Anya, and Sam head out to search for parts and fuel.
Maintenance Bay
 Find the Rotor
Begin searching for the maintenance bay via the room on the left. Quickly open fire on the Wretches, then backpedal, hip fire, and melee. You can knock both Wretches and Tickers backward with a melee strike. This is great for creating a little breathing space in an otherwise cramped storage room.
Proceed outside and take cover behind the pile of pipes. Multiple Palace Guards and Grenadiers attack in close proximity. Use the Hammerburst or Lancer to down the ones with the Torque Bows. Then swap out your Gnasher for a Torque Bow. Hang back behind the pipes or columns, and don’t advance too far.
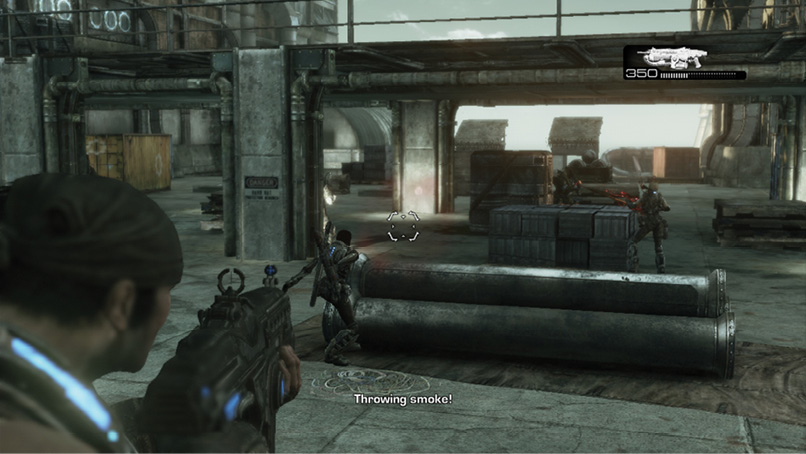
Continue to the generators and winches at the edge of the tracks—note the Troikas ahead! More importantly, a number of Shriekers is fast approaching! Stay behind cover from the turrets, and take out the Shriekers.
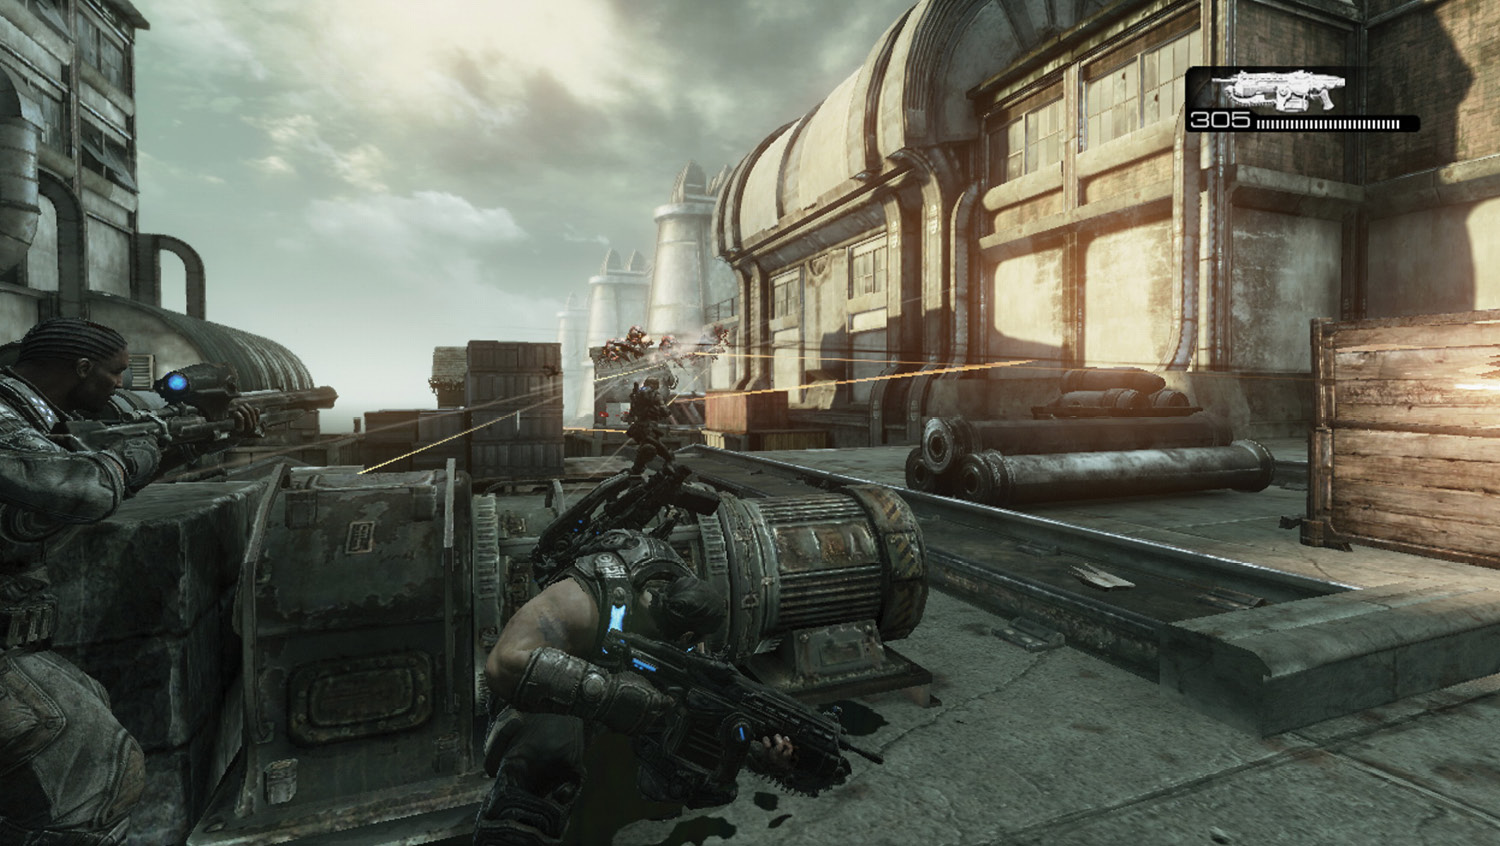
The sidebar tip describes using the carts of unstable ordnance to take out the Troikas. Another way is to use a Torque Bow dropped by a Palace Guard. Aim a highly charged arrow into the front of the turret. Don’t worry about targeting the Drone that mans the Troika—just stick the arrow into the mounted gun to score the kill with splash damage.
Grab the Incendiary Grenades from the container on the lower right corner, and continue through the door on the left. Call the lift, collect the available ammo, and then ride the lift upward.
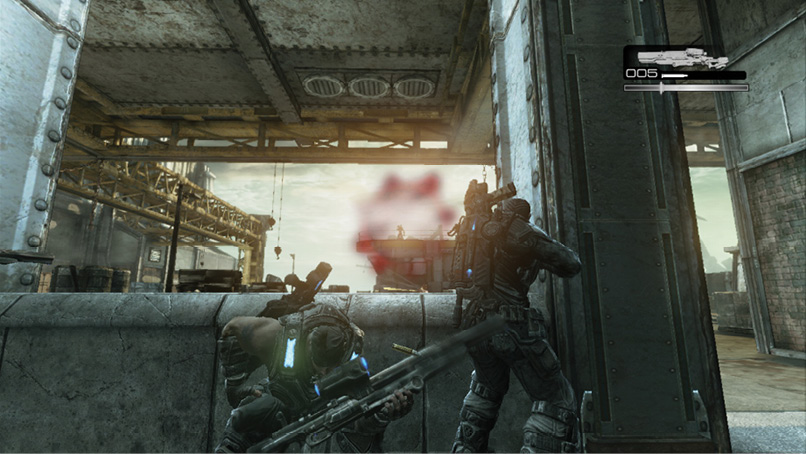
Immediately take cover behind the half wall where the Longshot is. Use up any remaining Torque Bow arrows, and then grab the Longshot to start sniping. Target the Kantus and then the Boomer approaching at close range. Hit it with Incendiary Grenades and the Torque Bow or Hammerburst. Use the Longshot to snipe the Grinder on the stairs far to the right.
If you run out of power weaponry and explosives when the second Palace Guard wave closes in, you can sprint through the building to the left and move up the side to a prime flanking position.
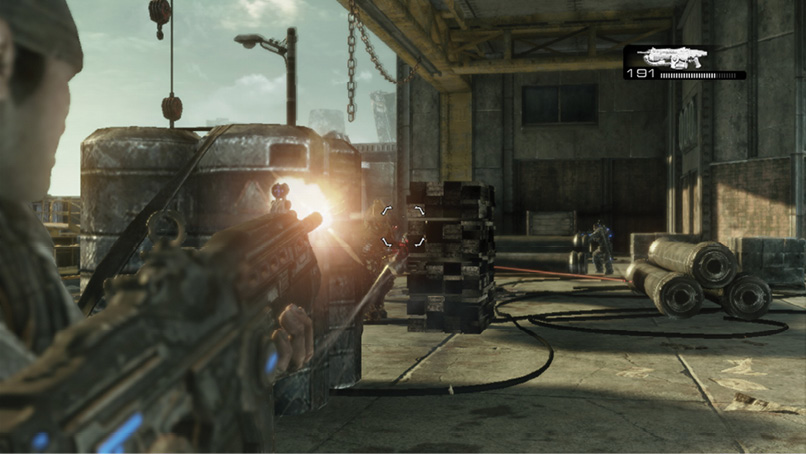
Pick off other Palace Guards near the Boomer, and gather the weapons. A Gas Barge soon appears, along with a number of Shriekers. Stay back in cover, and use the assault rifle to kill the Shriekers. Switch to the Torque Bow or Longshot to nail the Palace Guards as they rappel from the Gas Barge in the distance. Advance along the ship’s left side and grab the Boomshot that the Boomer drops—save it for later. Use a power weapon and an Incendiary Grenade to take out the remaining Palace Guards.
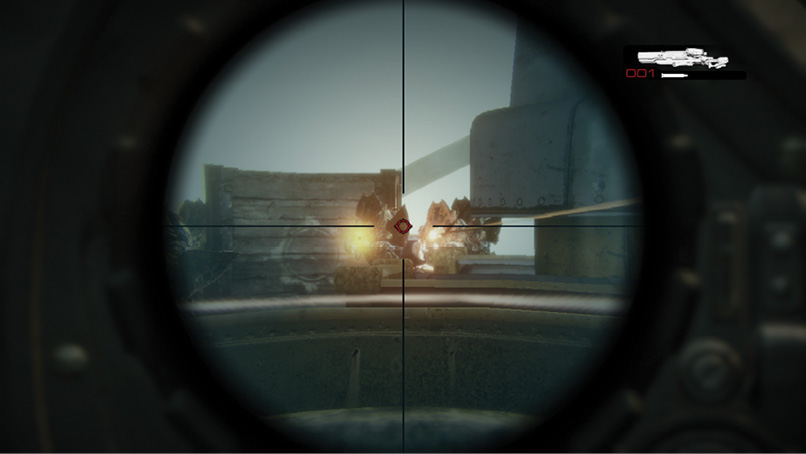
Follow Jace’s suggestion and enter the maintenance bay in the back-left corner. Multiple enemies are inside the maintenance bay, including a Kantus on an upper walkway and a slow-moving Mauler down low. First target the Kantus with any ranged weapon you have. Then sprint across the upper level where you enter to grab the Incendiary Grenades. Lob one down to the Mauler and Palace Guards at the base of the stairs.
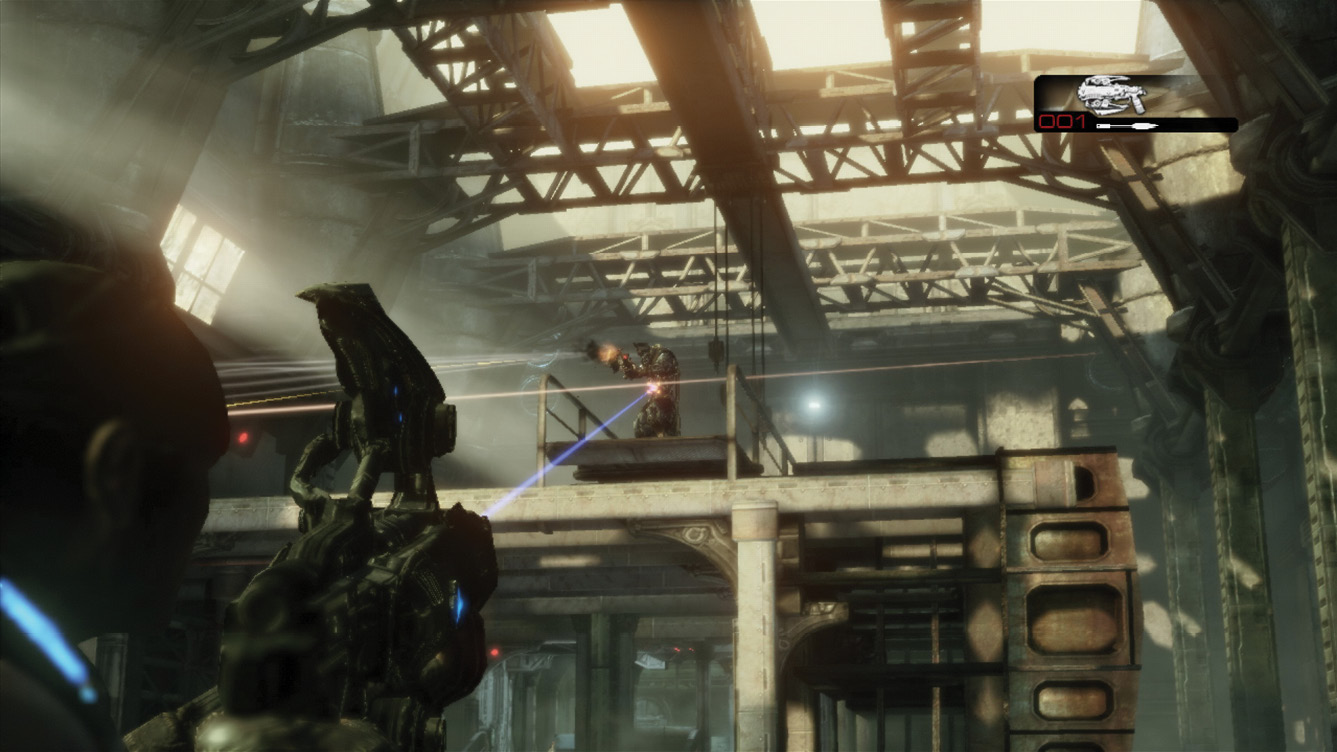
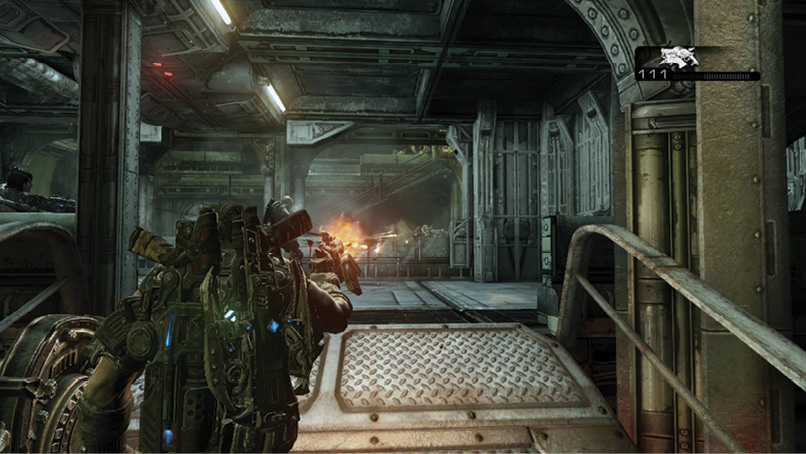
Pick up the Boomshield and make your way up the slope toward the Palace Guards and Grenadiers further ahead. Keep the Boomshield in front of you, and use the Gorgon Pistol to attack. Fight your way up the ramps, grab the ammo, and switch to the Gnasher to finish off the two Palace Guards atop the steps in the corner. The rotor you seek is on a wooden pallet directly ahead.
|
 CO-OP TACTIC
 Use the Loader to Pick Up the Rotor
Circle around the top of the walkway to find a loader.
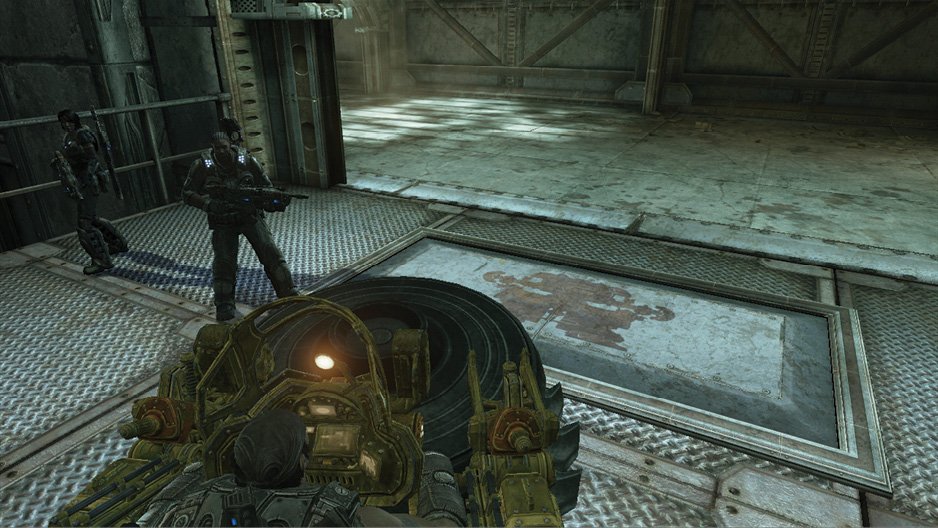
Board the loader and pick up the rotor just as Cole did back at Hanover. Step onto the large plate in the floor adorned with the loader’s silhouette. This pressure-sensitive plate controls the door that only a loader can open.
 Carry the Rotor Back to the Sub
Step onto the loader floor plate to open the next door. There’s a delay while the previous door closes and the next one opens. This is normal; just be patient and head outside, where a massive Locust attack is being staged. Quickly steer the loader behind cover—the stack of metal barrels is a good place—and hop out.
Wretches attack first. Leave them for your squadmates to handle. Swap out your shotgun for the Boomshot on the ground to the left. Lob an Incendiary Grenade at the Boomer and Palace Guard moving in on the right. “Spot” any other enemies to focus your squad’s attention on them. Try to conserve the four Boomshot rockets for when the Reaver arrives. Stay in cover and take out the Reaver with the Boomshot.
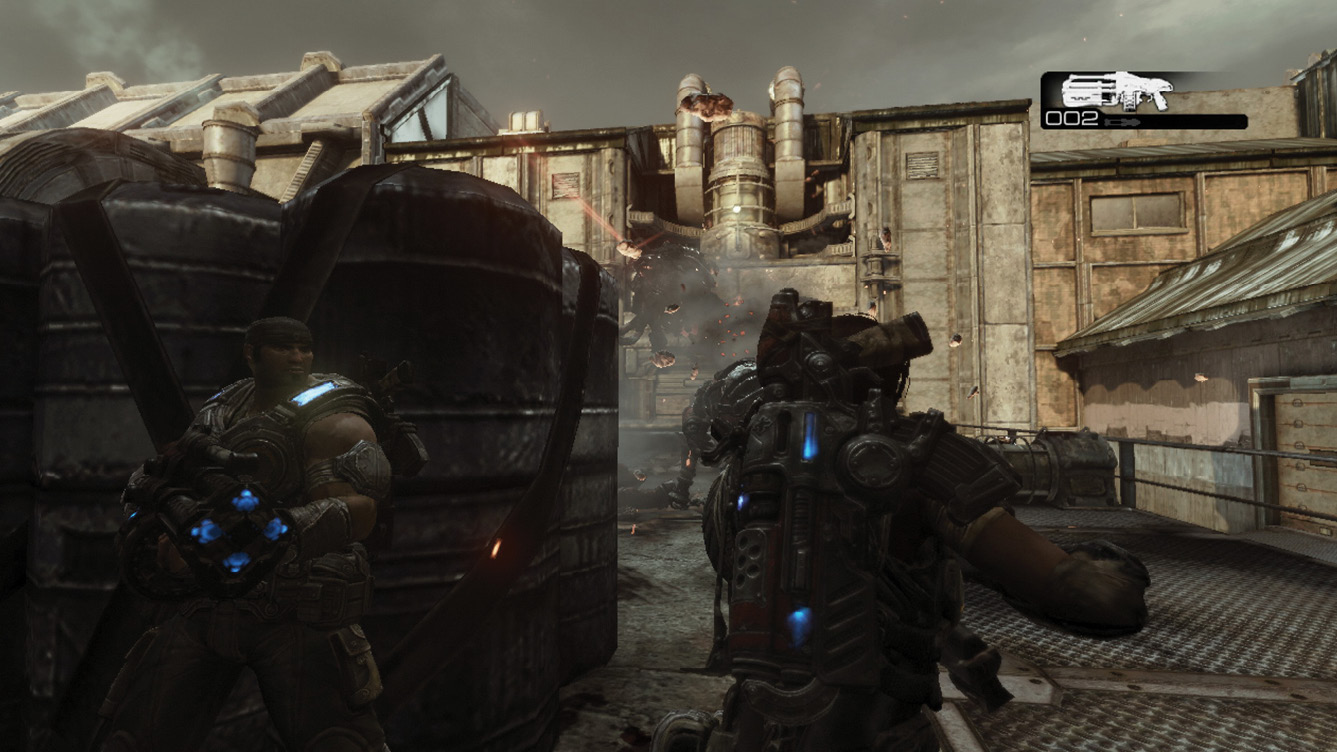
Get the extra set of Incendiary Grenades from atop the stairs on the left. Then board the loader and pilot it onto the floor panel to open the submarine bay door. Now that Dizzy has the rotor, it’s time to search for the fuel. (Skip ahead to the escort sequence if you’ve already located the fuel.)
Dockyard
 Find Fuel for the Submarine
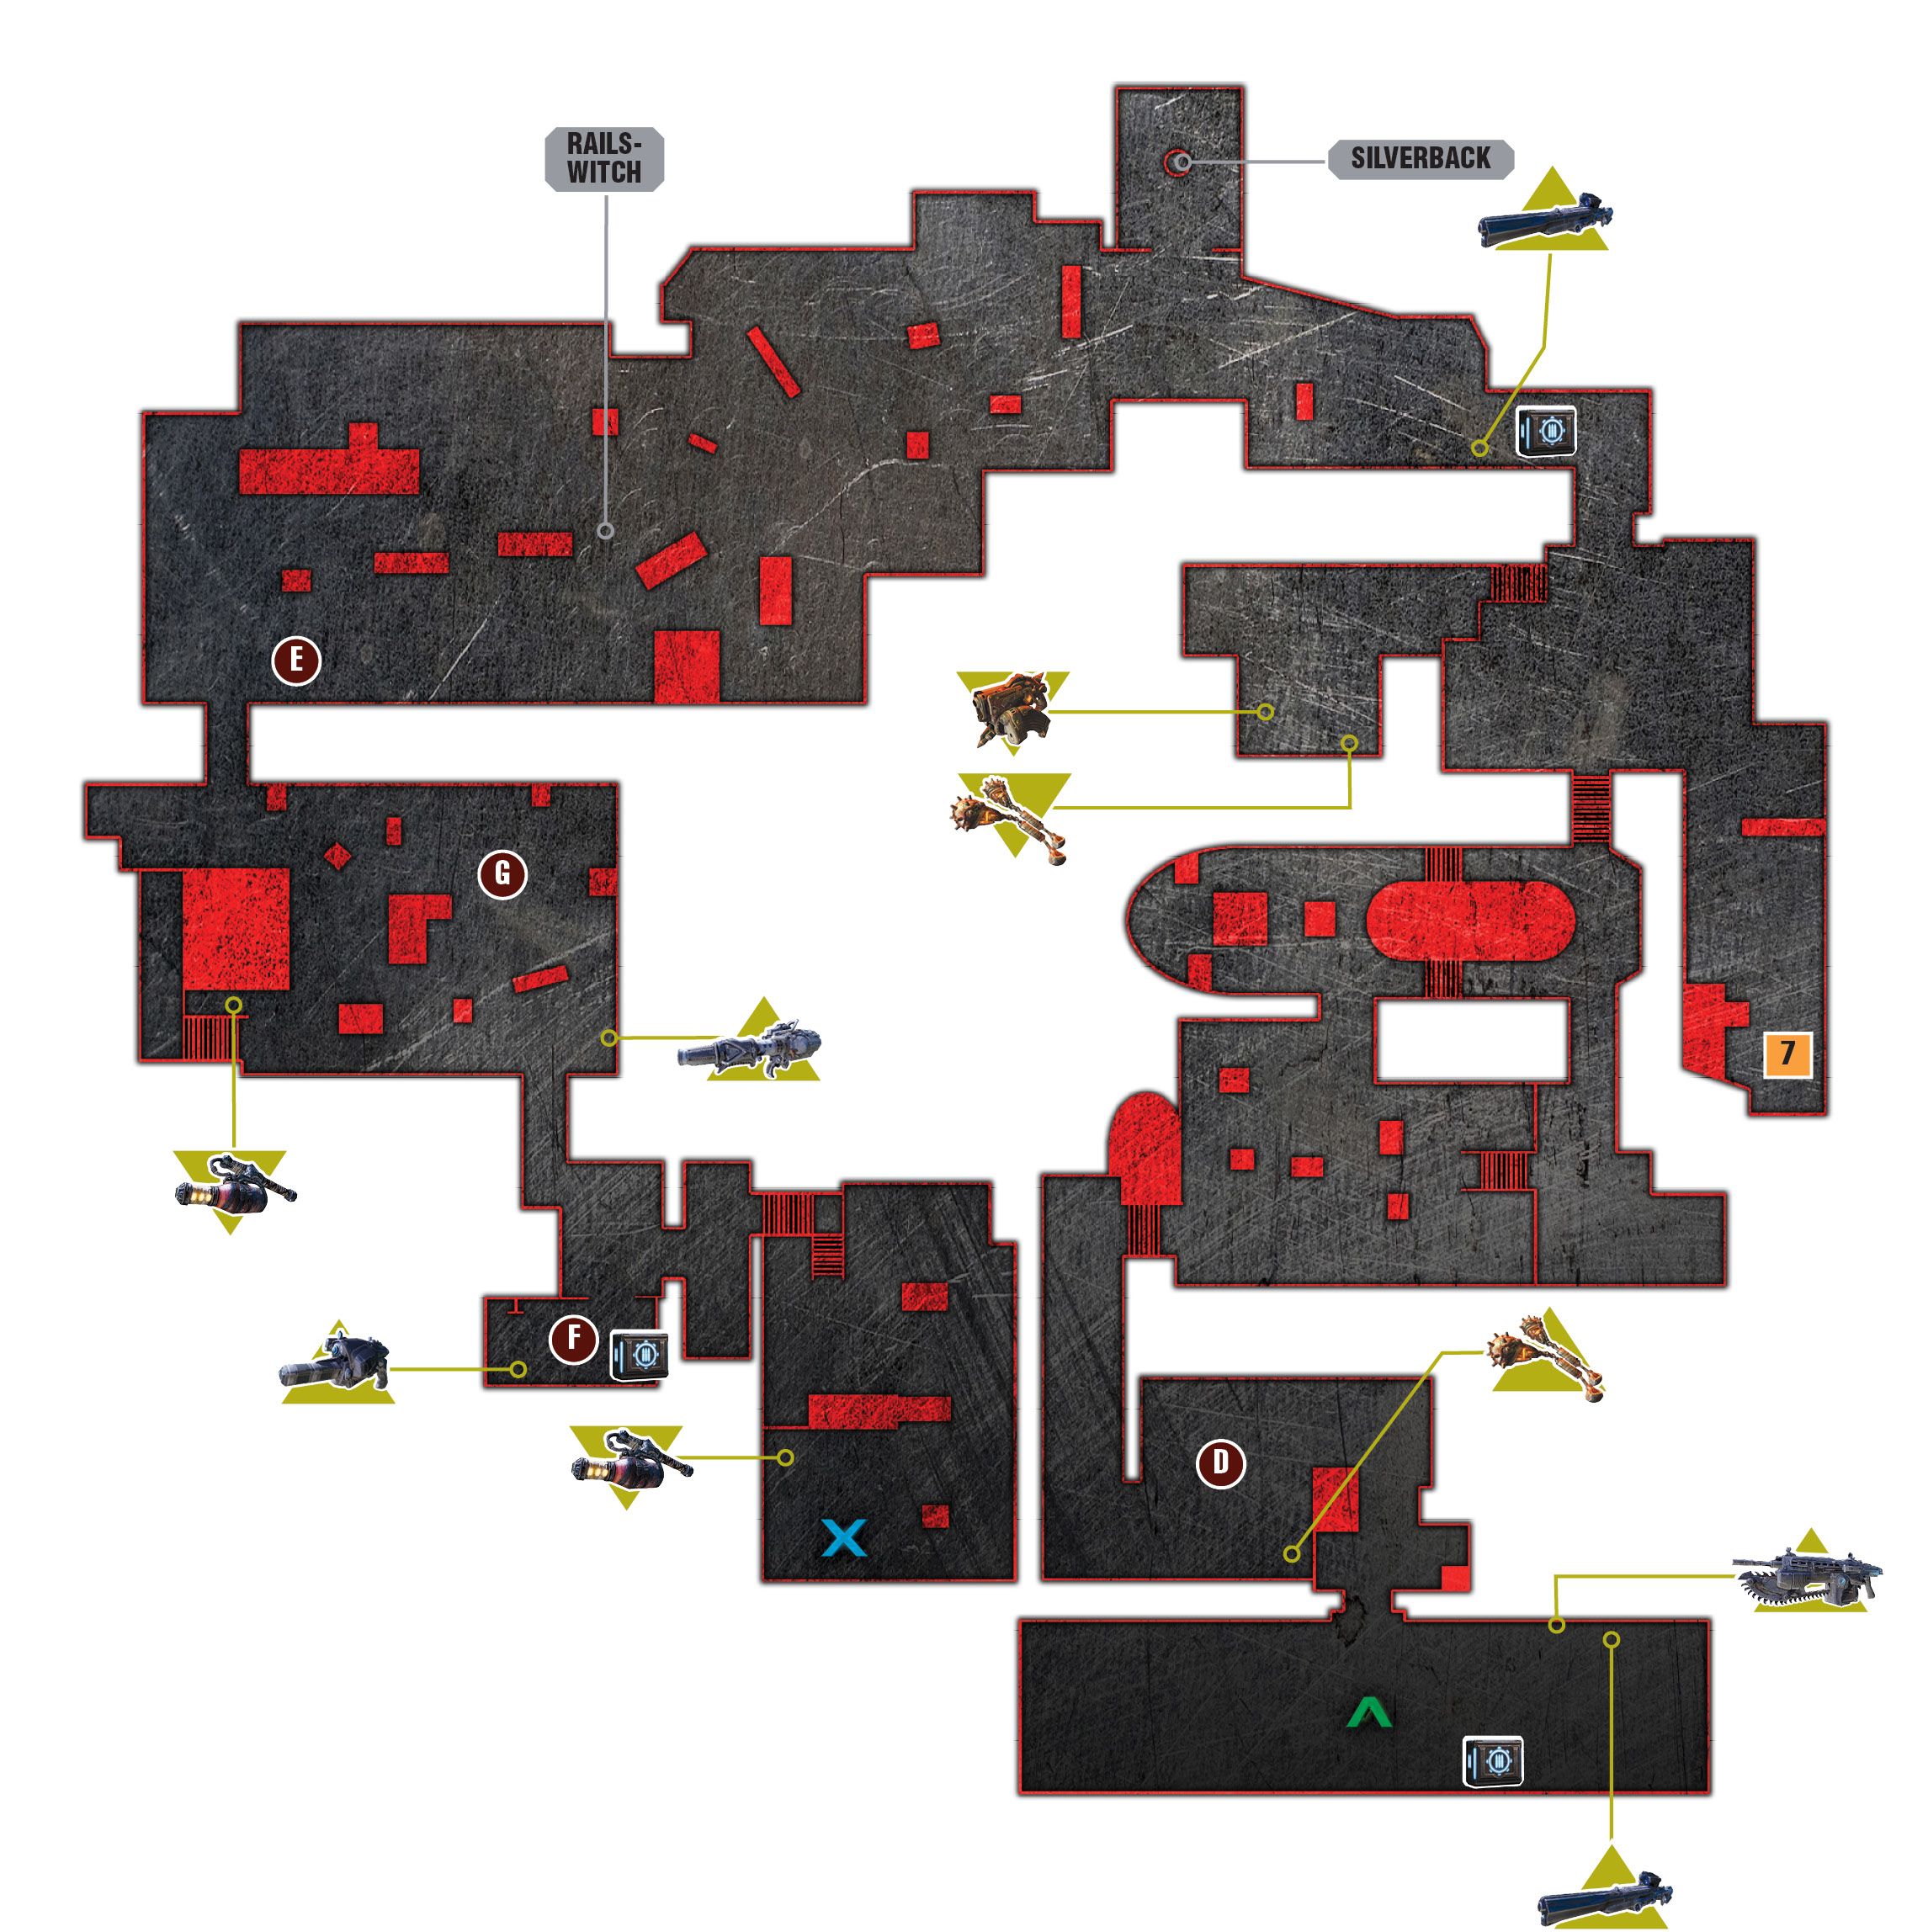
Before you leave the submarine bay, equip the Longshot and an assault rifle of your choosing from the weapon racks near the wall. Climb the stairs to the adjacent hangar and immediately take cover. Use the Longshot to snipe the Kantus up high. Then fire at the Troika and the Palace Guards spread throughout the area.
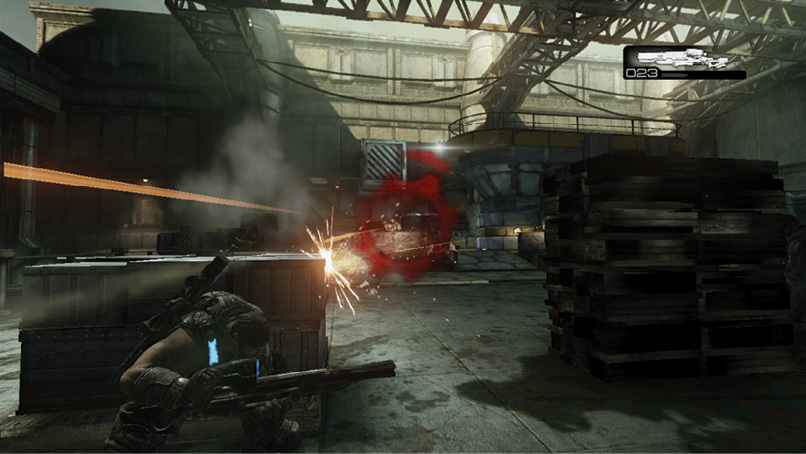
Continue through the door to the dockyard where a set of tracks is on the ground. Use the Longshot from nearby cover to pick off the Palace Guard near the blue container outside. Then make a sprint to the Silverback storage bay on the right. Pull the lever to open it, and hop aboard the Silverback inside.
Use the Silverback’s guns to rip through the Palace Guards and any Bloodmounts that are too close to risk using a rocket. Exit the shed, proceed around cover, and press the A Button to make the Silverback hunker down and initiate its rocket mode. Use rockets to take out Bloodmounts and any groups of Palace Guards down on the ground.
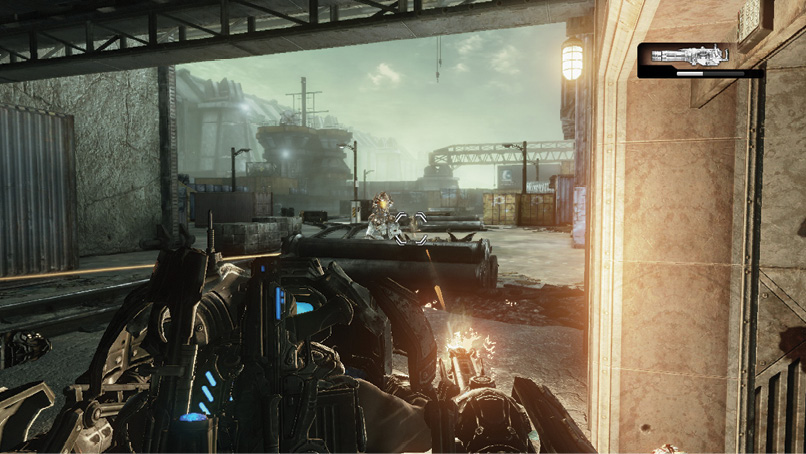
Fire rockets at the Locust manning the turrets, as well as those preparing Torque Bow attacks from atop the cargo ship’s deck. You can reload manually before you fire all four rockets. Do this to take advantage of lulls in the battle, as more Palace Guards move in to replace those you kill. Be careful with your aim, and compensate for the rocket’s relatively sluggish pace by leading targets that are in motion. Walk the Silverback out past the Rail C control lever, to where the squad identifies the fuel on the cargo ship.
 Use the Brow to Get Onto the COG Cargo Ship
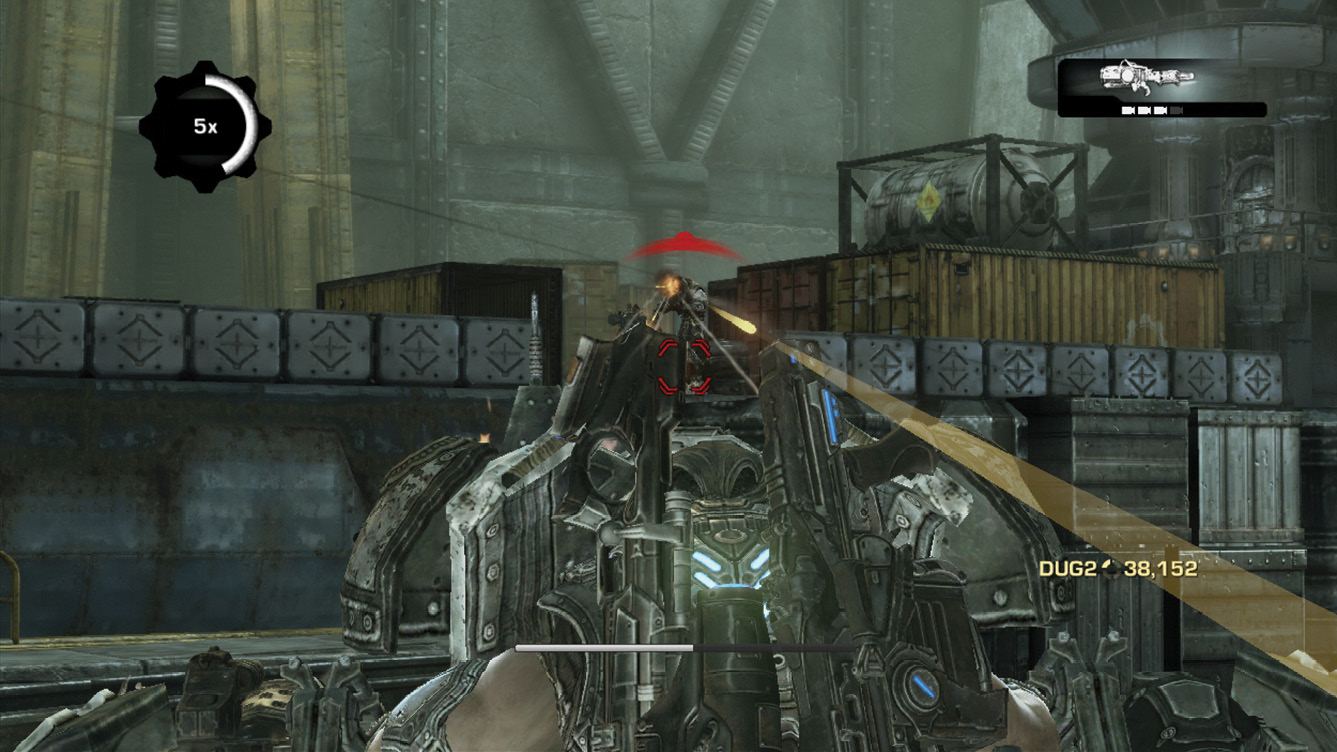
The brow, or ramp, is far off to the left; it needs to slide into its proper position to the right. Unfortunately, the lever controlling the brow’s position is far to the right. This requires a lengthy walk under fire from the shipboard turrets and Palace Guards.
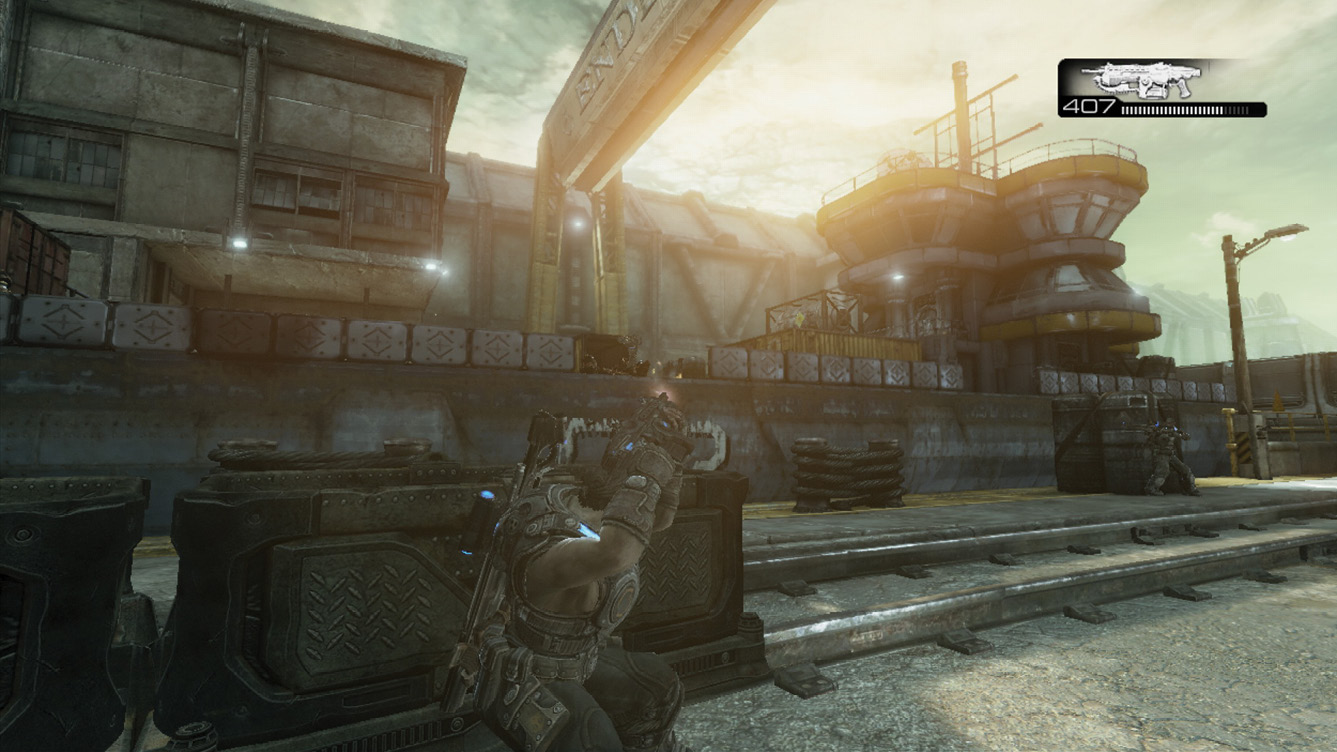
You can run to the controls in the Silverback if it’s still in good shape. Another option is to pull the lever on the Rail C controls and slide into cover against the two small carts. The carts move along the tracks from left to right. Marcus walks along, in cover behind them, just as before.
 Use the Crane to Put the Fuel onto the Conveyor
Board the Silverback and pilot it up onto the cargo ship’s deck. Use it to take out the Kantus that exits the control room in the distance. No additional Palace Guards spawn on the deck once you ascend the brow. Kill those that are still there, and rest easy knowing that no additional enemies will spawn. Finish off the others. Note the Mortar in the container on the left—leave it there for the time being. Exit the Silverback.
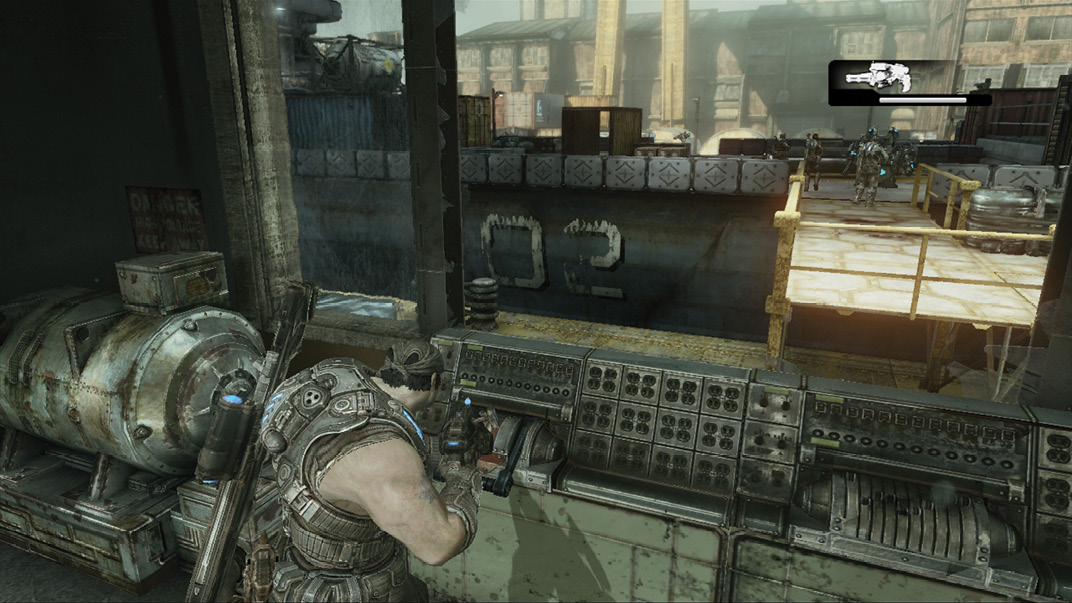
Enter the Crane Control room, load up on assault rifle ammo, and equip the Hammer of Dawn. Pull the lever for the crane. The crane automatically moves the fuel onto the conveyor to initiate delivery to Dizzy.
 Protect the Fuel from the Counterattack
Sprint out of the crane control room and grab the Mortar from the container on the right. Rush into cover and rain Mortar fire near the rail tracks where you were earlier. The Locust are trying to board the cargo ship and stop the fuel transfer—it’s up to you to stop them!
Carpet bomb the area near the Gas Barge as it deploys a small army of Palace Guards. You have three shots, so make them count. Fire the third one shallow, toward the brow, just in case some slipped past the earlier salvos and are on their way up the ramp.
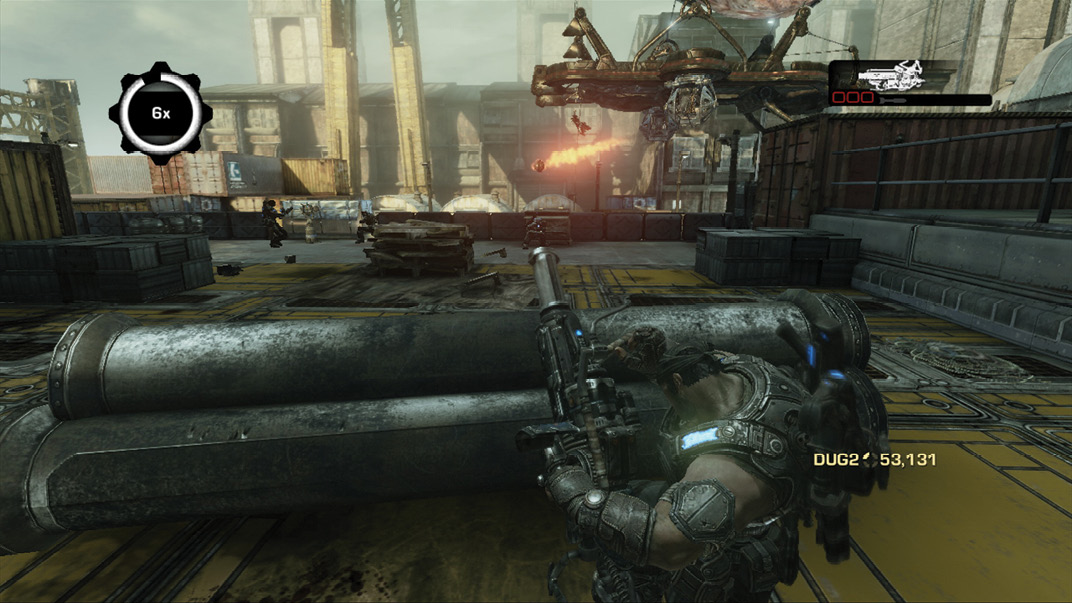
Cast aside the spent Mortar. Equip the Hammer of Dawn to deal with the inbound Reavers and Bloodmounts. Try to aim tight within a group of enemies, and then “paint” the ground with the Hammer, continuing to hold the trigger to take out the others nearby.
Use up the Hammer of Dawn’s energy. Then man the nearby Troika to finish off the others as they march toward the brow. Turn around and exit the area via the door to the left of the crane control room.
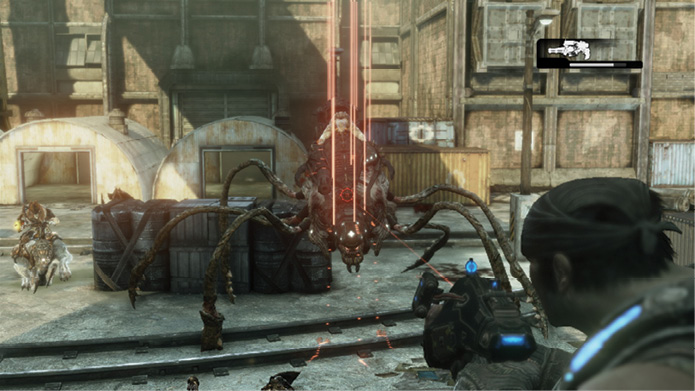
Submersive Hangar
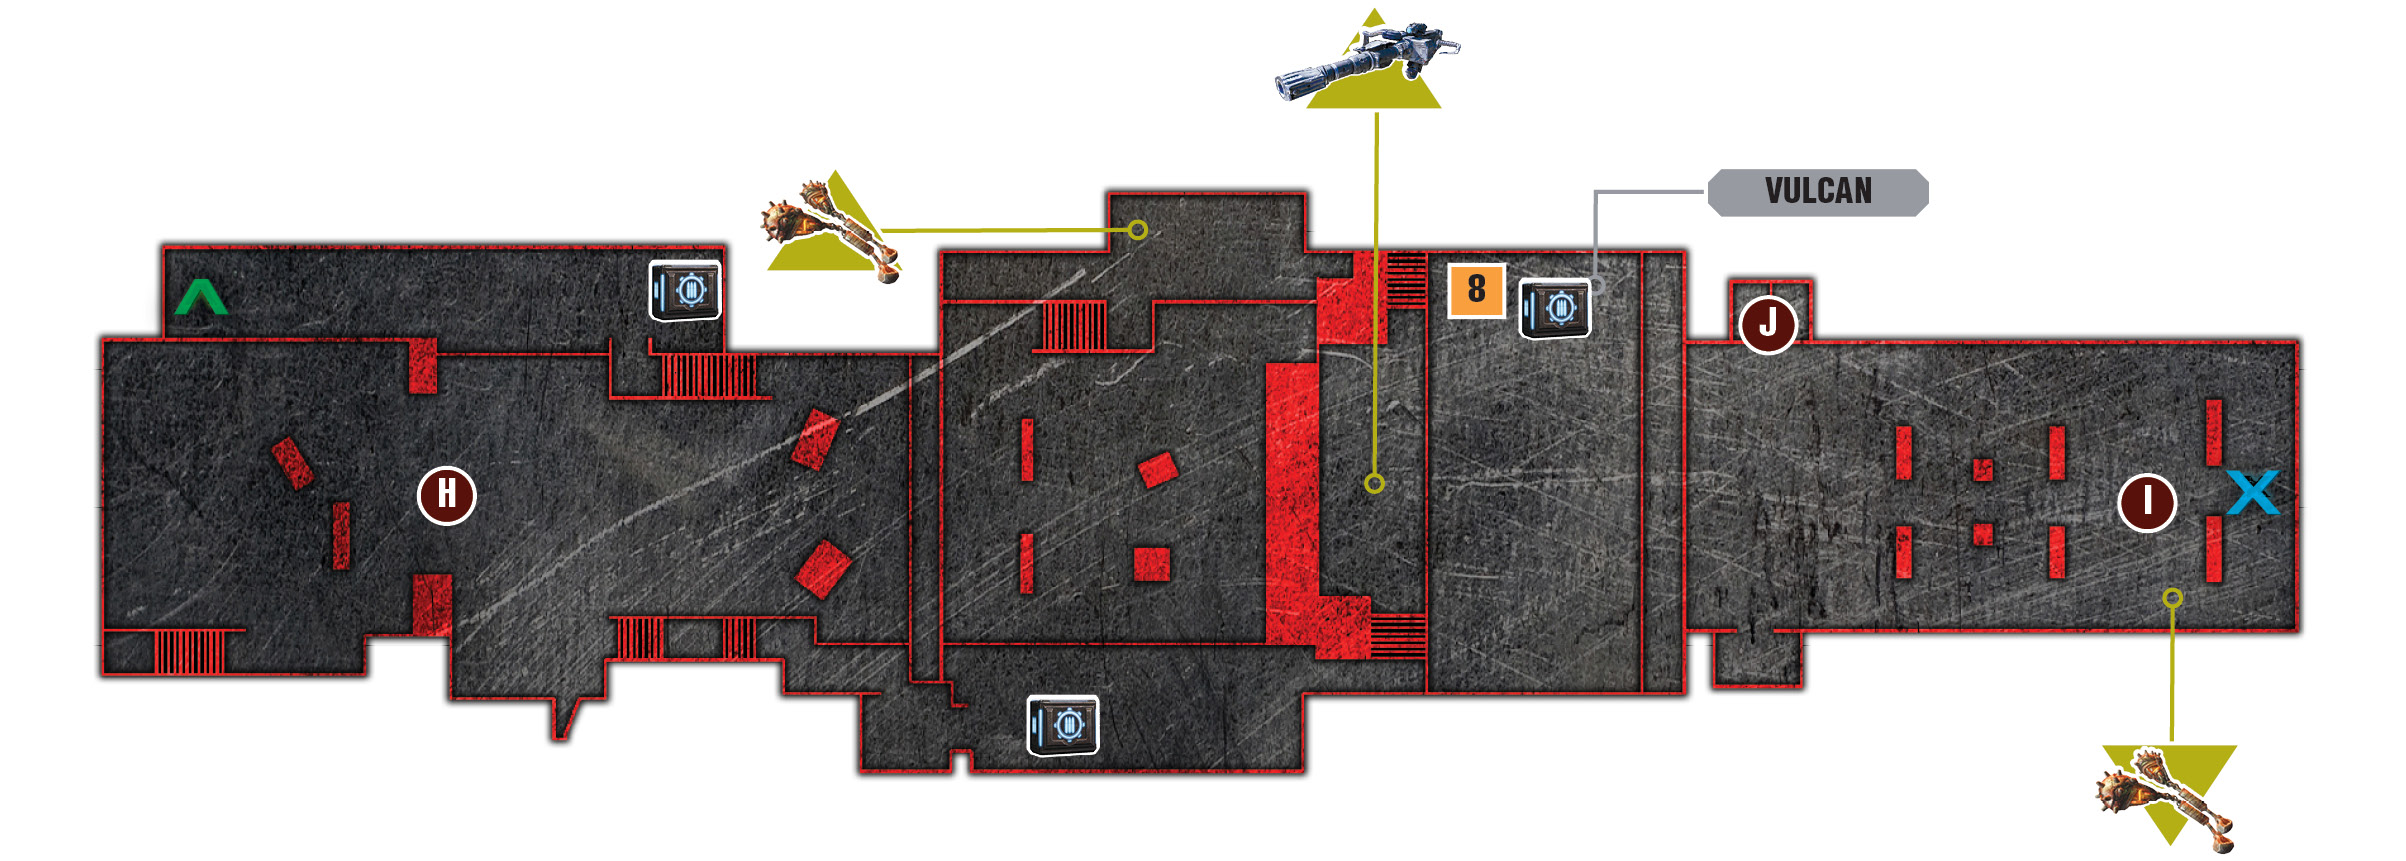
 Escort the Sub to the Water Dock
Dizzy will open each of the hangar doors while the sub progresses on the overhead pulleys. Massive Locust defenses are within each section en route to the dock. Marcus and the others split up, two to a side, and escort the sub to safety.
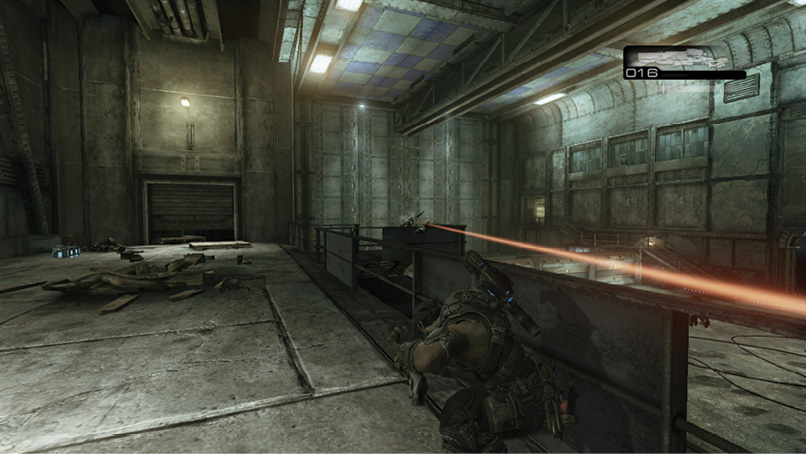
The first door opens and two Locust attack, one on the steps in the next room and, more importantly, one behind the pallets. Use the assault rifle to cut through the pallets and reduce his cover, and then mow him down. Kill the one on the stairs and take its Torque Bow. Lend support to the other two squad mates on the ground; heave a long-distance Incendiary Grenade at the Boomers on the floor below.
When the second gate opens, a Boomer, Shriekers, and Palace Guards attack. First use ranged weapons to take out the Boomer. Then switch to an assault rifle and focus on the Shriekers. Finish off the Palace Guards using the tactics that have gotten you this far.
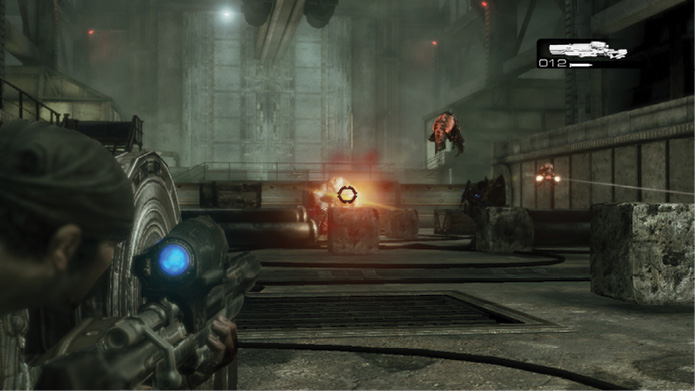
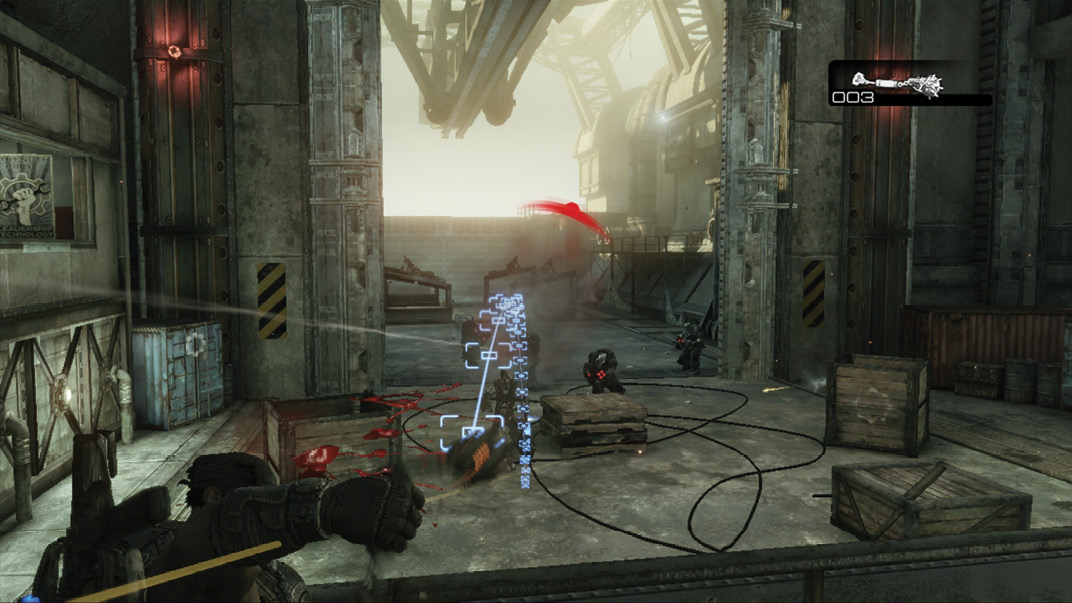
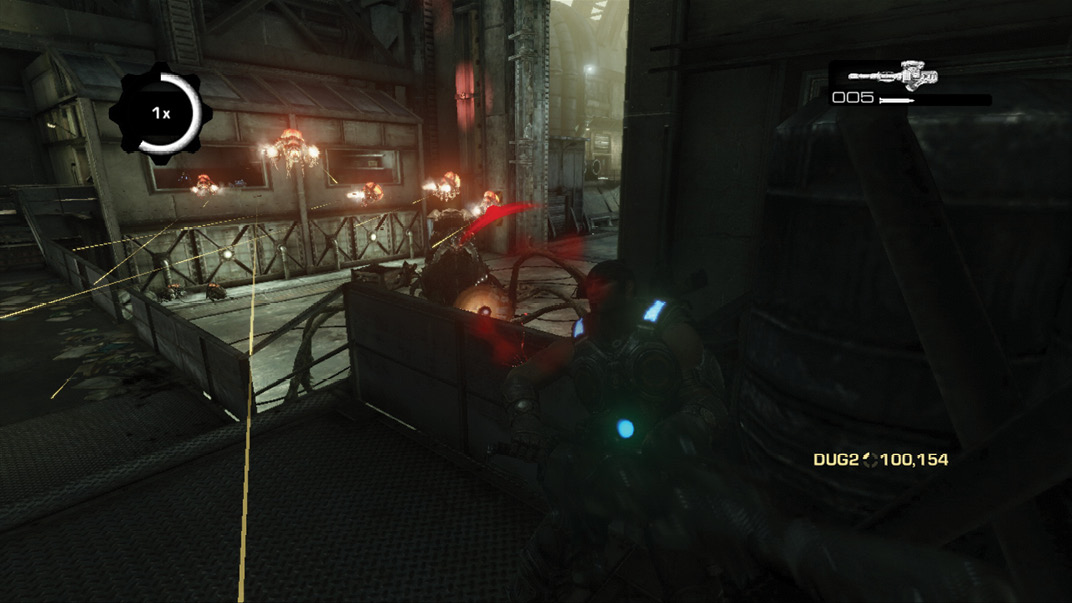
The third and final set of hangar doors is just ahead. The foursome is back together for the final battles, and it’s a good thing too! Grab the Frag Grenades and move to the bridge’s center to join Jace and Sam. Pick up the OneShot and use it against the Boomer, Grinder, and Kantus that attack. Carry the OneShot up the stairs on the center bridge’s far side to have a bit of cover from the Reaver’s attacks. You want to be high to get a clean shot at it and to be above its rocket blasts.
|
Descend the ramp to ground level. You can’t carry the OneShot over the obstacles, but you can pick up the dropped Boomshot and Mulcher on the other side. Carry both of them beyond the third door to the water dock. Also look for the Gorgon SMG that the Kantus dropped.
 Defeat the Armored Kantus
The battle is about to get a lot tougher with the introduction of the Armored Kantus. The Armored Kantus has incredibly resilient armor that makes most bullets bounce right off. It can resurrect fallen enemies and roll up and zip across the floor in a buzz-saw-like attack. The Armored Kantus is equipped with dual Gorgon SMGs.
The Armored Kantus is your top priority, and using explosives against it is all but mandatory. The Boomshot, Torque Bow, and Frag Grenades are most useful. It’s also vulnerable to flame-based weapons. You can also shoot the Armored Kantus in the face, particularly in its open mouth when it screams.
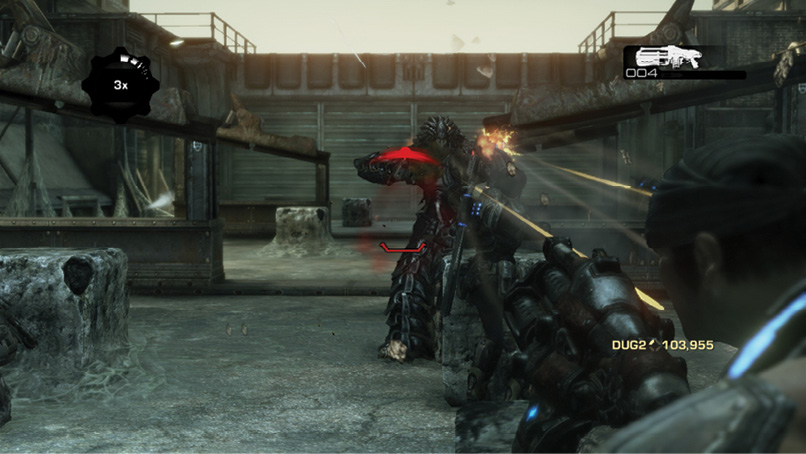
Use the weapons you have to kill the lone Armored Kantus. Then pick up the Mulcher and mow down the others in the area. Three waves of reinforcements attack next, including multiple Armored Kantus and two Serapedes, along with more Palace Guards.
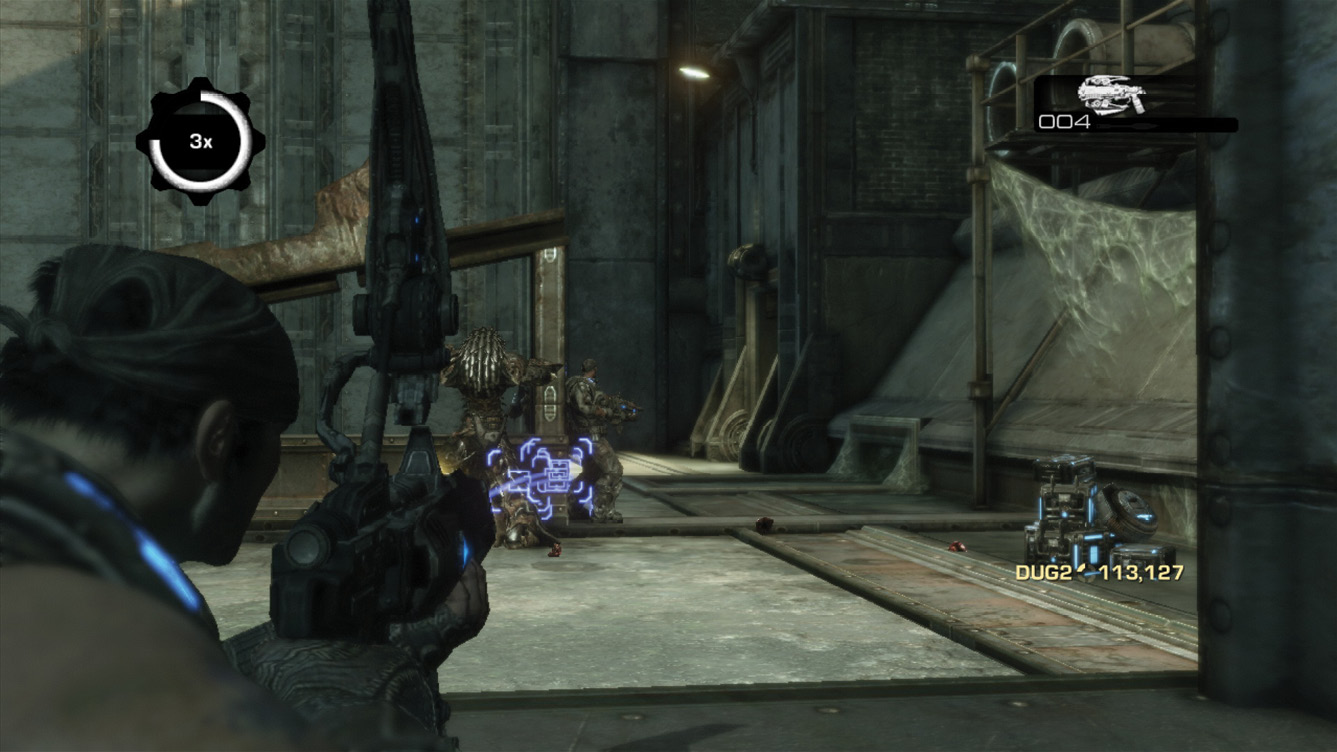
Continue using your explosive weaponry, and focus on the Armored Kantus. Keep cover and obstacles between you and them to avoid their buzz saw attack. They often yell after they exit their spin attack. Stand back and fire at their mouths!
 Use the Valve Control Wheel to Flood the Dock
It’s time to set sail for Azura—or at least meet up with Cole and Baird outside the Maelstrom. Enter the small control shed near the third door, and turn the wheel to flood the dock and head out to sea.