
Gears of War 3 Guide Basic Training
Combat
Rather than risk overwhelming readers with a wealth of complex details about weapon usage, ranged combat, and enemy behavior in this section of the book, we’ve shifted much of that information to their respective chapters. Our goal is to introduce advanced tactics gradually throughout the campaign walkthrough, so players who are new to the series can use those concepts on the spot. Nevertheless, we’d be remiss if we didn’t discuss Active Reloads, Executions, and Meatshields before we send you off into combat.
Active Reloads
There are two ways to reload your weapons in the game: you can press the Reload button and wait for the process to conclude; or you can tap the Reload button to start the process, and then tap it a second time as the needle moves into the gray area to perform an Active Reload. The second method results in a much faster reload process.
The Active Reload meter appears on the screen’s upper-right corner. As soon as you press the Reload button (or once the weapon runs out of ammo), the needle moves across the meter from left to right. Pressing the Reload button a second time while the needle is in the black area results in a failed Active Reload. This actually prolongs your reload process. You’ll undoubtedly grumble alongside the character on the screen when this happens.
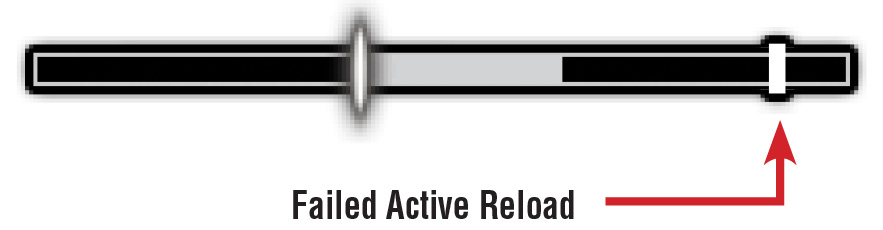
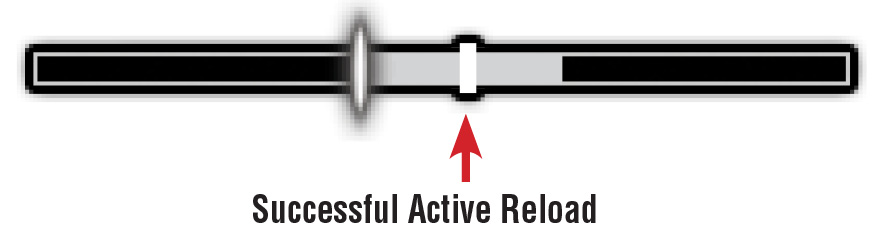
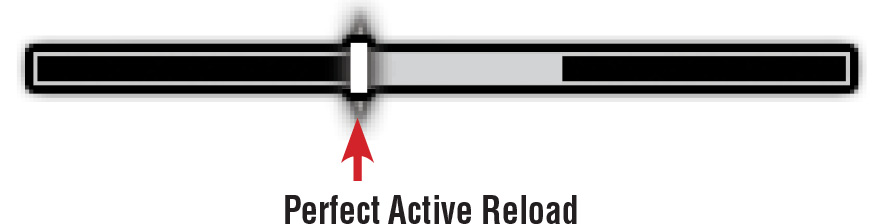
Stopping the needle inside the meter’s gray area counts as a successful Active Reload, speeding the reload process. There’s a third option: the Perfect Active Reload. Stop the needle on the sliver of white within the success zone to execute this feat. It speeds your reload and bestows a weapon-specific bonus. Perfect Active Reloads often yield a 20% damage bonus for the reloaded rounds, but some weapons benefit in other ways, such as increased range or a faster firing rate. Whatever the bonus, it doesn’t last forever—rather, it wears off after several seconds. See this guide’s Campaign Arsenal and Multiplayer Arsenal chapters for the specific bonuses attributed to each weapon in the respective play mode.
Performing an Active Reload isn’t hard once you get the hang of it. Each weapon’s meter varies, along with the success zone’s width. Monitor the needle’s progress as you first get familiar with this system. Before long, you’ll simply know the pace and be able to do it instinctively without looking.
Executions
Not every enemy dies immediately after you deplete its health. As long as a headshot or an explosion doesn’t kill them, humanoid Locust (Drones, Grenadiers, Palace Guards, and so forth) drop to their knees in a state often referred to as DBNO (Down But Not Out). As with the Gears, Locust that are DBNO try to crawl toward their teammates with the hope of being revived. In the absence of nearby Locust, they try to crawl behind cover, hoping to be revived or to eventually bleed out.
You can finish off a downed opponent from distance, but it’s much more fun—although a bit risky—to rush in for an execution. You can perform multiple types of executions. For instance, you can simply melee a downed enemy to kill it. You can also switch to a pistol and line up a true execution-style shot to the head from pointblank range. Another option is the old-fashioned curb stomp, made popular in the original Gears of War. Approach the downed enemy and press the X Button to perform the curb stomp. On top of all of this, there are also weapon-specific executions.
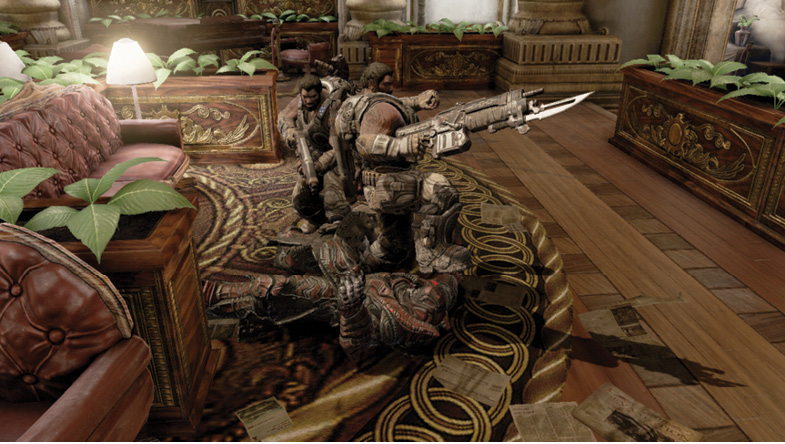
You can use each weapon in the game, including heavy weapons, to perform a special one-of-a-kind execution. Yes, even the Mortar! Down an enemy, switch to the weapon you wish to use for the execution, and then hold the Y Button as you stand next to the downed enemy. These animations tend to take several seconds, and they leave you extremely vulnerable as they run their course. It’s best to refrain from executions until you’re sure no other enemies are nearby.
MeatShields
As fun as it may be to perform an execution, it’s a terrible waste of a perfectly good bullet sponge. Why kill a downed enemy when you can use it as a meatshield? Press the X Button while you stand next to a downed enemy to take it hostage as a meatshield. Using a meatshield is a lot like wielding the Boomshield. With a meatshield in tow, you can use only a pistol, and shuffling along behind a meatshield significantly limits your mobility. Meatshields have been known to save the lives of hostage takers. Meatshields can soak up a Torque Bow discharge and even absorb a close-range Gnasher blast. The meatshield eventually disintegrates as it continues to take damage. You can also drop the meatshield by switching weapons or by pressing the X Button to make your character snap its neck. Don’t worry about freeing a meatshield, as the enemy technically “dies” as soon as you grab it.
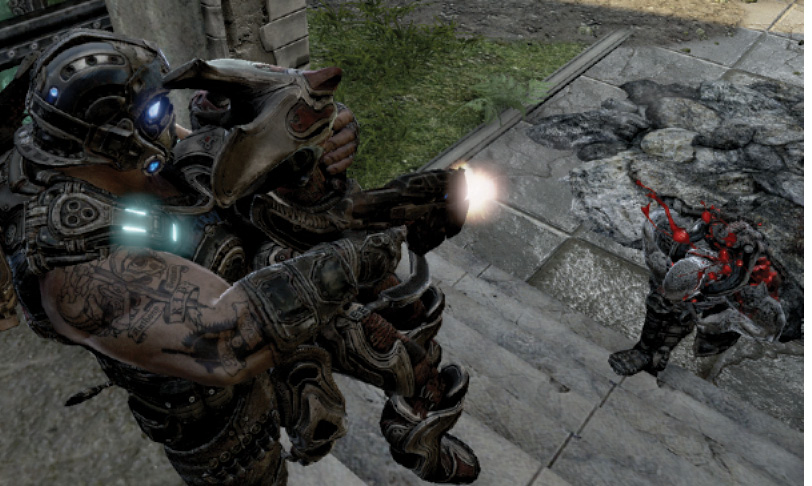
Bag and Tag
New to Gears of War 3 is the ability to plant a grenade in your meatshield’s back and kick it toward a group of enemies. To perform this wonderfully satisfying technique, simply walk with your meatshield toward a target until you’re about five yards from it. Tap Up on the D-Pad to plant a grenade in the meatshield’s back. Your character then kicks the meatshield forward toward the target in time for the grenade to detonate. As with many advanced techniques, you can perform a Bag and Tag in both the campaign and in multiplayer. They tend to play a greater role in multiplayer, if for no other reason than to humiliate human opponents.