
Gears of War 3 Guide Campaign Walkthrough Act 2
Chapter 6: Airborne
Objectives
Collectibles
|
 Destroy the Gas Barges attacking Dizzy.
 Rescue Dizzy.
 Collect guns and ammo.
 Defend the depot from attacking
  Reboard the Gas Barge.
 Manifest
 COG Tag
Marcus finally has his Gas Barge and, thanks to Baird’s quick thinking back at the crash site, they even have a navigation system to use. They’ve left the Seran Deadlands, but the route to Anvil Gate requires a lengthy flight across the Anvegad Plains. The Locust don’t seem to realize that one of their aircraft has been commandeered, but that’s all about to change.
Trading Depot
 Destroy the Gas Barges Attacking Dizzy
The flight across the Anvegad Plains is uneventful up until Marcus overhears an SOS from Dizzy. He’s at a trading depot that’s under attack and needs assistance. Fortunately, the two Gas Barges attacking him are loaded with ammo and present rather easy targets.
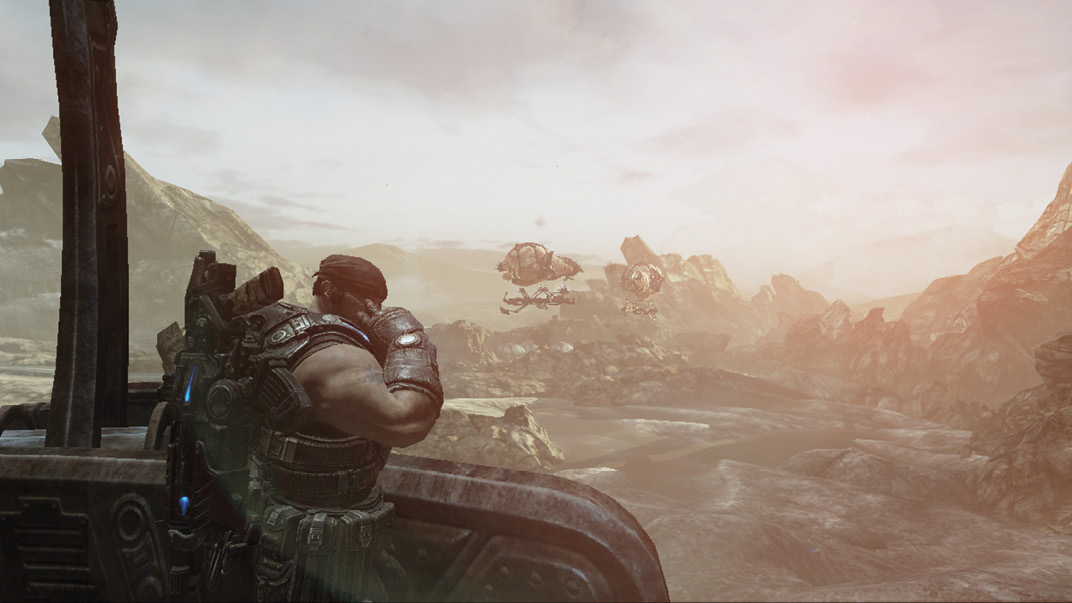
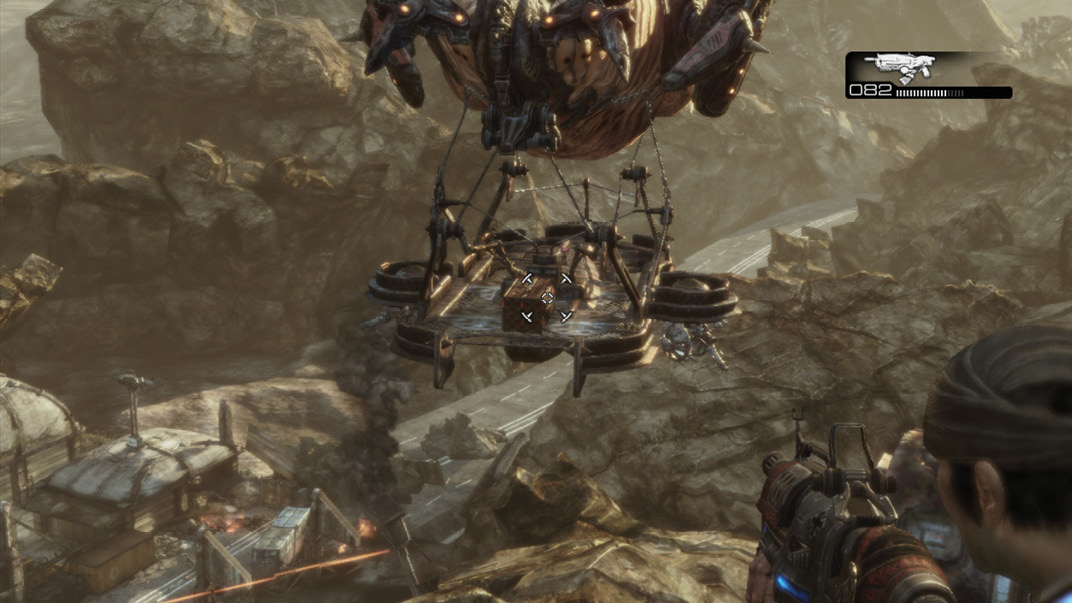
You can use the mounted cannons to blast the Gas Barge out of the air, but it’s easier to use the Hammerburst or Lancer. Nothing shoots at you, so line up your sights and fire a few rounds into the stack of red ammo crates on each of the Gas Barges. The resulting explosions take them down.
 Rescue Dizzy
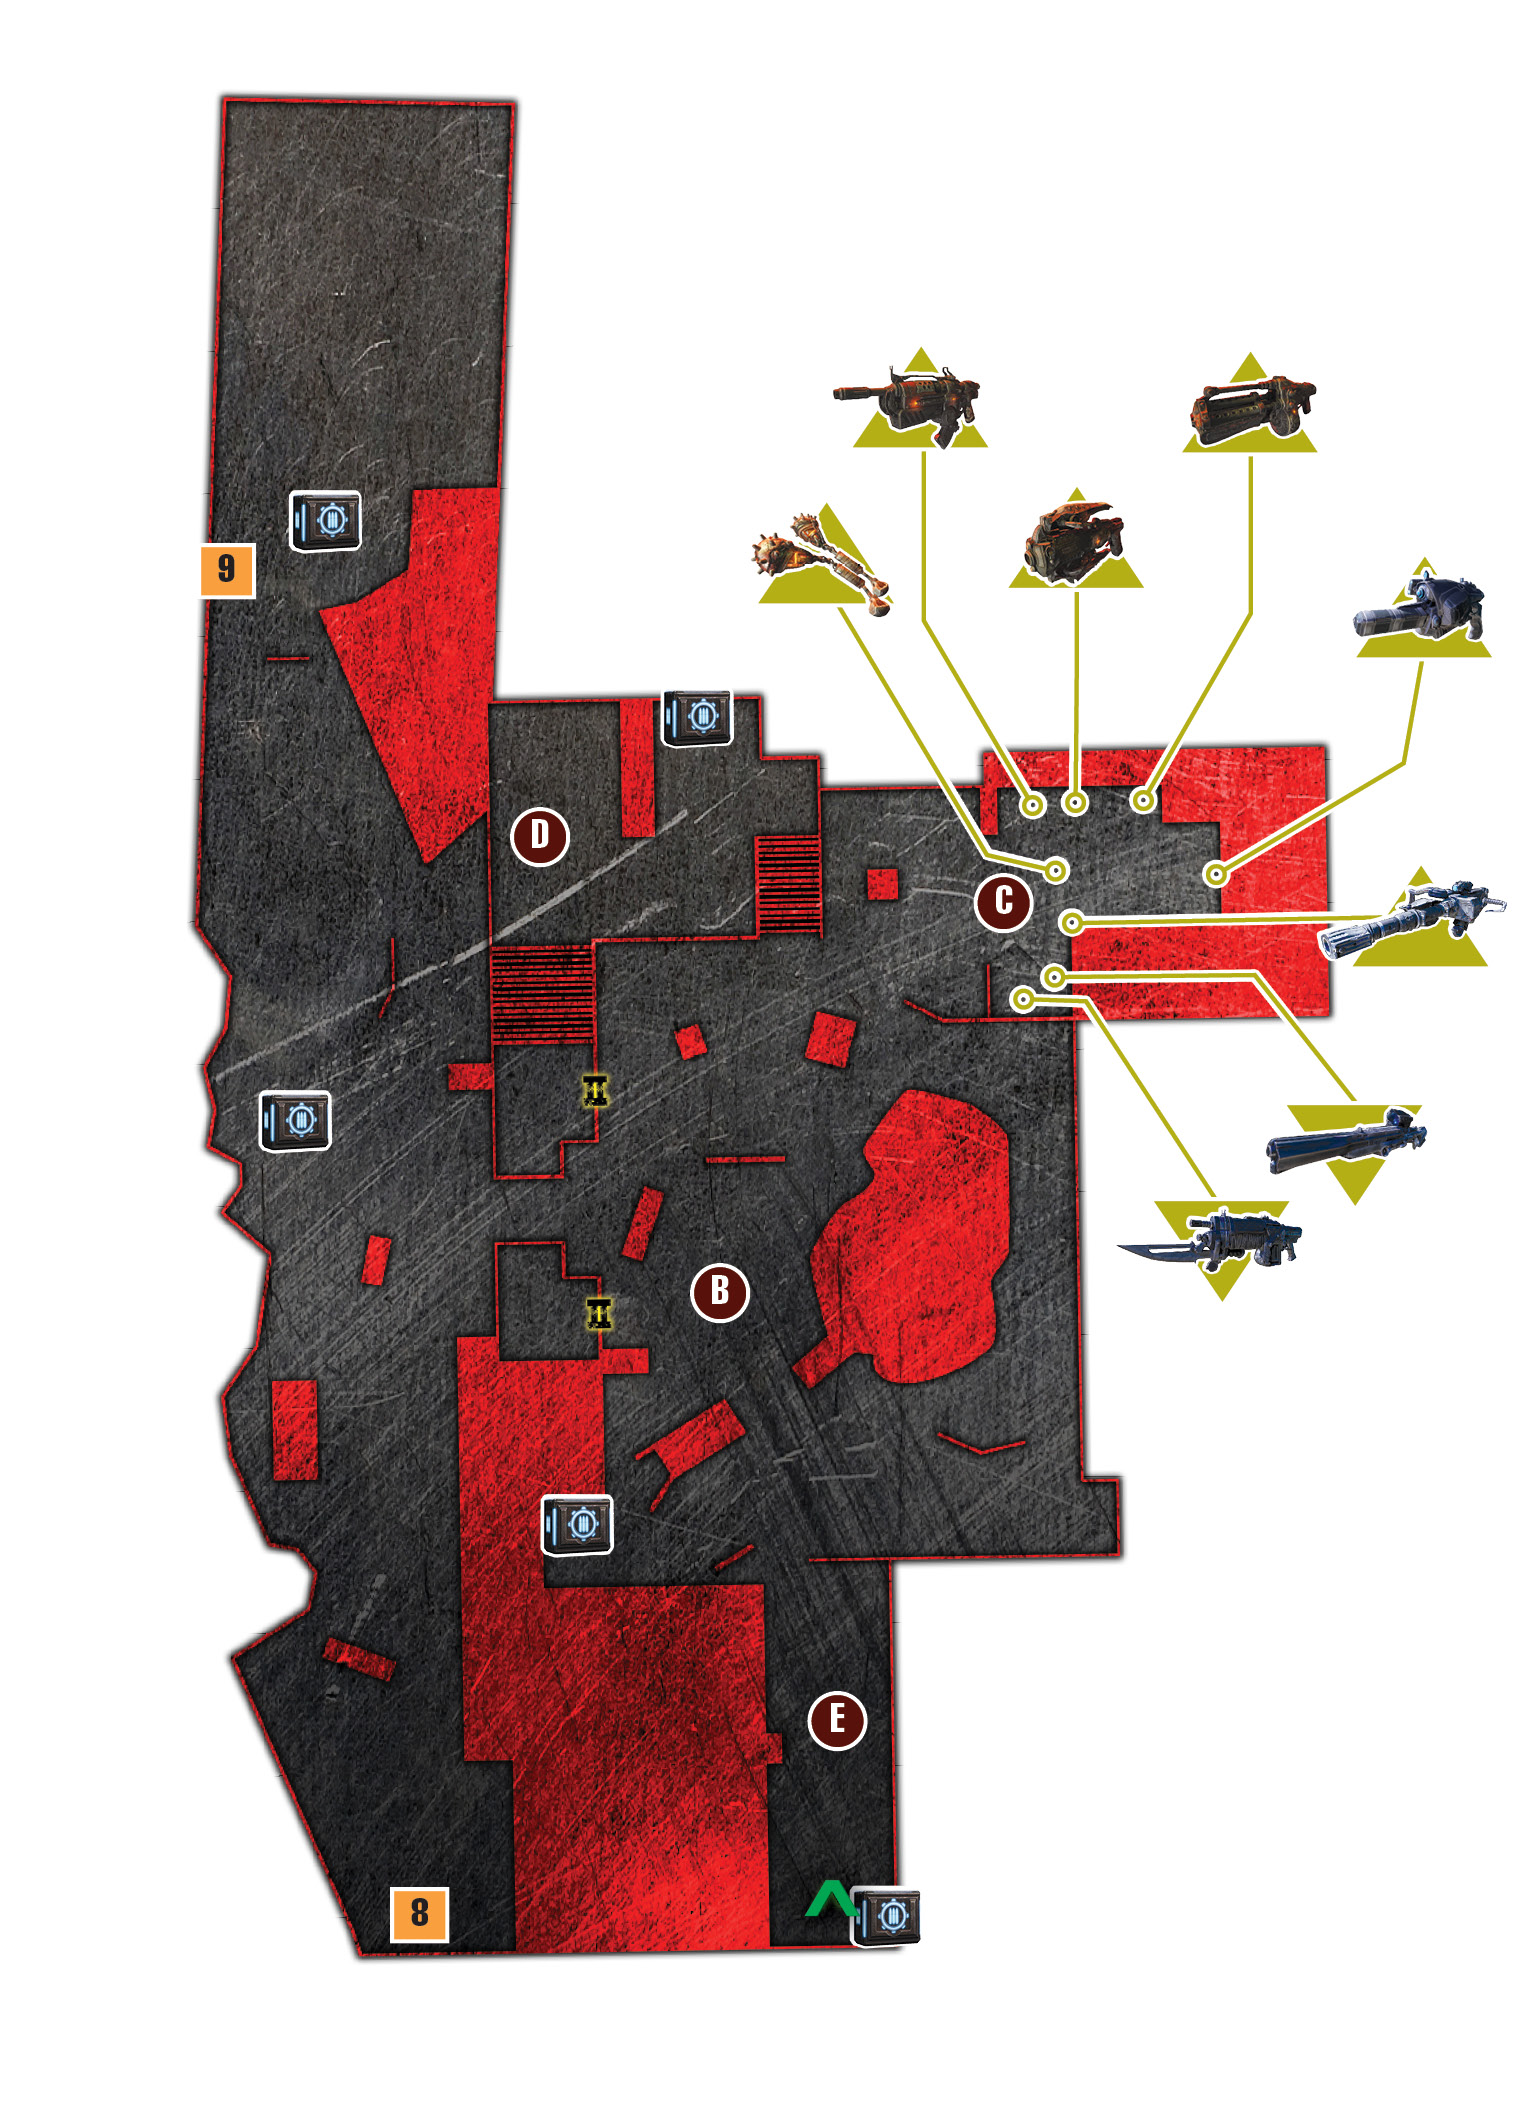
Dizzy is under extreme pressure from an army of Palace Guards. Baird sets down the Gas Barge just in time to join the fight. Quickly turn around and head down the alley to get additional ammo. Then rush forward to the bulldozer on the left, and open fire with your assault rifle.
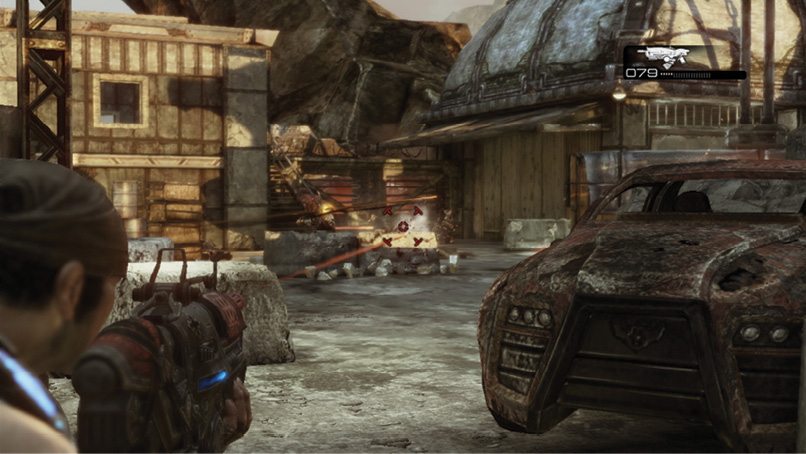
Palace Guards are in the windows straight ahead and behind the stone blocks in the back-right corner. Take them out first, and watch for one to climb the ladders on the left—this connects to the room with the window. Try to shoot him before he gets to the top of the ladder.
A Reaver soon lands atop the roof straight ahead. Roll to cover in the middle, behind the car, and open fire on it with your assault rifle or Boltok Pistol.
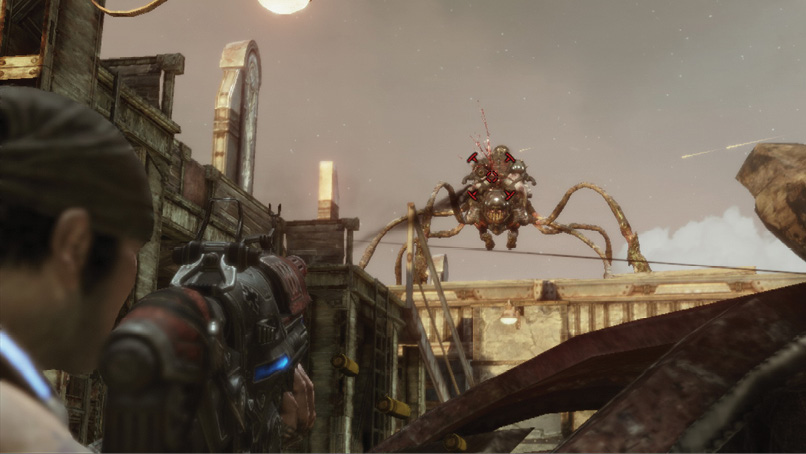
Finish off the remaining Locust and join Dizzy. He confirms that Hoffman and he were heading to Anvil Gate and that Hoffman does have the disc in question. Now it’s just a matter of catching up with him before the Locust do.
 Collect Guns and Ammo
This being a trading depot, it should come as no surprise that Dizzy has access to a massive armory. Top off your assault rifle ammo supply and give careful consideration to your power weapon of choice. It might be tempting to take the Torque Bow or Boomshot, but it’s wiser to pick up the Hammer of Dawn in the back-left corner.
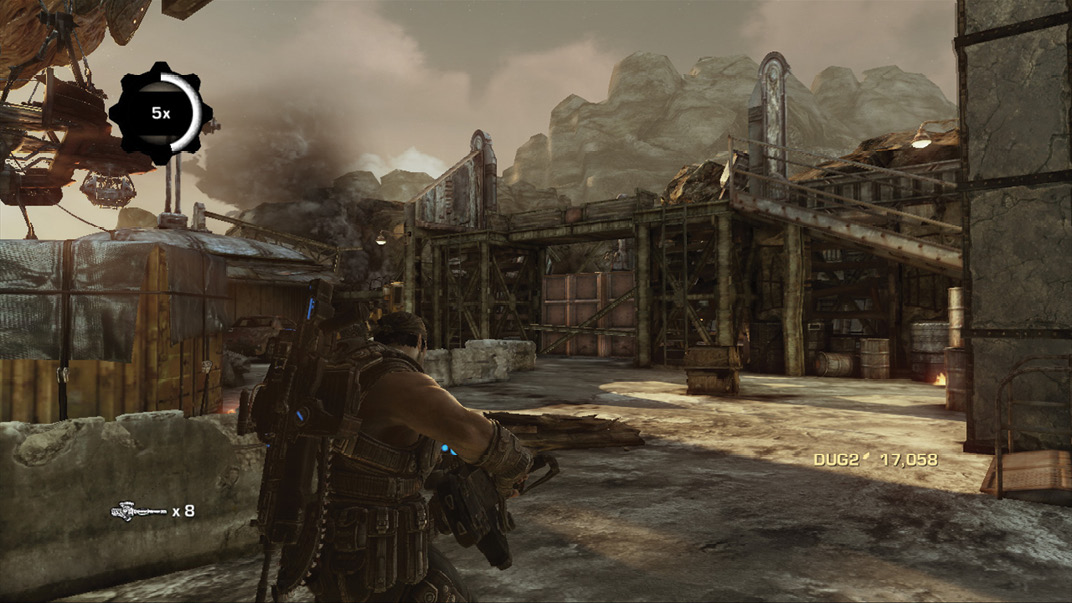
An impending attack features five Reavers, and the Hammer of Dawn makes very quick work of them. Load up on ammo and Frag Grenades, and pick up the OneShot on your way out. As with the Mulcher and Mortar, you can carry the OneShot in addition to your other weapons, though maneuvering with it is slow. Hold onto the Frag Grenades for later.
 Defend the Depot from the Attacking Locust
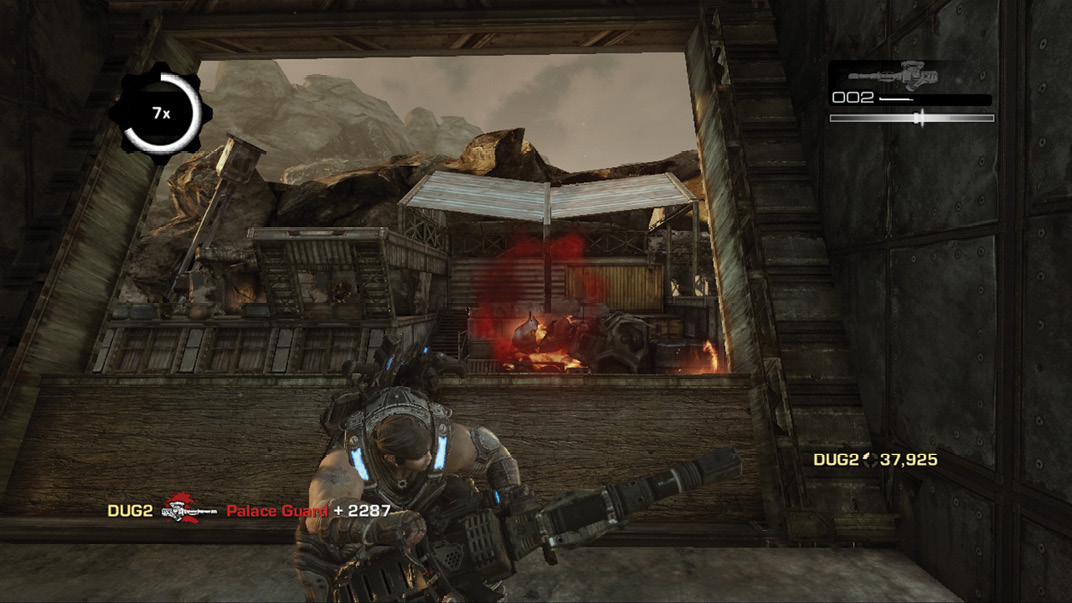
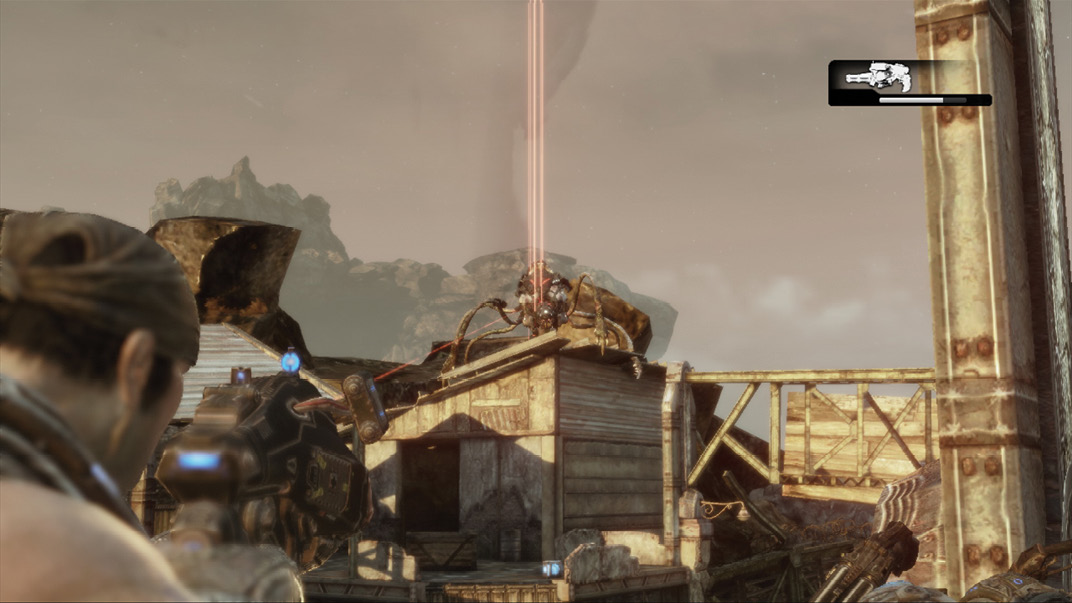
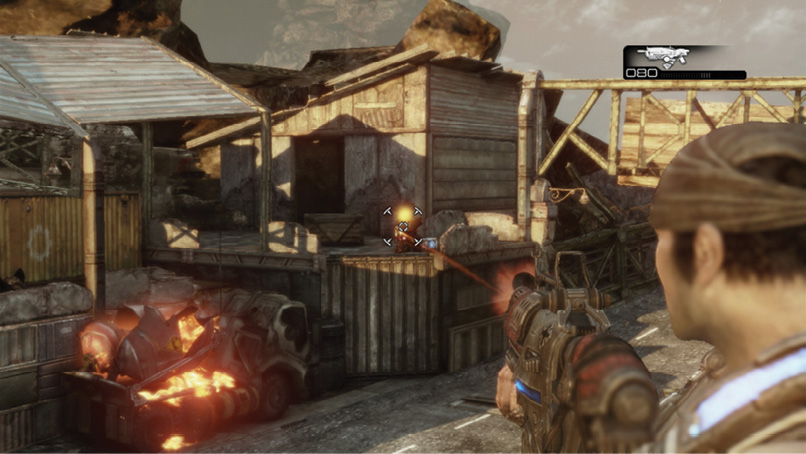
Climb the stairs opposite the armory to the room where the Palace Guards were. Take cover near the windows looking out onto the road. A Reaver quickly lands and attacks with Boomshot-like projectiles. Conserve the Hammer of Dawn by killing it with the OneShot. Continue using the OneShot from the window to kill the first two Reavers and any Palace Guards for whom you can spare ammo. Switch to the Hammer of Dawn if you’re out of OneShot ammo, or if a teammate is using it elsewhere.
|
 CO-OP TACTIC
The third and fourth Reavers attack simultaneously in the street, just outside the depot. This is a great time to use the Hammer of Dawn. Fix the targeting system on one, kill it with the initial strike, and continue holding the trigger to sweep it along the street to the other Reaver. The initial Hammer strike consumes more energy than simply holding the trigger and moving the beam.
Multiple Grenadiers and Palace Guards attack immediately after you kill the Reavers. First, focus your attention on the Palace Guards with the Torque Bows, both down below and up above. Then help the squad finish off any enemies still standing.
 Reboard the Gas Barge
Baird and the others wait for you back down the alley, where you first joined the fight to save Dizzy. Take a moment to stock up on ammo in the armory before you join them. Consider taking either the Boomshot or the Torque Bow, along with a full supply of rifle ammo.