
Gears of War 3 Guide Campaign Walkthrough Act 1
Chapter 5: MVP
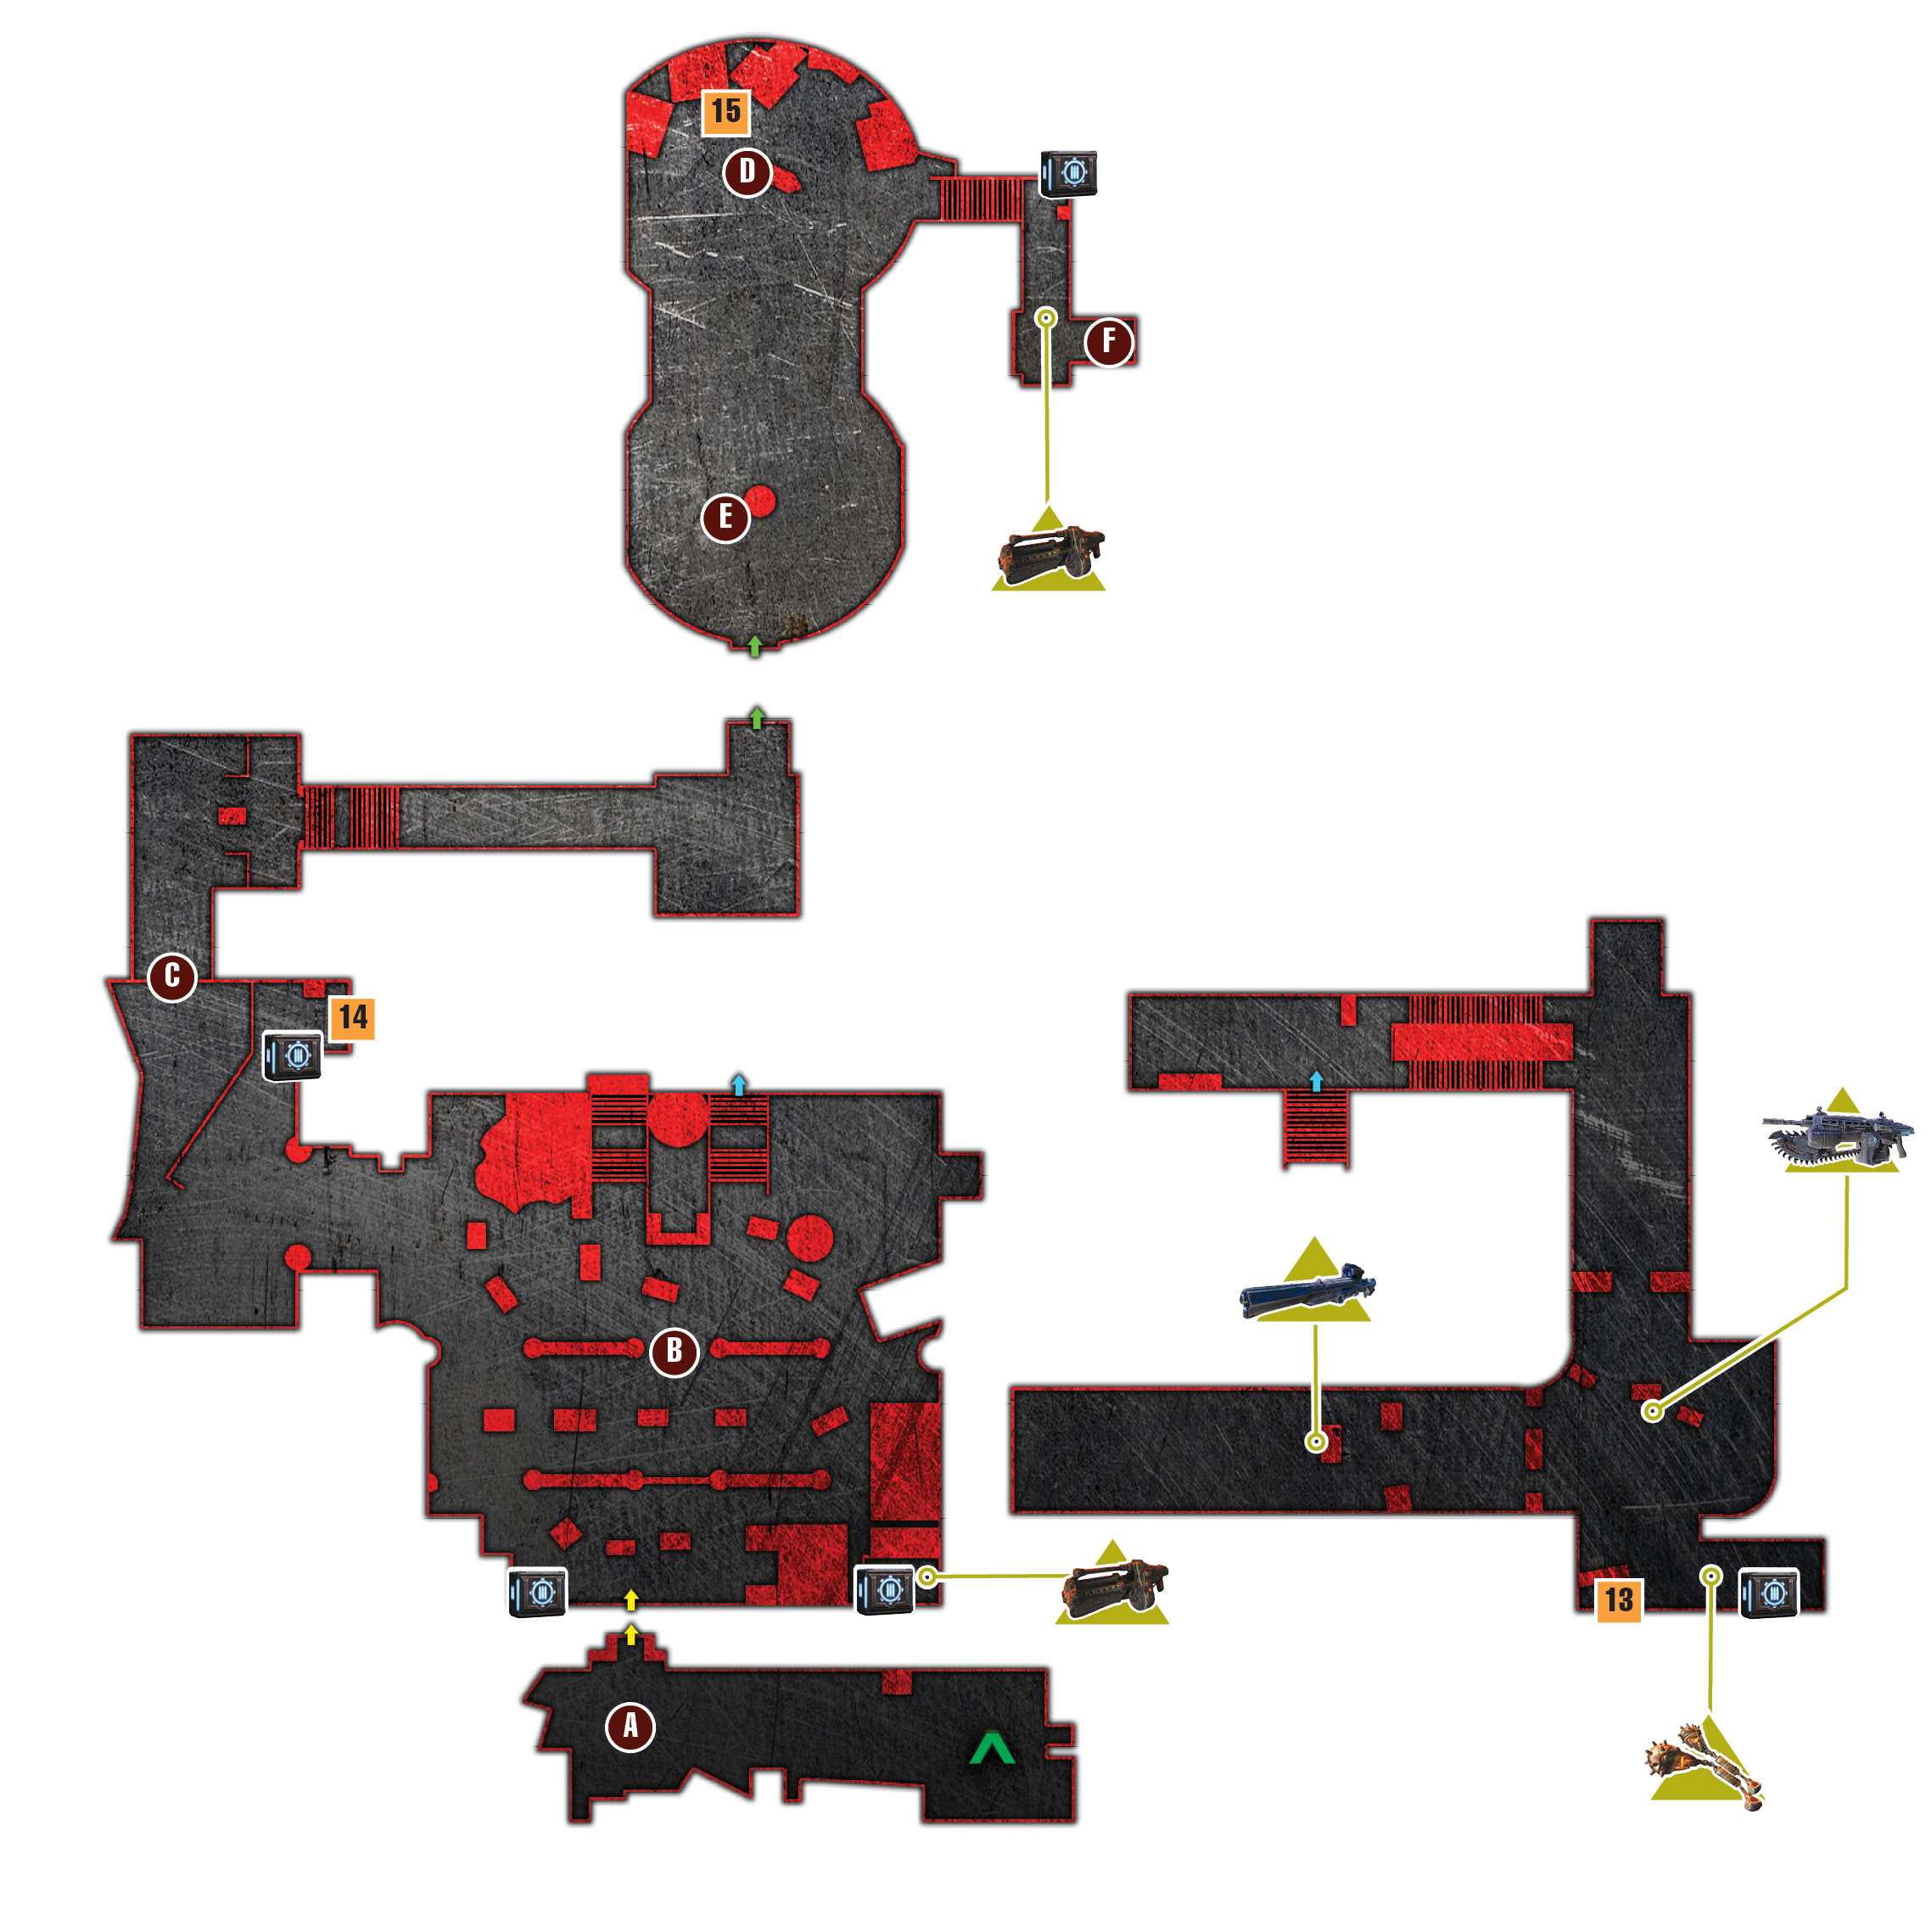
Objectives
Collectibles
|
 Make contact with the Stranded in the stadium.
 Clear the stadium concourse (upper path).
 Talk to the leader of the Hanover Stranded.
 Retrieve the explosive charge.
 Score a point for the Cougars.
 Get to the zip line.
 Cougars Season Program
 Cougars Player Handbook
 Cole’s Championship Ring
The trip through the warehouse district was a bit more eventful than Cole may have hoped, but at least he and the other Gears arrived in time to help the Stranded fend off the Lambent. The camp leader’s gratitude certainly yielded more supplies than the Gears ever dreamt of finding, but they’ve come too far not to pay a visit to Cole’s original battlefield—Hanover Cougars Stadium!
Cougars Stadium
 Make Contact with the Stranded in the Stadium
Proceed straight ahead and around the corner to Hanover Cougars Stadium’s main entrance, where you see a statue of Cole Train. Several Stranded are happy to see Cole, but the same can’t be said for the leader at this particular outpost.
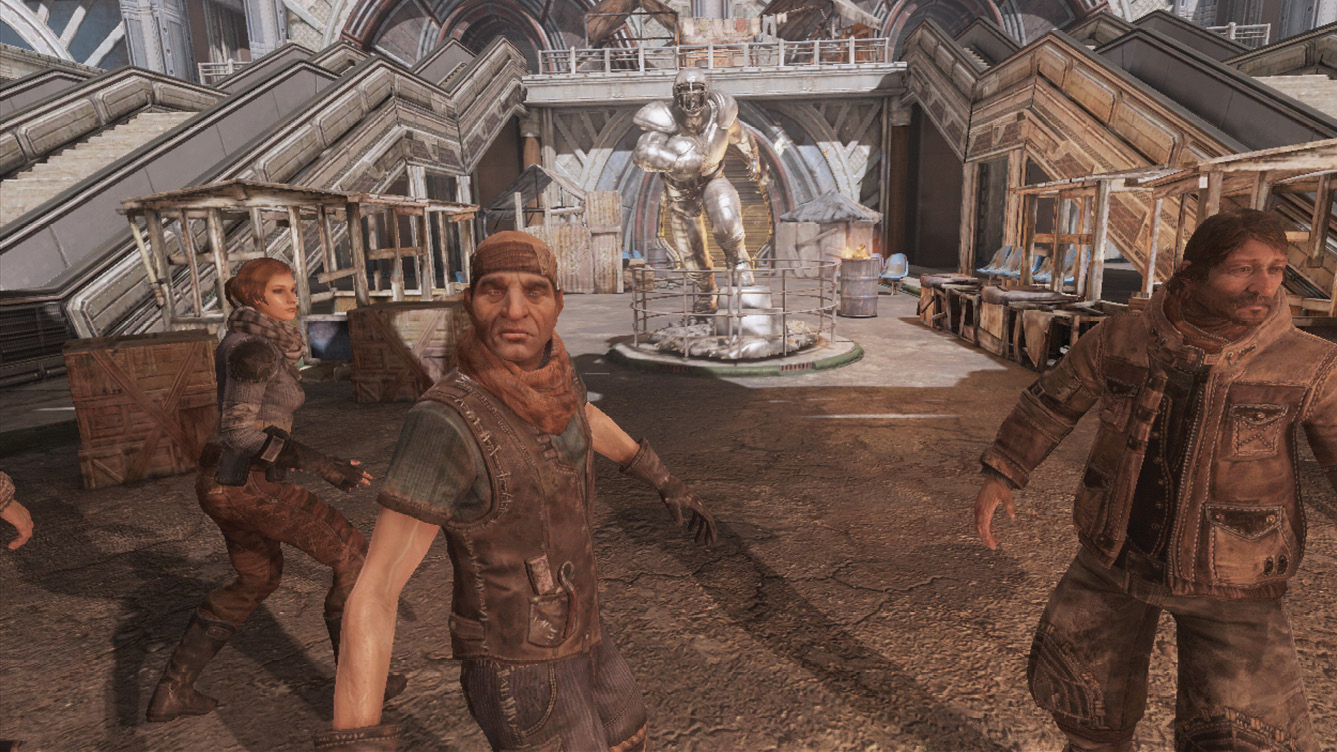
The Cole Train love fest comes to a screeching halt at the sound of a nearby explosion. A Stranded comes running out of the stadium, warning of Lambent on the field! Once again, the Stranded need help from the COGs.
 Clear the Stadium Concourse
Split Path: Upper Level
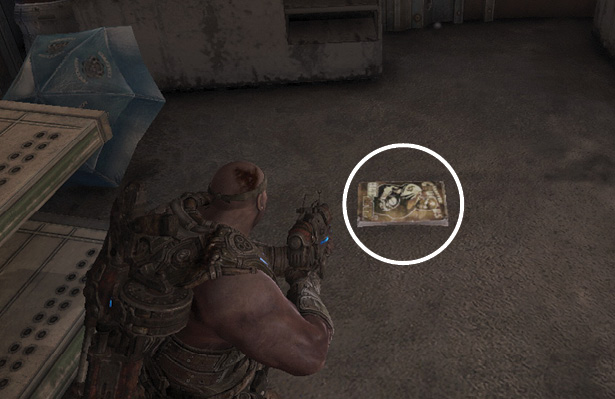
Pick up the Longshot lying in the center of the upper hall. Take cover behind the concession counter to the right, near the collectible. Use your rifle or pistol to pick off the Lambent on this upper concourse—save the Longshot’s ammo for those down below. Then advance to the escalators. It can be difficult to snipe over the railing’s height, but you can get a clean shot over the escalator’s angled railing.
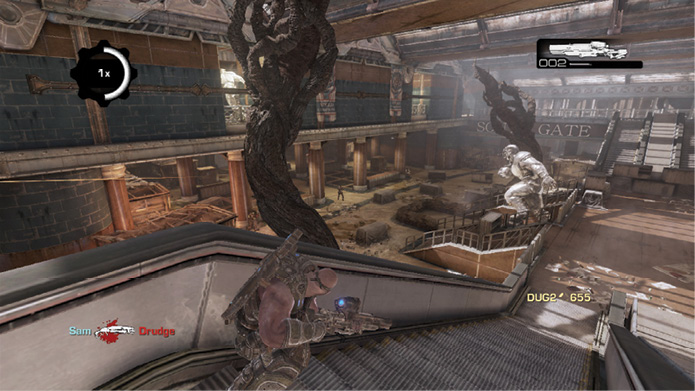
Destroy the Stalk Pods and Lambent that spawn from the first two Stalks. Then descend to the landing between the opposing escalators. A Gunker enters the concourse from beneath the sign for the south gate. Take cover behind the Lambent Stalk on this platform, and lob your Frag Grenades down at the Gunker. If you’re out of Frag Grenades, cross the lower level to the back-left corner to find a Boomshot (directly below the collectible’s location on the upper level).
Split Path: Lower Level
Use your assault rifle to clear any enemies in the immediate vicinity, and circle around to the shacks on the right. The one in the corner contains a Boomshot that comes in handy—save it for the Gunker that spawns after the two Lambent Stalks wither.
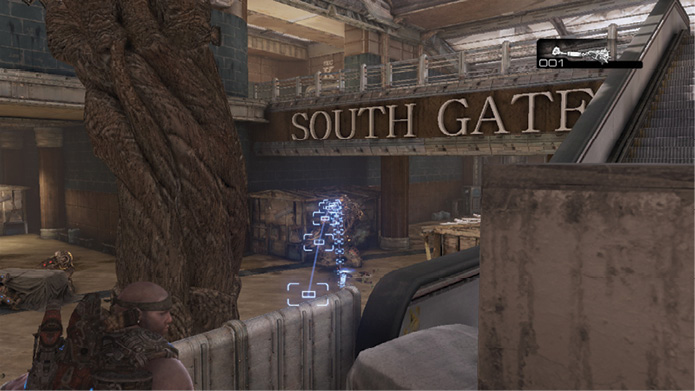
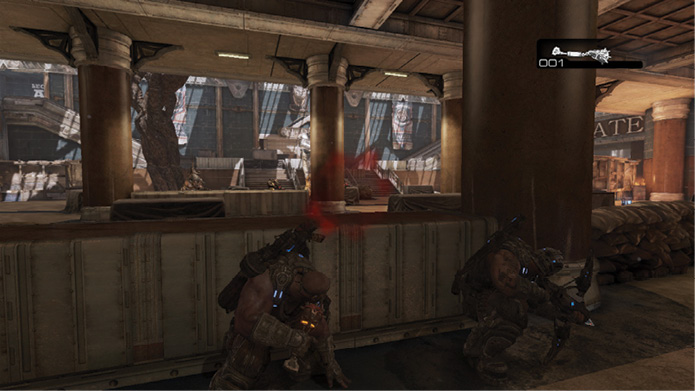
While the Drudges are about, stay under the overhead cover and behind the sandbags and counters. Allow the squadmates on the upper path to get into sniping position. Repeatedly swap cover to avoid the Gunker’s bomb attacks, and counter with the Boomshot to finish it.
 Talk to the Leader of the Hanover Stranded
Continue out of the concourse toward the south gate. Debris blocks the stairs at the end of the hall, so you have no choice but to enter the locker room. Go down the hall under the “players only” sign. Baird and the others give Cole a little time to reminisce at his locker.
Thrash Ball Field
 Retrieve the Explosive Charge
Cole may be reliving his glory days in his mind, but those are real Lambent on the field! Fortunately, the Stranded have prepped a bomb just for such an occasion. Cole can’t wait to show off his moves and sprint his way downfield, past the Lambent defenders, to claim the bomb.
 Score a Point for the Cougars!
The Lambent are coming strong for the ball…err, bomb, but they don’t have Cole’s moves. Continue to assist him as he jukes and hurdles his way to the Lambent Stalk and spikes the bomb for the winning point. At least thrash ball players don’t have to worry about excessive celebration penalties!
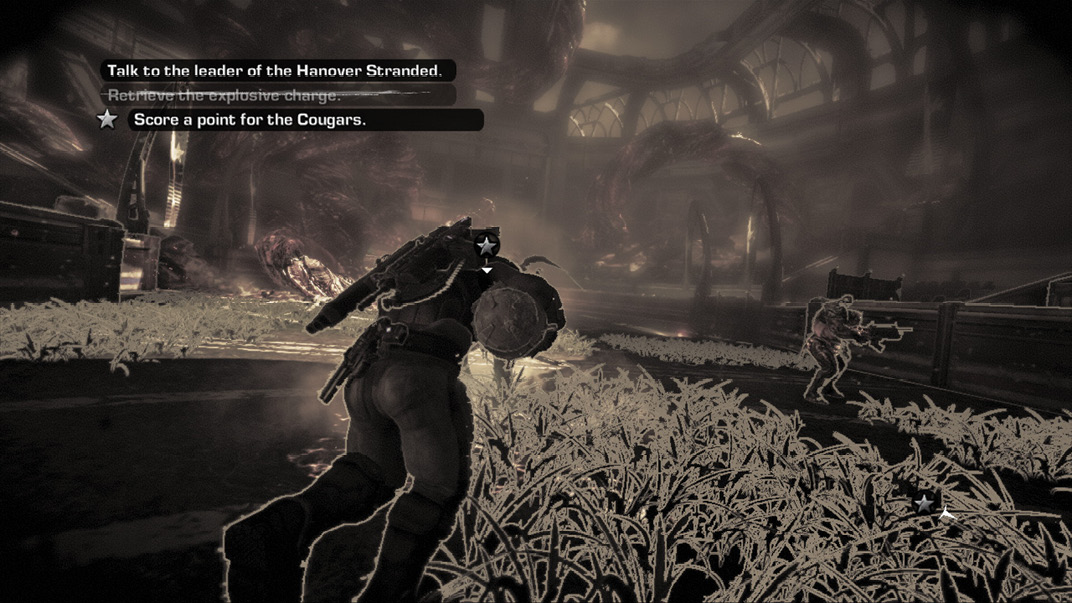
The Lambent are expelled from the field, but the bad news keeps coming. The squad learns of the Lambent attack on the CNV Sovereign. They need to get back, but they’re a long way from the ship with no air support. Maybe the leader of the Hanover Stranded will can help them…
Climb the stadium stairs to meet with the leader in the press box. Be sure to pick up the Boomshot on your way up to the meeting.
 Get to the Zip Line
The leader of the Hanover Stranded isn’t too friendly, nor is she willing to assist the COG—at least not beyond advising them to steer clear of Centennial Bridge. Fortunately, there’s a secret exit to an elevator that, with any luck, will get them to the roof.
The squad splits up into pairs and boards the two lifts leading to the stadium roof, where the cable car connecting the stadium and bridge was once located. The elevators slowly ascend past four floors, each of which contains several Lambent. Be ready!
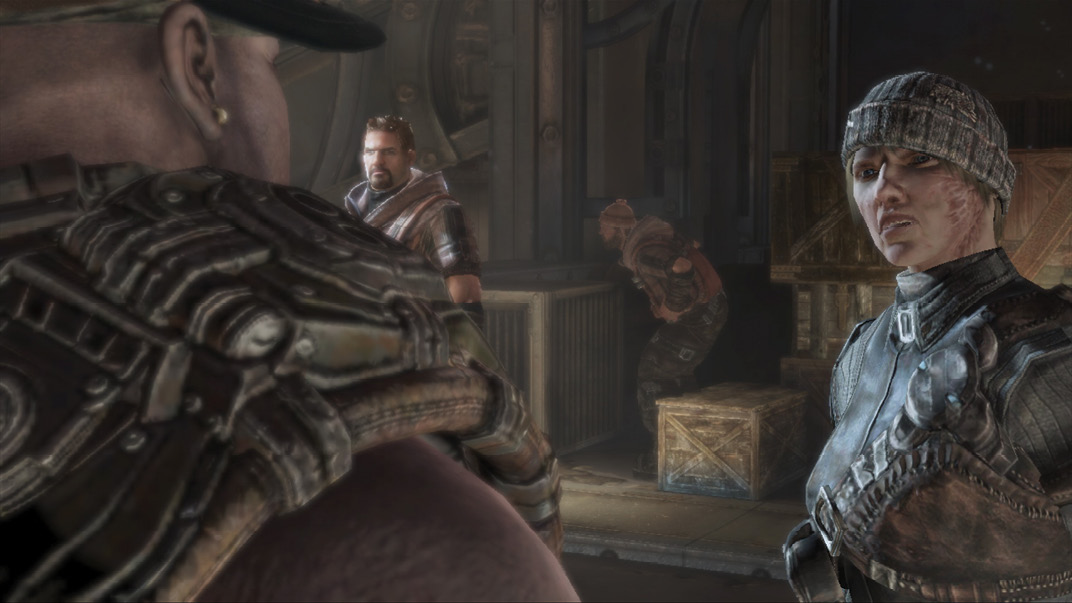
A Lambent Stalk appears on the first floor. Take out the Stalk Pods with the Lancer or Hammerburst, along with any Dark Drones or Drudge. The second floor is similar. It’s possible to stay in cover and ignore the enemies on these first two floors without consequence.
The third floor has multiple Drones, but also several large fuel tanks. Fire your rifle at the tanks to cause a massive explosion that kills the nearby enemies. Switch to the Boomshot and fire off a quick shot at any stragglers before the elevator rises out of view.
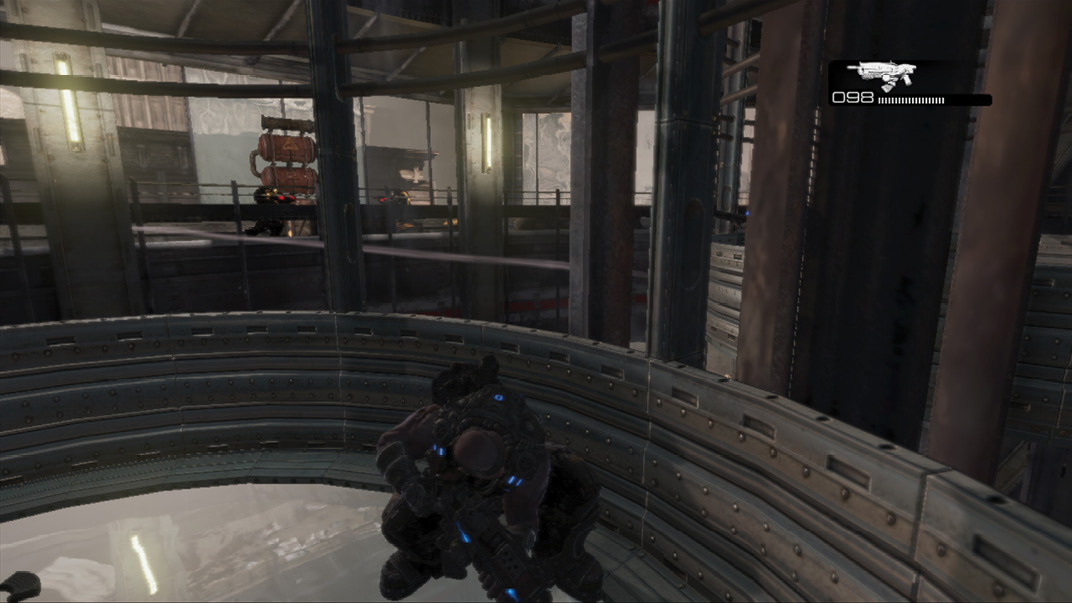
The fourth floor has the biggest threat of all: a Gunker! The Gunker is standing watch, ready to lob Imulsion bombs, but it’s also near multiple fuel tanks. Fire the Boomshot at the tanks to ensure they instantly rupture and kill the Gunker. The explosion is massive, so take cover and enjoy the remainder of the ride up to the roof.