
Locust
Ticker
.png)
Enemy Stats
| Health | Threat | cover usage | attacks |
|---|---|---|---|
| 150 HP | Moderate | high | explosive |
You can hear the clop-clop-clop of the approaching Ticker long before you see this pint-sized creature. Tickers scuttle from cover to cover, rapidly closing on their prey from all directions until they’re close enough to ignite the explosive canisters they wear. Though a single Ticker poses little threat, they seldom travel outside the safety of a pack.
Though they’re dangerous at close range, Tickers don’t spring their explosive traps instantaneously. Instead, they shudder in place for a second prior to detonation. This gives you an opportunity to strike them with a melee attack and knock them backward, perhaps at other nearby Locust. Alternatively, you can shoot the approaching, suicide-bombing quadrupeds and create a chain reaction of explosions. Assault rifles are effective against Tickers at any range, and they’re effective for melee attacks too, provided you don’t try to chainsaw the Ticker.
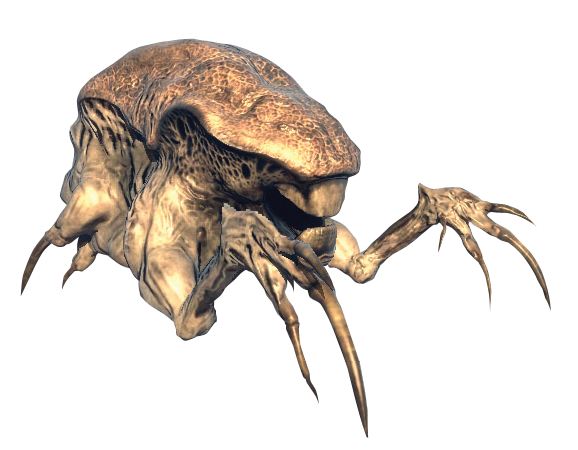
Wild Ticker
Enemy Stats
| health | Threat | Cover Usage | Attacks |
|---|---|---|---|
| 150 hp | very low | high | weapon/item theft |
The Wild Ticker carries no explosives and, left to its own devices, prefers to scamper around the landscape in small groups numbering no more than three—Locust training forces them into larger packs. Rather than pose a physical threat, Wild Tickers create a nuisance by stealing uncollected weapons and grenades. A Wild Ticker can even swallow a Longshot! Use melee attacks to knock the Wild Ticker onto its back. Then deliver a curb stomp to crack open its shell and retrieve the stolen goods. Wild Tickers scurry away toward their burrows after making a steal, so move fast to reclaim the weapon.
Wretch
.png)
Enemy Stats
| HP | Threat | Cover Usage | Attacks |
|---|---|---|---|
| 350 | Moderate | Low | Claws, Teeth |
The feral Wretch lacks its Locust masters’ intelligence and it can’t operate any weapons in the Locust clan. This doesn’t mean the creature is out of place on the battlefield. Wretches travel in large, hopping packs, capable of clambering along most surfaces, even the ceiling. They attack with the same razor-sharp claws that help them cling to walls.
Wretches in Gears of War 3 boast nearly twice as much HP as those in previous games. The Gnasher, Lancer, and Scorcher are still the weapons of choice when you deal with Wretches, but expect them to soak up more rounds than they used to.
Lacking a ranged attack, Wretches pose a threat only if you allow them to close in around you, where they can claw and bite. Naturally, you want to eliminate them from afar whenever you can. Their short height and awkward but fast gait can make them hard to hit, especially as they move behind cover. It’s not that Wretches seek out cover like humanoid the Locust do, but they’re short enough for cover to conceal them as they run past.
Shrieker
.png)
Enemy Stats
| HP | Threat | Cover Usage | Weaponry |
|---|---|---|---|
| 350 | Moderate | None | Custom Gorgon SMG |
Floating, gas-filled Shriekers pose a far greater threat than their appearance and size might suggest. These minute floating creatures often provide aerial support for Palace Guards and other high-ranking Locust. They’re equipped with a custom variant of the Gorgon SMG, which is destroyed upon death; it fires a lethal barrage of gunfire at a surprising rate. Shriekers attack in small groups and use their gift of flight to shoot over low cover with surprising aggression.
The Lancer, Hammerburst, and Mortar are the best tools for combating Shriekers. Shriekers sense when they’re being targeted and quickly evade left or right to escape their opponent’s crosshairs. Fortunately, Shriekers can perform this evasive maneuver only once every two seconds—fix your sights, wait for them to move, then open fire at their new position!
Shriekers don’t simply fall from the sky upon death. The gas that keeps them aloft is quite flammable, leading to their eventual explosion. Once one is depleted of HP, it targets any living creature below—human or Locust—and death-spirals down toward it. Always focus on Shriekers hovering above entrenched Locust!
Drone
.png)
Enemy Stats
| HP | Threat | Cover Usage | Weaponry |
|---|---|---|---|
| 1000 | Moderate | Moderate | Hammerburst, Lancer, Boltok, Troika |
Locust Drones—also referred to as “Grubs” by the COG—represent the grunts of the Locust army. These ugly, brutish creatures are the most commonly encountered form of Locust. They’re also the least cunning. Their overly aggressive nature often leads them to eschew flanking maneuvers, and they exploit cover only minimally in favor of all-out frontal assaults.
Drones appear in small fire teams and attack primarily with the Hammerburst, though they sometimes use captured Lancers as well. It’s best to deal with Drones at medium range, where your talent and accuracy can overpower their inferior skills. Look for flanking opportunities, maximize cover use, and resist the urge to charge headlong into battle, as that only plays into their hand.
Some Drones manage to stick out from the crowd and are assigned a Troika or chosen to serve as a spotter on a Siege Beast crew. Don’t let their slightly unique helmets and armor intimidate you—their blood spills just as easily as the others.
Savage Drone
.png)
Enemy Stats
| HP | Threat | Cover Usage | Weaponry |
|---|---|---|---|
| 850 | Moderate | Moderate | Retro Lancer, Multi-Turret, OneShot |
Drones forced out of the hollow during the flood have been forced to eke out an existence on the planet’s surface. The harsh conditions have taken a toll on them both physically and technologically—they’ve gone Savage. Savage Drones behave much the same way as standard Drones, but they possess slightly lower health, and they attack primarily with Retro Lancers and Multi-Turrets, large stationary weapons consisting of four Retro Lancers fastened together.
Though individual Savage Drones seldom demand tremendous respect, the rare enemy wielding a OneShot is the exception. Immediately move to avoid detection, “spot” it to focus the entire squad’s fire on it, and then shift to a clean vantage point. An enemy armed with a OneShot must always take priority!
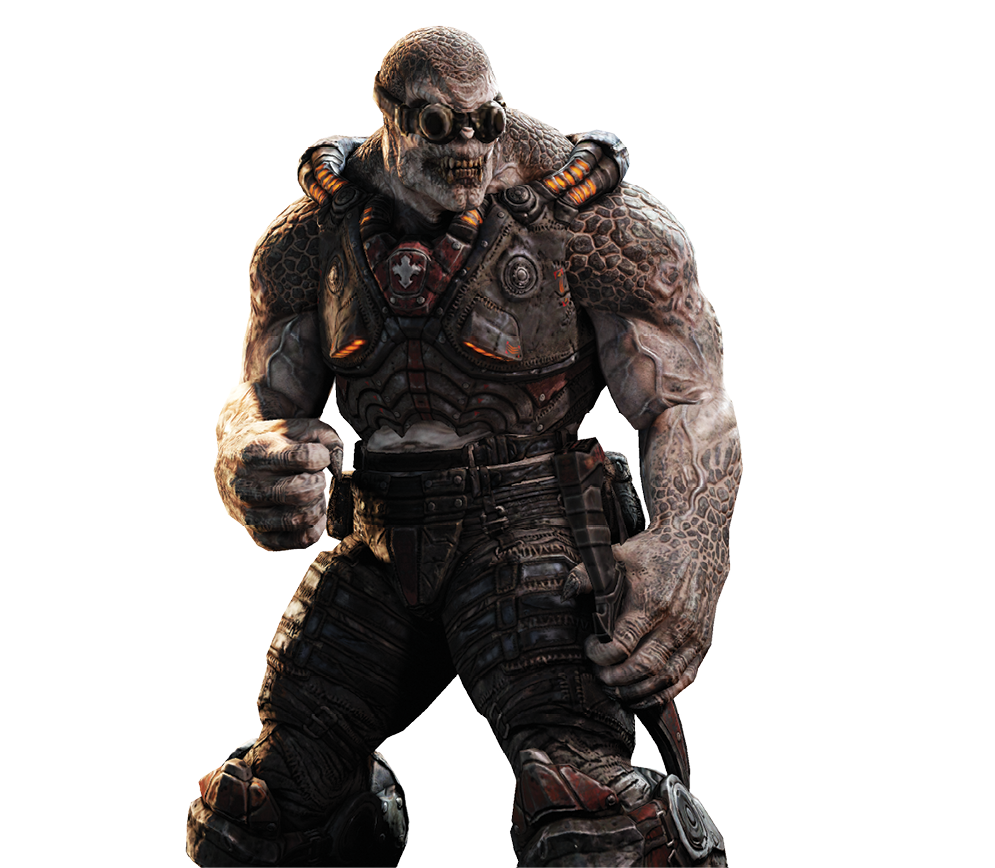
SNIPER
Enemy Stats
| HP | Threat | Cover Usage | Weaponry |
|---|---|---|---|
| 450 | High | High | Longshot |
Snipers represent the rarest class of Drone, and you encounter them only in very specific instances during the campaign. Snipers are masters of cover and tend to position themselves in locations inaccessible to Gears. Listen for the telltale crack of the Longshot that indicates a Sniper is in the area, and immediately seek cover. Snipers may be hard to spot, but their low health makes them easy kills once you find them. Minimize your time outside of cover until you deal with the Sniper. Try to move to a position where you can safely eliminate the Sniper before you contend with other enemies at closer range.
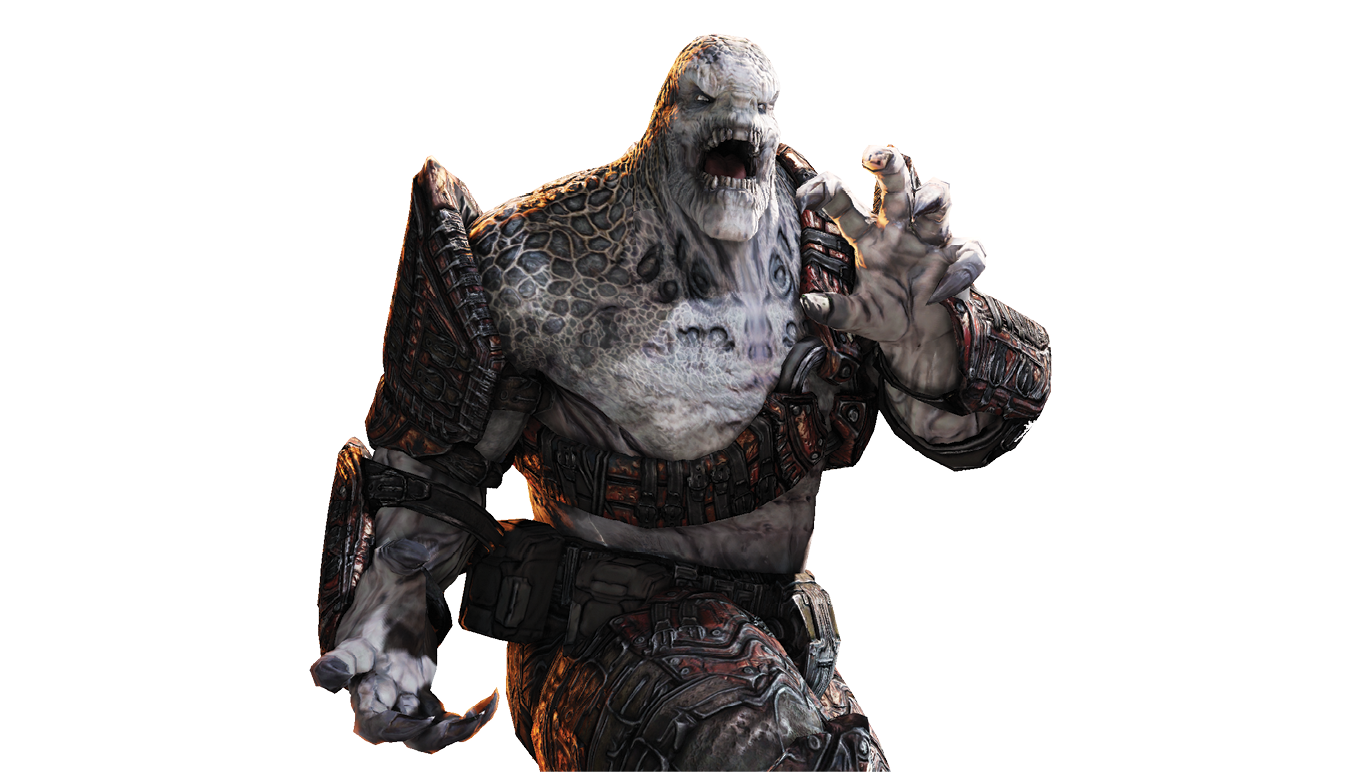
Grenadier
Enemy Stats
| HP | Threat | Cover Usage | Weaponry |
|---|---|---|---|
| 1000 | Moderate | Moderate | Gnasher, Boltok, Frag Grenades |
The bare-chested Grenadiers are a higher-priority target than the Drones they often accompany into battle. Grenadiers are smarter, use cover more frequently, and are armed to pose a threat even to Gears behind cover. Grenadiers swiftly cover-swap into position at close range and then launch a sudden, impactful attack. Some flush Gears out of cover with Frag Grenades, while others charge in and either mantle-kick over cover or blind fire their Gnasher at pointblank range.
As their name suggests, they frequently use the grenades they carry. This is a mixed blessing. Kill them swiftly and claim their oft-dropped grenades as your prize; deal with them slowly and suffer the consequences!
Try to keep Grenadiers at a distance by firing at them as soon as you see the pale sheen of their skin. Any weapon will suffice, though it’s best to avoid getting into a close-range Gnasher duel with them on higher difficulties.
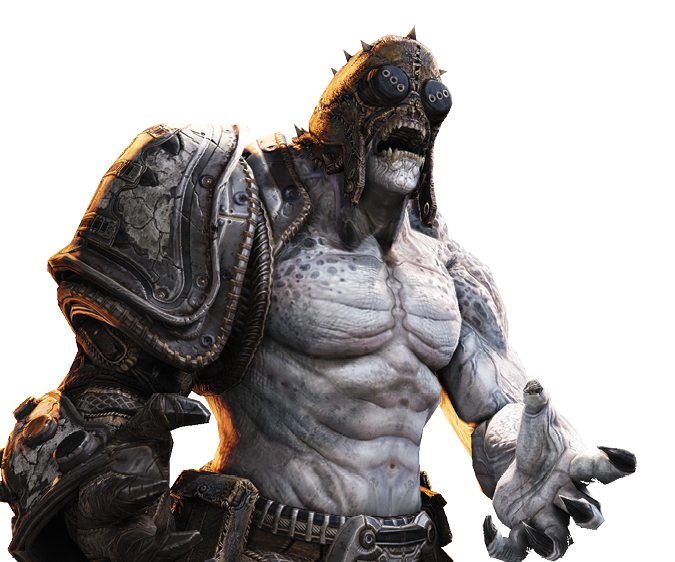
Savage Grenadier
Enemy Stats
| HP | Threat | Cover Usage | Weaponry |
|---|---|---|---|
| 1000 | Moderate | Moderate | Gnasher, Incendiary Grenades |
Savage Grenadier ELITE
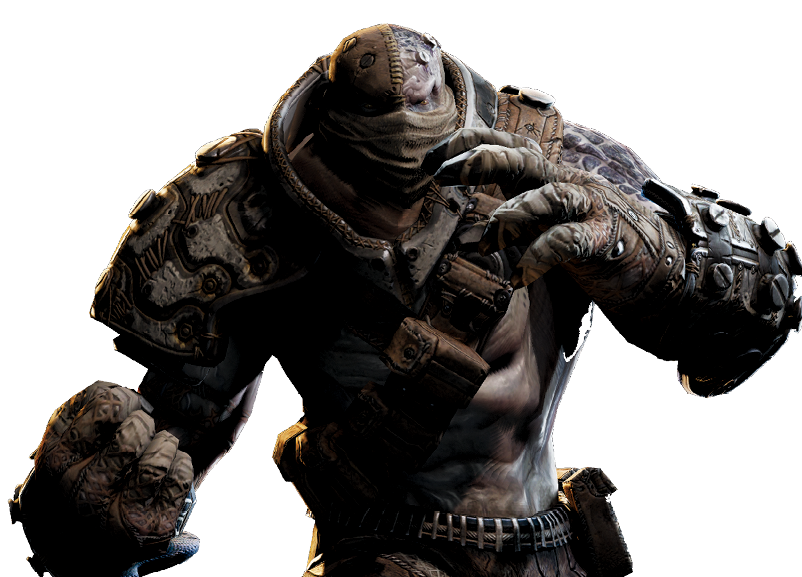
Enemy Stats
Savage Grenadiers and Savage Grenadier Elites share much in common with base Grenadiers. One key difference is that their lack of access to black powder has forced them to rely on a new type of ordnance: the Incendiary Grenade. Savage Grenadiers have incredible aim, and they don’t hesitate to engulf an enemy in fire. When you take cover near a Savage Grenadier, be sure your cover is both tall and wide!
Savage flame Grenadier
.png)
Enemy Stats
| HP | Threat | Cover Usage | Weaponry |
|---|---|---|---|
| 1200 | High | High | scorcher |
Thanks to the armor and backpacks of fuel they wear, Savage Flame Grenadiers bear little resemblance to standard Grenadiers. Their lack of grenades and the heavy Scorchers they wield cause them to move and behave much differently. Savage Flame Grenadiers boast enhanced health over other Grenadiers, but they’re actually much easier to defeat. The fuel tanks they wear on their backs may give them a much longer burst of flame, but they also make a very easy target. Aim at their tanks, preferably after you lure them toward other nearby Locust. It takes only a few bullets to detonate the tank!
Theron Guard
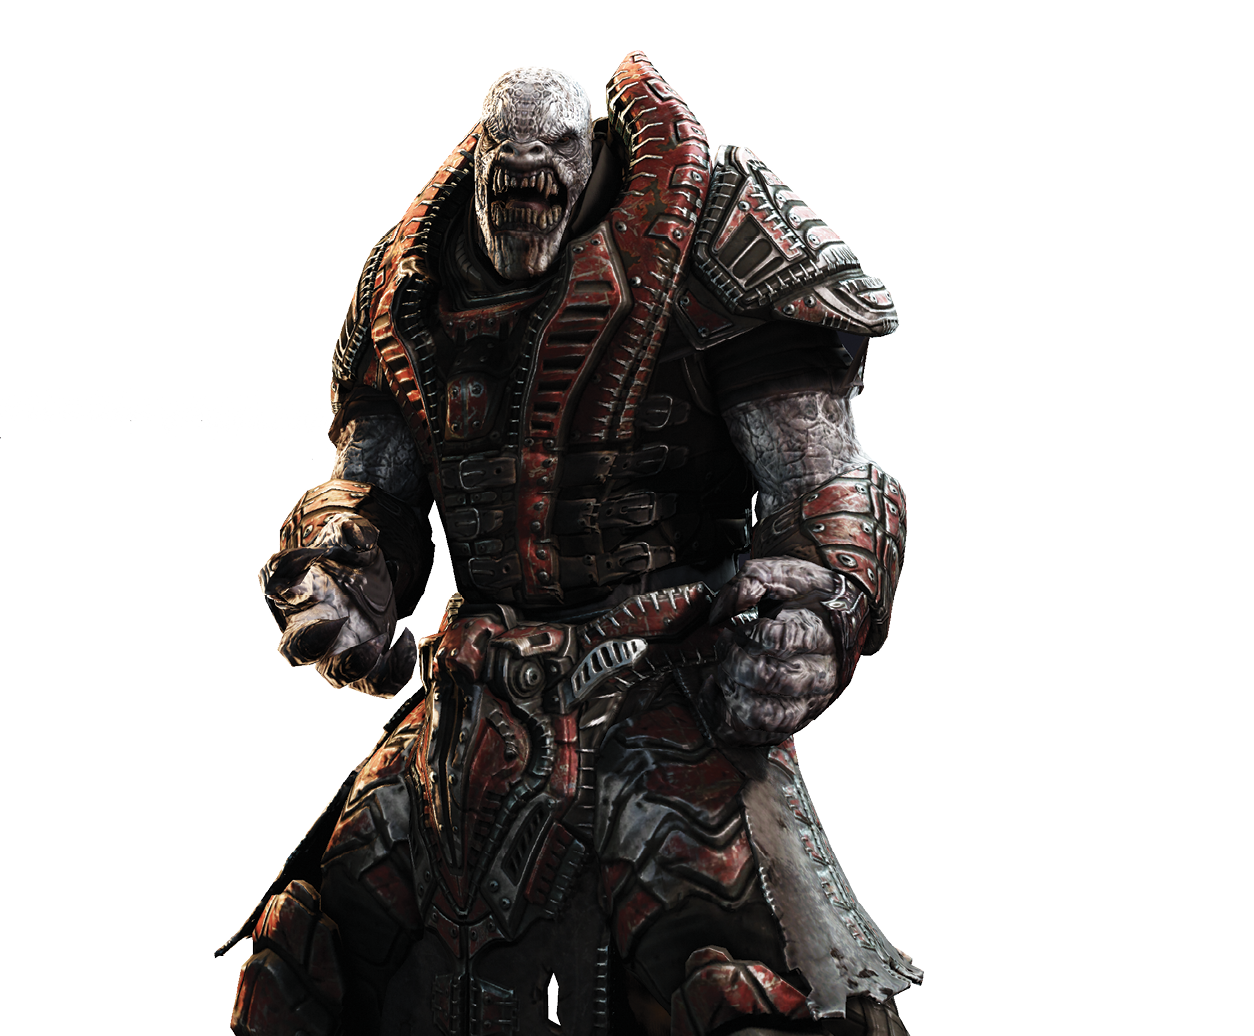
Enemy Stats
| HP | Threat | Cover Usage | Weaponry |
|---|---|---|---|
| 1075 | High | High | Torque Bow, Hammerburst, Lancer |
Theron Guards have haunted the dreams of the COG ever since E-Day. These elite members of the Locust army are smarter, nastier, and stronger than standard Drones. Their high-collared robes are easily distinguishable from the other Locust, as are their hissing whispers. Theron Guards are known for carrying Torque Bows, though some attack with assault rifles.
The Gears don’t encounter many standard Theron Guards—Queen Myrrah deploys many more Palace Guards for this final phase of the war. However, understand that they use cover extremely well. Always watch for the orange glow of a notched Torque Bow arrow charging!
Palace Guard
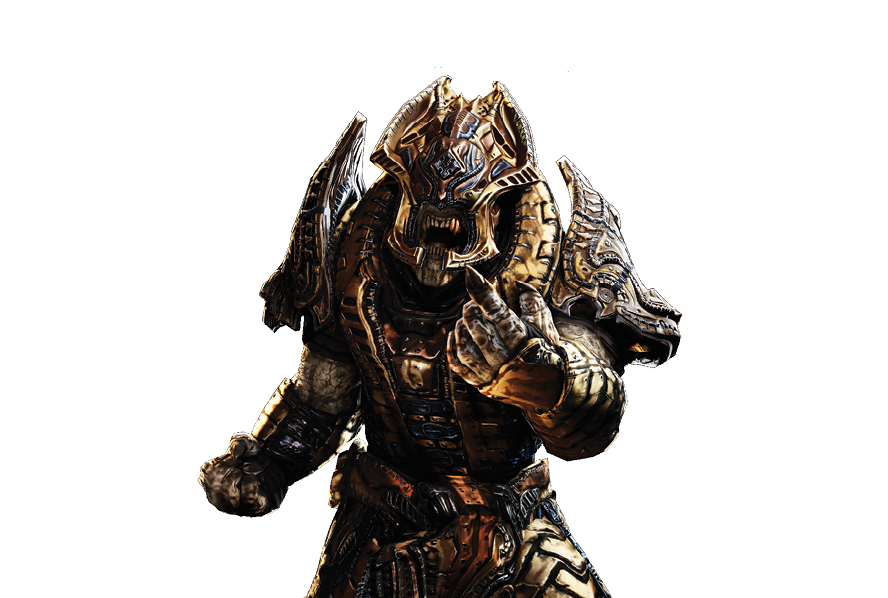
Enemy Stats
| HP | Threat | Cover Usage | Weaponry |
|---|---|---|---|
| 1075 | High | High | Torque Bow, Hammerburst, Lancer, Gnasher |
These elite personal guards are similar to Theron Guards in all manner of style and weaponry. The slightly faster and more agile troops are promoted from the Theron ranks receive a unique set of robe-like armor that’s golden in color. The sounds of their raspy grunts echo through many of the areas the Gears must traverse.
Palace Guards use cover effectively and often travel in small groups along a disciplined patrol pattern. You can also find Palace Guards riding Bloodmounts or flying into battle on a Gas Barge. It’s quite common to encounter Palace Guards alongside Shriekers.
Savage Theron
.png)
Enemy Stats
| HP | Threat | Cover Usage | Weaponry |
|---|---|---|---|
| 1200 | High | Low | Cleaver |
Forced to develop a new way of life on the surface, Savage Therons have adapted to the role of close-quarters melee experts. They’ve taken up the Cleaver and assumed a new combat strategy. Savage Therons, identified by their white armor, march past available cover in an effort to advance straight into striking range. The Cleavers they wield are heavy weapons, and they’re slow to swing, but they inflict severe damage. Back away and fire—Savage Therons pose little threat as long as you stay at least three paces from them as they draw near.
Kantus
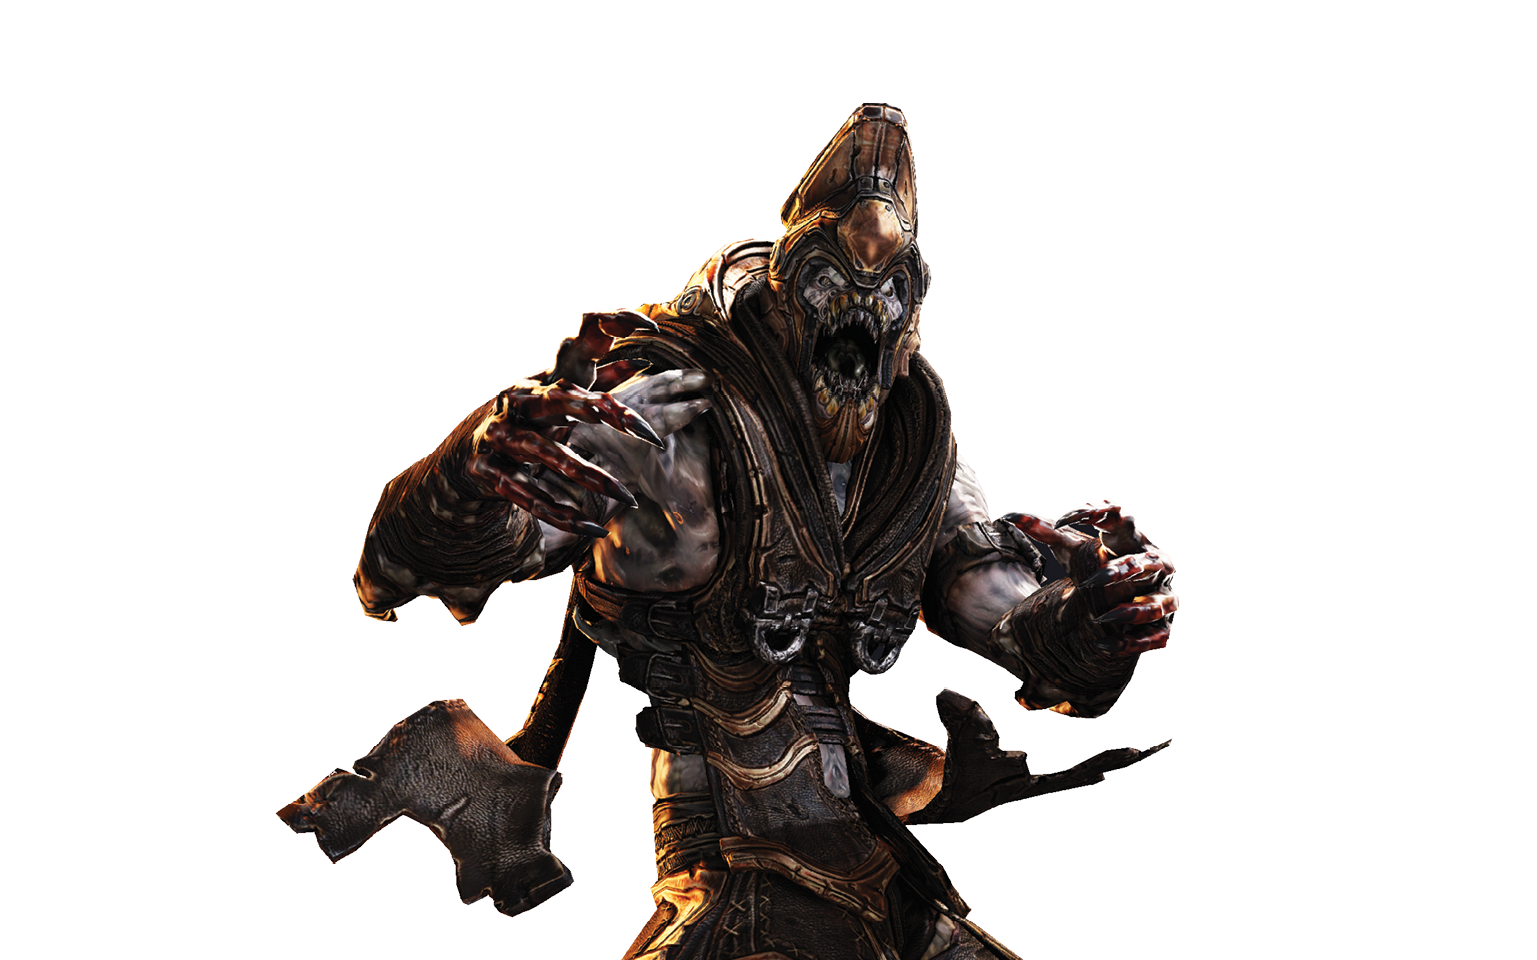
Enemy Stats
| HP | Threat | Cover Usage | Weaponry |
|---|---|---|---|
| 2500 | High | Low | Gorgon SMG, Ink Grenade, Scream, Resurrection |
The Kantus is a unique member of the Locust class, sometimes referred to as a Shaman. This rear support unit is armed with a Gorgon SMG and Ink Grenade, which it can throw with deadly precision. It uses an ear-piercing scream to down nearby enemies. The Kantus’ scream forces Gears to cringe in place, at which time the COG has two seconds to evade before the Kantus screams again. Despite its considerable armament, the Kantus does not deploy for frontline combat, but rather for its healing ability. The Kantus can revive downed Locust—humanoids only, no heavies—from across the battlefield. Its chant can revive multiple downed Locusts simultaneously!
The Kantus is blessed with a wealth of HP seldom equaled among the Locust ranks. Take every opportunity to kill the Kantus quickly—power weapons such as the Boomshot and Longshot are best. Otherwise, be sure to finish off lesser enemies with executions or explosive attacks so they can’t be revived. Lastly, the Kantus can summon Tickers into battle, which is just one more reason to kill it quickly!
Armored Kantus
.png)
Enemy Stats
| HP | Threat | Cover Usage | Weaponry |
|---|---|---|---|
| 4800 | High | Low | Two Gorgon SMGs, Roll Attack, Resurrection |
The Armored Kantus may well be the most intimidating of all enemies in the Locust ranks. This never before encountered creature makes the standard Kantus look like a tackling dummy. Cloaked in razor-sharp scale armor from head to toe, the aptly named Armored Kantus is virtually impervious to bullets. Standard gunfire inflicts less than 20% of normal damage per bullet. Flames from Incendiary Grenades and the Scorcher inflict only 70% of their regular damage, but are nonetheless superior to standard gunfire.
The single best way to defeat an Armored Kantus is through a combination of explosives and accurate gunfire. The Armored Kantus is knocked down when a Boomshot or Frag Grenade blast hits it. It then lets out a lengthy scream after it gets to its feet. Switch to a weapon like the Lancer, Gorgon SMG, or Hammerburst, and fire at its open mouth while it screams. The Armored Kantus is vulnerable for roughly four seconds while it screams. This is more than enough time to kill it with any of the aforementioned weapons. The Armored Kantus also screams periodically on its own, often to revive a downed Locust. Use this opportunity to fire a lethal Longshot or Torque Bow salvo straight through the back of its throat.
The Armored Kantus eschews cover and pursues its enemy aggressively. It wields twin Gorgon SMGs but also uses its armor’s scales to cut and slice with a spinning double-roll attack. Keep your distance and quickly roll out of its path should it curl up and begin its spin attack.
Boomer
.png)
Enemy Stats
| HP | Threat | Cover Usage | Weaponry |
|---|---|---|---|
| 2500 | High | Low | Boomshot |
Boomers have earned their rep as the Locust army’s signature heavy unit. Though they appear similar to Drones and Grenadiers at first glance, their hides are considerably thicker and stronger, and their breadth much wider. Boomers are incredibly resistant to damage and are the only units in the Locust army strong enough to wield the Boomshot, their namesake weapon.
Their ferocity and intense focus has an unfortunate side effect: a rather peculiar inability to reason. Boomers march headlong into battle with little regard for cover or flanking strategies. Much to the Gears’ delight, Boomers also announce each attack by yelling “BOOM!” as they squeeze the trigger. This is your cue to duck!
Boomers can absorb a heaping dose of damage before they fall dead. Boomers and other heavy units do not enter the downed state. Don’t spare munitions when you deal with the Boomers. Switch to your power weapon and don’t feel wasteful in using it. Best of all, killing the Boomer quickly often yields a Boomshot.
Savage Boomer
.png)
Enemy Stats
| HP | Threat | Cover Usage | Weaponry |
|---|---|---|---|
| 2500 | High | Low | Digger Launcher |
Savage Boomers are quite similar to standard Boomers in appearance and technique, but they wield the Digger Launcher in place of the beloved Boomshot. The Digger Launcher packs as much explosive power as the Boomshot, but it burrows rapidly in a straight path through the ground, under cover, and automatically emerges near the target. The explosive organism then leaps from the ground and creates a wide explosion. Savage Boomers don’t stay in cover, and instead favor a steady march toward their foes.
Flame Boomer
Enemy Stats
| HP | Threat | Cover Usage | Weaponry |
|---|---|---|---|
| 2500 | High | LOW | Custom Scorcher |
The menacing Flame Boomer makes a rare appearance near the end of the campaign. Do not take this foe lightly. Its battle technique is similar to the standard Flame Grenadier, but it packs the additional HP unique to the Boomer clan. The Flame Boomer also carries a modified Scorcher that inflicts greater damage than the Flame Grenadier’s standard Scorcher. The best way to defeat the Flame Boomer is to target the fuel tanks it wears on its back.
Mauler
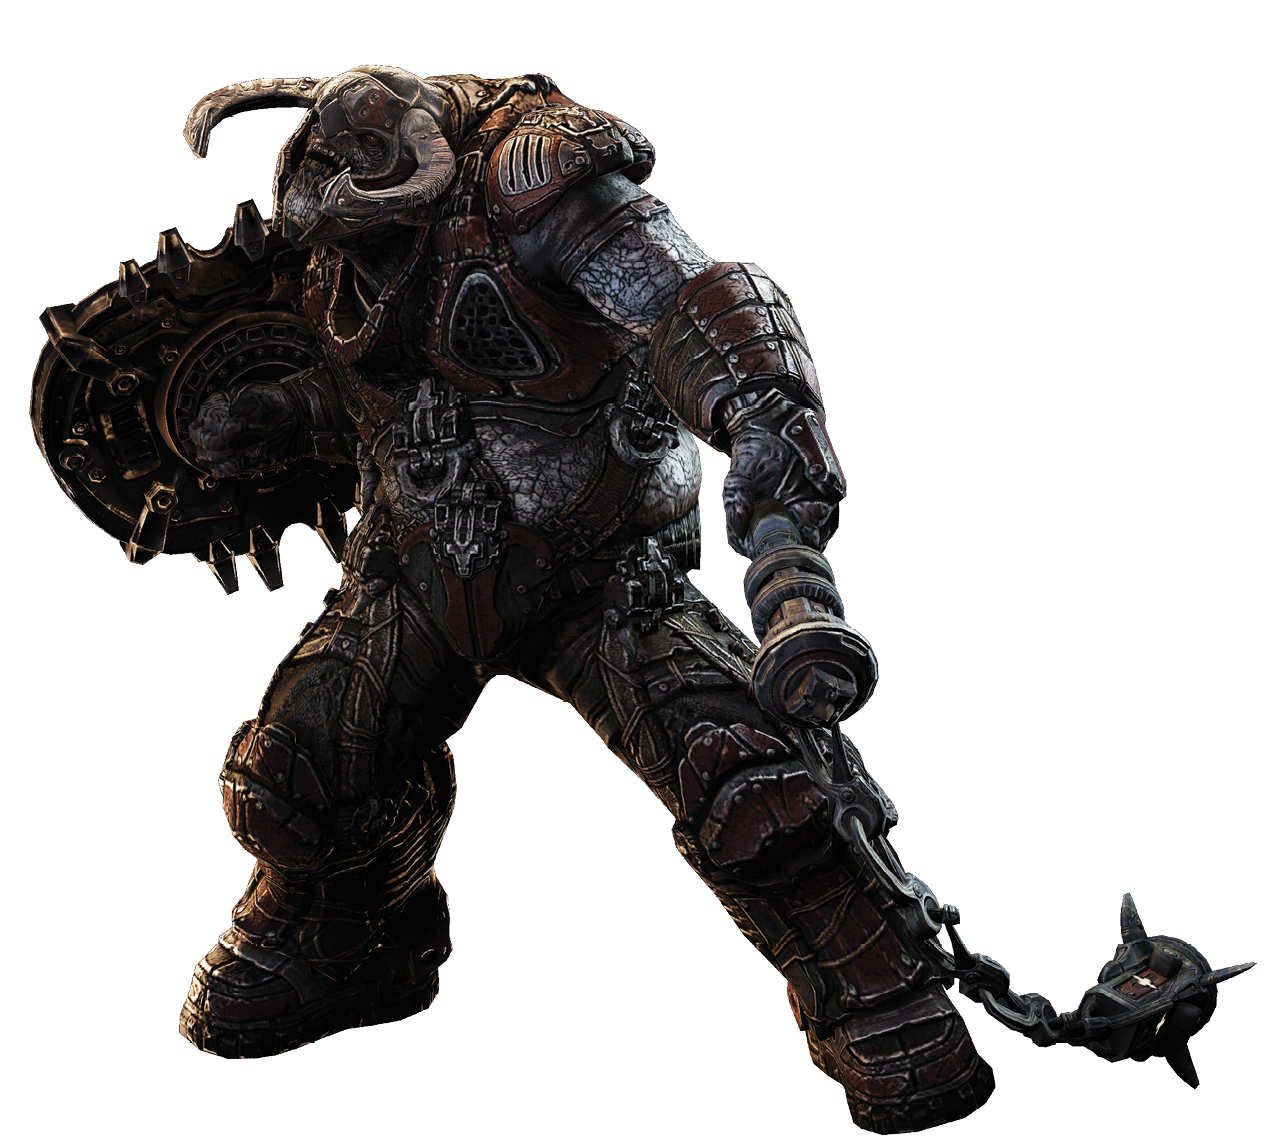
Enemy Stats
| HP | Threat | Cover Usage | Weaponry |
|---|---|---|---|
| 2750 | High | Low | Boomshield, Explosive Flail |
Maulers resemble Boomers in size, but they’re much faster when they charge their foes. Fire at Maulers to force them to slow and hunker down behind their Boomshields. This makes them tough to shoot, but it buys you some time as they slow their pace.
The mighty Boomshield deflects nearly all frontal fire, allowing Maulers to close on their targets, where they can employ their explosive flails. Targeting their feet with machinegun fire can inflict some damage, but it’s more expedient to use explosives or power weaponry and attack from afar, while the Mauler moves with his shield lowered.
The Mauler is a threat only at close range, though its flail’s explosive radius extends several yards. Taking a direct flail hit is usually lethal, and even being caught within its blast radius is enough to down you. This blast spreads beyond cover, so be sure to shift cover as the Mauler approaches.
Grinder
.png)
Enemy Stats
| HP | Threat | Cover Usage | Weaponry |
|---|---|---|---|
| 2750 | High | Low | Mulcher |
The Grinder is another heavy unit in the Locust army. Grinders are similar to Boomers in size and tactics, even going so far as to yell “GRIND!” before they attack with their heavy Mulcher machineguns. Grinders are as dangerous as they are rare—no doubt a mixed blessing.
The Mulcher’s accuracy diminishes significantly with range, reducing the Grinder’s effectiveness. Stay in cover and retreat until the Grinder’s attacks are more of a nuisance than a significant threat. Switch to a power weapon, preferably the Torque Bow or Boomshot, and listen for a lull in the Mulcher’s action before you rise up to take your shot. Try to wait for the Grinder to pause to cool down its Mulcher, and then take aim. Kill the Grinder before it expends too much of the Mulcher’s ammo to net yourself a powerful heavy weapon!
Butcher
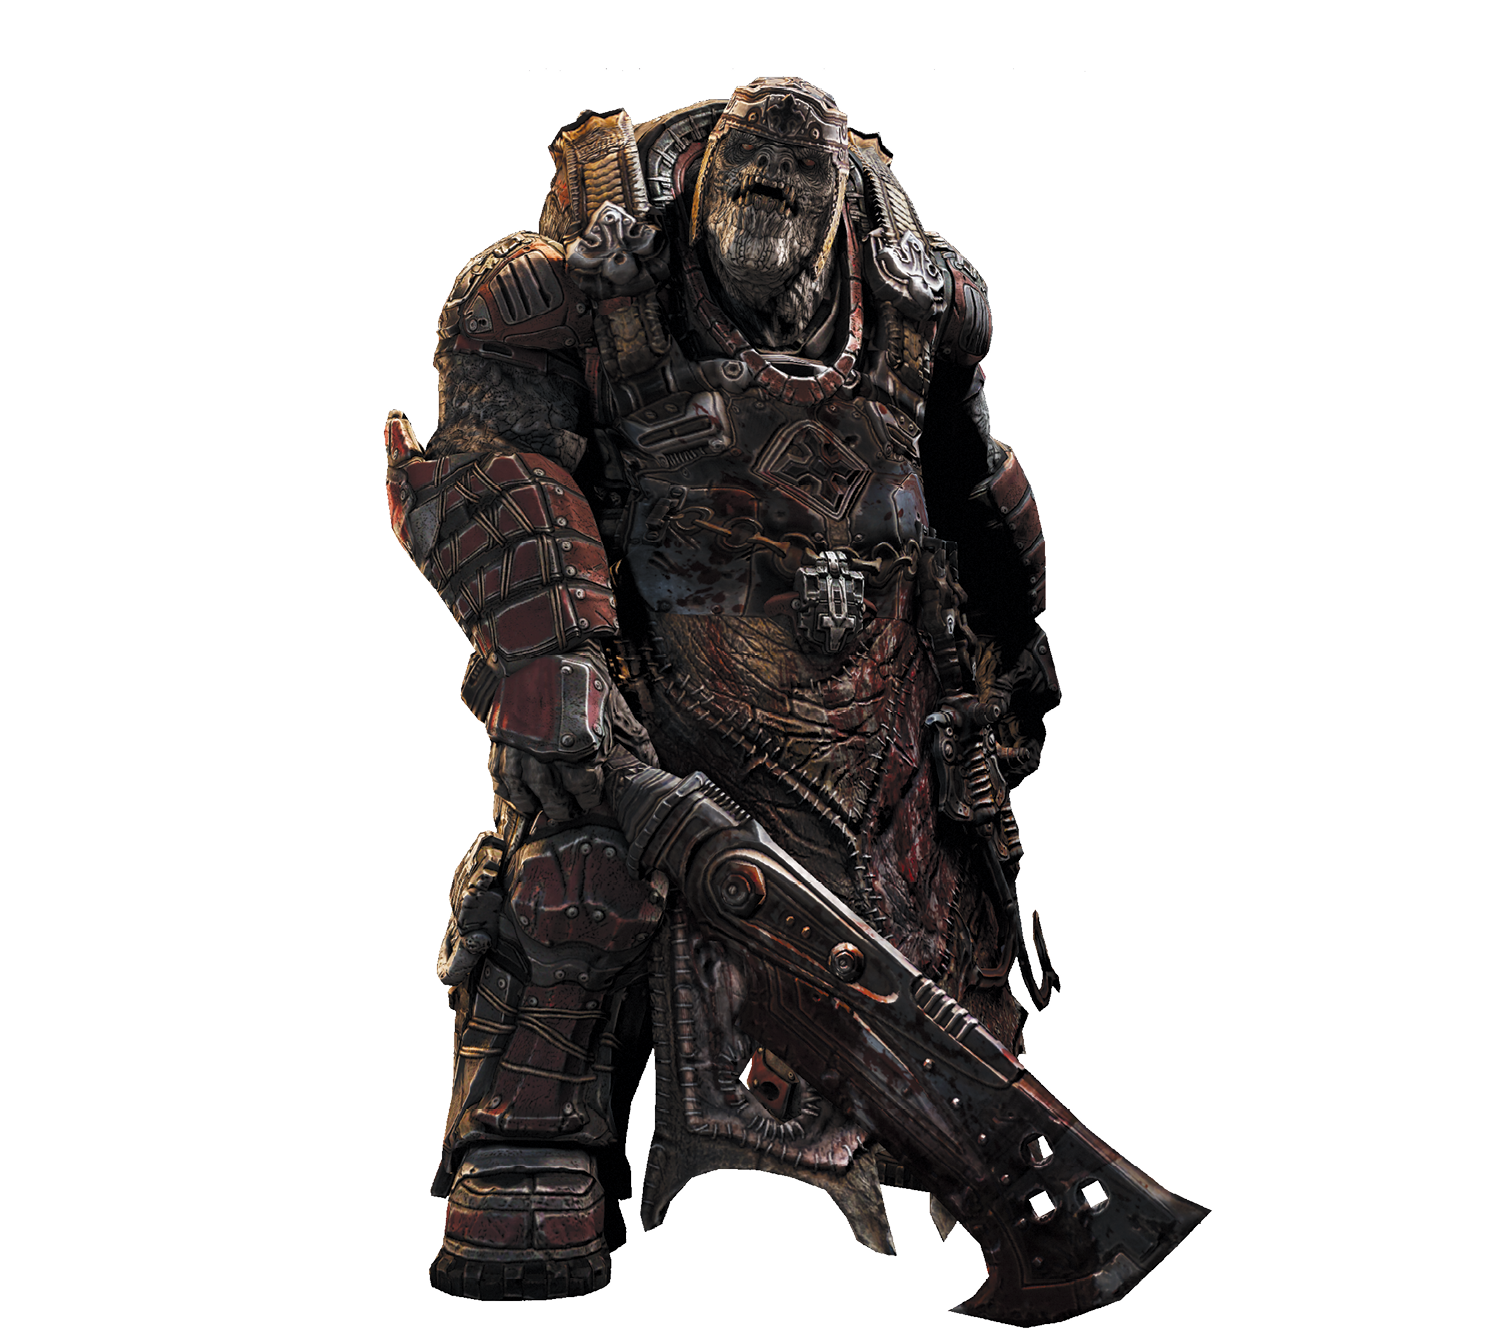
| HP | Threat | Cover Usage | Weaponry |
|---|---|---|---|
| 2750 | Moderate | Low | Cleaver |
This rare, lumbering Locust attacks not with guns or a flail, but with the same rudimentary Cleaver that Savage Therons use. Butchers march straight past cover with the singular focus of a hungry giant coming to dinner…and it’s you that they want to carve! Butchers are dangerous only at extremely close range, thus allowing you to dispatch them by backing away while you hip fire whichever weapon you have on hand.
Bloodmount
.png)
Enemy Stats
| HP | Threat | Cover Usage | Weaponry |
|---|---|---|---|
| 4000 | High | Low | Teeth, Leg Stab |
The Bloodmount is a fairly large four-legged beast with dagger-like front legs and a mouthful of teeth capable of chewing straight through a COG’s armor. Often ridden into battle by a variant of a Drone or Grenadier, Palace Guards also sometimes ride them.
Bloodmounts are deceptively quick, and they close on your position rapidly, particularly if you’re behind cover. Seek out high cover or keep running, as the Bloodmount can rear back and attack over cover at close range. Furthermore, its rider uses its elevated position to shoot at you over cover.
Bloodmounts are vulnerable to all weapon fire. You can stun both the Bloodmount and its rider by targeting the helmet that adorns the Bloodmount’s head. This dazes the Bloodmount and avails its head to further damage. Killing the rider helps to eliminate the Bloodmount’s ranged threat, but it does not stop the beast’s charge.
Reaver
.png)
Enemy Stats
| HP | Threat | Cover Usage | Weaponry |
|---|---|---|---|
| 6500 | High | Low | Rockets, Tentacles |
Reaver RIDER
Enemy Stats
| HP | Threat | Cover Usage | Weaponry |
|---|---|---|---|
| 1100 | Low | Low | Hammerburst, Torque Bow |
Reavers rule the skies above the battlefield, as their size and speed allow them to go places where sluggish Gas Barge cannot. Though they’re large enough to support two mounted riders, Reavers move with extreme finesse, forever seeking the optimum vantage point from which to launch their Boomshot-like rockets. The glands on the Reaver’s tentacles secrete an oily mist that can obscure visibility.
Reavers are not confined to flight; in fact, quite the opposite. They touch down at close range and stab at Gears with their tentacles’ talon-like ends. Landing also gives their riders a stable platform from which to fire their weapons. All Reaver riders, regardless their class, possess the same HP.
Grant the Reaver your full attention, and aim straight for its head—don’t waste your time targeting its riders, as the Reaver’s tentacles and rockets undoubtedly pose a greater threat. Reavers possess an unshielded weak point on their undersides. Target their soft, pink underbellies for an efficient kill—just don’t get trampled in the process!
Corpser Egg
Enemy Stats
| HP | Threat | Cover Usage | Weaponry |
|---|---|---|---|
| 100 | None | Low | None |
Larvae Corpser
Enemy Stats
| HP | Threat | Cover Usage | Weaponry |
|---|---|---|---|
| 350 | Low | Low | Pinch |
Juvenile Corpser (Unarmored)
.png)
Enemy Stats
| HP | Threat | Cover Usage | Weaponry |
|---|---|---|---|
| 800 | Moderate | Low | Claw, Stab |
Juvenile Corpser (Armored)
.png)
Enemy Stats
| HP | Threat | Cover Usage | Weaponry |
|---|---|---|---|
| 3500 | High | Low | Claw, Stab |
Corpser
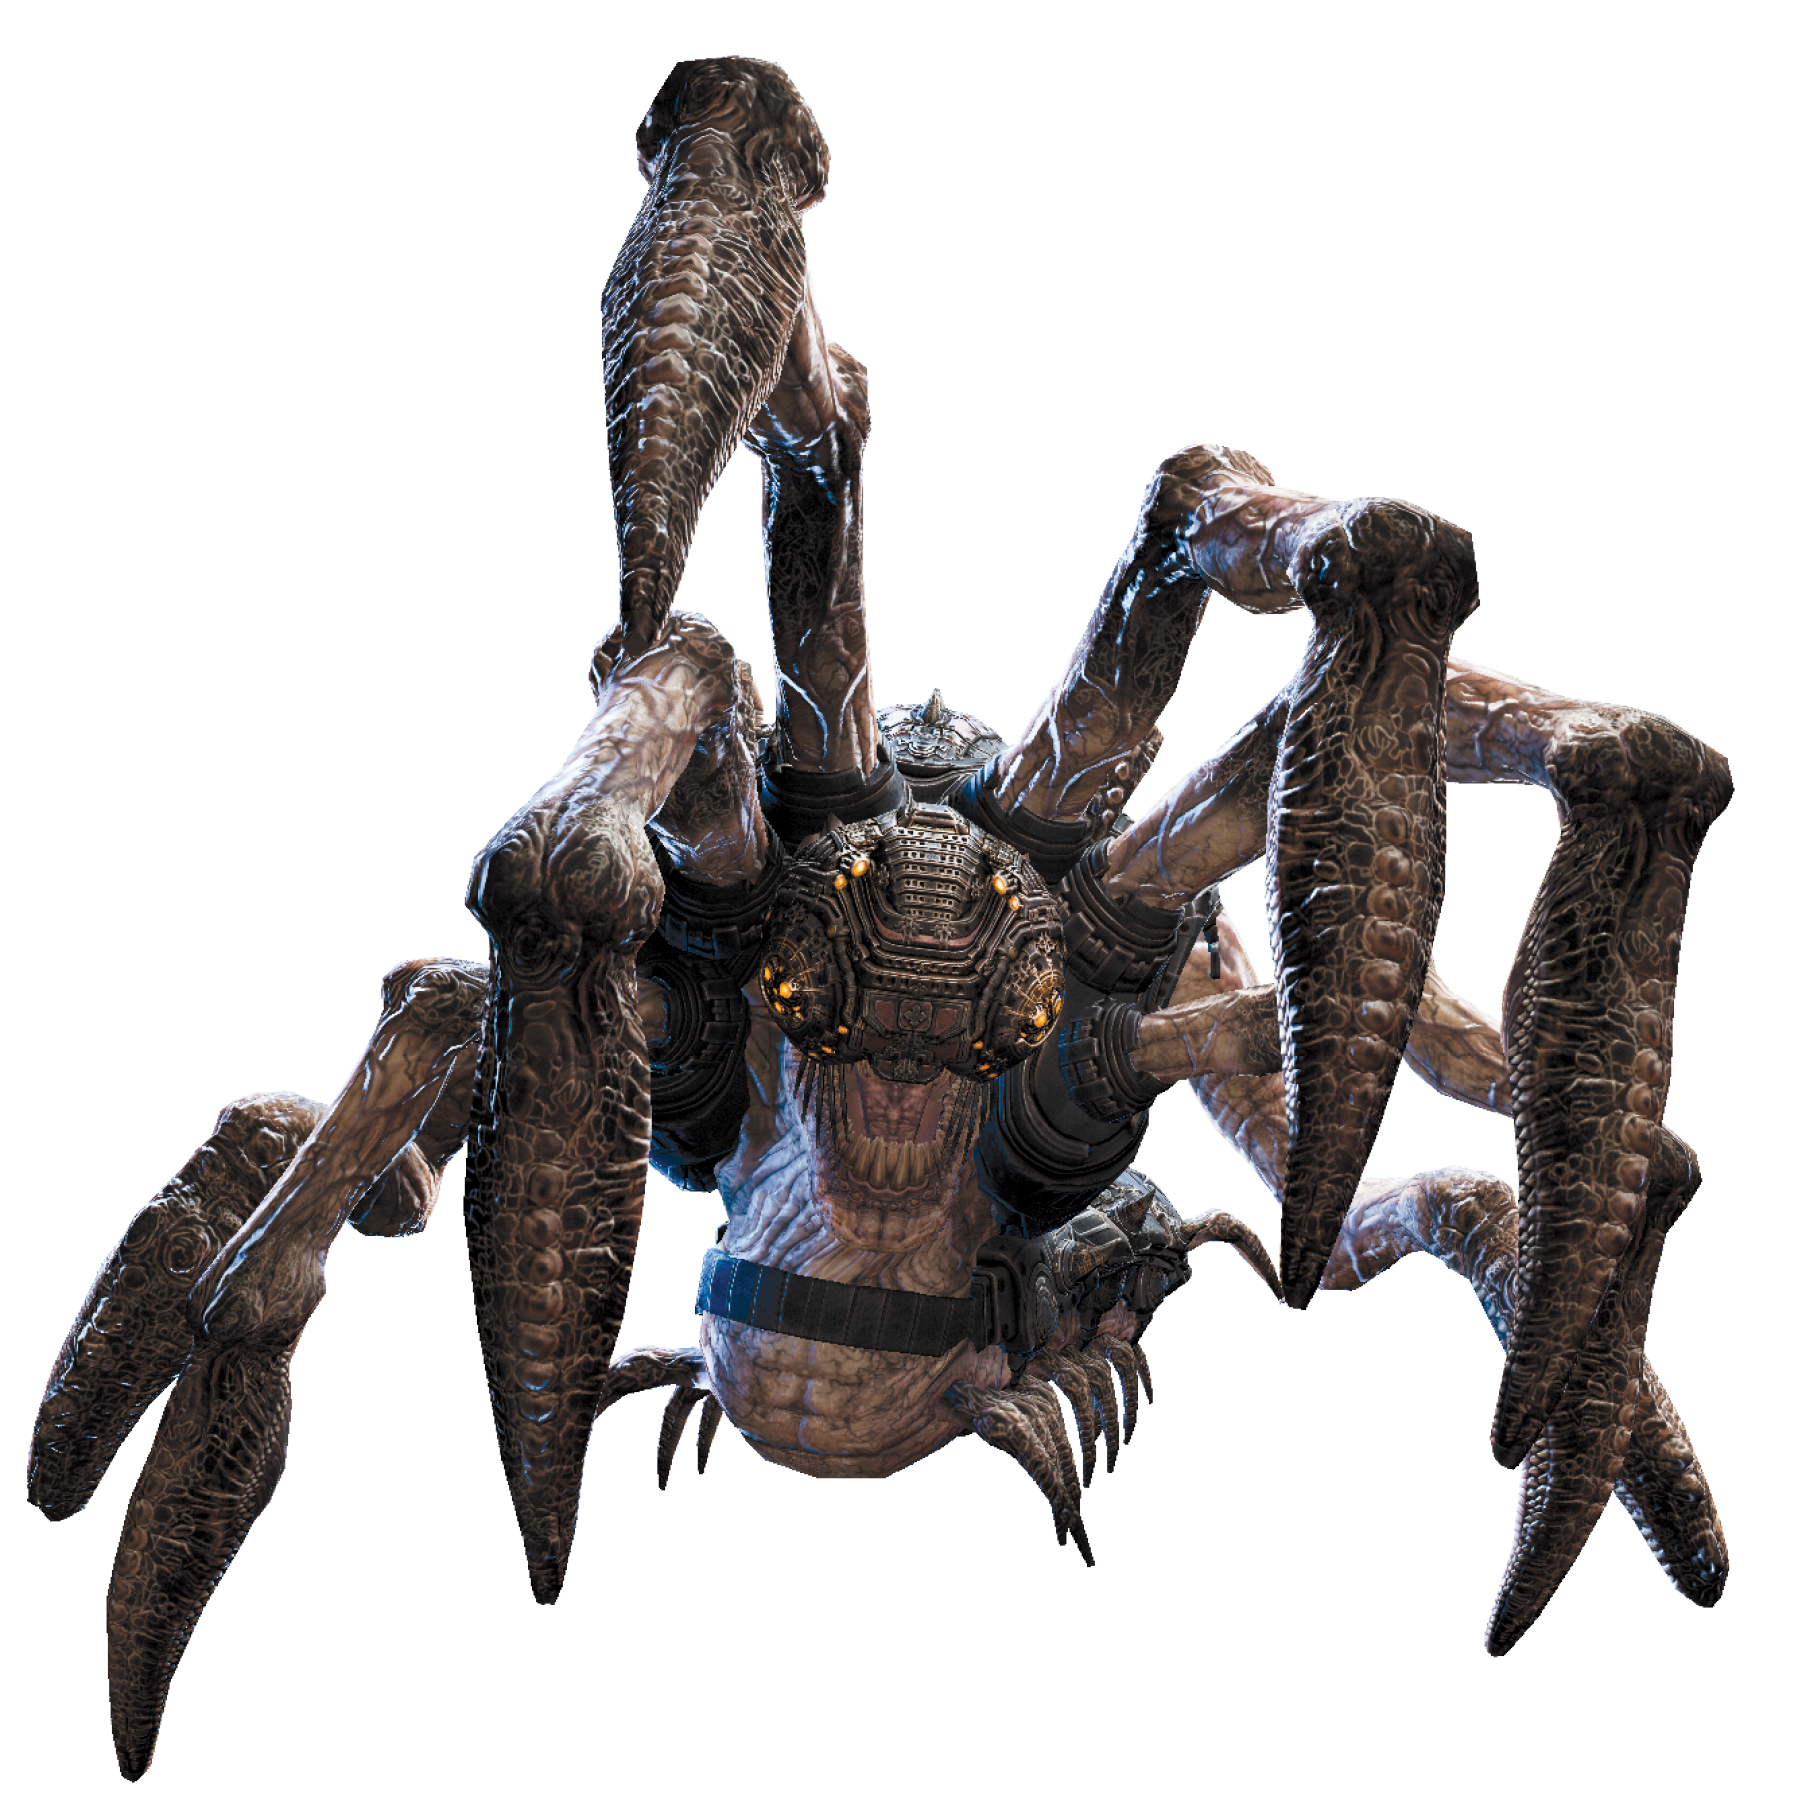
Enemy Stats
| HP | Threat | Cover Usage | Weaponry |
|---|---|---|---|
| 10000 | High | Low | Claw, Stab |
The Corpser returns in multiple forms: un-hatched Corpser Eggs, newborn Larvae, unarmored and armored Juvenile Corpsers, and standard adult Corpsers. There’s also a Corpser Mother, but that’s a discussion for another time.
Corpser Eggs and Larvae Corpsers are no more than fodder and pose little threat. They exist in a single scene and you can mow them down with minimal Lancer fire. Juvenile Corpsers come in both armored and unarmored variants, and are a greater concern. These crab-like creatures crawl across the ground to claw at the Gears. Those with armor shield their vulnerable faces with heavily plated front legs. These legs protect their heads from standard machinegun fire, but they do little to deflect high explosives. A single Boomshot or Frag Grenade is all it takes to dispatch a Juvenile Corpser. Some encounters with Juvenile Corpsers take place while you ride in a vehicle.
The adult Corpser is the most threatening of all the non-boss Corpsers. It’s quite a bit larger and is much faster. In addition to boasting far more HP than other Corpsers, it burrows toward you with a singular raised claw protruding from the ground, not unlike a shark’s dorsal fin. Evade the claw as it slices through the ground, as it can instantly emerge and stab at you with great ferocity. Aim between its legs to hit your mark. Heavy weapons are best, as explosions force the Corpser to rear up and expose its softer tissue to subsequent attacks.
Serapede
.png)
Enemy Stats
| HP | Threat | Cover Usage | Weaponry |
|---|---|---|---|
| 800 | Moderate | Low | Electric Bite |
The armor-plated Serapede is a beast unlike any seen before on Sera. This multi-segmented centipede is virtually bulletproof throughout its body, except for its trailing segment. Even its head, the weak point for nearly all organisms, is a clad in armor and electrically charged. It’s best to steer clear of the Serapede’s business end, as its shock-inducing bite leaves its victim stunned, low on health, and extremely vulnerable to follow-up attacks.
Aim for the last segment on its body—any gun will do—and open fire. The segments pop one by one with each shot. Whoever hits three segments becomes the new target, making this the perfect enemy to tackle with a friend. The Serapede’s speed increases as it gets shorter. Shooting it in the head causes it to rear up and stop charging, but it will bite! The Serapede’s turning radius also diminishes substantially as it gets shorter, making it virtually impossible to outmaneuver it simply by running in a circle.
You can shortcut the standard attack procedure with a OneShot. Fire the OneShot at any segment, and watch as it destroys that segment and all those behind it. Note that the two segments nearest its head are invulnerable to all fire and are not ‘real’ segments. The Hammer of Dawn can also kill the Serapede in this manner.
Brumak
.png)
Enemy Stats
| HP | Threat | Cover Usage | Weaponry |
|---|---|---|---|
| 60000 | High | Low | Rockets, Chainguna |
The mighty Brumak terrorizes groundwalkers who cross its path. This massive beast boasts wrist-mounted chainguns and a massive rocket pack atop its back. Fortunately, the Gears seldom encounter a Brumak without the aid of a commandeered Siege Beast or a vehicle capable of speeding past it.
That said, an encounter with the Brumak while you’re on foot is unavoidable. Immediately seek cover and use assault rifles, a Mulcher, Vulcan, or Boomshot to destroy its wrist-mounted chainguns. This reduces its offensive capability and it inflicts significant damage. With the chainguns destroyed, you can either fire at the Brumak’s head or try a flanking maneuver to line up a shot at the red glow of the battery pack it wears. This is an effective strategy when you play with friends who can distract the beast. Otherwise, it’s often best to hold your ground in cover and whittle away at the Brumak’s massive pool of health.