
Gears of War 3 Guide Campaign Walkthrough Act 2
Chapter 3: Forced Entry
Objectives
Collectibles
|
 Enter the
  Secure the
  Continue through the
  COG Tag
The Gears’ pursuit of the Gas Barge has brought them deeper into the Seran Deadlands, to a sprawling Locust stronghold carved out of the rock. Not content to live on the planet surface as the groundwalkers do, the Locust have begun burrowing into the badlands, developing a network of bunkers and underground chambers where they can regain a sense of their former lives. The Gears must make their way through this compound to continue toward Anvil Gate, but first they must find a way inside.
Locust Stronghold
 Enter the Locust Stronghold without Triggering an Alarm
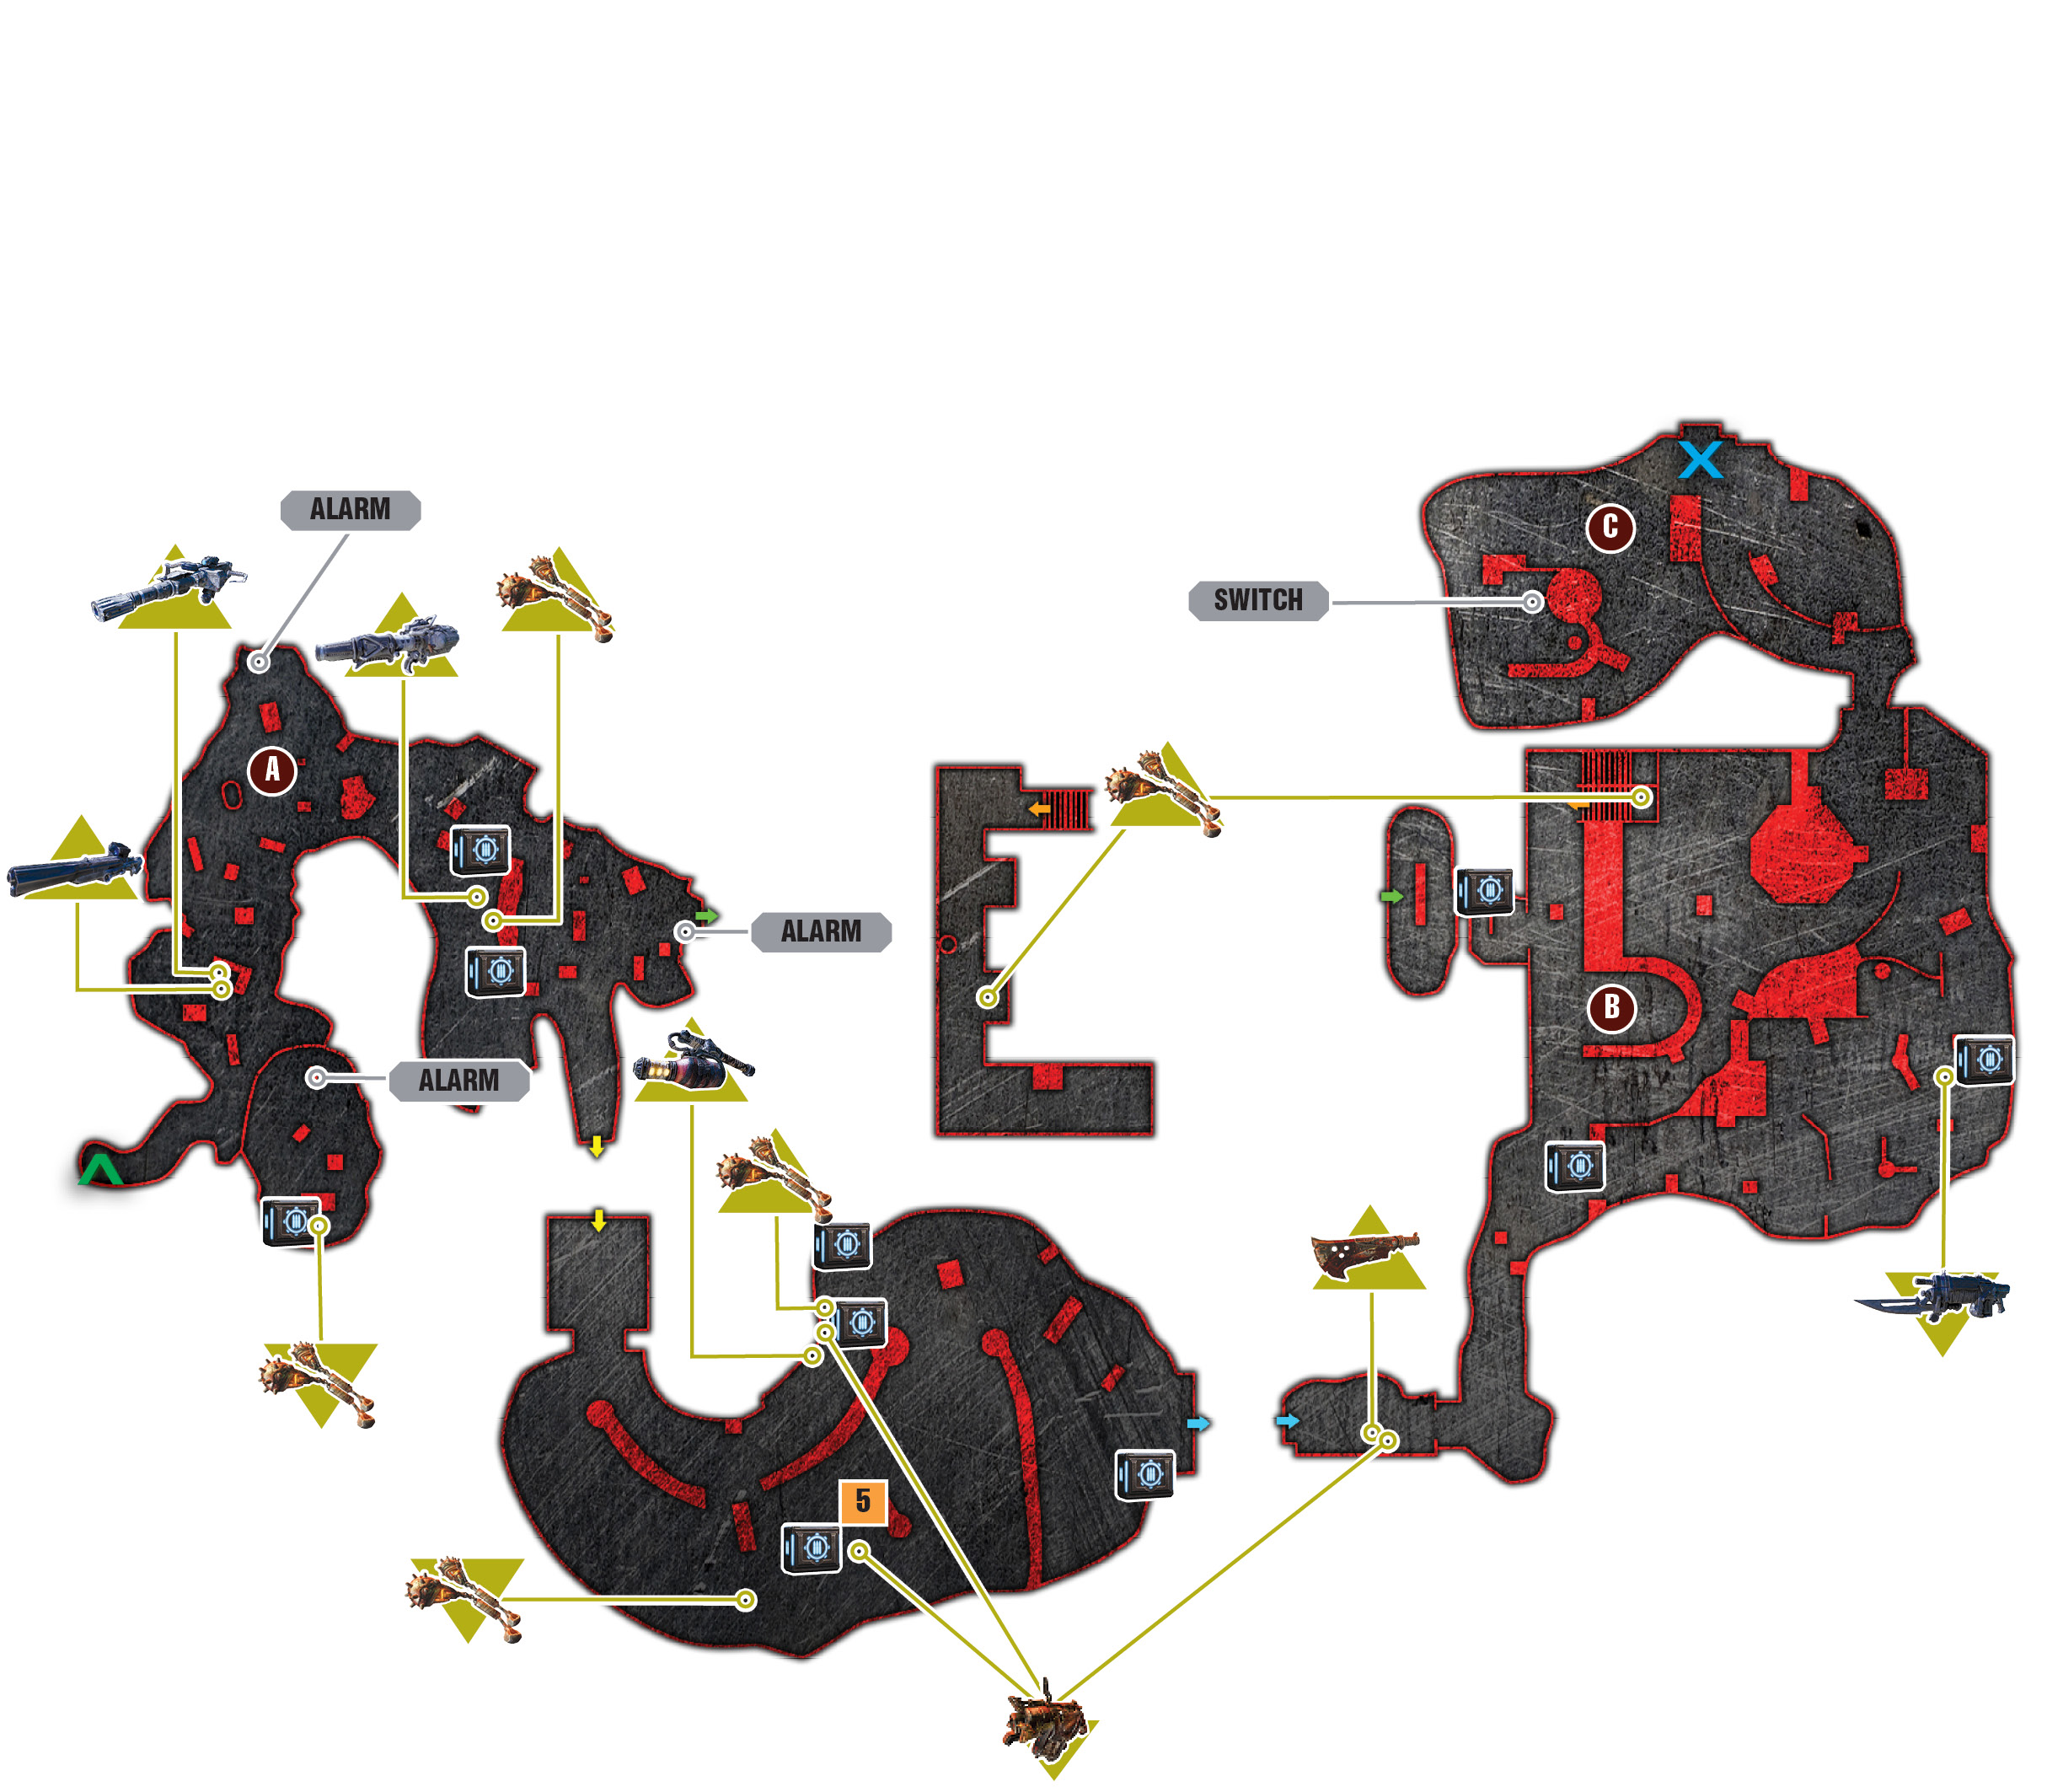
A sprawling canyon is all that lies between the Gears and the entrance to the Locust stronghold. There are two ways into the stronghold: a side entrance for those who use stealth and avoid detection, and the main gate for those who alert the guards. The Locust have placed three large horns throughout the canyon: one near the gate where the Gears enter, one on a lookout far to the left, and another above the main gate.
You encounter a Locust Grenadier near the horn just beyond the entrance to the canyon. Lie in wait for his patrol path to take him away from the horn, and then let him have it. Gather the Frag Grenades and ammo behind the crates to the right.
Move left quickly, preferably with the Longshot ready, and melee the Wild Tickers out of the way before they swallow the OneShot and the two Longshots near the crates ahead. Hunt down any Wild Tickers that steal your power weapons, but don’t chase them too far, as they’re apt to retreat toward the fortress wall where the next horn is.
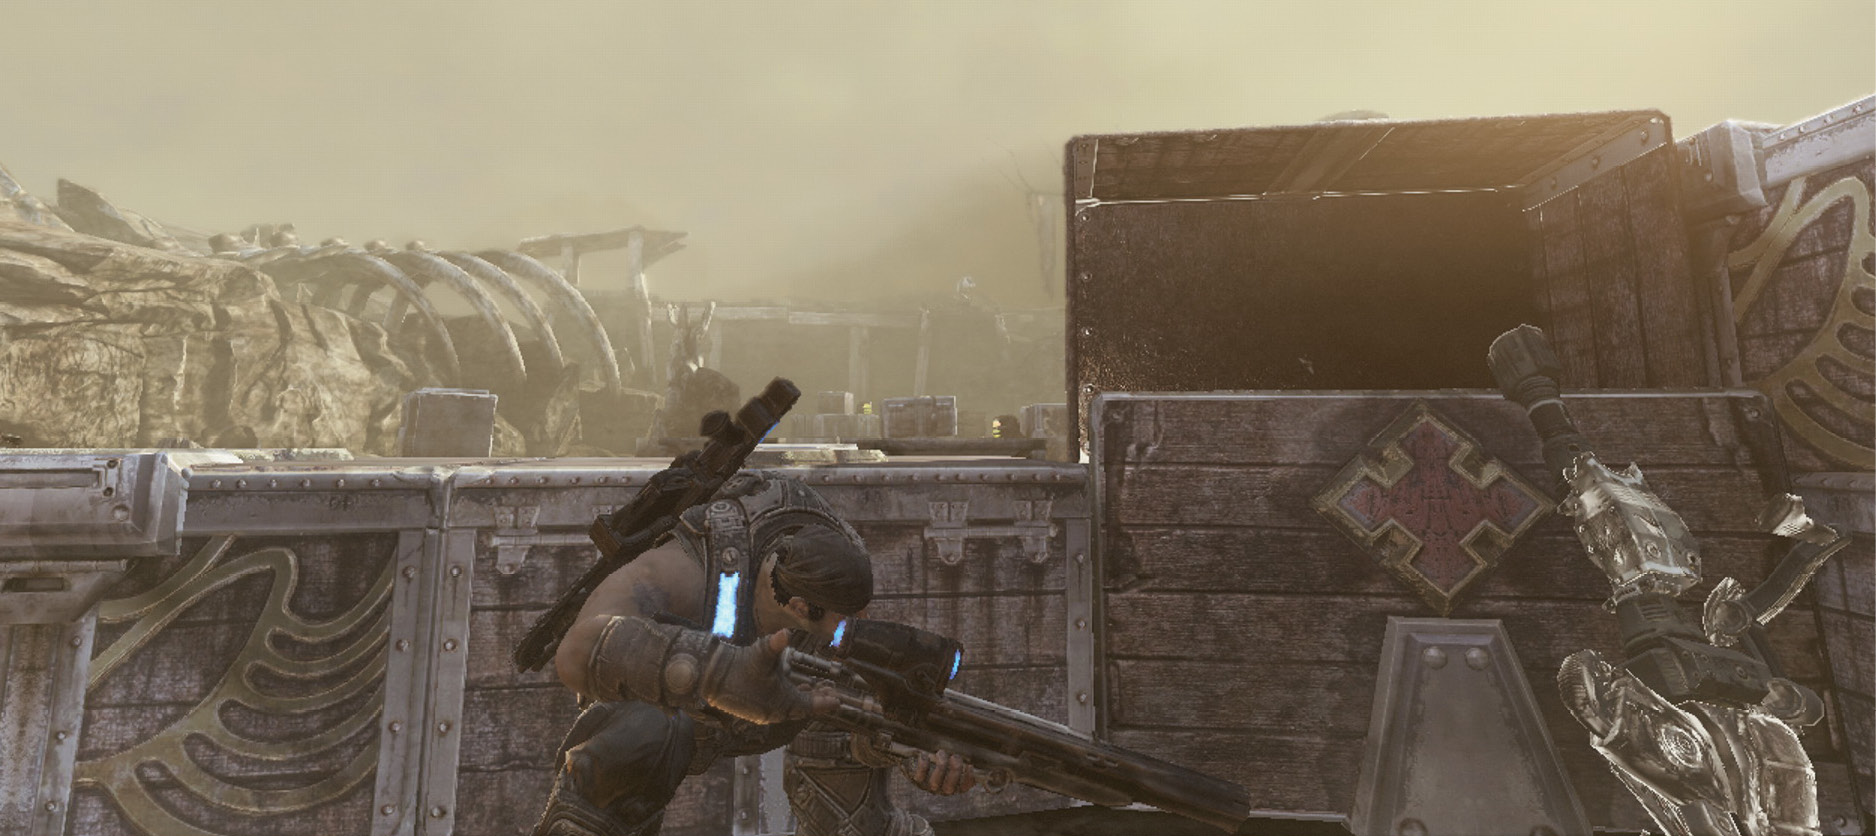
Advance until Marcus calls the squad’s attention to the two Savage Drones atop the wall far ahead. One stands idle to the far left with a Longshot, while another paces back and forth to his right. Spot the stack of yellow fuel canisters, and then snipe the patrolling Drone in the head, being careful not to detonate the explosives just yet. The other Drone fires once in your direction and then runs for the horn. Stop him by quickly reloading the Longshot (or switch to the Hammerburst or Lancer) and shooting the fuel canisters just as he runs past them.
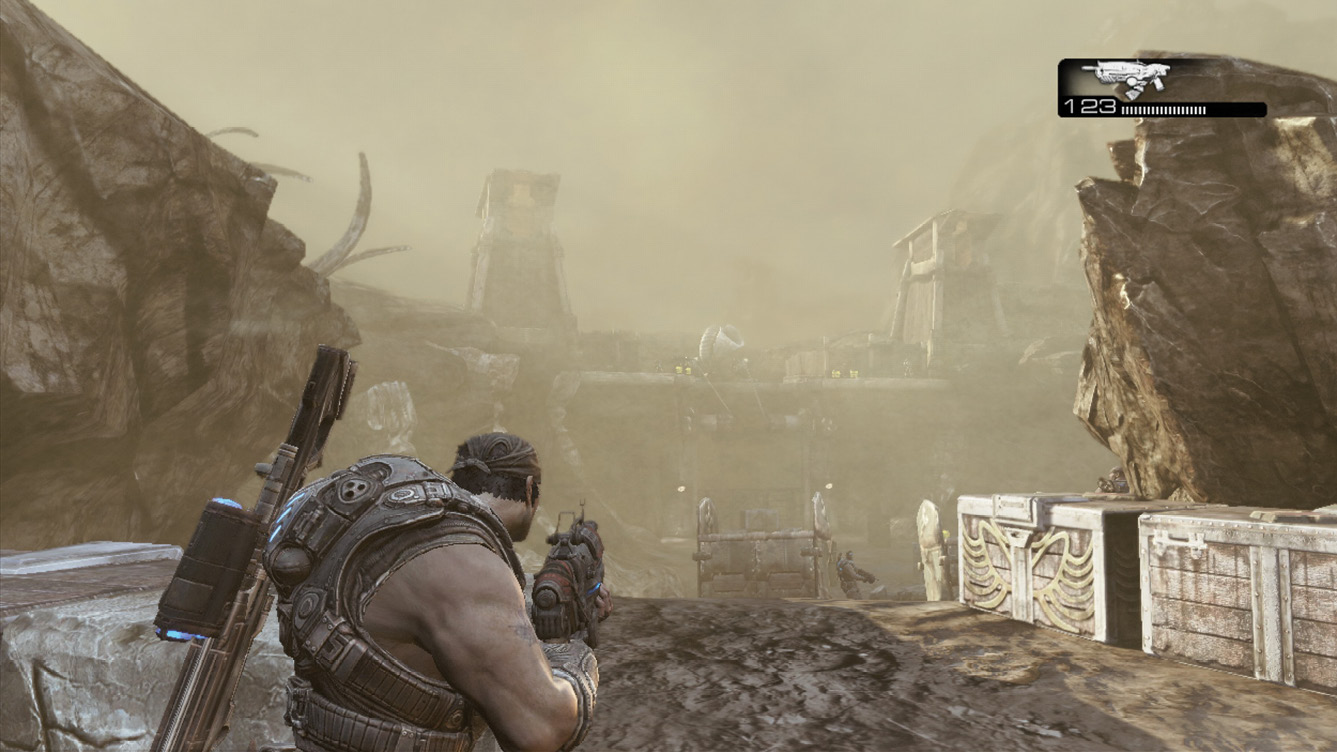
Advance down the slope to the right, toward the main fortress wall. This wall also contains a horn and two guards, but they’re much closer to the horn and are on separate sides. Each Savage Drone’s patrol path loops around a pile of explosive fuel cells on his respective side of the horn. The Longshot takes too long to reload for this scenario—it’s possible if the Drones are at their max distance from the horn, but it’s very risky. The Lancer lacks the range and accuracy you need. Thus, the Hammerburst is the best weapon to use here. Use its iron sights to fire two rounds quickly at the fuel cell stacks on either side of the horn. It’s important to be fast, or the second Drone will reach the horn. You must make sure the Drones are actually near the cells, as their paths do take them beyond the blast radius.
Avoided Detection: Move Deeper into the Locust Stronghold
If you don’t kill both Drones in time, and they sound the alarm, skip ahead to the next section, Alarm Sounded: Fight Your Way into the Locust Stronghold.
If you manage to kill the watchmen atop the wall without any of the three horns being sounded, a gate on the right opens and several Savage Therons attack. Don’t worry about making too much noise at this point, as nobody is left to blow the horn. Take them out—feel free to use the Mortar if you wish—and enter the Locust stronghold through the side gate.
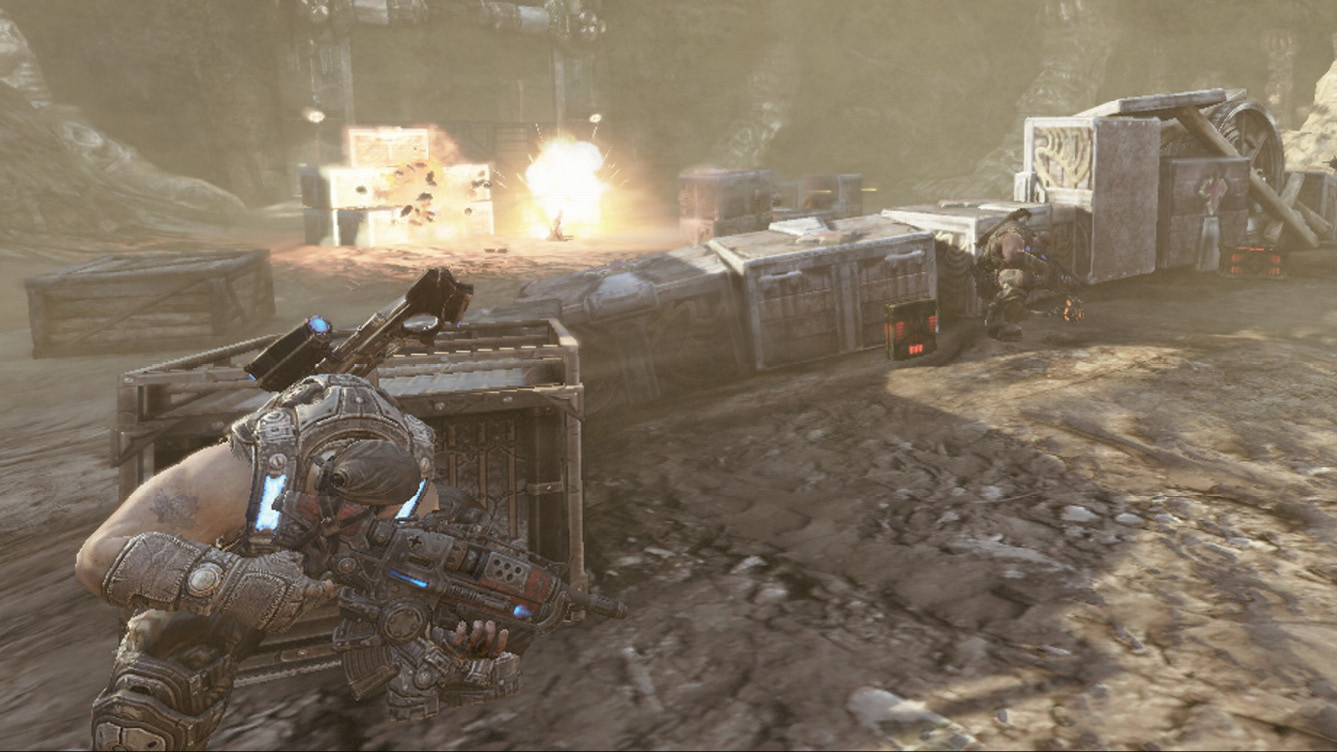
Enter the area beyond the side gate, and gather the ammo and all manner of grenades. Raise the gate ahead to emerge inside the stronghold, to the right of the upper walkway. This is where you would emerge if you had alerted the guards outside, only now you’re in a much better position to take out the Multi-Turret (see the next column).
Alarm Sounded: Fight Your Way into the Locust Stronghold
All is not lost if the Locust sound the horn, but you have to do a lot more fighting than you otherwise would have. The route inside the fortress is also much more difficult. Fortunately, two OneShots are back up the hill. Run to the OneShots, take cover there, and wait there to kill the two Locust that spawn near the first wall before you join the squad further downhill.
Use the Longshot to snipe the Snipers in the two upper watchtowers. Then carry the OneShot up the slope on the canyon’s left-hand side. Finish off the first wave of enemies, and watch as the gate opens and Savage Boomers appear. Take them out (collect their Digger Launchers later), and then kill the Corpser that appears. You can kill this juvenile Corpser with a single shot from the aptly named OneShot. If you run out of OneShot ammo, there’s always the Mortar nearby.
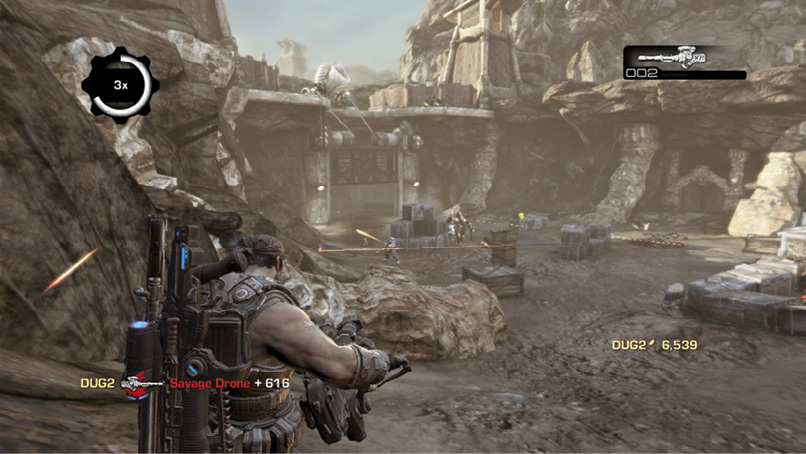
Enter the stronghold through the central gate; the side gate remains locked if the horn sounds. Gather the ammo and raise the second interior gate to continue.
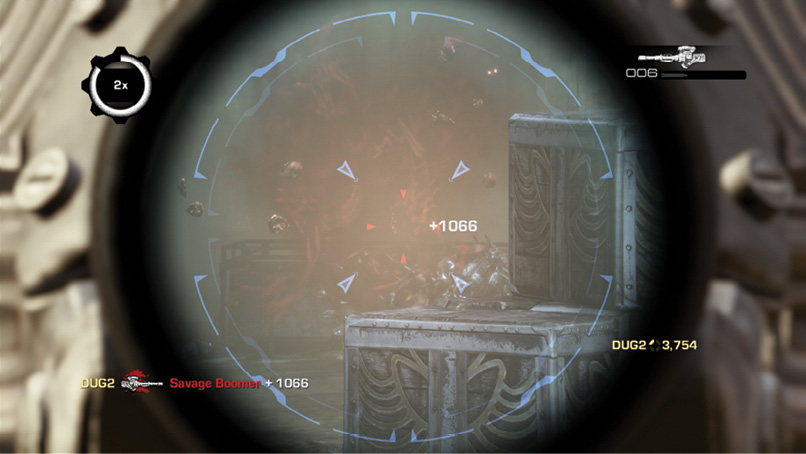
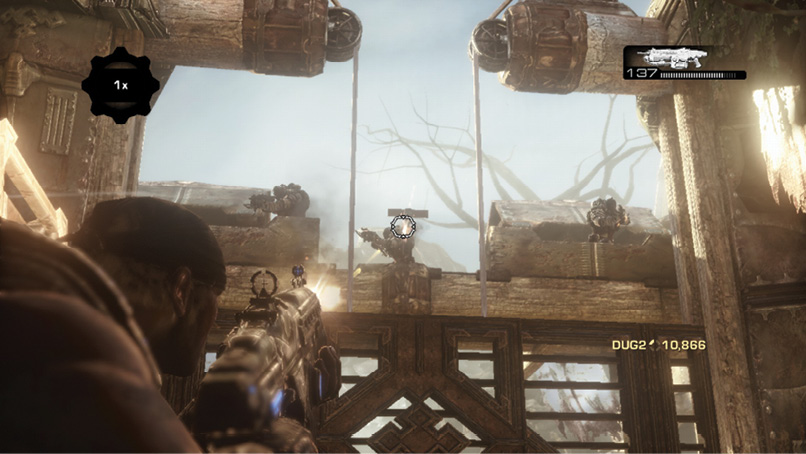
The squad is now trapped in a small room, behind a massive internal gate that cannot be lifted manually. The multiple Locust on the wall above take cover behind a concrete barrier. Shoot the stone barrier to break the cover free. This reveals the enemies, as well as a lever that, if shot, raises the gate.
 Secure the Locust Stronghold
Whether you enter through the main gate or from the side, your initial focus must be the same: blow up the Multi-Turret on the center platform inside. Players who successfully sneak into the stronghold without detection can swiftly shoot the fuel cells behind the fencing beneath the turret. Those who have to fight their way inside have a slightly harder time. Because it’s much harder to sneak in stealthily, we’ll discuss the blown-cover approach first.
Immediately fall back into cover after you shoot the lever that raises the gate. Any Savage Grenadiers or Therons that you didn’t kill on top of the walkway are about to descend and approach the open gate from the left. Toss a Frag Grenade to the left to catch them as they enter. Then duck back for cover from the Multi-Turret.
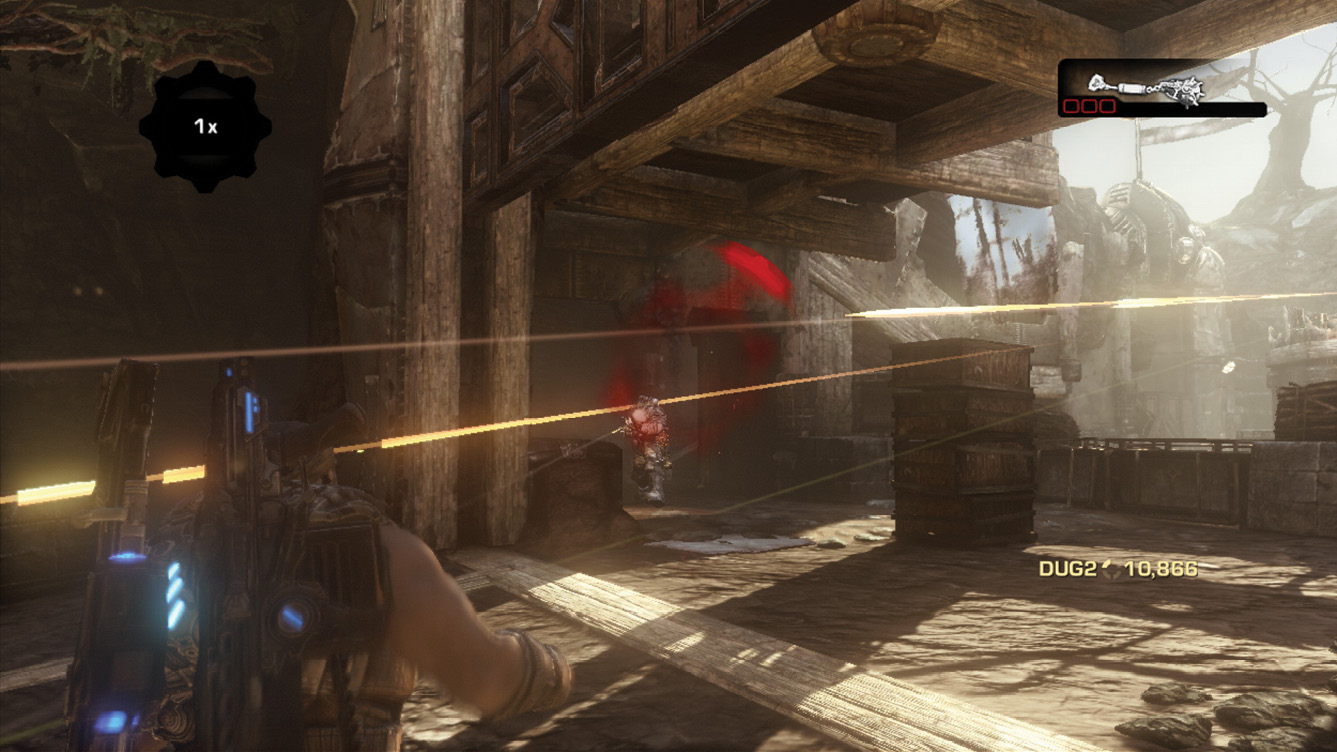
Quickly ascend the ramp on the left to gain the upper walkway. Grab the Frag Grenades in the alcove. Hurl one at the central elevated platform where the Multi-Turret is. Doing so detonates a stockpile of fuel canisters below the turret, causing an explosion large enough to collapse the walkway and block future access to the turret. Now you won’t have to worry about other Locust mounting the heavy gun.
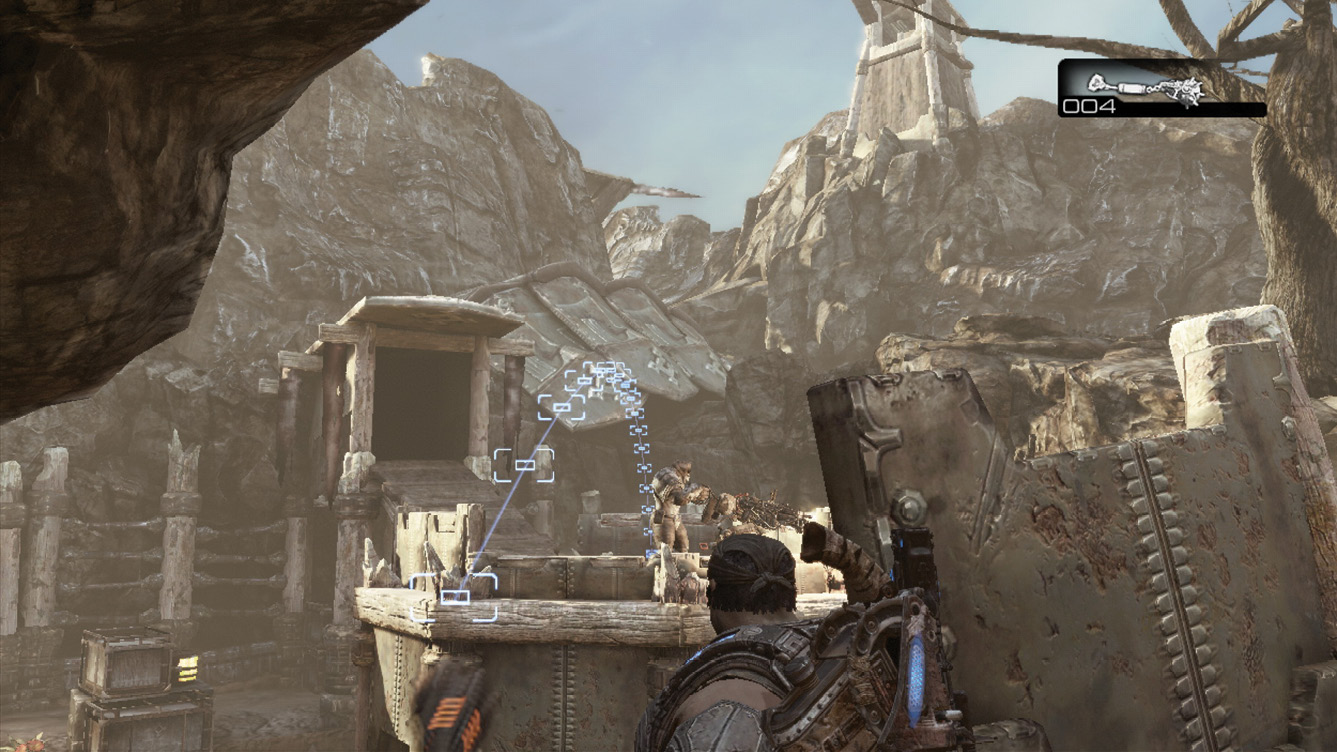
Continue across the walkway from left to right, past the lever, to the other Frag Grenades. Before you descend, rain down explosives atop the lower Multi-Turret to clear out its operators. It’s a long toss, but with a little practice you can bounce the Frag Grenade off the crates and into the turret nest. Now you can descend the ramp to where you would enter if you didn’t sneak in the side way.
Use Frag Grenades and Hammerburst shots to eliminate the Savage Drones behind cover—or use the Digger Launcher if you snuck in via the side entrance. Beware their Incendiary Grenades, as they are deadly accurate and the flames can easily engulf you. Though they may look cornered, these units are strong and well equipped.
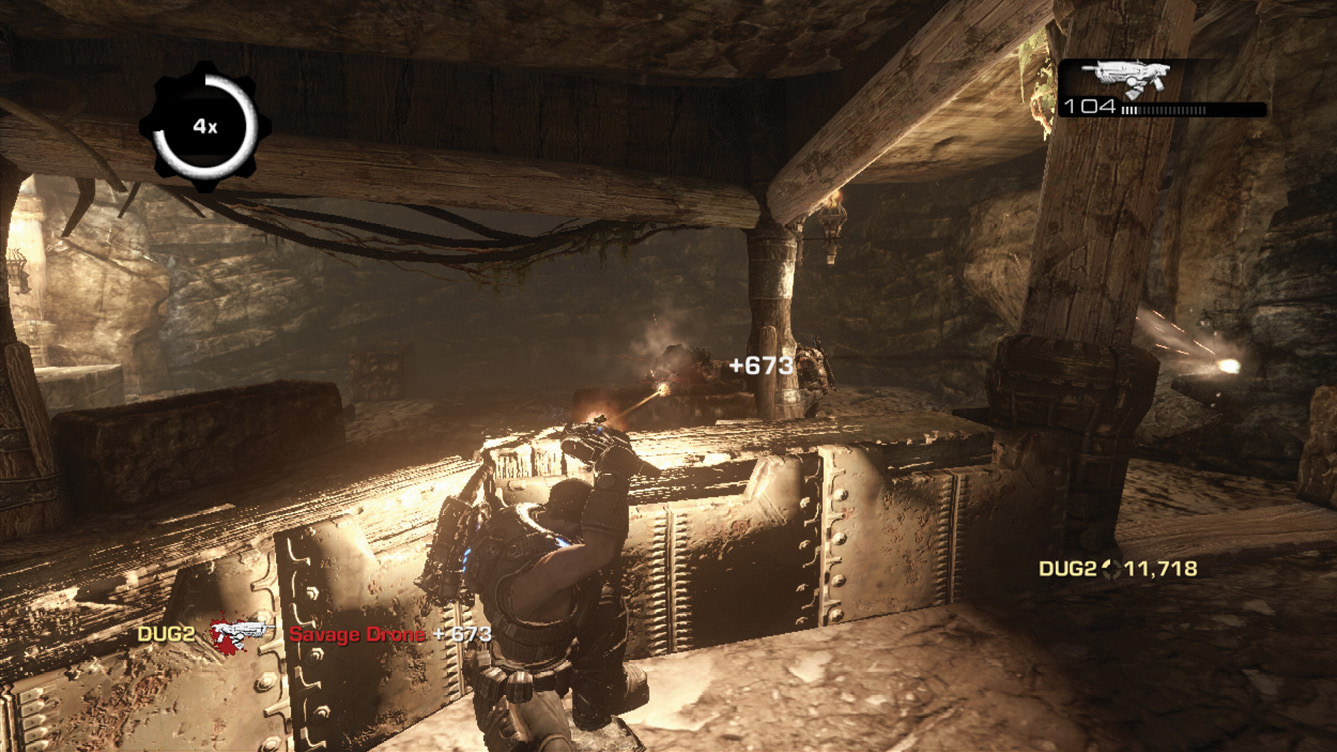
A pair of Savage Boomers enters from a far gate as soon as you dispatch the last of the enemies in this immediate area. Use the Digger Launchers or Frag Grenades on the Savage Boomers to take them out quickly and gain access to the stronghold’s final interior area.
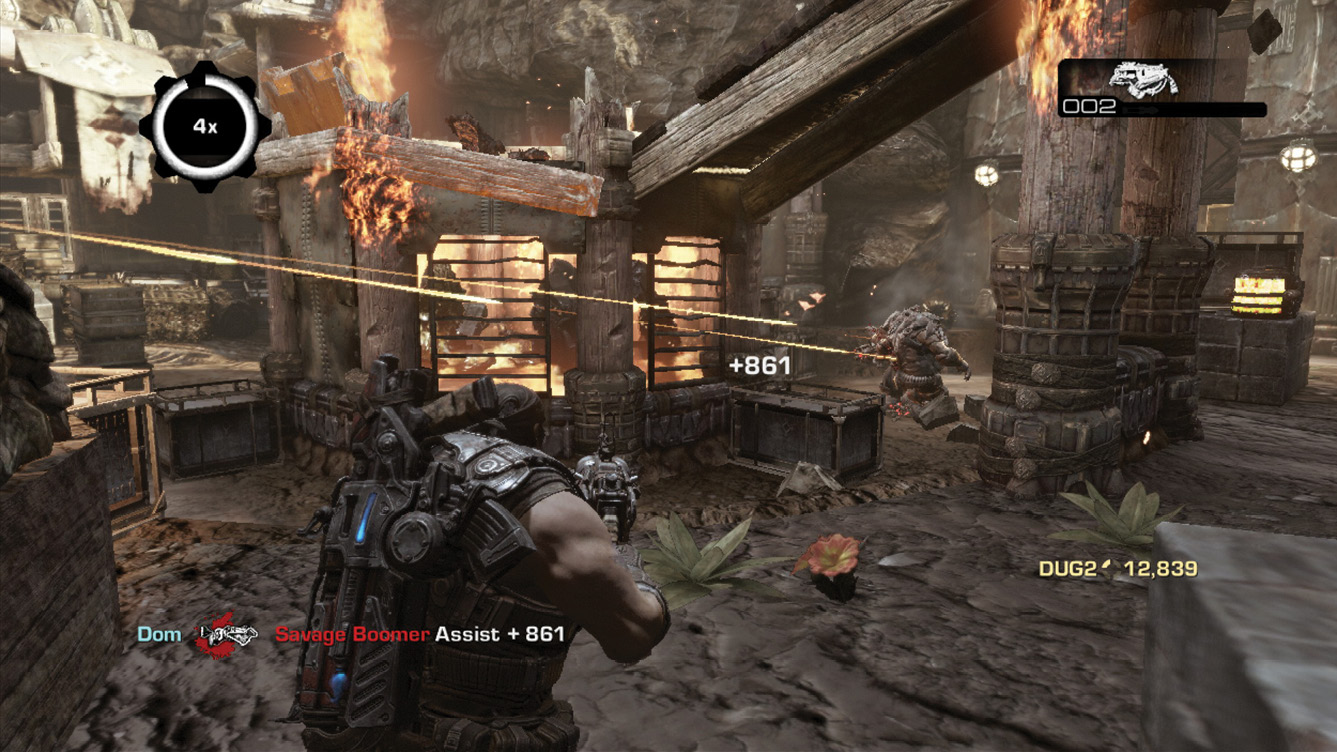
 Continue Through the Trenches
The lever that controls the gate to the trenches is mounted on a pole in this final area’s center. Unfortunately, several Savage Drones, including one manning a Multi-Turret, defend it. Flank right and hit the explosive containers to clear it out.
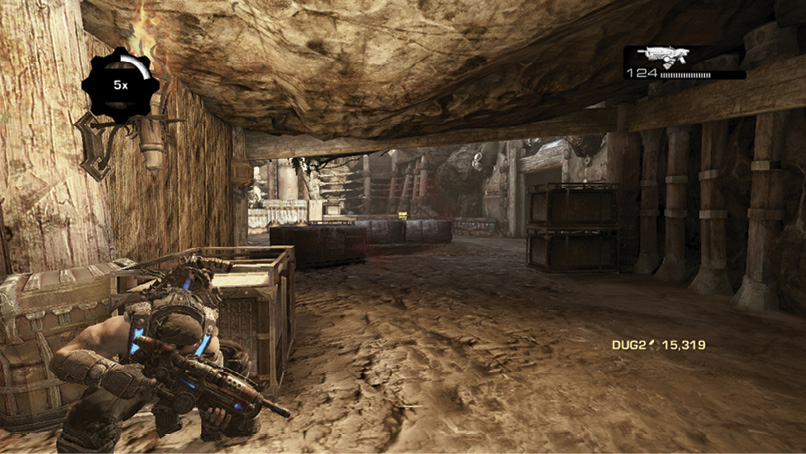
Move into position to avoid the Multi-Turret, and use Frag Grenades to take out the Savage Grenadier near the lever. Rush in from the side with the Digger Launcher—not head-on—and finish off the others. Pull the lever to exit the area.