Gears of War 3 Guide Campaign Walkthrough Act 4
Chapter 2: Crater
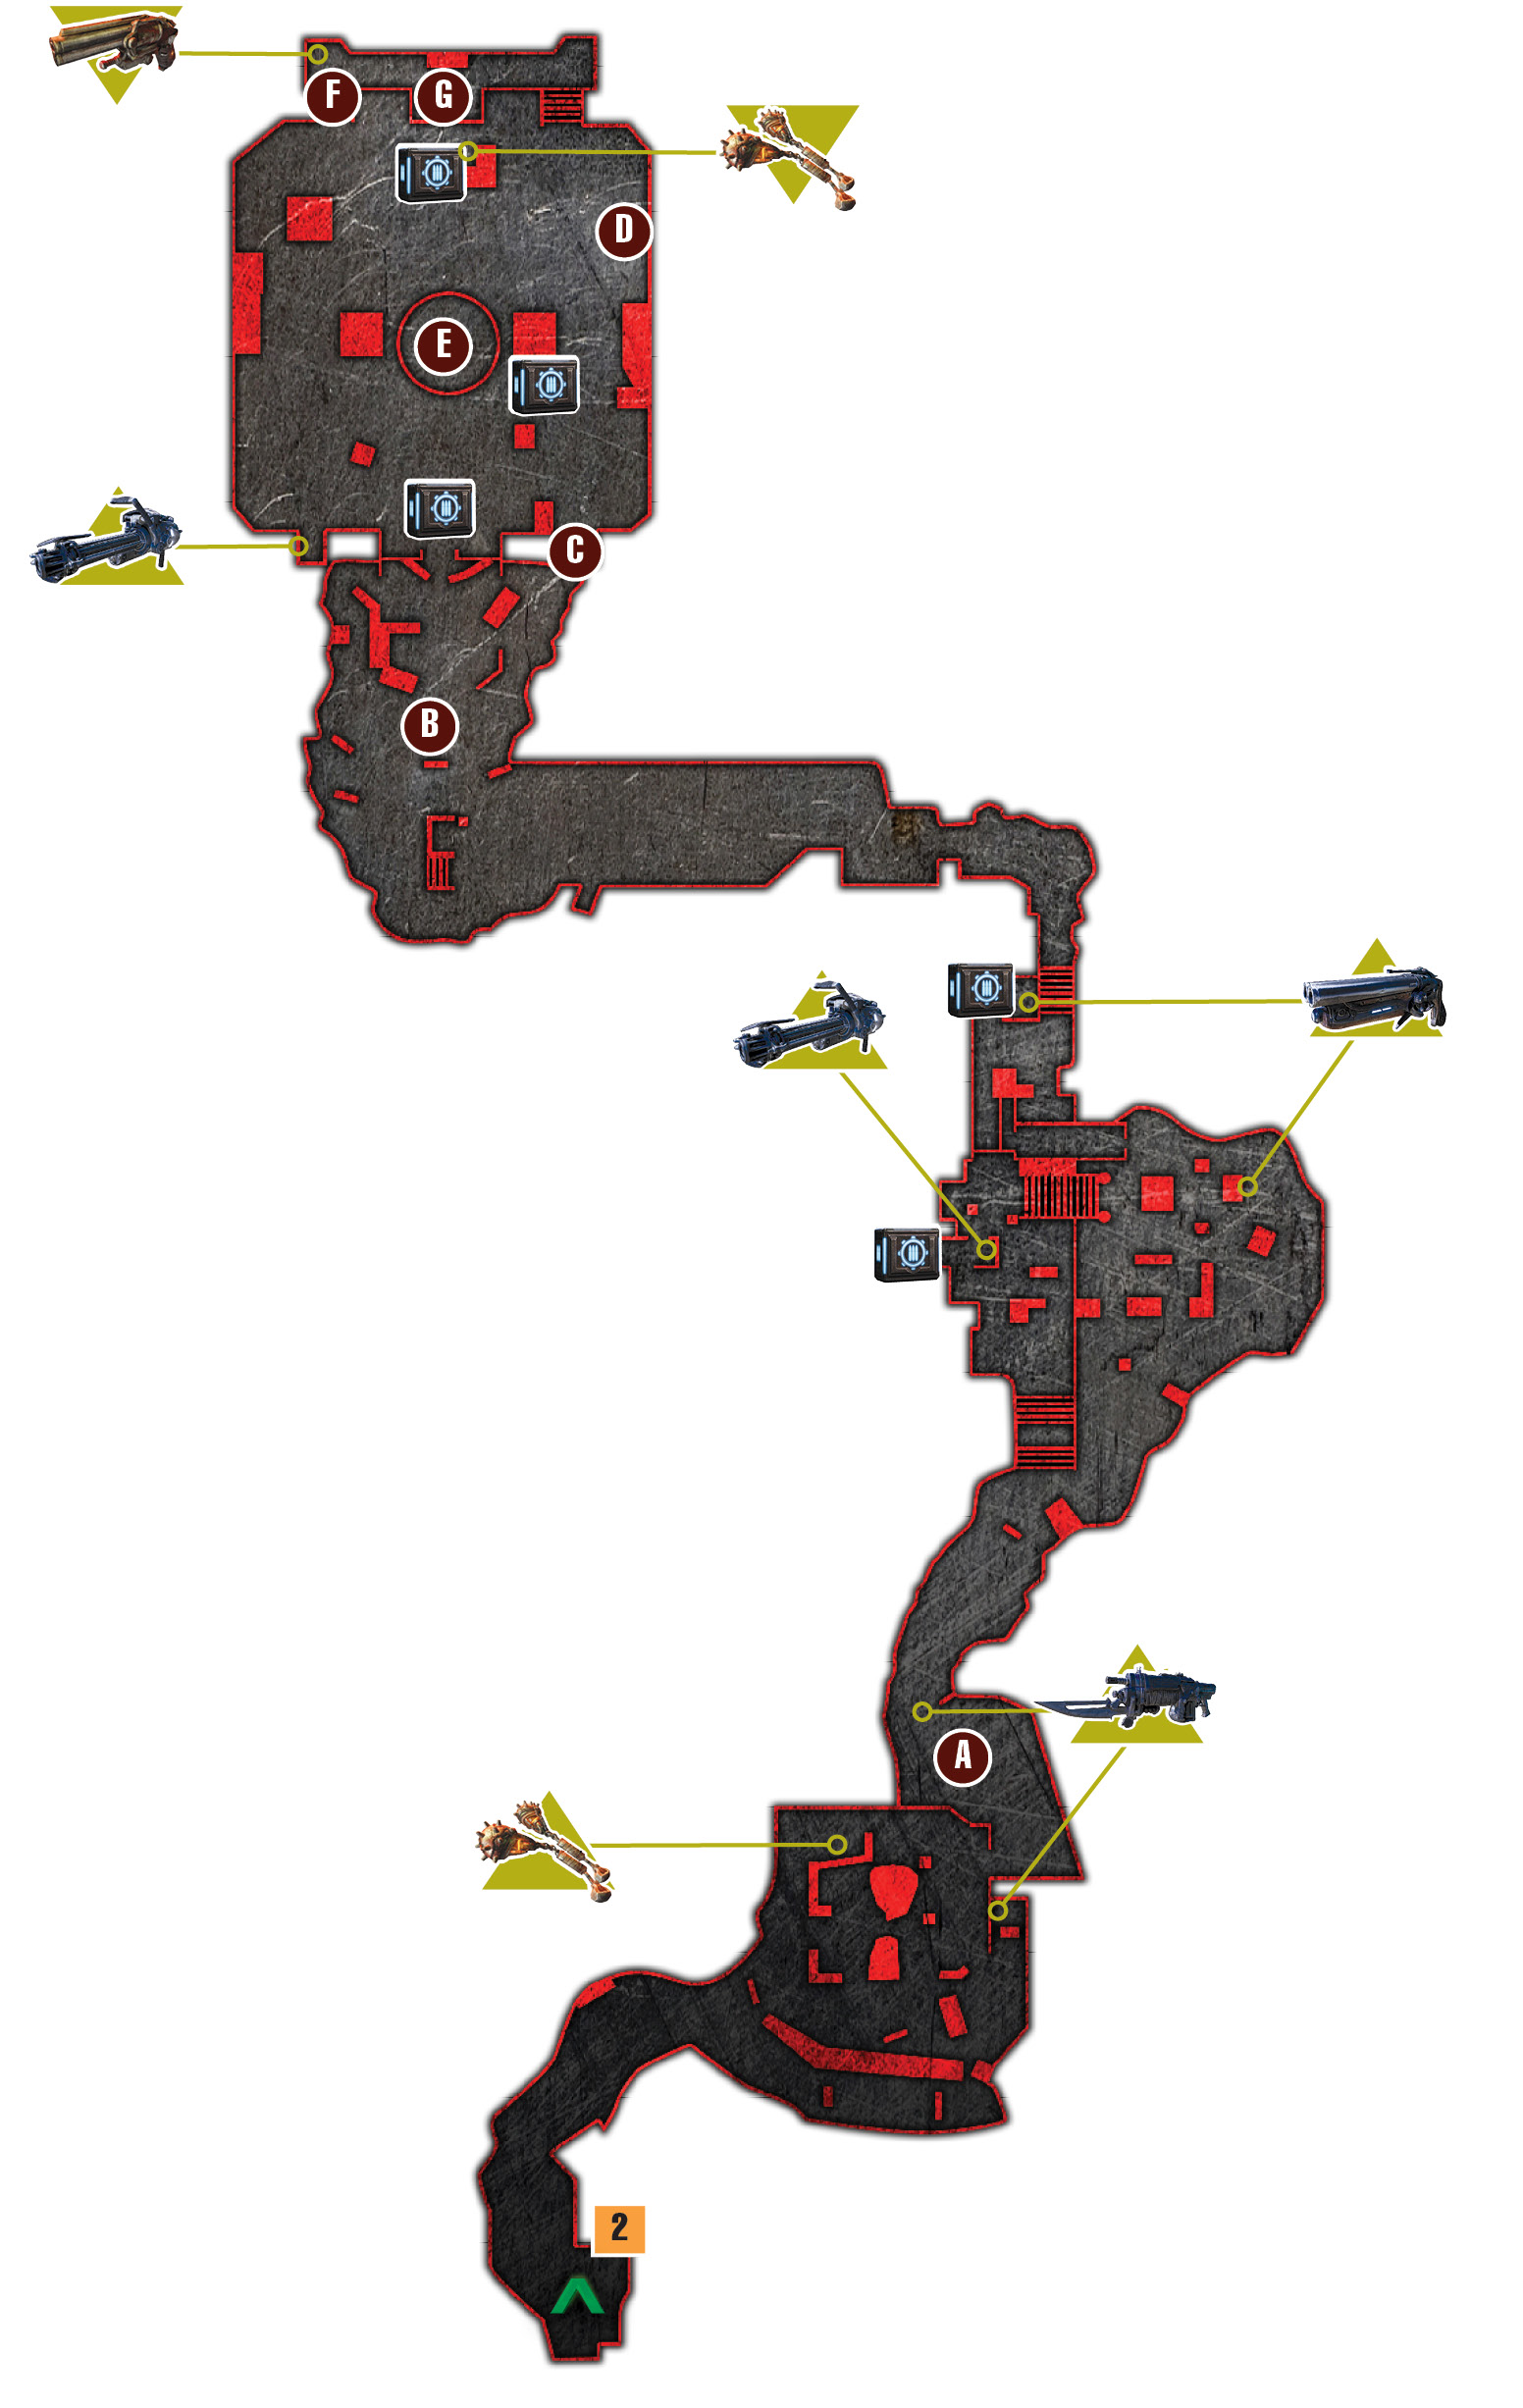
Objectives
Collectibles
|
 Get to Griffin’s refinery.
 Get to the cable car.
 Find a way to power up the lobby.
 Call one of the elevator lifts.
 Defeat the Former Humans.
 Find an alternate way upstairs.
 Push the car off the elevator.
 Journal
It used to be a simple walk across the street from Griffin’s headquarters to the refinery, but that was before the Hammer strikes. Now there’s a grand crater that can be crossed safely only by cable car. Problem is, Griffin’s cable car hasn’t come back in days. Though there’s a good chance the COG can find some fuel at the refinery, the only way there is on foot via the subway tunnels. It’s a tough journey, but Marcus and the others have no choice—not if they want to see Dizzy again.
City Center
 Get to Griffin’s Refinery
Follow the edge of the crater around the corner to the right. Ruins such as those stretching out before you provide a perfect home for Polyps. Expect to encounter the critters in pipes, abandoned cars, and even in the shovel of the large bulldozer up ahead. Move cautiously and try to kill them with a minimum of ammo. Conserve your ammunition!
Advance to where the Dark Wretches attack. Two Lambent Stalks soon appear in this area. Keep your distance and focus on taking out the Stalk Pods first. Frag Grenades are up the hill on the left, near the cliff’s edge. If you were respectful of the dead, you might have Incendiary Grenades. If so, use them now and then pick up the Frags. However, don’t use the Frags—you need them later!
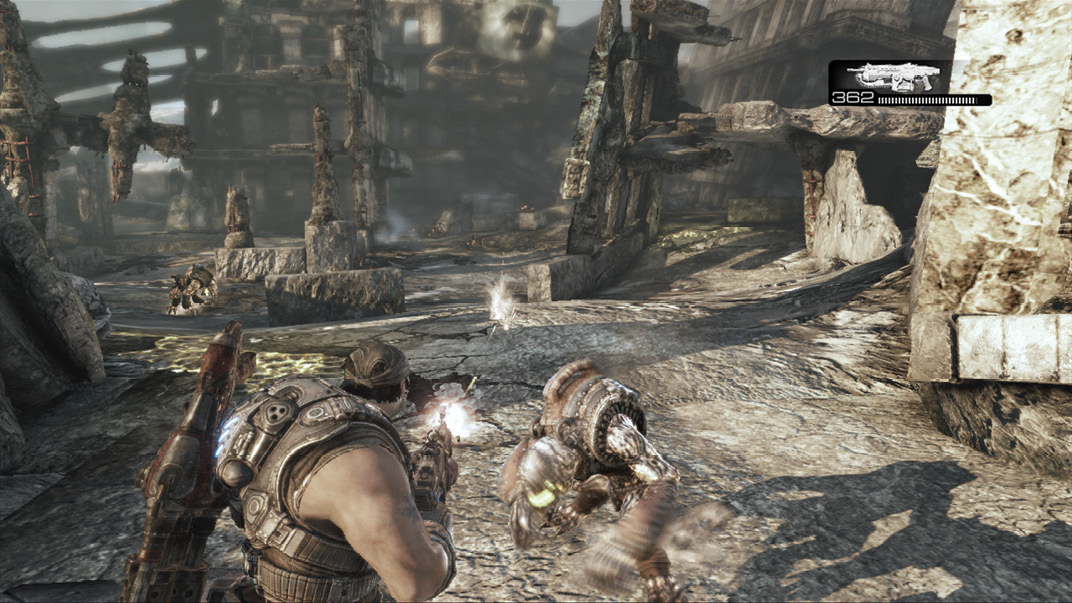
Circle back to the slope on the right, and take cover behind the wall there. Strafe along this wall to get a clean, protected shot at the Lambent down below. Hang back under cover, letting the rest of your COGs fend off most of the Dark Drones and Drudges. Watch out for the Dark Wretches, as they can get in close and inflict surprising damage.
Gather any fallen Hammerburst ammo, and continue over the fallen pillar on the left. Keep a finger on the trigger, as more Polyps attack as you advance up the hill.
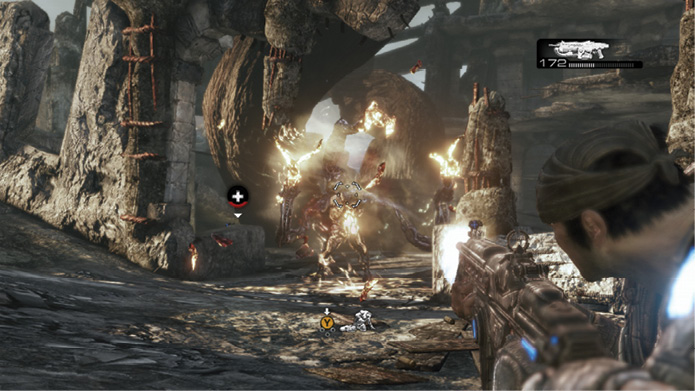
The subway entrance up ahead plays host to the toughest battle in Char. It’s critical to approach this battle with a plan and make the most of your squadmates. The subway entrance is multi-tiered, and the Lambent Stalks that eventually appear spawn all manner of Lambent, both above and below ground.
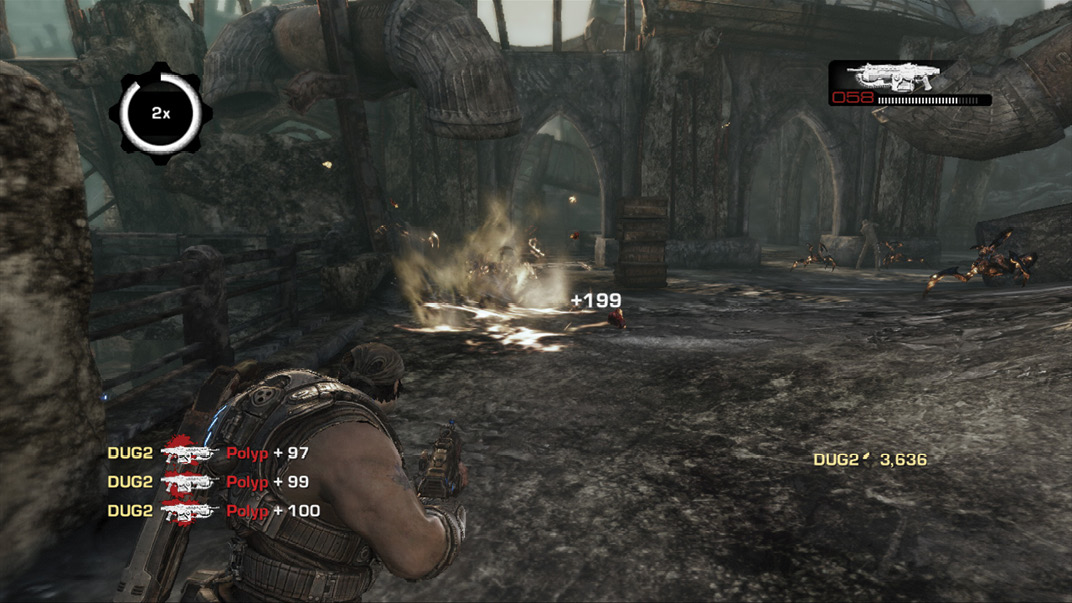
To get a good start before the Lambent Stalks appear, stay aboveground for a moment and take a few steps to the right, toward the pipes. Lots of Polyps spew from the pipes, along with Dark Wretches. Two Stalks appear. Try to target the Stalk Pods if you can, then run far back the way you came to put some distance between you and the Lambent. Use the Hammerburst or Lancer on the Drones. Assuming you were respectful of the dead in the previous chapter, use the Boomshot or Torque Bow on the Drudges.
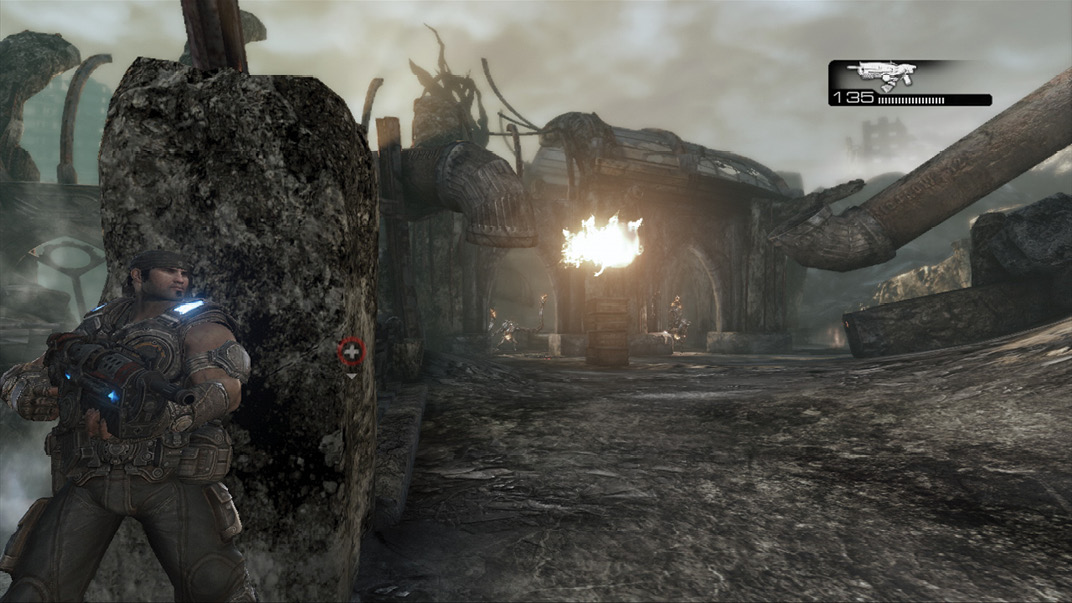
Descend the stairs to the lower level, and enter the subway car to get the Mulcher. Carry it out the way you came to the wall on the right. Mount it for a clean shot at the Stalk Pods and the spawning Dark Drones and Drudges. Use the Mulcher until its empty. Then cut through the subway car to get the ammo on the ledge beyond it. Retreat back up the stairs the way you came, and swing around wide to help the squad.
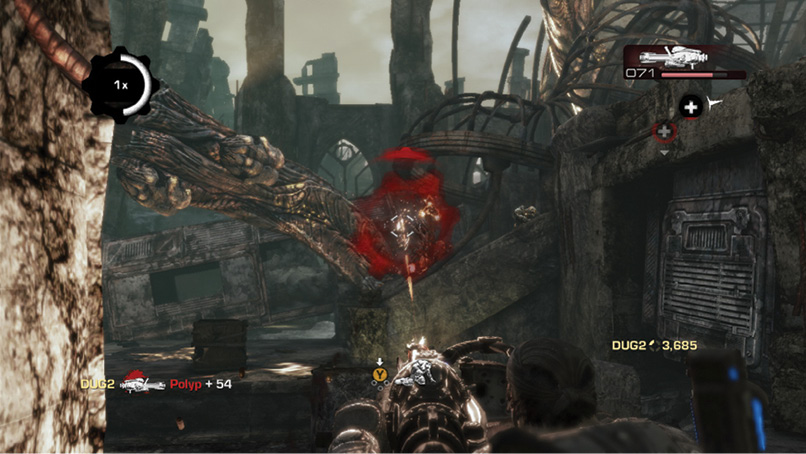
Keep your distance until the Lambent horde is halved. Then swing around to the far right to get a clean shot on more Stalk Pods. Use the rest of your power weapon ammo fending off the other Dark Drones and Drudges—watch out for Drudge Head Snakes! Swap the spent weapon for the Sawed-Off Shotgun on the ground. Hold onto this for later.
Kill off the remaining Lambent, descend into the subway below, and gather the other ammo from within the bookstore. Continue through the collapsing cavern to be forced into the old subway.
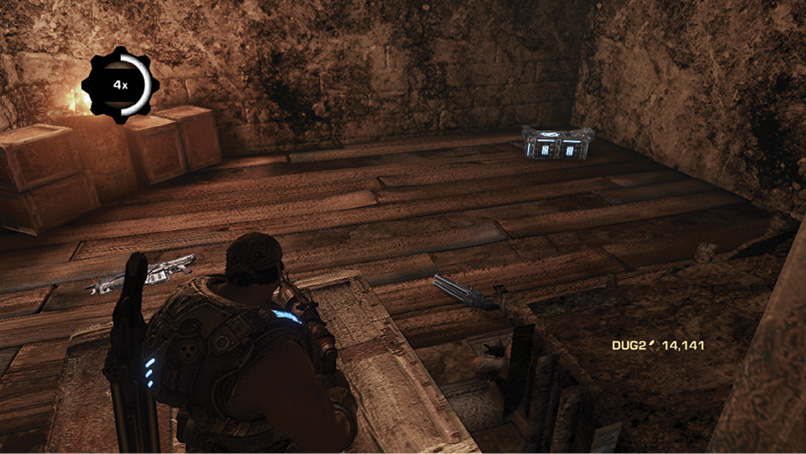
Advance slowly with the Hammerburst in hand, and use it to pick off the Polyps that attack. Try to get one-shot kills to conserve ammo. As you near the refinery, don’t be afraid to fall back and let the squad serve as a buffer between you and the Lambent.
 Get to the Cable Car
A massive Lambent Stalk emerges at the base of the stairs leading to the refinery and cable car. This one grows a half-dozen Stalk Pods—they are your focus! Fall back into the subway tunnel where the Polyps were, and use the Hammerburst to pick off the Lambent from cover.
This battle is similar to the previous one, but there’s only one stalk and the team should be less dispersed. Don’t let them stay downed for long, but allow them to focus on the enemies while you focus on the Stalk Pods. The Stalk Pods continue to form and spawn more enemies; just keep firing at them.
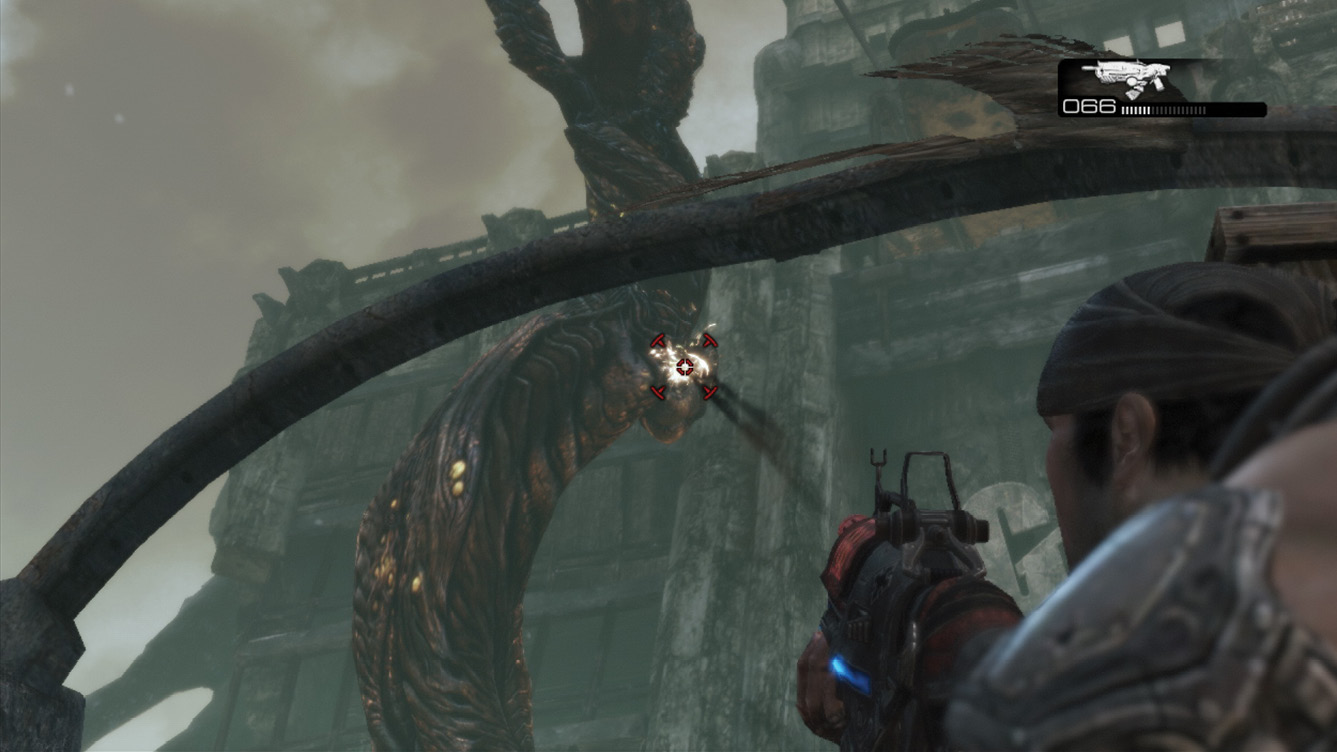
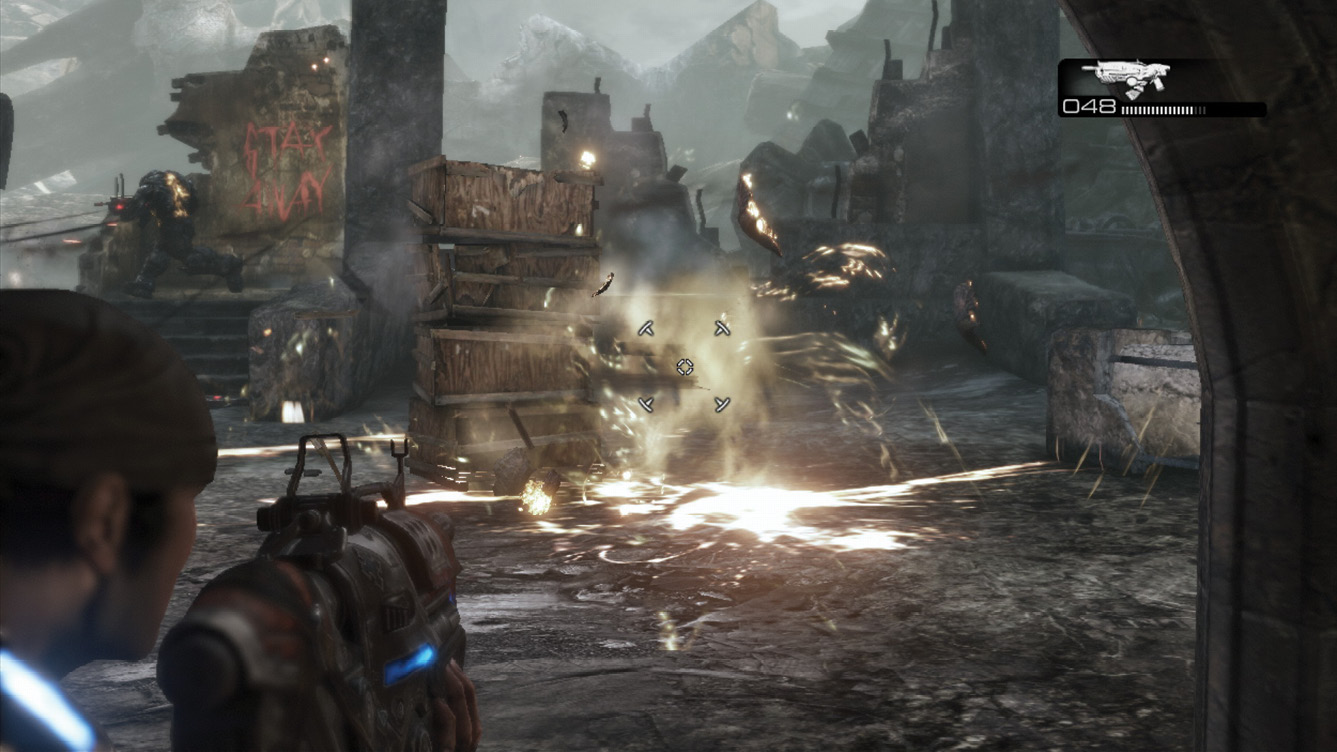
Use the Sawed-Off Shotgun if you have to. Otherwise, try to get by with just the assault rifle and any grenades you might still have. Gather ammo and head up the stairs to the refinery entrance.
|
 CO-OP TACTIC
 Find a Way to Power Up the Lobby
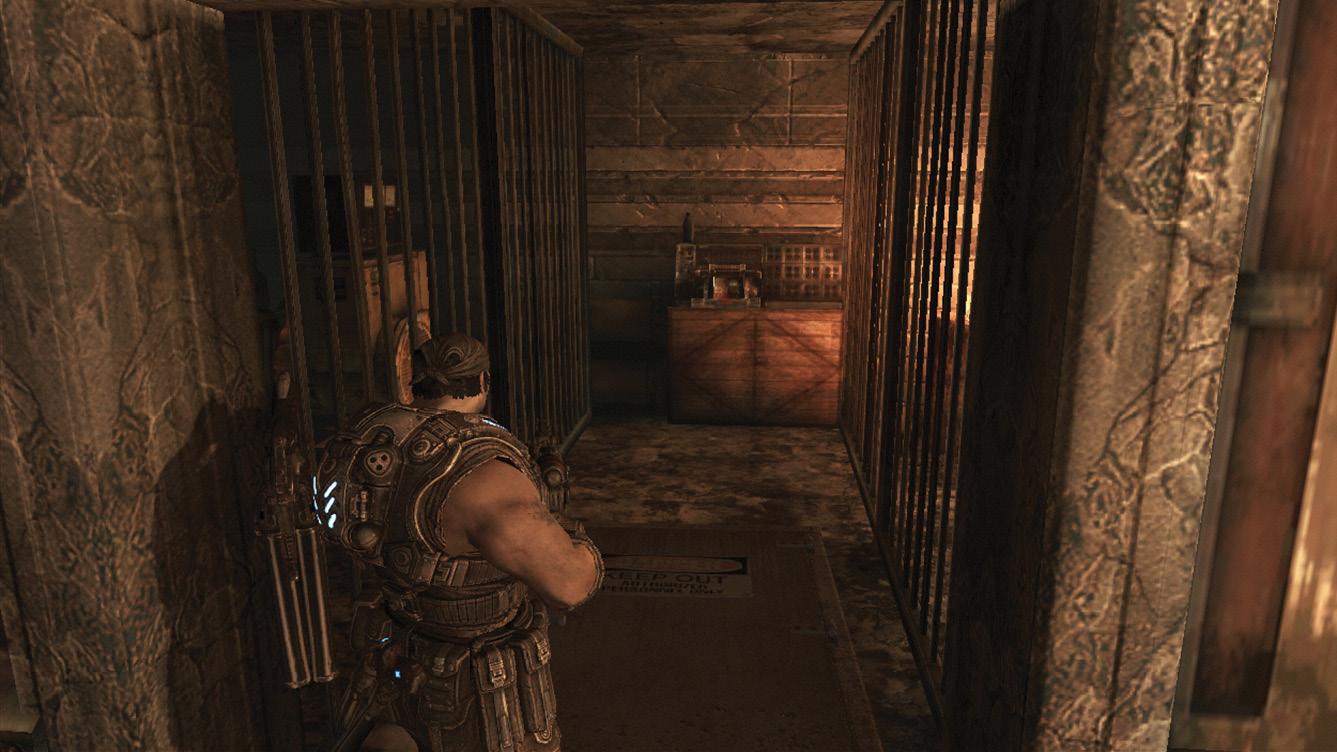
The refinery lobby is unpowered and abandoned. Take a minute to gather the ammo crates and Frag Grenades from behind the front desk. Locate the “Danger Keep Out” door that marks the maintenance closet. Kick it open to find a switch for the generators. Pull the lever to crank up the power.
 Call One of the Elevator Lifts
Grab the Mulcher and take a moment to plant the Frag Grenades on the two large columns in the room’s center. Then press any of the elevator call buttons. It doesn’t matter which one you press, as they all deliver the same thing—and it’s not the bellhop. Make sure the Frags are far enough apart that they don’t chain react.
 Defeat the Former Humans
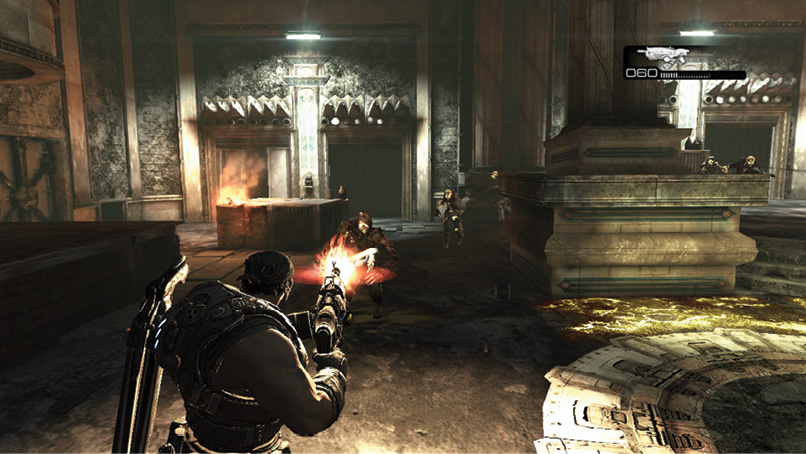
Wave after wave of Formers floods the area. Use the Mulcher, Hammerburst, Lancer, or Gnasher, if you happen to have it, to blast them to dust. Stick to the center of the room near the rest of the squad.
Try to pick off any individuals before they trigger your Frags, as it’s best to save them for large groups. The Formers enter from each of the elevators, as well as the floor vents. They eventually break down the doors flanking the front desk. Finish them off.
 Find an Alternate way Upstairs
The elevators obviously won’t take the team up to the roof. Marcus has to find another way. If you just have the Snub Pistol, climb the stairs to the left of the lobby counter to get a Boltok. Otherwise, stick with the Gorgon if you have it. Drop onto the large wooden lift.
 Push the Car Off the Elevator
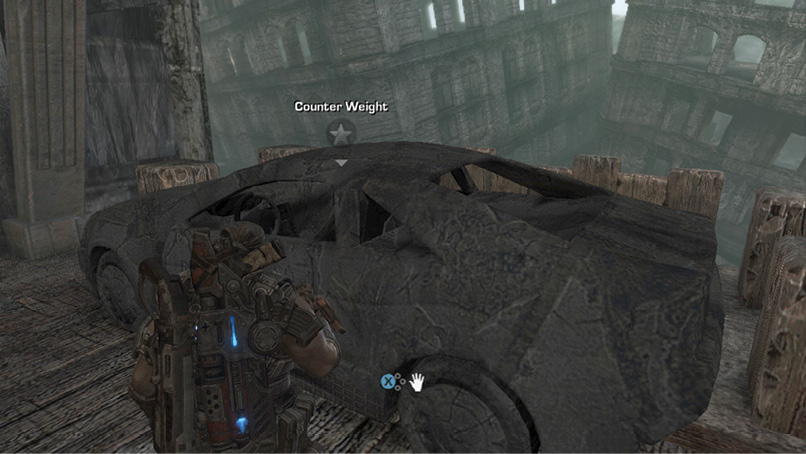
The car acts as a counterweight for the lift. Push it off the side of the platform to start raising the lift to the refinery’s upper levels. Stand back and equip the Sawed-Off Shotgun or any weapon you have that combines power and speed.
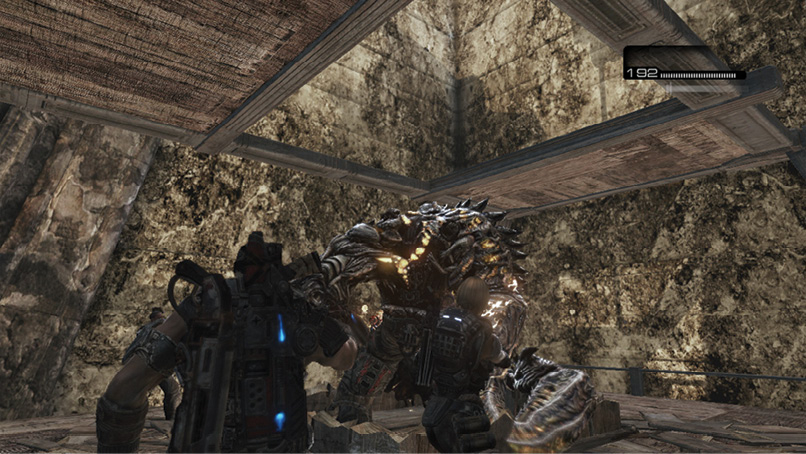
A Gunker smashes through the ceiling onto the platform. The Gunker’s right arm is deadly, as you probably remember from the mean streets of Hanover. Stay behind and to the left of the Gunker while it lashes out at the other COGs on the lift. Slowly circle-strafe around it to keep it from targeting Marcus. To kill it, blast away with the Sawed-Off Shotgun or even the Gorgon Pistol. It won’t attack with its Imulsion Bombs in such a confined space, and it doesn’t rear back with its left arm like it does with its right. Stand behind its left shoulder and fire away.