Gears of War 3 Guide Campaign Walkthrough Act 4
Chapter 3: Hang ‘Em High
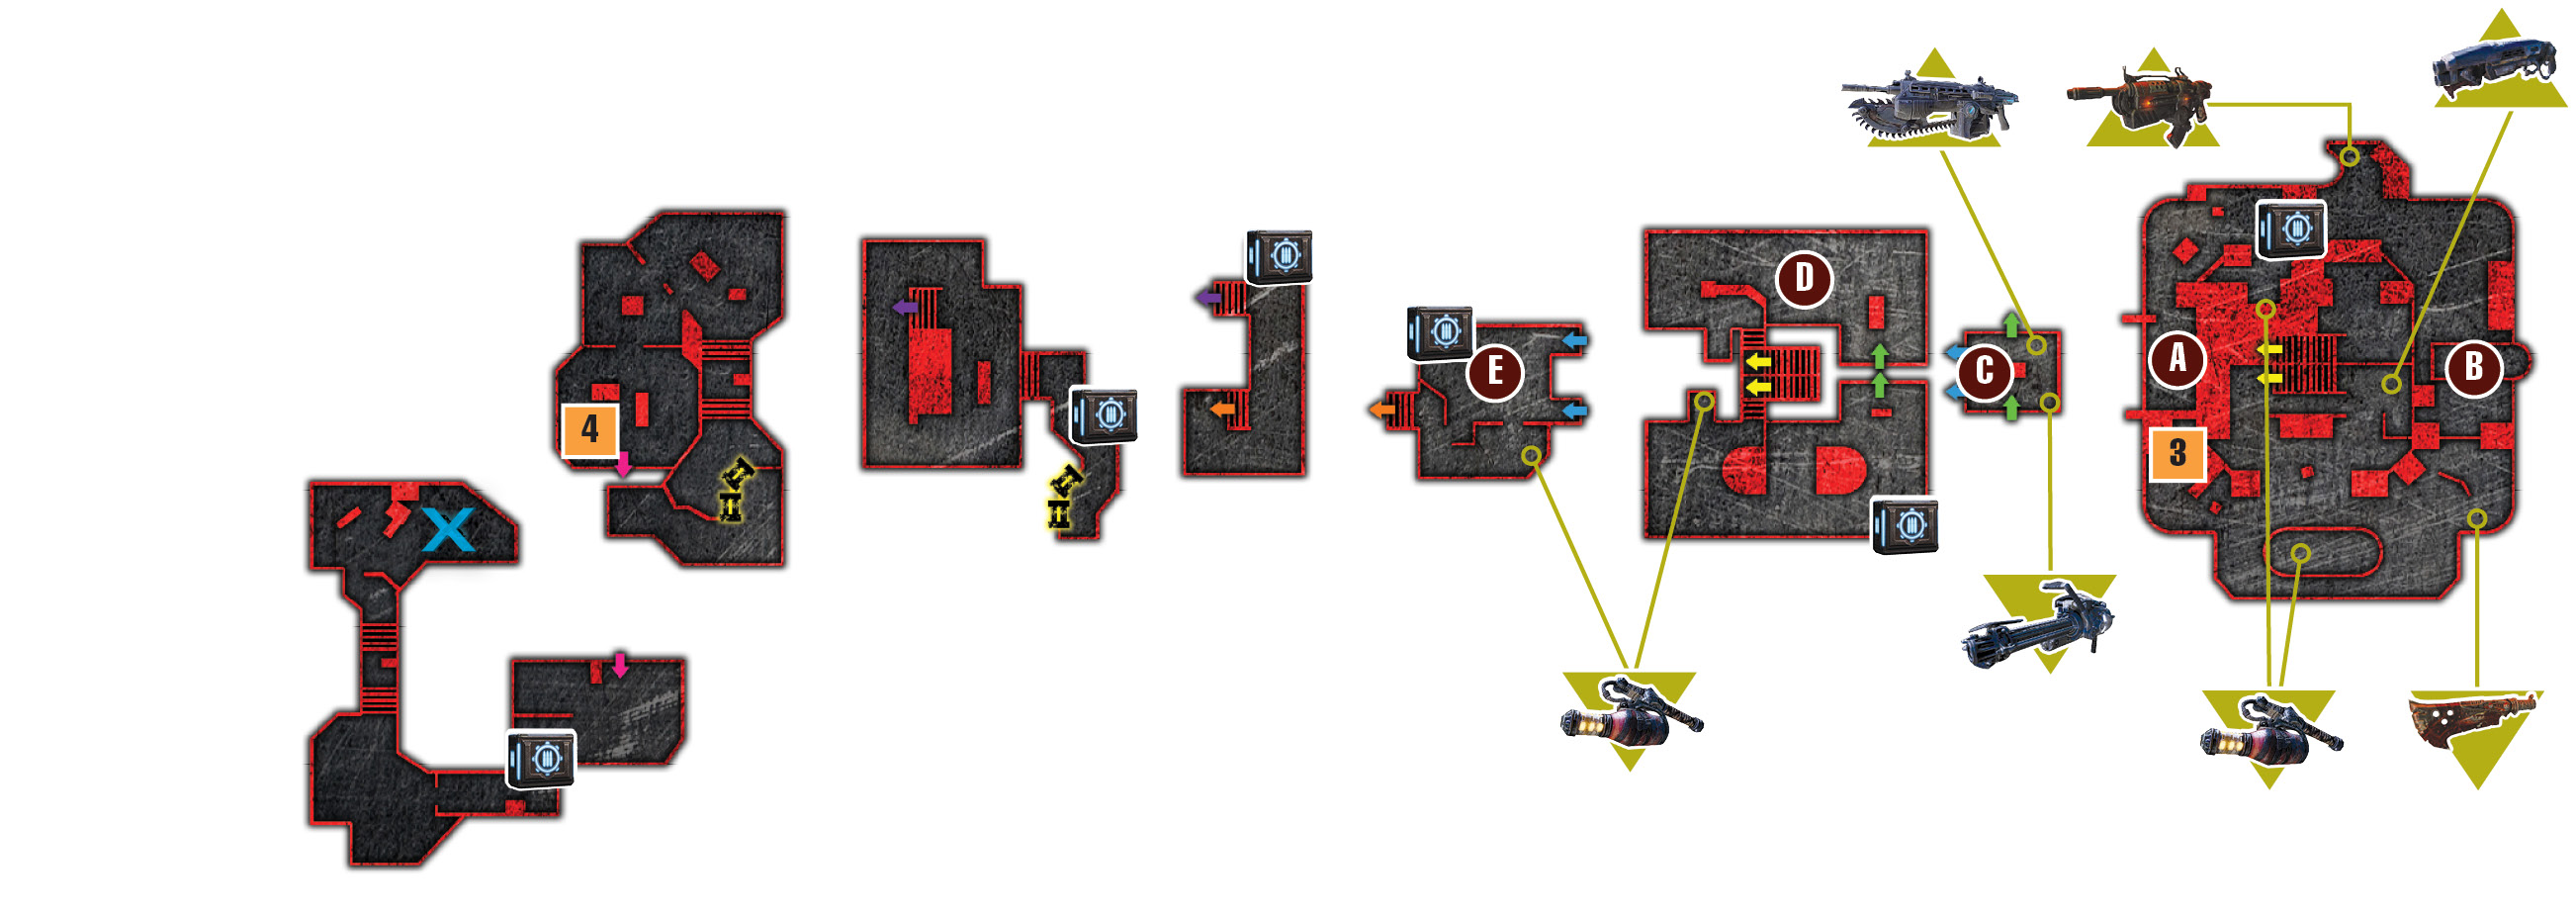
Objectives
Collectibles
|
 Get to the cable car.
 Start the cable car.
 Disable the safety release.
 Get back to the cable car.
 Rescue Dizzy.
 Fuel Order
 Old Magazine
The squad has reached the heights of the refinery, and the cable car isn’t far. The reason for its delayed return is evident soon enough, in case the Gunker isn’t enough of a clue. The sooner the Gears can get the cable car running and return to Griffin’s offices, the quicker they can get their fuel, snag Dizzy, and be rid of this city once and for all.
Griffin Refinery
 Get to the Cable Car
The Gears have reached the top of the tower; now they just need to find the cable car. Head left around the roof and grab the Incendiary Grenades atop the stairs on the right, along with the stray ammo. Continue over the ramp and off the ledge to the cable car straight ahead.
 Start the Cable Car
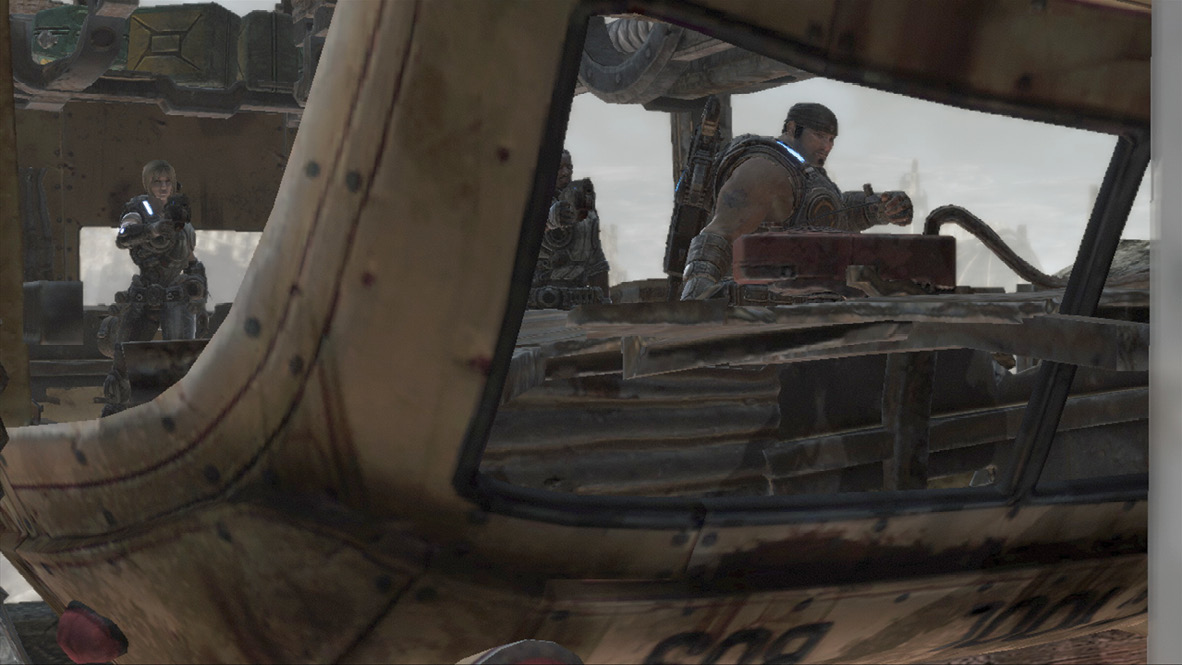
Board the cable car and pull the starter cord to get it running. Surprisingly, the engine starts right up, but it’s tethered to a safety release inside the building. It’s always something…
 Disable the Safety Release
Continue around the roof’s perimeter in a clockwise direction. Pass the barbed wire and watch for a Cleaver sticking out of a chunk of meat.
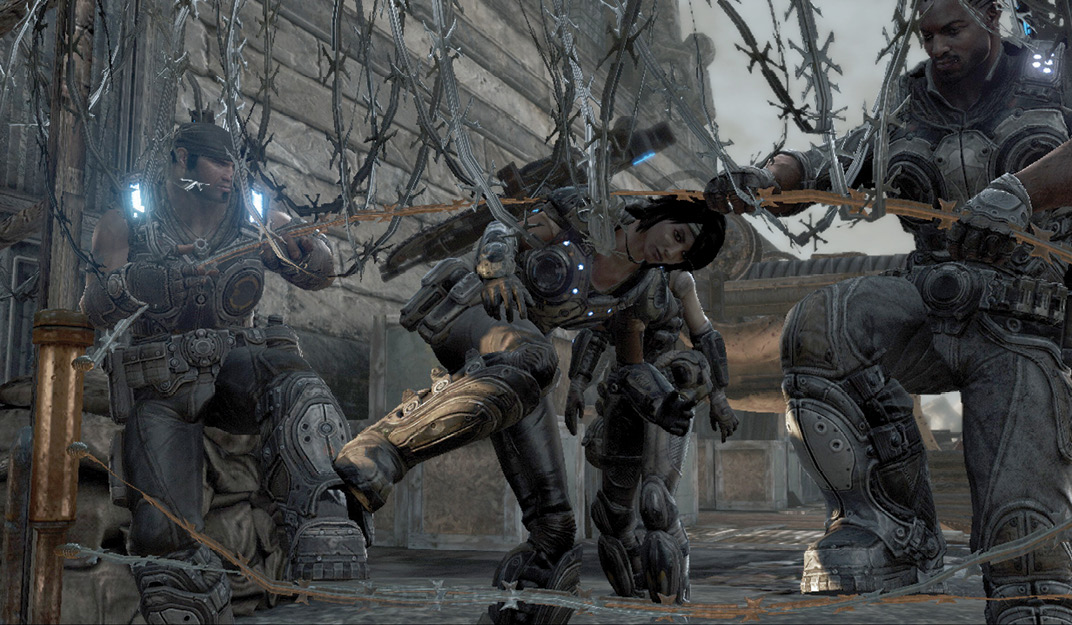
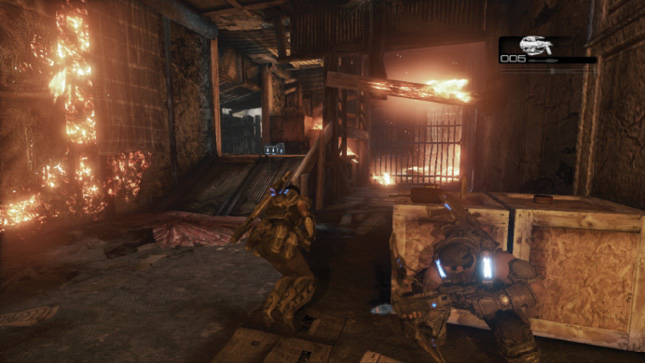
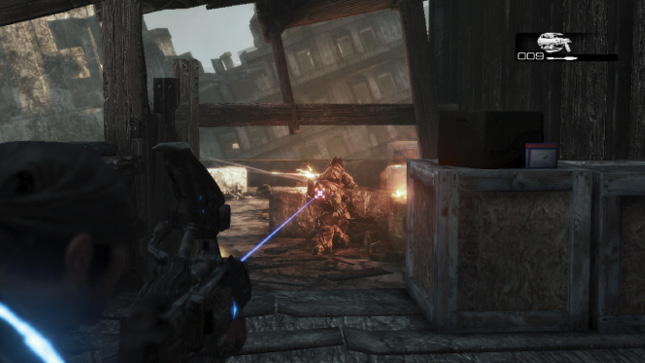
Just as Marcus and the others reach the stairs leading up into the refinery, a large swarm of Former Humans attacks from all corners of the roof. Use the Incendiary Grenades you found earlier, along with the Gnasher, to put them down.
Grab the extra pair of Incendiary Grenades in the trench near the base of the stairs, but don’t use them in this fight. There are plenty more Formers to come.
Load your Gnasher, climb the stairs, and enter the refinery interior. Multiple Formers lurk inside this area, crawling out from under each of the partially raised bay doors. Blast your way through the serpentine path. Stick to the right-hand side when you have the choice of taking an inner or outer path. Use the Incendiary Grenades from the trench against groups of Formers. Then return to the alcove where the first Former was and replenish your supply.
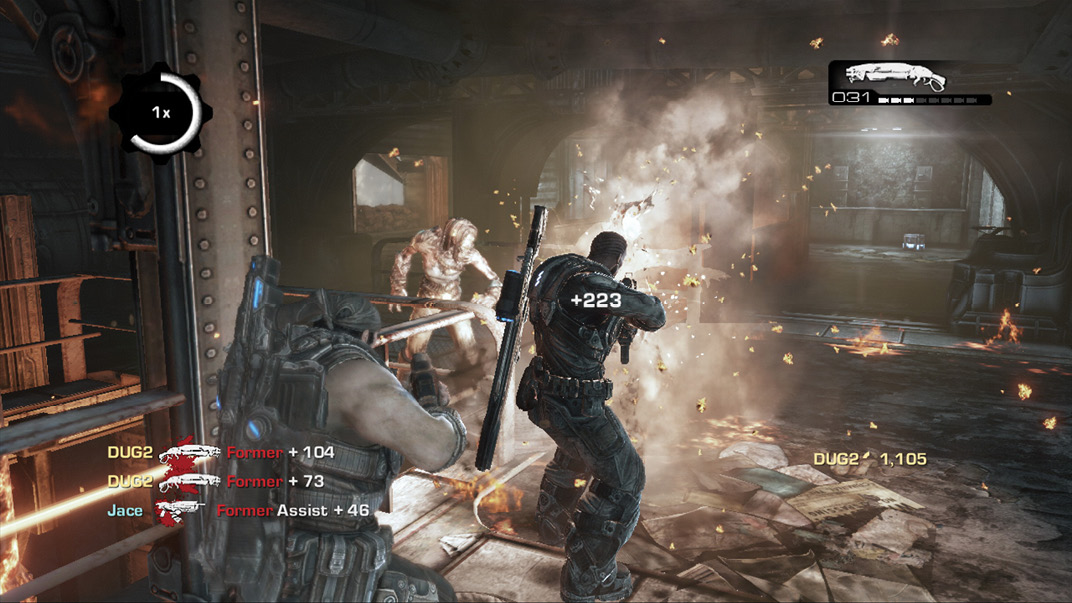
Hold onto the second pair of Incendiary Grenades for after you disable the safety release, which is just ahead. A Lancer and a Mulcher lie on the ground next to the cable. Pick up the Lancer if you don’t have one, and use its chainsaw to cut through the cable.
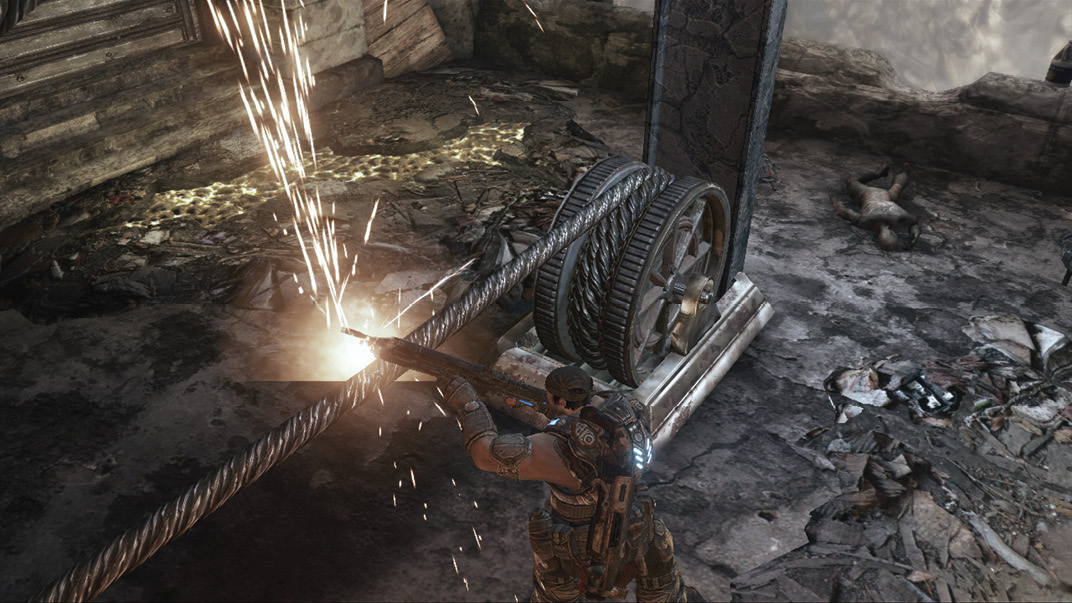
 Get Back to the Cable Car
The squad can’t go back the way they came, but the path ahead circles around to the area just before the cable car, not far from where they rode the lift up. Pick up the Mulcher and, when the door opens, fire in bursts at the first few Formers that attack. Swing wide to avoid being overrun, and continue to hip-fire at the Formers until you’re near cover against which you can lean.
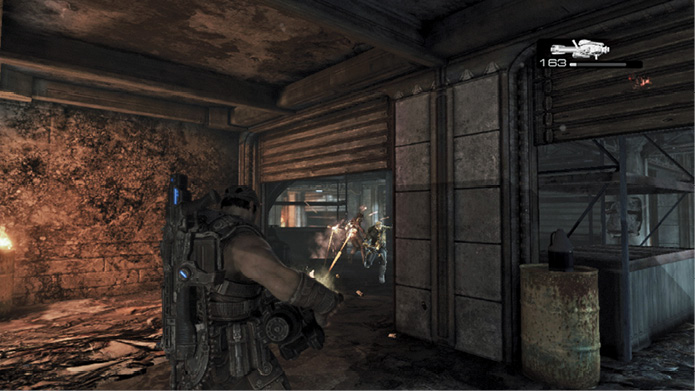
You may find it easier to set the Mulcher down against side cover and aim it at the stream of Formers sprinting down the hall. Monitor its ammo count, and drop it as soon as its ammo supply runs dry. A great place to set up the Mulcher is against the column to the right of the metal bin with the Imulsion handprint on it.
Continue up the stairs and back outside to the rooftop. Drop off the ledge and head to the right to board the cable car.
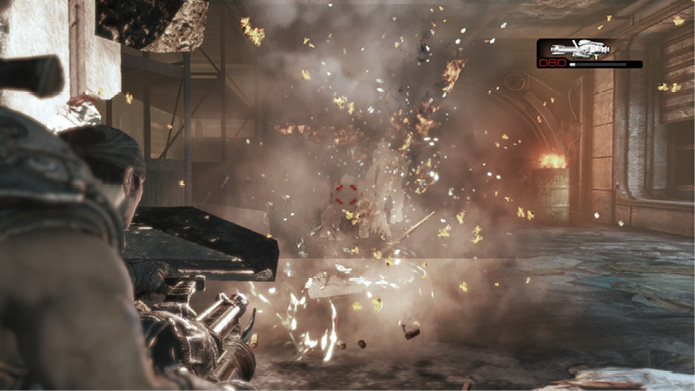
 Rescue Dizzy
The squad rides the cable car back across to the office tower, only to learn that Queen Myrrah and her Palace Guard have launched a violent attack. She’s taking no prisoners and leaving no witnesses. Although she flees aboard her Tempest, she leaves behind a sizable force of Palace Guards and Shriekers.
The two Gas Barges fast approaching the cable car are a greater concern—they have the car surrounded. Take cover and open fire on the Palace Guard near the Multi-Turret. There are no ammo crates to detonate, and it’s impossible to destroy the Gas Barges. The goal here is simply to survive the attack. Unless you’re playing Arcade mode, it’s a good idea to take out a couple of Palace Guards, then hunker down and conserve ammo. Try using your pistol to avoid exhausting too much assault rifle ammo.
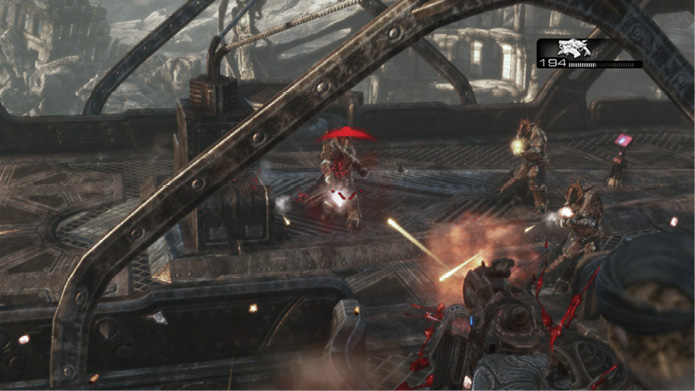
The cable car docks three floors below Griffin’s office, where he and Dizzy are holed up. Head inside to find what few Stranded remain, along with several Palace Guards and Shriekers. Use the Gnasher to take down the Palace Guards. Then swap out the Gnasher for one of the Palace Guard’s dropped Torque Bows. Keep the Lancer or Retro Lancer on hand for dealing with the Shriekers.
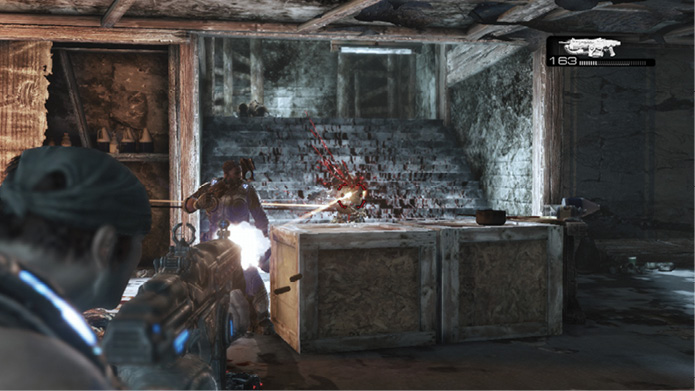
Fight your way through the hallways inside, keeping your eyes peeled for additional Torque Bow ammo. Use the Torque Bow against the Palace Guards for an instant kill. Stay in cover, spot your target, and hold the Fire Weapon button long enough to draw the trajectory reticle taut—this ensures that the arrow sticks.
Make your way down the hall to where the stairs come in from the left. This area is often crawling with both Shriekers and Palace Guards. It isn’t a bad spot to use an Incendiary Grenade if you still have one. Climb the stairs and proceed to the ladders leading up to the rooftop terrace.
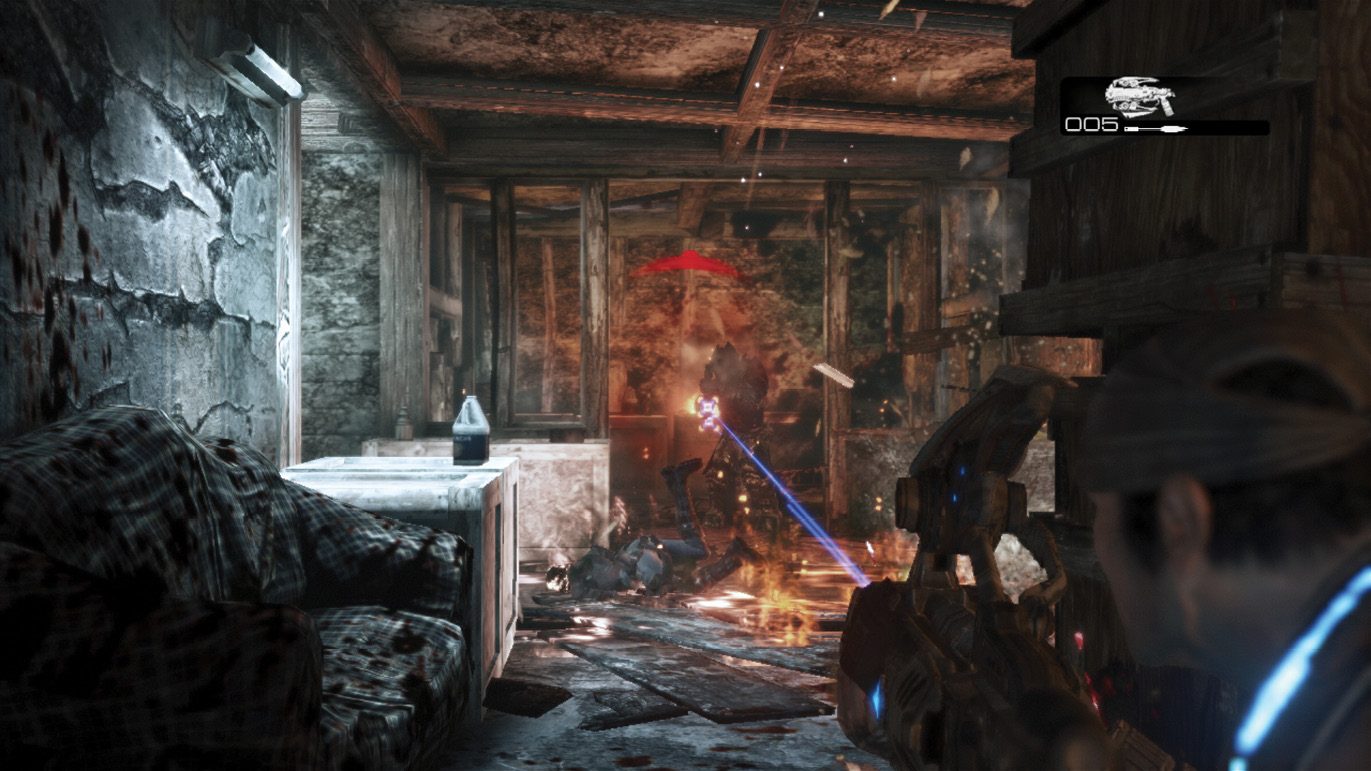
Take cover near the flaming crates atop the landing. Wait for the Shriekers and Palace Guards to come into view down the hall ahead of you. Let the squad focus on the Palace Guards while you take out the Shriekers which, believe it or not, can pose an even bigger threat.
Fight your way over to the inner hall around the corner. Take cover on either side of the doorway outside Griffin’s office, or behind the crates if they’re still standing. Multiple Palace Guards are in this area. Try to stick one of them with a fully drawn Torque Bow arrow, preferably with Active Reload, or toss another Incendiary Grenade.
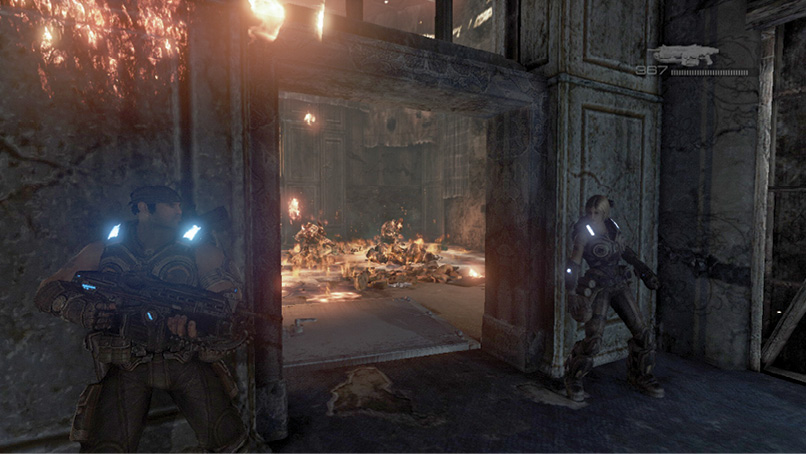
You’re not far from Dizzy now. Move up the ramp where the ammo crate is, and continue using the Torque Bow to take out the Palace Guards. Just be patient here. Avoid rushing out into the open, or numerous Shriekers will rip you to shreds.
You can get a clean shot at the final two or three Palace Guards that have Dizzy and Griffin pinned down on the upper balcony. Stay within the hallway near the stairs and fire your arrows from there. Talk with Griffin to settle the deal and be on your way.