Gears of War 3 Guide Campaign Walkthrough Act 2
Chapter 2: House of Sand
Objectives
|
 Find out where the Gas Barges are headed.
 Defeat the Corpser.
 find out where the gas barges are headed.
 Take out the Siege Beast crew.
 Defeat the Locust reinforcements.
If Prescott and Baird are correct that the key Prescott gave Marcus might unlock the data in Hoffman’s possession, then the group has to get to Anvil Gate at once. Sam knows the way, but it’s an extremely long and hazardous journey across the Seran Deadlands. The Gears have to find an alternate means of transport—one that doesn’t involve days of humping across the badlands on foot. Marcus just might have a solution…
Seran Deadlands
 Find Out Where the Gas Barges are Headed
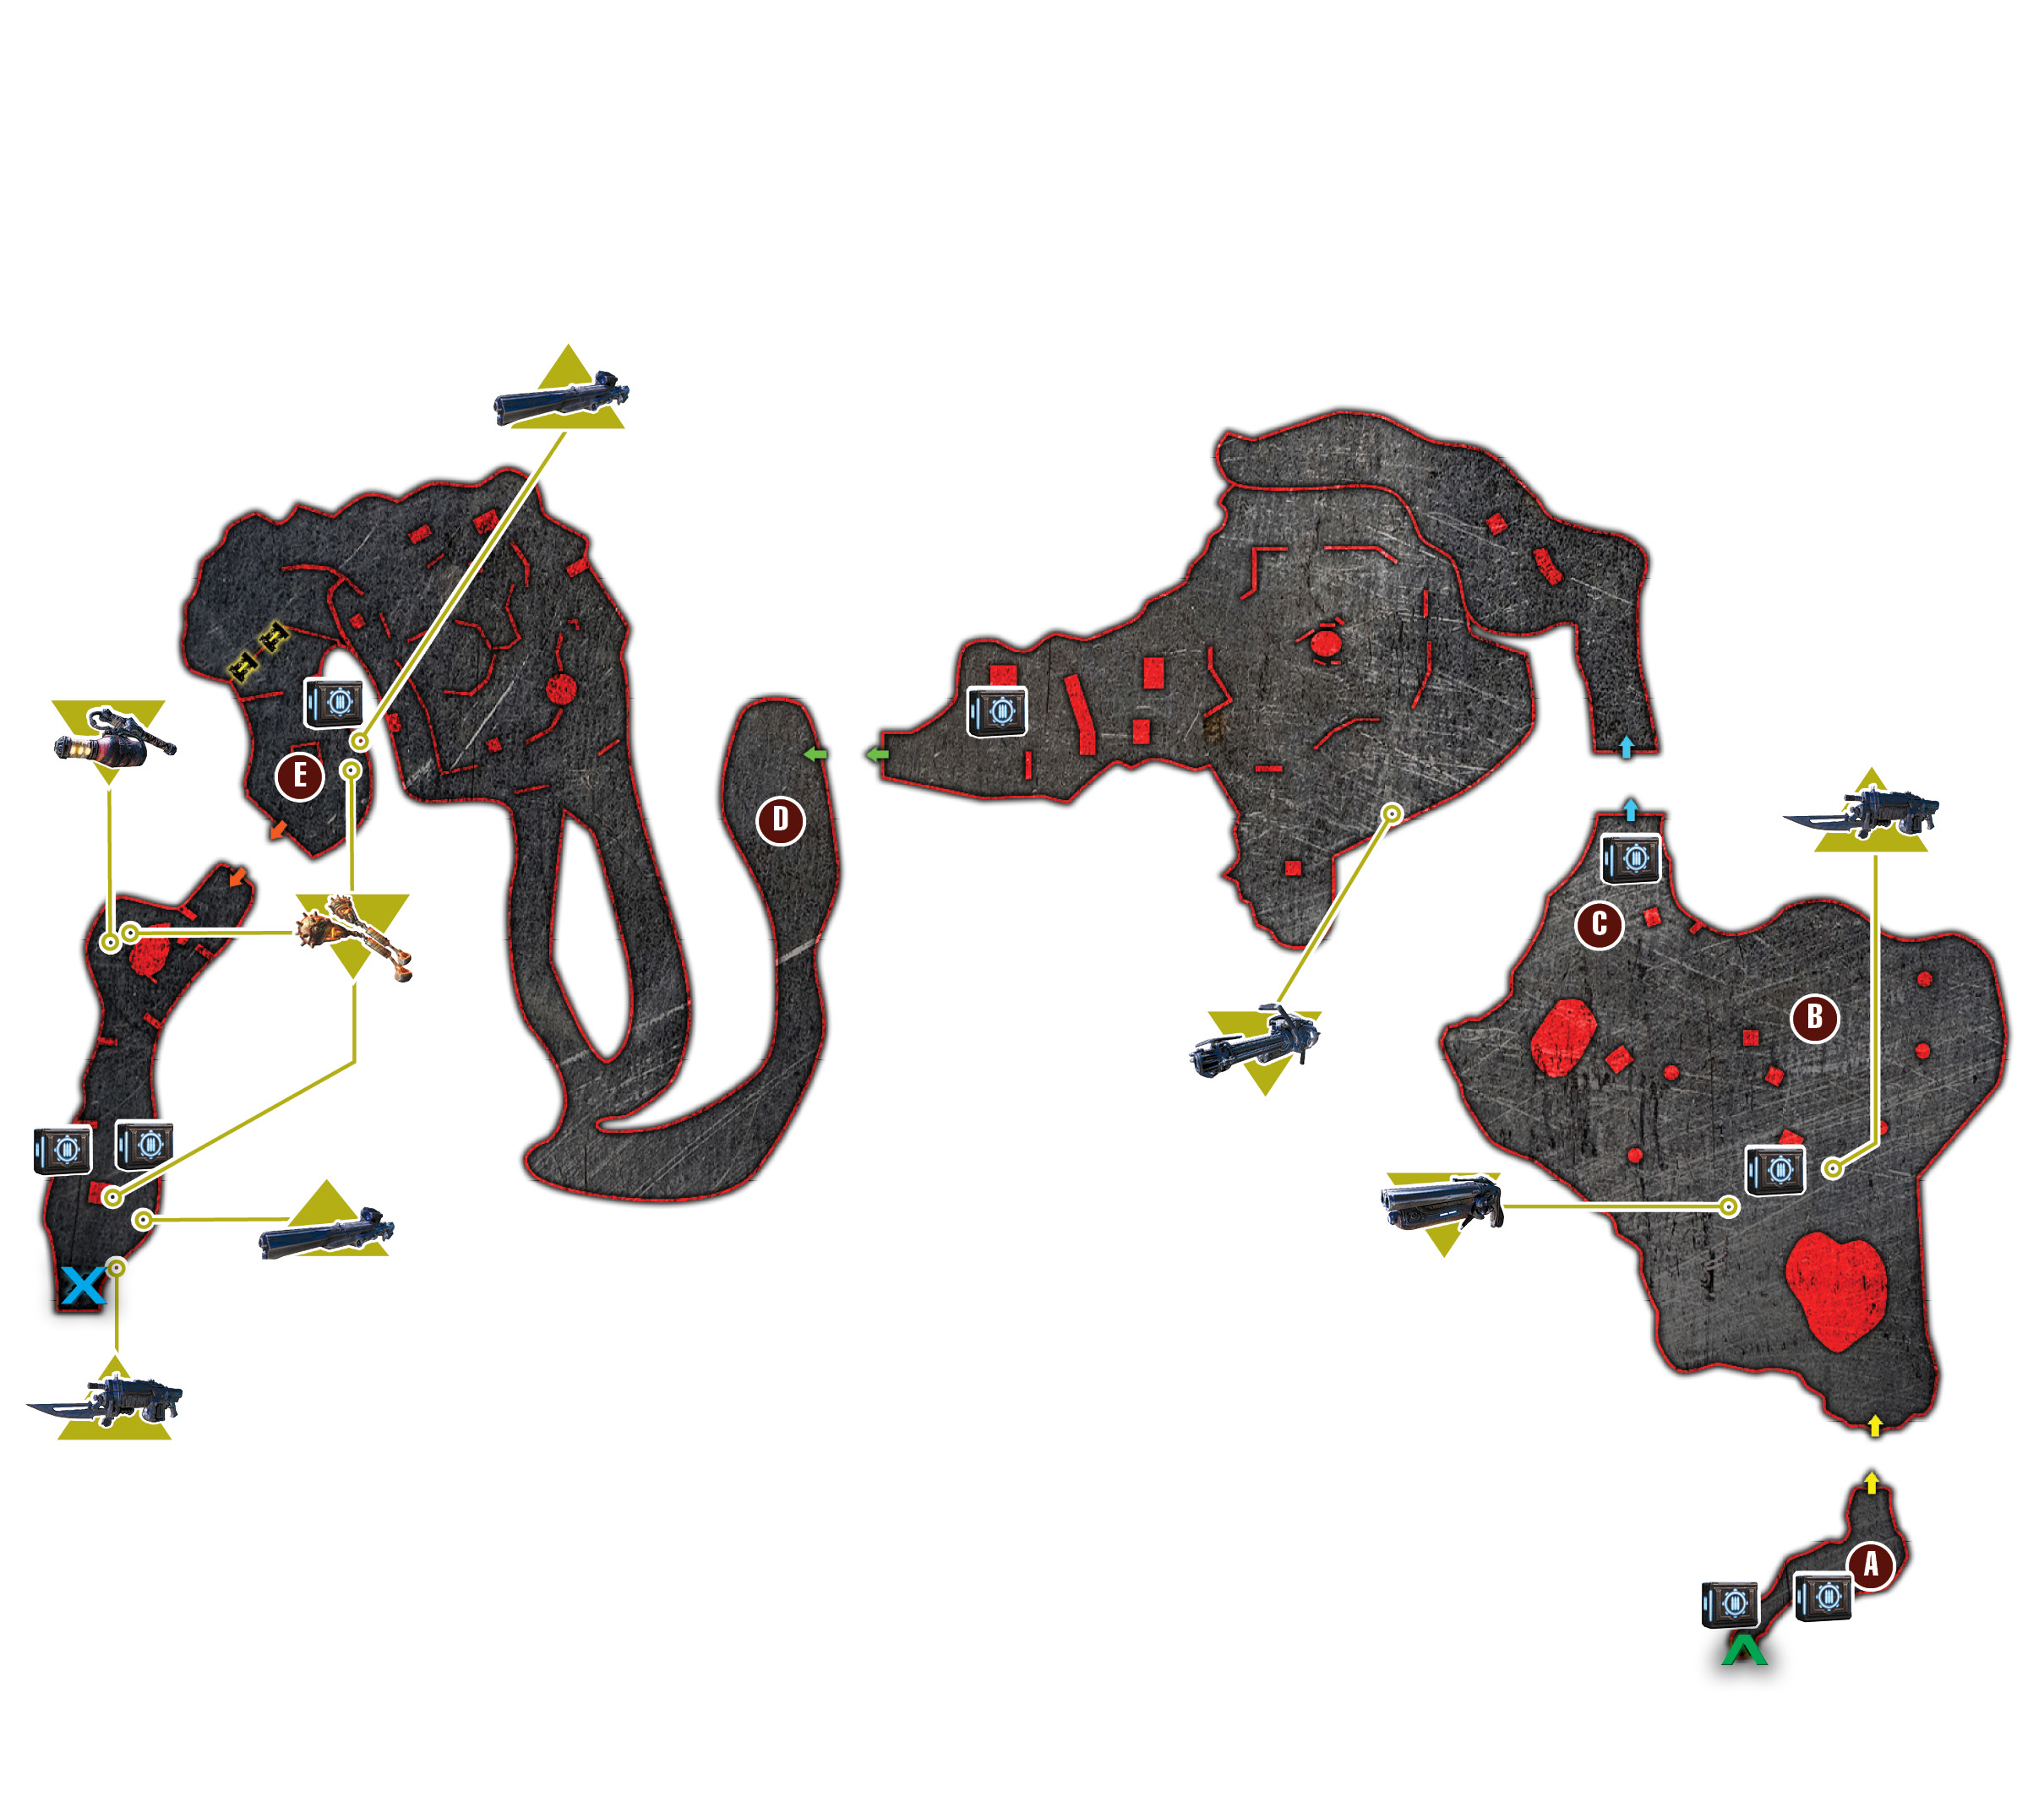
Gather the ammo on the plateau near the Gas Barge wreckage, and then enter the cave. A sudden tremor causes the cave to collapse behind the squad, forcing them forward.
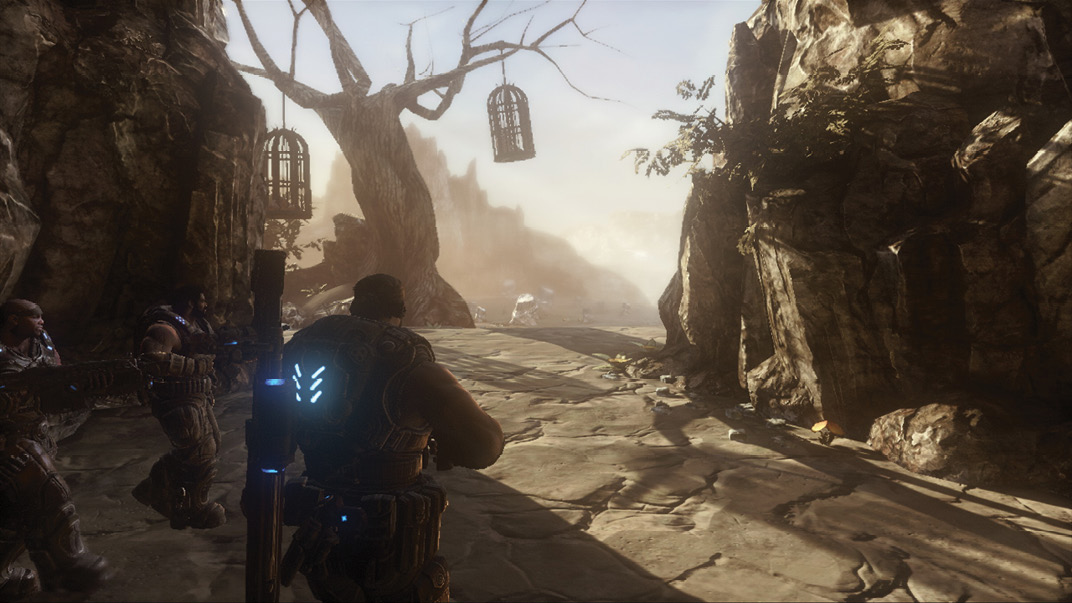
When you enter the plains where the caged corpses are hanging, pick up the Sawed-Off Shotgun. It’s located to the left of the red ammo crate. Unlike the Gnasher, the Sawed-Off Shotgun has a very limited range and a much slower rate of fire, but it packs considerably more punch.
 Defeat the Corpser
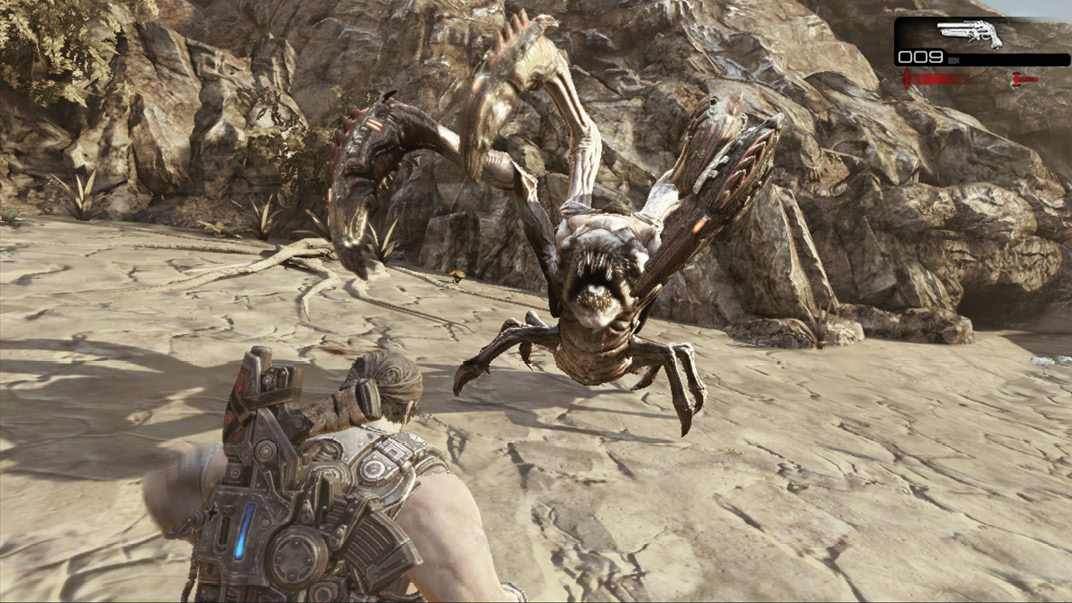
A subtle rumbling signals the arrival of a creature known as the Corpser. Corpsers come in multiple sizes, and this area is home to a juvenile. Though it may be young, it still poses a considerable threat. The Corpser streaks across the landscape, just below the ground’s surface, with one of its front pincers raised above the dirt in attack formation. Keep moving, and stay away from the walls to avoid being cornered.
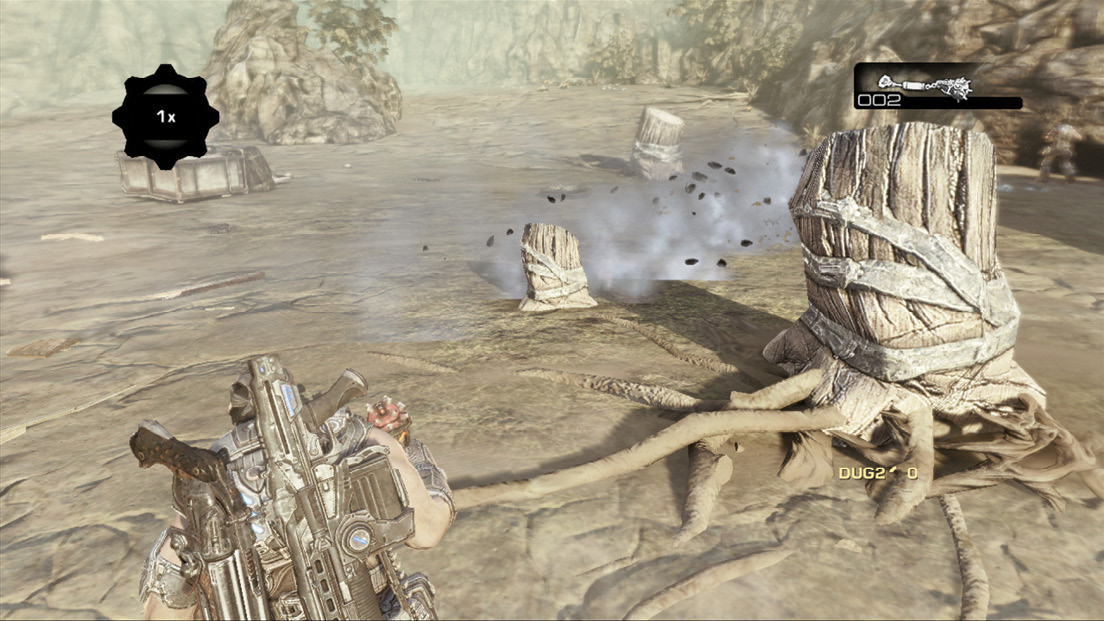
Wait for the Corpser to emerge, and then open fire on its head. Try to shoot between its armor-plated legs, otherwise throw a Frag Grenade at it. Shoot it in the head to make it rear back and expose its head even further. Open fire with the assault rifle or Sawed-Off Shotgun to kill it. You can also chainsaw the juvenile Corpser’s face while its head is exposed.
 Find Out Where the Gas Barges are Headed
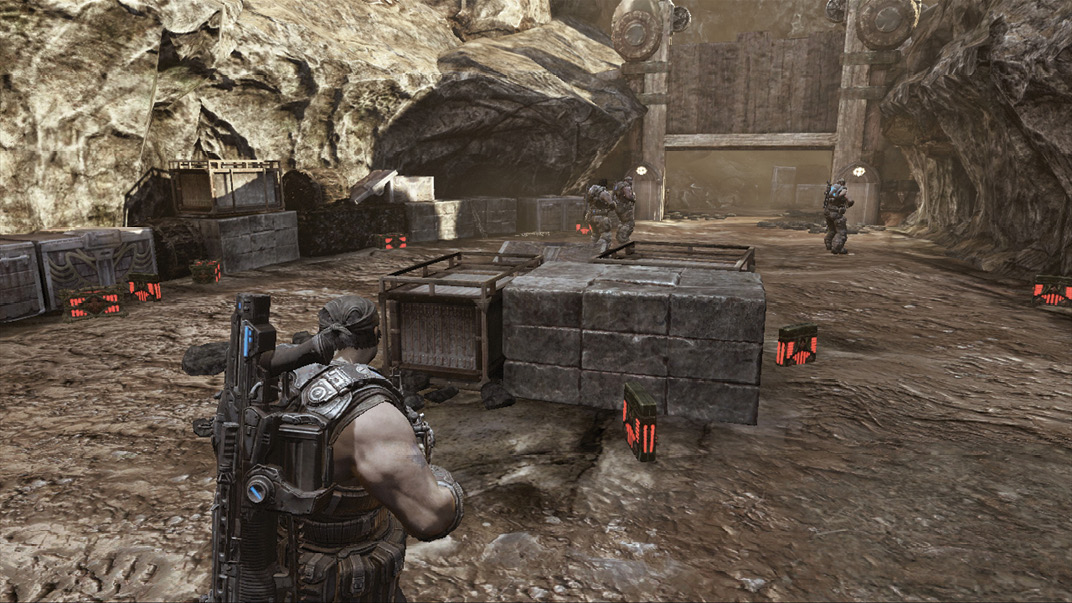
Descend the ramp to the stone blocks near the ledge ahead. Multiple Savage Grenadiers and Savage Boomers are dug in behind cover on the upper ledge. Digger Launchers are also inbound! Take cover and lob a Frag Grenade up at them. Then pick off any you can with the Boltok or assault rifle.
Scale the first small rise and take cover where the Savage Boomers were located. From here, deal with the Grinder on the upper ledge to the left, near the massive horn. Stay behind cover and take out the final Savage Grenadiers that may attack.
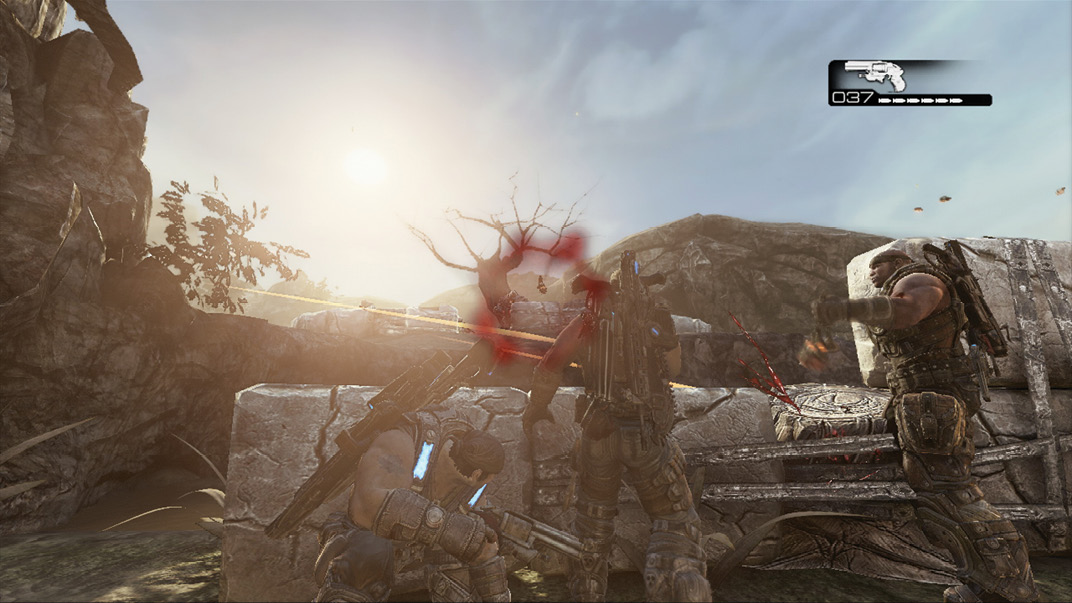
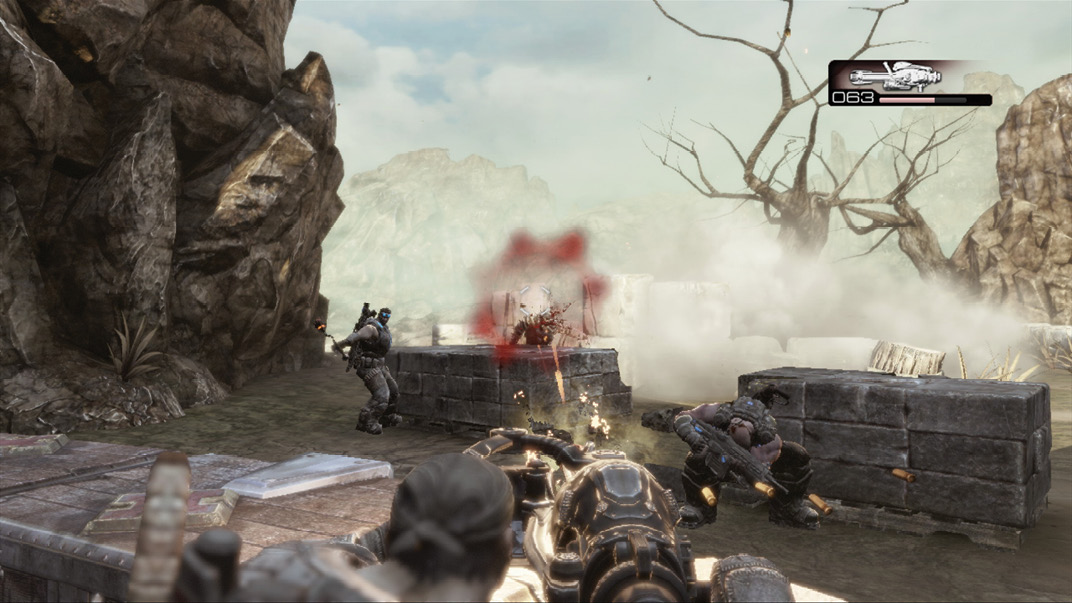
Gather the Digger Launcher ammo and the Mulcher, and approach the heavy wooden gate. A wave of Savage Drones and Therons, many with Cleavers, rockets out of the ground behind you for a surprise attack. Set the Mulcher atop the low cover near the gate, and start mowing down the baddies. Multiple Savage Therons continue to attack, so keep firing until you’re out of Mulcher ammo.
 Take Out the Siege Beast Crew
The squad continues through the gate but instantly faces a Siege Beast crew raining firebombs onto them. Roadie Run to the left and loop around to the right. The path forks; you can go left if you don’t hesitate upon leaving the gate, otherwise loop to the right.
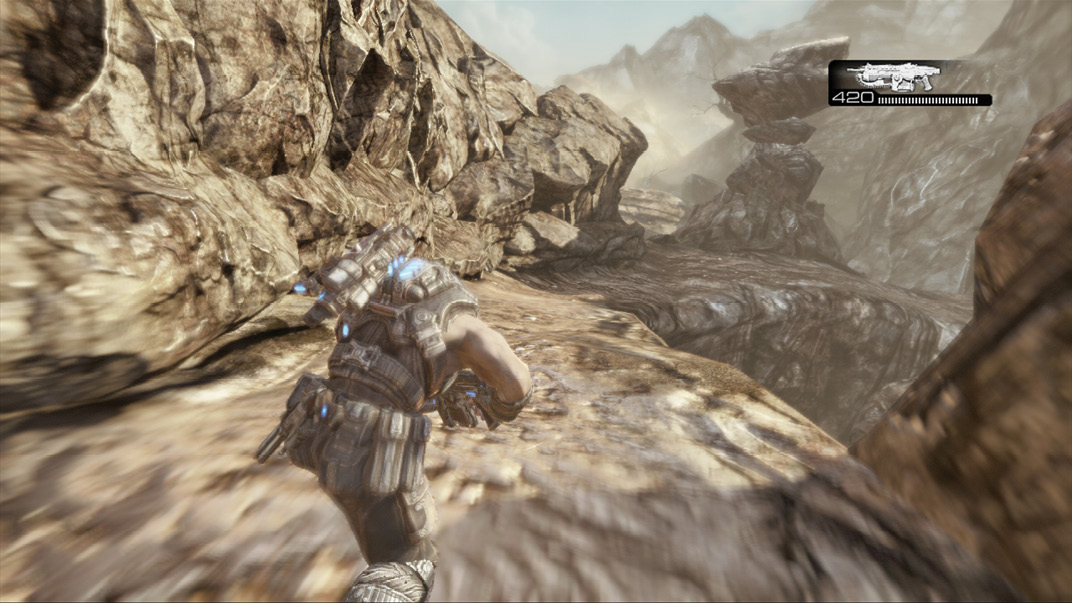
The Siege Beast crew is well entrenched atop the small hill. Multiple Savage Boomers quickly approach from the left. A Multi-Turret is even positioned atop the bluff. Taking a direct approach is suicide, as too many Savage Grenadiers and Tickers threaten to mow you down.
|
 CO-OP TACTIC
Though you can flank left through the narrow tunnel, doing so places you in close proximity to the Savage Boomers with little room to sidestep their Digger Launcher attacks. So, we recommend flanking to the right. If you have Frag Grenades, use them to eliminate the Locust operating the Multi-Turret. Otherwise, take pot shots with the Boltok and Lancer or roll in for a Sawed-Off Shotgun attack.
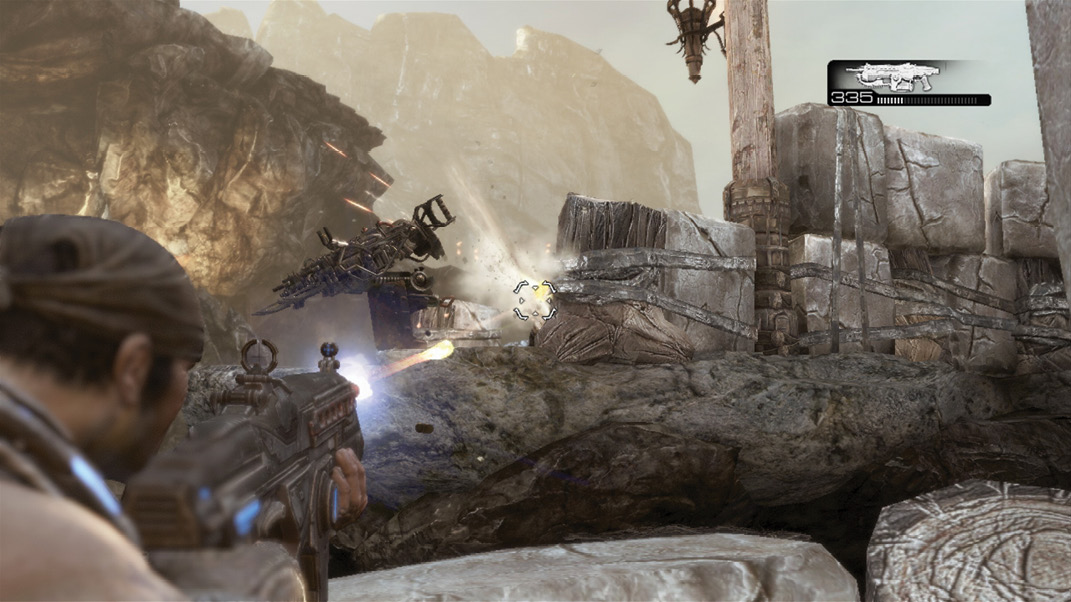
Take your time here. Let the enemies make their way down the ladders to you from up above, where the Siege Beast is. Don’t rush them, and don’t worry about being bombarded with Siege Beast fire—it stops firing on this location as soon as the Gears advance beyond the narrow paths. Defeat the last of the Locust in the area around the Multi-Turret, and then climb the ladders to access the now unattended Siege Beast.
 Defeat the Locust Reinforcements
Mount the Siege Beast controls and watch for the half dozen or so Locust to begin advancing along the path straight ahead. Wait for the Savage Boomers to get within range, and then fire on them.
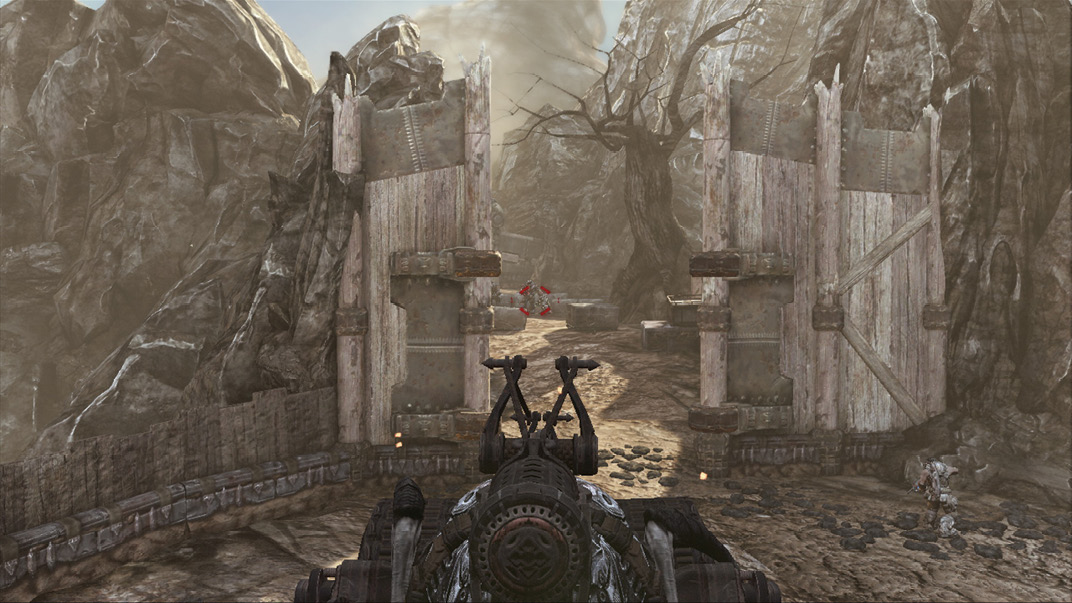
Dom will likely crank the arm back for you, allowing you to launch two or three fireballs quickly at the Locust up the path. Back away from the Siege Beast and collect the Frag Grenades and Longshot on the ledge immediately behind the Siege Beast. Use the Digger Launcher you collected from the Savage Boomers and push up the path to intercept the other Locust. Snipe those you can, and then consider rushing forward to gather the additional Digger Launchers that were dropped, or flank right.
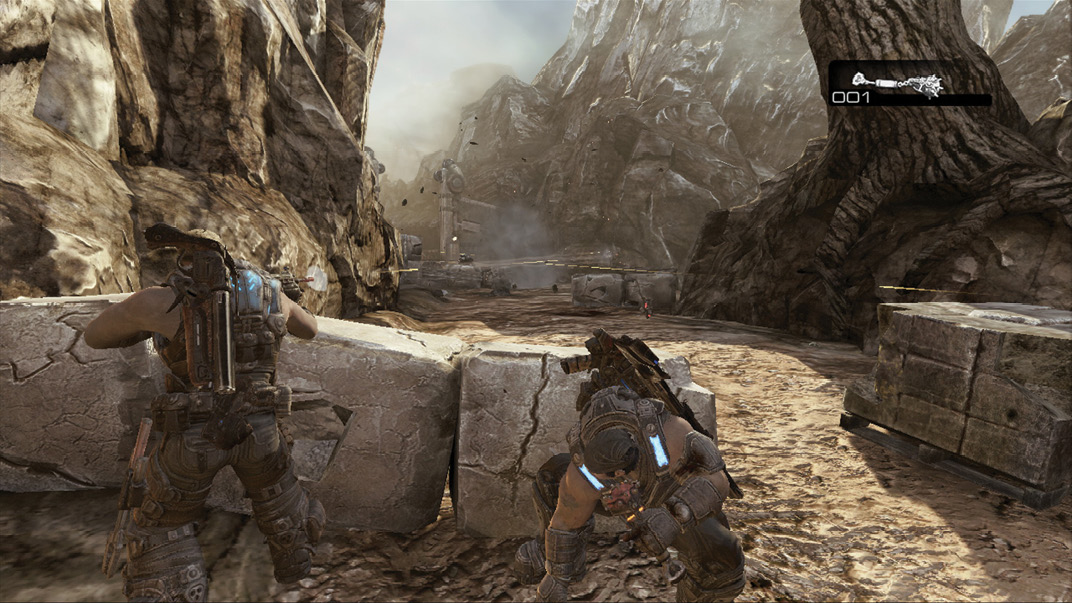
The clearing to the right contains additional Frag Grenades and offers a clean shot at the Locust taking cover behind the crates and rocks. Finish them off and then enter the gated area. The area is a bona fide ammo dump. Before you leave, load up on Frag Grenades, ammo for your primary weapons, and swap out the Digger Launcher for the Longshot.