
Gears of War 3 Guide Campaign Walkthrough Act 5
Chapter 5: Ascension
Objectives
Collectibles
|
 Reach the top of the tower.
 Activate the elevators.
 Repel the
  Reach the top of the tower.
 Avoid the Tempest and continue upstairs.
 Cut the cables.
 Find Adam Fenix.
 Disable the security panels.
 Rescue Adam Fenix.
 Return to the elevator.
 Brochure
 COG Tag
 Fenix Research
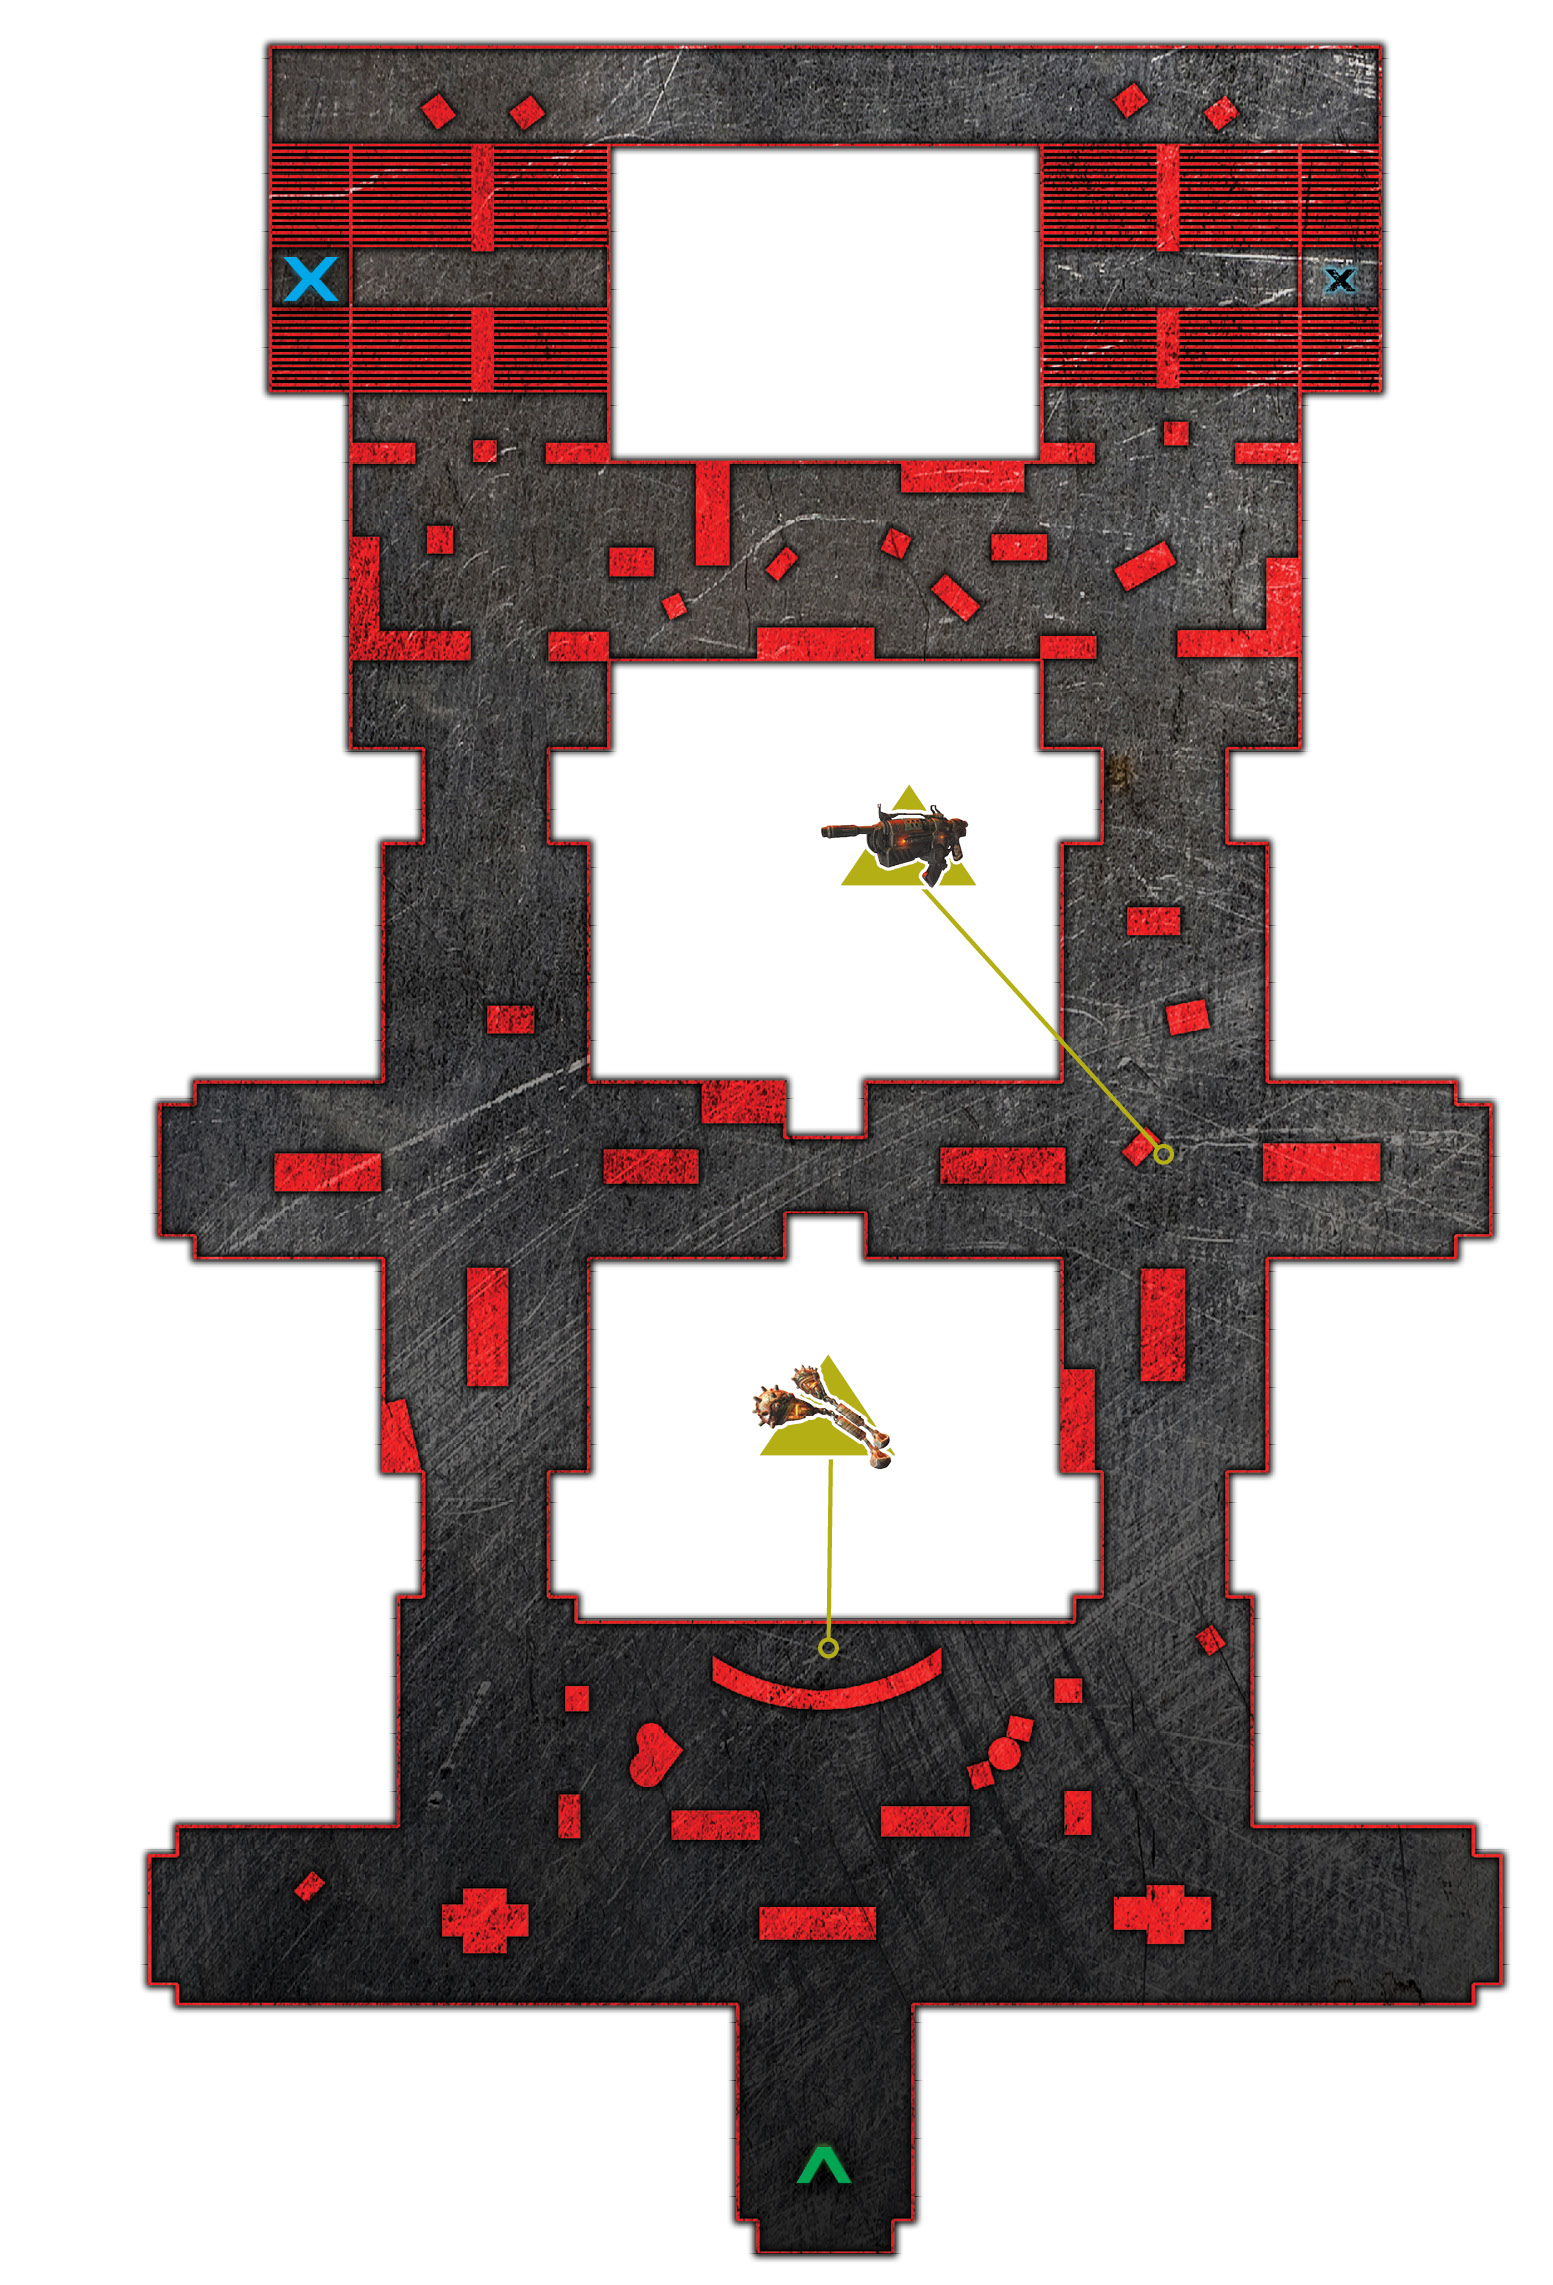
 Make Your Way to the Tower Entrance
The tower entrance is sealed tight, and you need Jack to cut it open. The sandbag bunker surrounding the door may seem like a great place to take cover while you wait for Jack to open the door, but it doesn’t serve you as well as you’d like.
Plant any Frag Grenades you have on the columns flanking the path that leads to where the Mortar was. Climb over the sandbags, grab the Incendiary Grenades or Frag Grenades near the door, and take cover. Leave the Mulcher where it sits.
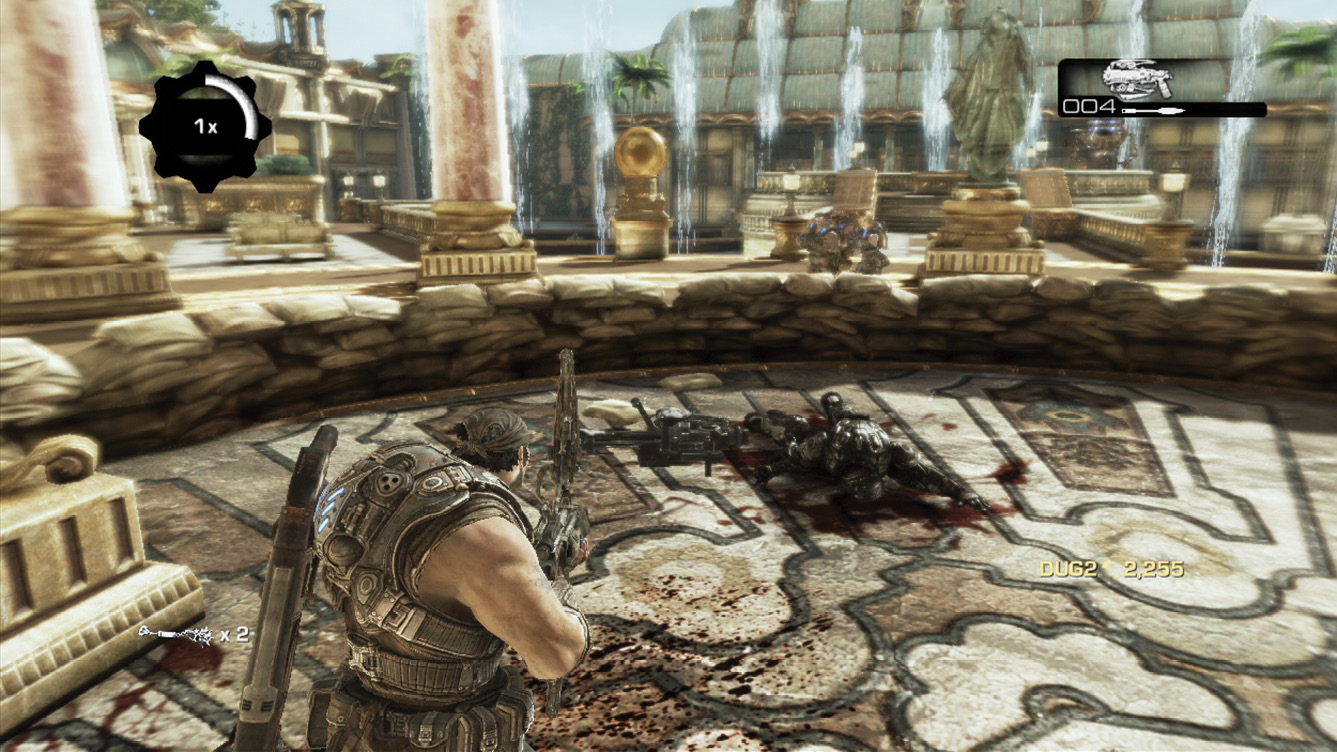
It took some doing, but the squad has finally made it inside Pinnacle Tower, the very building where Adam Fenix is being held. Marcus must lead his team on a perilous ascent up the tower to a heavily fortified floor where Adam is imprisoned. The Locust have already slain every other scientist at Azura, leaving the remainder of Queen Myrrah’s army firmly fixed on guarding the elder Fenix. Queen Myrrah knows this is a last stand for Locust and human alike. The stakes have never been greater.
Pinnacle Tower
 Reach the Top of the Tower
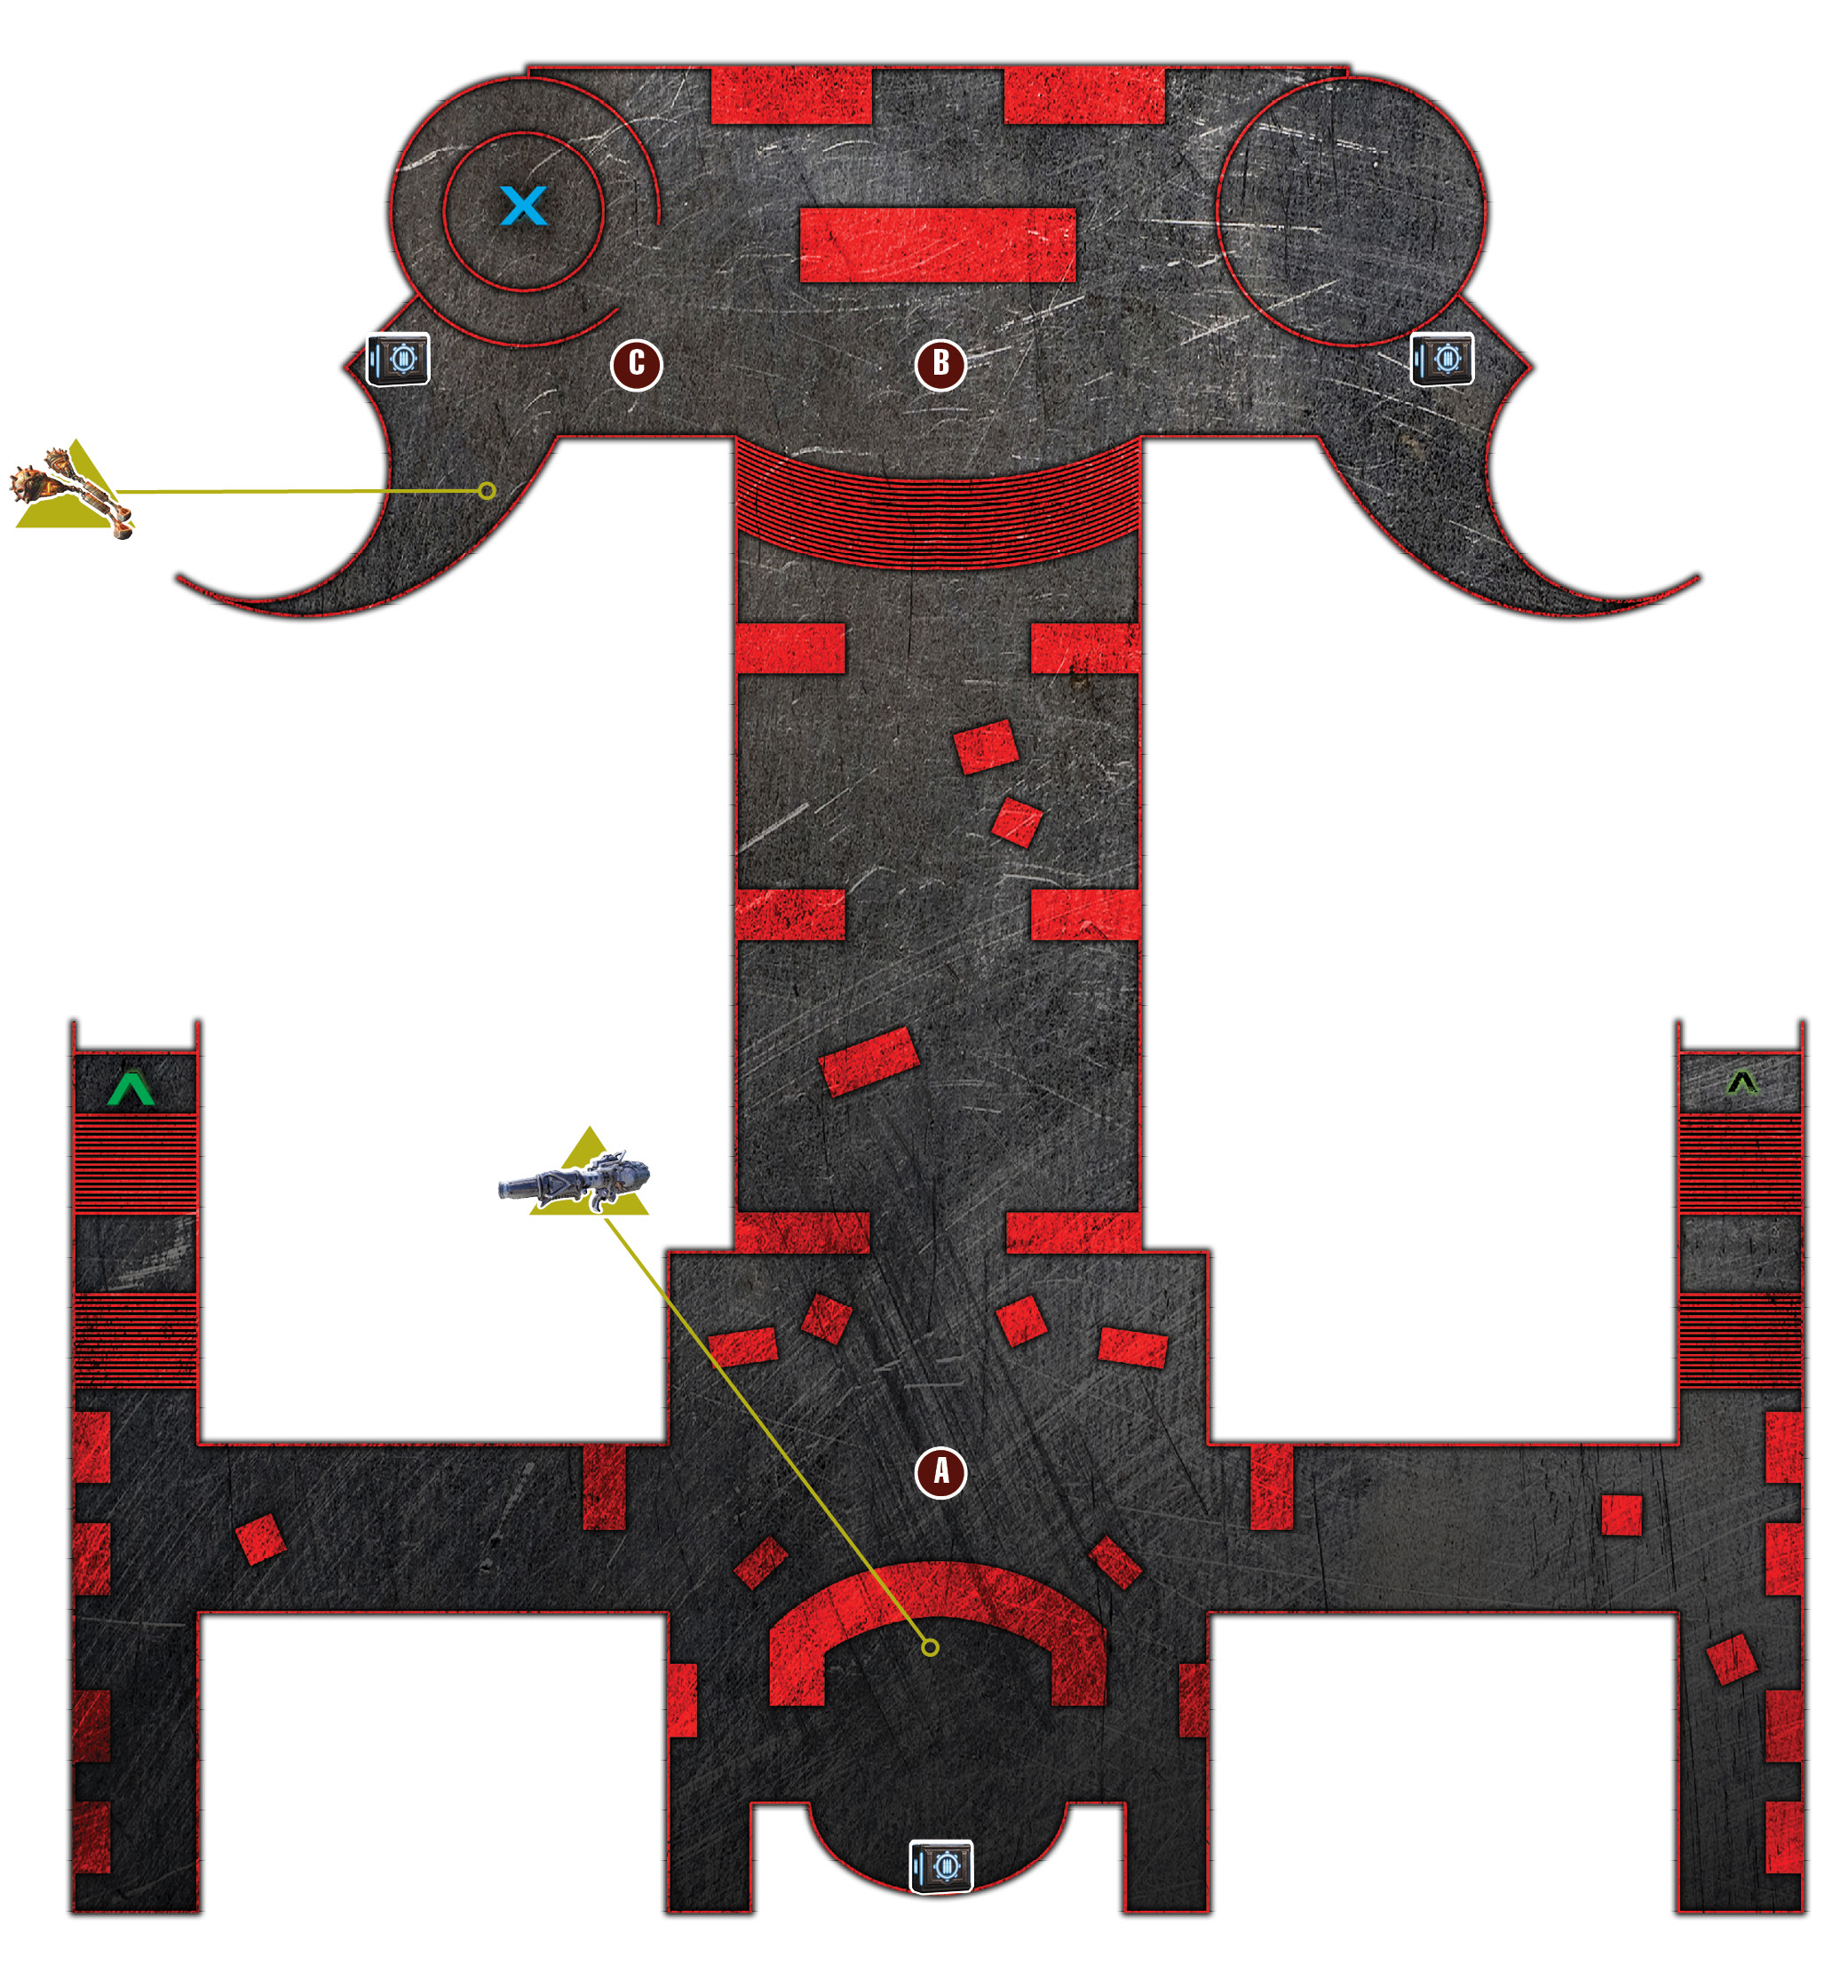
As with the hotel earlier, the Pinnacle Tower’s lower level is filled with stray luggage and the signs of a massacre. Collect the Frag Grenades from behind the main counter, and continue through the arches toward the stairs in the main atrium.
You can see two Boomers and a number of Palace Guards descending the stairs toward you. Take cover near the cloth-covered table, and hurl your two Frag Grenades as soon as the Boomer hits the bottom of the stairs. Switch to the Hammerburst or Lancer, and pop the remaining Palace Guards. Ignore the one or two on the upper walkway. Leave them for your squad.
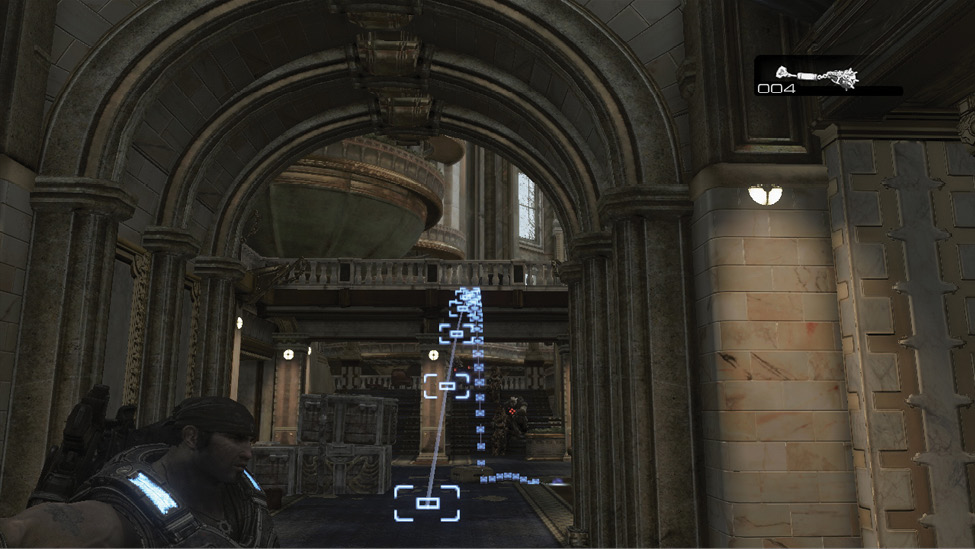
Sprint out toward the stairs and grab the two Boomshots. Then sprint to flank the remaining Locust via the stairs down the hall to the right. Use the Hammerburst to take out any stray Palace Guards as you wind up the stairs and advance to the bridge that the Locust occupied above. Resist the urge to advance all the way to the center. Instead, stay behind cover and wait for the Bloodmounts and additional Palace Guards to attack. Blast them with the Boomshot to kill them.
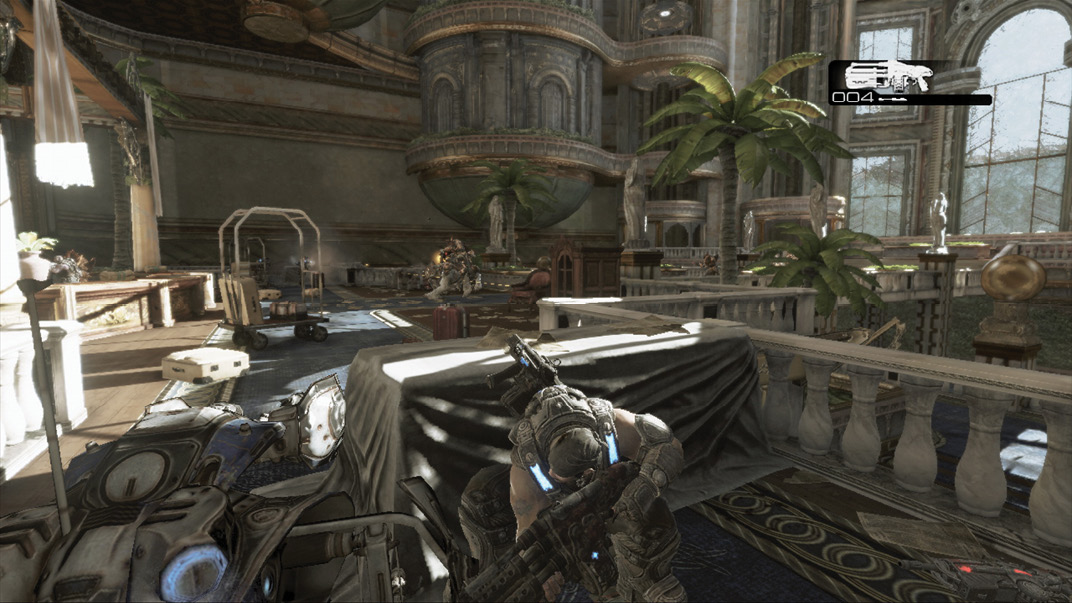
Claim the available Torque Bow ammo and move to cover behind the counter in the center. Finish off this area’s remaining Palace Guards with the Torque Bow and Hammerburst. Then grab the Mortar.
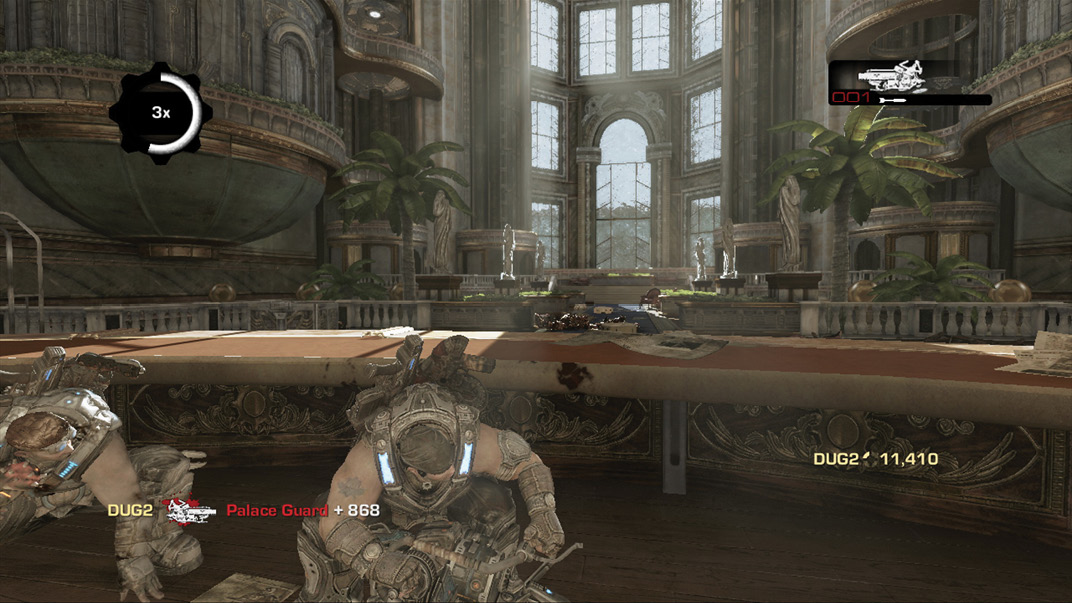
Equip the Mortar as the last Palace Guard is killed, and be ready for the Reaver that bursts through the window to attack. Fire mid-range Mortar shots at it from behind the counter to avoid its rocket attacks. Don’t use the Mortar from further back, or the shells will strike the ceiling directly ahead.
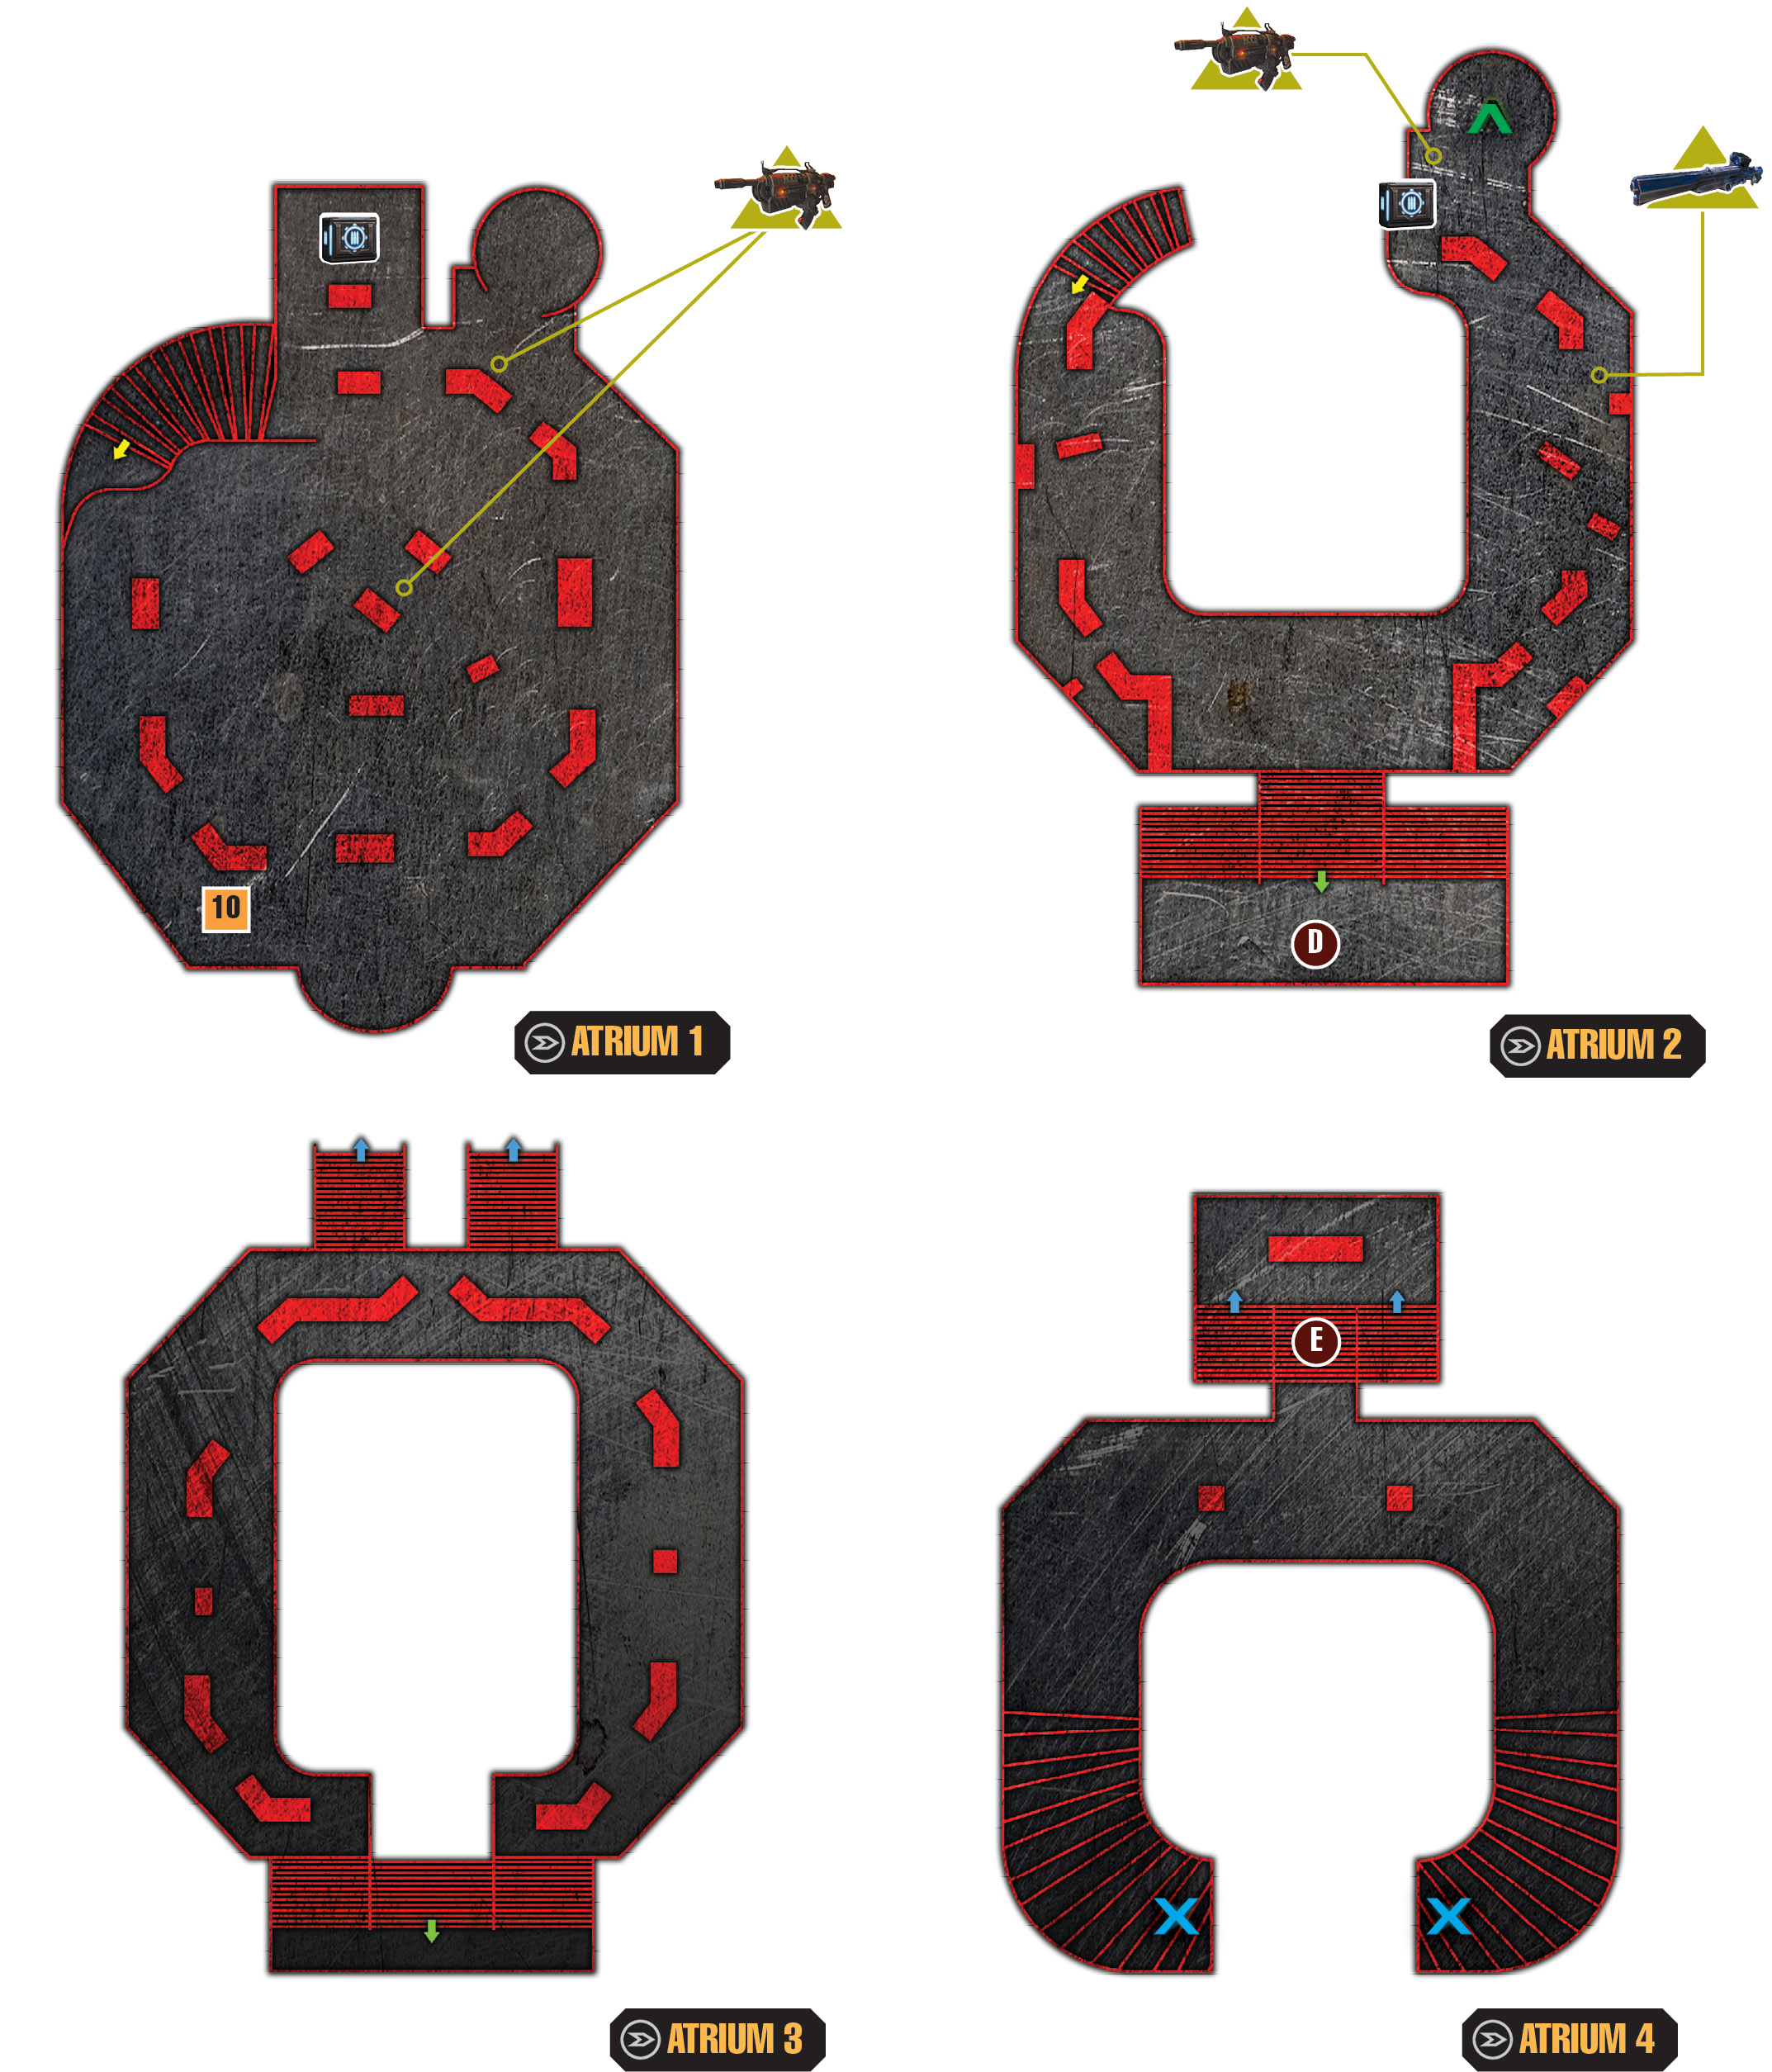
 Activate the Elevators
Cross the central walkway toward the window from which the Reaver appeared. Don’t call the elevators just yet! First grab the ammo off to the right, and then pick up the Frags on the left.
You don’t really expect those elevators to open right away, do you? Run and plant the Frag Grenades along the path that leads from the counter where the Mortar was to your current position. Now press the elevator call button. Elevators are quite slow and take a while to arrive.
 Repel the Lambent Until the Elevators Arrive
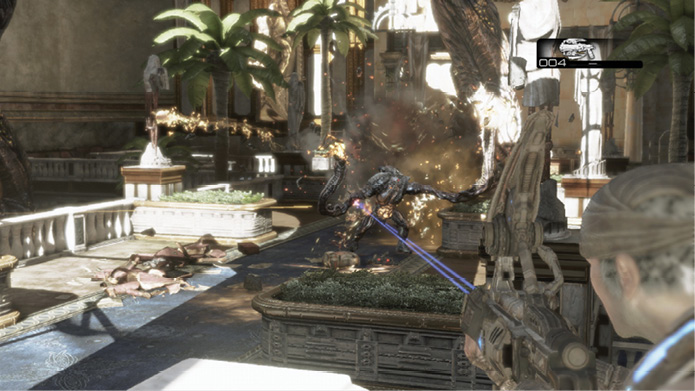
Two Lambent Stalks pierce the floor and rise up through the atrium, dropping Lambent Drudges and Dark Drones throughout the area. The Frag Grenades help take out the first to advance along the path to your position. Try to shoot any Dark Wretches that spawn before they trigger your proximity mines.
Focus on shooting the Stalk Pods with your equipped assault rifle. Each stalk has multiple pods, each of which regrows. Take out a few from each stalk, and then assist the COGs fighting off the Drudges and Dark Drones. You should have some Torque Bow ammo from previous enemies. Use it on the Drudges that mutate. Fire the Torque Bow bolt straight into their Imulsion-filled bellies, or take their heads clean off with a headshot.
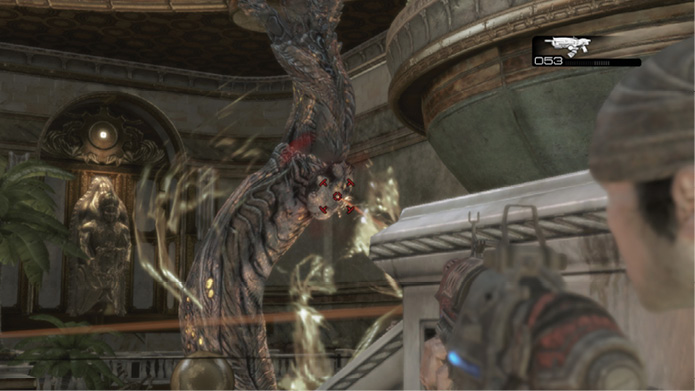
Alternate between using the Torque Bow against the Lambent and employing the Lancer or Hammerburst against the Stalk Pods. Monitor your remaining ammo and watch for Lambent charging up the central aisle. Listen for the ring of the bell, and grab some extra ammo on the right before you board the elevator.
 Reach the Top of the Tower (Cont’d)
Marcus and Anya board one elevator, while Baird and Cole take the other. Take cover against the side of elevator to avoid fire from down below. Some Palace Guards grapple up to the elevator, but Anya is quick to put them down, freeing you to focus on the Grinder on the balcony outside the window.
Several Reavers fly through the window into the atrium. They’re menacing, but they pose little threat…at least not to your person. They fly close enough to the elevator to sever the cable, forcing it to crash into the lift that Baird and Cole occupy. Wait for Anya to mantle onto the roof of the adjacent elevator, and then follow her.
Anya and Marcus end up one floor above Cole and Baird. Take cover and fight your way to the left. Palace Guards and a Kantus attack near the stairs that lead upward. The Kantus summons Tickers into battle, so be sure to take it down quickly. Wait near the stairs so Baird and Cole can ascend from the lower floor and offer a hand.
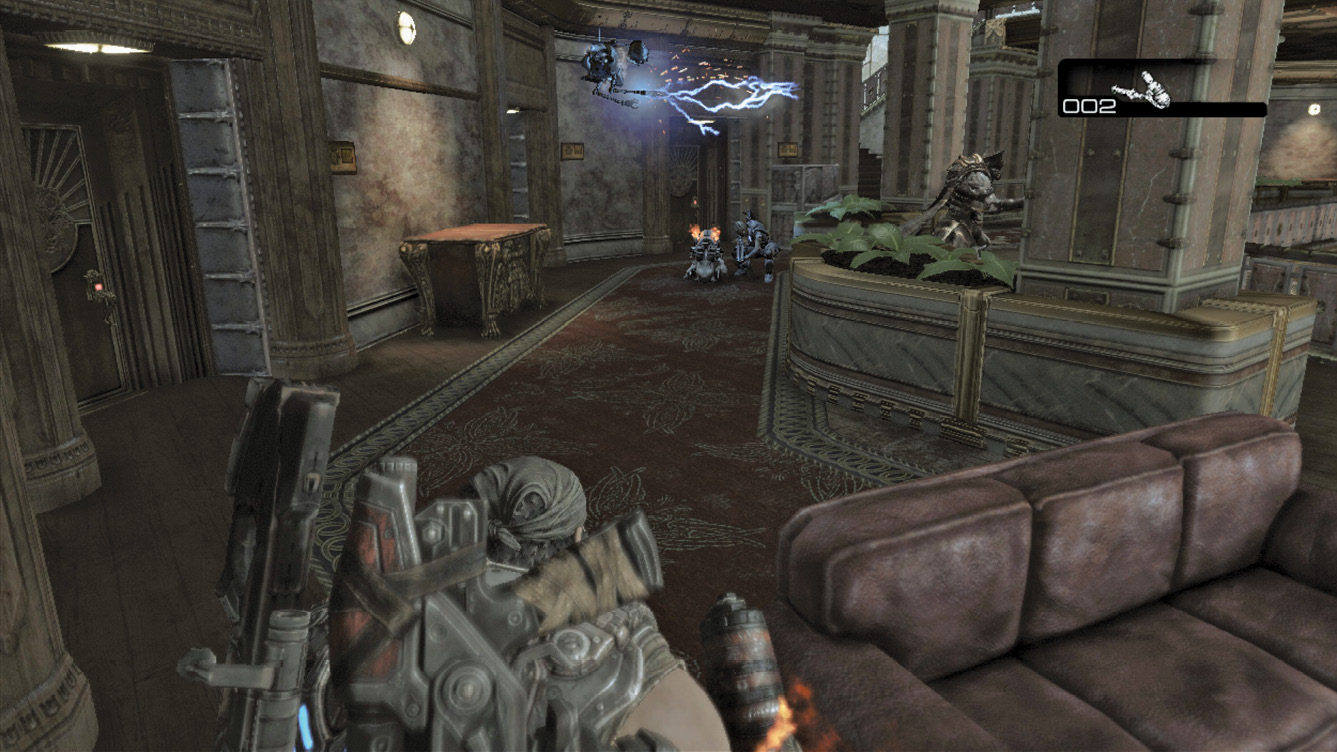
Claim the collectible on the lower level, and then climb the stairs to the next floor. Take cover and fend off the Palace Guards in the area. They aren’t alone—it’s only a matter of seconds before Queen Myrrah and her Tempest show up!
 Avoid the Tempest and Continue Upstairs
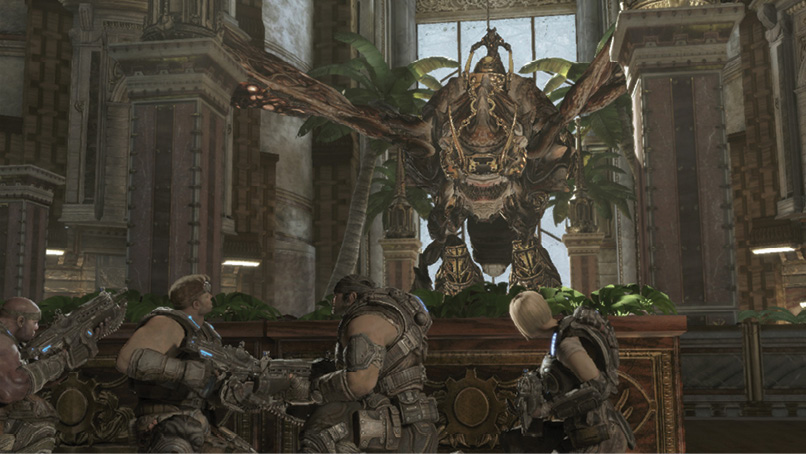
The Tempest doesn’t wait to attack with its high-energy fire beam. Roadie Run around the level’s perimeter to the next set of stairs, and climb them. Continue to the atrium’s uppermost floor, where the Tempest seemingly has the squad pinned between a rock and a hot place.
 Cut the Cables
Baird has a boy-wonder idea to cut the cables holding the massive counterweight high above the atrium. If you have a Lancer, great! If you don’t, you can also just bash the cables a few times—the Lancer’s chainsaw is just easier.
Move from cover to cover as you make your way around the room’s perimeter to each of the three cables. The direction you choose doesn’t matter. The important thing is to use cover unless you’re playing on Easy or Normal difficulty. Queen Myrrah and her pet Tempest fry you if just try to sprint straight to the cable. Anya or one of the others will likely revive you, but neglecting to seek cover from the fire beam attacks is still quite risky.
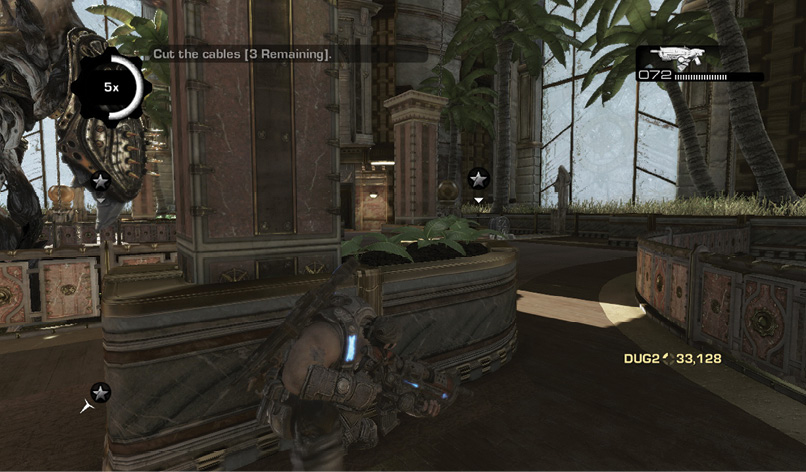
It’s best to run alongside cover and crouch until the beam attack ends. Then run for the next cable. Continue around the floor in a circle, cutting each of the cables with the chainsaw as you go. This drops the counterweight onto the Tempest, sending it crashing to the floor far below.
 Find Adam Fenix
The Gears board the elevator, but they know the Locust are planning a massive defensive stand on the top floor. Thanks to Adam’s knowledge of the building and Jack’s uncanny abilities to override electrical systems, they stop on a maintenance level instead.
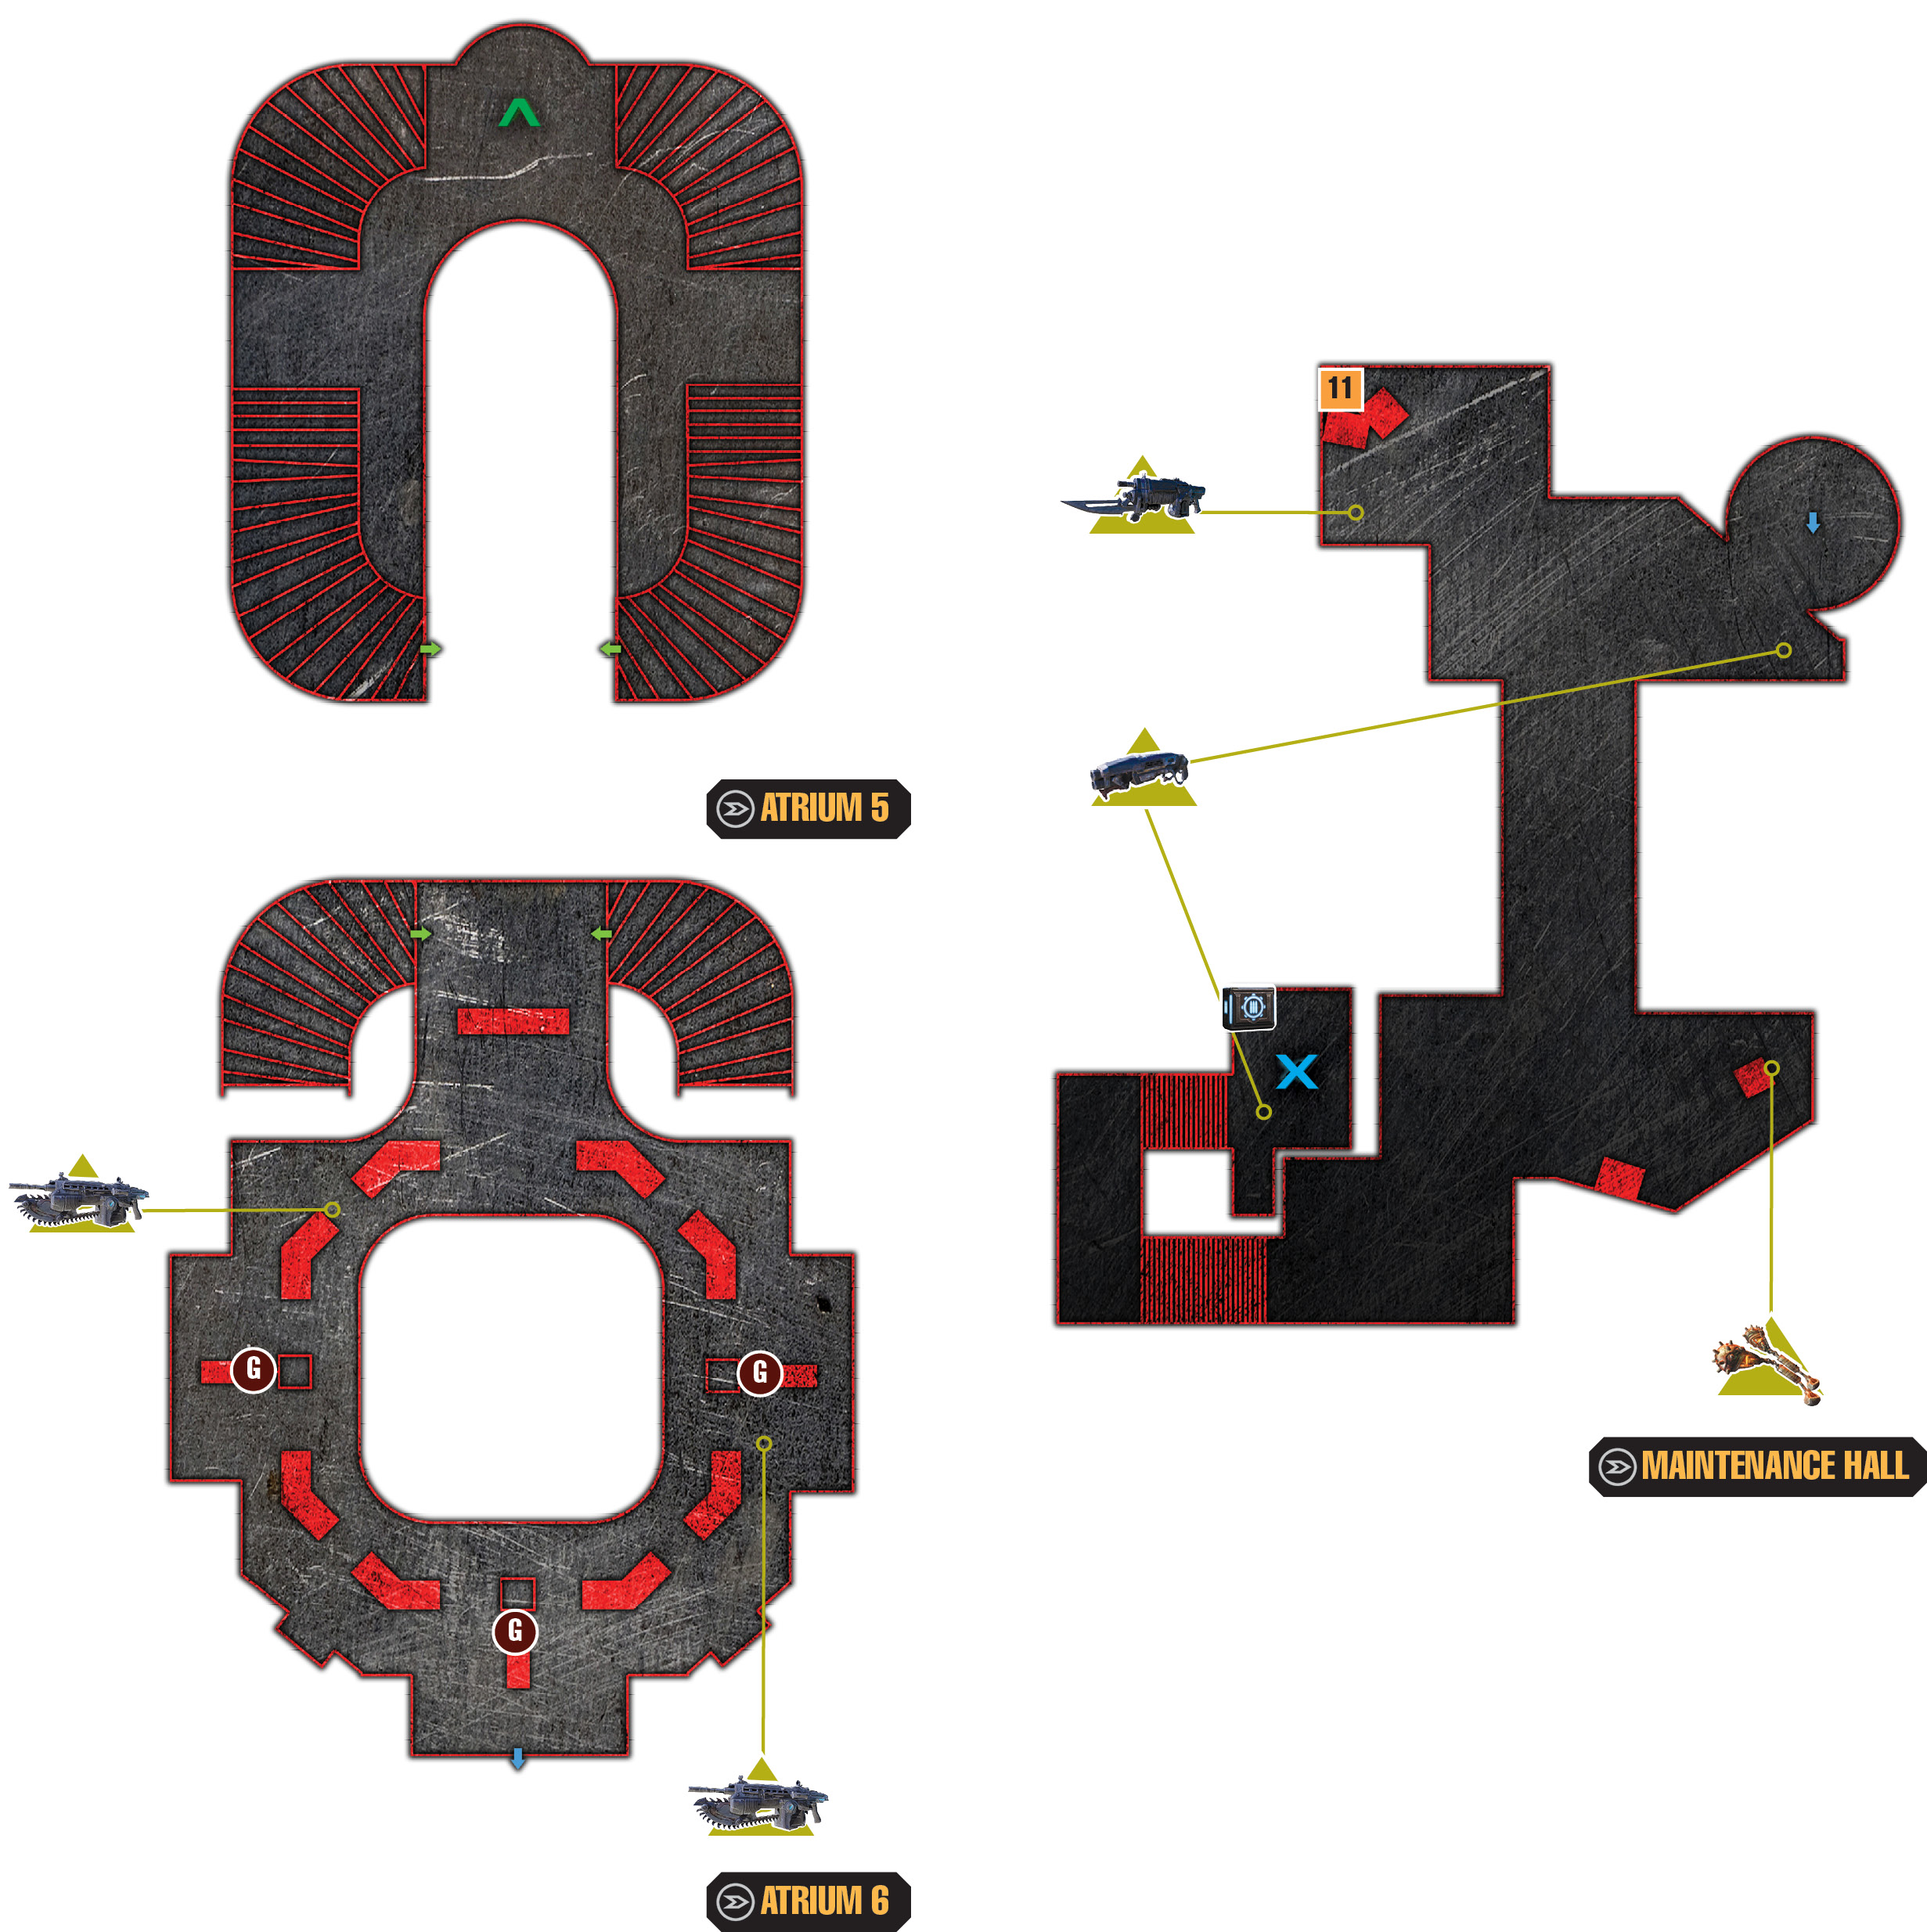
To load up on Lancer and/or Hammerburst ammo, use the Lancer’s saw (or gunfire) to cut through the crates near the weapon racks on the maintenance floor. Pick up the Frag Grenades around the corner, behind crates on the left. Climb the metal stairs to exit the maintenance area.
Uppermost Floor
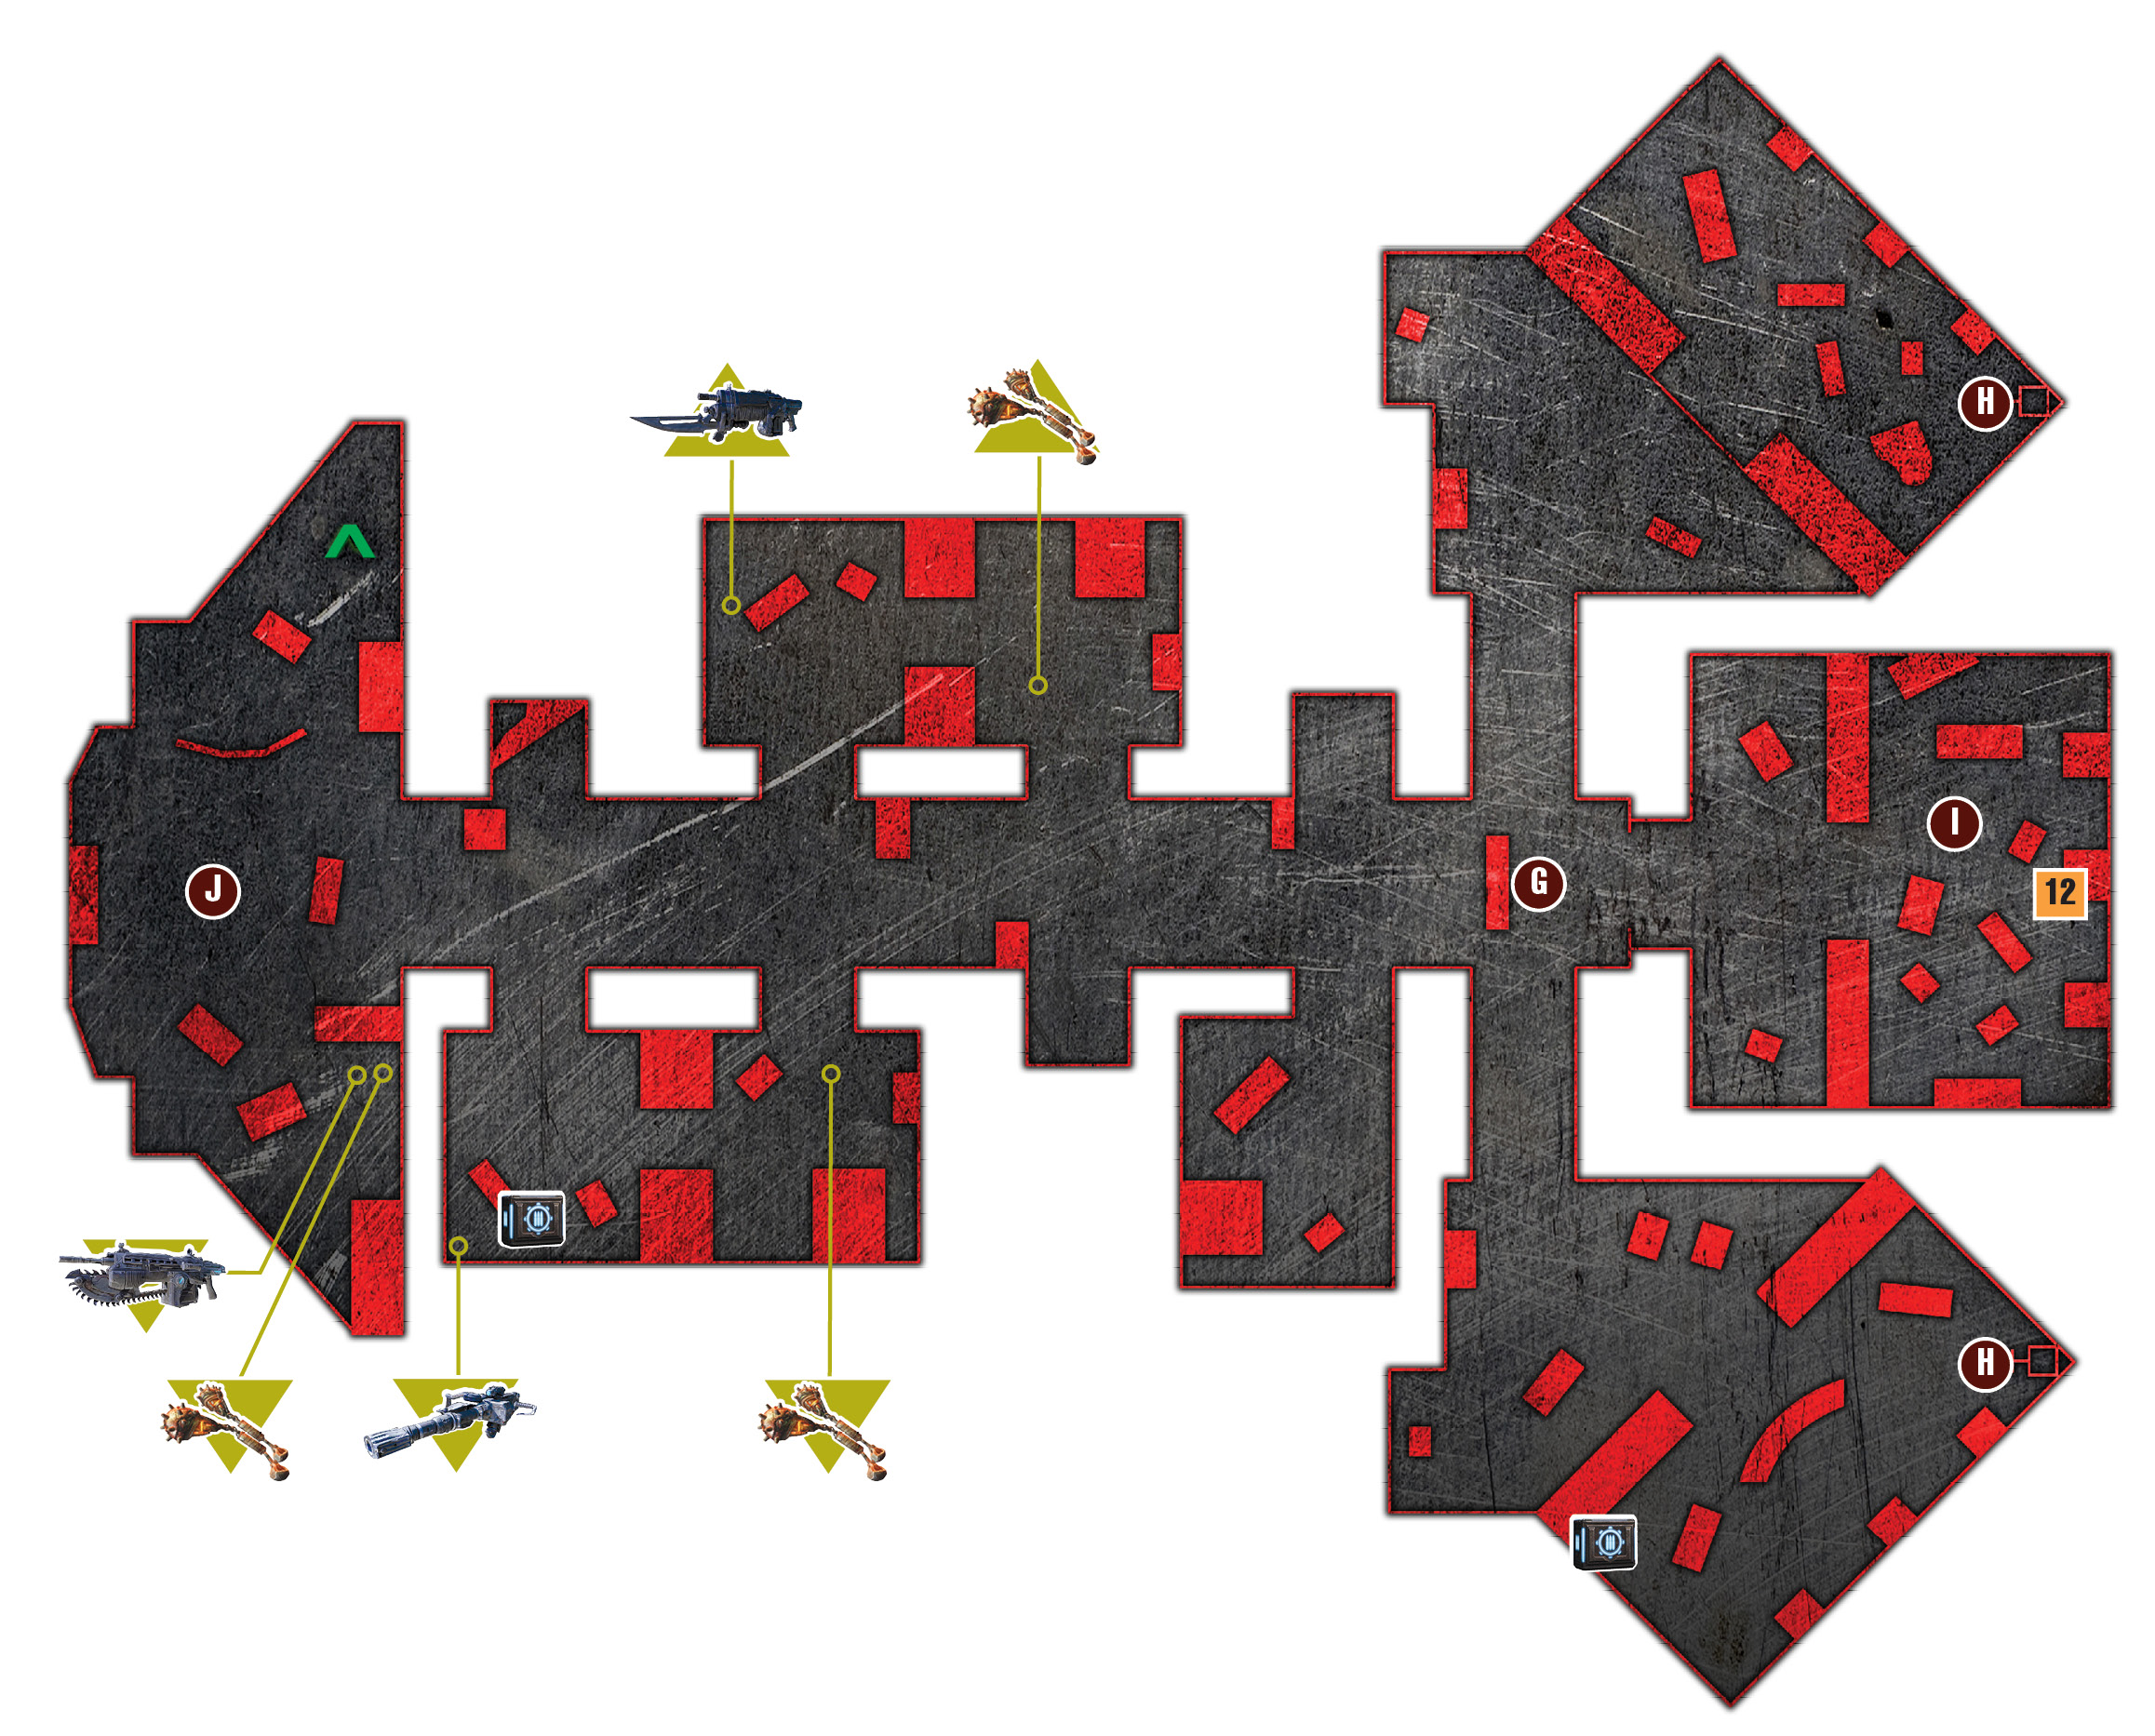
Sneaking through the maintenance area allows the Gears to get the drop on a Grinder and Palace Guard. Lob the two Frag Grenades at them immediately. Then pick up the fallen Mulcher and slide into cover against the sandbags. Mount the Mulcher and take out the other Palace Guard and Mauler across the hall.
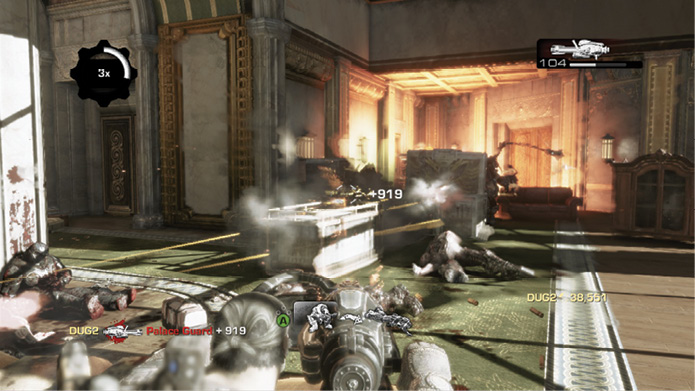
The lengthy hall leads past several smaller rooms, to the office that holds Adam. Multiple Palace Guards are stationed throughout the hall outside Adam’s office. They even have a Troika in position outside his door! The battle to rescue Adam is fierce. Cross to the other side of the area that you enter, and pick up the Frag Grenades and the Mauler’s Boomshield.
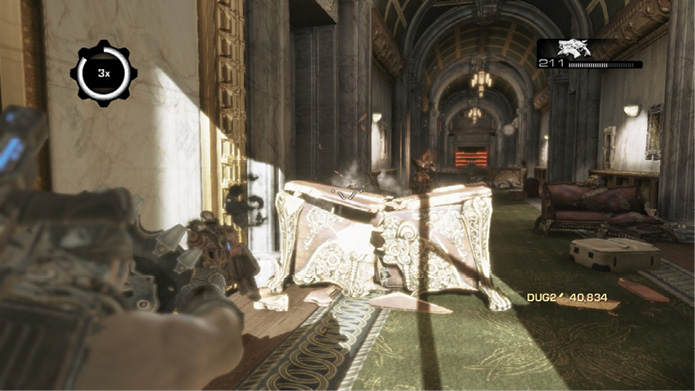
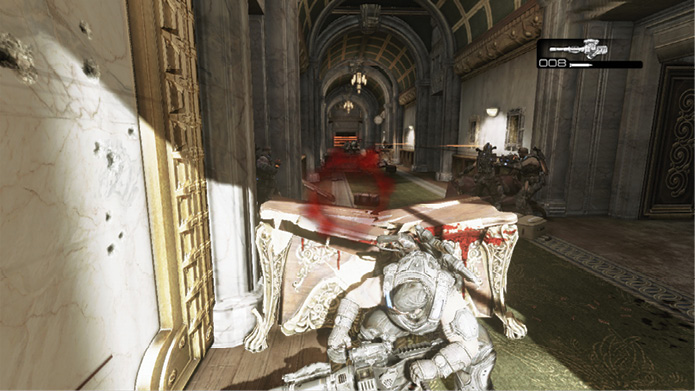
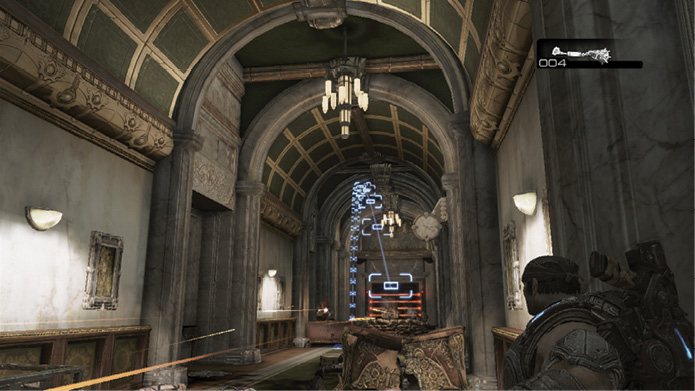
Use the Boomshield for protection from the Troika, and proceed up the hallway. Kick open the first door on the right, and locate the OneShot behind the chair. Return to the hall and use the OneShot from behind cover. Take out the Locust manning the Troika and any Grinders or Palace Guards in the distance. Whichever method you employ, the goal is the same: eliminate all visible Locust and advance to the security lasers that bar entry to Adam’s office.
 Disable the Security Panels
Two panels control the security system, one in each of the two offices flanking the room that Adam occupies. Follow the wires on the floor down either side hall to find them.
Each of the two rooms has a strong Locust contingent standing guard. First proceed down the right hall while you have all of your Frag Grenades. Open the door and quickly toss two Frags at the Grinder and Palace Guards. Pick up the Mulcher and use it to finish off the remaining enemies. Pull the lever in the corner to disable the first security panel.
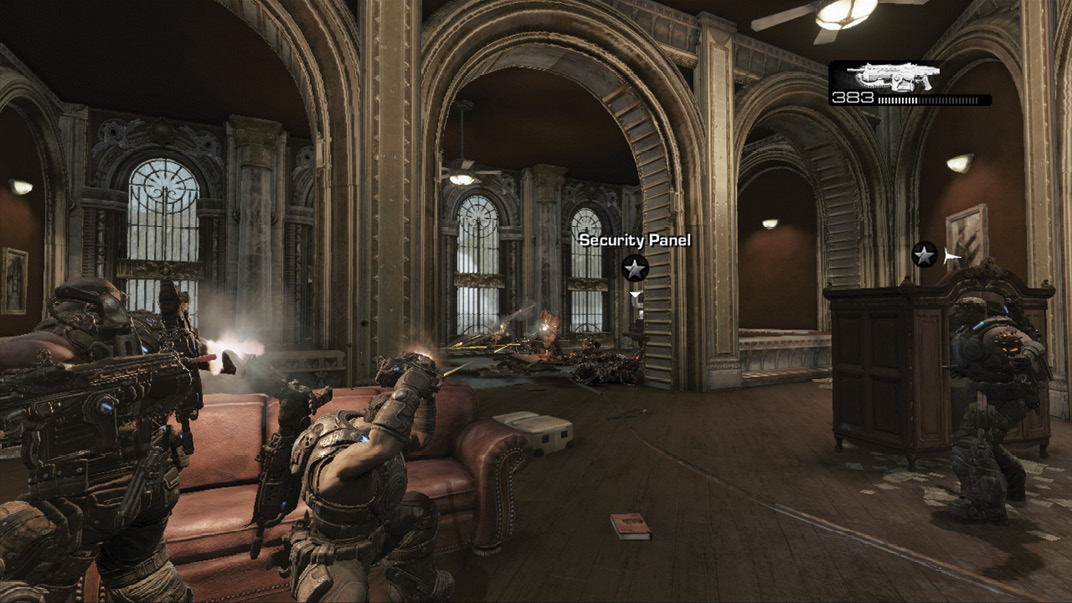
You should have one or two more Frag Grenades for the left room. No Grinders are in this room, but there are multiple Palace Guards. Toss the Frag Grenade and then pick off any survivors. Pull the lever and return to Adam.
 Rescue Adam Fenix
Enter the office that Adam Fenix occupies to learn more about his device, the Imulsion, and the plan to eradicate the Lambent from Sera. Adam has prepared a disc that provides further explanation in case he doesn’t survive what’s to come.
 Return to the Elevator
The only way out of the tower is back to the elevators, but a massive Lambent Stalk has sprouted outside the floor. A number of Lambent also drop into the hall near the elevator. Quickly mount the Troika and open fire. Take out the initial crush of Drudges and Dark Drones. Then aim the Troika at the Stalk Pods.
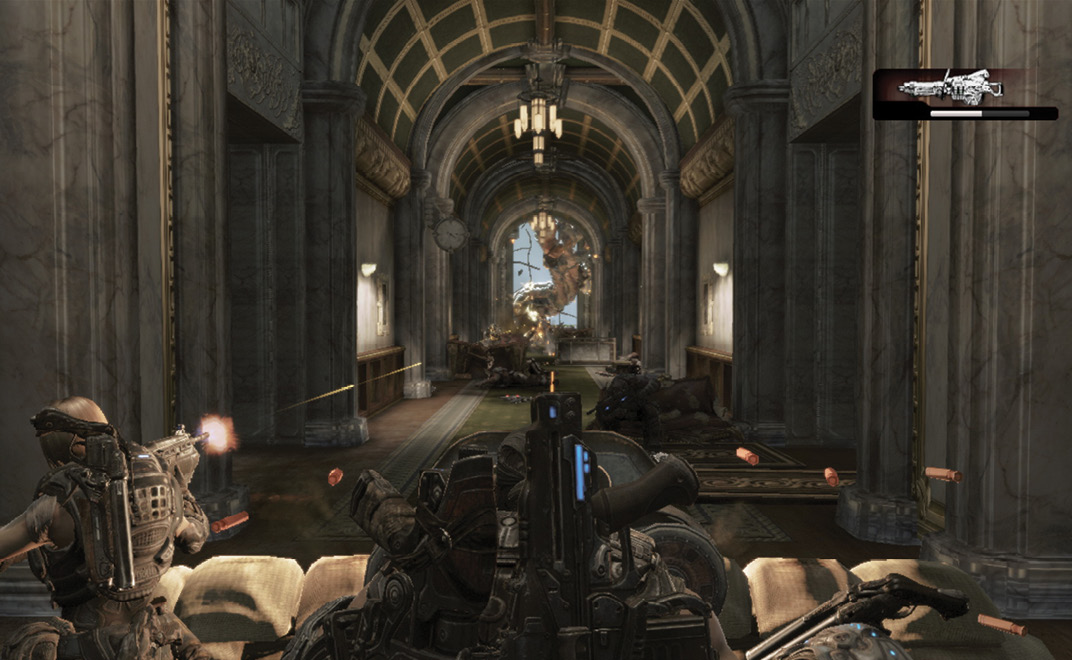
The Stalk Pods can be hard to see from this distance, but you can find them by moving the reticle and watching for it to turn red. Kill as many of the Lambent as you can with the Troika. Then advance through the side rooms to avoid attack. Flank the final Dark Drones hiding in the corners. Grab the ammo lying around, and board the elevator on the right—final stop, rooftop!