
Gears of War 3 Guide Campaign Walkthrough Act 4
Chapter 4: Batten Down the Hatches
Objectives
Collectibles
|
 Search the shipyard for a submarine hangar.
 Look for another sub hangar.
 Clipping
The Locust attack, and Griffin’s subsequent departure on the cable car leaves the COG without the fuel for which they came. At least they have Dizzy back in one piece. The fuel is still a concern, but first they have to find a working submarine. The squad drives to a dormant shipyard believed to house a submarine they can captain to Azura. With any luck, the staff fled before they scrapped the entire fleet.
Shipyard
 Search the Shipyard for a Submarine Hangar
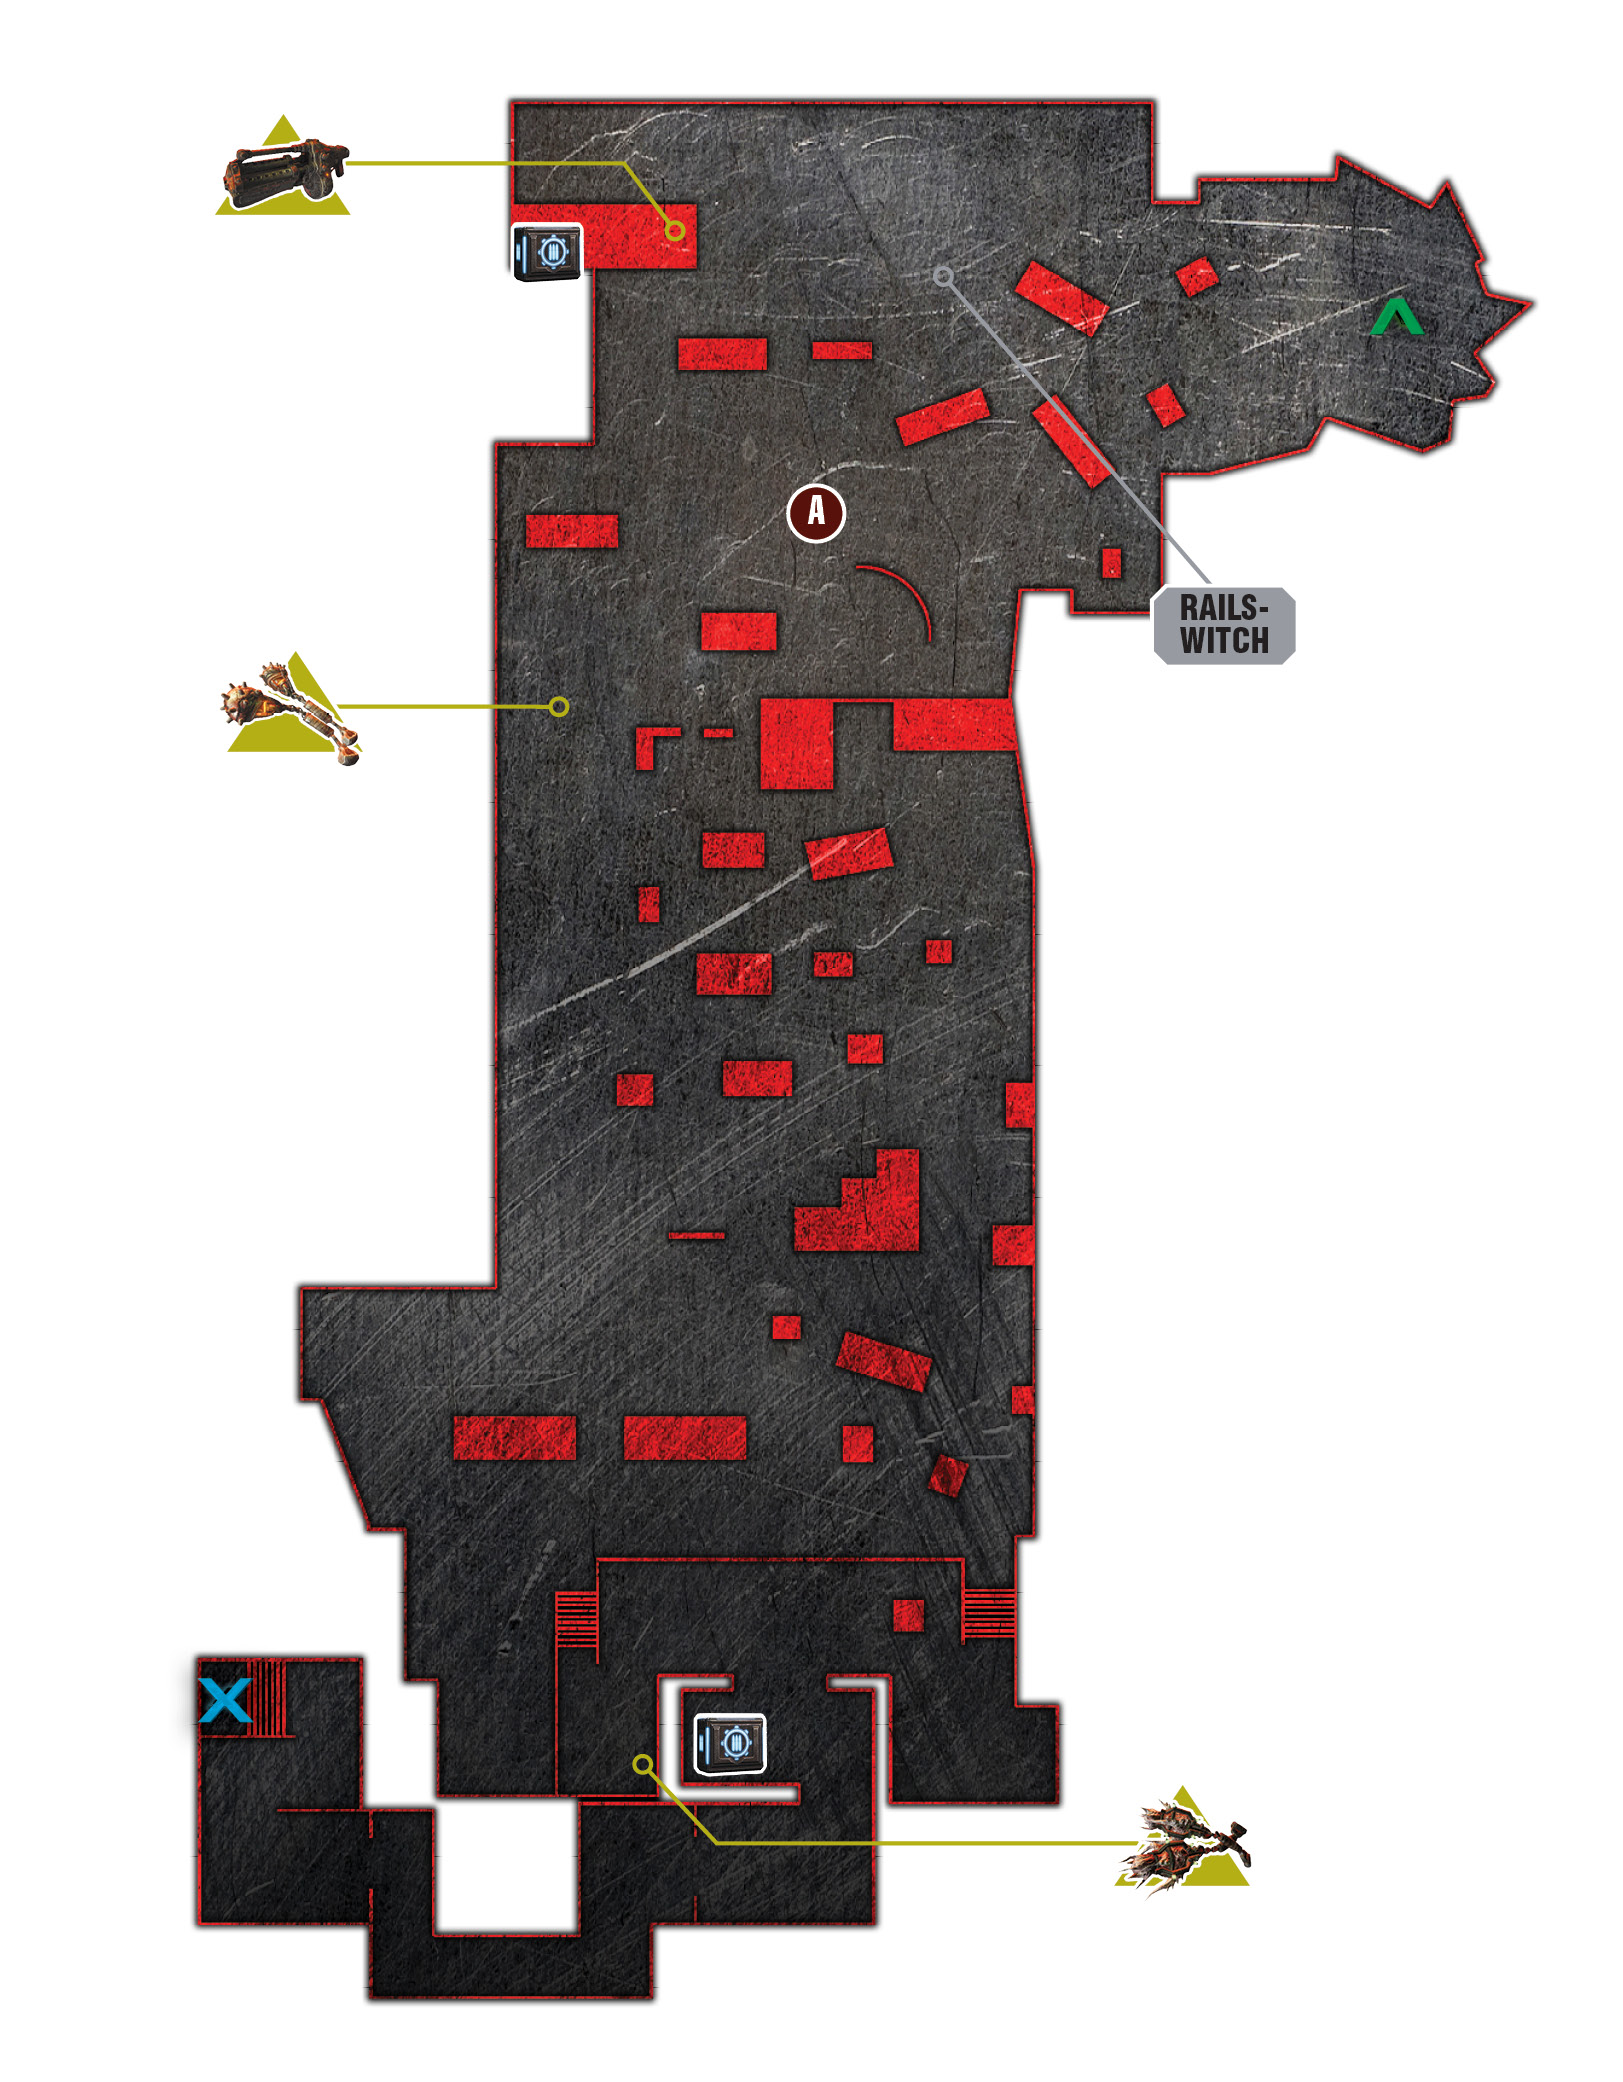
Shriekers attack the Gears the moment they arrive at the shipyard. Take cover and use the assault rifle to blast them out of the sky. Don’t waste too much ammo on them, as your A.I. squad mates are quite good at knocking them out of the air.
A Gas Barge soon appears and deploys a large contingent of Palace Guards, along with a Boomer. One of the Palace Guards mounts the turret in the security hut. The others move in from the shipyard’s far side. The Gas Barge fires a Boomshot rocket or two at you, so keep your eyes peeled and your head down until it departs.
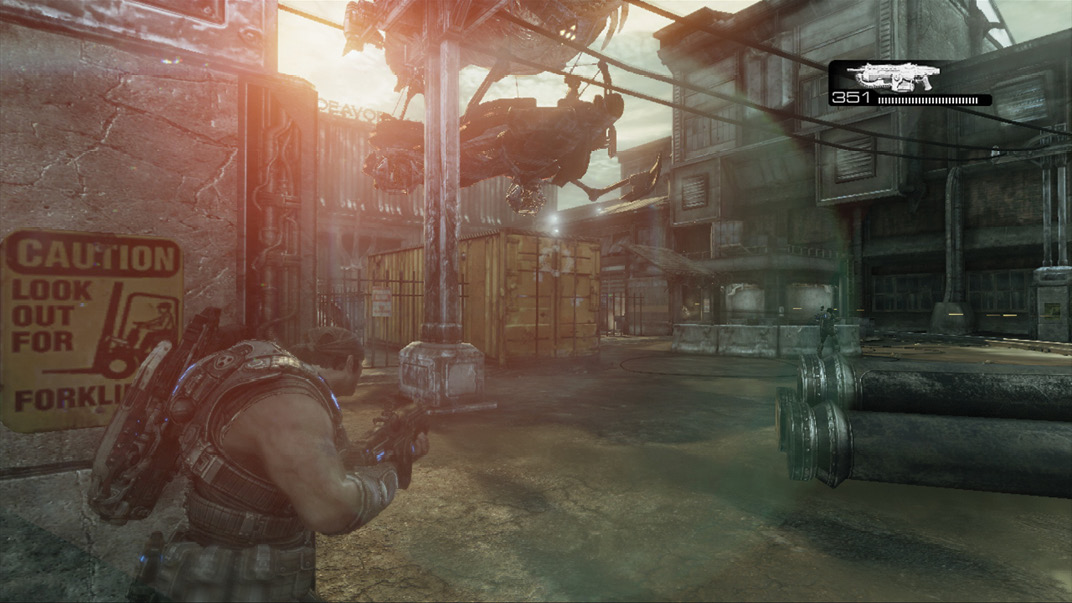
From cover, use the Torque Bow you hopefully have from the previous mission to take out the turret. If you don’t have a Torque Bow, use the Hammerburst or get a grenade in there.
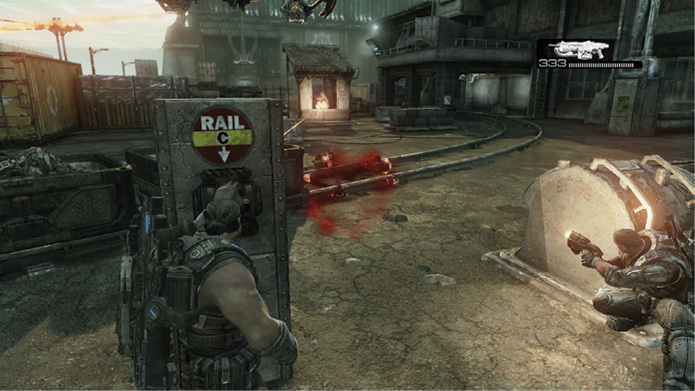
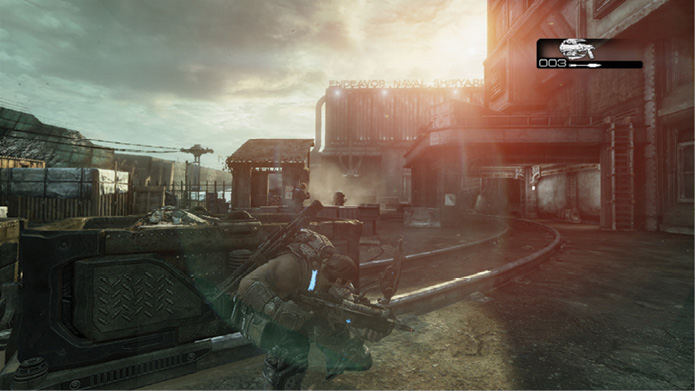
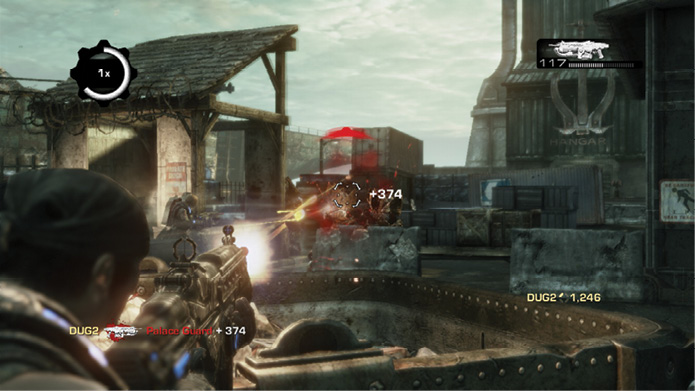
Gather additional Torque Bow ammo, and swap out your assault rifle for the dropped Boomshot. Equip your pistol and proceed across the yard to the left, beyond the security checkpoint. Another batch of Shriekers attacks at close range, followed by another Boomer in the distance on the left. Use the Boomshot you acquired earlier to take out this Boomer. Then use the Torque Bow to pick off the Palace Guards that spread out across the upper walkway near the submarine hangar’s entrance.
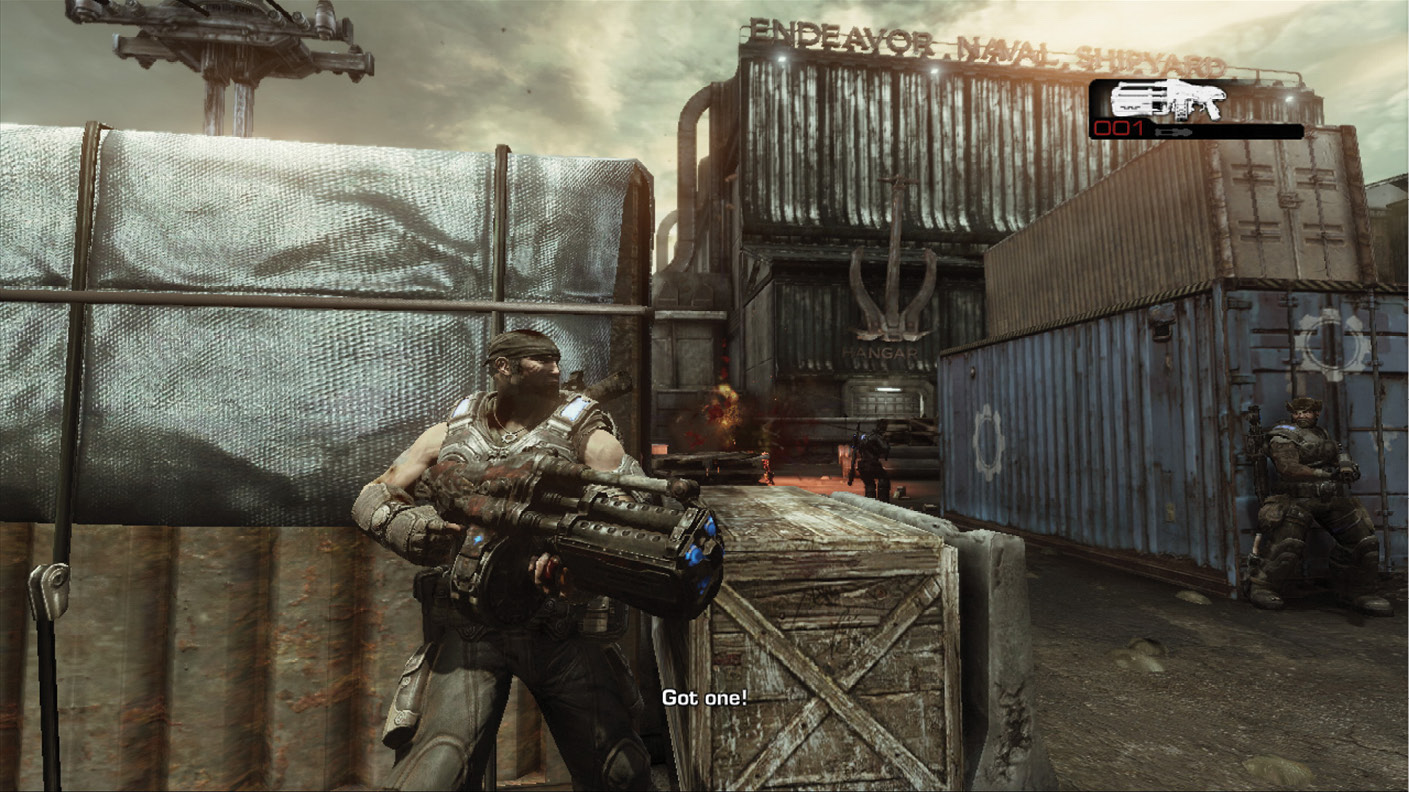
Grab the Incendiary Grenades in the back-left corner, or the Ink Grenade in the far right corner. Swap out your spent power weapon for an assault rifle. You can get more Boomshot ammo shortly. We recommend pairing either the Boomshot and Hammerburst or the Torque Bow and Lancer. You want a precision ranged weapon, along with something that has additional oomph.
Enter Hangar 1 and proceed through the web-draped catwalk and out the back side. The squad must look for another hangar in the hope of finding a vessel that’s far more seaworthy.
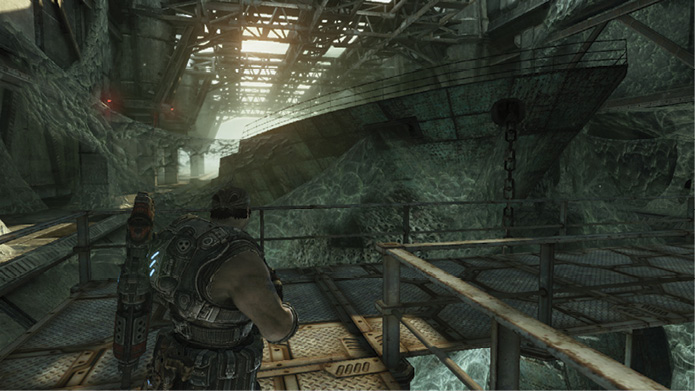
 Look for Another Sub Hangar
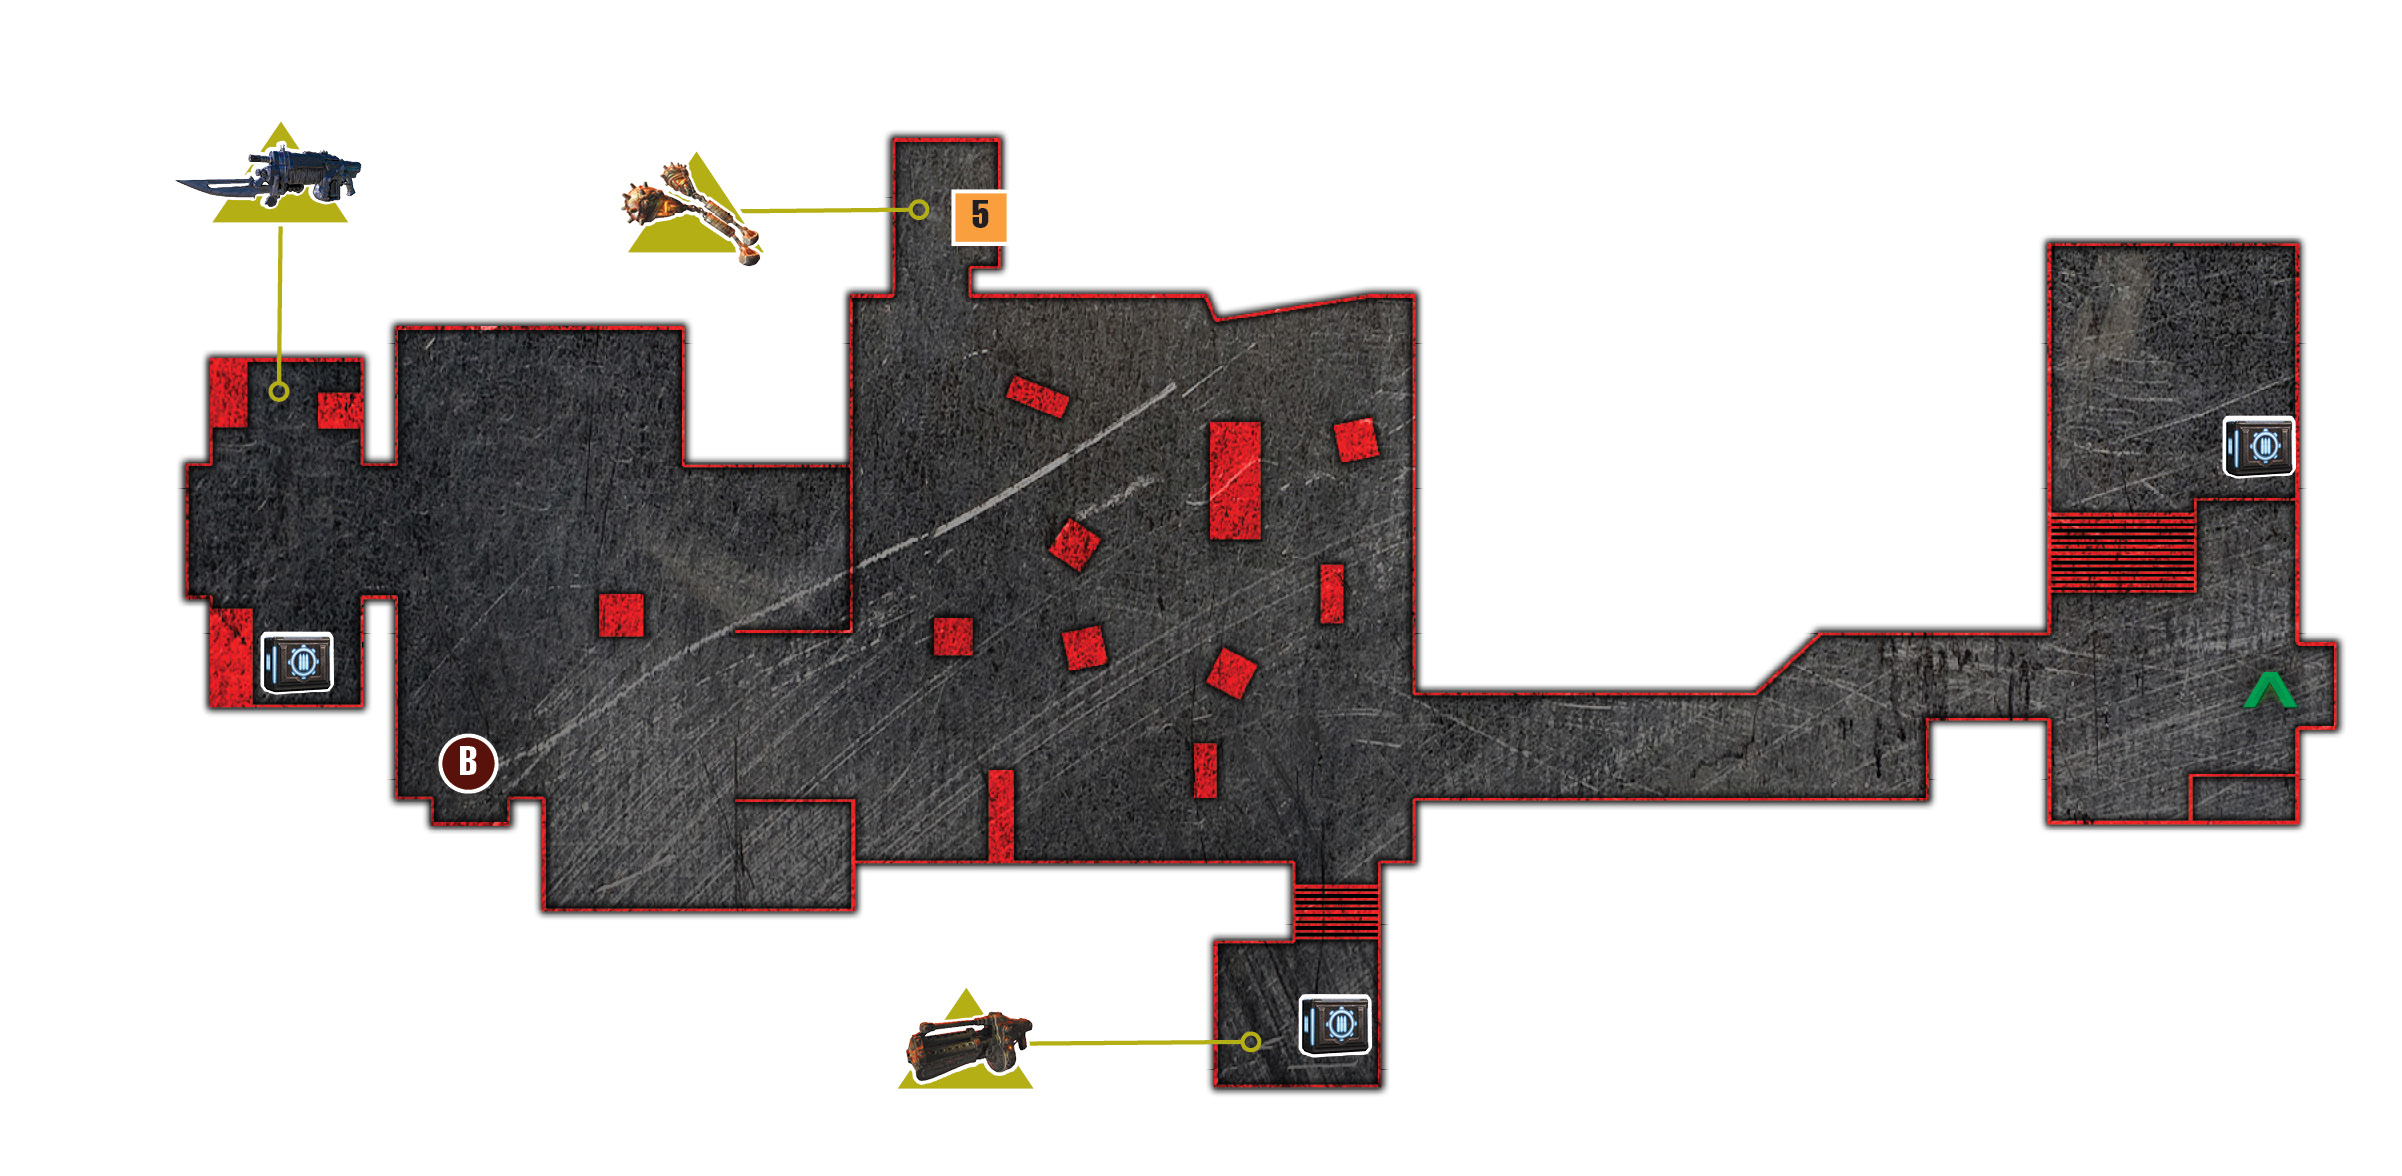
Exit the hangar and grab the ammo on the right before you cross the wooden gangway to the container yard outside Hangar 2. Boomshot ammo is up the steps to the left.
Move to the shipyard’s center to draw out the Palace Guard who releases a Serapede. Take cover and use the Torque Bow or Hammerburst to eliminate the Palace Guard who pulled the lever. You don’t want him taking potshots at your crew while you fight the Serapede.
The Serapede’s electrical sting inflicts potent damage and stuns the player, making it hard to escape its clutches. It is armor plated, and its weakness is the electrified jelly in its tail. Fire at its rear end to rupture it segment by segment. Each Hammerburst shot destroys a section of its body, so assault it as fast as you can. Stay behind or to its side. The Serapede turns its attention to whoever shoots three segments off its body. The Serapede’s turning radius tightens and its speed increase as it gets shorter. This makes it harder to finish without explosives or assistance from other Gears.
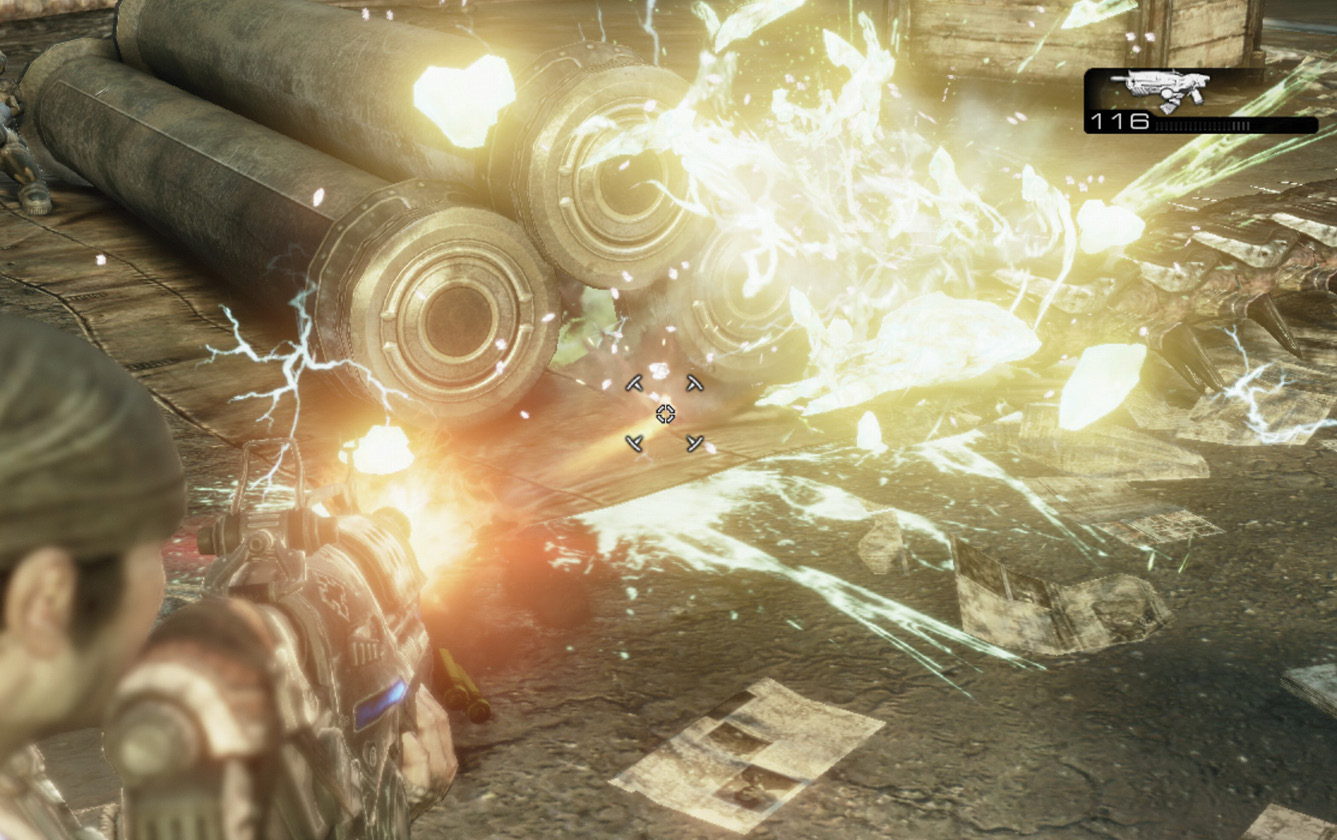
Another Serapede is released into the area, along with three Drones who take up sniping positions with Longshots. Again, move into cover and focus on the snipers first. Use the Point of Interest button to move quickly from one sniper to the other. Employ the Torque Bow or Hammerburst to drop each of them.
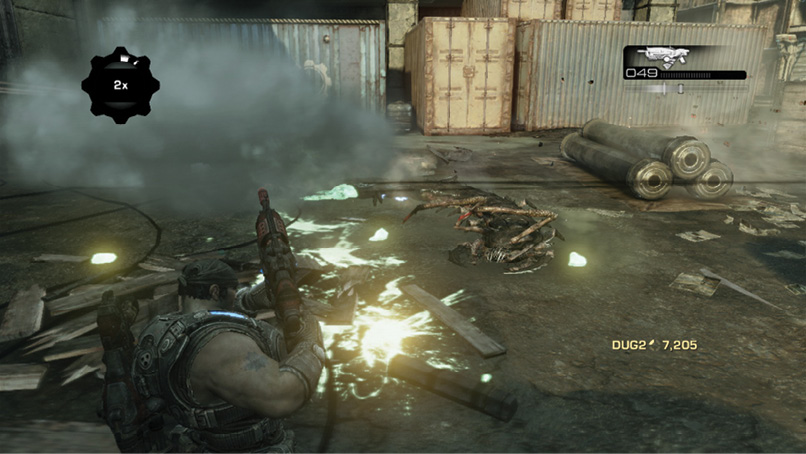
Finish off the second Serapede the same way you did the first. If you haven’t already, collect the available Boomshot ammo in this area. Ammo and a Retro lancer are in the room straight ahead. Enter the hangar through the doors on the left to find the sub that Hoffman mentioned.