
Gears of War 3 Guide Campaign Walkthrough Act 4
Chapter 6: Watery Grave
Objectives
|
 Travel to Azura.
 Destroy the boards.
 Protect the submarine.
 Clear a path through the mines.
 Shoot down the torpedoes.
 Destroy the door.
 Destroy the turrets.
It took some doing, but Dizzy repaired and fueled the submarine with the parts you recovered. Despite its age, the old sub has proven seaworthy, much to the relief of everyone aboard, especially Jace. The crew managed to make it through the night without incident, and they’re about to pass beneath the Maelstrom. Azura isn’t far ahead!
Aboard the Sub
 Travel to Azura
With Dizzy at the helm, Marcus and the others each have their own separate gun pods. These pods rotate 360 degrees and have roughly 60 degrees of tilt. Take a moment to pan around inside your pod—Marcus is positioned on the sub’s front-right side. Note the other pods’ positions and get a feel for the movement speed.
Dizzy engages the power for the weapons system. The submarine launches javelin-like projectiles that can fire in rapid succession when you hold the Fire Weapon button. This drains the energy meter faster and requires recharging via the Reload button, much like the Mulcher needs cooling. It’s better to tap the trigger to fire semi-automatically, as this drains the power more slowly.
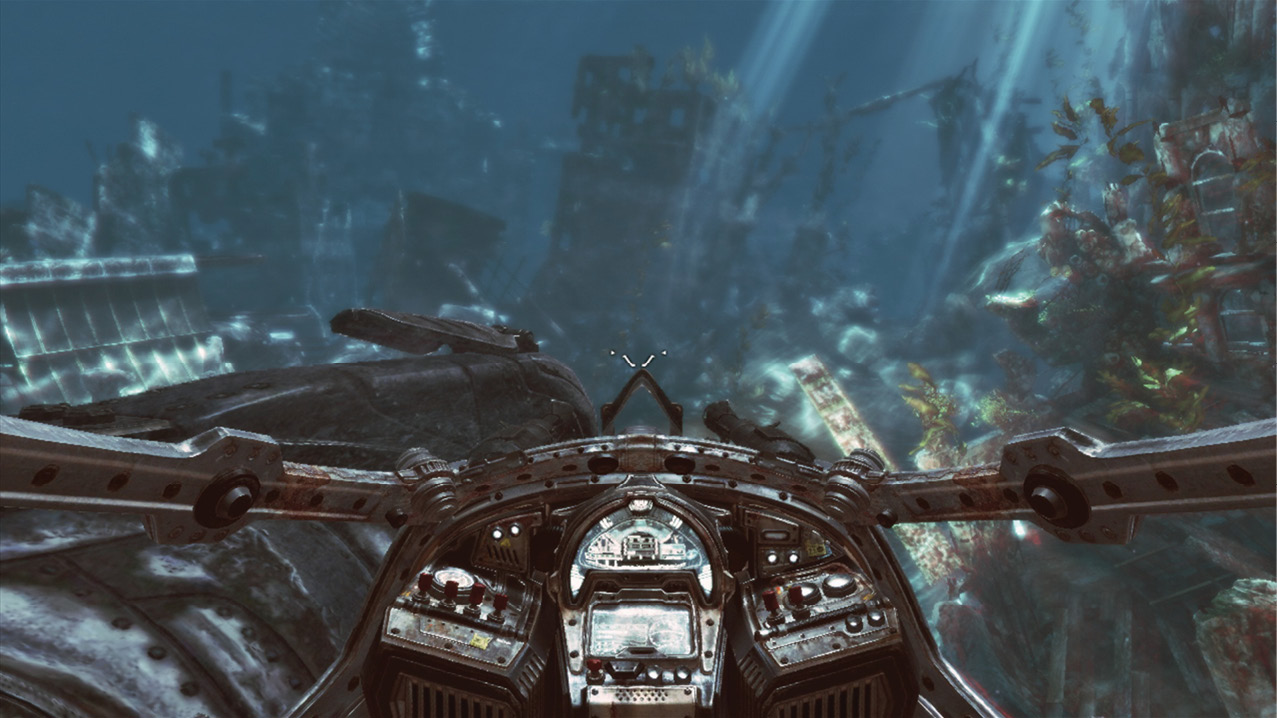
 Destroy the Boards
Dizzy engages the power to give you a chance to try the guns. Shoot through the three boards straight ahead. Moments later, he turns off the power to save juice.
 Protect the Submarine
A school of sea creatures named Manglers form an escort for the submarine. Animals like these are always cute until they attack. Keep your pod aimed forward, and blast as many of them as you can to protect the sub.
More and more Manglers slam into the hull and into your pods. Your energy guns can kill a Mangler with a single shot, so keep firing and kill as many as you can.
Dizzy dives into the seaweed to try to lose the other Manglers. Then he turns off the lights. This seems like a good plan until a Leviathan attacks! Aim for its mouth and hold on tight as the Leviathan scrapes the sub with its massive belly.
Dizzy employs evasive maneuvers, but the Leviathan keeps coming. Fire at its mouth over and over to keep the Leviathan from breaching the hull and killing the crew.
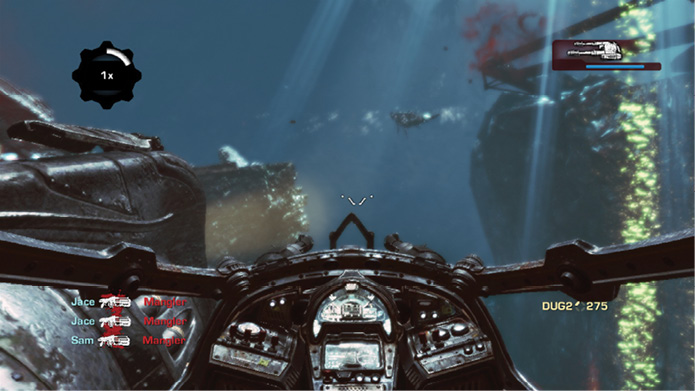
 Clear a Path through the Mines
In an attempt to get away, Dizzy pilots the sub into a sprawling minefield. Target the chains holding the mines in place. Aim for the ones directly in front of the submarine—they glow subtly white to help you identify which ones to prioritize. Some of the mines will likely float up and hit the Leviathan, which is icing on the cake.
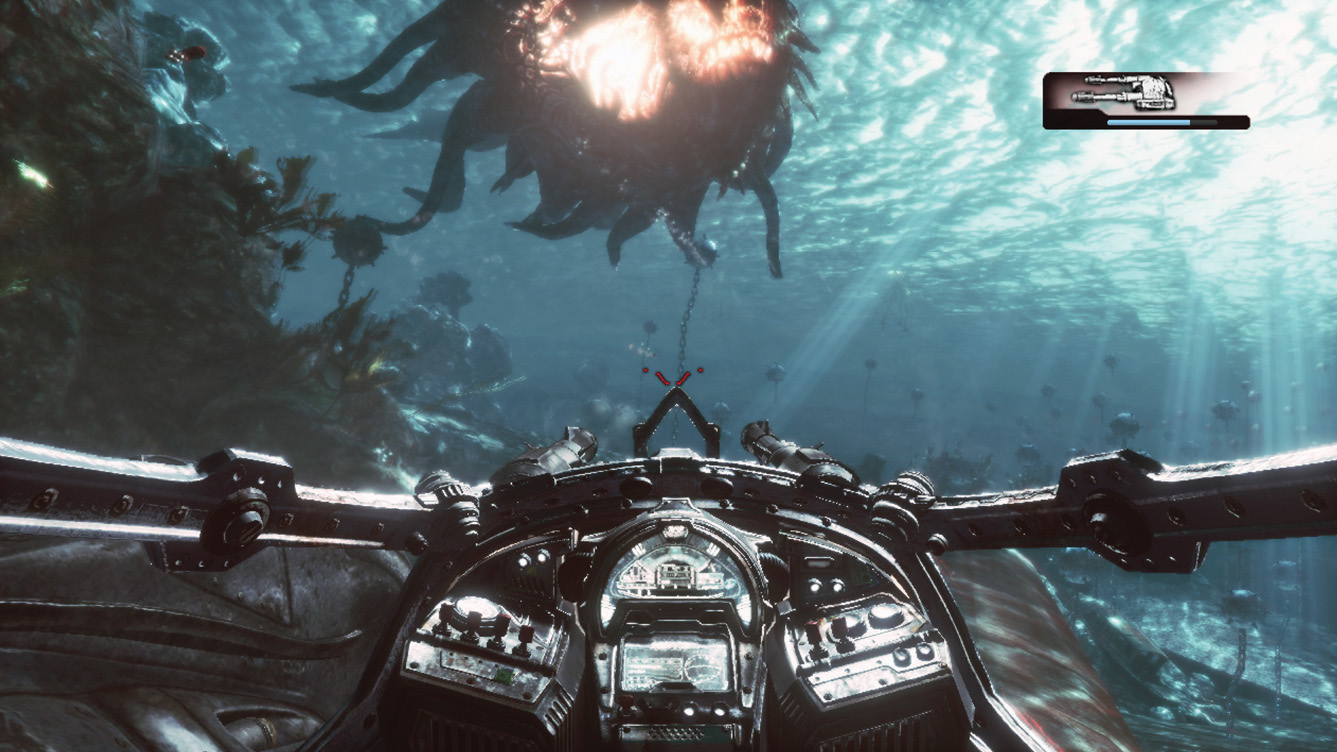
Dizzy leads the Leviathan into a narrow tunnel, hoping to lose the Leviathan. The Leviathan attacks twice from the front, then the rear. Turn the pod to the sub’s stern and fire away, even after it seems as if the beast has finally given up. It hasn’t. The Leviathan tries to reel in the sub with its tentacle, so keep firing to loosen its grip. You can target the tentacle or continue firing at its mouth.
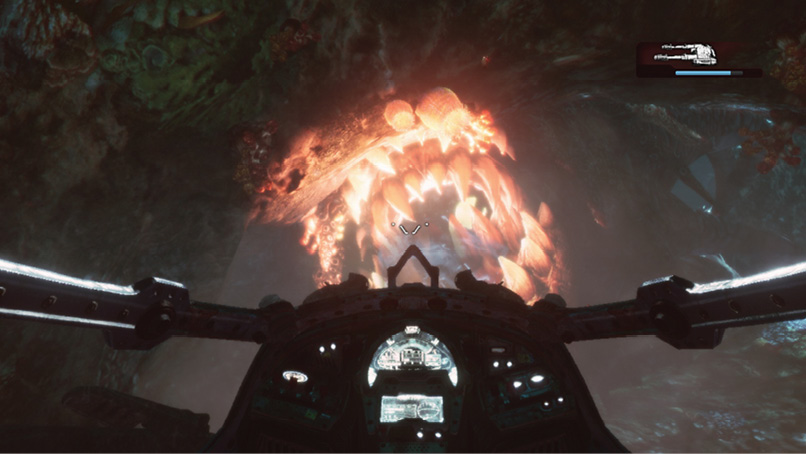
The sub finally breaks free from the Leviathan, only for the Maelstrom’s current to sweep it away. Try to keep the pod facing forward, and keep your eyes peeled for stray mines.
 Shoot Down the Torpedoes
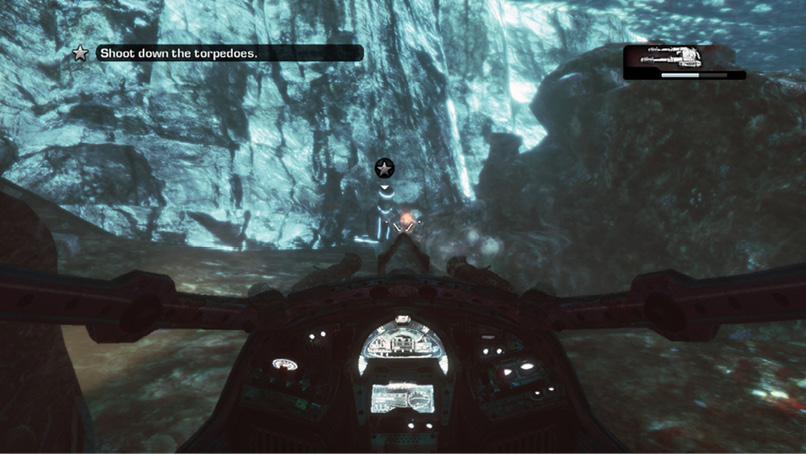
The submarine exits the whirlpool and enters a shallow section of the sea, where multiple seafloor-mounted turrets fire torpedoes. The torpedoes home in on the sub if you don’t blast them.
Target the torpedoes with rapid-fire attacks from your pod. Lead your targets slightly to account for their movement and the speed of your energy pulses. Aim for the turrets when you spot them, but only after you first shoot down all of the torpedoes. These particular turrets do not fire at the sub if it sails past them.
 Destroy the Door
The only way forward is through the large, metal door ahead. Fire at it to blast a hole in it before the submarine gets too close.
 Destroy the Turrets
You’re almost to Azura, but the submarine must first navigate a very cramped space with lots of torpedoes. Fire at the torpedoes. Then aim at the turrets to ensure a second torpedo barrage doesn’t launch.
The last barrage contains over a dozen torpedoes from two separate turrets. Hammer away at them with rapid-fire attacks. Fend off this last volley to make it to Azura. You must destroy these turrets before the submarine draws even with them. Otherwise, they fire an endless barrage of torpedoes at pointblank range!