
Gears of War 3 Guide Campaign Walkthrough Act 2
Chapter 4: Trench Run
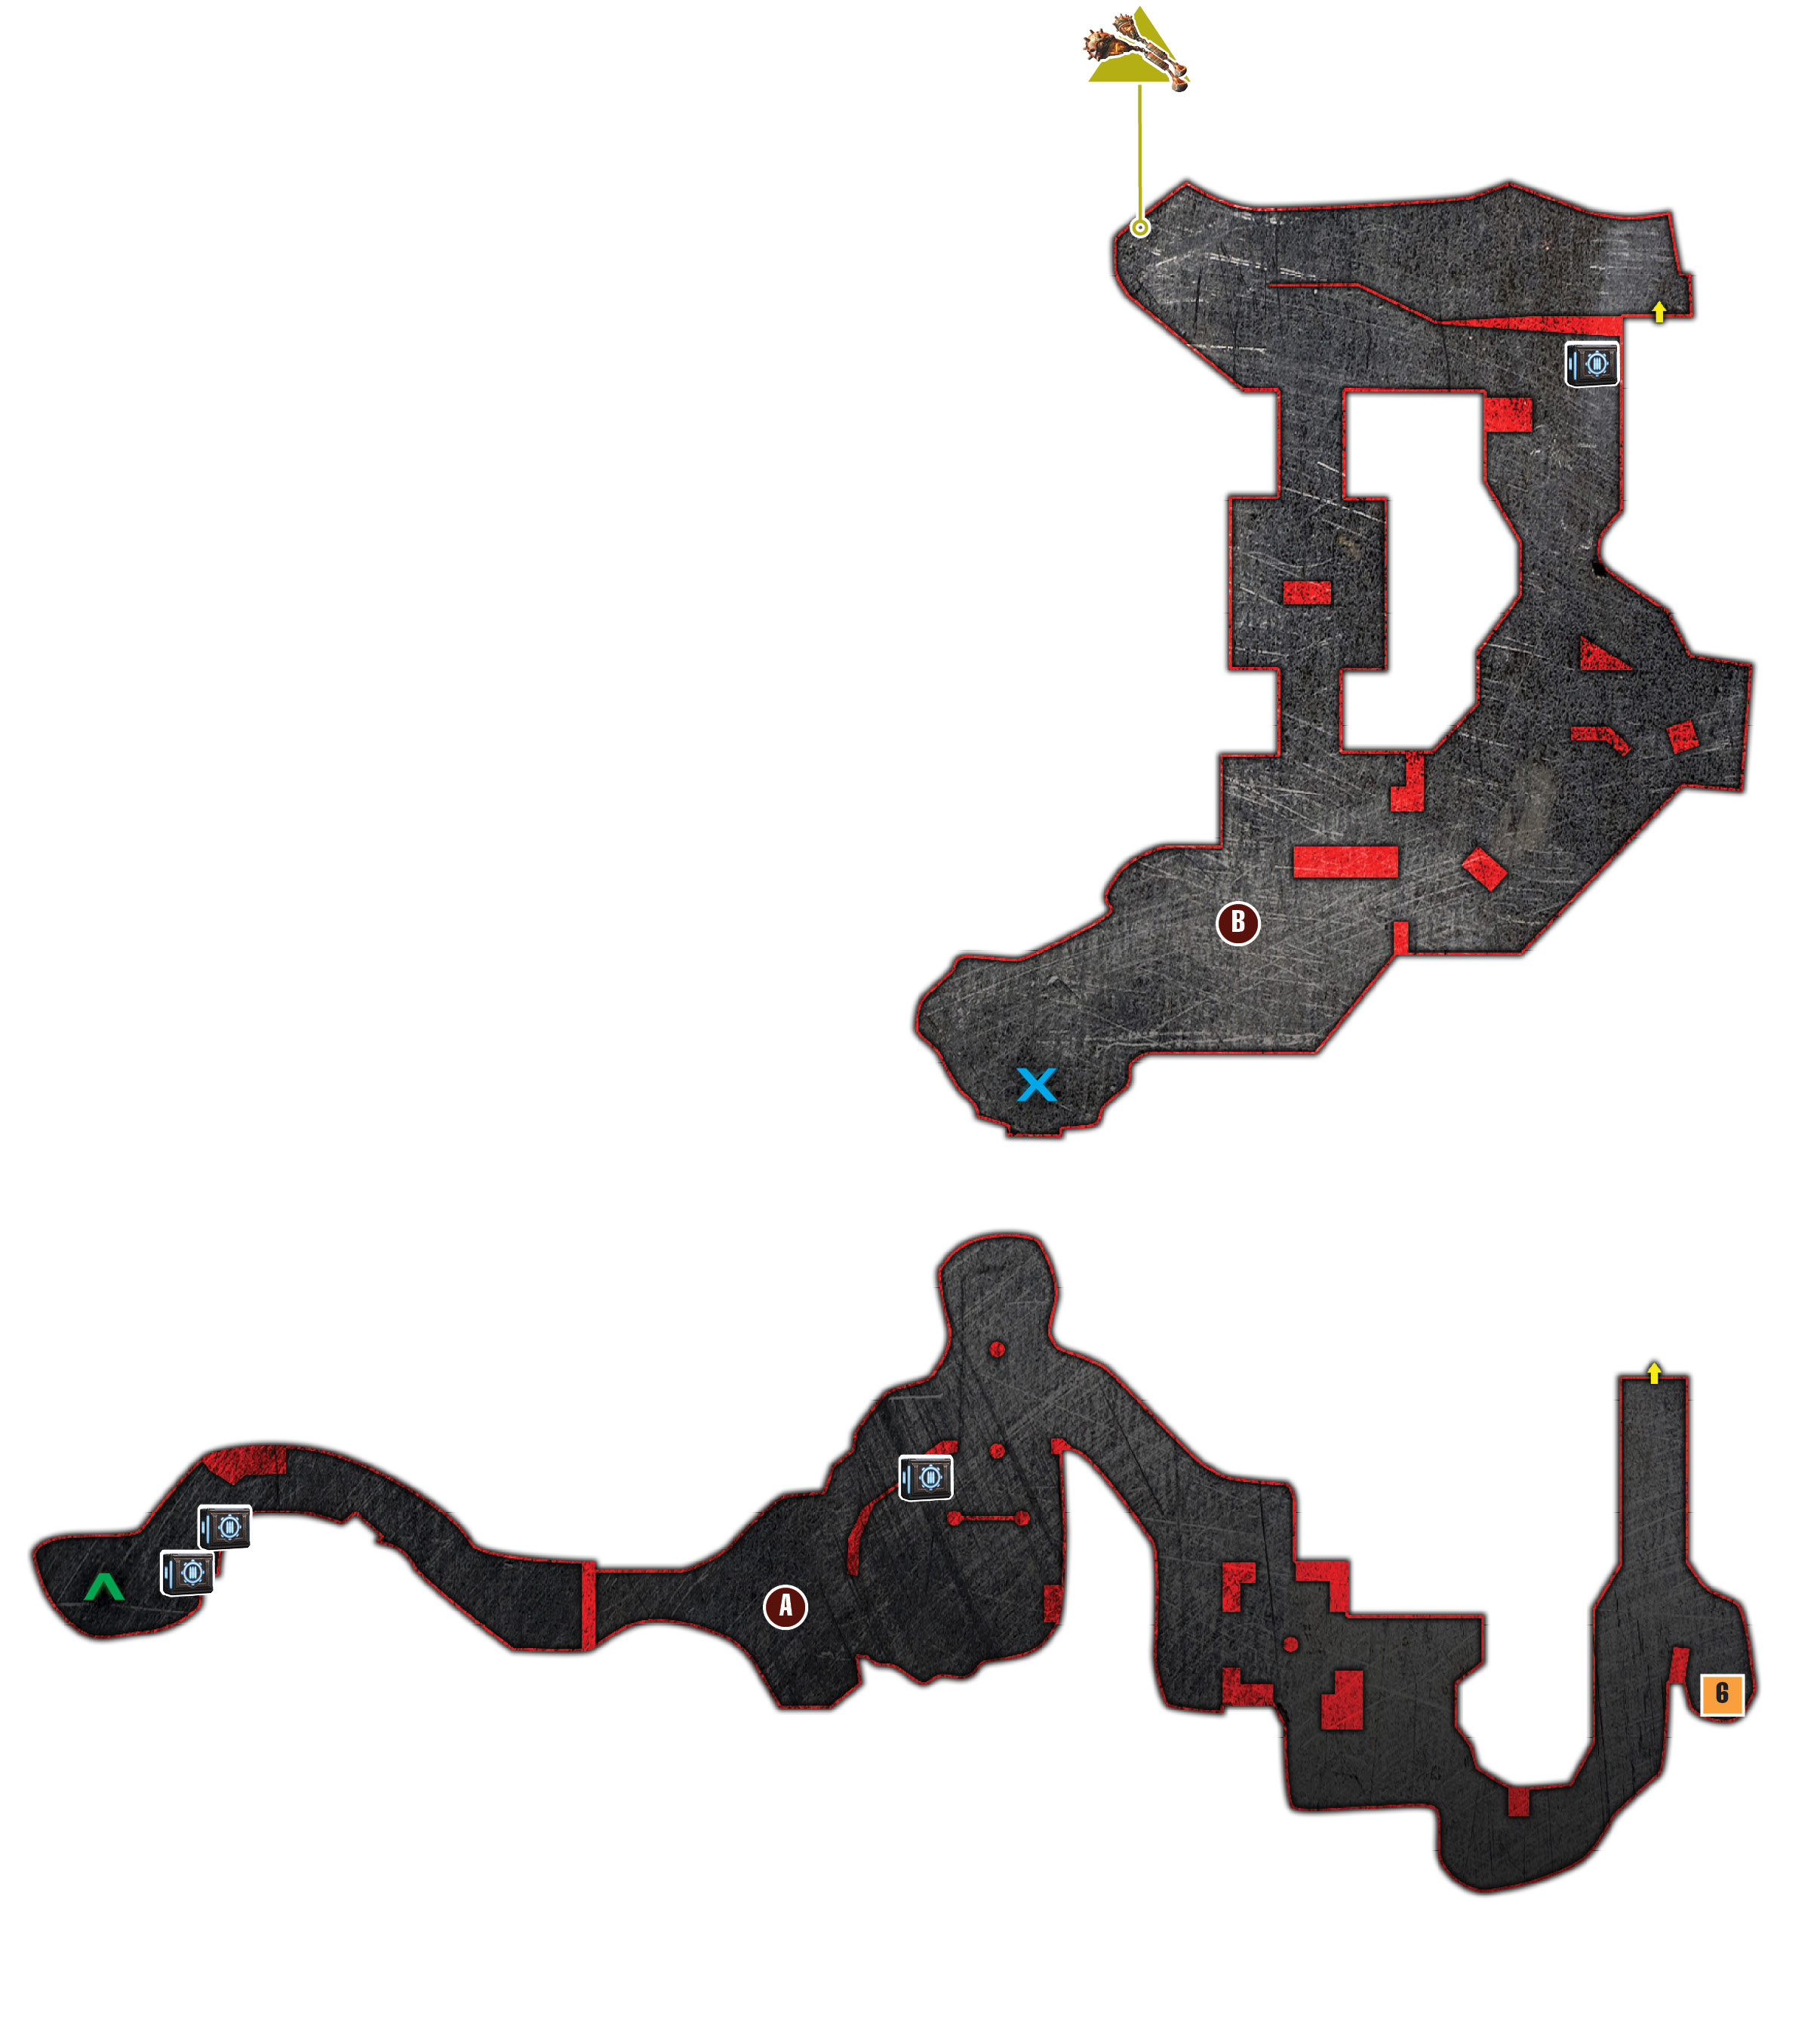
Objectives
Collectibles
|
 Find a way out of the bunker system.
 Get to the Gas Barge landing tower.
 Use the Tickers to your advantage.
 Defeat the Corpser.
 Kill the Hatchlings.
 Escape the Mother’s lair.
The hunt for airborne passage to Anvil Gate has pushed the Gears deeper into enemy territory. Their trip across the Seran Deadlands has led them into a sprawling Locust stronghold. The Locust’s attempt to replicate their grand hollow on the surface is as impressive as it is terrifying. Clearly, the Gears are dealing with a species that is anything but teetering on the edge of extinction.
Locust Hive
 Find a Way Out of the Bunker System
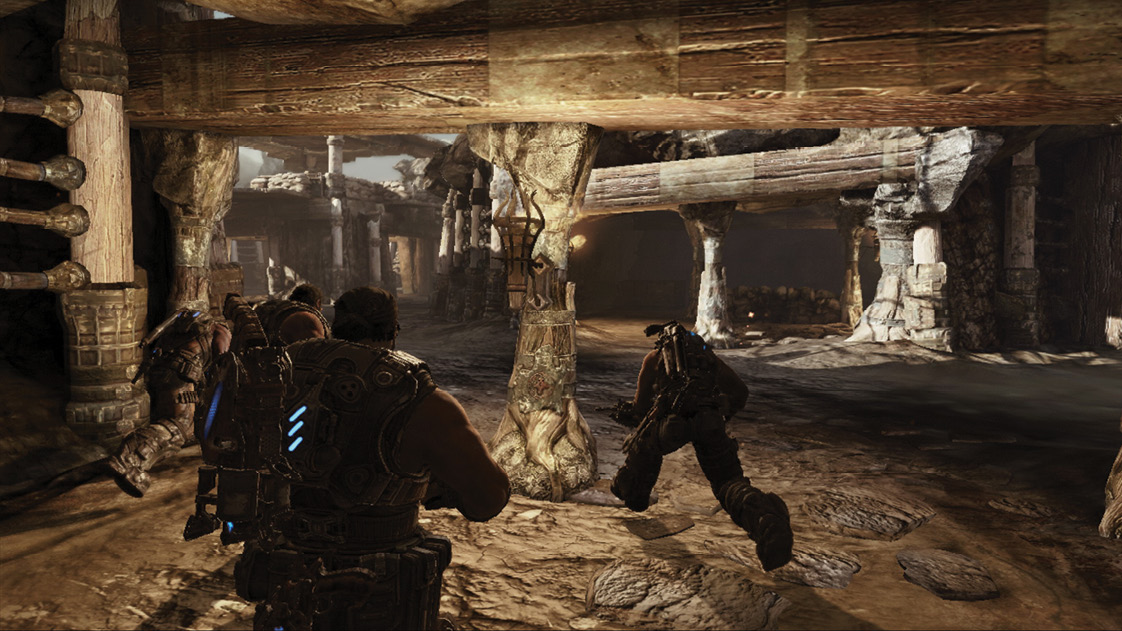
The lever mechanism in the stronghold opened a gate to a vast bunker system. And where there are bunkers, there’s typically mortar fire! A nearby Gas Barge rains down mortar fire all over the trenches. The Gears have no choice but to sprint from bunker to bunker, starting with the one straight ahead. Get deep inside bunker and wait for the salvo’s explosions to cease—don’t stand near the exits. Quickly sprint to the next bunker, from there to third, and then to the fourth.
 Get to the Gas Barge Landing Tower
The Gas Barges appear to be landing near the tower in the distance—this is the COG’s chance! First they must cross a series of elevated walkways.
The elevated walkway beyond the bunkers is roughly square in shape and provides flanking opportunities. Grab the Frag Grenades on the right. Quickly throw one at the Locust directly ahead before they toss an Incendiary Grenade. Flank to the left, allowing the rest of the squad to head straight for the Locust. Watch out for Tickers in this area—melee them to knock them upside-down before they detonate.
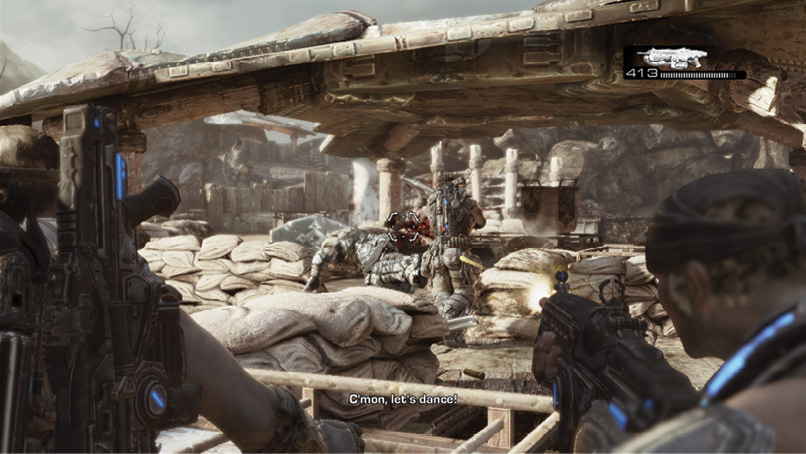
Use the Hammerburst and Frag Grenades as you flank left to take out the Locust on that side of the fort. Continue to sweep around to cut down the ones where Baird and the others were.
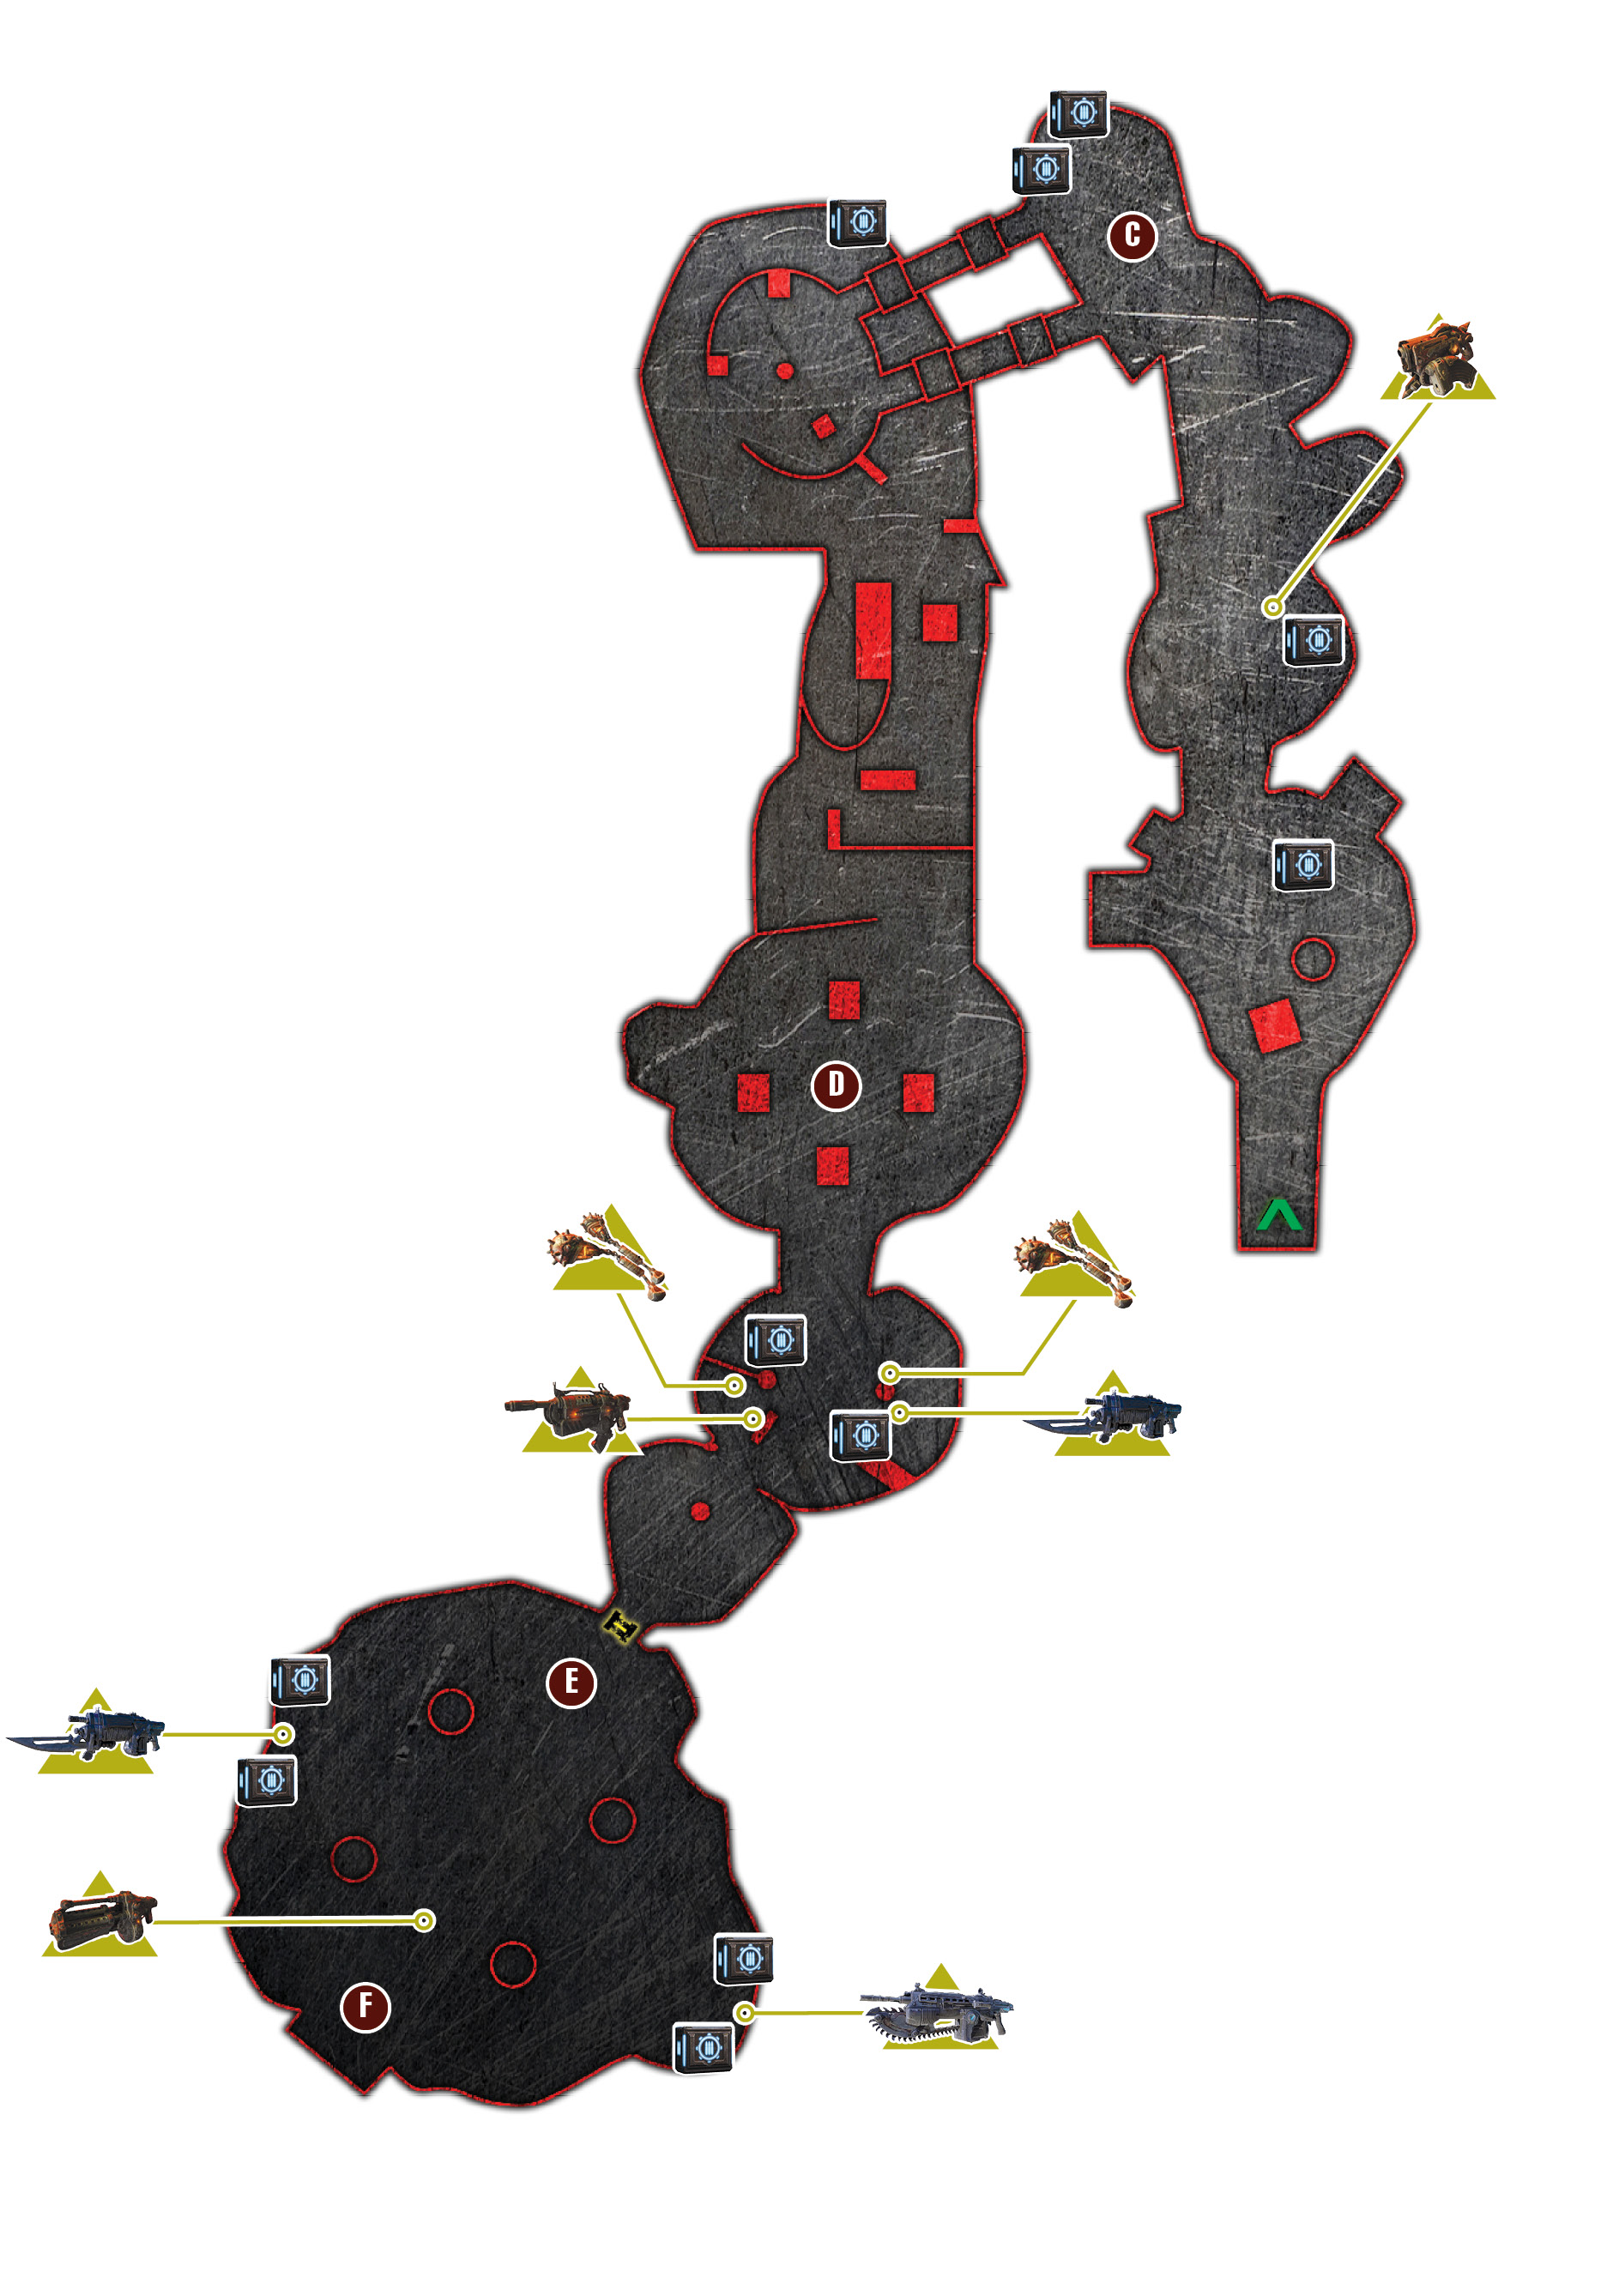
Raise the gate to go back inside—the COGs all agree that anything is better than another open-air run through mortar fire! The men enter a large room ringed with Ticker cages. A number of explosive Tickers and Wild Tickers are in the area. Stick to the right side, and ready a Frag Grenade for the Savage Drones and Boomer that enter from across the room. If you can target the Boomer’s blind side, this is a prime time to use the Sawed-Off Shotgun against it. On your way out, load up on ammunition, including ammo for the Digger Launcher and Gorgon Pistol.
 Use the Tickers to Your Advantage
The path leads deeper into the Locust complex, to what can only be described as a Ticker assembly plant. Tickers dangling from overhead cages swing and move along overhead tracks as Locust hurry to outfit them with explosives. The COGs enter on one side of a seemingly bottomless room, connected to the other side by two walkways leading across the pit. Many Savage Drones and Therons are in this area. To clear the way, shoot the suspended cages to drop the Tickers down onto the Locust.
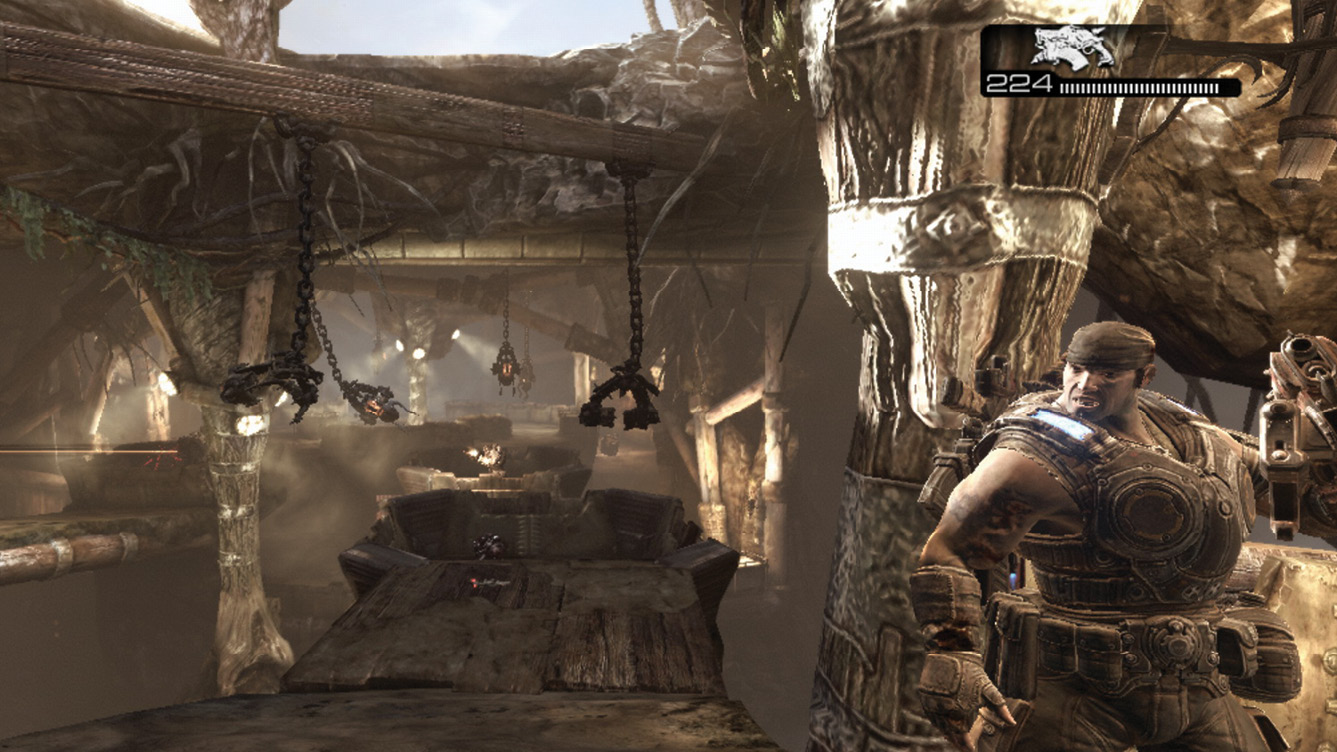
Maintain the higher ground and take cover near the right. Beware of Grenadiers tossing Incendiary Grenades from the lower landing, beyond the narrow bins. Take them out with a Frag Grenade or Hammerburst if you can’t drop a Ticker on them. Stay high and don’t advance until you defeat all of the visible enemies, creating a temporary shortage in the Ticker supply.
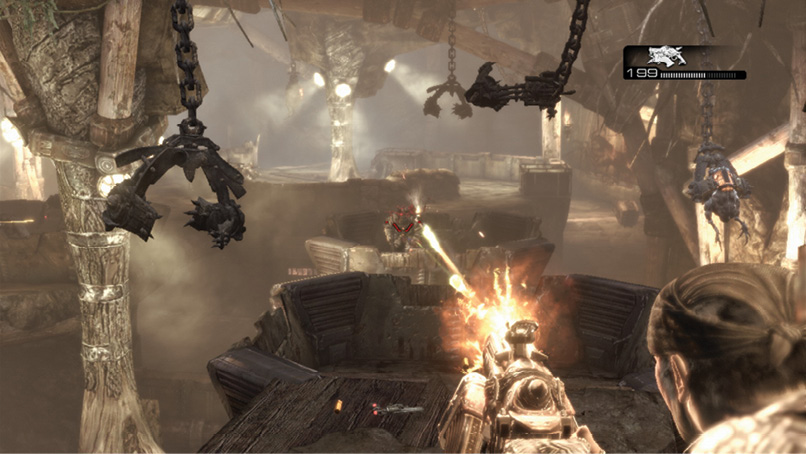
Advance to where the Grenadiers were, near the stairs leading down to solid ground on the left. Savage Therons and Drones lie in wait beyond the two aisles leading uphill. Wait for the Ticker conveyance system to deliver more caged explosives, and shoot them open as they move above the Savage Therons.
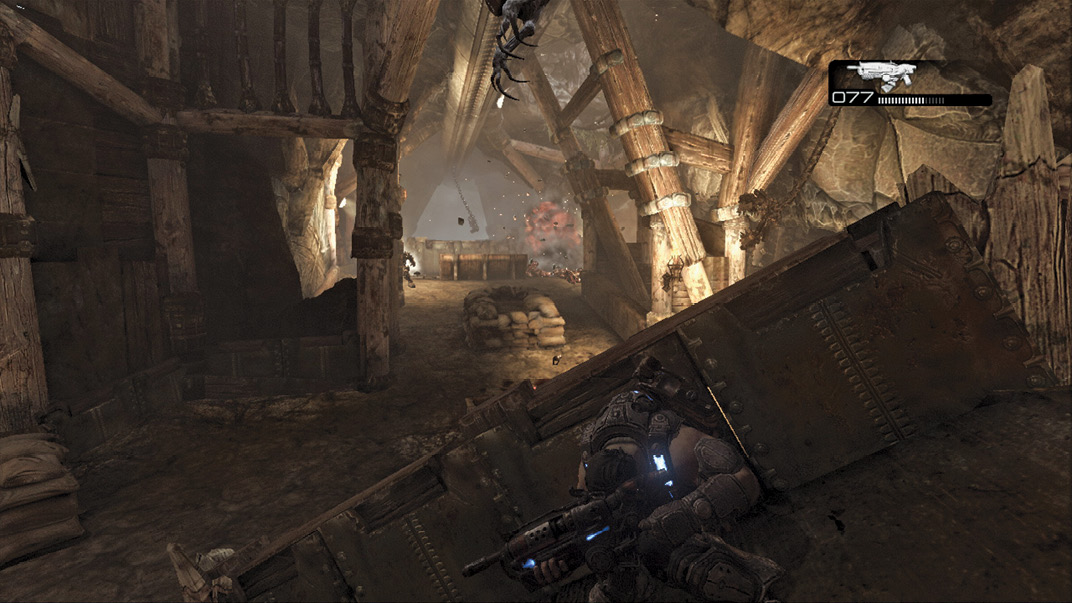
Hang back and wait for your squad mates to charge in from the left. Lend support fire from the upper level, and then descend to join them. Advance up the path, making sure you collect all available ammo before you exit the area.
 Defeat the Corpser
A juvenile Corpser attacks in the room beyond the caged Ticker area. Use your Hammerburst or Gnasher to blast its head whenever it rises above ground. Then side-roll to avoid its front leg attacks. Its legs are armor-plated, so wait for it to spread its legs and rear up before you open fire. Employ the same tactics you used against the Corpser you met shortly after you arrived at the Seran Deadlands.
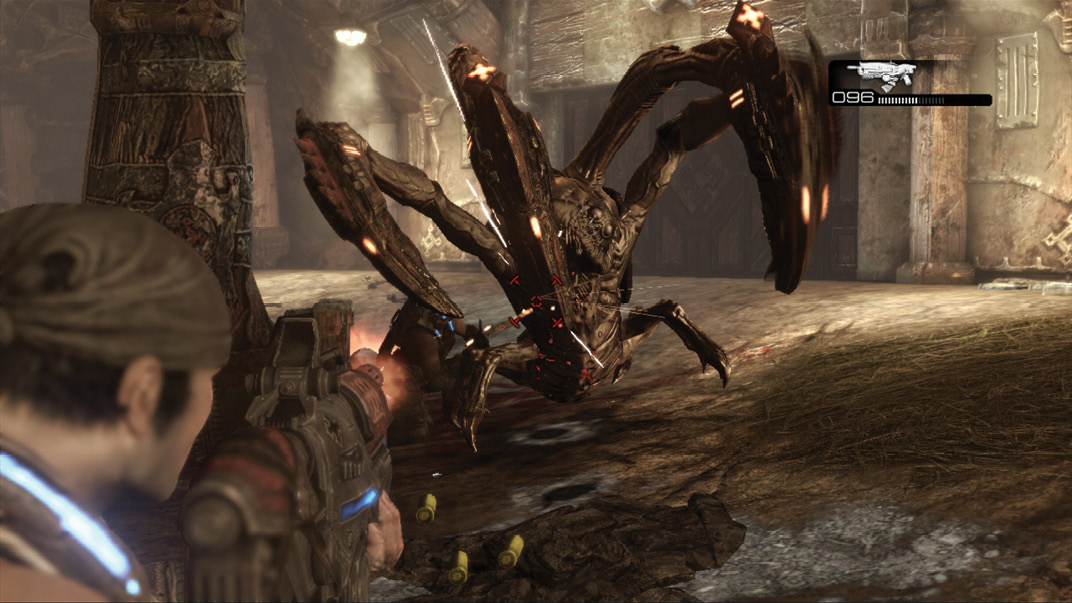
Multiple Savage Grenadiers and a Savage Butcher appear after the Corpser. Use the Sawed-Off Shotgun or Hammerburst, along with flanking maneuvers, and load up on power weapon ammo. It’s very important to collect your assault rifle of choice before you continue up the ladders to the next area. There are multiple Frag Grenade pickups and an abundance of ammo to grab before the ladder—don’t waste this opportunity to load up.
 Kill the Hatchlings
Delta is in a massive nest of Corpser eggs. First, one hatches, and then another, and another. When the eggs begin to hatch, quickly move straight across the cavern to collect the Boomshot.
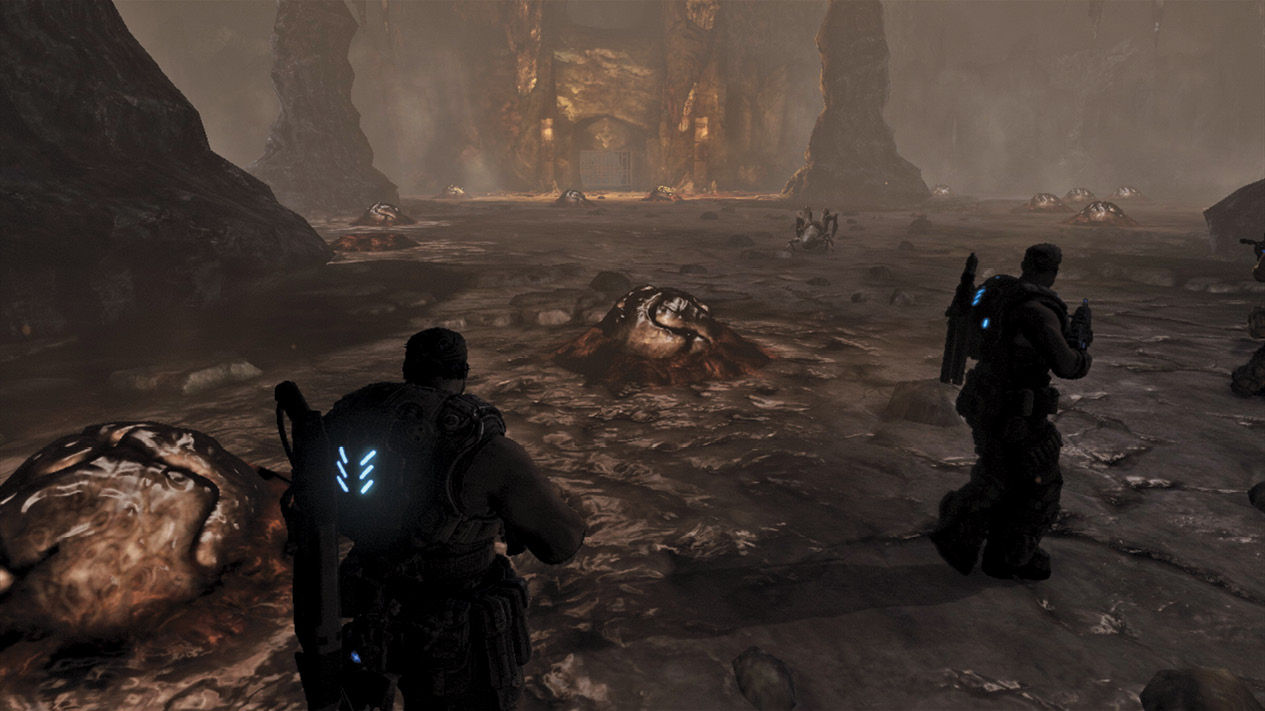
Switch to your assault rifle and pop each of the hatchlings with a burst of fire as it attacks. Don’t waste your power weapon ammo on them, as they die very easily. The same can’t be said for their mama…