
Gears of War 3 Guide Campaign Walkthrough Act 5
Boss Battle
 defeat the tempest
Tempest
It becomes obvious to Queen Myrrah that the only way to stop the Fenix family from potentially annihilating the Locust is to do it herself. The battle with Queen Myrrah’s pet Tempest occurs in stages. It appears alone at first, blasting the rooftop with its fire beam, not unlike the attack inside Azura Tower. Take cover on the far side of a column, and fire at it with guns. Aim for the Tempest’s mouth with the Lancer; the weapon’s superior fire rate and magazine size make it the ideal tool for this battle.
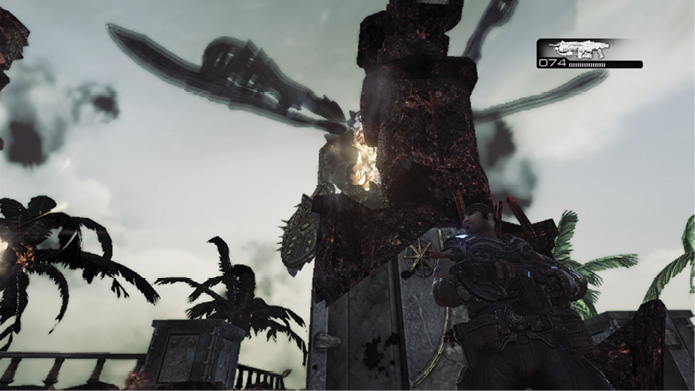
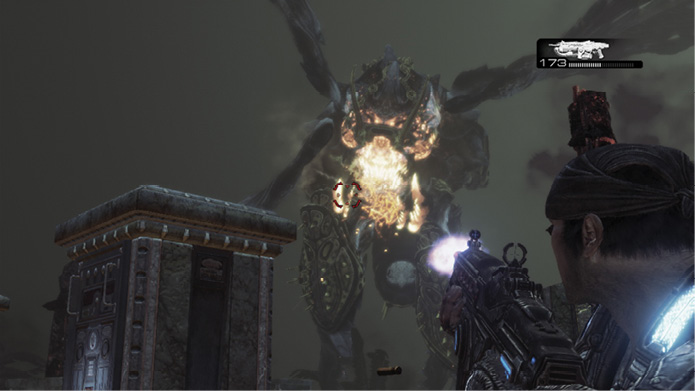
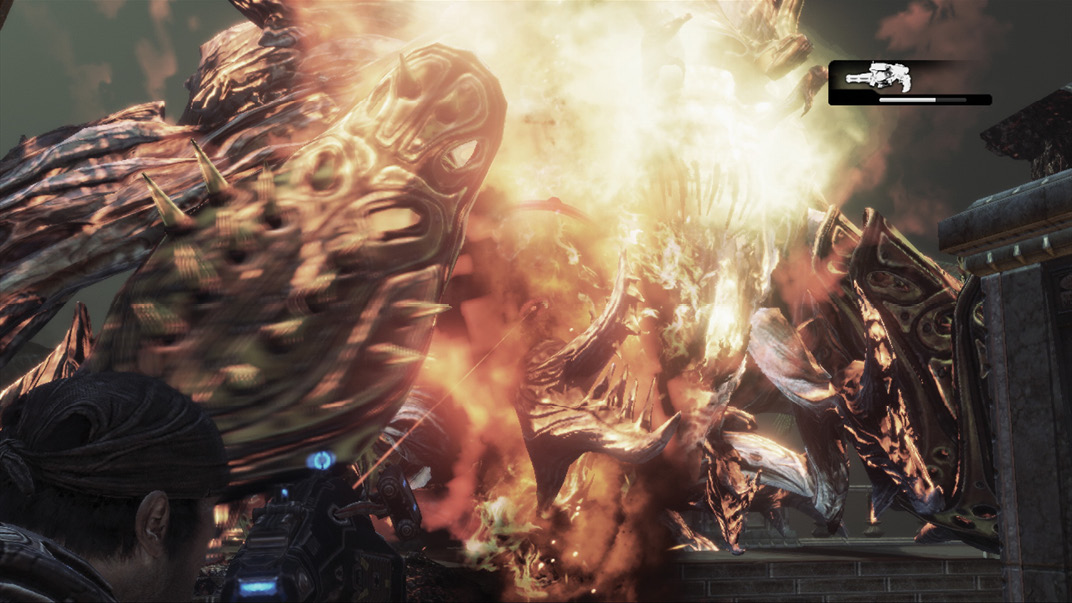
Continue firing at it until it falls to the roof. At this time, Adam raises multiple columns, two of which have a Hammer of Dawn on them. Grab a Hammer of Dawn and fire at the Tempest. Continue firing at it to push it off the roof—drain the Hammer with two full-length strikes. The Hammer of Dawn re-spawns after 30 seconds if you drop it or run out of ammo.
The Tempest reappears and lunges for the spire. Open fire on its back as it climbs. Aim for its pink jelly spots to inflict damage. The Tempest climbs higher, hoping to escape your weapon fire, only to get jolted by the electrical current atop the tower.
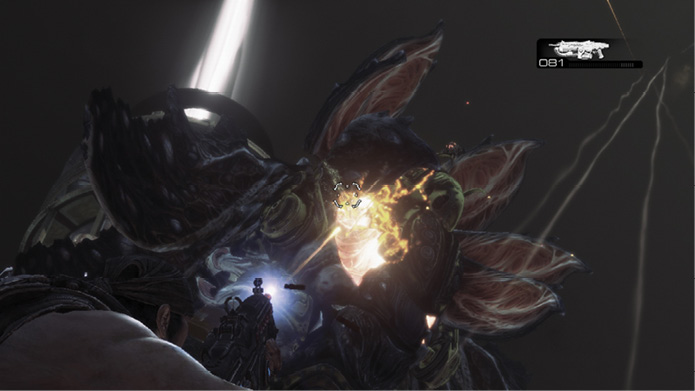
The battle’s second phase begins after the Tempest gets jolted atop the tower. Now you must fight the Tempest and avoid its death ray. You must also combat multiple Palace Guards and Shriekers. Shoot at the Tempest from cover between fire ray bursts. Pay close attention to your health situation, as the Shriekers and Palace Guards assault you from your flank. The other Gears do a very good job of defending Marcus while he focuses on the Tempest, but you must be careful.
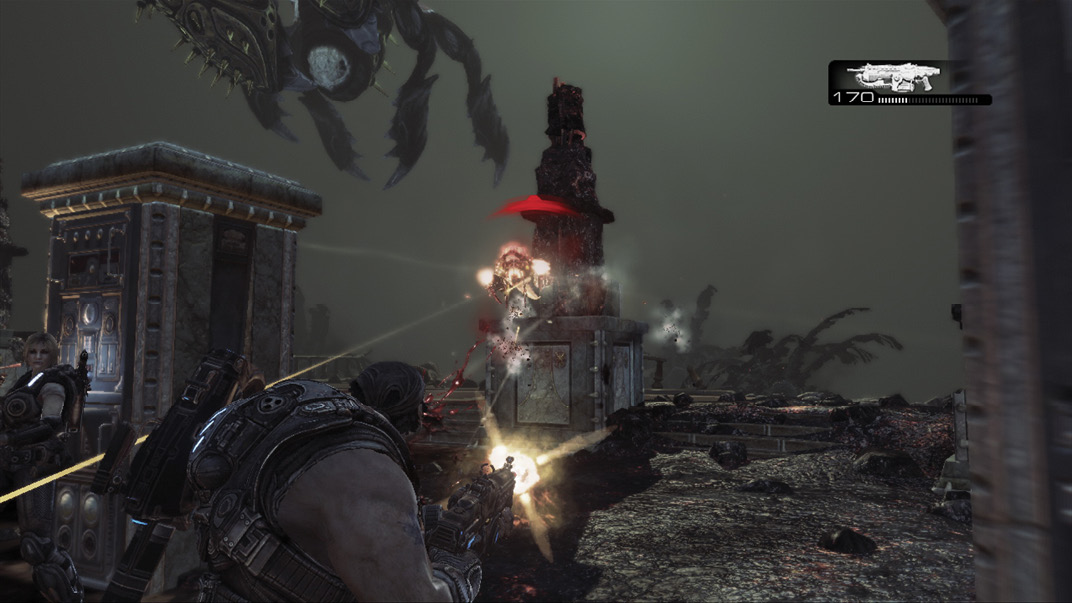
Knock the Tempest to the roof again and gather fresh Hammer of Dawn ammo. You need frequent ammo pickups for the Lancer as well. Deploy the Hammer of Dawn’s satellite attack to knock the Tempest off the roof a second time. Continue using the columns for cover while you fire at her with the Lancer to knock her to the roof. Then switch to the Hammer of Dawn to knock the Tempest off the roof. Keep this up until the creature again lands atop the spire. Beware the Shriekers that emerge from the Tempest’s body. Continue shooting the Tempest’s pink weak points to chase it further up the tower to the high-voltage pinnacle.
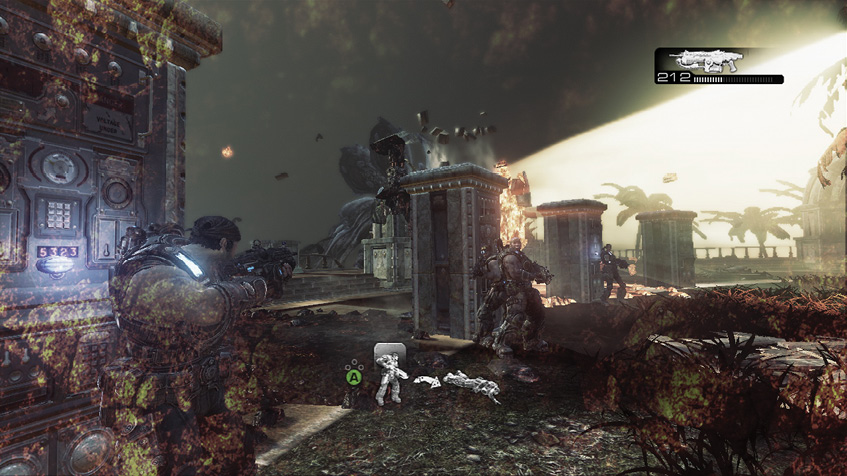
If you’re successful—and efficient—during every Tempest encounter, then you only have to knock it off the tower with the Hammer of Dawn four or five times. The Tempest often leaps for the tower a second time after the Hammer of Dawn knocks it off the roof three or four times. The battle’s third phase—after the second lunge for the spire—is similar to the previous two. The only difference is that the Tempest moves much more erratically. Continue attacking with the Lancer to knock it out of the air, and then finish it off with the Hammer of Dawn. Congratulations, you’ve just completed the epic campaign of Gears of War 3.