Gears of War 3 Guide Campaign Walkthrough Act 5
Chapter 4: Threshold
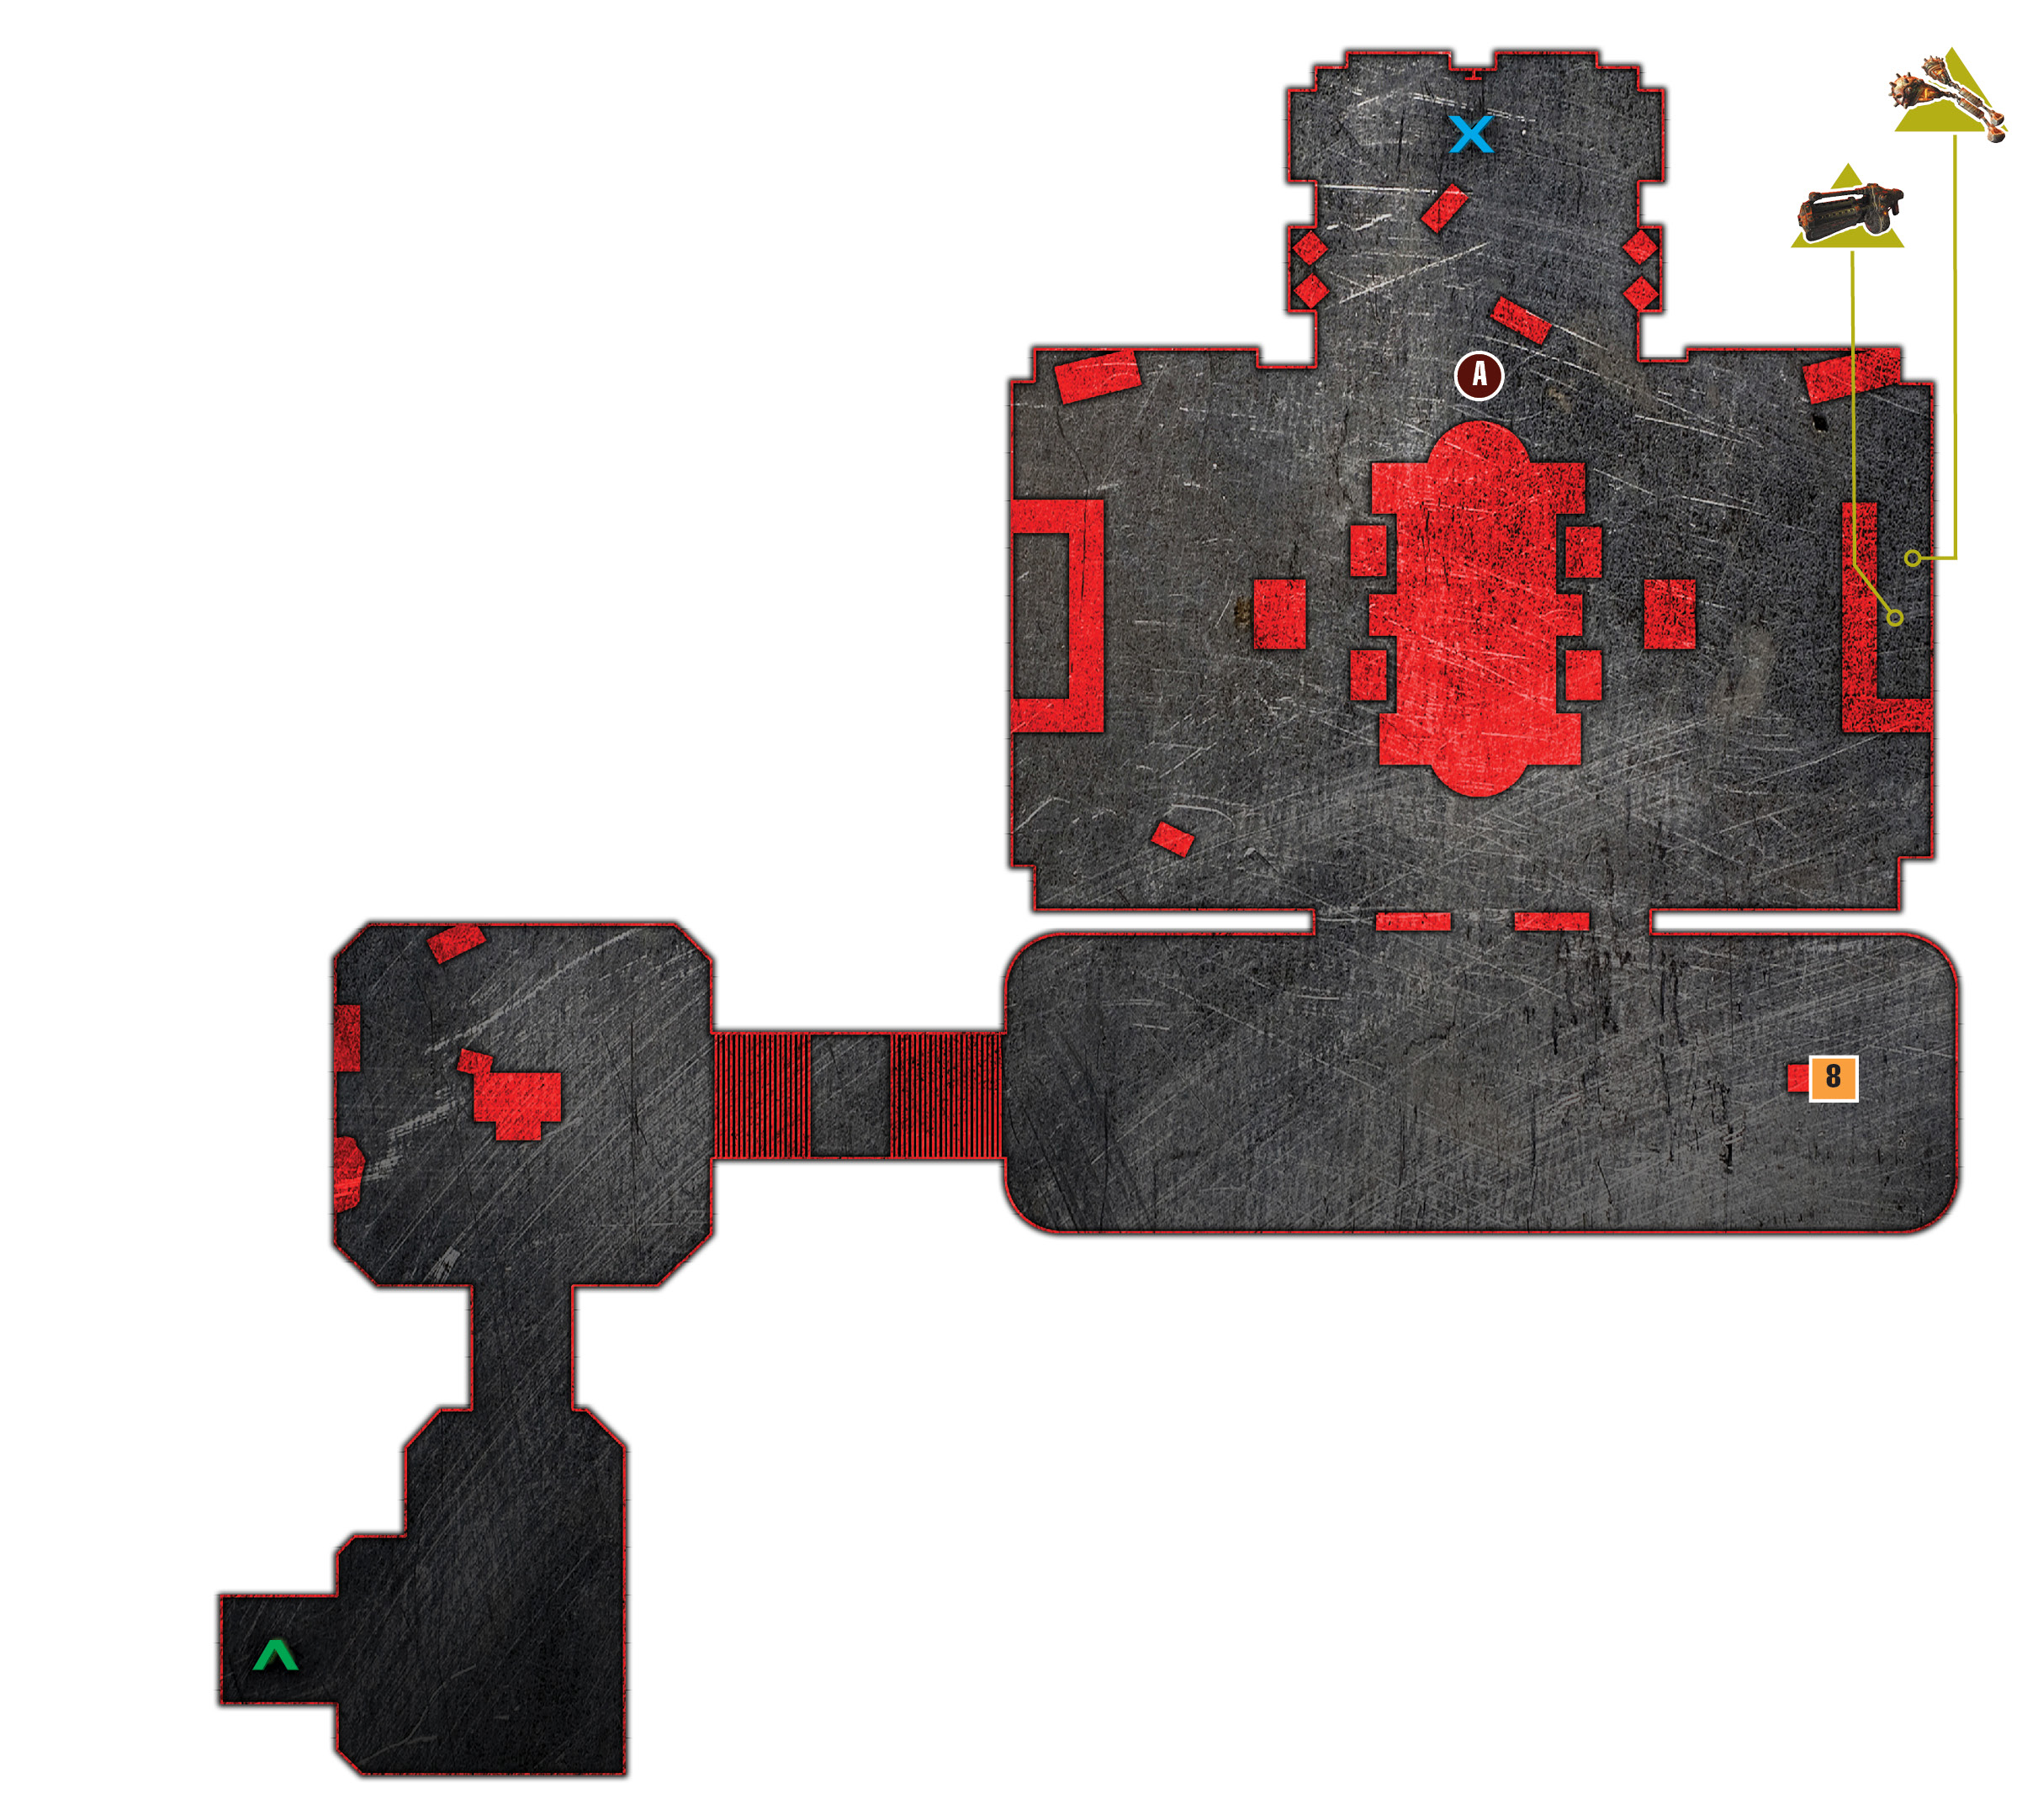
Objectives
Collectibles
|
 Reach the tower.
 Take out the
  Make your way to the tower entrance.
 Defend Jack from the
  Memorial Announcement
 Announcement
 COG Tag
With the Siege Beasts destroyed and the reinforcements moving into position around Azura Tower, Marcus can at last lead the charge on the building where his father is believed to be held. All that stands between them and the main tower is an elevator ride and an elaborate courtyard beyond.
Hotel Lobby
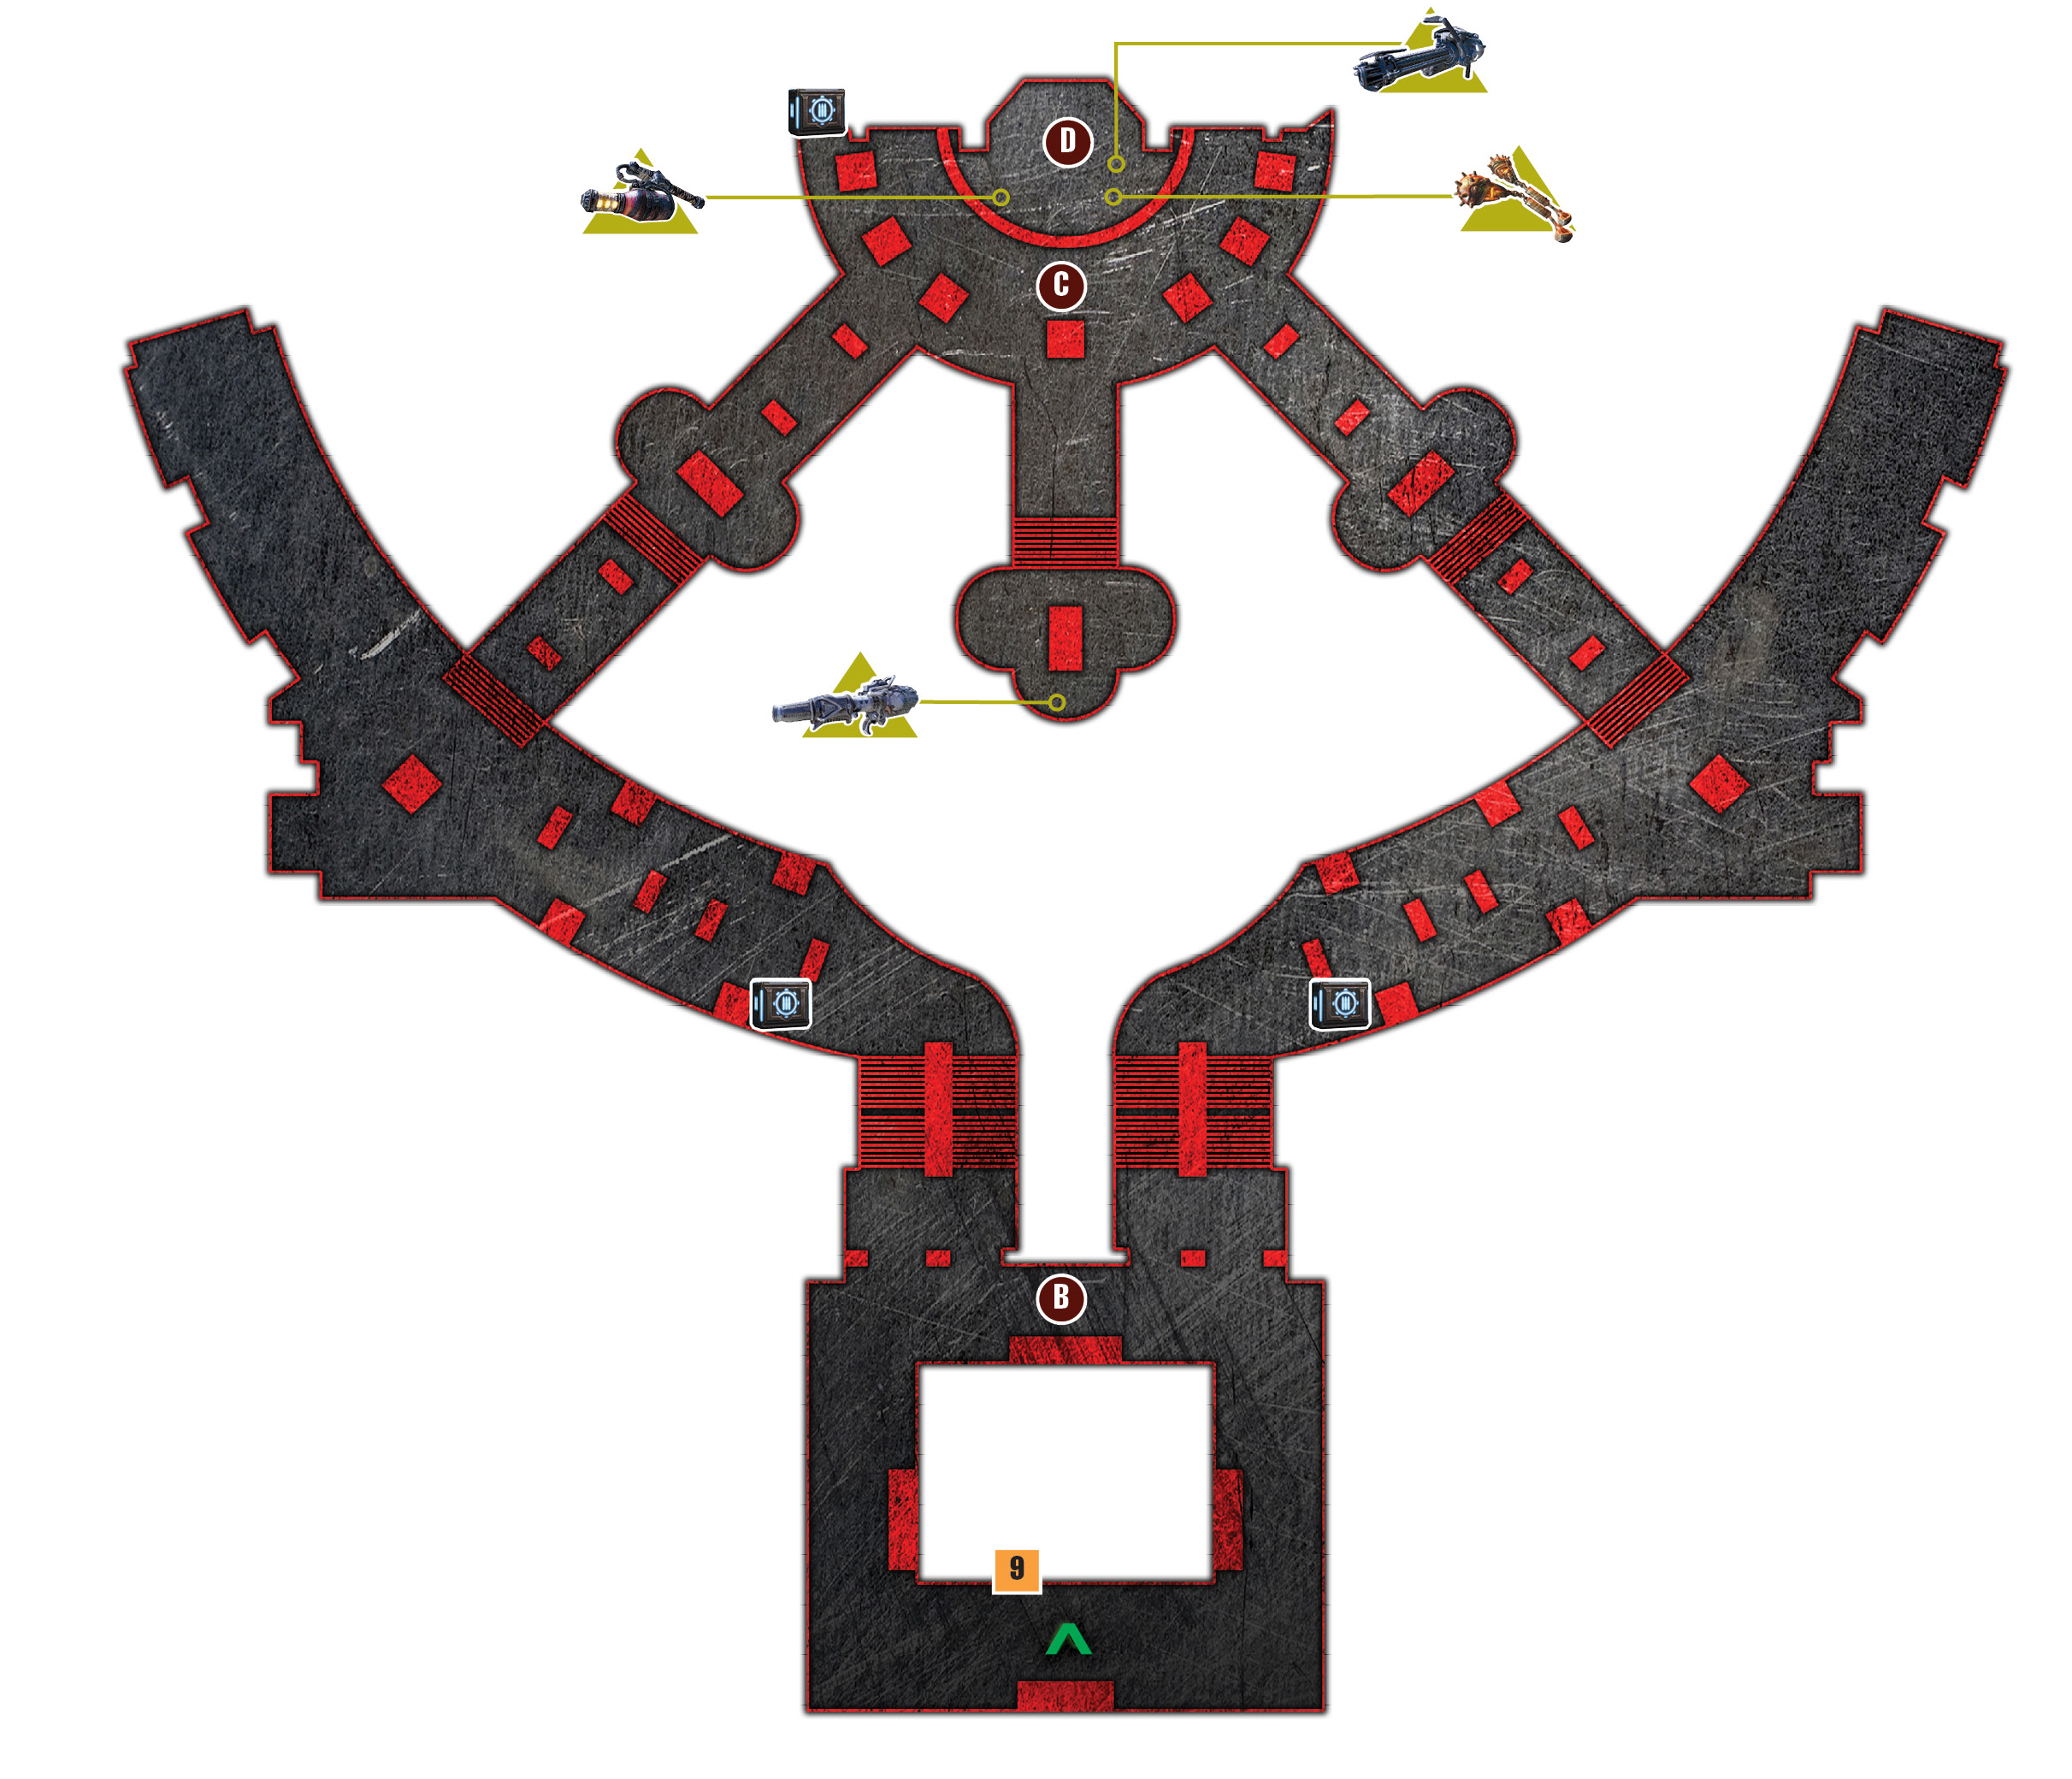
 Reach the Tower
The squad makes their way into the main hotel lobby at Azura. The opulence festooned with blood and corpses creates a surreal ambiance. Savor the area’s calm, as this is the last bit of quiet the squad encounters until their mission is complete. Cross the sprawling hotel lobby to the elevators and press the call button. Ride the elevator up to the floor above.
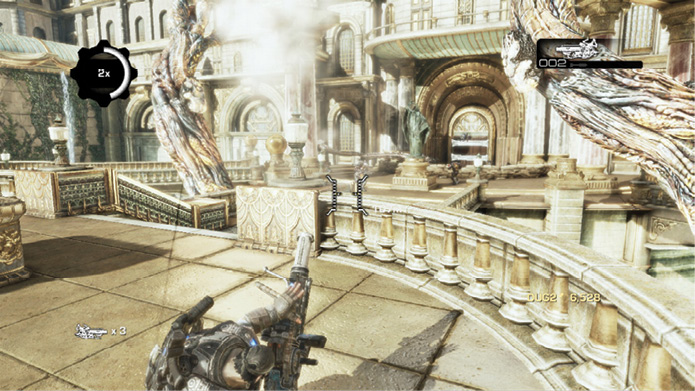
Proceed around the corner to the doors that lead out to the fountains located between the hotel and the primary tower. Two independent paths lead around the fountains, one from each door. Regardless of which one you choose, the outcome is exactly the same. Head left or right—the choice is yours.
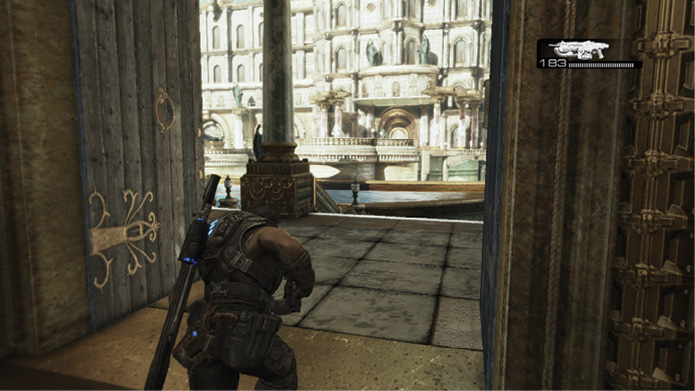
 Take Out the Locust Guarding the Tower Entrance
Multiple Palace Guards and a Bloodmount attack as soon as the squad exits the hotel. Furthermore, a Palace Guard mans the Mortar on the center island! Stay high on the stairs near the interior hallway, under the roof’s protection. Don’t move from this spot until you kill the first wave of Palace Guards and the Bloodmount.
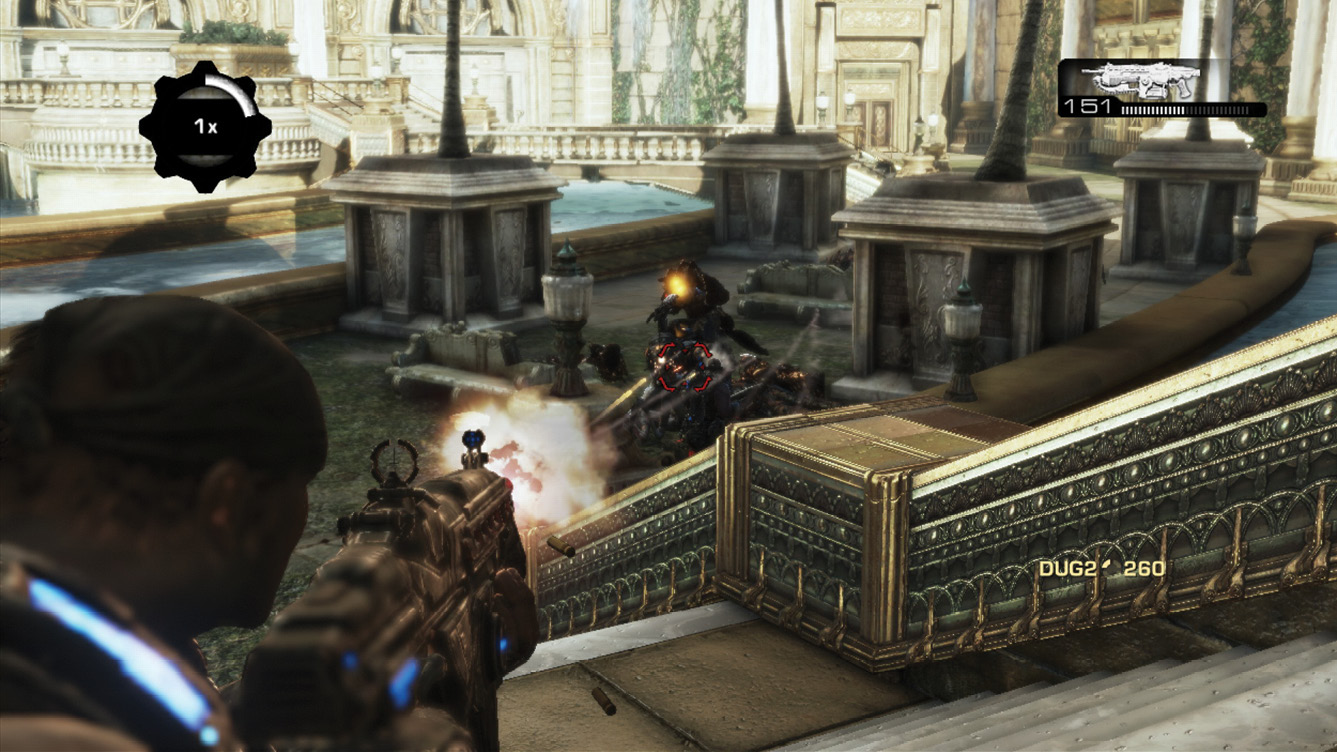
Use explosives and blind fire to mow down the Bloodmount as fast as you can. If you still have a Boomshot from the previous chapter, then use it. There aren’t any explosives to pick up here, so use what you have.
Continue around the walkway to the stairs that lead up to the tower on the other side of the fountain. Another Bloodmount attacks here, but you should have a Torque Bow to wield against it. Collect ammo from the fallen Torque Bows and advance past the stairs, far outside the Mortar’s range. Fend off Armored Kantus and Bloodmount from afar.
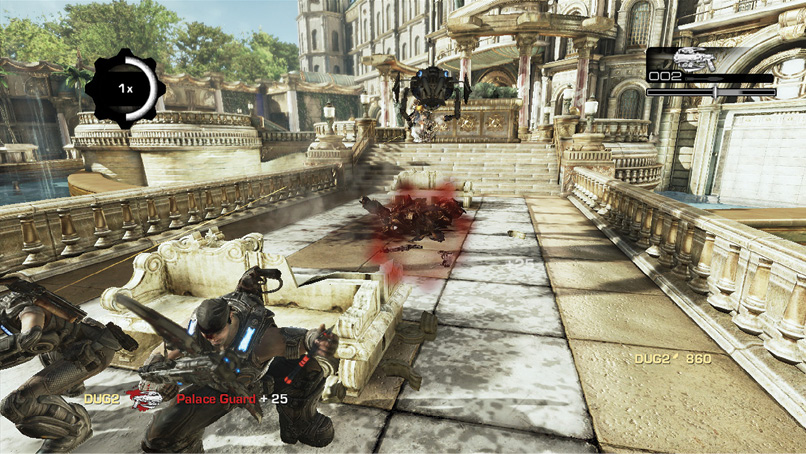
Try to take out the Locust with the Mortar from the stairs. Otherwise, you have to charge the Mortar position carefully. The Locust drops the Mortar as soon as you make a dash toward its position.
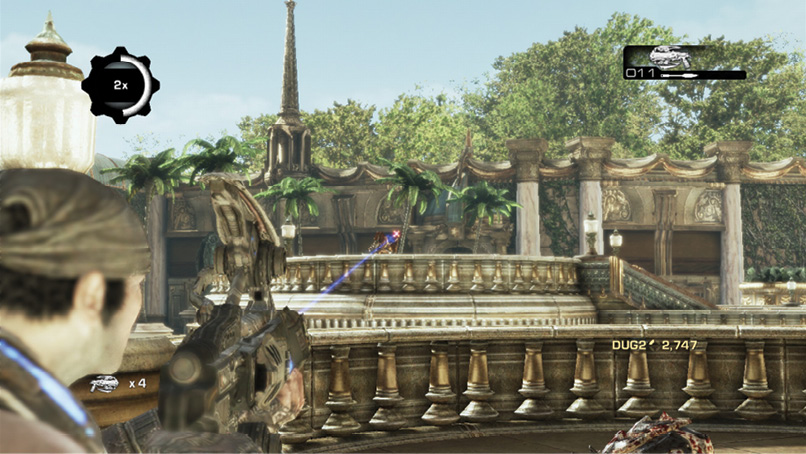
 Defend Jack from the Lambent Threat
The Lambent have made it to Azura!
Two Lambent Stalks appear, one on either side of the bridge leading to the Mortar. One Lambent Stalk spawns a Drudge and Dark Drones, while the other deploys a Gunker. The Gunker is your top priority. Leave the others for your squad mates to handle while you take on the Gunker.
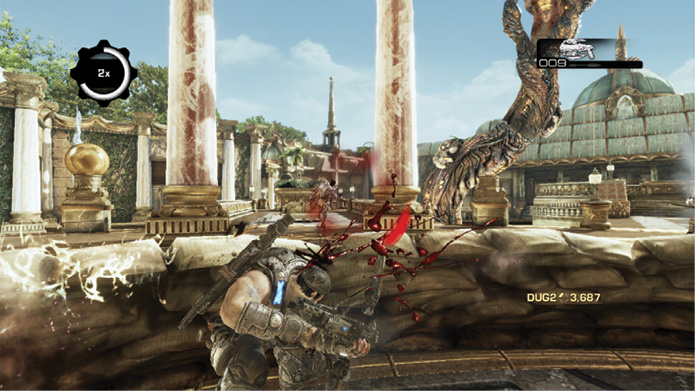
Lob your remaining grenades at the Gunker. Then quickly mantle the sandbags and sprint for the Mortar. Fire the Mortar at the Gunker, then turn and fire it to the other side where the Drudges are. Stay behind cover to protect against the Drudge mutations. Use up the Mortar’s remaining volleys. Then finish them off with the assault rifle or Torque Bow.