
Tales of Zestiria Guide Walkthrough Part 4: The Duty of the Shepherd
Pendrago, the Blessed Capital (2)
Revenge and Redemption
Pearloats Pasture
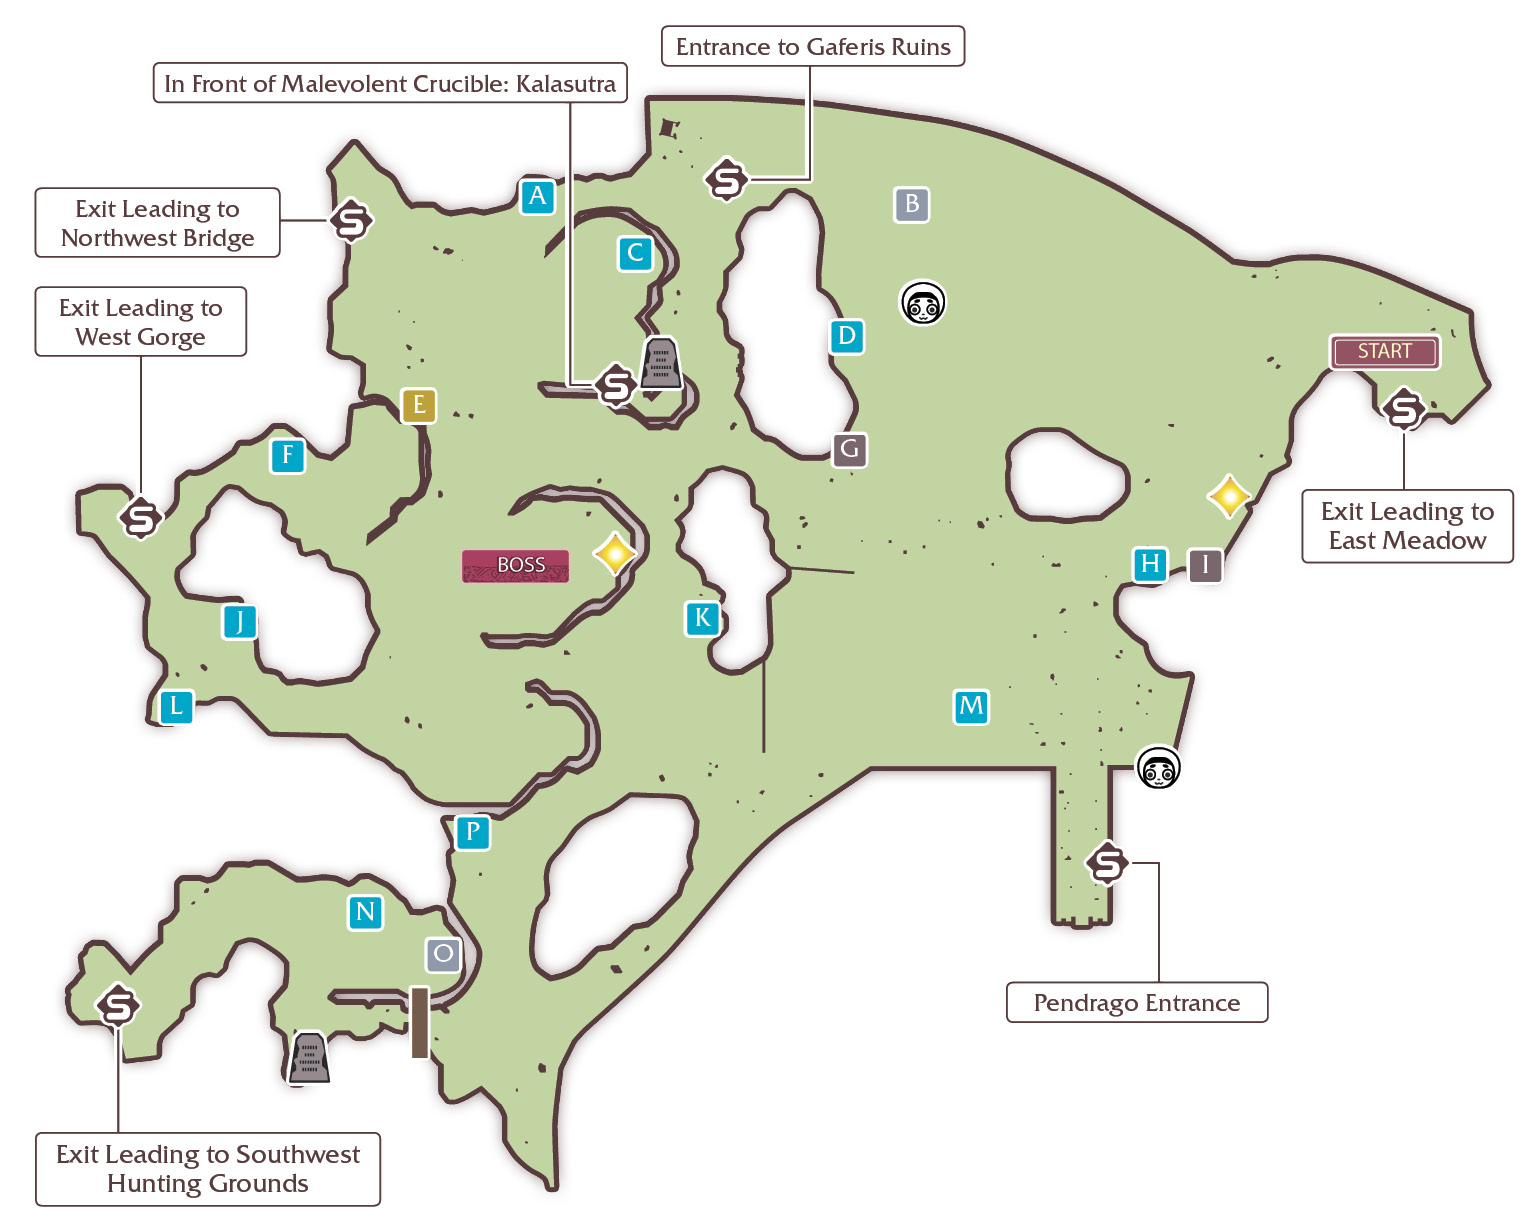
ITEMS
 |
Verbena |
 |
Shiba Inu Ears |
 |
Life Bottle |
 |
Rosemary |
 |
Black Stuff |
 |
Saffron |
 |
Spiked Shoes |
 |
Chamomile |
 |
Peach Gel |
 |
Sage |
 |
Cheesecake |
 |
Wind Ring |
 |
Sharpened Needle |
 |
Lavender |
 |
4500 gald |
 |
Peach Gel |
BOSS
Zaveid  | |
|---|---|
| Level | 42 |
| HP | 11,325 |
| Link | — |
| Weakness | — |
| Resistance |   |
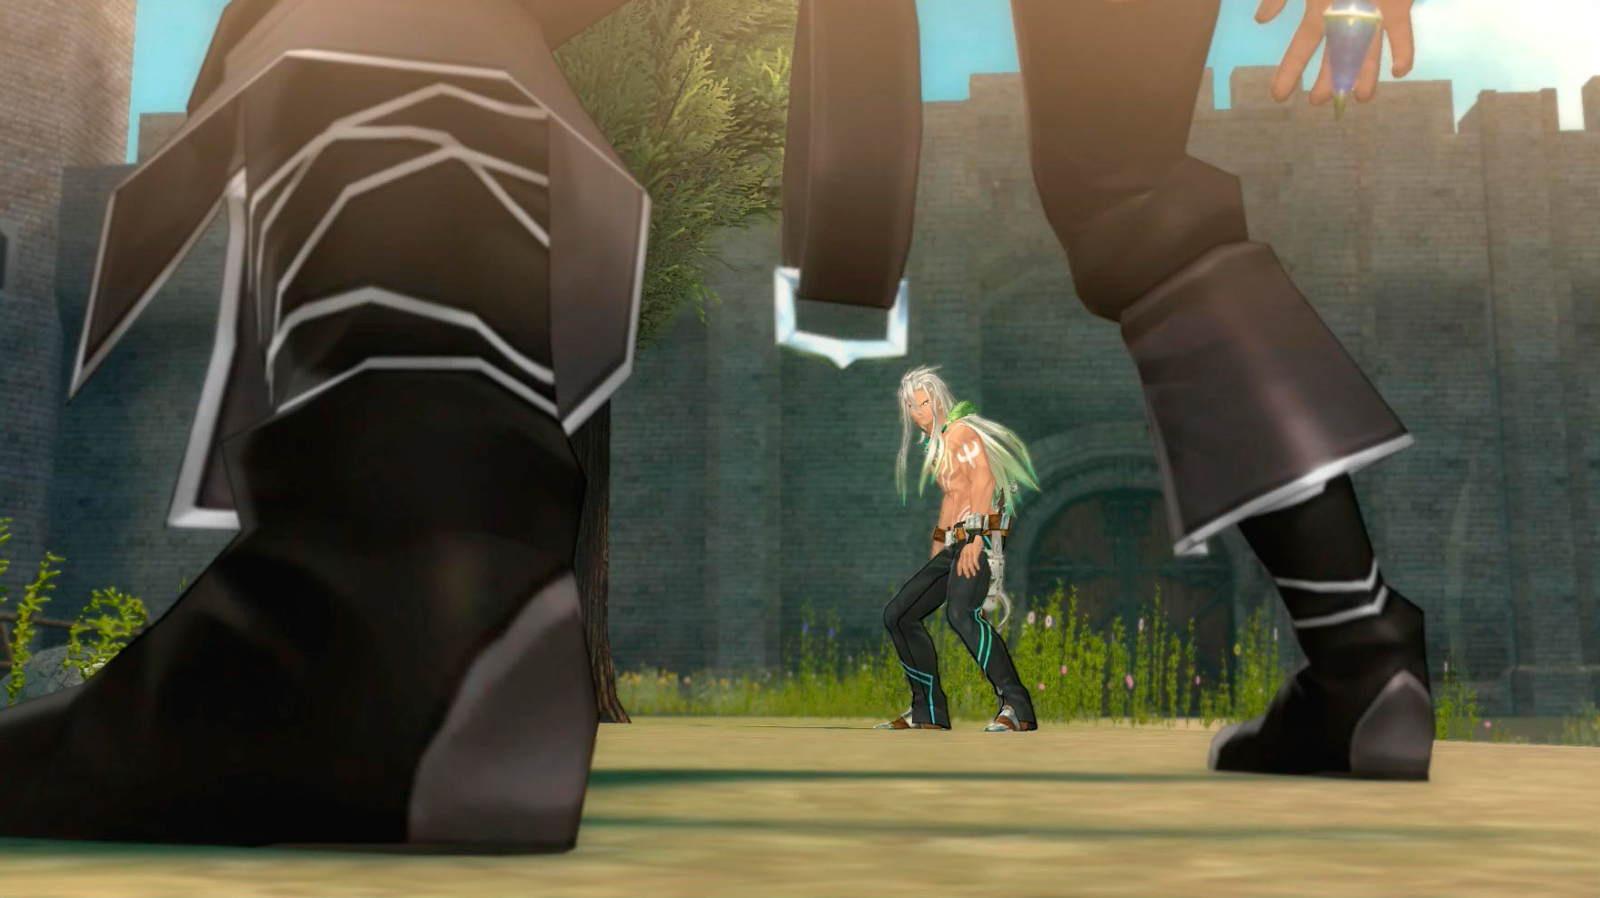
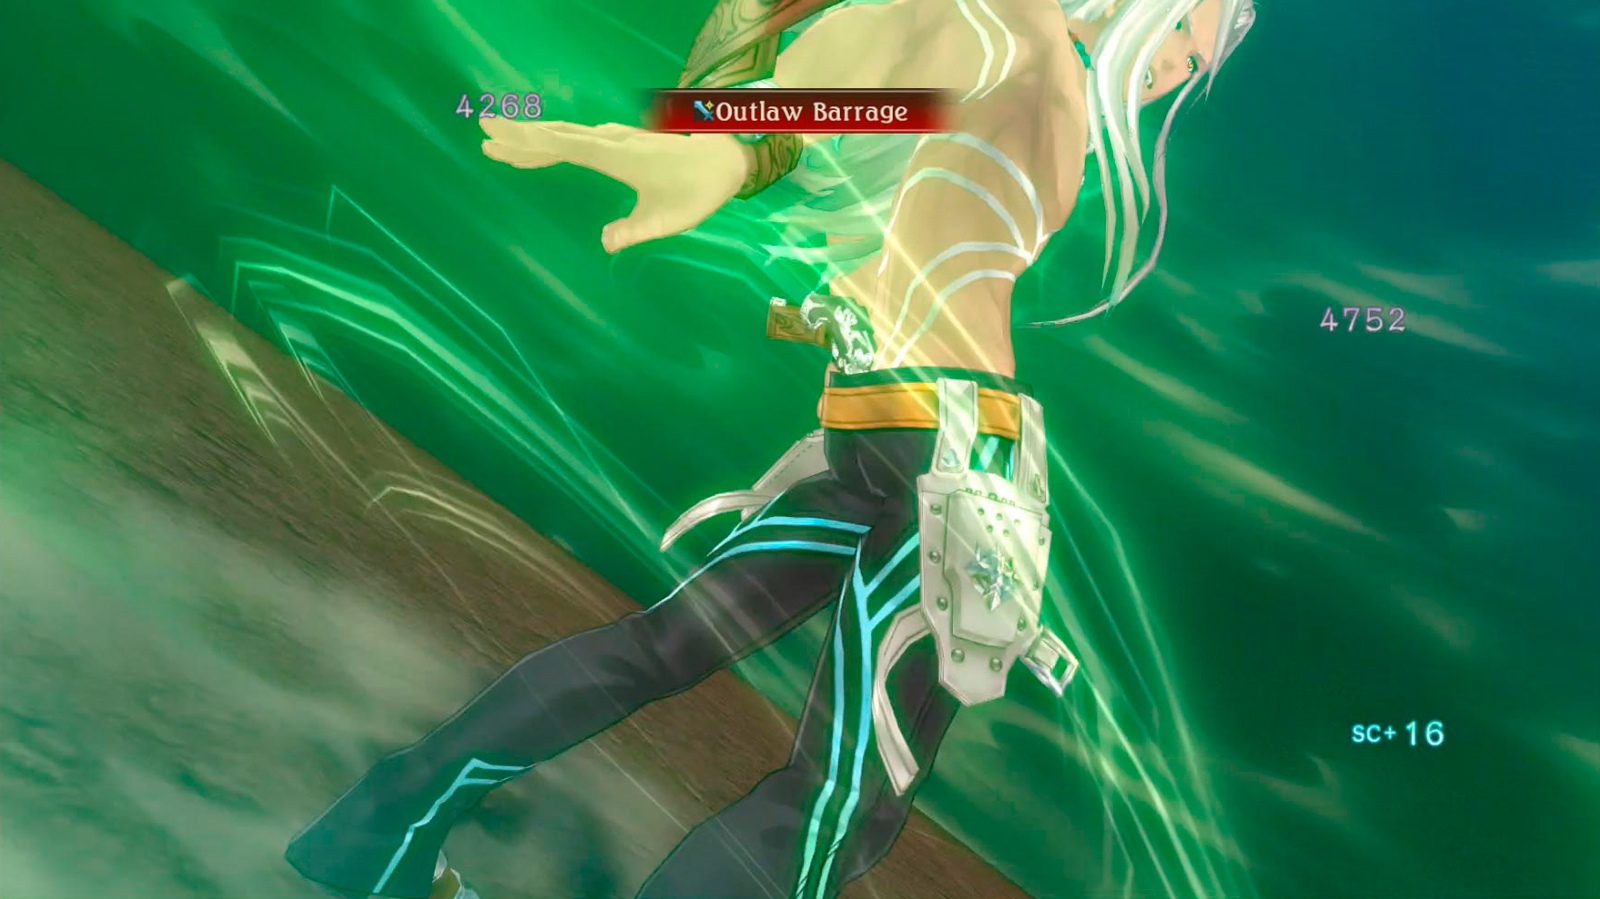
In front of Pendrago, Zaveid is waiting. He tells the group, mainly Dezel, that they should leave this target for him to eliminate. Dezel furiously refuses, and Zaveid once again faces the party in battle. This is Zaveid at his most powerful, though the strategy against him is not so different than when you fought him at the Wind Trail. Keep your party spread apart and have your seraphim attack from a distance. Dezel wants this battle to be personal and will yell at you if you take him out of the fight, but feel free to switch him out since his wind artes will only trigger Zaveid's resistance. Zaveid likes using Quick Evades against your powerful moves to give him an SC bonus, so always be ready to put your guard up against his seraphic and martial artes..
Zaveid admits defeat and gives Sorey his gun, Siegfried, telling the Shepherd to use it if he can’t stop Dezel from killing to get his revenge. The gun (and its last bullet) has the power to stop malevolence from binding with people. Zaveid seems to care a lot about the party, especially Dezel’s path of vengeance. Dezel's titles "Chain Nemesis", "Wind Guardian", and "Whirlwind Caster" increase in rank.
Pendrago, the Blessed Capital
BOSS
Lunarre  | |
|---|---|
| Level | 41 |
| HP | 7706 |
| Link | — |
| Weakness | — |
| Resistance | — |
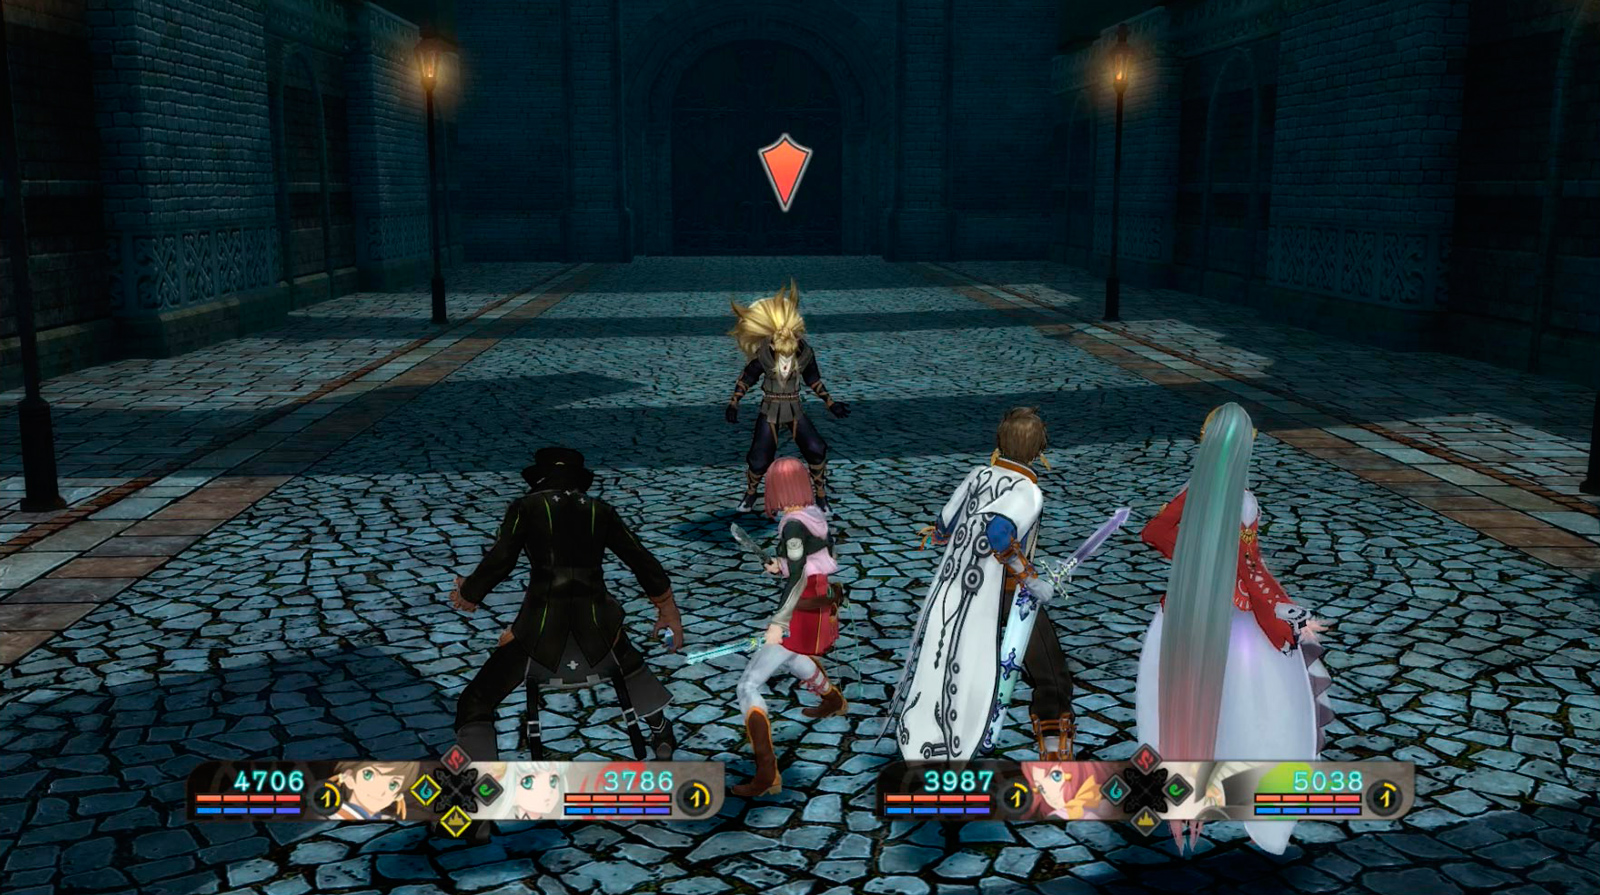
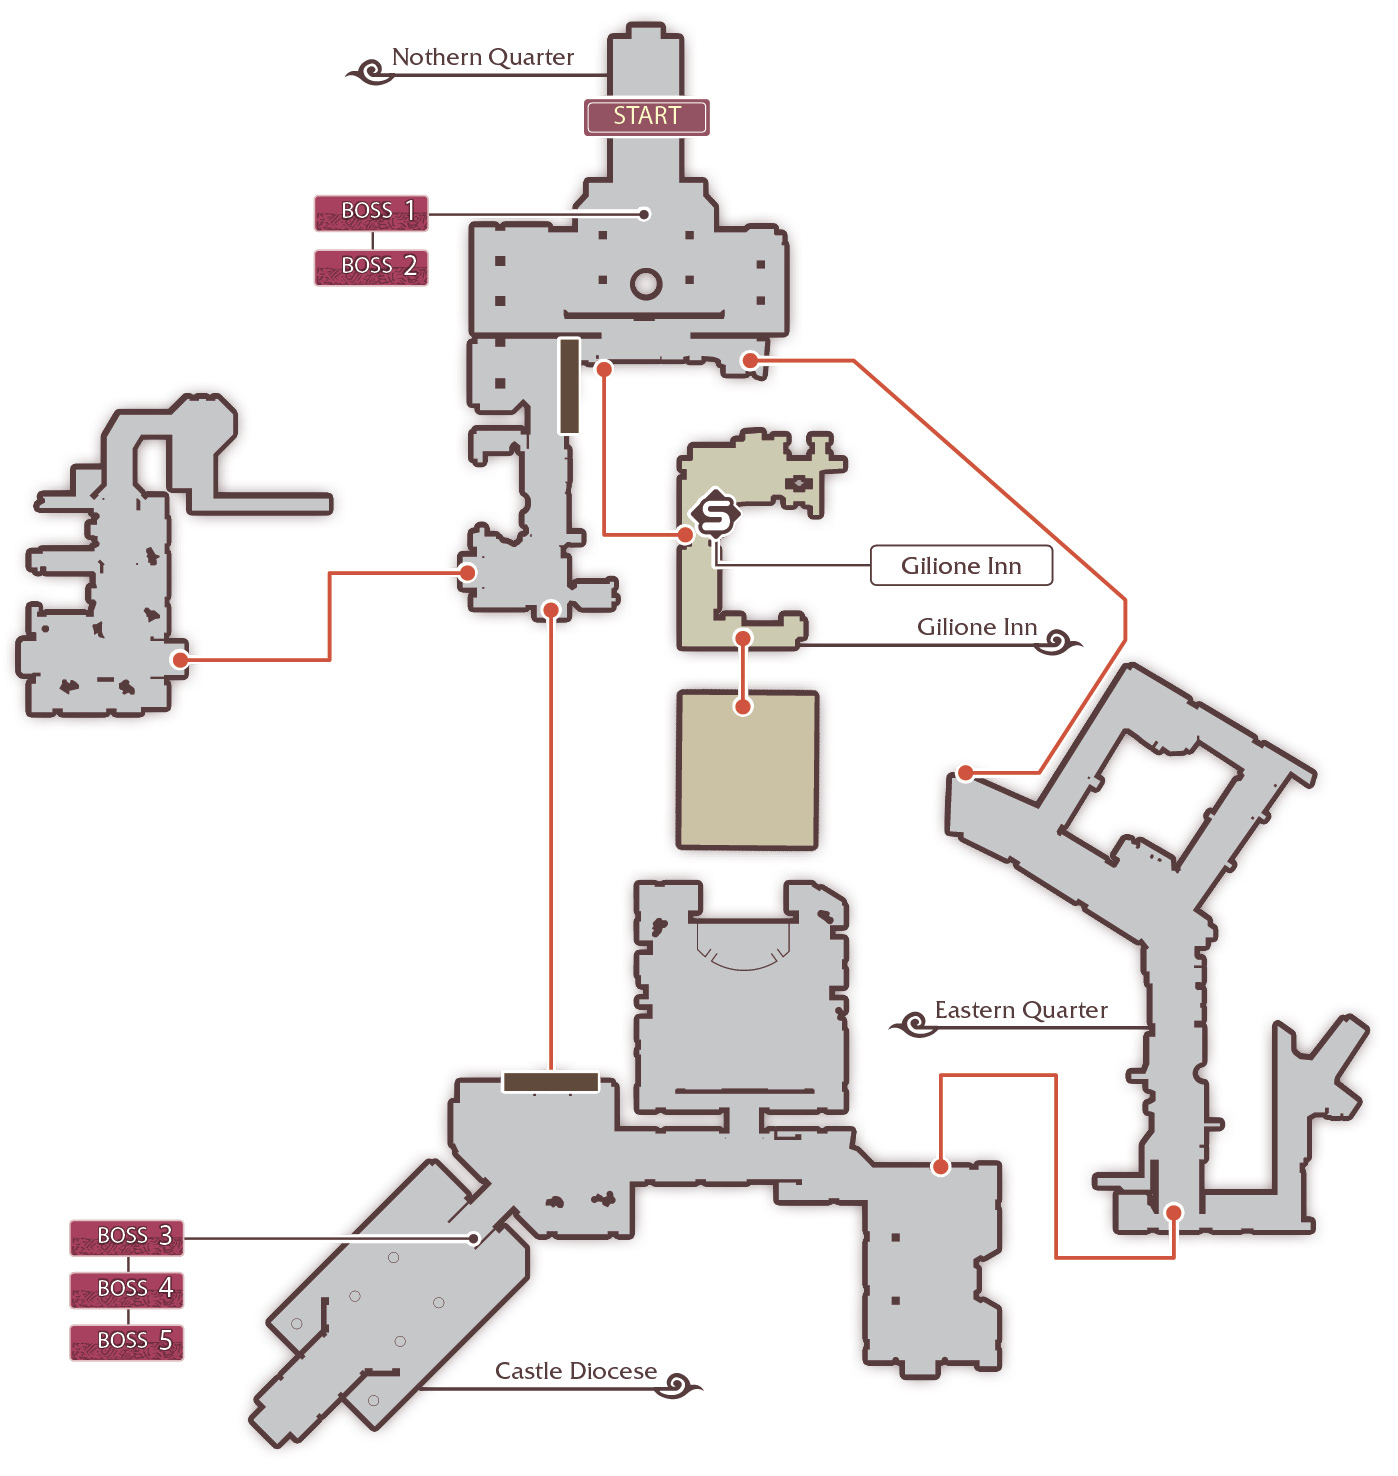
Stock up on any equipment you may need, and then stay at the inn to wait until night has fallen. Speak with Rose, who will direct you to do some investigation in the town before any castle infiltration gets underway. Head toward the entrance gate and Lunarre will drop in. This is the first time Rose has been able to tell that Lunarre is a hellion, so she’s quite shocked. The battle commences—Lunarre has grown powerful since you last fought him, but this battle is straightforward. Guard and dodge his attacks, keep his artes broken, inflict staggers against him, and you'll bring him down.
Before Lailah can purify Lunarre, a strong presence and a voice interrupts. Suddenly, there are multiple Lunarres! The four Lunarres have all of his battle moves with a third of his health. Use your area-of-effect attacks to take them all down and try to keep them spread apart so they don't overwhelm you.
Chase after Lunarre, the mysterious voice taunting Rose all the while. The party figures out that the job offer was a trap all along, and Dezel reveals that the owner of the voice is the target he’s been hunting for so long.
There’s only one path to follow, so head through the Eastern Quarter and finally over to the entrance to the Pendrago Shrinechurch. In the plaza before the shrinechurch, a major battle will be fought, so make sure you’re prepared.
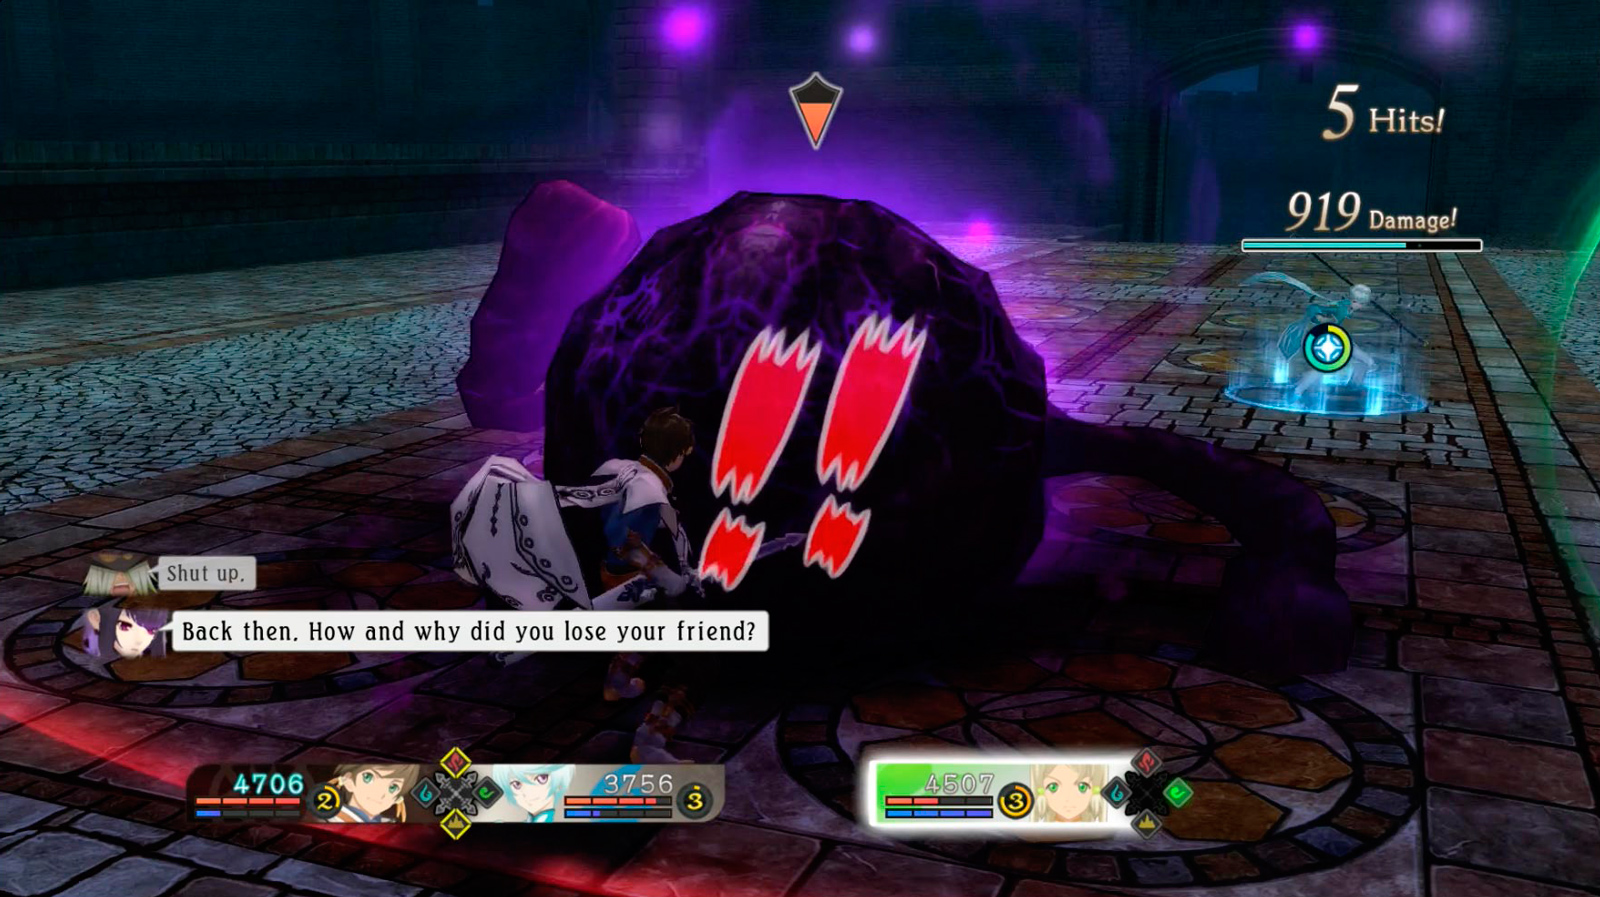
Lunarre stands waiting, but disappears as the party approaches. In his place stands the girl who was watching the party from afar. Dezel is overcome with hatred for the girl, who he says turned his friends into hellions and destroyed the Windriders. Rose is confused, and the mysterious girl is delighted by the fact that Dezel has kept it a secret. The girl recounts the events of Dezel manipulating Rose into recreating the Windriders as an assassins’ guild, the Scattered Bones. Rose is shocked by hearing how Dezel used her for so long, but before the party can retreat, the girl turns into a hellion and they are thrown into battle.
The hellion, called Fuseface, is not particularly strong, but can overwhelm you by quickly unloading its artes. It also likes to use powerful unblockable hidden artes that can take you down if you're not careful. However, Fuseface's artes only affects the area in front of it. Since it's rooted to the ground and cannot turn around, get behind it so you can easily avoid all of its attacks. Attack freely from this position and keep an eye on your ally's health.
BOSS
| Lunarre | |
|---|---|
| Level | 41 |
| HP | 2568 |
| Link | — |
| Weakness | — |
| Resistance | — |
BOSS
| Fuseface | |
|---|---|
| Level | 50 |
| HP | 10,705 |
| Link | — |
| Weakness | — |
| Resistance | — |
ENEMIES
| ??? | |
|---|---|
| Level | 42 |
| HP | 2473 |
| Link | — |
| Weakness | — |
| Resistance | — |
A cutscene interrupts once you have done enough damage, and Dezel forcefully armatizes with Rose to try and kill the girl before Lailah can purify her. He rushes forward to attack, and when Sorey moves to use the gun, the girl suddenly appears before him—but wait, if she’s there, then who is Dezel trying to kill? The girl multiplies, and Sorey must battle them without Rose and Dezel.
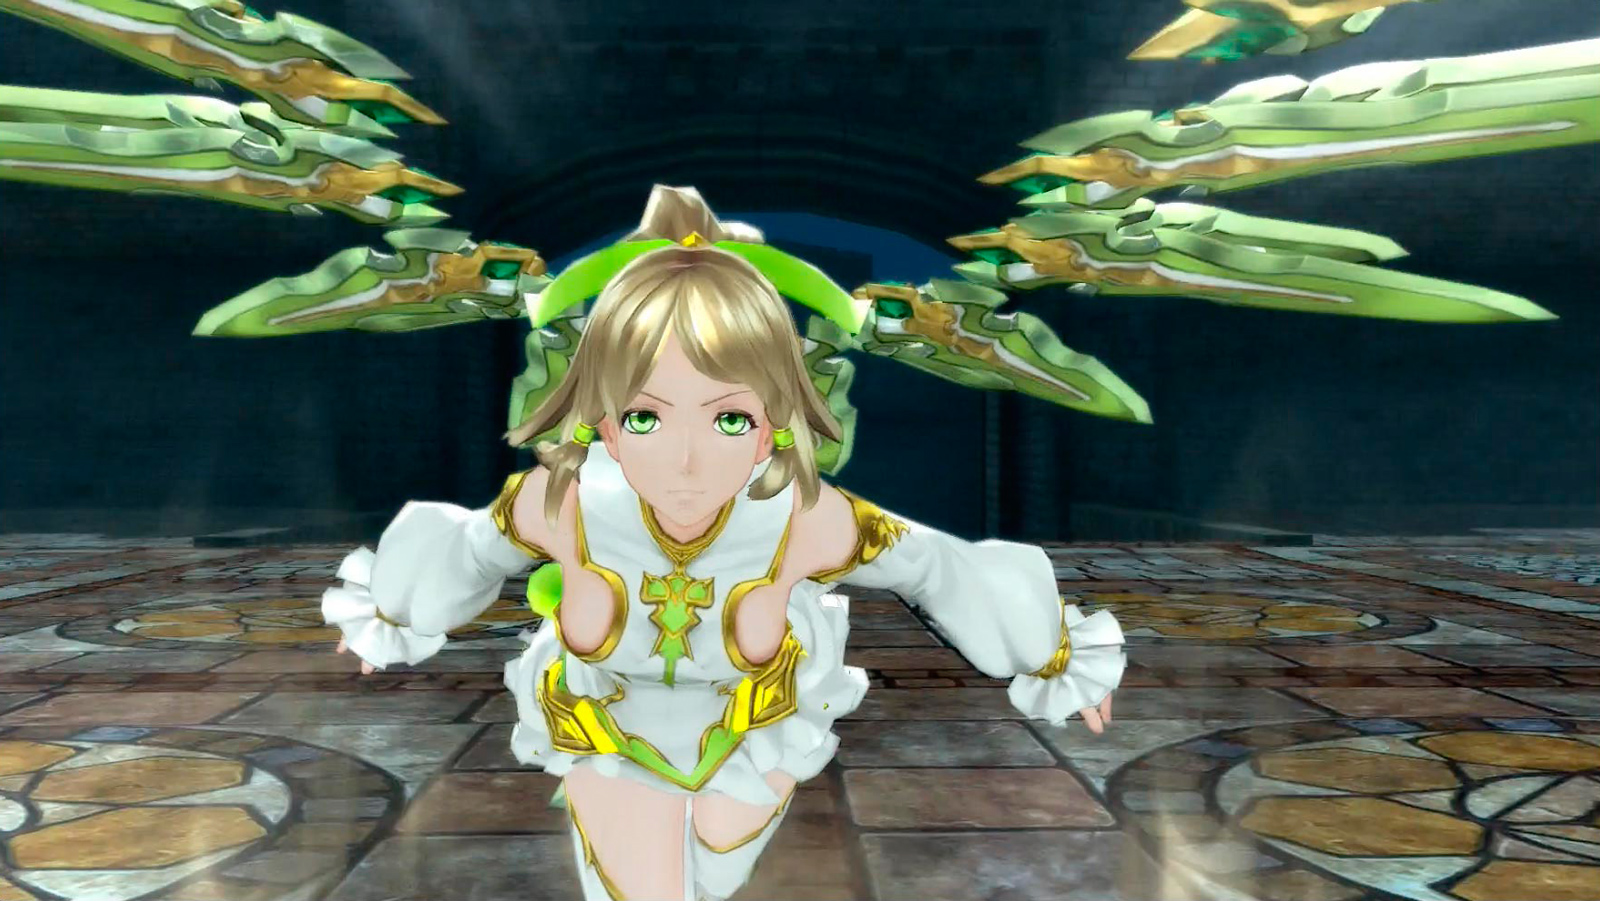
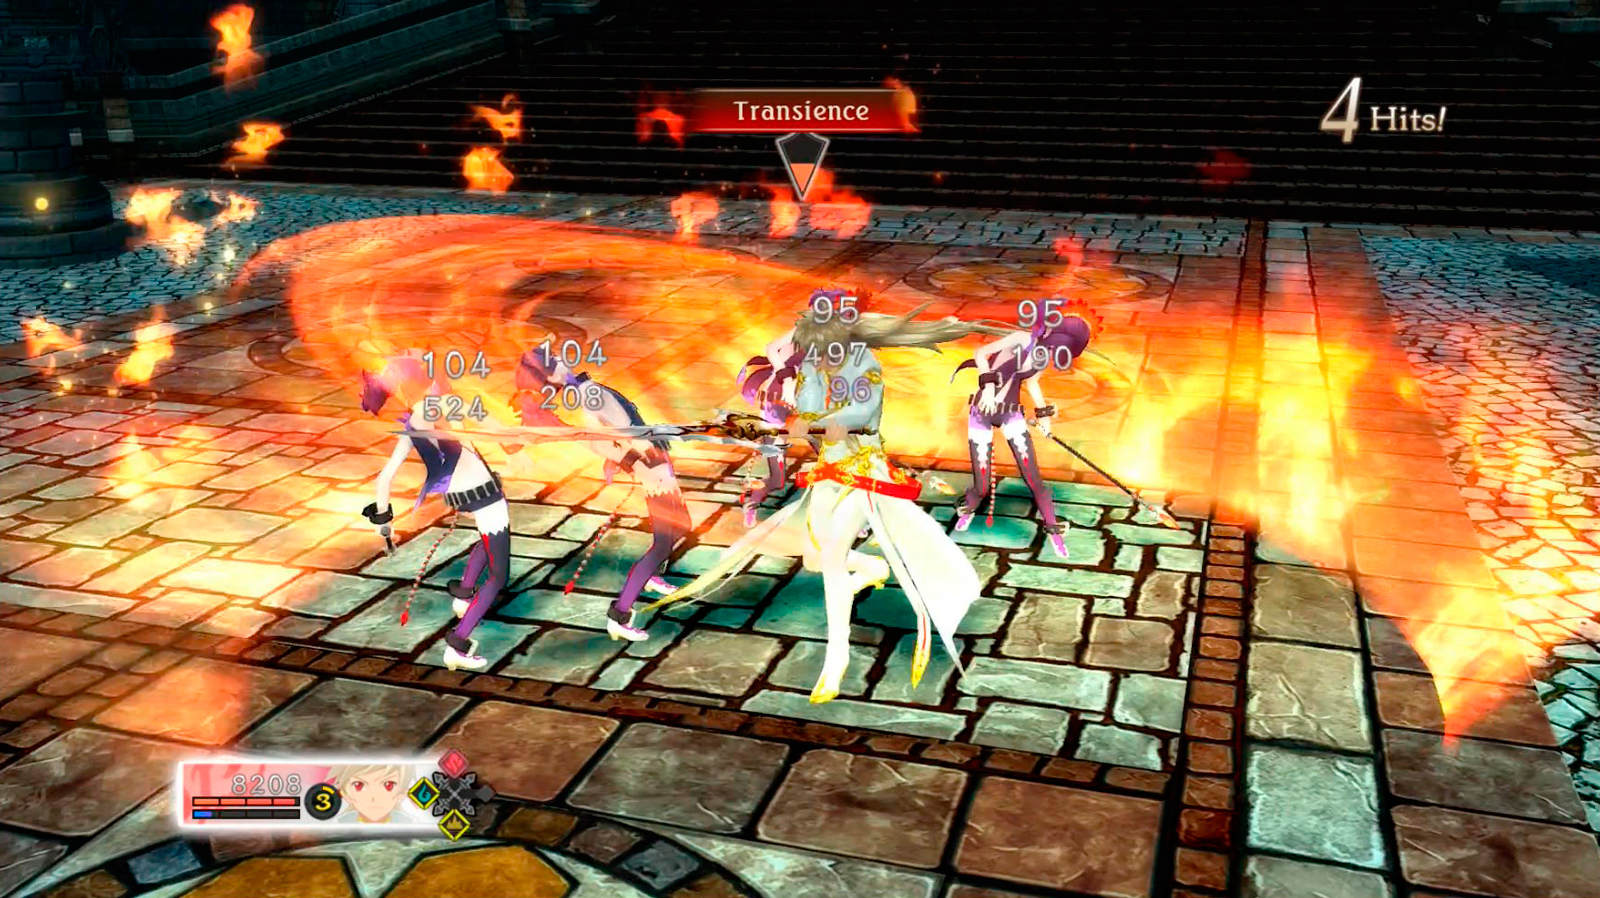
The girl will keep spawning clones until all of her dialogue is finished, so just focus on taking as little damage as possible while beating on the clones. If you find it overwhelming, armatize with Lailah and use her wide range to keep them all at bay.
Eventually, another cutscene will interrupt. Dezel is just about to land his attack when the hellion reveals a form within it that stops Dezel in his tracks. A series of flashbacks occur, of Dezel and another wind seraph traveling with the Windriders. A Rolance prince asks for the Windriders to work solely for Rolance, and for Rose to become engaged to him. Rose is thrilled, and all seems well. Then, the prince is revealed to be a hellion, the girl shows up on the scene, and Eguille is dragged away before Rose’s eyes. The girl tells Dezel’s friend that it’s all because of Dezel. His friend protects Rose after she attacks the prince and becomes tainted by the malevolence, and the girl tells Dezel that his blessing is a curse that can only bring pain to those around him.
The flashback ends and the armatized Rose and Dezel are speared clean through by the hellion. Sorey armatizes with Mikleo and knocks down the girl’s real form behind all of the clones. The girl, however, simply gets up again, de-armatizes Rose and Dezel and then grabs Rose. Sorey cannot purify the hellion without endangering Rose’s life.
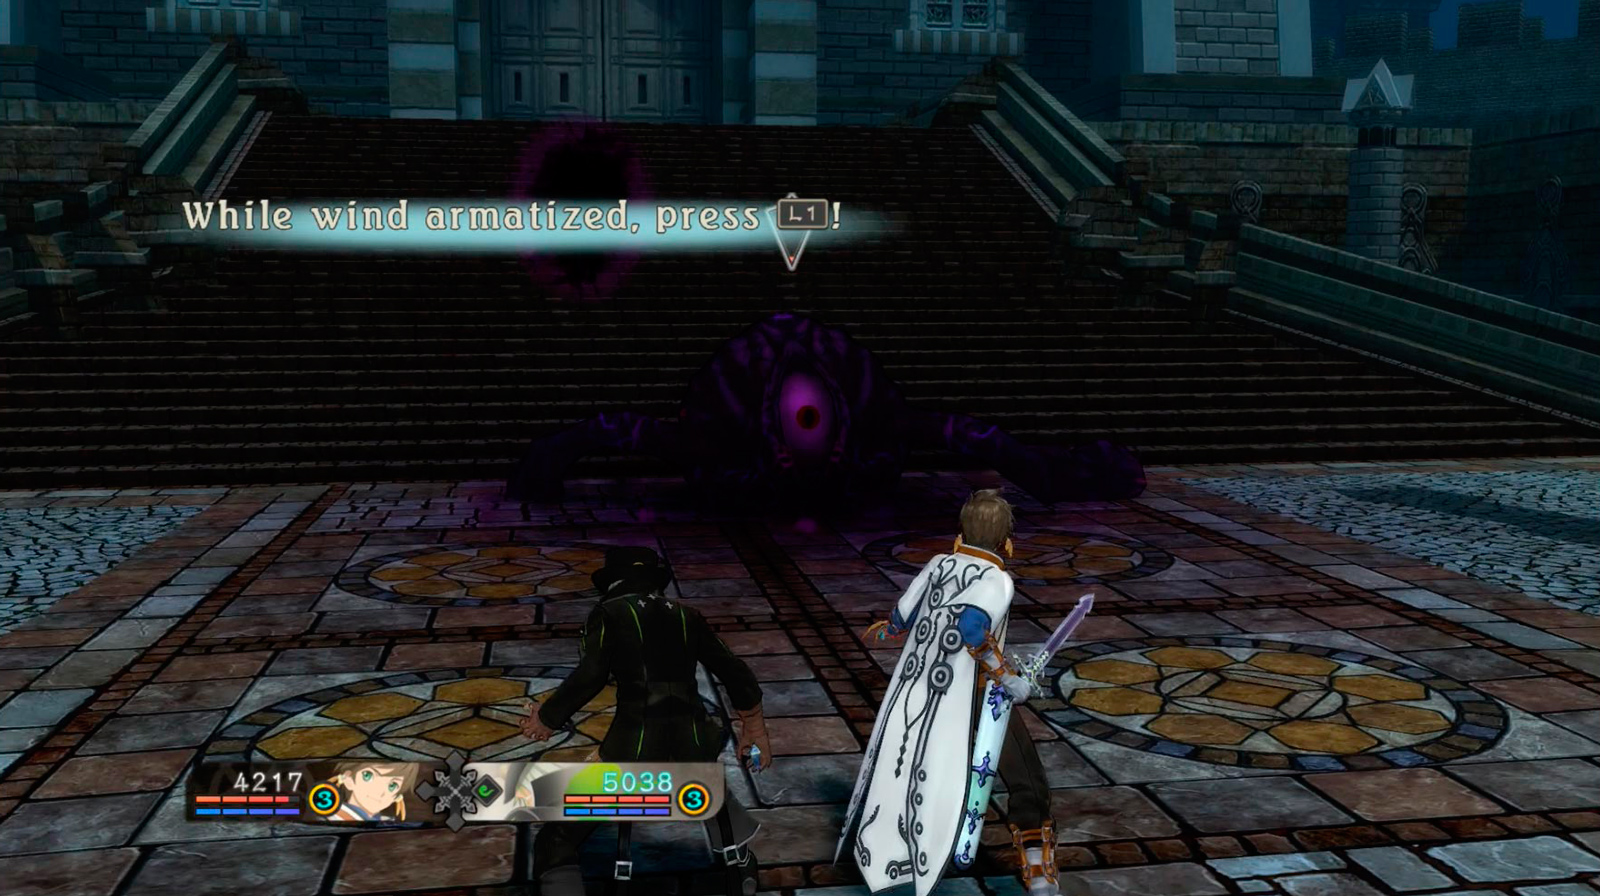
Just focus on defending and move out of the way of its straightforward attacks; your artes have been mometarily disabled so you can't fight anyway. This time, Fuseface has moved back so you can't get completely behind it, but you can get close enough to avoid most of its attacks. After a short while, Dezel will tell Sorey that there’s a way to save Rose. Dezel will become one with the bullet in the gun to break the bond and free Rose. Follow the prompt and armatize, and then press L1 to fire the gun.
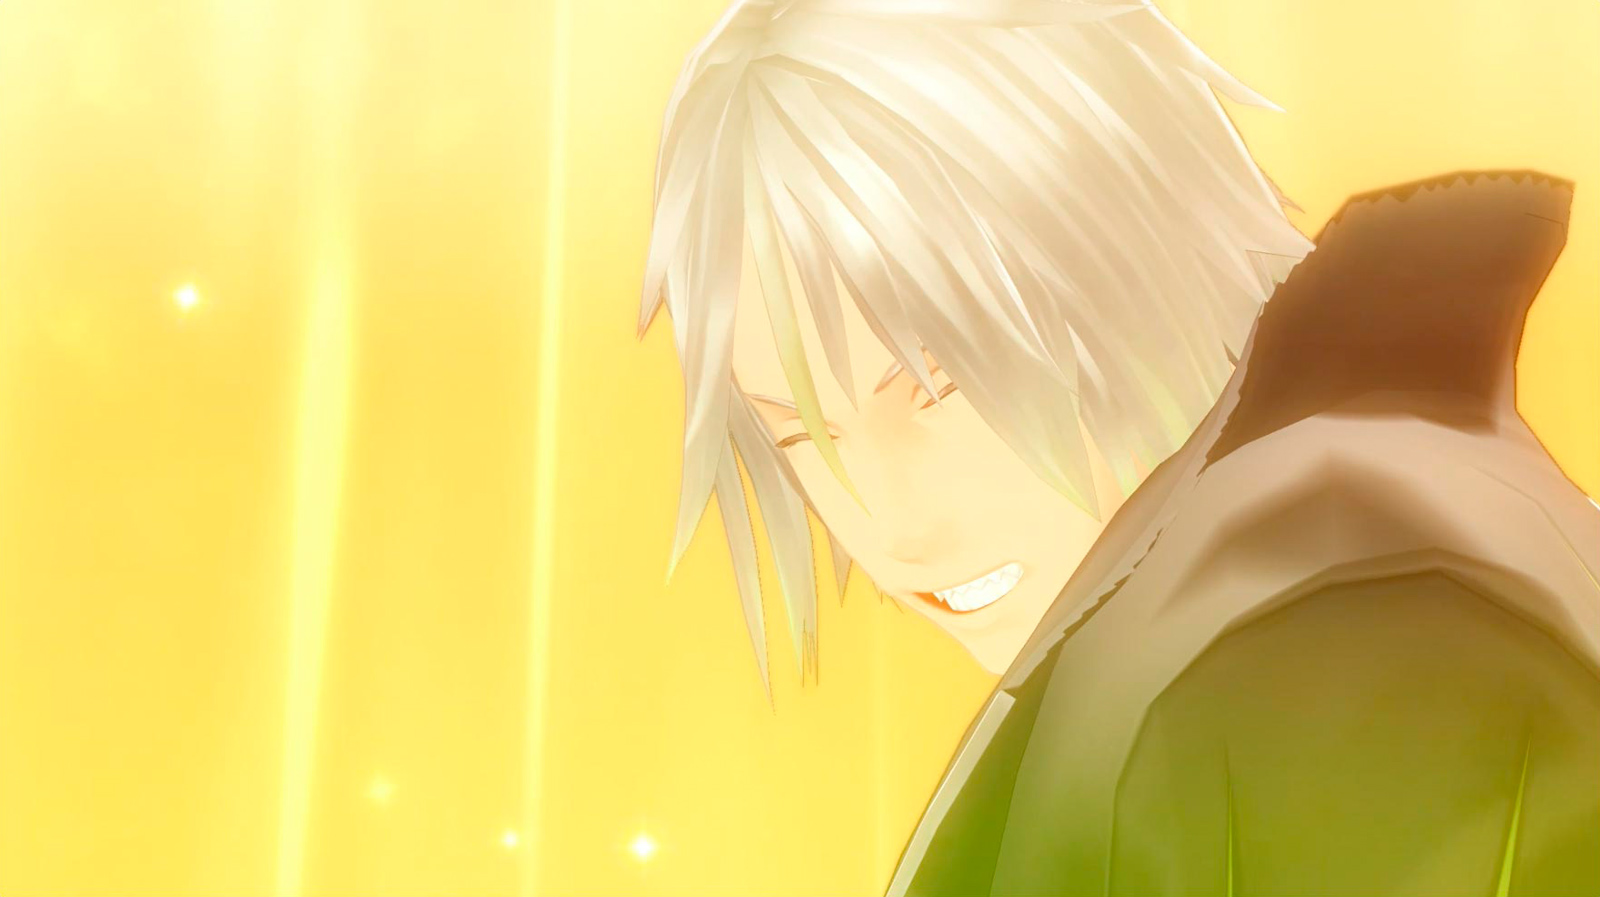
Dezel apologizes to Rose, and they have a heartfelt conversation while he saves Rose's life and frees her from the malevolence.
The girl approaches the party as Rose regains consciousness, taunting them and trying to lead them down a dark path. She introduces herself as Symonne and then takes off when Zaveid approaches. The party separates to grieve in their own ways. You can speak to each character, scattered throughout the city, or you can head directly to the inn or the front gates to rest.

In the morning, Zaveid announces that he has to settle a score with both Eizen and Maotelus, and wishes to join the party. He shares his suspicion that Maotelus has become tainted and is now tied to Heldalf. Sorey is still preoccupied with his grief, so Rose shares Dezel’s parting words with the party to snap them out of their daze. Zaveid joins as the party’s new wind seraph, and a wealth of new skits are available now. One of these skits, "A Promise Between Men," which you can find at any save point, grants Edna the title "Sentimental Sister". You also get some new Support Talents: Rose learns "Luring", Mikleo learns "Windstepping", and Zaveid learns "Point of Interest Detection". Zaveid will automatically have the same gear and settings equipped as Dezel.
Glaivend Basin
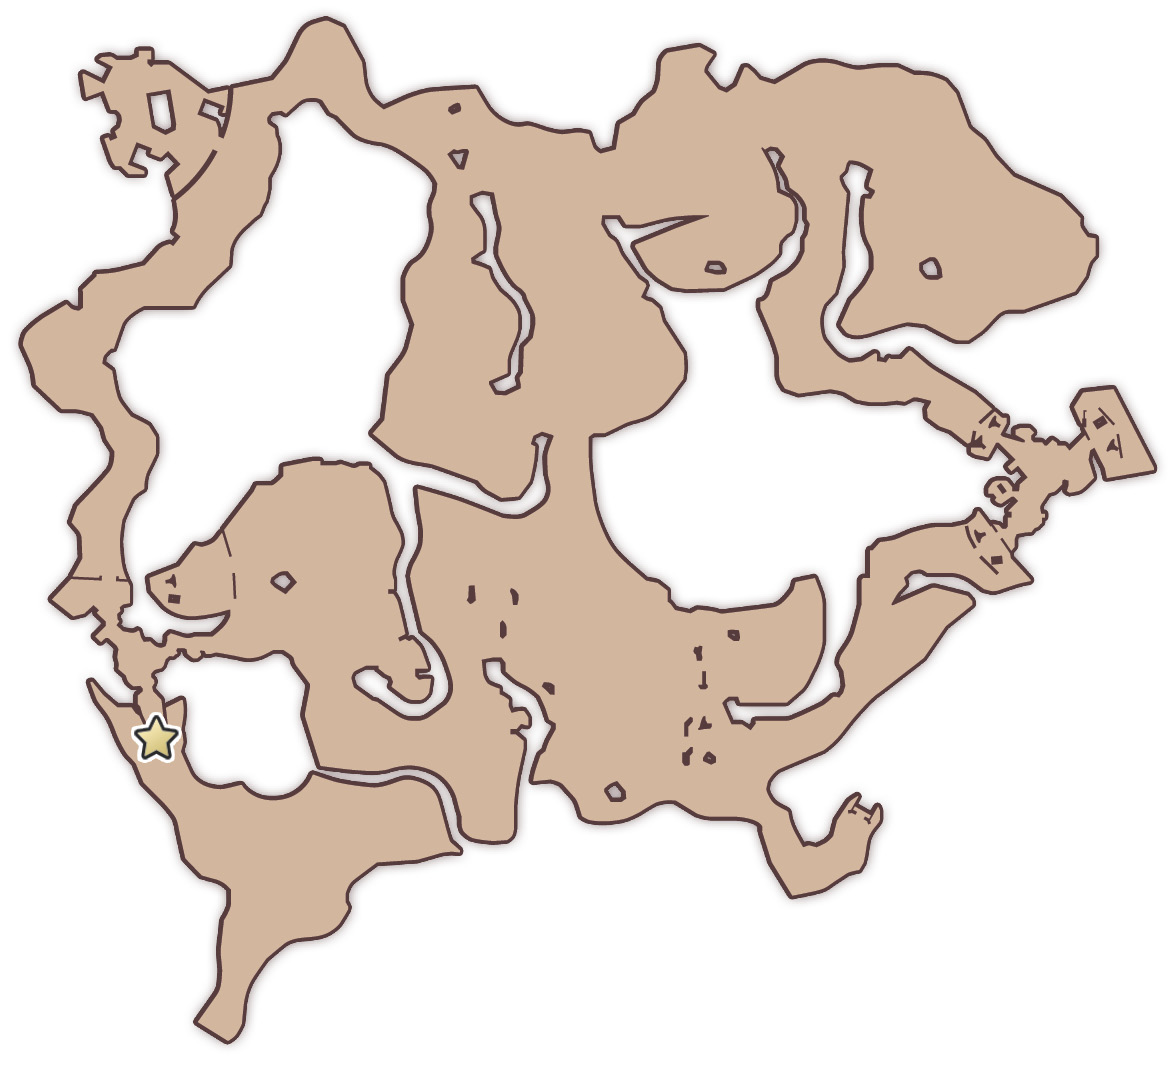
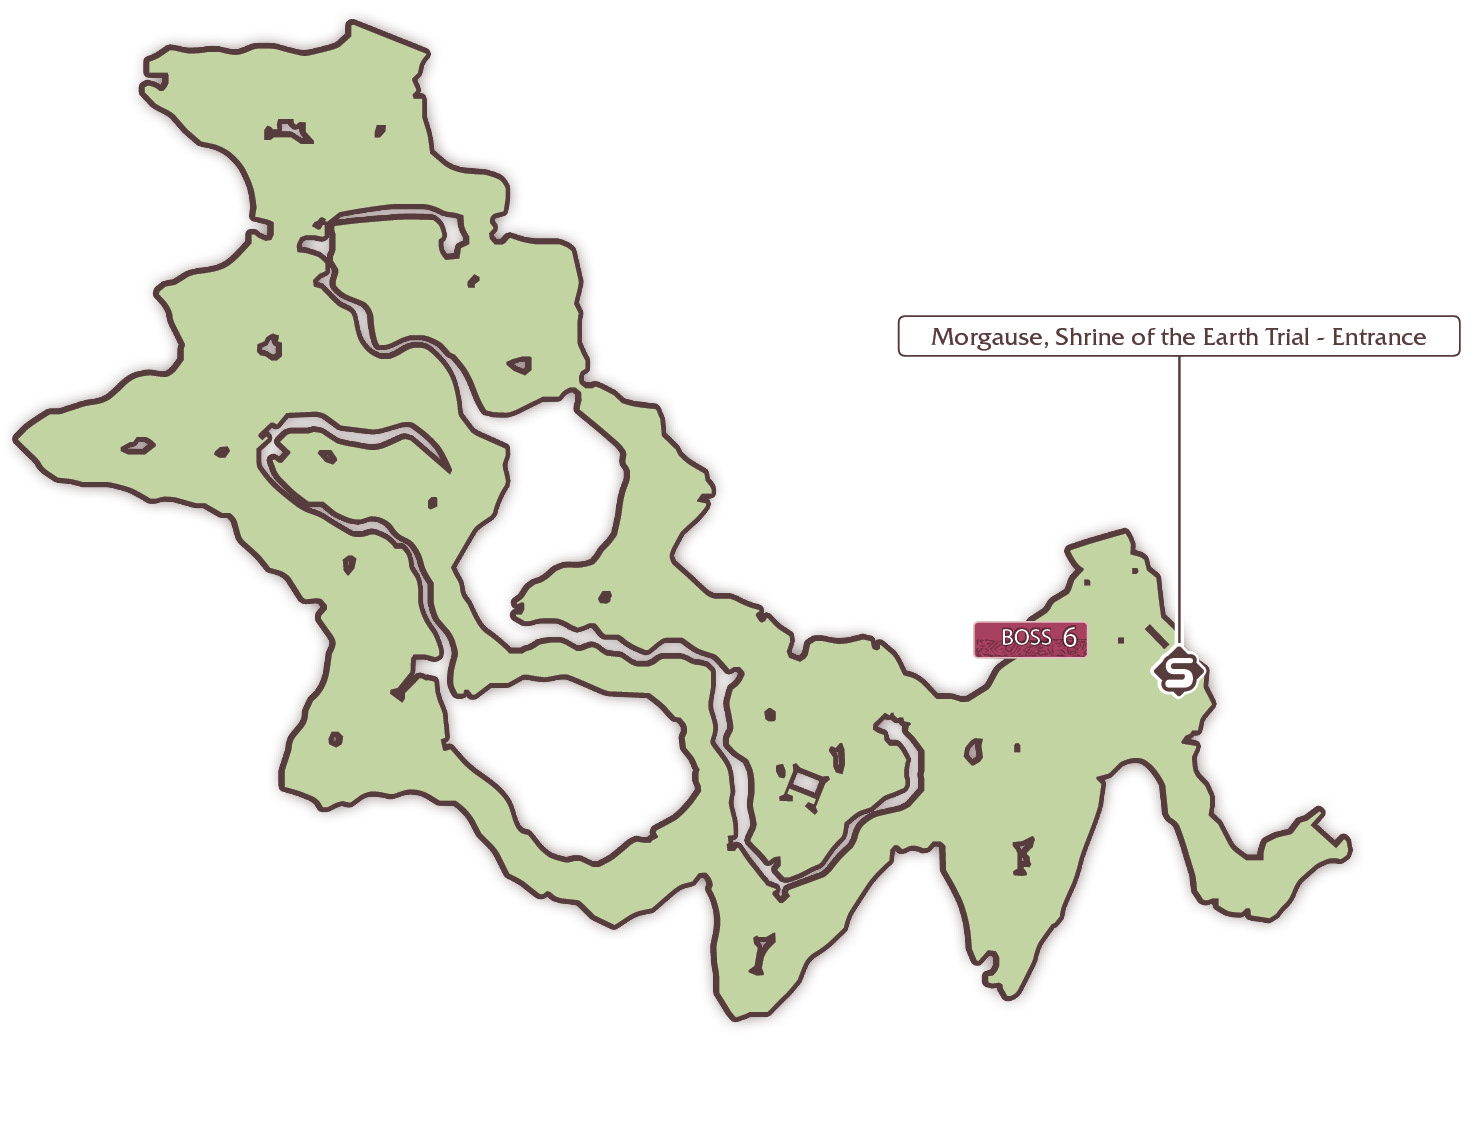
Head up the ridge to confirm that Heldalf isn’t here. Zaveid mentions feeling a strong malevolence when he was leaving Guinevere on the way to Pendrago. Warp to the Morgause, Shrine of the Earth Trial save point in Aifread’s Hunting Ground. The group is searching for the Lord of Calamity, and begin their search in the Glaivend Basin. You can follow the story there, and eventually travel to Aifread's Hunting Ground...or you can just skip Glaivend Basin and go straight to the Hunting Ground.
Aifread’s Hunting Ground
BOSS
| Heldalf | |
|---|---|
| Level | 80 |
| HP | 52,340 |
| Link | — |
| Weakness |  |
| Resistance |  |
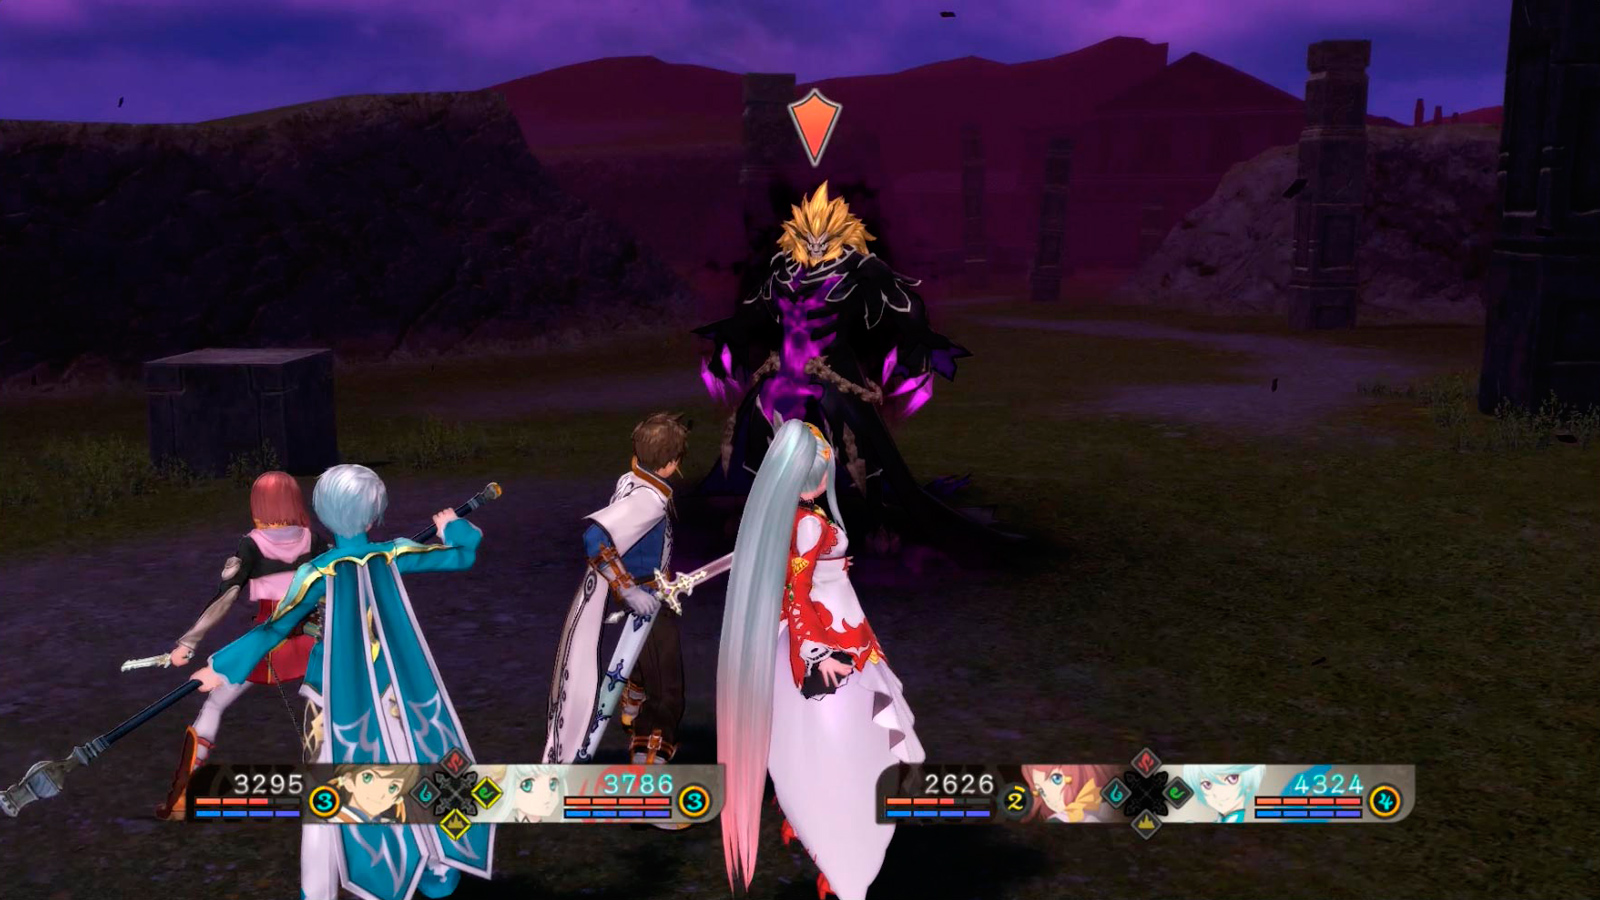
Approach Heldalf and a battle will begin. Stay away from his claw swipe, and try to keep behind him to avoid his powerful Mystic Arte which will knock out anyone it catches. Use your sidesteps to stay out of the way of his rush attacks that catapult him forward, and armatize to lay on the damage. Heldalf is weak against Earth so take advantage of your Earth artes and keep Edna on the field. However, prioritize survival over assault. Once you have whittled away a portion of his health, a cutscene will appear.
Heldalf taunts Sorey, and the rest of the party is very suspicious. Lailah warns Sorey to be very sure that this is what he wants to do, and Heldalf summons Symonne. She takes everyone but Sorey and Lailah hostage, and the two are thrown back into battle alone.
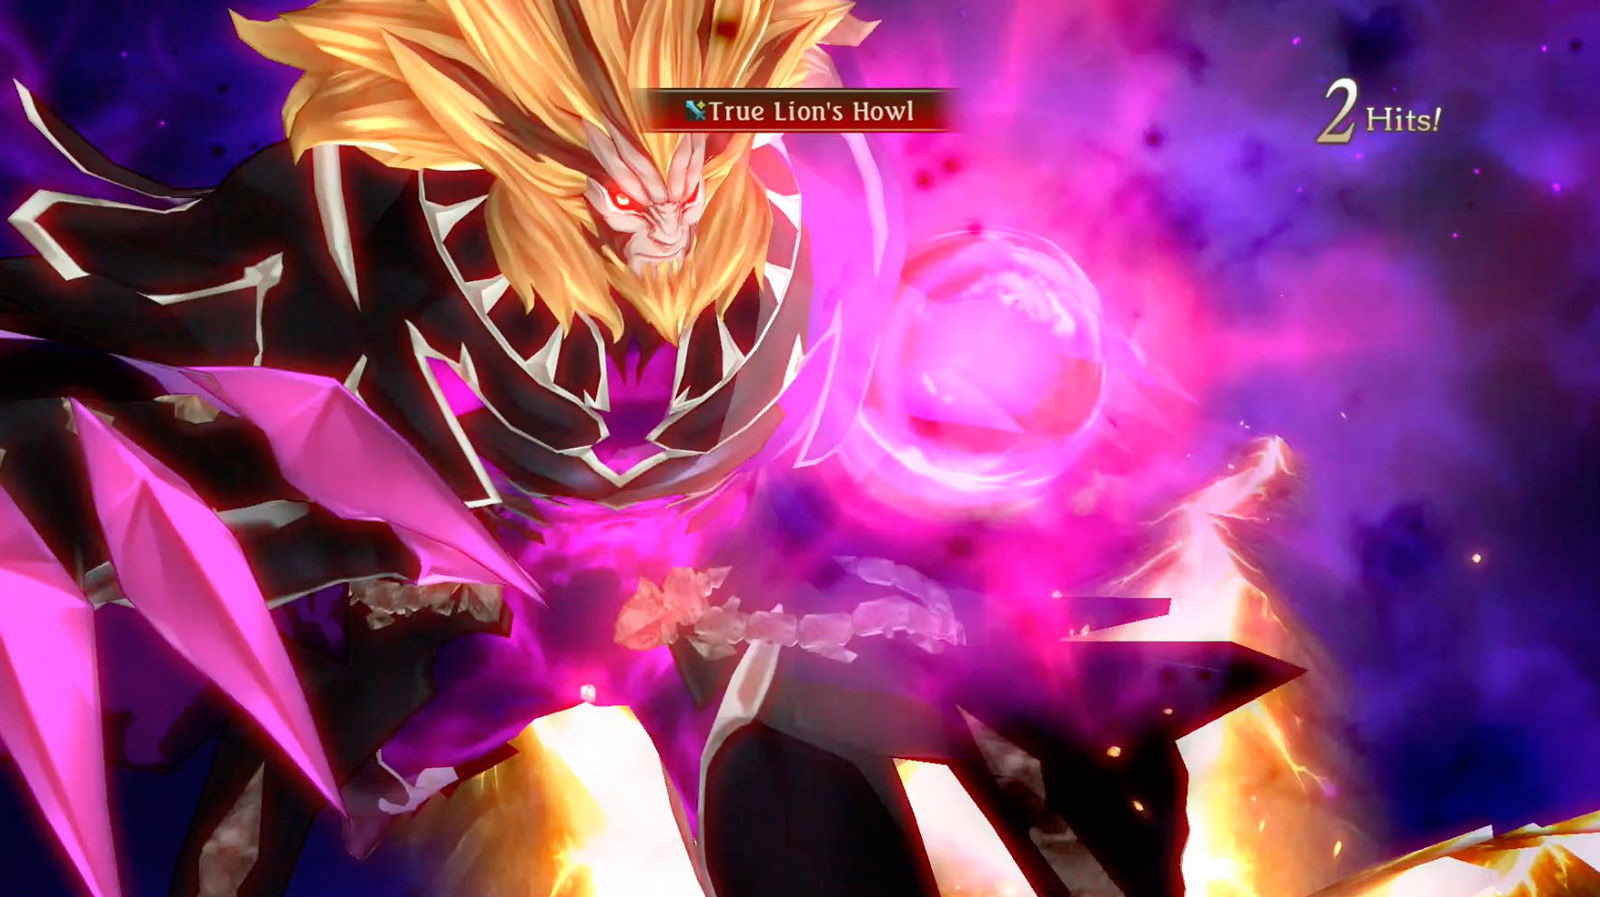
Focus on defending and evading for now. The goal of this battle isn’t to defeat Heldalf, so just bide your time. His attacks are slow yet powerful and have predictable charge times, so balance your attacks and dodges. Eventually, a cutscene will appear where Sorey uses armatization to pull Lailah out of harm’s way. After some more battling, another cutscene prompts. You can trigger this cutscene faster by using Sorey's Lion's Howl against Heldalf—turns out the arte was originally Heldalf's, and using it against him will trigger his mystic arte to knock both you and Lailah down. At this point, Heldalf plans to murder Rose while holding Sorey and Lailah helplessly in his clutches. Fortunately, Rose is crafty, and she armatizes with Lailah to get the seraph out of danger and then free Sorey. Rose takes Symonne hostage, but Heldalf just blasts both of them away without a care for Symonne’s safety, and Symonne easily accepts Heldalf’s actions. Symonne laughs before passing out, which releases all the other seraphs.
Heldalf asks Sorey to join forces with him, but Sorey refuses. Heldalf retreats and the party realizes that Maotelus has been using all of the continent as a vessel. The party decides their next stop should be to search for Mayvin and to visit Lohgrin in Zaphgott Moor.
It is possible to defeat Heldalf at this time, but if this is your first playthrough, it's unlikely. If you defeat him, you'll trigger the alternative ending. Check out "Alternative Ending" in the Sub-Event section for more information.