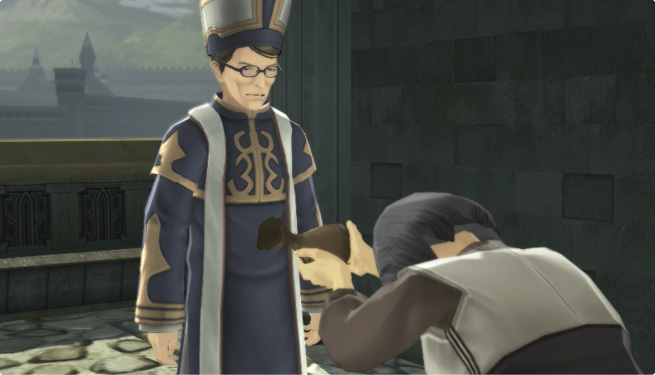
Tales of Zestiria Guide Walkthrough Part 1: The Path of the Shepherd
Galahad Ruins
Gather Holy Water
Take this opportunity to rest, save, and shop. Once you’re ready, set out from Ladylake.
Lakehaven Heights
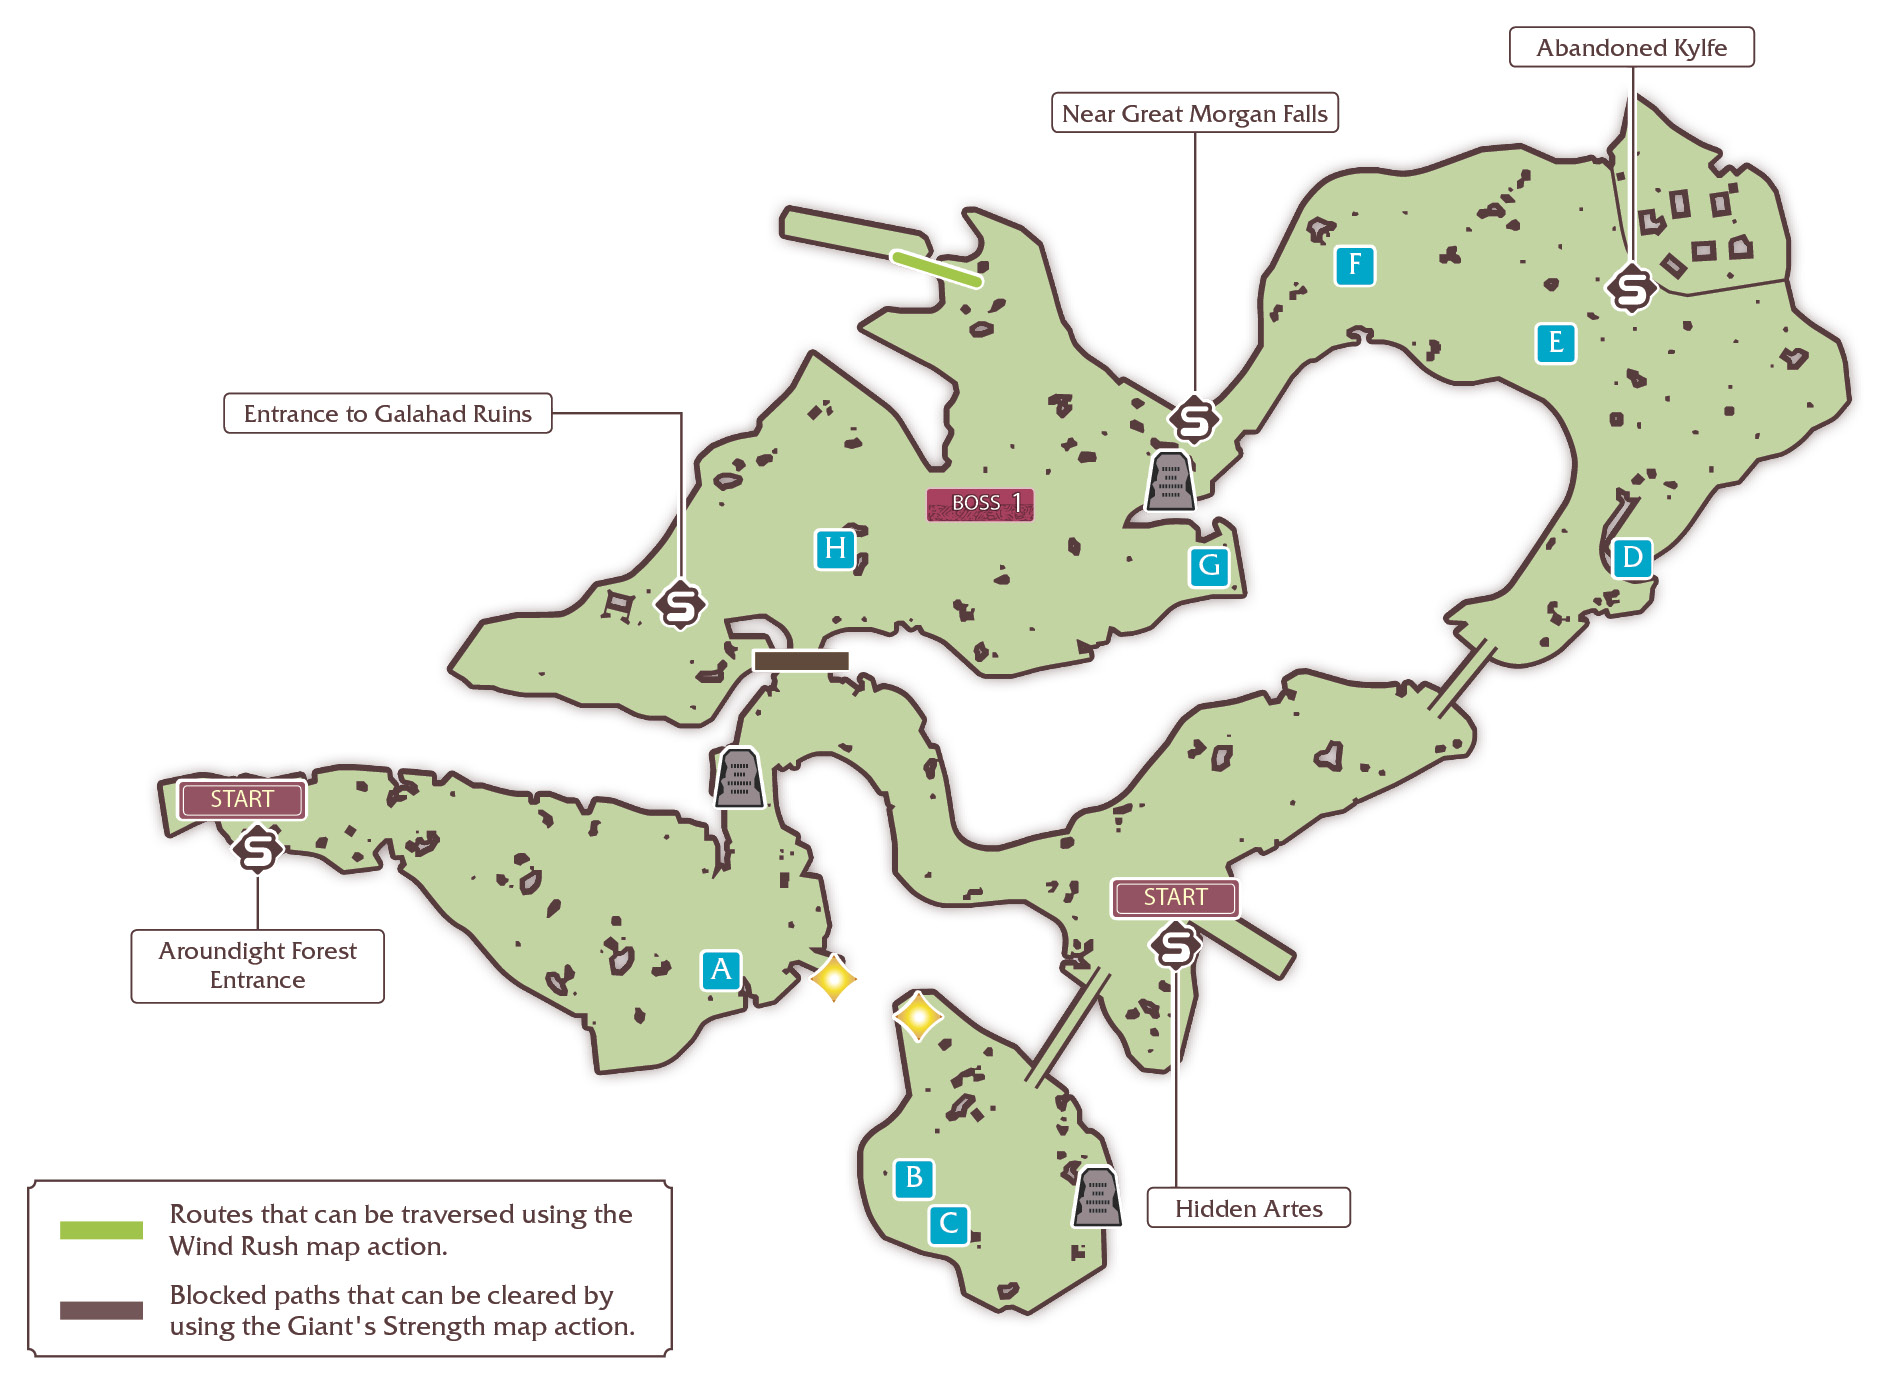
ITEMS
 |
Life Bottle |
 |
Verbena |
 |
Soft-Serve Ice Cream |
 |
Sunglasses |
 |
Lavender |
 |
Amber Boots |
 |
Apple Gel |
 |
Sage |
ENEMIES
Snake  | |
|---|---|
| Level | 8 |
| HP |
395 |
| Attack Type |
Long Reach |
| Weakness | — |
| Resistance | — |
Wolf  | |
|---|---|
| Level | 8 |
| HP |
447 |
| Attack Type |
Charge |
| Weakness | — |
| Resistance | — |
BOSS Hellion
Managarmr  | |
|---|---|
| Level | 19 |
| HP | 9916 |
| Link | — |
| Weakness |  |
| Resistance |    |
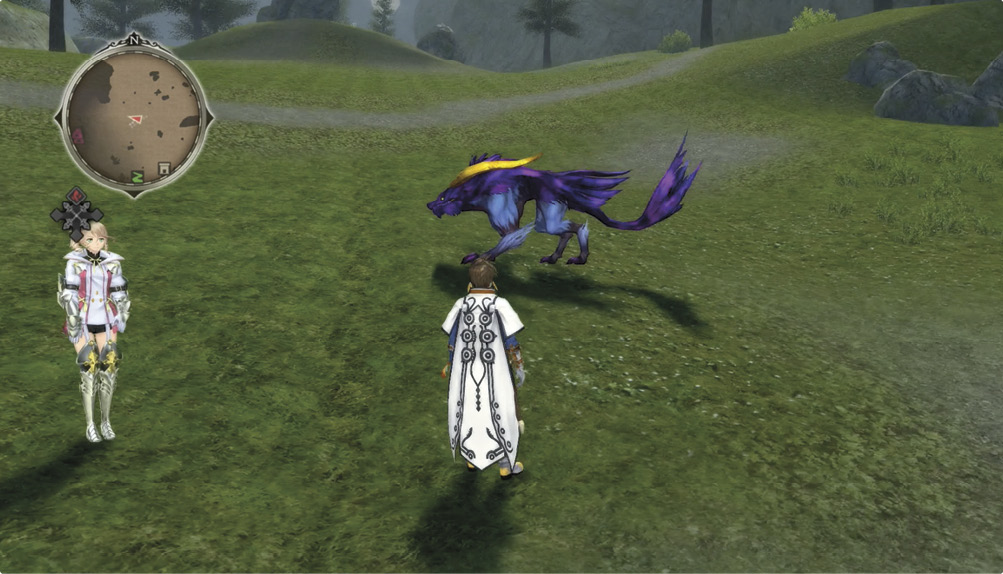
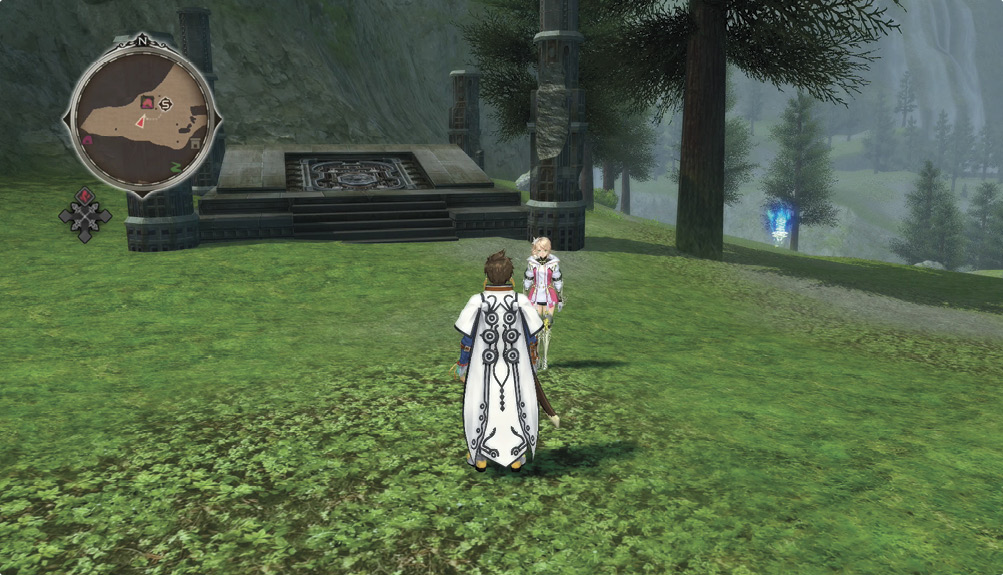
Leave the city and take a right. Cross the bridge and go up the hill, but hang a right and make almost a u-turn to reach a treasure chest containing Sunglasses. Activate the save point at the abandoned town, and then continue down and to the left. Activate another save point at the river, then cross it and check the Monolith for information about Elements and Status. Continue following the path, but avoid the purple and yellow boss hellion roaming the hillside. Along the way, among a cluster of three rocks, is some Sage. Activate the save point at the Entrance to Galahad Ruins and save before heading into the dungeon.
Galahad Ruins
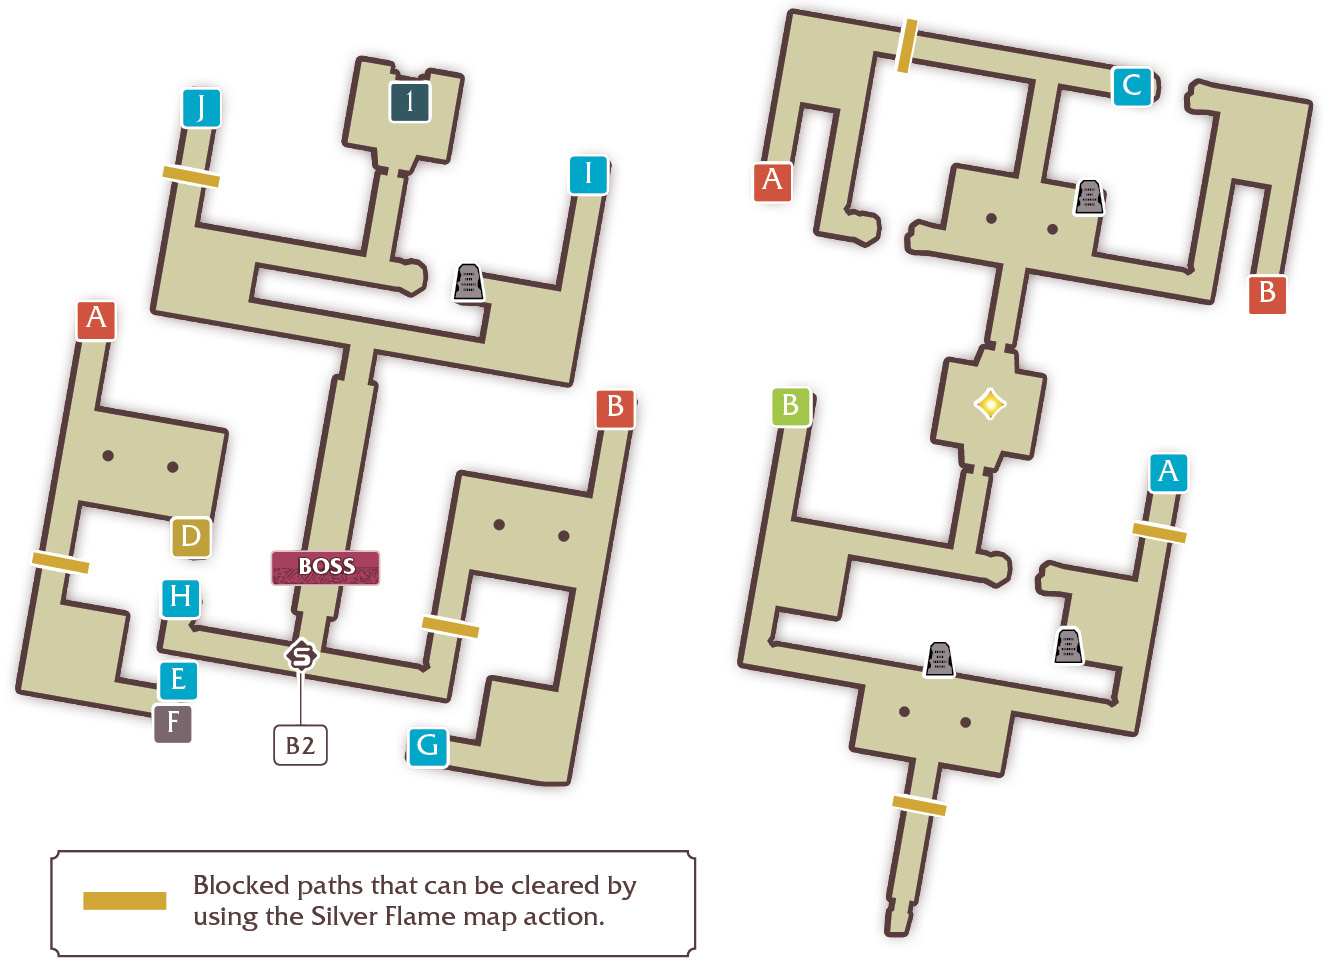
Galahad_B1, Galahad_B2
ITEMS
|
Mango Sorbet |
|
Life Bottle |
|
Rosemary |
 |
Marron Glacé |
|
Amber Garment |
 |
Earth Ring |
|
Apple Gel |
|
Saffron |
 |
Amber Circlet |
 |
Devil Wings |
ENEMIES
Bat  | |
|---|---|
| Level | 8 |
| HP | 270 |
| Attack Type |
Sneaky |
| Weakness | — |
| Resistance | — |
| Snake | |
|---|---|
| Level | 7 |
| HP | 395 |
| Attack Type |
Long Reach |
| Weakness | — |
| Resistance | — |
Leech  | |
|---|---|
| Level | 9 |
| HP | 317 |
| Attack Type |
Shoot |
| Weakness | — |
| Resistance | — |
BOSS Hellion
Giant Centipede  | |
|---|---|
| Level | 10 |
| HP | 1030 |
| Link | — |
| Weakness |  |
| Resistance |   |
Use Silver Flame to clear the webs of malevolence. Dead ahead is a Monolith about Weaknesses and Resistances.
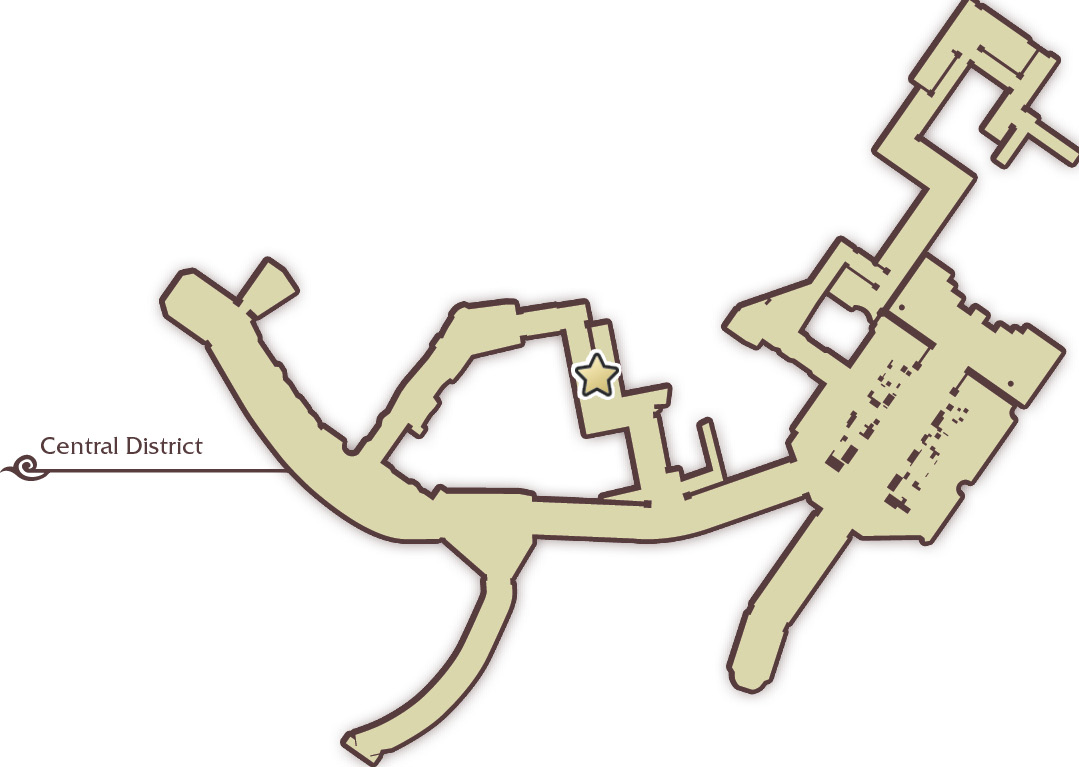
Explore the right branch first to discover a Monolith about Targeting and a Mango Sorbet in a treasure chest. Then, head back and take the left branch. After you turn the corner, go straight to the chest at the end of the hall for a Life Bottle before backtracking and heading to the star.
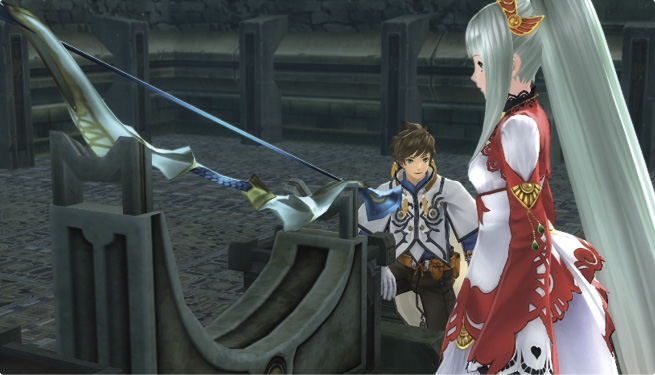
A beautiful bow is on display in the middle of the room, and Lailah identifies it as a Divine Artifact. These are what are required for seraphs who wish to make Sub Lord contracts. They must also be of the correct elements; the bow is a Divine Artifact of water, like Mikleo is a seraph of water. Sorey wants to move on and Lailah explains to Alisha that Sorey doesn’t want Mikleo to become a Sub Lord. Alisha is confused, and compares it to her desire to become a Squire, but Sorey doesn’t think that Mikleo wants to become a Sub Lord to fulfil his own dreams—Sorey doesn’t want Mikleo to be tied to that for Sorey’s sake. They move on, and you get a glimpse of Mikleo following the group. Mikleo reaches out to the bow…
In the next room there is a Monolith about Quickstep. Head forward and turn left to find Rosemary at the dead end. Turn around and continue forward. Ignore the other dead end, and take the last left to head down to B2 of the dungeon. There is a gold chest down here that you cannot unlock yet, but you can collect Amber Garment from the treasure chest and Earth Ring from the bronze chest. Once you’re done, head back up and take the other staircase on the right half of B1.

Back down on B2, head forward to the bronze doors and open them. The chest at the back of this little area holds an Apple Gel. Backtrack and continue heading toward the star. Activate the save point, but don’t approach the star just yet—continue forward and around the corner to collect Saffron at the dead end. Now, save if you wish and head to the star for a battle.
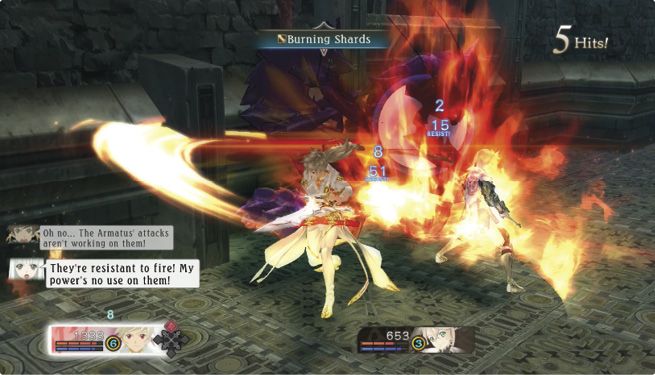
You begin Armatized and facing three Giant Centipedes, but Lailah’s element isn’t very effective against these hellions. Beat ‘em up and a cutscene will interrupt with more of the same hellions swarming the group. Then, from behind them, Mikleo casts Twin Flow. They’re weak against water! Mikleo is carrying the bow Divine Artifact and immediately asks Lailah to form a Sub Lord contract. Sorey is still against it, but Mikleo tells Sorey he doesn’t understand Mikleo’s feelings—Mikleo shares Sorey’s dream of a future where humans and seraphim live in harmony. Alisha can now hear Mikleo and tells Sorey to hurry up and answer his friend as she holds off the encroaching hellions. Sorey finally relents and the two young men reaffirm their friendship. Lailah performs the rite (or a shortened version of it, since they don’t have time) and the seraphs retreat into Sorey and out of harm’s way in the nick of time.
Now, back to battle! Press L1 to Armatize with Mikleo and get a new form, complete with a shiny new bow weapon (which Mikleo will auto-aim at your selected target). Unleash several water attacks and finish off the hellions. Sorey is now able to de-armatize at will, and Alisha can now see and hear Lailah and Mikleo. Unfortunately, Sorey isn’t looking so hot. Mikleo earns a new title: "Sub Lord Friend".
Take some time to set artes and titles if you wish. Then, head forward and take the right path to check out a Dropped Items Monolith and to open a chest with an Amber Circlet in it. Backtrack and explore the left path for a chest with Devil Wings, and then head to the star to check out the  waterfall.

Lailah confirms the water isn’t tainted, and asks Mikleo to freeze some of the water for them to take back. Just after he does so, the Earthen Historia suddenly shines and plays its memory. It is of someone writing the Celestial Record. Lailah tells them that there are many Earthen Historias scattered throughout the land, and Sorey gets excited before collapsing with a fever (due to the new contract with Mikleo, and the powers that came with it). Lailah suggests resting at the inn.
Save when the game prompts you to do so.
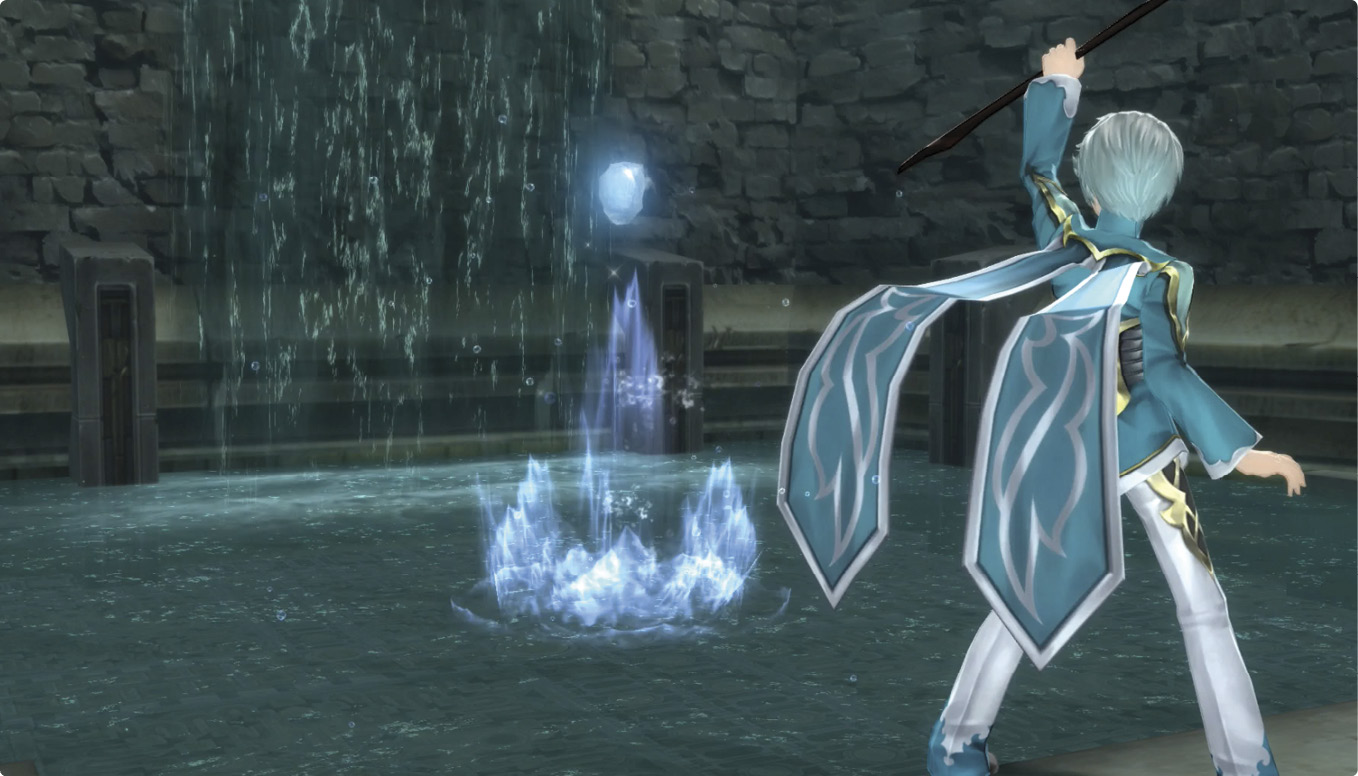
Sorey’s fever abates after a day, and as he wakes, he hears Mikleo thanking Lailah for writing the letters that helped him follow the group to the Galahad Ruins. Sorey’s still a bit wobbly but insists on resuming the search for Breunor and the Lord of the Land.
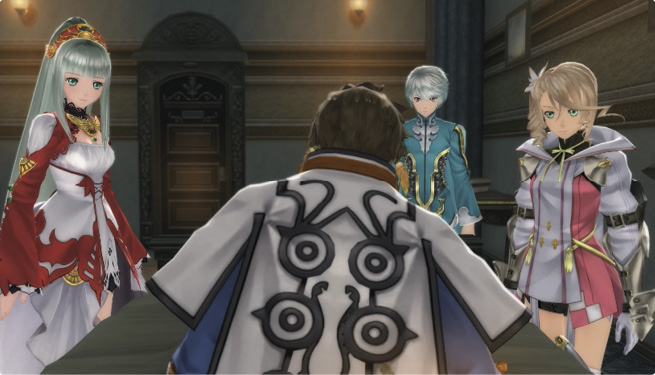
Search for Father Breunor
Ladylake, the Aquapolis
Let’s do this one first since it’s in town. Head to the star in the alley that loops around behind the inn. Father Breunor is there, speaking with a townsperson. She insists on paying the church for his guidance, and he tries not to accept it, but she insists to quell unsavory rumors of her relationship with Father Breunor.
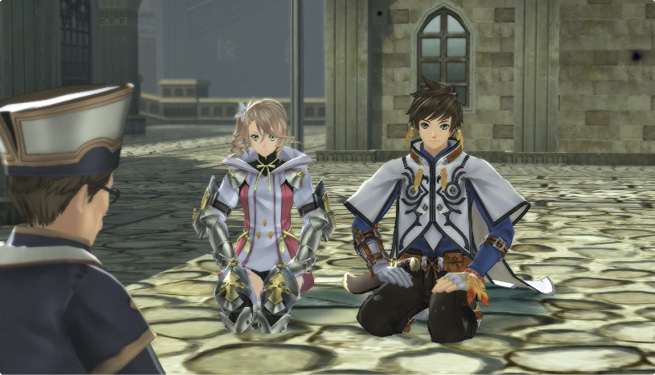
Alisha introduces Sorey, who gets down on his knees and asks Father Breunor to help them keep Ladylake safe by leading the townspeople in support of the seraphs. Father Breunor kneels and readily agrees, and Alisha also kneels to request for his aid. He’ll be waiting in the sanctuary.