
Tales of Zestiria Guide Optional Content Alisha's Story
Elaine Ruins
Elaine Ruins 1F
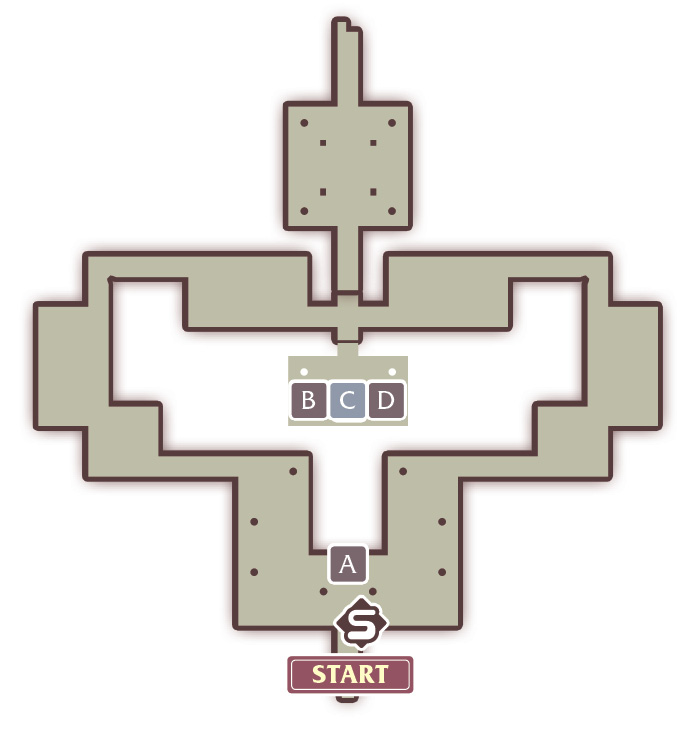
Item List
 |
Silver Key |
 |
Duplemar |
 |
Gold Key |
 |
15,000 gald |
Enemies
Solveiger  |
|
| Level | 75 |
| HP | 15,545 |
| Link | — |
| Weakness |  |
| Resistance |   |
Lava Atlas  |
|
| Level | 85 |
| HP | 13,853 |
| Link | — |
| Weakness | — |
| Resistance |    |
Technician  |
|
| Level | 80 |
| HP | 11,345 |
| Link | — |
| Weakness |  |
| Resistance |    |
Arachne  |
|
| Level | 62 |
| HP | 8181 |
| Link | — |
| Weakness |  |
| Resistance |   |
Mist Puppeteer  / /  |
|
| Level | 90 |
| HP | 10,263 |
| Link | — |
| Weakness | — |
| Resistance |    |
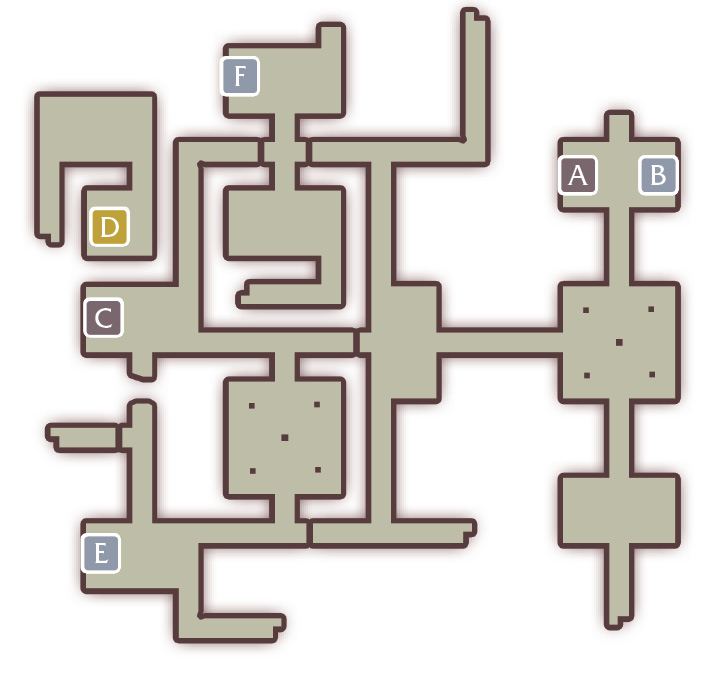
Head north and activate the save point. The treasure chest directly in front of you contains a Silver Key. Fight any creatures you encounter, if you wish, on your way to the room in the center of the map. Once inside, you will find three treasure chests which respectively contain 15,000 gald, a Gold Key (now you can go back and open any locked gold chests you passed), and a Duplemar. Continue north.
Elaine Ruins 2F
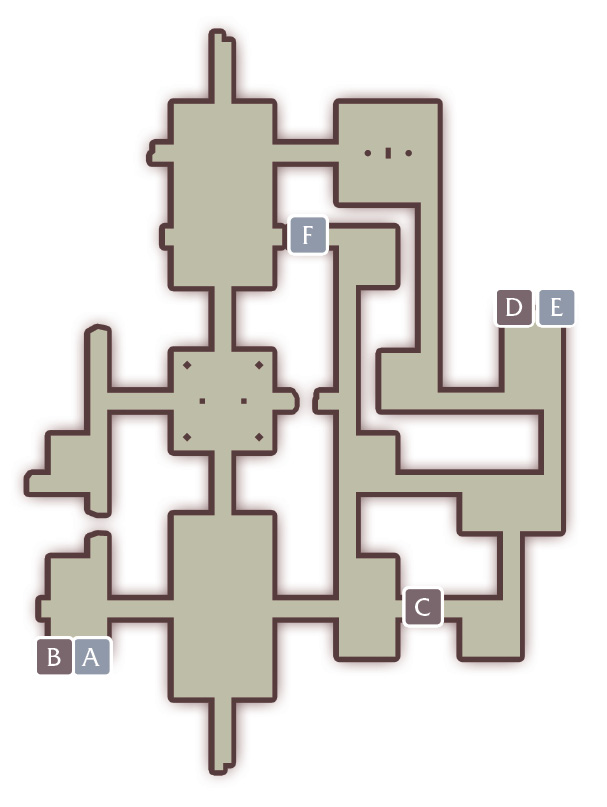
Item List
 |
Ribbon of Cosmos |
 |
Arcane Bottle |
 |
Grape Gel |
 |
Mango Sorbet |
 |
Adamantine Garment |
 |
Ribbon of Cosmos |
This floor is much bigger than the last. Make a left from the first room and open the two treasure chests containing (from left to right) a Ribbon of Cosmos and an Arcane Bottle. You can skip the area on the other side of the rubble as there is nothing of value. Exit this room and continue east across the map.
The room furthest east has a treasure chest containing Grape Gel. Once you collect this (if you need it) head north. If you continue north along the eastern most path, you will come across two treasure chests containing (from left to right) a Mango Sorbet and an Adamantine Garment. The central path (leading to a dead end) leads to a treasure chest containing a Ribbon of Cosmos.
Once you are ready to move on, make your way to the northern exit.
Elaine Ruins 3F
Item List
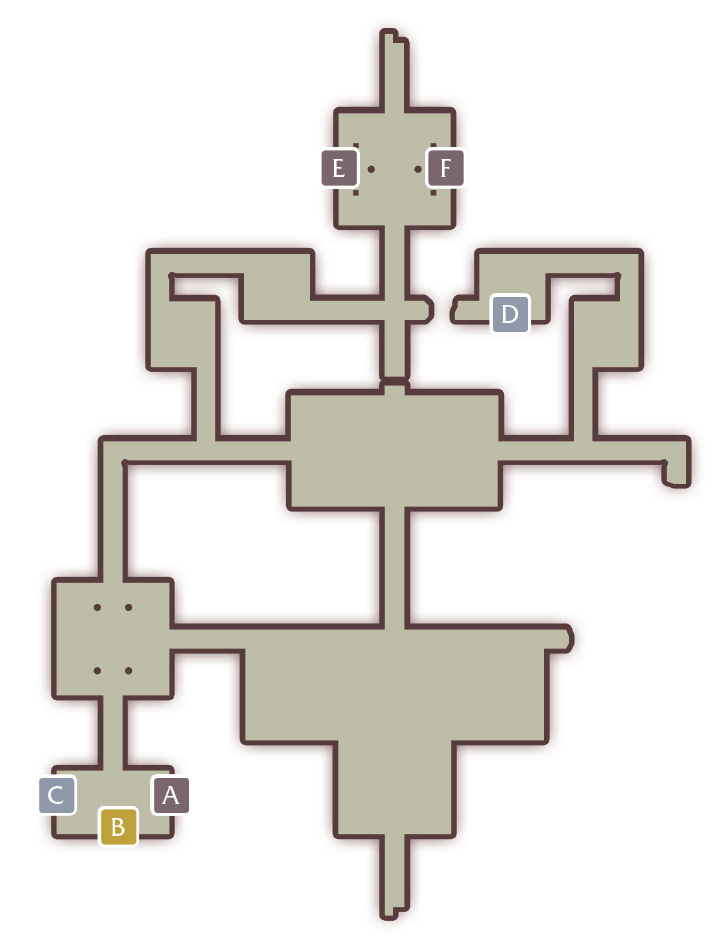
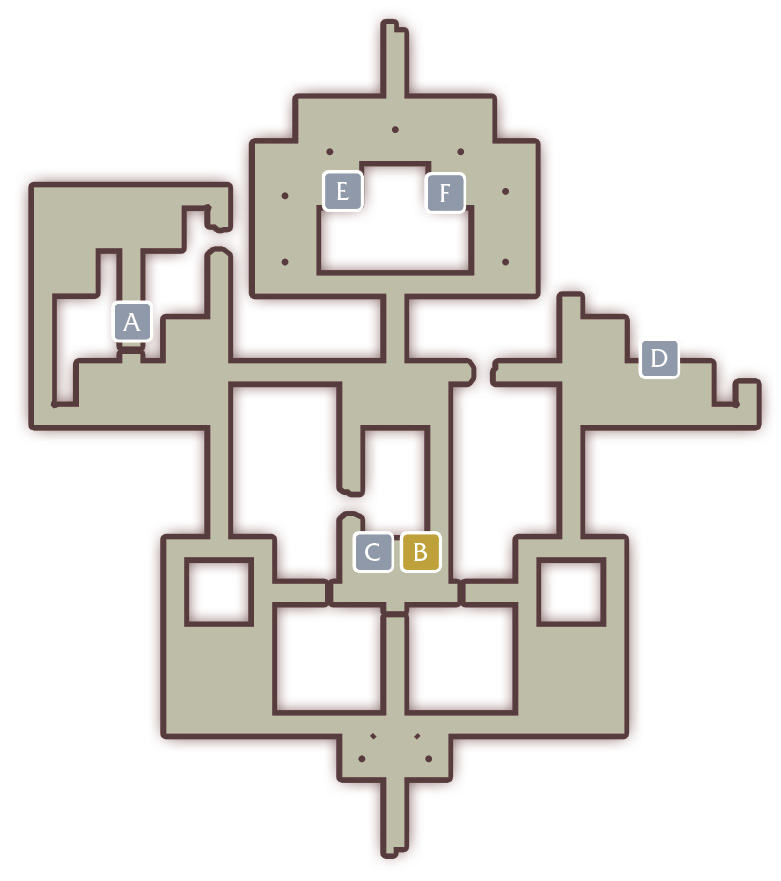
Head north and make a left. The southernmost room to the west contains three treasure chests containing (from left to right) 16,000 gald, Grounded Shoes, and an Adamantine Dagger. Take the path leading north from the room and continue east towards the dead end. There is nothing of value along the southern dead end, but the northern portion has a treasure chest containing another Adamantine Dagger.
The final room before the exit has two treasure chests, each containing a Legless Ring. When you’re done, make your way to the northern exit.
Elaine Ruins 4F
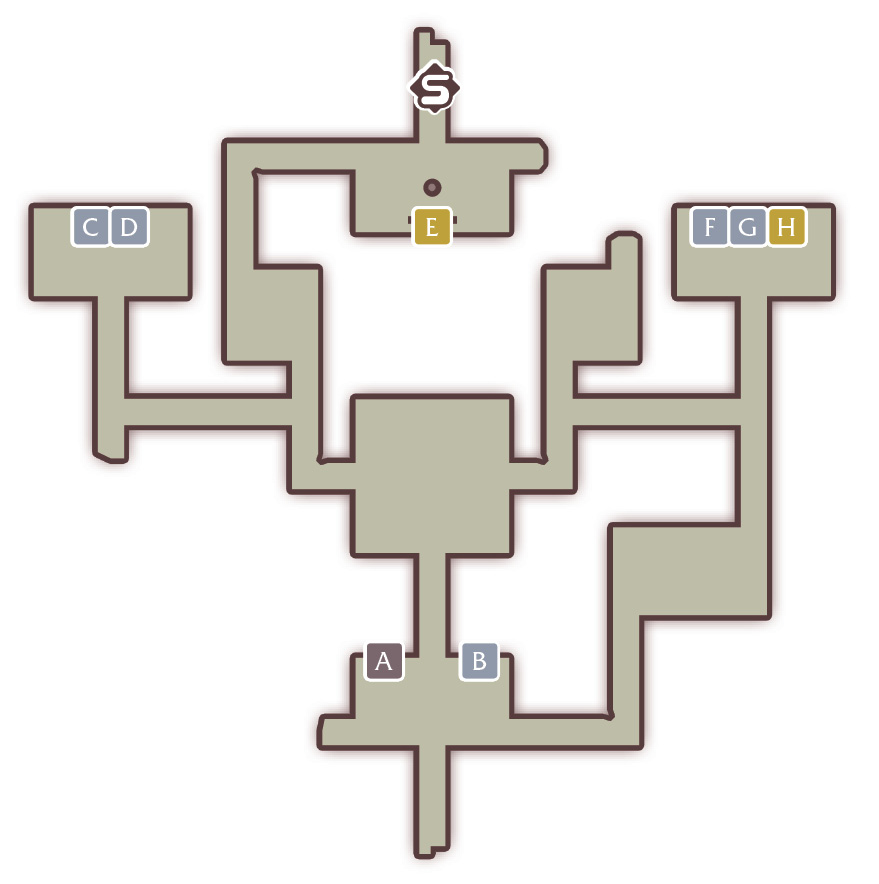
Item List
 |
Arcane Bottle |
 |
Elixir |
 |
Adamantine Garment |
 |
Adamantine Garment |
 |
Purple Crystal Key |
 |
Hourglass |
 |
Ribbon of Chaos |
 |
Zero Impact Vest |
Enemies
Vritra /  |
|
| Level | 80 |
| HP |
37,697 |
| Link | — |
| Weakness |  |
| Resistance | |
| Kadru / |
|
| Level | 80 |
| HP |
38,348 |
| Link | — |
| Weakness |   |
| Resistance | — |
The first room you enter will contain two treasure chests. Be wary of the two hellions guarding the room – combined, they can form a Dangerous Encounter and become quite powerful. The chests contain (from left to right) an Arcane Bottle and an Elixir. Progress through the eastern path (skipping the door at the end for now since you do not have the proper key) and head towards the star on the mini-map where you will encounter another boss battle. This will be your most difficult battle yet, so be prepared!
Vritra and Kadru
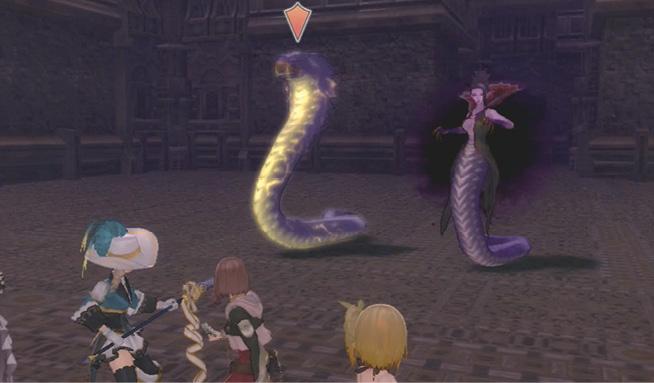
You will be fighting two boss hellions, Vritra and Kadru. Vritra is weak to Non-Elemental and Wind artes but resistant to Earth, while Kadru is weak to Earth and Water and has no resistances. This makes the hidden arte Frozen Starlight perfect to use against Kadru, but don't get Vritra caught in the arte if you can; Thunderclap is the better arte against him, as well as the new mystic arte “Azure Apocalypse” Alisha just learned.
Focus on taking out one of the hellions with your entire team using the command “Focus Attack” or the Strategy Action “Follow Partner.” When the two hellions are next to each other they are particularly powerful, so keep them separated if you can. Vritra will use both martial and hidden artes, while Kadru will use hidden and seraphic artes, so keep in mind the balance between the three arte types to interrupt/deflect their attacks. Also remember Kadru has a +2 to Iron Stances when casting seraphic artes, so she won’t be easily interrupted with your martial artes.
When defeated, the two will drop an Adamant Ribbon and Gloandi.
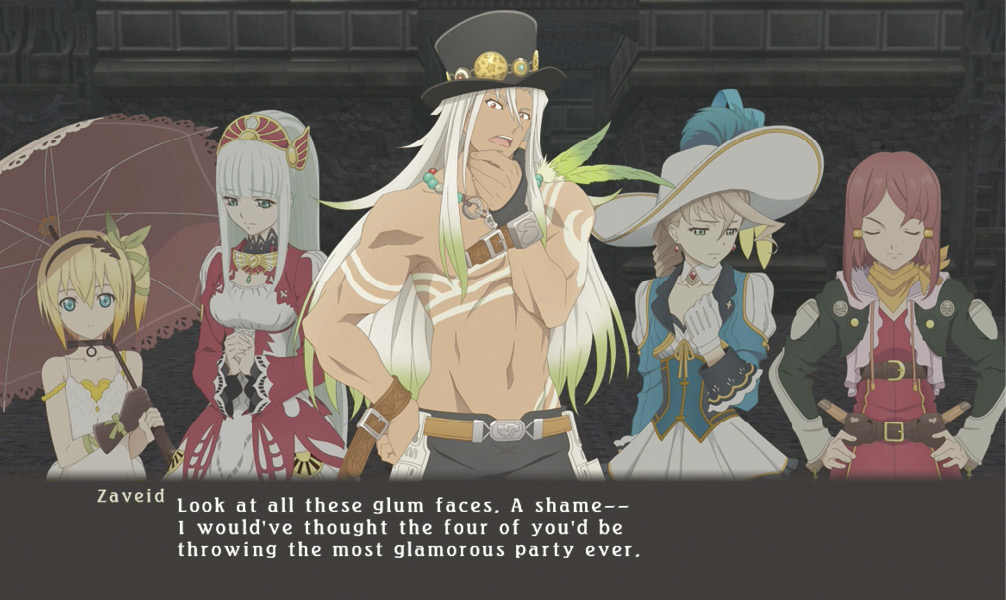
After the battle, the confident wind seraph Zaveid joins your party. After his obligatory flirting, the group discusses the best way to reseal the ruins. As with most things there are no shortcuts, and your first priority should be quelling the hellions. Once more Lailah expresses her concern that the group is being watched, but nevertheless the group continues onward. (If you made any changes to your controls for the boss battle, be sure to revert them back to accommodate lesser hellions.)
The room furthest west contains two treasure chests each holding an Adamantine Garment. From here, head towards the northern exit. The room with the merchant contains a treasure chest with the Purple Crystal Key. Return to the previously locked door along the eastern route and enter the room. Inside you will find three treasure chests containing (from left to right) an Hourglass, a Ribbon of Chaos, and a Zero Impact Vest. Return to the northern exit, talking to the Dark Turtlez Emoprium merchant if necessary before activating the save point and progressing.
Elaine Ruins 5F
Item List
 |
Life Bottle |
 |
Survivor’s Garb |
 |
Chiffon Cake |
 |
Adamantine Garment |
 |
Adamantine Garment |
 |
Adamantine Boots |
Enemies
| Immortus |
|
| Level | 85 |
| HP | 7845 |
| Link | — |
| Weakness |  |
| Resistance |     |
Solveiger  |
|
| Level | 75 |
| HP | 15,545 |
| Link | — |
| Weakness |  |
| Resistance |    |
| Changeling |
|
| Level | 75 |
| HP | 9409 |
| Link | — |
| Weakness | — |
| Resistance |    |
| Orc Gorilla |
|
| Level | 95 |
| HP | 17,231 |
| Link | — |
| Weakness |  |
| Resistance |    |
Midgard Serpent  |
|
| Level | 85 |
| HP | 16,190 |
| Link | — |
| Weakness | |
| Resistance |    |
Head north along the path and enter the northernmost room. Inside your will find two treasure chests containing (from left to right) a Life Bottle and a Survivor’s Garb.
Looking at the map, the area may seem overwhelmingly complicated, but you should not have any issues progressing through the labyrinth. From here, head south and make a right. Continue west along the path and at the junction, turn south and take the exit at the end of the hall.
Elaine Ruins 6F
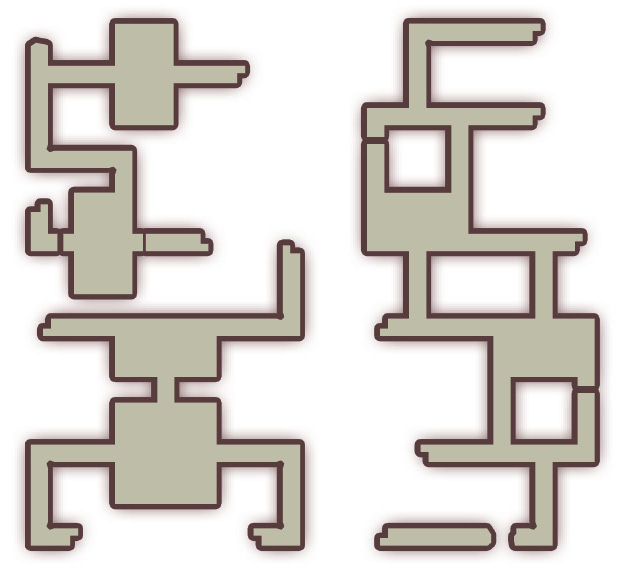
There are no treasures in this floor (not counting 6F North Room); you'll have to navigate through this area to find its rewards. Progress north to the southernmost waypoint marked with question marks on the mini-map along the eastern wall and progress up the staircase - this will take you to the first of five treasure rooms, the 7F East Treasury.
Elaine Ruins 7F East Treasury
In the room at the end of the hall are five treasure chests containing, from left to right: an Adamantine Pendulum, a Purple Crystal Orb, an Adamantine Umbrella, a Zero Impact Vest, and an Uprising Veil. Collect these and then return to 6F.
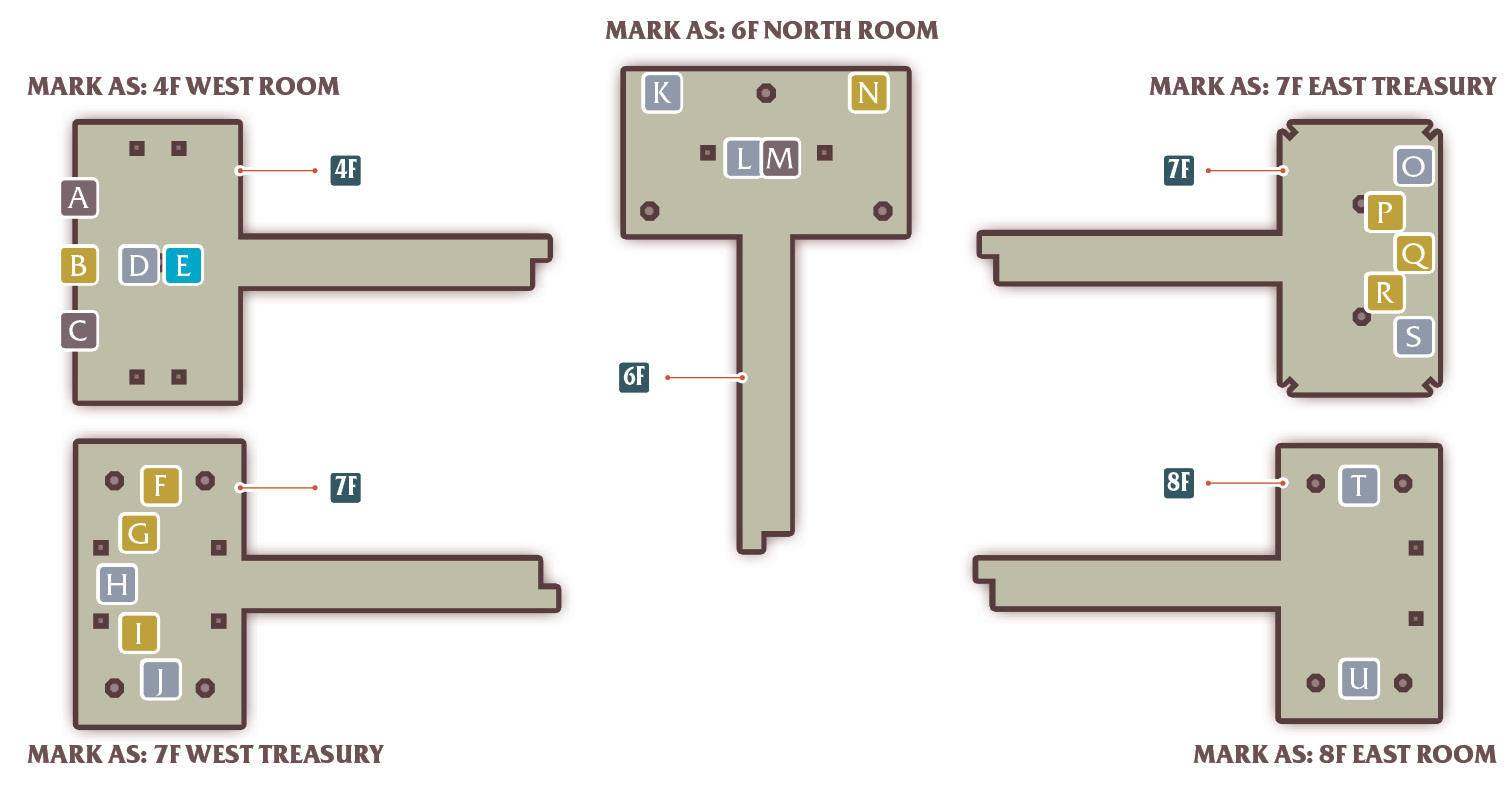
4F West Room
 |
Demon Ring |
 |
Elixir |
 |
Uprising Veil |
 |
Melon Gel |
 |
Drop Bottle |
7F West Treasury
 |
Ragnarok |
 |
Alchemist’s Wand |
 |
Scrapulum |
 |
Elixir |
 |
Adamantine Dagger |
6F North Room
 |
Ragnarok |
 |
Ribbon of Chaos |
 |
Adamantine Dagger |
 |
Duplemar |
7F East Treasury
 |
Adamantine Pendulum |
 |
Purple Crystal Orb |
 |
Adamantine Umbrella |
 |
Zero Impact Vest |
 |
Uprising Veil |
8F East Room
 |
Melon Gel |
 |
10,000 gald |
Elaine Ruins 7F
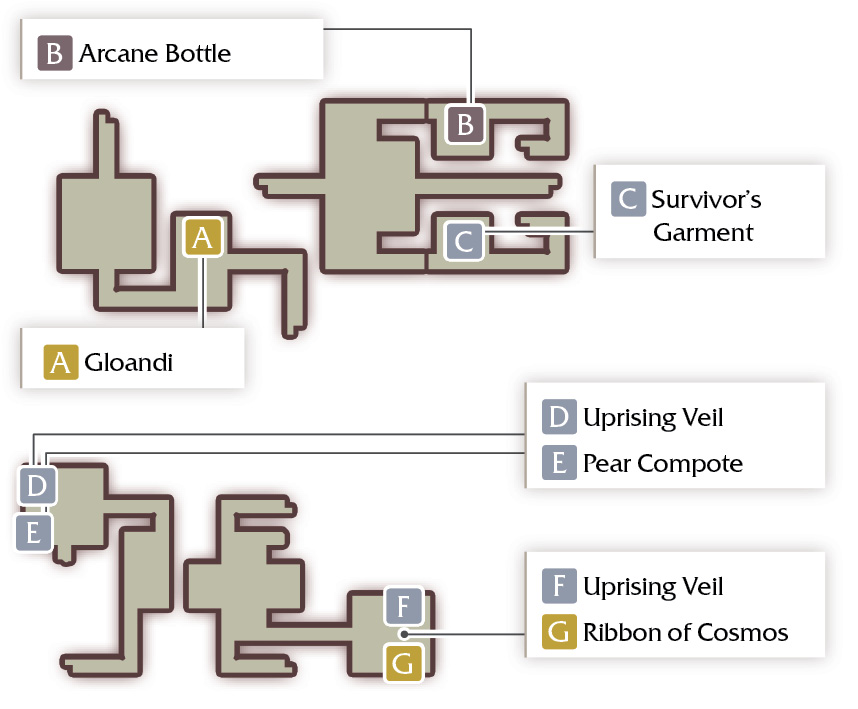
Progress north to the northernmost waypoint leading to Elaine Ruins 7F along the eastern wall and progress up the staircase. This will take you to the top right corner of the 7F map.
Progress through the path, stopping for the treasure chest to your left containing an Arcane Bottle, and proceed to what appears to be a dead end.
Inspect the three purple crystals on the wall; it will open now that you have the Purple Crystal Orb. Progress through the newly discovered pathway. After making two lefts, open the double doors and head up the staircase marked with question marks at the end of the hallway to enter the 8F East Room.
Enter the chamber at the end of the hall and open the two treasure chests holding a Melon Gel and 10,000 gald, then return to 7F.
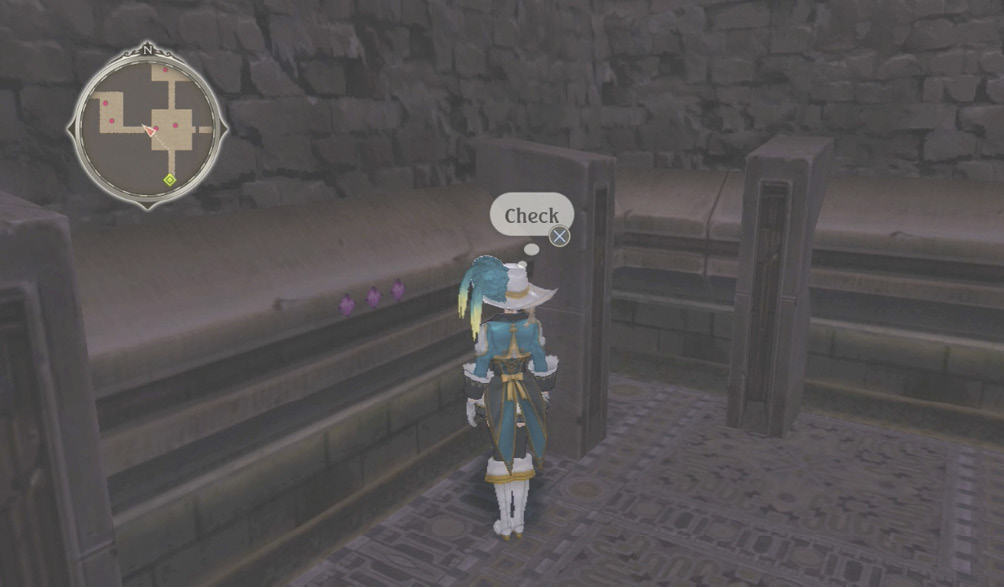
Elaine Ruins 7F
Head west through the second set of Purple doors and take the stairs to 6F.
Elaine Ruins 6F
Take the path south to the waypoint leading to 5F.
Head to the path opening northwards and touch the purple stones on the wall to your left to open a new pathway. This side room of the 5F has a gold treasure chest containing an Adamantine Garment. Head back to the 6F and open the purple doors to find the stairs leading back to the main section of the 5F.
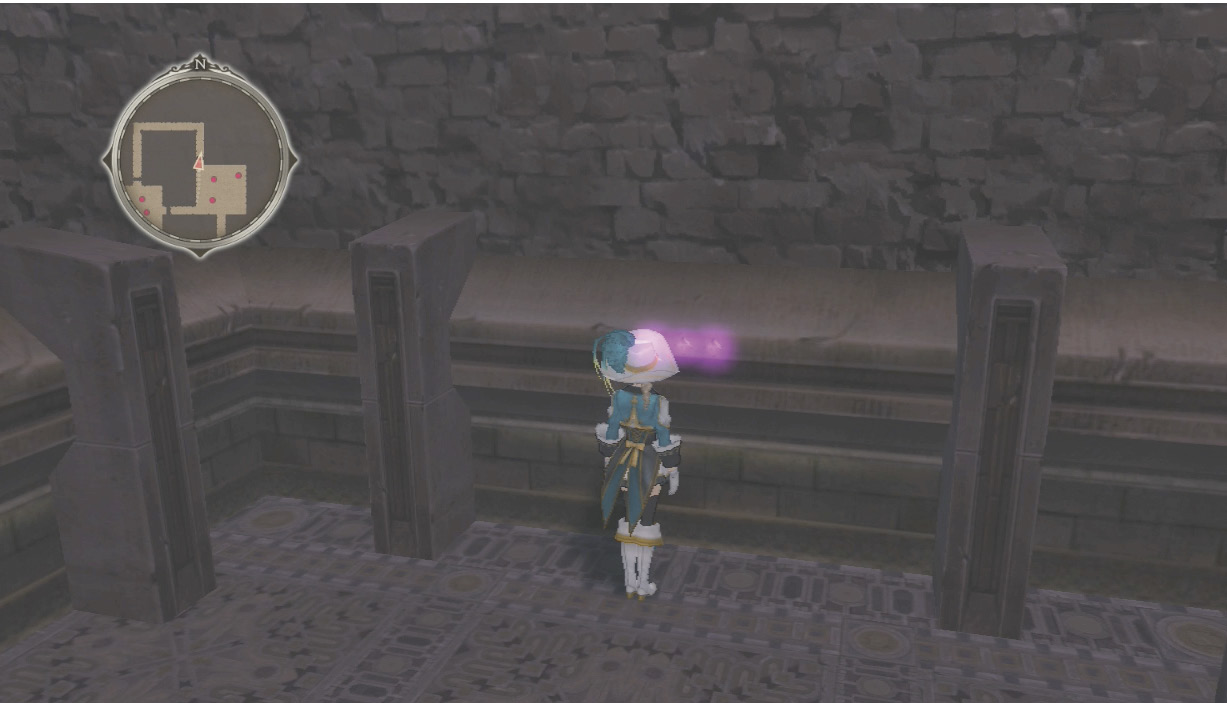
Elaine Ruins 5F
The northern most room has a silver treasure chest containing Adamantine Boots. After collecting them, turn back south and open the purple stone pathway. Collect the Chiffon Cake, then take the middle path eastwards and open another purple stone pathway. Head north to the question marked stairway (there is nothing of value to the south) – this’ll take you to the 6F North Room where you’ll find, from left to right, a Ragnarok, Ribbon of Chaos, Adamantine Dagger, and Duplemar. When you’re done collecting these items, return to the 5F.
Head south and return to the western side of the 5F. Fight or evade hellions to get to the bottom left corner of the map, where you’ll find the treasure chest containing an Adamantine Garment. Open the purple stone pathway to the north to enter the staircase marked with question marks. This stairway takes you to the 4F West Room, which contains an Uprising Veil, an Elixir, a Demon Ring, a Melon Gel, and a Drop Bottle. Return to 5F; head to the southernmost staircase leading to the 6F.
Elaine Ruins 6F
Head towards the question mark waypoint in the top left corner of this section of the 6F map and take the staircase to the 7F West Treasury.
Elaine Ruins 7F (West Treasury)
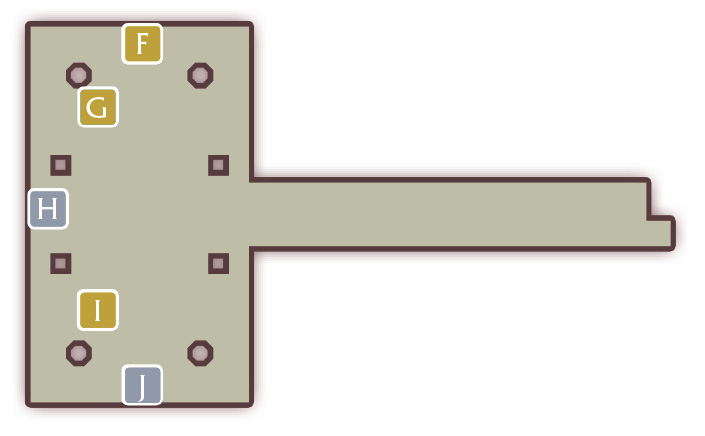
The chamber at the end of the hall contains five treasure chests holding: an Adamantine Dagger, an Elixir, a Scrapulum, an Alchemist’s Wand, and a Ragnarok. Return to 6F.
Elaine Ruins 6F
Head to the other northern waypoint marked Elaine Ruins 7F.
Elaine Ruins 7F
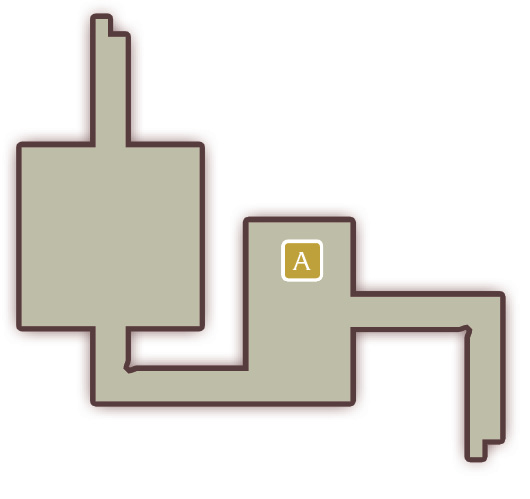
Progress towards the question mark waypoint marked on your map, stopping to inspect the treasure chest to your right containing a Gloandi.
Elaine Ruins 8F
Item List
 |
Gloandi |
 |
Elixir |
|
Grape Gel |
 |
Panacea Bottle |
 |
Life Bottle |
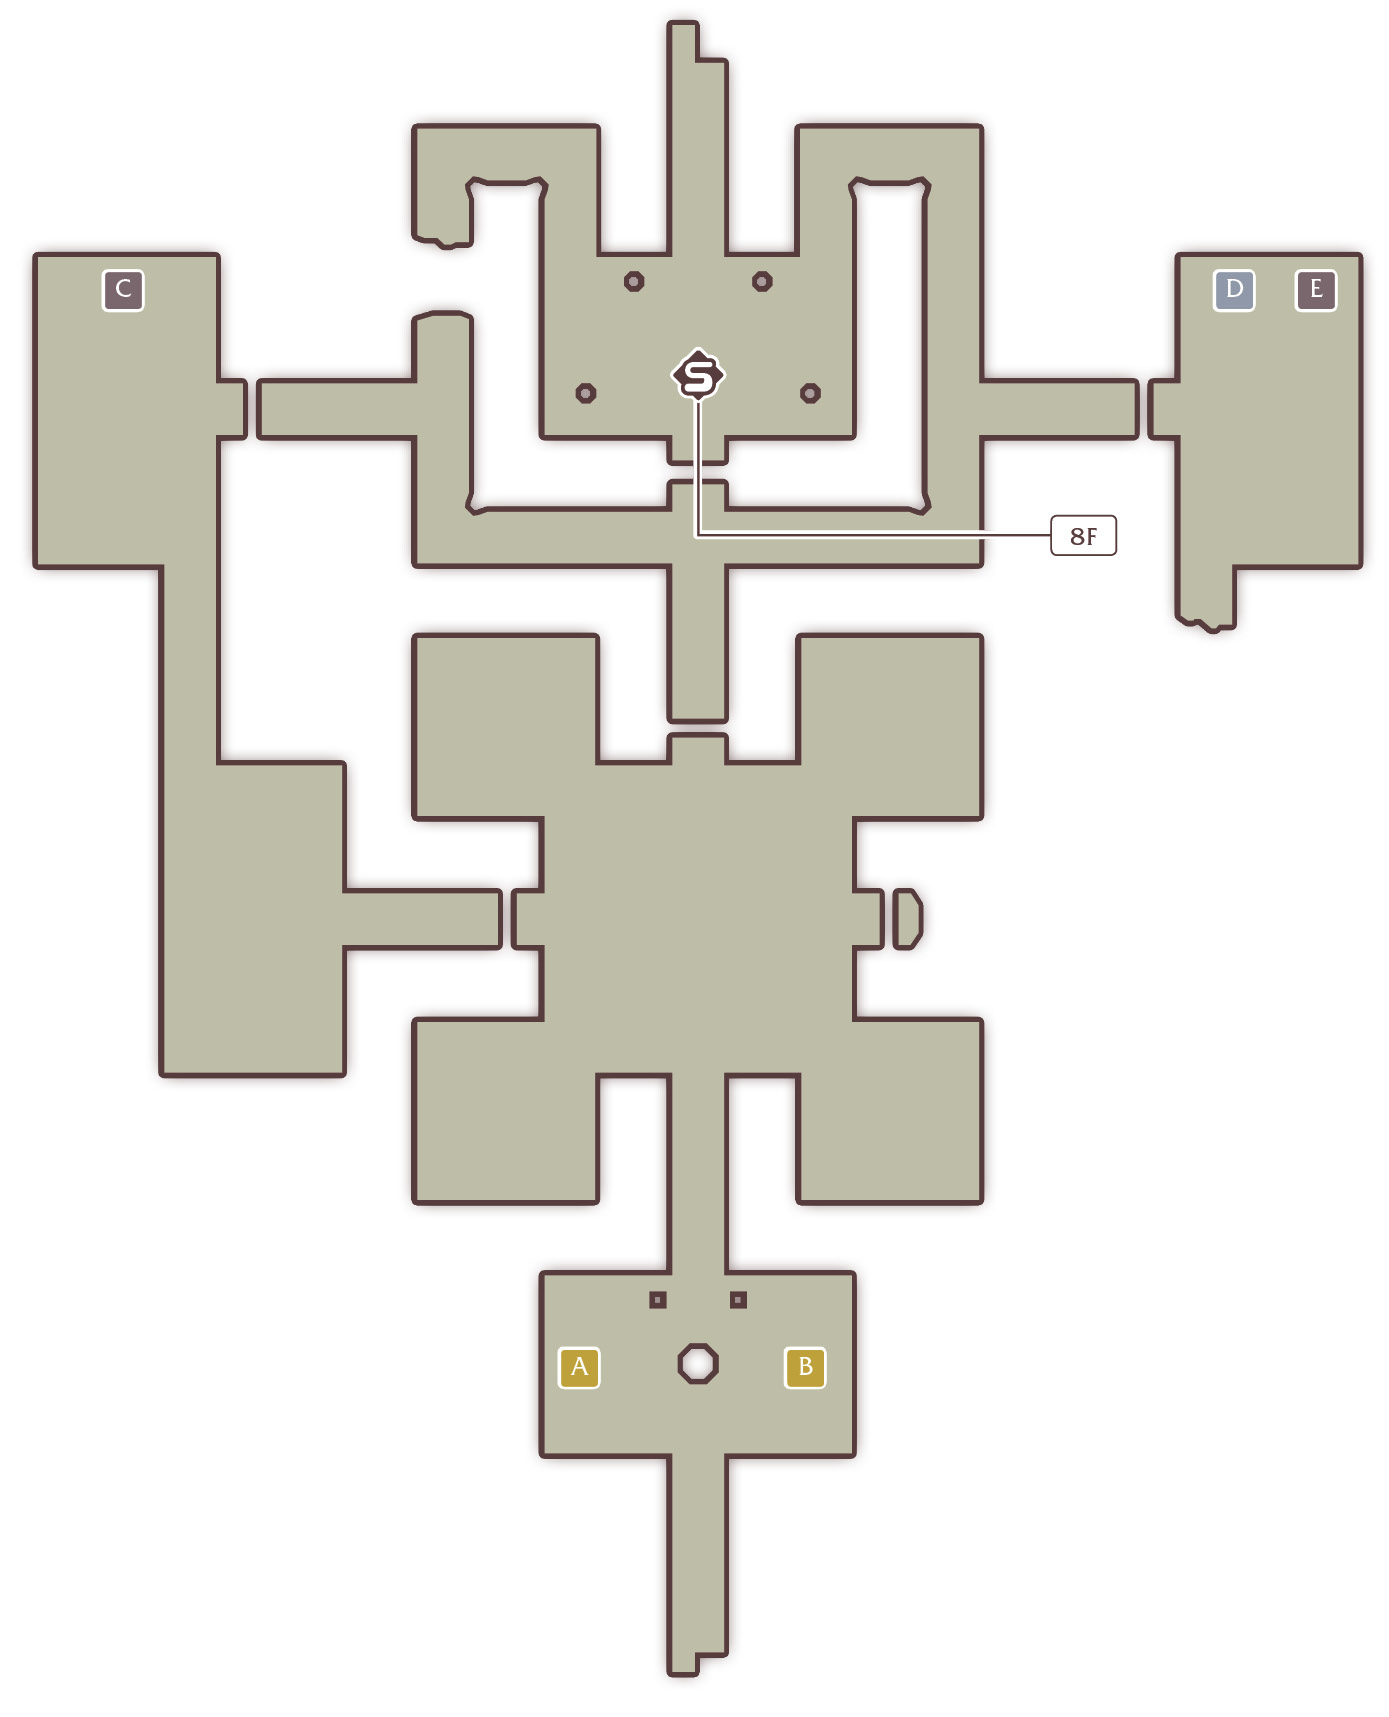
North, there are two treasure chests in the first chamber containing (from left to right) a Gloandi and an Elixir. Continue north through the double doors towards the star on the map. Be sure to heal and reset your initial SC - herbs or snacks will be your best bet if you don't want to trek all the way back to a save point to return to an inn.
Enemies
Roc  |
|
| Level | 85 |
| HP | 46,568 |
| Link | — |
| Weakness |  |
| Resistance |   |
Valkyrie /  |
|
| Level | 85 |
| HP | 46,534 |
| Link | — |
| Weakness |  |
| Resistance |  |
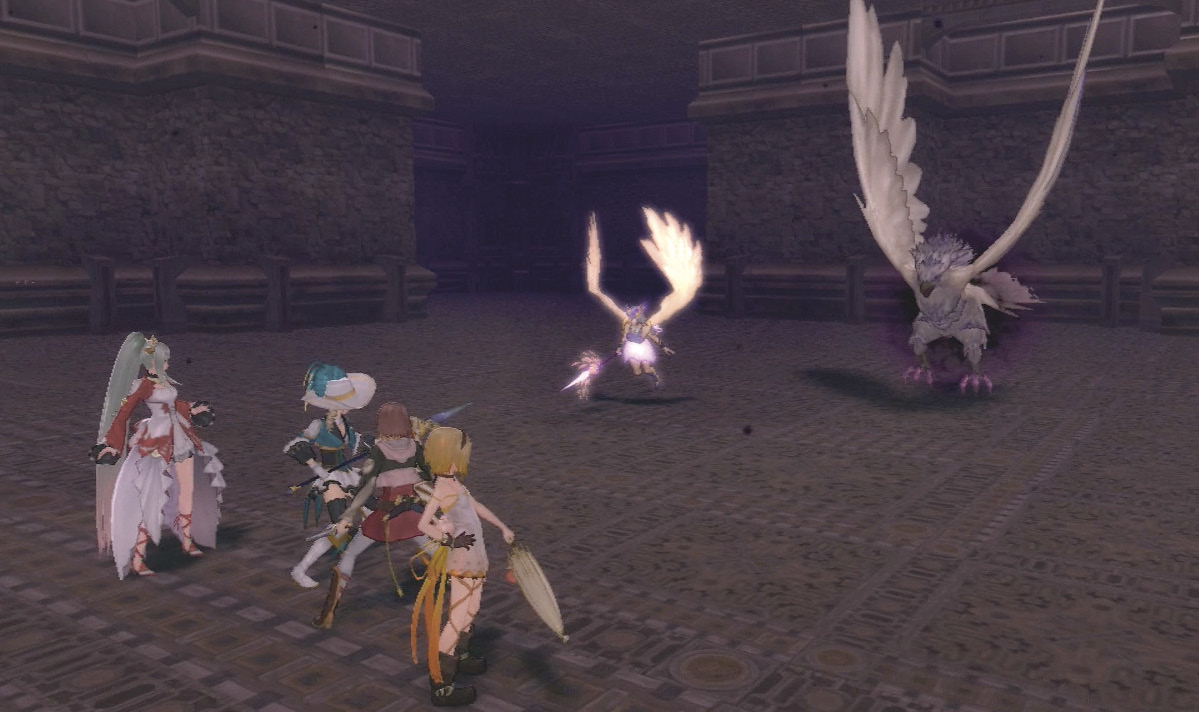
These hellion bosses are winged, so if you have any artes or equipment skills that do extra damage to winged hellions be sure to equip them. Focus your attacks on the Roc first - he is very strong but has low stats in both defense and arte defense, and he stuns easily from water artes. As long as you keep whaling on him with your martial and hidden artes so he can’t defend himself, he should fall quickly. Also keep up the offense so he doesn’t have a chance to enact his special ability, which gives him a 100% chance of inflicting Slow.
Once the Roc is defeated, turn your focus on the Valkyrie. As long as she has at least 70% health she cannot be staggered, but hopefully after defeating the Roc her health will be lowered enough. If not, attack defensively with your fire artes until her health is below 70%. Because she favors seraphic artes, she won’t be able to retaliate as long as you keep up your martial artes against her; however, this strategy only works when her health is below 70%.
The two drop a Ribbon of Equilibrium and Forbrannir when defeated.
With the two hellions defeated, touch the purple stones to your left to open a secret passage. There is a treasure chest in the room furthest north along the western path holding a Grape Gel. Touch the purple stones to your right to continue, following the new path until you reach another set of purple stones hiding a single chamber room. Inside you will find two treasure chests containing (from left to right) a Panacea Bottle and a Life Bottle.
After collecting the two treasures, turn around, head north to the exit, and activate the save point (you can skip the dead end to your right, as there is nothing of value). Talk to the Dark Turtlez Emporium merchant need be, and then continue to the exit.
Alisha and Rose are not any closer to finding out the source that’s causing the seemingly unending supply of hellions, but one thing is certain: whoever it is seems to be watching them closely. On the bright side, the two have come to accept their friendship, even if Rose is still reluctant to admit it. As Alisha mulls over her answer, Edna and Lailah seem content to allow Rose and Alisha to resolve the matter themselves.
Elaine Ruins 9F
Item List
 |
Ribbon of Equilibrium |
 |
Adamantine Boots |
 |
Ephemeral Wing |
 |
20,000 gald |
 |
22,000 gald |
 |
Uprising Veil |
 |
Drop Bottle |
Enemies
Scarlet Needler  |
|
| Level | 8 |
| HP | 9514 |
| Link | — |
| Weakness |  |
| Resistance |    |
| Almond Jelly |
|
| Level | 90 |
| HP | 7697 |
| Link | — |
| Weakness | — |
| Resistance |   |
| Bird Head / |
|
| Level | 95 |
| HP | 7614 |
| Link | — |
| Weakness |  |
| Resistance |    |
| Golden Axer |
|
| Level | 95 |
| HP | 12,623 |
| Link | — |
| Weakness | — |
| Resistance |    |
Dragoon  |
|
| Level | 90 |
| HP | 11,180 |
| Link | — |
| Weakness | — |
| Resistance |    |
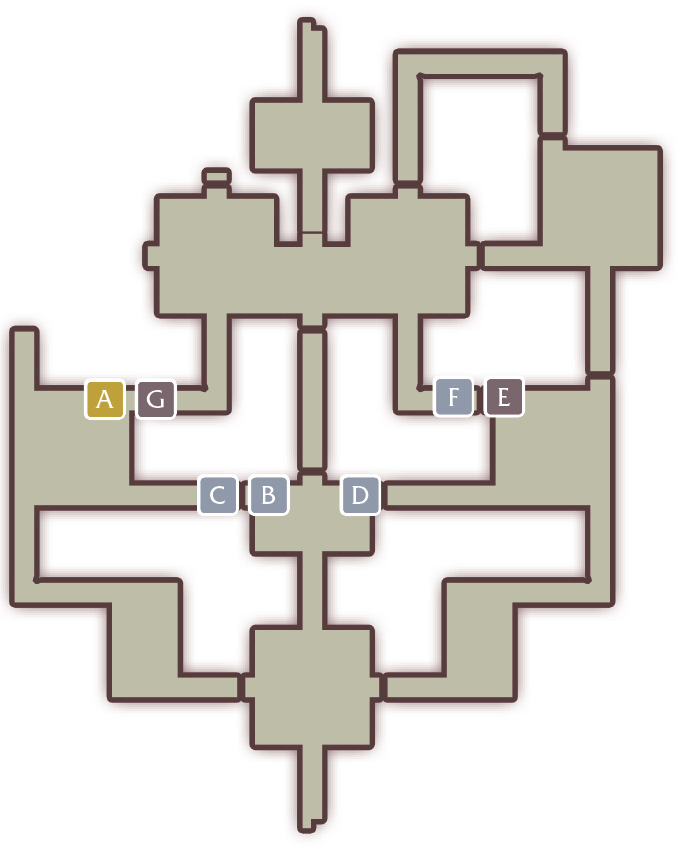
Upon arrival to the ninth floor, the group realizes that their journey is almost complete. Progress towards the left path and open the hidden pathway. Open the treasure chest along the northern wall to collect the Ribbon of Equilibrium, then continue towards down the path and open the treasure chest containing the Ephemeral Wing.
Turn around and return to the starting area to take the other path leading north. To your left is a treasure chest containing Adamantine Boots. Collect these, and then open the chest on your right to collect 20,000 gald. Behind this chest are more purple stones revealing another secret pathway.
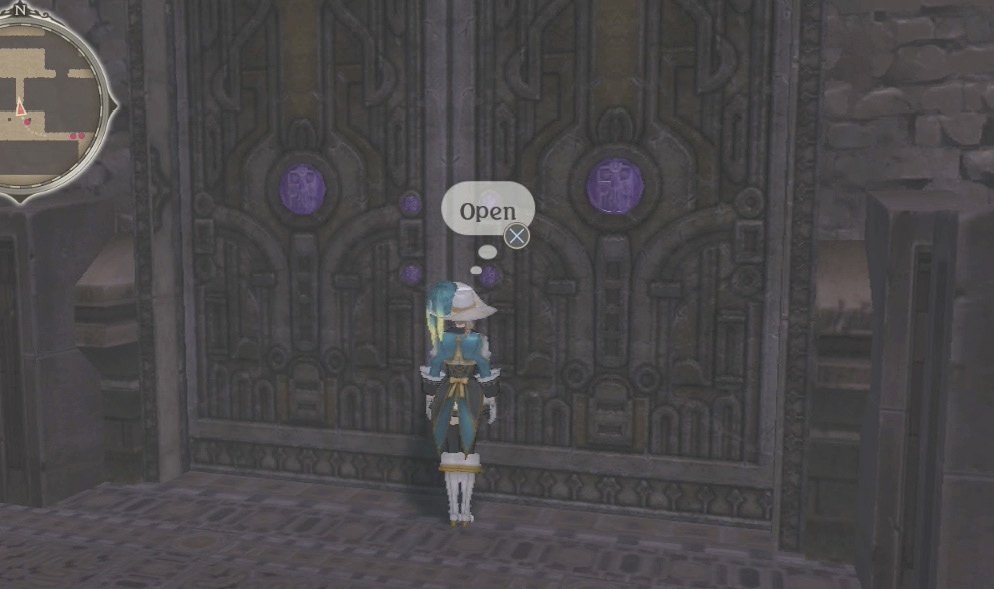
You can skip the path heading south as there is nothing of value in that direction. Along the wall to the northwest is a chest containing 22,000 gald. Collect this then proceed to the northeast wall where there are more purple stones revealing another secret pathway. There are two more purple stone walls to get through in the northern passage, and then you'll be in the top central room. In the right bottom passage you'll find a silver chest with an Uprising Veil; in the left bottom passage there is a copper chest with a Drop Bottle. Collect them, and open the purple doors to the north to continue on.
Elaine Ruins 10F
Item List
 |
Reflex Vest |
 |
Ribbon of Equilibrium |
 |
Forbrannir |
 |
Ephemeral Wing |
 |
Strawberry Macaroon |
 |
Elixir |
Head north and take the path to the right. This will lead to a treasure chest containing an Ephemeral Wing. Collect this then return to the starting area. You should now take the left path. Follow the path leading to the top left of the map to find a treasure chest containing a Reflex Vest, or continue towards the center of the map to make your way to the staircase leading to the next floor; make sure to go south first and collect the Forbrannir and Ribbon of Equilibrium from the gold chests. Head back north and open the two sets of purple doors. From there, either path will take you to the next staircase, but both paths contain a treasure chest. One has a Strawberry Macaroon while the other has an Elixir. Make sure to grab these as well before progressing up the stairs.
Elaine Ruins 11F
Item List


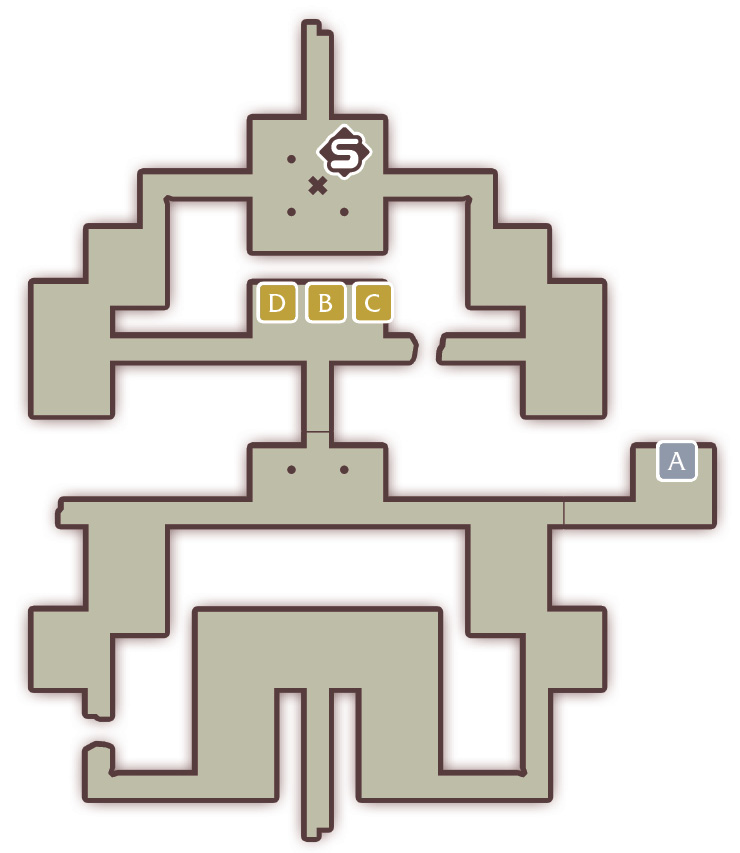
The western part of the room you are in does not contain anything of value, so head southeast and then follow the path north. Turn right and open the silver doors to find a likewise silver chest containing a pair of Grounded Shoes. The southern section now depleted, head to the middle of the map and open the purple doors. Collect the Gigant Shoes, Coarse Ribbon, and Writhing Spear from the gold chests, and make your way west, north, and then east to the save point. If there’s anything else you want to do during this playthrough, use the save point to warp around and tie up any loose ends - otherwise, head up the stairs to the final battle.
Elaine Ruins 12F
This is your last chance to set your artes, modify your equipment, and configure your strategies before moving forward. Rose realizes something is not right. Why has the hellion not revealed itself yet? This seems to be the end of the labyrinth and yet, nothing. Are you too late?
A distraught Rose rushes forward with Alisha not too far behind, only to be ambushed from above. Rose is more determined than ever and refuses to let anything stand in her way. These creatures have a weakness to non-elemental and wind artes, so rely on your corresponding artes and bring in Zaveid. Remember to dodge and stun, and keep an eye on your allies’ health. Your greatest strength is in your numbers, so the battle becomes that much more difficult if an ally falls.
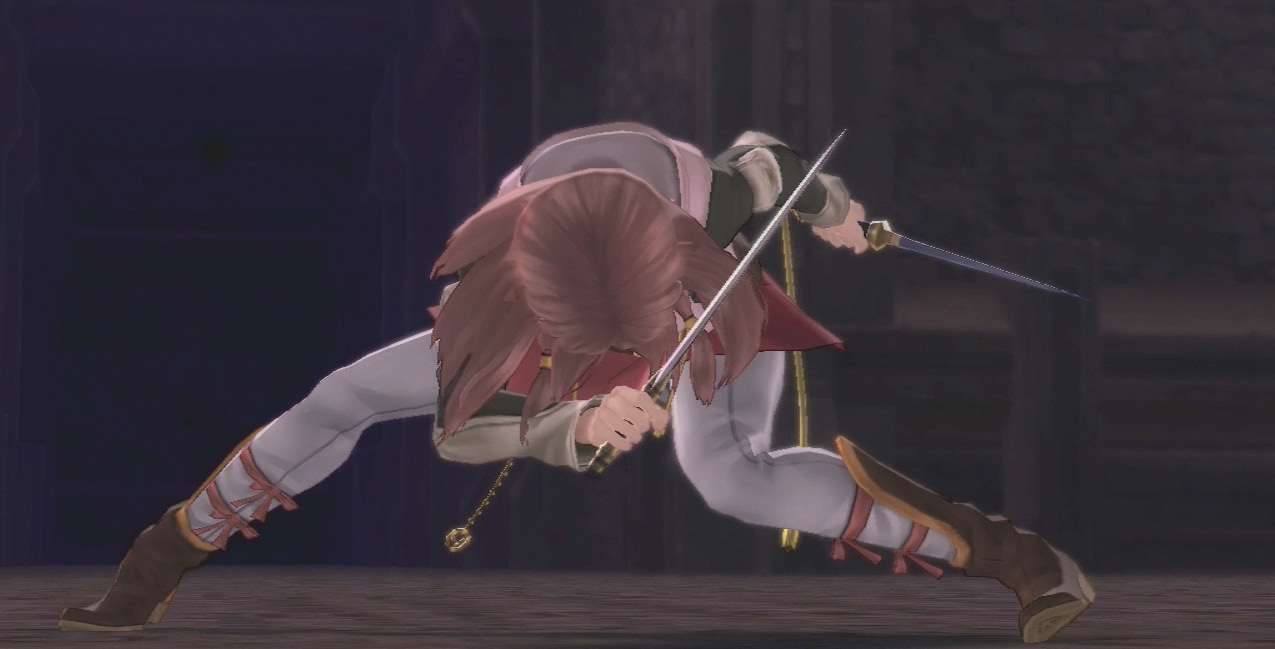
Enemy : Baphomet
Baphomet  / / |
|
| Level | 100 |
| HP | 72,065 |
| Link | — |
| Weakness |   |
| Resistance |   |
For some reason the Baphomet won’t die, and a frustrated Rose is too lost in her emotions to think clearly. While Rose is willing to disregard the consequences, Alisha is not willing to lose another friend. Throughout all of this, it seems Alisha finally has the answer she was looking for, as well as the truth about Sorey…
These Baphomets have the same moves as the one before, but now you’ll have to fight two at once. Since they’re sharing their power, the only way to defeat them is to take them out almost simultaneously. Have your party focus their assault on both hellions, and periodically check their health to make sure they remain close as you whittle them down. You’ll be warned when they are almost finished – this is the time to keep both hellions' health levels very close. If their health is too far apart, the two will recover some of their health and you’ll have to try again.
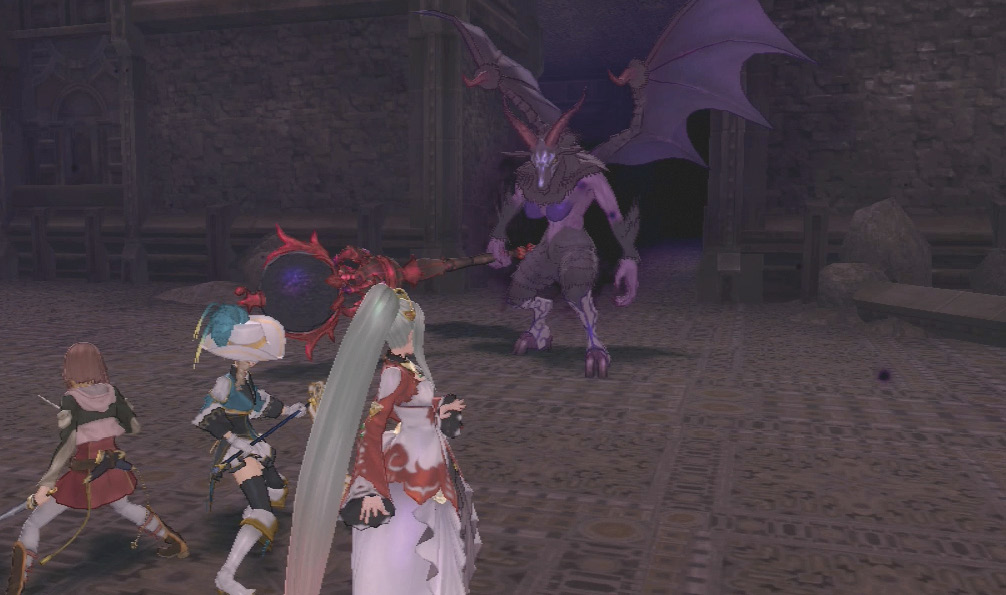
Just as she is delivering the finishing blow Alisha trips, leaving her open to attack. Suddenly Mikleo appears!
Ready to end this fight once and for all, Rose and Alisha charge forward and end the battle. Mikleo, not the type to let this go unnoticed, pats himself on the back for finally showing up and exchanges pleasantries with the other seraphim. Now on to the epilogue…
 |
Grape Gel |
 |
Spear of Impending Death |
 |
Red Sage |
 |
Ribbon of Cosmos |
 |
Red Saffron |
|
|
Drop Bottle |
 |
Red Chamomile |
 |
10,000 gald |

 |
Red Sage |
 |
Panacea Bottle |
 |
Red Chamomile |
 |
Red Sage |
 |
Drop Bottle |
|
|
Arcane Bottle |
 |
Red Verbena |
 |
Melon Gel |

 |
16,000 gald |
 |
Grounded Shoes |
 |
Adamantine Dagger |
 |
Adamantine Dagger |
 |
Legless Ring |
 |
Legless Ring |