
Tales of Zestiria Guide Game System
Battle
ATTACK
Stat Overview
Every character has their own unique base stats that are increased as you level up, but how much these stats go up is specific to each character and their battle styles (Level 4 E-Union skills can add stat bonuses when you level up). You can increase their stats further in many different ways: equipment, skills, titles, herbs, etc. Utilizing these options is one of the most important ways to increase your power, but if battles are getting particularly tough, you might just need some good old fashion leveling.
Hit Points
Hit points reflect a character’s health in battle. Each character has their own base HP, which grows in capacity as the character levels up (some items can raise HP as well). Taking damage will reduce a character’s HP, and if it falls to 0 that character will be KO’d (Knocked Out). If all characters are KO’d, then it’s game over, and you will be prompted to either load from a save data, exit to the title screen, or, in certain fights, restart the battle.
Characters can recover from being KO’d with Life Bottles, or will be revived to 1 HP after you win the battle. Later in the game there will be other ways to revive yourself, including seraphic artes.
Human characters that can perform armatization can be revived by initiating armatization as long as there is a seraphim with HP, but it is safer to initiate armatization before being KO’d. Seraphim will slowly recover HP while they are on standby, even if they’re KO’d, so, when you’re able, switch them out instead of wasting Life Bottles.
Stock Up

In normal state (non-armatized), a character who has taken damage will have a certain amount of their HP gauge stocked up, highlighted light blue. This reflects two things:
- The recovery effect of certain skills, such as armatization, that will instantly transform into HP when activated.
- The amount of HP that will gradually be recovered over time
Spirit Chain (SC)
Spirit Chain is a gauge that reflects the amount of energy a character has to create combos in battle. The maximum SC each character can have is 100, but this maximum can go down battle after battle. How much SC a character is capable of having at that moment is called initial SC, and it can be recovered with Snacks or staying at Inns. Since SC is automatically restored to its initial SC at the end of a battle, you can see where a character’s intial SC is at outside of battle within the Top Menu.
SC is consumed by performing actions, such as artes and quickstepping, and can be replenished by being idle, guarding, completing combos, defeating enemies, or moving around. Other ways to to avoid spending SC needlessly includes:
- Targeting enemy weaknesses
- Stopping attacks on enemies who are guarding/evading
- Not attacking enemies with attacks they are resistant to
- Using artes frequently to reduce SC consumption
- Equipping items with high Focus.
As you use a certain arte repeatedly and increase its  s, that arte will require less SC to be performed.
While it is a good idea to keep your SC high, there are some benefits to running it low. The less SC you have, the more damage you inflict, meaning that the longer you perform your combos the more powerful they become. However, low SC in turn leaves you vulnerable, so this can be risky. High SC has its own benefits, including: reduction in damage taken, multiplied effect potential, and increased SC recovery rate. The key then is to aim to keep your SC high, and to know when it’s time to go all out.
There are tons of methods to taking advantage of and maintaining your SC, and they don’t all need to be utilized right away. Focus on mastering a couple strategies at a time, and it should all fall into place.
The following two Blasts area available through Battle Actions. They are not the only Blasts available and there are more that can be used when armatized.
Blast Gauge (BG)
The Blast Gauge represents a character’s special powers that they can use to perform powerful moves. Normally you can store up to 3 Blast Gauges at a time; you recover BG faster the lower it is, so no need to hold back. Blast Gauges can be unleashed by pressing R2 after performing certain battle actions.
By guarding or evading enemies with quicksteps in normal state you can build up your Blast Gauge. It also recharges naturally over time. While attacking will not recover Blast Gauge, certain skills will recharge it through attacks, so if you want to focus on attacking then using equipment with SC-type skills would be a good strategy. There are also BG-group skills that can help you maintain your Blast Gauge.
Chain Blast
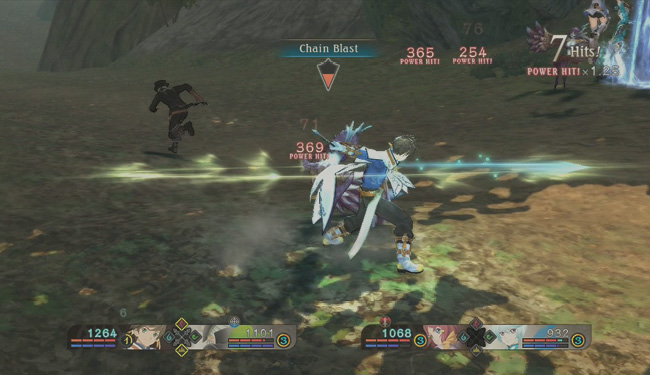
In normal state, you can perform a Chain Blast after performing a 3-hit combo by holding down R2. At the expense of 1 Blast Gauge you recover 50 SC and perform an special attack off of which you can continue to combo, letting you pass the 4-hit combo limit. New Blasts can be acquired by making full use of Chain Blast.
Partner Blast
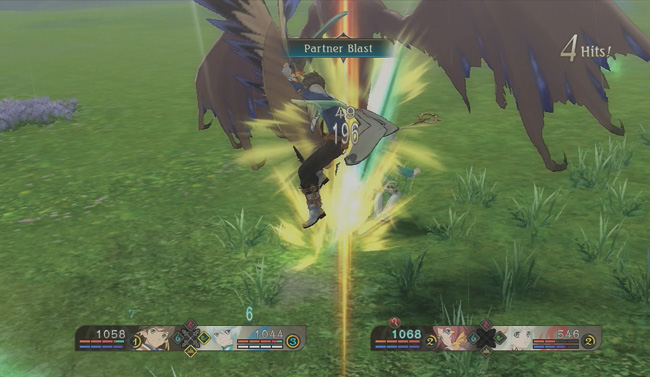
Partner Blast is a Battle Action similar to Chain Blast. After performing 1 combo, press and hold R2 to consume 1 BG, restore 50 SC to a partner, and then instantly perform a follow-up attack on your target. So while Chain Blasts are a good way to recover some SC and deal a final blow after performing a devastating combo, Partner Blast gives you a chance to deal some damage to your enemy while assisting your ally.
As artes are used, their  gauge increases and lessens their SC cost. Likewise, the more total ’s your artes have, the higher a character’s initial BG in battle. Because of this, it’s a good idea to use all the artes that a character has to acquire as many ’s as possible, instead of just focusing on a select few.
Movement
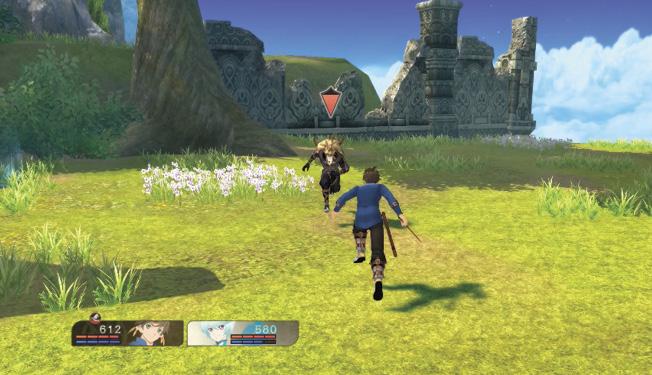
When in Manual mode, the character you control can only move forwards and backwards toward their targeted enemy (when set to Semi-Auto mode, your character will run automatically towards your target until you are close enough to attack). You can move around them by quickstepping to the side, or completely move without restriction with Free Run by holding L2 and moving with the Left Stick. Keep in mind that SC, which can be recovered by standing idle, guarding, or quick evading, cannot be recovered while using Free Run.
Artes
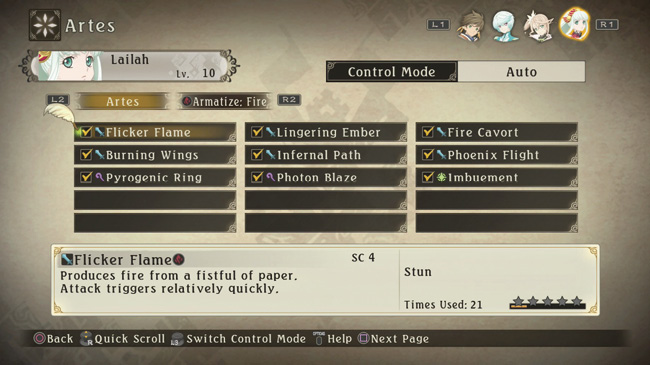
Artes are actions that characters can perform to inflict damage on their foes. They are separated into three groups: martial, hidden, and seraphic. Humans can perform martial and hidden artes, seraphim martial and seraphic artes, and when armatized hidden and seraphic artes are used. Some artes take advantage of an enemy’s Defense and others Arte Defense, so keep that in mind when fighting certain foes. Further, the three groups are balanced against each other, having an advantage on one group and a disadvantage to the other, so pay attention to what types of artes your enemies use to fully take advantage of each arte group’s potential.
Martial Artes
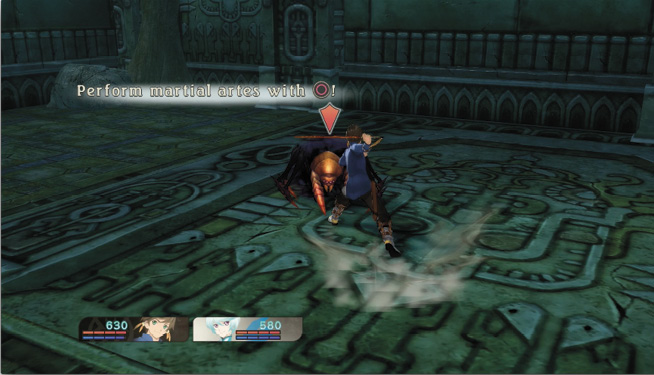
Perform martial artes with  . You can then create up to a 4-hit combo with additional presses of , depending on how many are unlocked. Martial artes are grouped in combo sets relating to the Left Stick and can’t be modified. The sets are grouped as follows:
- Left Stick
 and Left Stick
  : Charging and piercing attacks.
 - Left Stick
 and Left Stick
  : Mobile and area-of-effect artes
Switch them up as needed depending on how the battle is going. Also, pay attention to the artes' elemental grouping as well as take advantage of enemy weaknesses.
If you hit a stunned enemy with your initial martial arte (i.e. the start of your martial arte combo), you get a one time increase to your Blast Gauge. This means if you need BG and you stun an enemy in the middle of a combo, stop attacking for a moment before restarting your martial arte attack to get that BG increase.
 |
Martial artes interrupt seraphic arte casting, but cannot interrupt hidden artes |
 |
Quick to use |
 |
SC consumption is fairly low |
 |
Number of hits is fairly high |
 |
Damage is determined by your Attack and enemy’s Defense |
Hidden Artes
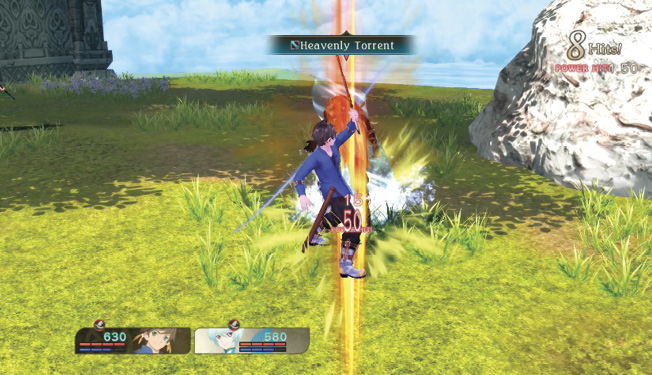
Hidden artes are tied to the  button (Circle button when armatized) and are easily combined with martial artes. For instance, you can use a hidden arte to target an enemy’s weakness before following up with a martial arte, or you can wail on an enemy with a martial arte combo and then end it with a powerful hidden arte. Five hidden artes can be set at a time in relation to + Left Stick in the Artes menu. If you have nothing set in any of the slots, then pressing will choose a hidden arte at random.
Most hidden artes have a higher arte. If you learn (for instance) Shadow Shock, the higher arte of Shatterfang, you will later acquire the battle action Greater Heights. With the battle action Greater Heights, after starting a hidden arte you can hold down  to continue into the higher arte you’ve learned. In this way, the number of hidden artes you can use is more than double. Since using the same arte over and over will reduce the enemy’s stagger time, higher artes are one way this can be avoided.
|
During hidden artes, you’re immune from being staggered by martial artes |
|
Can utterly crush martial artes, but can’t interrupt seraphic artes |
|
Slower to cast than martial artes, but faster than seraphic |
|
SC cost and damage are higher than martial artes but lower than seraphic artes |
|
Damage is determined by your Attack + Arte Attack and enemy’s Defense + Arte Defense |
You can tell whether the enemy’s attack is a hidden arte by checking if they charge it before casting or by looking out for an accompanying white flash. Note that some hidden artes can break through your guard.
Seraphic Artes
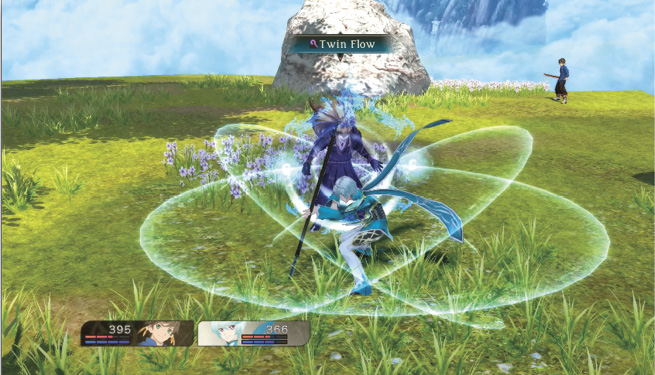
Like hidden artes, seraphic artes are tied to the button. They have greater power and reach than martial and hidden artes, but take longer to cast. Holding down beyond the arte’s casting time will keep it charged, allowing you to use Left Stick to switch targets before releasing the attack.
Seraphic artes are particularly useful against hidden artes. While charging a seraphic arte, hidden artes will not stagger you and will also halve your seraphic arte’s casting speed. So if you see an enemy casting a hidden arte you wouldn’t normally be able to defend against, start casting a seraphic arte to withstand the attack and ready your retaliation. You can further decrease a seraphic casting time by casting it further into your combo. Refer to "Combo Effects" for more information.
0.5 seconds following a seraphic arte’s casting, you’ll have high defense against enemy seraphic artes. This raises the possibility of countering an enemy’s seraphic arte with your own, but it also means there is risk involved in attempting to use seraphic artes to disrupt an enemy’s casting. You can also interrupt an enemy’s casting by staggering them with martial artes but, then again, the same goes for you.
Most seraphic artes have a higher arte. If you learn (for instance), Freeze Lancer, the higher arte of Twin Flow, you will acquire the battle action Charge Cast. With the battle action Charge Cast, when you are charging a seraphic arte with before casting it, press  to instead start casting a higher arte you’ve learned. In this way, you can adjust your arte output based on the battle situation. After this, you can continue on to even higher artes.
 |
Non-elemental seraphic artes (such as Mindflayer) can steal enhanced status effects from enemies and transfer them to the caster |
|
When casting seraphic artes, you’re immune from being staggered by hidden artes, and being hit by one lowers casting time; however, you are left vulnerable to martial artes |
 |
Of the artes, seraphic has the widest area attacks and deals high damage, but requires a long casting time |
 |
Higher seraphic artes can attack enemies even while down |
 |
Seraphic arte casting times can be reduced by utilizing them within a combo—refer to Combo Effects for details |
 |
Casting seraphic artes leaves you vulnerable to counterattack |
 |
Damage is determined by your Arte Attack and enemy Arte Defense |
Mystic Artes
Mystic artes are powerful super attacks that your characters learn as you complete story moments and Sub-Events. Cast by holding down +R2 during a combo while your BG is at 3 or greater in normal state. The targeted enemy must have taken damage during the combo or the arte will not be activated.
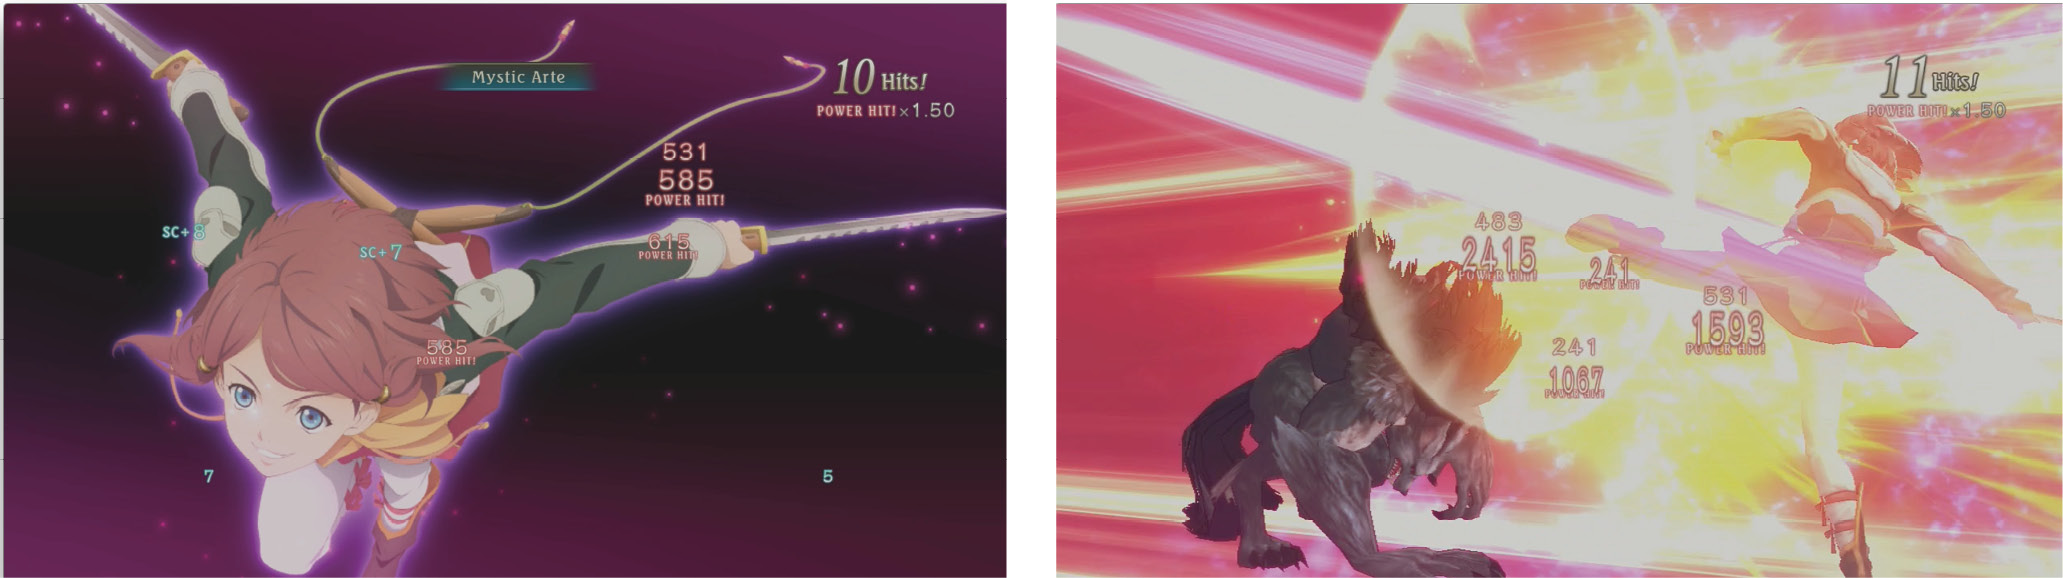
To unleash a mystic arte while armatized, hold down +R2 while performing a combo with a Blast Gauge of 4 or greater. Alternatively, when you use a Banish Blast, there’s a battle action that enables you to hold down R2+ before the Banish Blast hits. If you do this, the Banish Blast won’t finish off the enemy and will instead chain directly into your mystic arte.
If you activate your mystic arte during a weakness combo, it will continue to take effect during the mystic arte regardless of the mystic arte's element, so be sure to activate them when the "Power Hit!" accompanies your damage indicator to inflict even more damage.
There are a number of methods for reducing Blast Gauge consumption when using mystic artes. One way is through battle actions. There are a few to choose from that take effect when you meet various criteria, like number of hits or cumulative damage infliction, meaning that fighting with a bit of flair can actually be to your advantage.
Defeating an enemy with a mystic arte earns you at least twice the Grade you’d otherwise get, and it’ll also make the item drop rate skyrocket. Keep an eye on your enemy’s HP using the target icon, then unleash a mystic arte to finish them off!
Mystic artes are incredibly useful and can deplete a large portion of your enemy's HP, but be warned: there are some bosses with mystic artes of their own.
Combo Effects
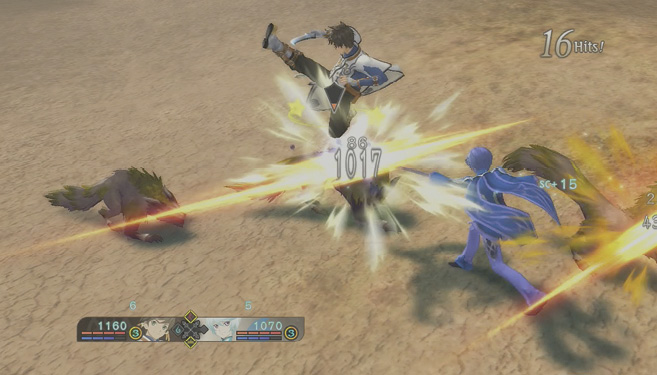
Combos that mix martial, hidden, and seraphic artes and quicksteps provide various effects:
| Reduced SC consumption based on number of martial artes used |
| Increased damage based on number of hidden artes used |
| Increased duration of enemy stagger based on number of seraphic artes used |
These only take effect once you use multiple arte categories. For , , , , only the 4th attack benefits from the effects.
Seraphic artes in combos have reduced casting times, regardless of the actions.
| 2nd hit: | 20% reduction |
| 3rd hit: | 40% reduction |
| 4th hit: | 60% reduction |
Seraphic artes use a lot of SC, but a combo like , , Left Stick down, would give you the SC reduction from the martial artes, the distance advantage of the backstep, and a shortened casting time.
If your combo is interrupted, you may briefly find that further attacks are rendered ineffective. Rather than try to restart your attack, it’s a better idea to go on the defensive and ready for the enemy’s counterattack - you’re probably low on SC at this point anyways.
When you use the skill Ekseed to pile up combos of 5 or greater, the combo effects will be effective up through the 8th hit. Blasts can also be used in combos of 5 or greater. Pressing R2 on the 5th hit of a combo will trigger a Partner Blast.
Targeting
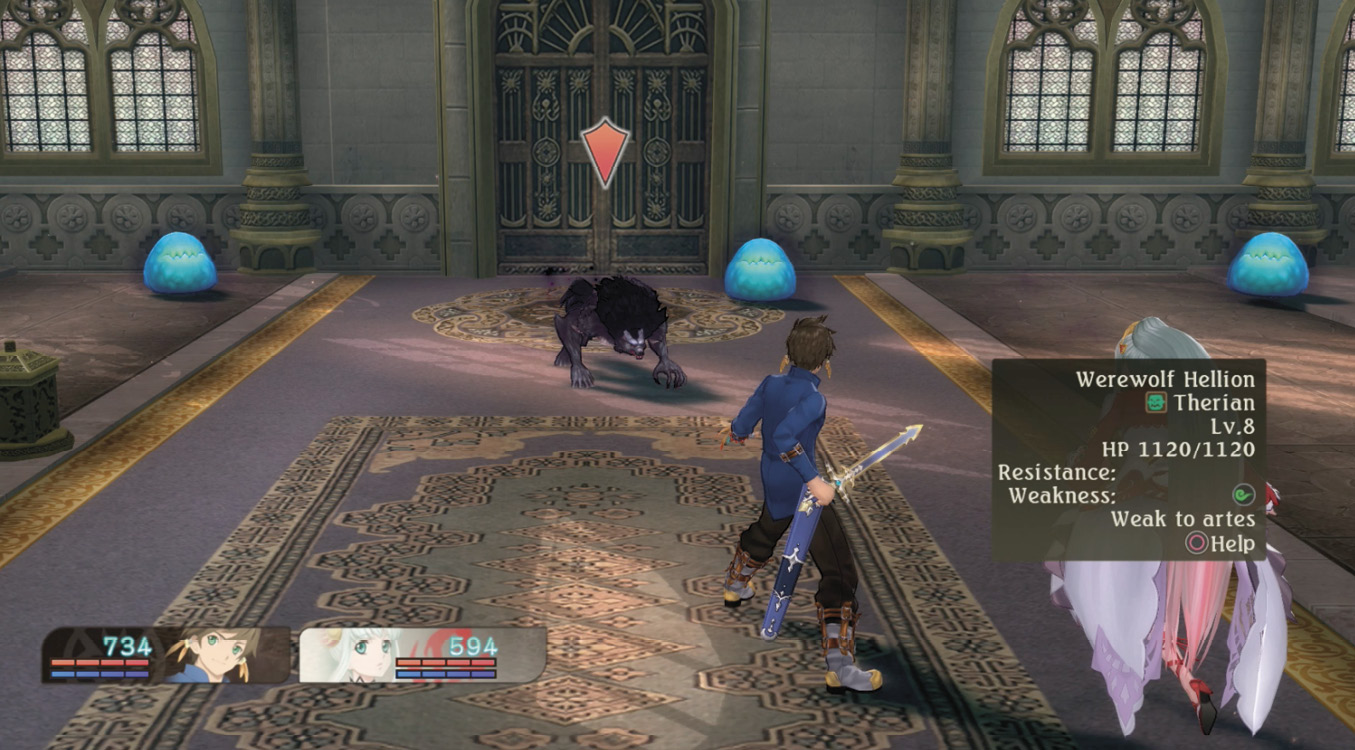
You automatically begin battles targeted to an enemy. Hold down R1 to see that enemy’s detail summary, and switch targets using Left Stick.
Tapping R1 will automatically switch targets to the enemy nearest you. While targeting an enemy, press to view more details about them, such as their characteristic attacks; sometimes after defeating an enemy more data will be added to this section. The target symbol also gives you a rough idea of that enemy’s HP.
|
Enemy’s exact HP |
|
Weaknesses (increased damage) |
|
Resistances (halved or greatly reduced damage) |
|
Stat boosts, inflicted ailments |
One good time to check out enemy details is if they are consistently defending against your attacks – you may be accidentally attacking them with an attack they are resistant to.
When confirming a target, pay attention to its category and elemental weakness. For example, the category-group skill “Animili” can both increase damage to and reduce damage from Beast-type enemies, or if an enemy is weak against certain elements, you can change your arte use or which seraph you have in battle. Also, adjust your equipment accordingly. Also, you can change your equipment at any point during battle.
Strategy
The Strategy menu is where you can direct your character’s Auto directions, including:
|
Action |
Basic instructions, such as which enemy to target |
|
What balance to strike between close-range and long-range artes |
|
|
Attack Rate |
How often the character should attack (affects SC consumption) |
|
Defense/Healing |
Set HP threshold for prioritizing recovery and defense |
You can also customize how partners (party members who can armatize) sync up with you in battle.
3
1
4
2
Control Mode
While in the Artes section, press L3 to display the Control Mode for that character; you can also do this in the middle of battle, or with the Battle Menu open. You can choose between these three modes:
|
Manual |
Player controls all actions |
|
Semi-Auto |
When attacking, character automatically moves appropriate distance from enemy |
|
Attack Rate |
All actions are automated by game AI |
Manual allows you to have complete control over your character, giving you the flexibility to attack from any distance you choose. If you’d like to cut out some of your decision-making and focus just on attacking and defending, Semi-Auto mode is a good choice as well. You can also set all of your characters to Auto and let the game AI make the decisions, allowing you to oversee the battle from a distance and input controls accordingly through the Artes section within the Battle menu. Any of these options is a valid way to play, so don’t hesitate to try them out.
Commands
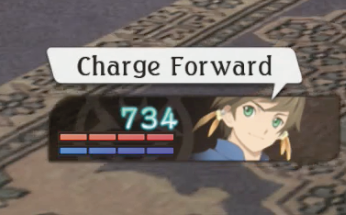
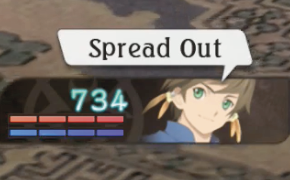
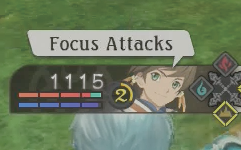
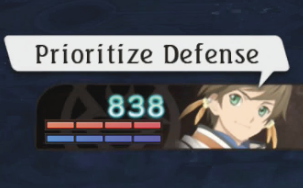
The Strategy section is a great way to set overall strategies for your individual characters, but sometimes you need to command your entire party to change tactics quickly and easily according to a specific situation. Commands let you do just that, overriding any Strategy guidelines in place. Using the Right Stick you can issue the following commands:
You can enter up to two of these commands at a time (for example, Charge Forward/Focus Attacks). Press R3 to cancel commands.
Elements & Status
Every arte is tied to one of the five elements: Non-elemental, Fire, Earth, Water, and Wind. The benefits of these elements are more than just simply taking advantage of an enemy weakness – there are also stat boosts and ailments that can be tied to these artes depending upon their element.
So, for example, a water-based arte might have a chance of inflicting Poison, while a Non-elemental arte might raise the player’s Attack.
Using artes with elements that enemies are weak against increases the chance of effects triggering. Fighting enemies who are weak against Fire has a 2x chance of reducing their Arte Attack, or a 2x chance of inflicting Burn. Further, inflicting one increases the chance of inflicting the other: for example, an enemy with reduced Arte Attack is 4x likelier to be inflicted with Burn.
Triggering stat-up and stat-down effects multiple times won’t completely compound on each other, but the enhancements still occur, so it’s a good idea to mix up your arte variety and trigger as many effects as you can.
 |
Attack–Non-elemental–Paralysis |
 |
Arte Attack–Fire–Burn |
 |
Defense–Earth–Slow |
 |
Arte Defense–Water–Poison |
 |
Focus–Wind–Fatigue |
Status Ailments
There are five main types of status ailments that you or your enemies can be inflicted with:
On top of their specific effects, there are other detriments that occur for all status ailments:
- HP cannot be recovered
- 2x Stun
- Related stat enhancements disabled (for instance, characters with Burn lose Arte Attack boosts)
All ailments are dangerous in their own right, so be sure to prevent them or remove them quickly while also inflicting them on your enemies with artes as often as possible.
Certain ailments can be removed with Panacea Bottles, specific healing seraphic artes, or through armatization if the appropriate Scenario Skill is unlocked. Otherwise, they will disappear over time or at the end of a battle.
 |
Paralysis: Actions are regularly interrupted |
 |
Burn: Stagger duration increased |
 |
Movement speed greatly decreased, quickstep disabled |
 |
Poison: HP decreases, can lead to being KO’d |
 |
Fatigue: SC recovery rate greatly decreased, casting time doubled |
Effect Potential
All attack-type artes have some kind of effect potential, such as Stun, stat enhancements, enemy stat weakening, ailment infliction, HP stealing, etc. While these effect potentials have a base percentage to trigger, there are various ways to increase these odds:
- 2x chance to inflict ailment when enemy is weak against the attack element
- 4x chance to inflict ailment when enemy’s stats have been reduced by an element
- 2x chance of effect from antagonistic attack types
- 2x chance of effect from combos chained off of a Banish Blast
- Chance increase when your SC is high
- 1.4 chance increase for artes chained off quickstep
After you inflict an effect, the chance of the same effect triggering on the same enemy decreases, and the same goes for your stat-boost effects. Try not to aim to use all of your effects at the start of a long battle; you might have an even tougher time near the end when the enemy goes all-out. Healing artes with 100% effect potential may also prove useful.
Weaknesses & Resistances
Weakness
|
|
|
|
|
|
 Non-elemental
 Fire
Fire Earth
Earth Water
Water Wind
WindUsing an arte with an element that enemy is weak to will deal more damage and cost less SC, while using one they are resistant to will in turn deal less damage and cause you to recover SC more slowly. But there’s more to element weaknesses and resistances than just this—you should also keep in mind weakness combos.
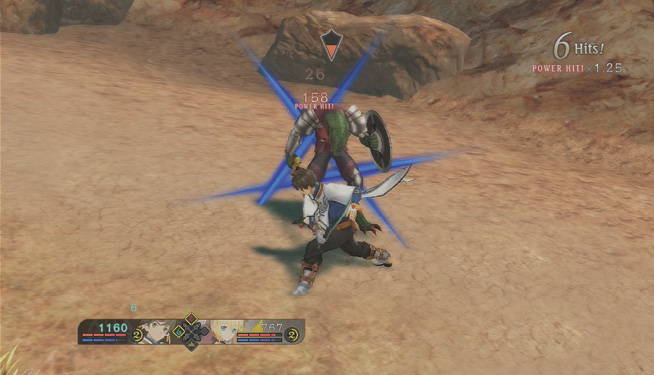
Hitting an enemy with their weakness will start what is called a weakness combo, indicated by the words “POWER HIT!” beneath your damage. As long as this weakness combo continues (shown by a multiplier indicator), all attacks dealt by you and your allies count as weakness damage, even if its with an element they are normally resistant to, and their stagger time increases.
Weakness combos are different when armatized. The damage multiplier will continue until the damage gauge (located under the total damage) runs out, regardless of the number of chained hits, and damage increases every time a different arte of the same element is used. So, when triggering a weakness combo while armatizing, aim to use a variety of artes all within the same element to take full advantage of its potential.
Further, to truly utilize armatized weakness combos, pay attention to how you play before armatizing. How long the damage gauges lasts during armatization is affected by the max hit count prior to armatization, therefore you’ll want to armatize after dealing as many weakness combos and consecutive hits as possible beforehand, and then aim to armatize once the enemy is stunned or inflicted with a status ailment. That way, you’ll truly be using weakness combos to their advantage.
 |
Right Stick |
 |
Right Stick |
 |
Right Stick |
 |
Right Stick |
Resistances
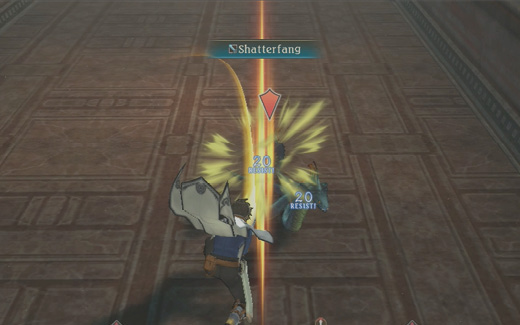
Not all resistances are built the same. There are four types of resistances an enemy can have, displayed in blue while dealing damage:
|
Resist |
Damage halved, enemy defends more easily |
|
Restrain |
Damage can be inflicted, but the enemy cannot be staggered |
|
Ineffective |
Damage reduced by 90% |
|
Reflect |
Damage reflected back at you |
In general, it’s good to avoid attacking an enemy resistant to your artes in order to deal more damage and not needlessly spend SC, but if an enemy’s resistance will render your attacks mostly useless, or even direct them back to you, you’ll want to rethink your strategy entirely.
Switching Seraphim
Seraphim can be switched out in the middle of battle by using the directional pad. Once you switch seraphim you’ll have to wait a short time before switching again, and you cannot switch to a seraphim who is KO’d (however, a KO’d seraphim can recover from being KO’d while on standby, so be sure to switch out KO’d seraphim quickly).
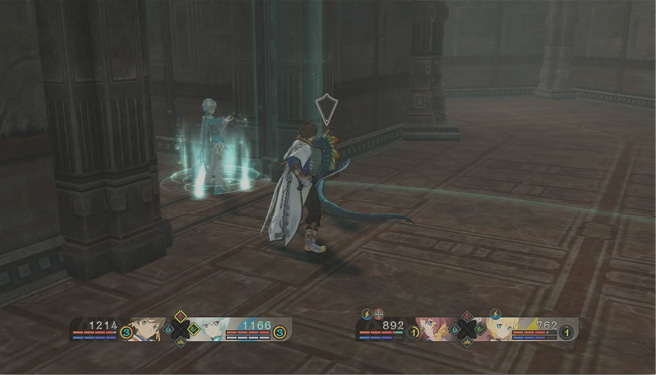
Switching out seraphim is a great offensive tactic to target an enemy’s elemental weakness, but it’s also an effective defensive measure as well. Switch out seraphim who have low HP so that they can recover, or switch them out if they are surrounded by enemies to avoid injury altogether. Always keep an eye an your seraphim and switch them out accordingly to fully utilize their strengths, particularly for longer battles.
Swapping a seraph when they are in the middle of unleashing an arte will make the swap occur in the middle of a combo window. You can prioritize quick swapping by lowering the attack rate in the Strategy menu and using the command Prioritize Defense, which will give you easier opportunities for switching.
Switching Characters
You can switch which character you control in battle by opening the menu with  and pressing OPTIONS, which will switch your control to the next character to the right. This will automatically set your previous character to Auto and your new character to Manual or Semi-Auto. After the battle is over, their control mode will be reset to their default settings. If you want to change your default battle character and character control modes, you’ll have to do so in the Arte section within the Top Menu outside battle with .
DEFENSE
Guard
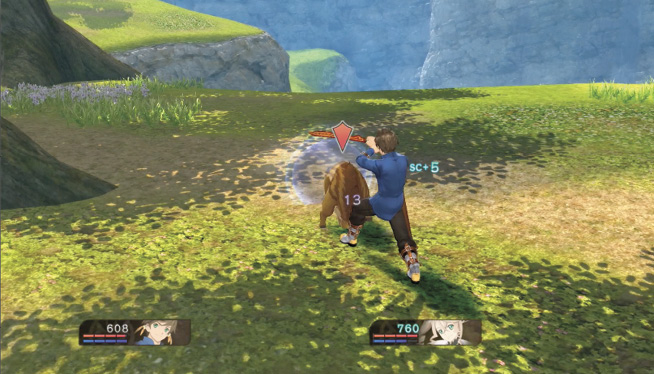
Guard with  . Guarding greatly reduces damage inflicted by enemy attacks and your chance of being staggered. You also recover SC for each attack you block.
When an enemy uses guard against your attacks, your SC recovery rate is halved until your next move – however, once they successfully block your first attack, they’ll likely continue to block against any further ones, so be sure not to combo indiscriminately when your attacks are ineffective. Keep in mind that this is also true for yourself as well, so if you want to deplete your enemy��s SC, guard will be your good friend.
Quickstep
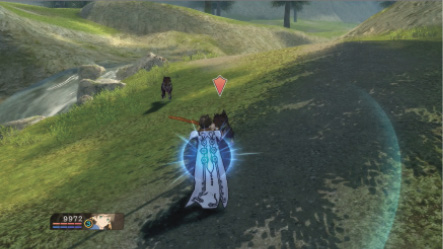
Quickstep with  + Left Stick forwards, backwards, left, or right. When you’re close to a target, quickstepping to the side will take you next to or behind them. Quicksteps can be used as part of a combo, and by flicking Left Stick, you’ll get the same effect. While quickstepping does cost some SC, you can easily gain that SC back by waiting to dodge right before an attack or by completing combos. In this way, it’s best to use quickstepping as a way to set up attacks and avoiding damage without sacrificing distance instead of as a way of moving about the field (Free Run would be a better choice there).
Quick Evade
Quickstepping is a good way to position yourself to best attack an enemy’s weak point and also avoid potential danger, but if you quickstep at the last possible moment before an attack, you have performed a different maneuver entirely: Quick Evade. Quick Evades lower you enemy’s attack frequency and gives you a chance to counterattack, as well as recovering more SC than a regular dodge.
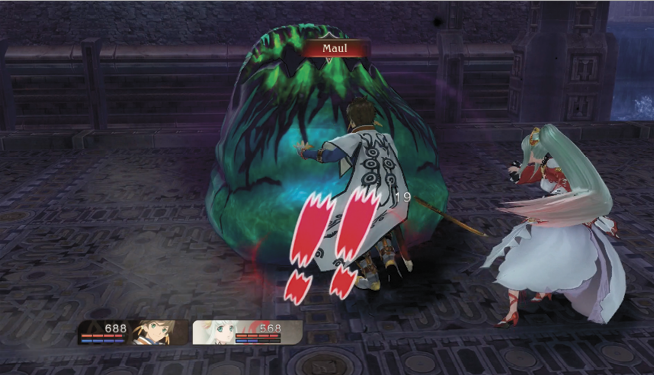
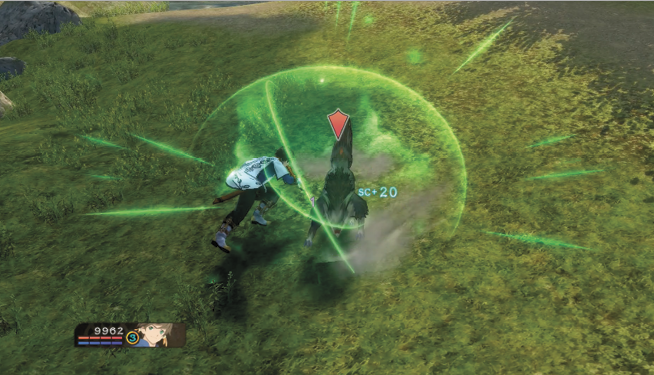
There are three types of dodges, tied to their direction on the Left Stick, each with their own dodge benefits:
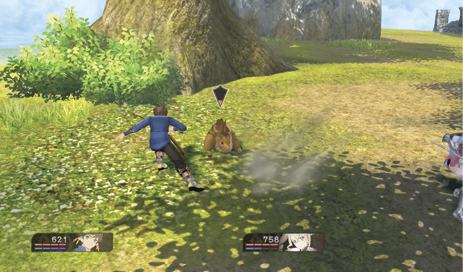 |
Using + Left arrow / Right arrow to quickstep to the side allows you to evade top-down and stabbing attacks. When you dodge top-down attacks with a sidestep, this counts as a Quick Evade. |
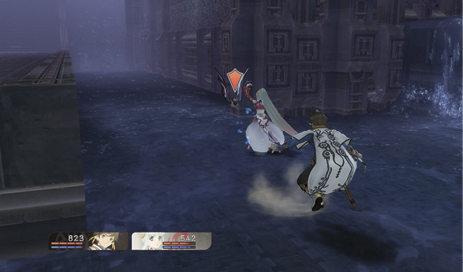 |
Using + Left Stick down arrow to quickstep backwards allows you to evade sideways attacks. (If an enemy attack looks diagonal, in most cases it can be dodged with a backstep) |
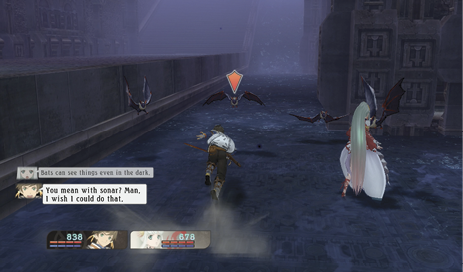 |
Using + Left Stick to quickstep forward allows you to evade an enemy’s non-arte projectile attacks – it’s a risky tactic, but if used correctly it can be extraordinarily useful. This will count as a Quick Evade. |
Armatization

To armatize, you need to have 1 Blast Gauge and press L1 while in normal state. You will take on the power of your currently equipped seraphim, combining the two character’s Attack, Arte Attack, Focus, HP, and skills. Even if your character is KO’d, if their seraph has at least 1 HP and 1 BG, they can be revived with armatization. In this way, armatization is not only a powerful offensive force, but can also save you in a pinch.
When armatized, your character and their seraph’s stats combine to create a powerful force of nature; likewise, your equipment skills combine as well. For example, if both partners have a skill that reduces paralysis effect by 50%, then when armatized they will be completely resistant to paralysis. If you plan to use armatization frequently, then see how you can best correlate the character’s skills together. (Note, this only applies to the skills themselves and not their bonuses, so the two skills above would not trigger a Stack bonus).
- for hidden artes, for seraphic artes
- 3-hit max combo, and attacks focus on damage. Many area-of-effect attacks
- Greatly reduced seraphic arte casting time
- Enhanced healing, can block seraphic artes
- R2 when idle to cast Rejuvenation, hold R2 during combos for Banish Blast
- Press L1 to release armatization and return to normal state
Keep in mind that while your attacks are more powerful, maximum combos are reduced by 1. Also, seraphic artes set to also vary by the seraph, so be sure to study their list of seraphic artes within the Artes menu.
Armatization doesn’t have a time limit, but as your damage gauge depletes you deal less damage, and it will only be restored when you armatize again. It also takes longer for your Blast Gauge to recharge while armatized. Therefore, if your HP is good but your BG and damage gauge is low, you should probably return to your normal state.
In general, relying on combos while armatized is not recommended. Not only are your combos reduced to 3 hits, you are also more vulnerable to attacks while comboing than you are in normal state. Instead of relying on combos, then, use armatization to take advantage of the enemy’s elemental weaknesses with weakness combos, and also utilize your Banish Blasts.
Banish Blasts are powerful, but they are also the only arte while armatized that determines damage with your Attack and the enemy’s Defense, so it won’t be effective against all enemies. They cost 1 Blast Gauge to perform, can be combo-d off of, have 2x chance of causing a status effect, and are more powerful the lower the enemy’s HP. Like combos, Banish Blasts can also leave you vulnerable, so you might find yourself using them against stunned enemies. However, Banish Blasts also have a high chance of stunning enemies as well, so you might want to aim to use it as a follow-up to a companion’s attacks.
To perform Rejuvenation, press R2 while idle or not performing a combo at the cost of 1 Blast Gauge. It takes 1 second to cast and is an extremely powerful healing spell, for yourself and for your allies.
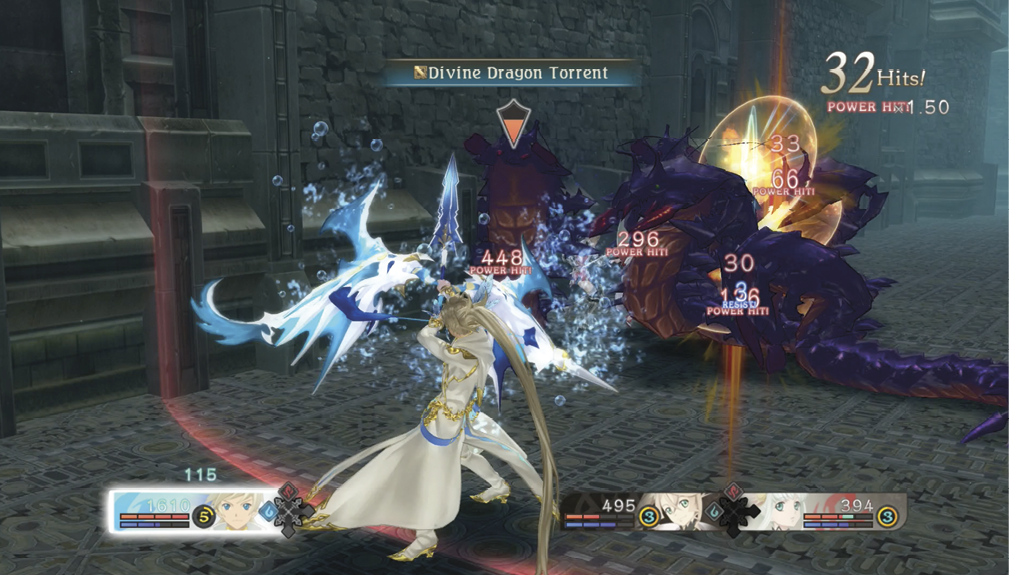
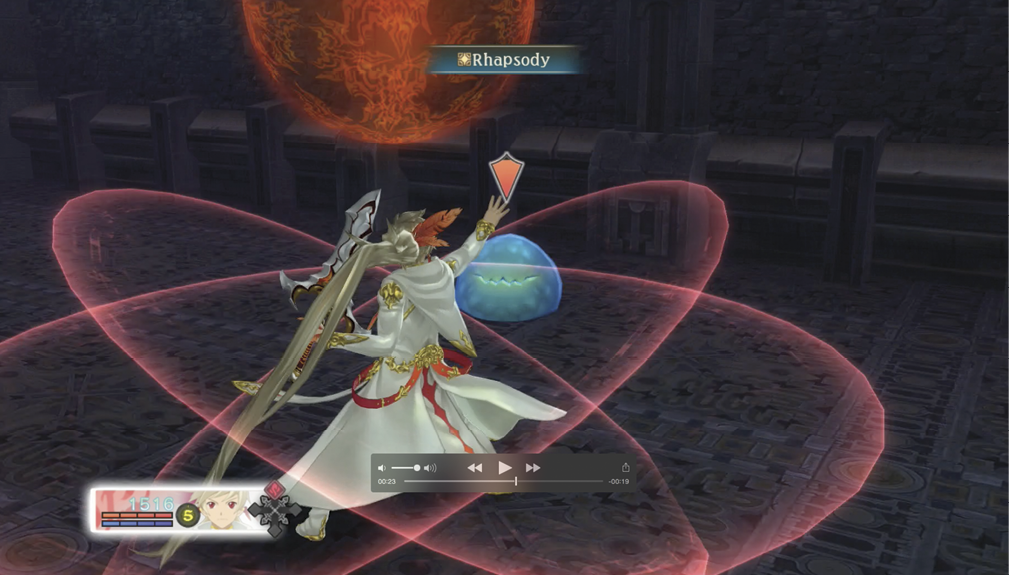
POWER LINKS
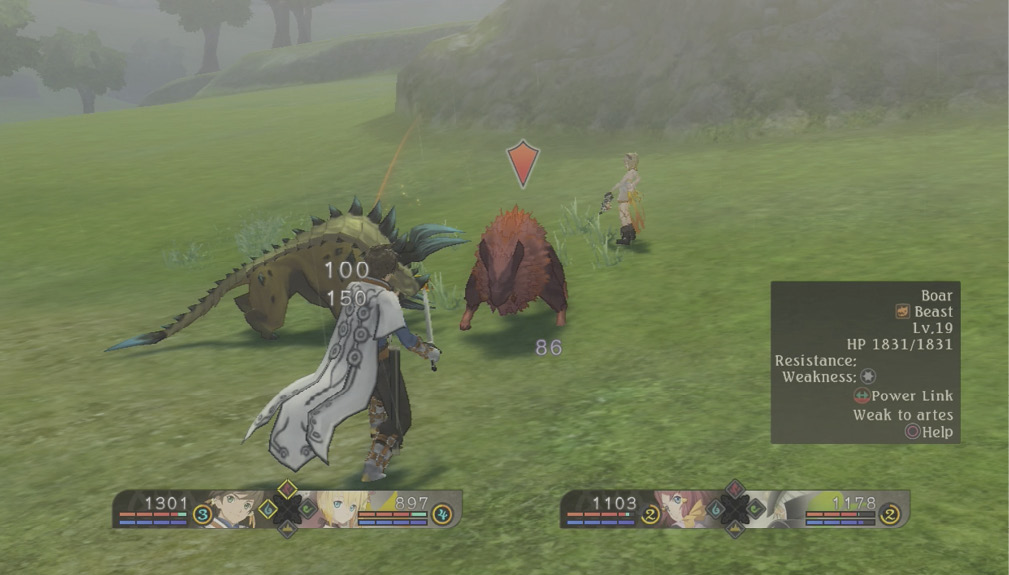
Some enemy groups can contain a number of low-ranked enemies you might overlook, but you should make sure they don’t take advantage of their strength in numbers. Sometimes enemies can form what are called Power Links with each other which greatly increase their power, boost their stats and make them immune to status ailments. You can tell when a Power Link is occuring because enemies will be highlighted in flashing red. Defeating a linked enemy can disable the power link.
Grade
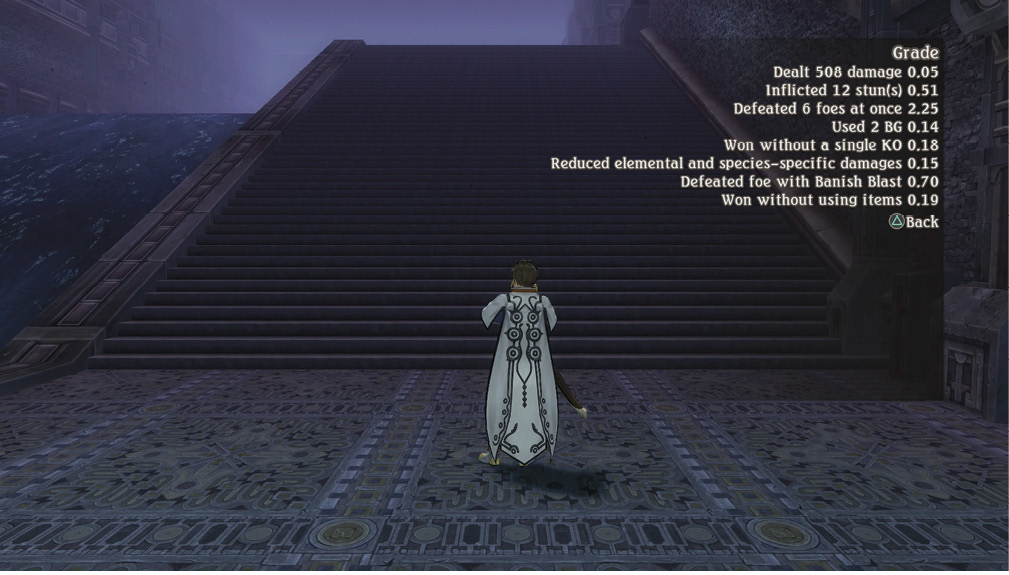
Grade is awarded after each battle, and you are awarded higher Grade for fighting “with style”. There are easy ways that you can earn high grade, such as completing consecutive hits in normal state, dealing high max damage while armatized, winning without being KO’d and using your BG. Defeating powerful enemies will also reward you with high grade, especially if you defeat them without using items.
Grade is used to increase the Lord of the Land’s Blessing Level for the area that that Grade is earned. As the Blessing Level rises, more boons will become available for that area as well as increasing your maximum boon cost total. Grade is automatically counted towards Blessing Level when you step on a Save Point.
Difficulty Settings
If you are ever in the mood for an extra challenge, or want to play at a more relaxing difficulty, then worry not - you can always change your battle difficulty settings at any time outside of battle in the Options screen in the System menu. Generally speaking, the level of difficulty you choose should be determined by how challenging you want the game to be, but there are other factors to consider as well. Here is a list of the difficulty settings, and their benefits and challenges:
Difficulty: Simple
Enemies have lower stats, attack less frequently, and some aspects of the battle system are simplified. This is a good level for people who want to get the hang of the battle system before trying out Normal.
Difficulty: Normal
The standard difficulty setting. This difficulty is made with the assumption that the player is familiar with the concept of equipment fusion and general game systems. It’s not overly tough, but it can be challenging if you still are getting used to game mechanics. Quality of dropped items increases slightly.
Difficulty: Moderate and Hard
Good for more experienced players. Less experience is granted but you are rewarded with more gald, so you might want to consider upping the difficulty every once and a while if you’re grinding for some money. Enemies are harder, but you get a boost in the weakness damage multiplier while armatized, along with other changes, which can make this difficulty easier than Normal if you are familiar with the game system.
Difficulty: Intense and Chaos (available in New Game + or by completing enough battles on Hard)
Enemies attack more frequently, enjoy shorter casting times, and have higher buffs. The time periods between item usage increases as well. Those who are looking for an extra challenge should try out these levels.
Dropped Items
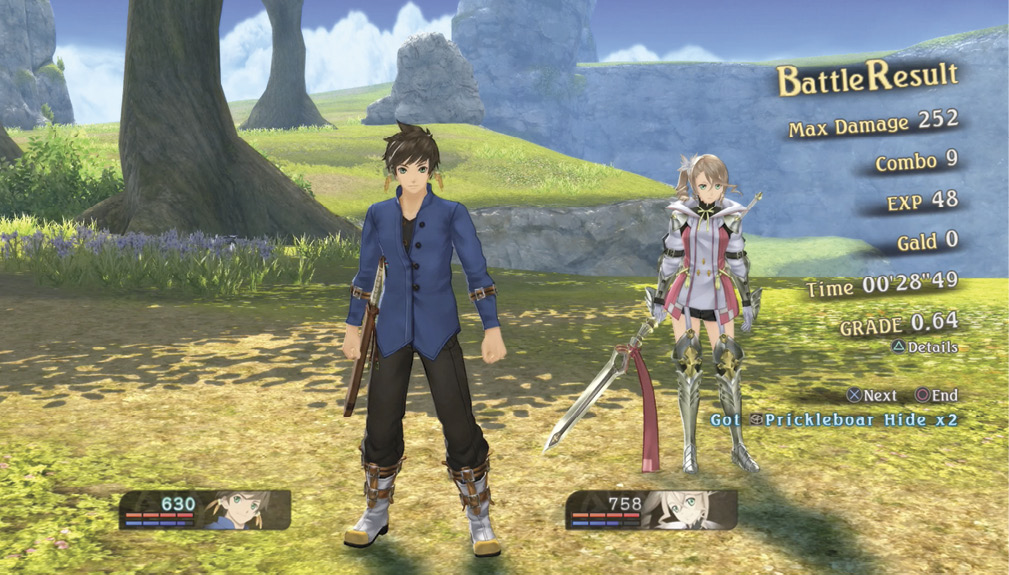
After defeating enemies, you can obtain gald and new equipment or items. The first enemy defeated in battle has a 2x chance of dropping items, so if you’re looking for a specific item, then use the command Focus Attack to have your whole party target that enemy.