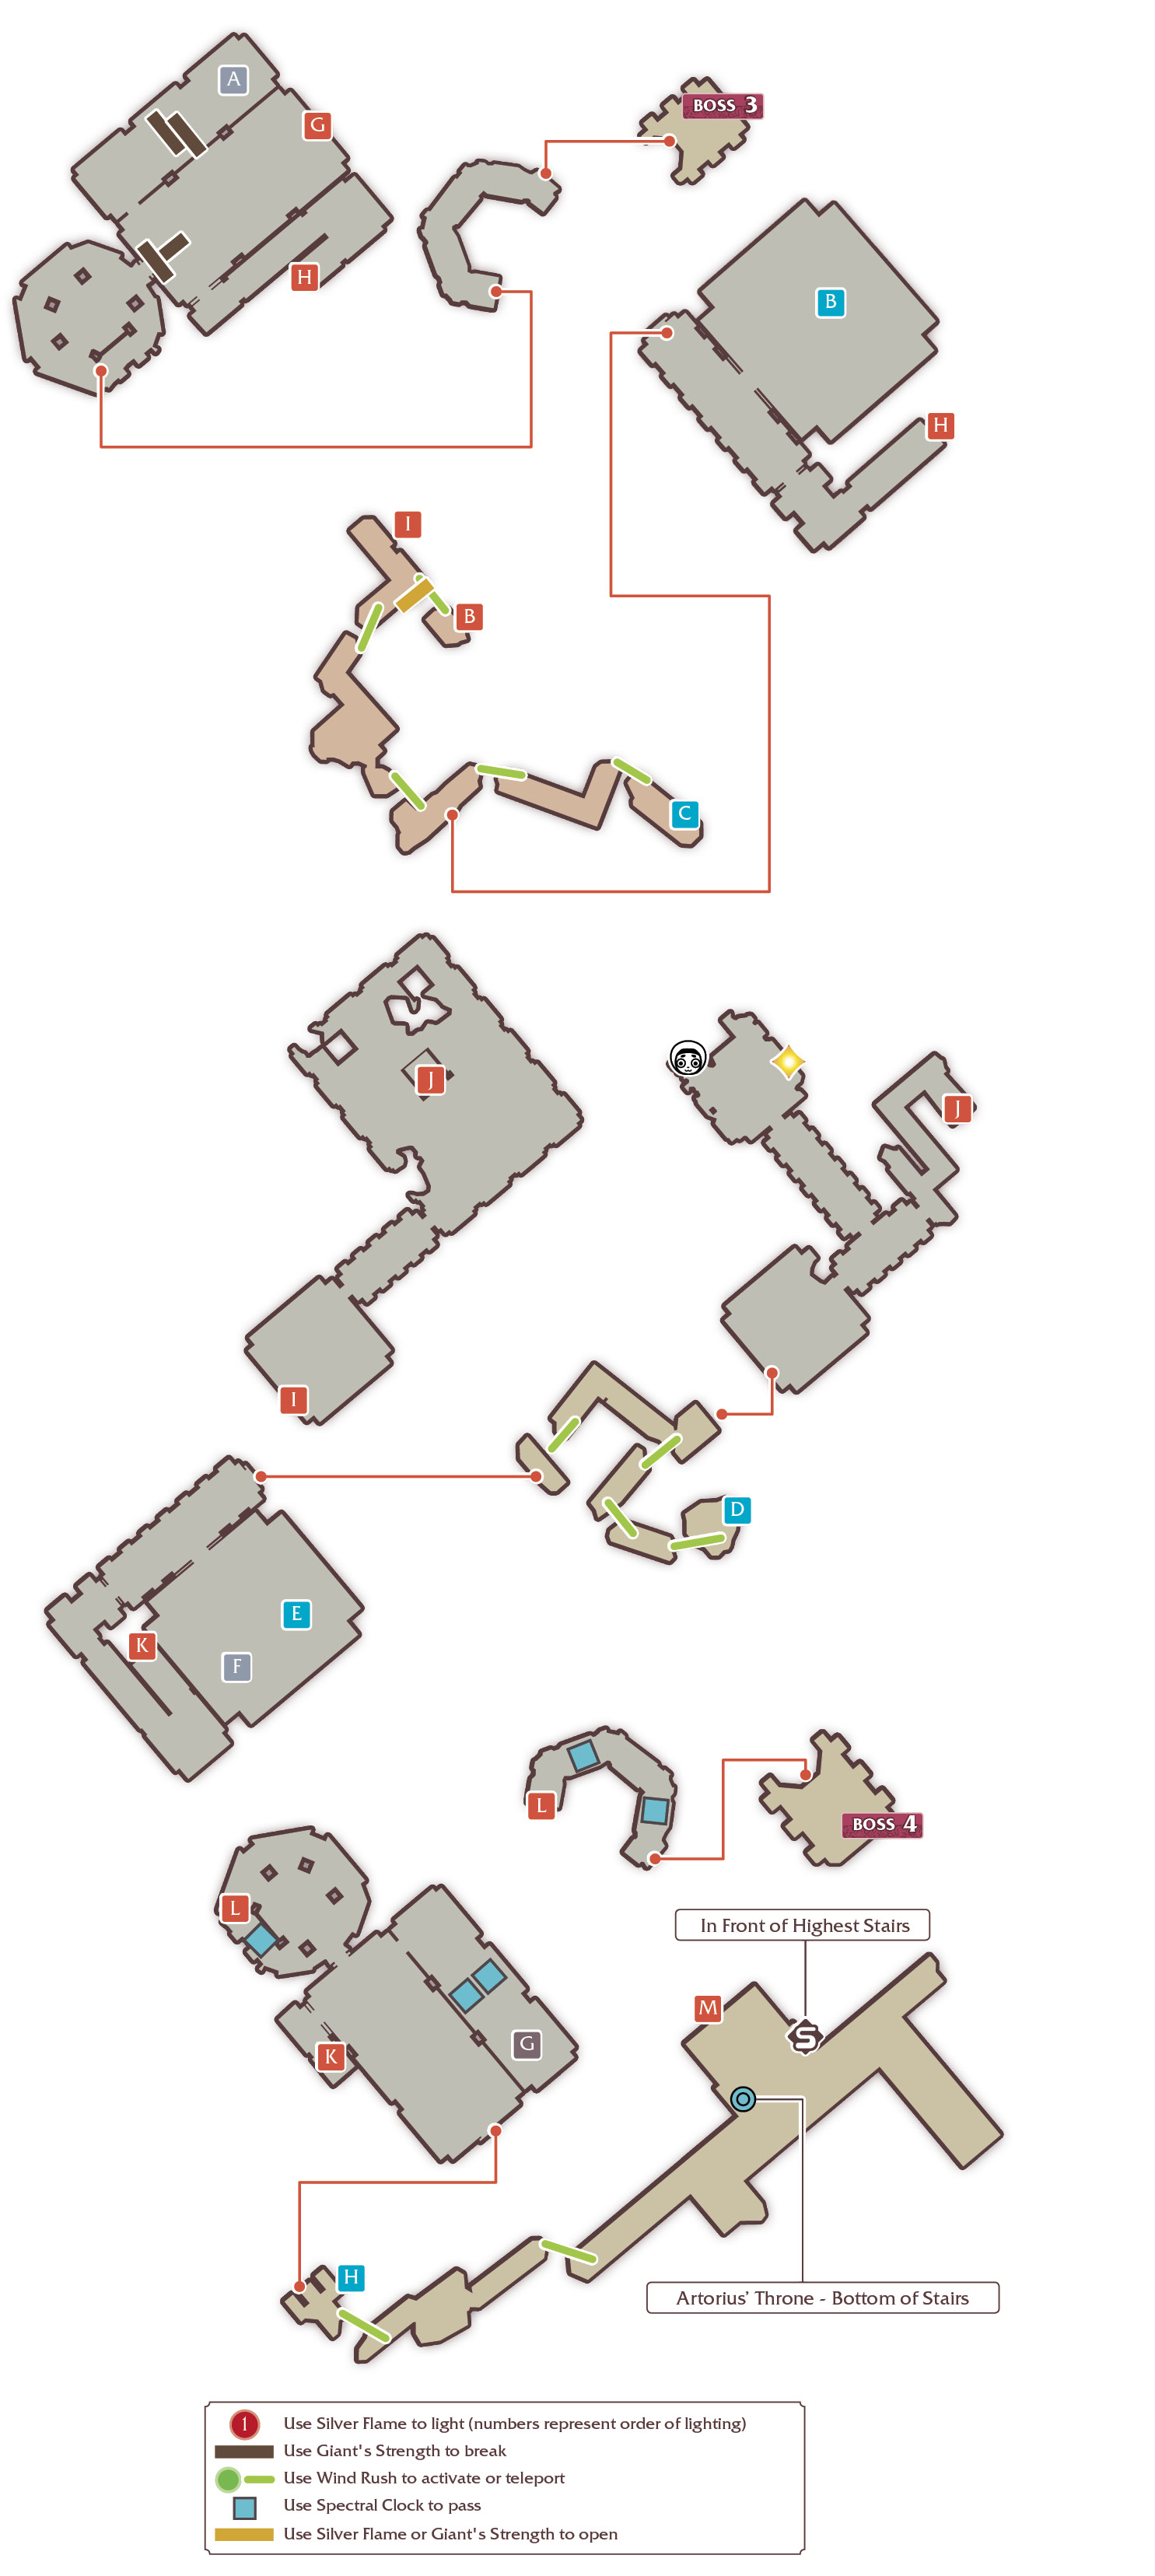
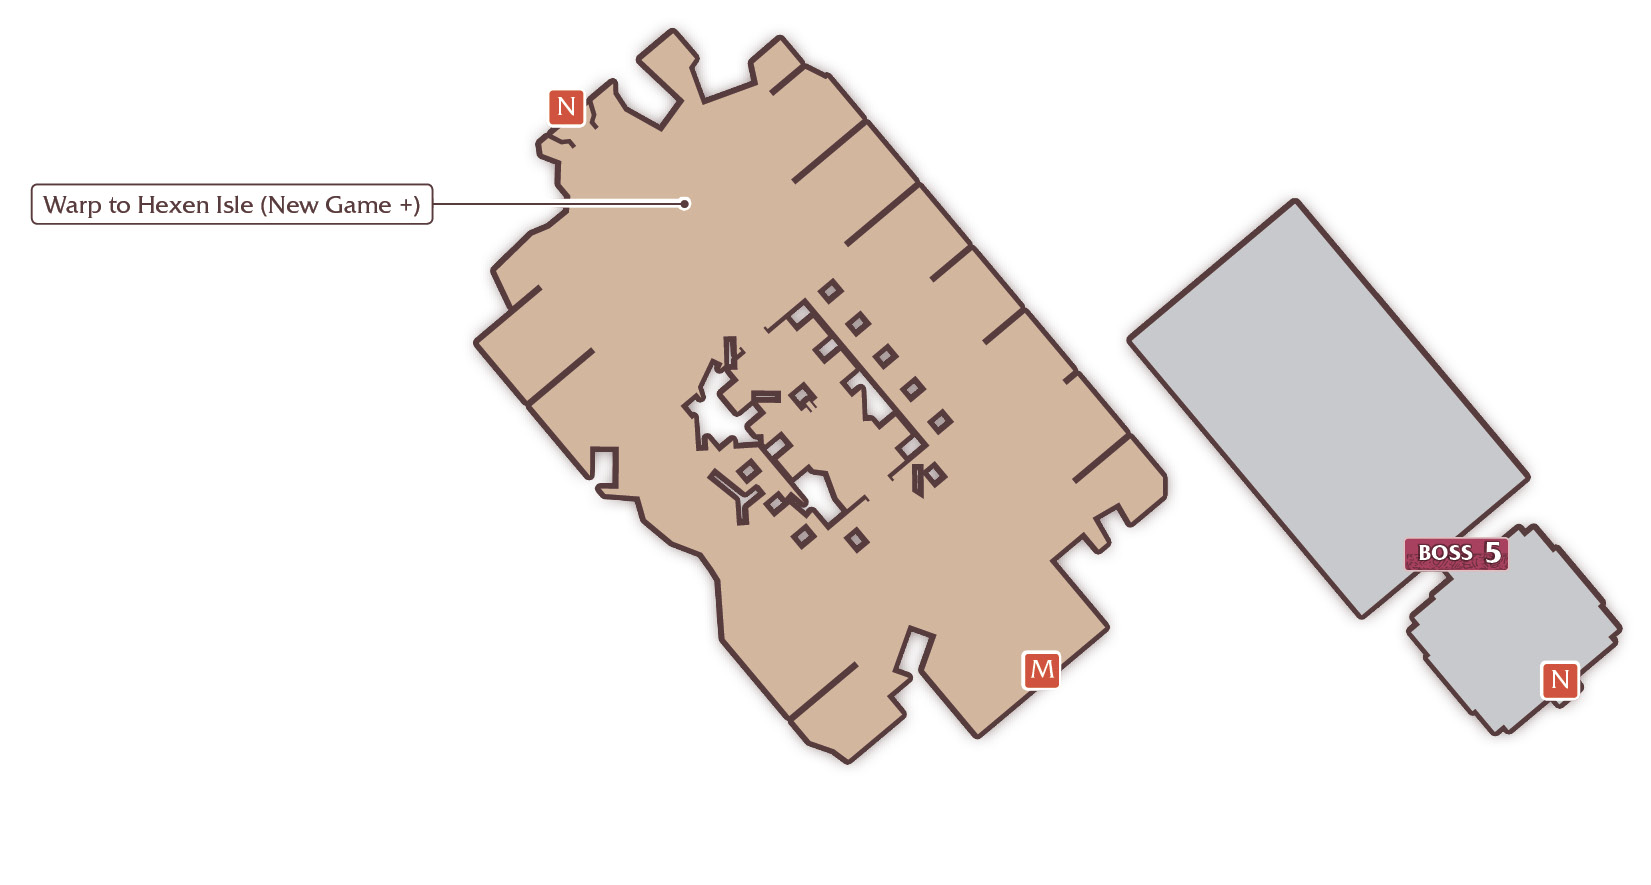
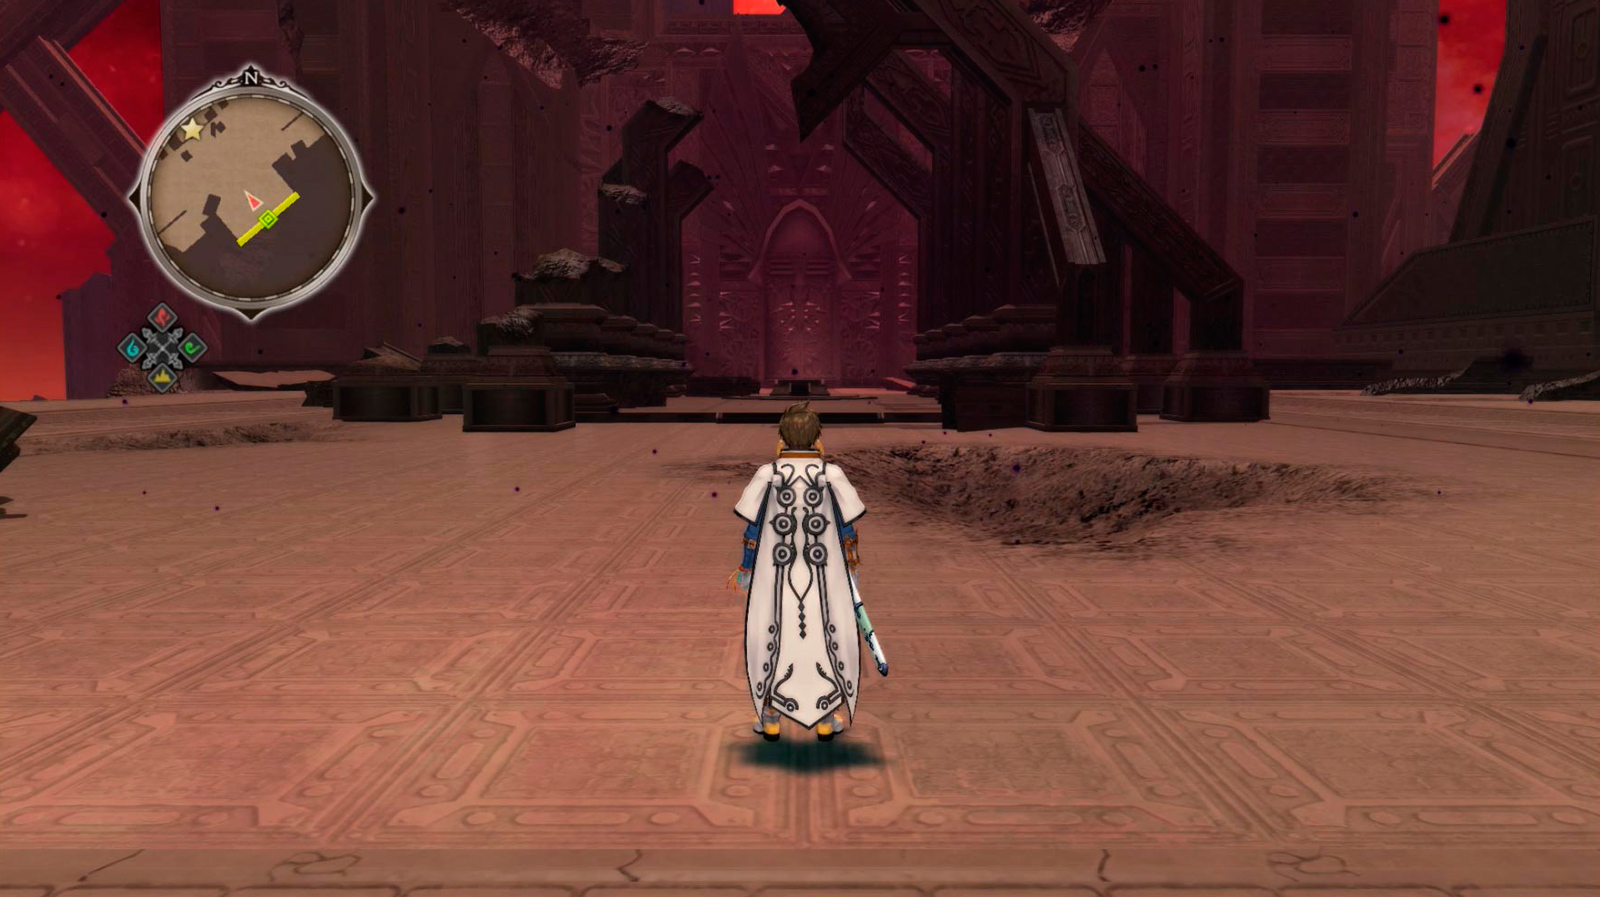
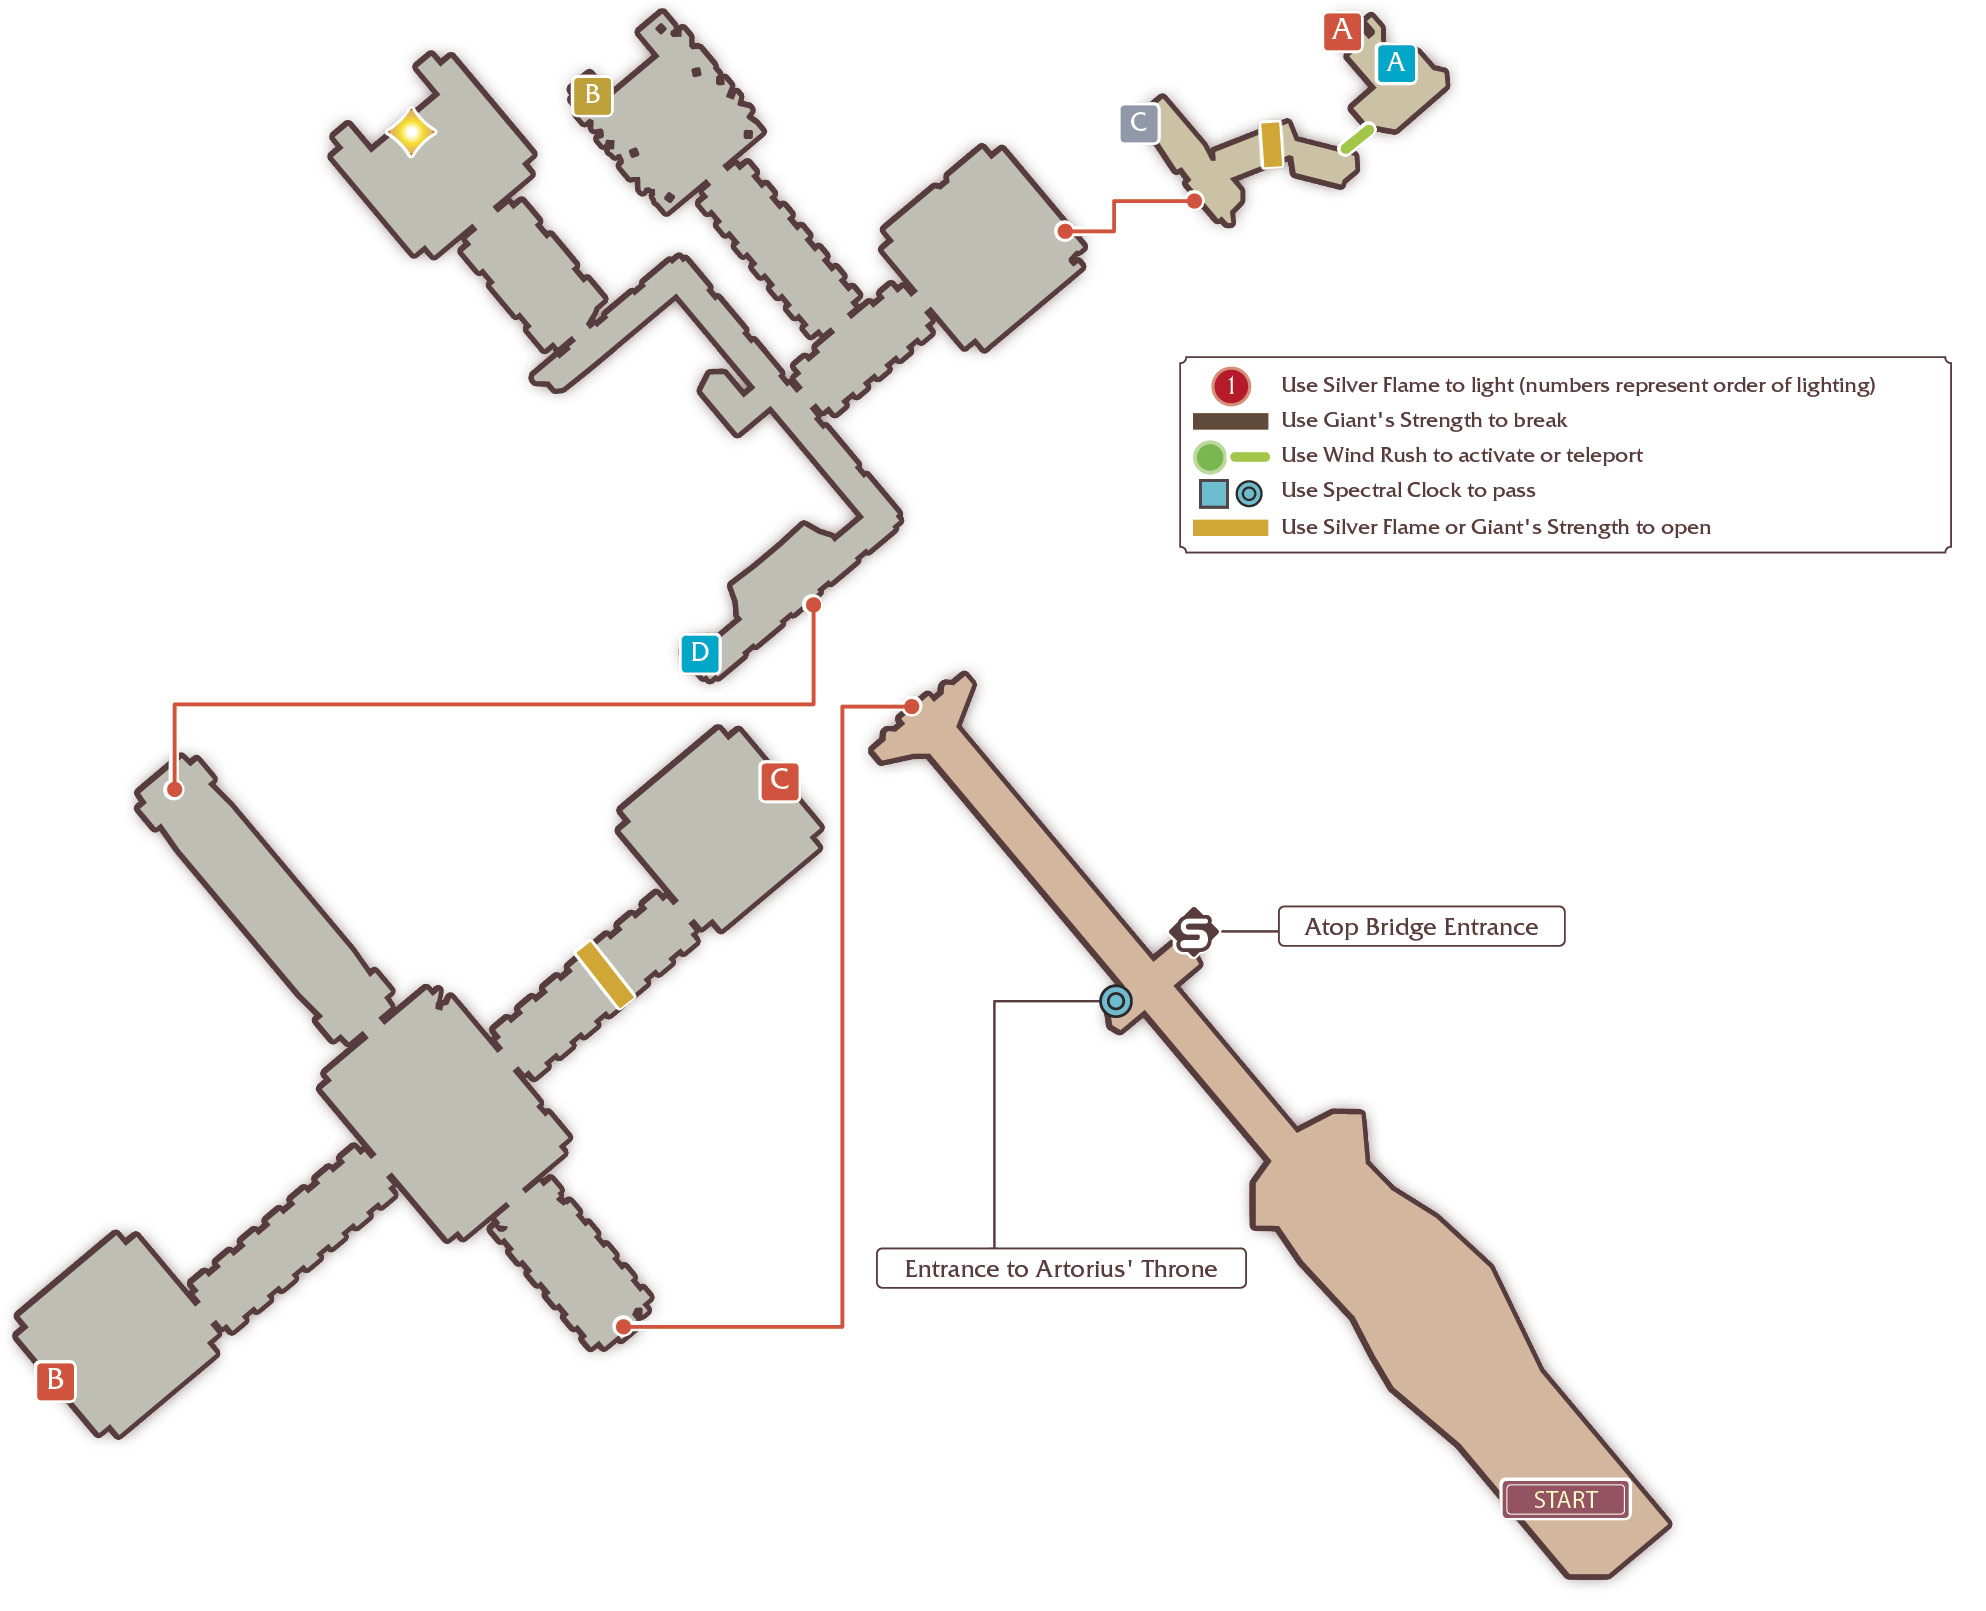
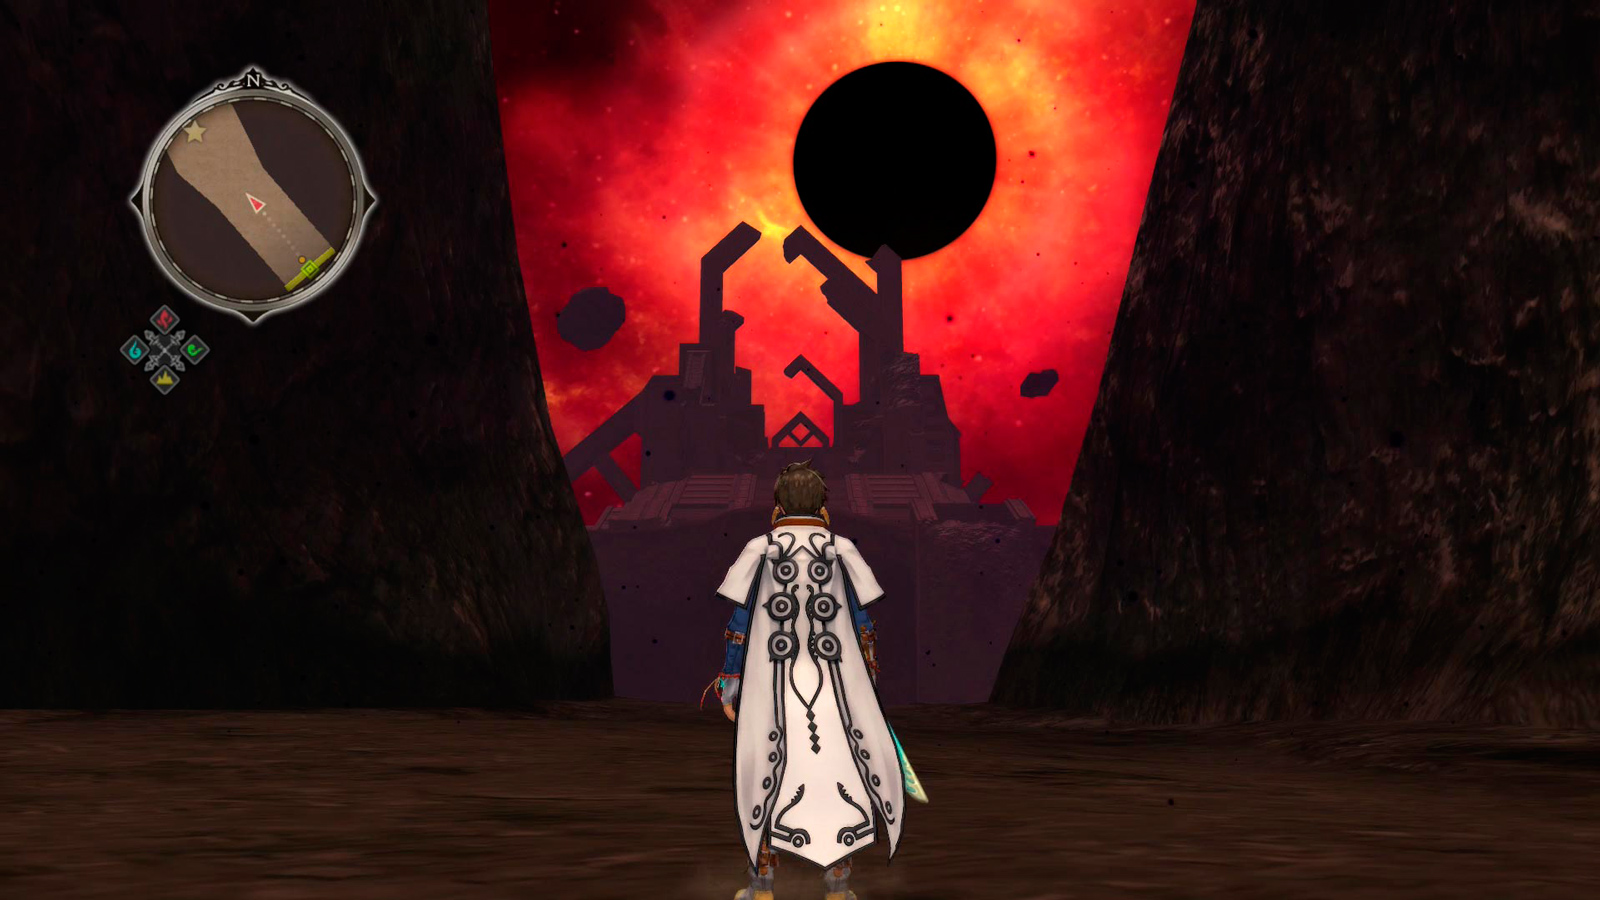
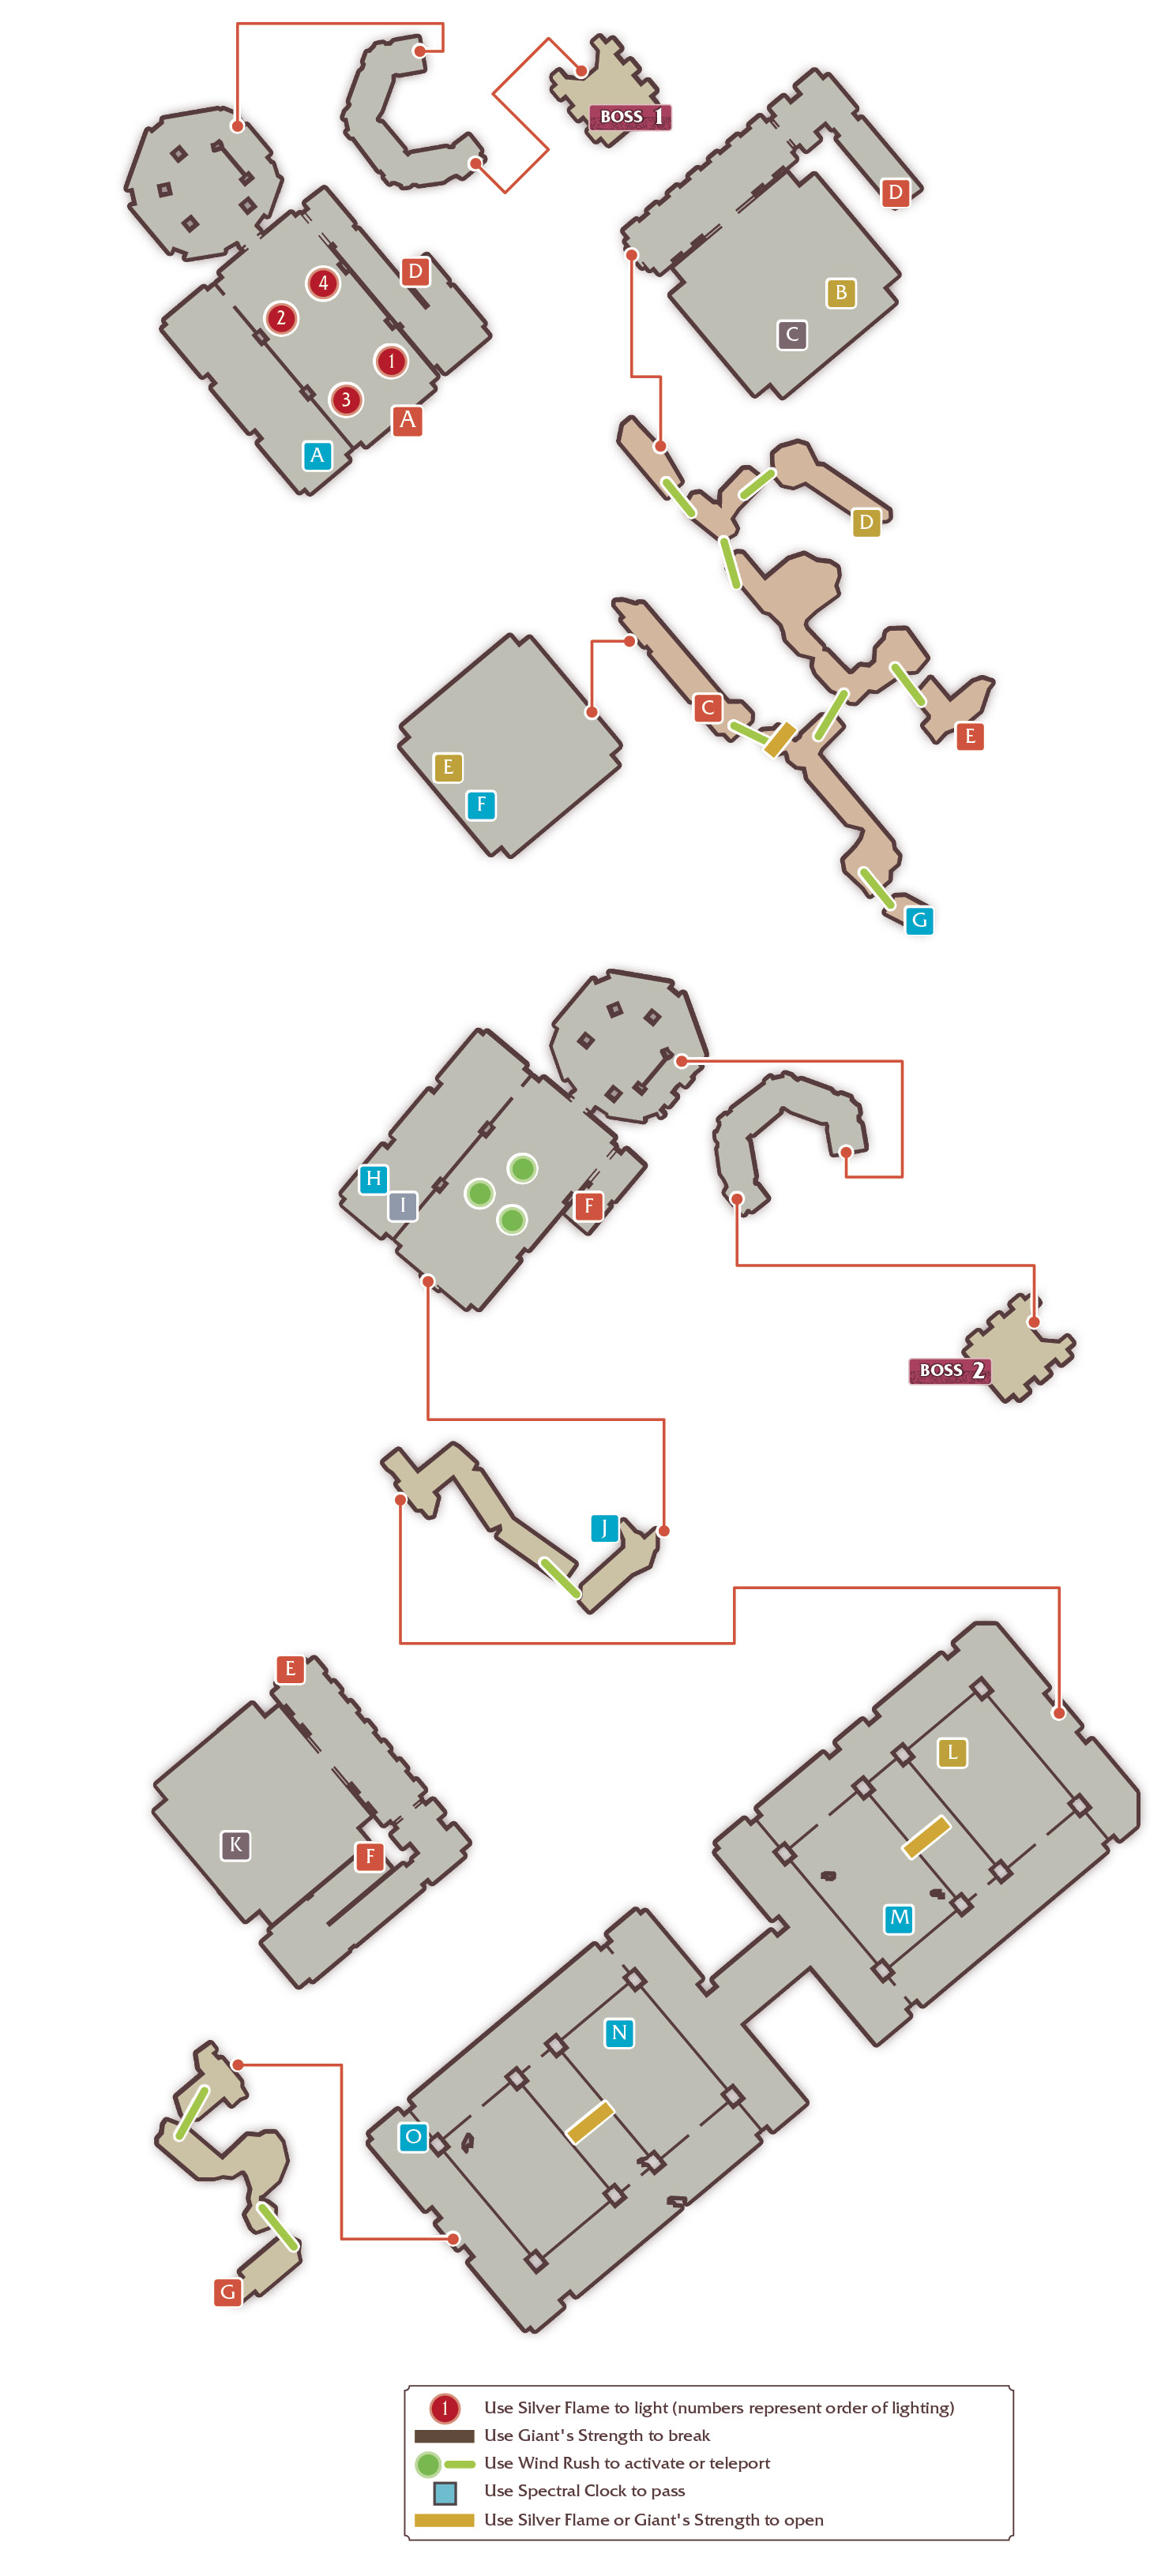
Artorius' Throne is a huge, collapsing structure that will take some time to navigate. You'll need to use all four of your seraph map actions to get through it, and fight through countless hordes of powerful hellions. Activate the warp point and save point at the bridge, and then head into the structure. Ignore the right and left corridors for now and just head straight forward and up the stairs. Take the door on your right and continue exploring both the inside and outside of this maze-like area. There are four optional boss hellions you can confront at the tops of each of the four structures that require elemental map actions to pass through. You’ll move through all four on your way to Heldalf, so you may as well give them a shot if you’re not in a hurry. Battle often on your way to train and level up, especially if your party isn’t level 60+ yet.
ITEMS
Strawberry Shortcake
Elixir
Kaleidoscepter
Slaven Shadow
Hourglass
Aqua Interrupter
Hourglass
Chiffon Cake
Death Sheet
Red Chamomile
Fairy Piercings
Caliburnus
Melon Gel
Helmwige
All-Divide
ENEMIES
Arachne
Level
62
HP
8181
Link
—
Weakness
Resistance
Dragonflare / /
Level
64
HP
11,801
Link
—
Weakness
Resistance
Garuda
Level
62
HP
8686
Link
—
Weakness
Resistance
Mammoth
Level
64
HP
14,114
Link
—
Weakness
Resistance
Specter /
Level
62
HP
5050
Link
—
Weakness
Resistance
ITEMS
Viking Hat
Pound Cake
Melon Gel
Marron Glace
Athena’s Hairband
Drop Bottle
Roll Cake
Red Saffron
BOSS HELLION
Catoblepas
Level
80
HP
36,457
Link
—
Weakness
Resistance
Hippogriff /
Level
80
HP
57,181
Link
—
Weakness
Resistance
Ammit
Level
80
HP
57,181
Link
—
Weakness
Resistance
Dinosaur
Level
80
HP
66,469
Link
—
Weakness
Resistance
ENEMIES
Heldalf (3)
Level
80
HP
52,340
Link
—
Weakness
—
Resistance
Armatized Heldalf
Level
80
HP
200,000
Link
—
Weakness
—
Resistance
—
Heldalf (4)
Level
80
HP
21,935
Link
—
Weakness
—
Resistance
Once you make it through to the top, activate the warp point and save point at the base of the stairs, and then head up and across the plaza to enter the final building. Sorey gains the costume "Shepherd's Outfit: Determination," which changes the music used in battle.
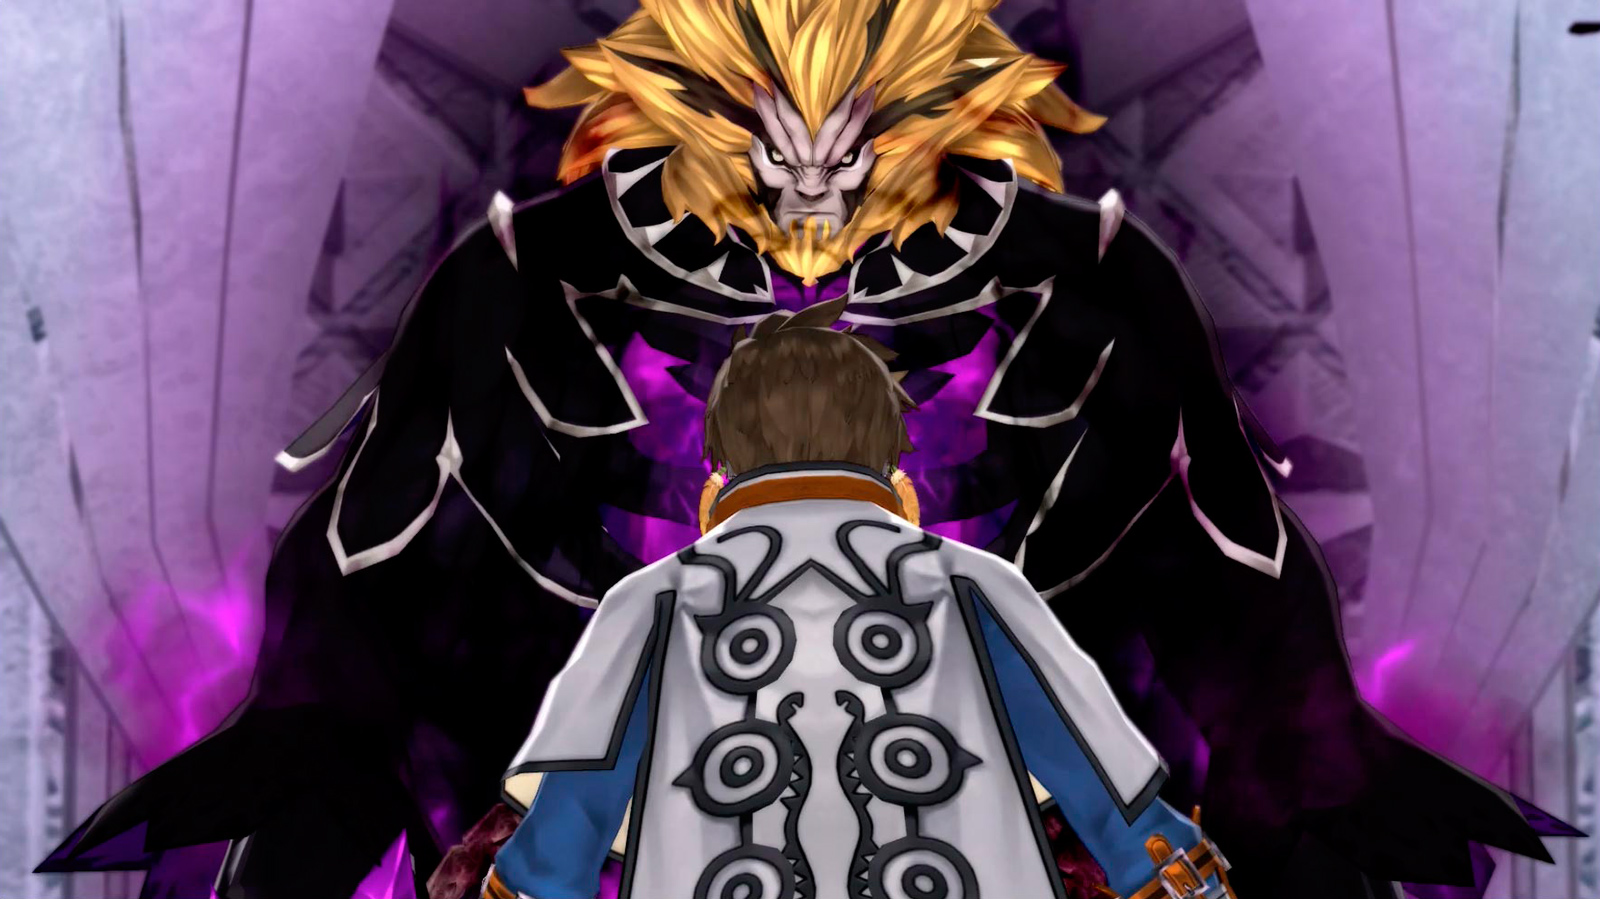
The big battle with Heldalf has three main parts, so stock up on restorative items to make sure you have an ample supply. Then, head inside and challenge the Lord of Calamity!
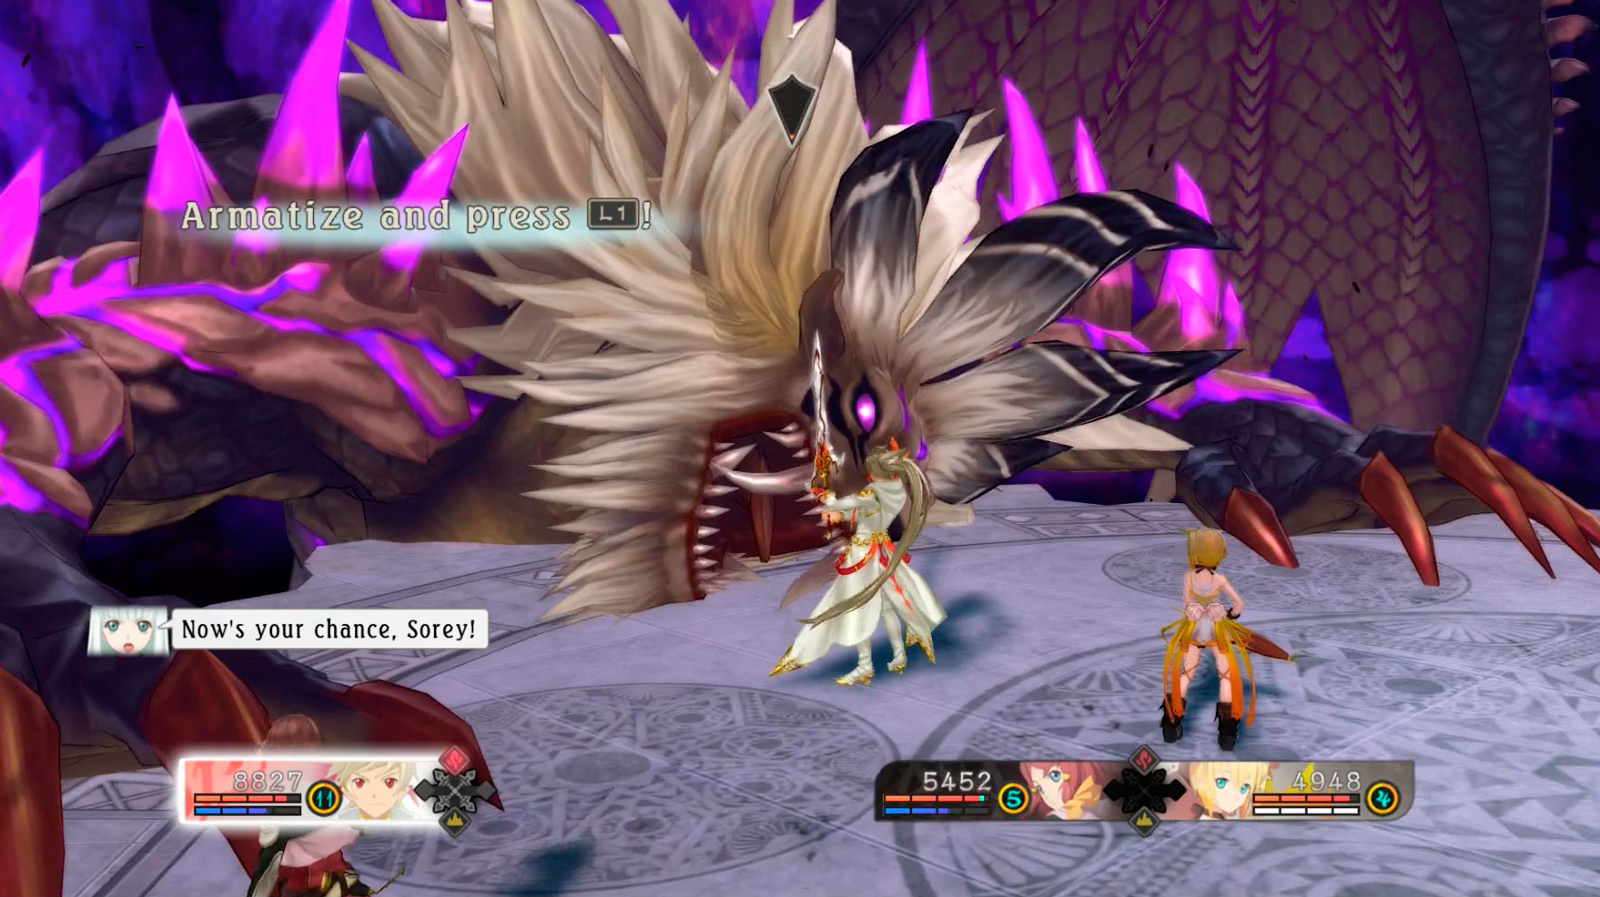
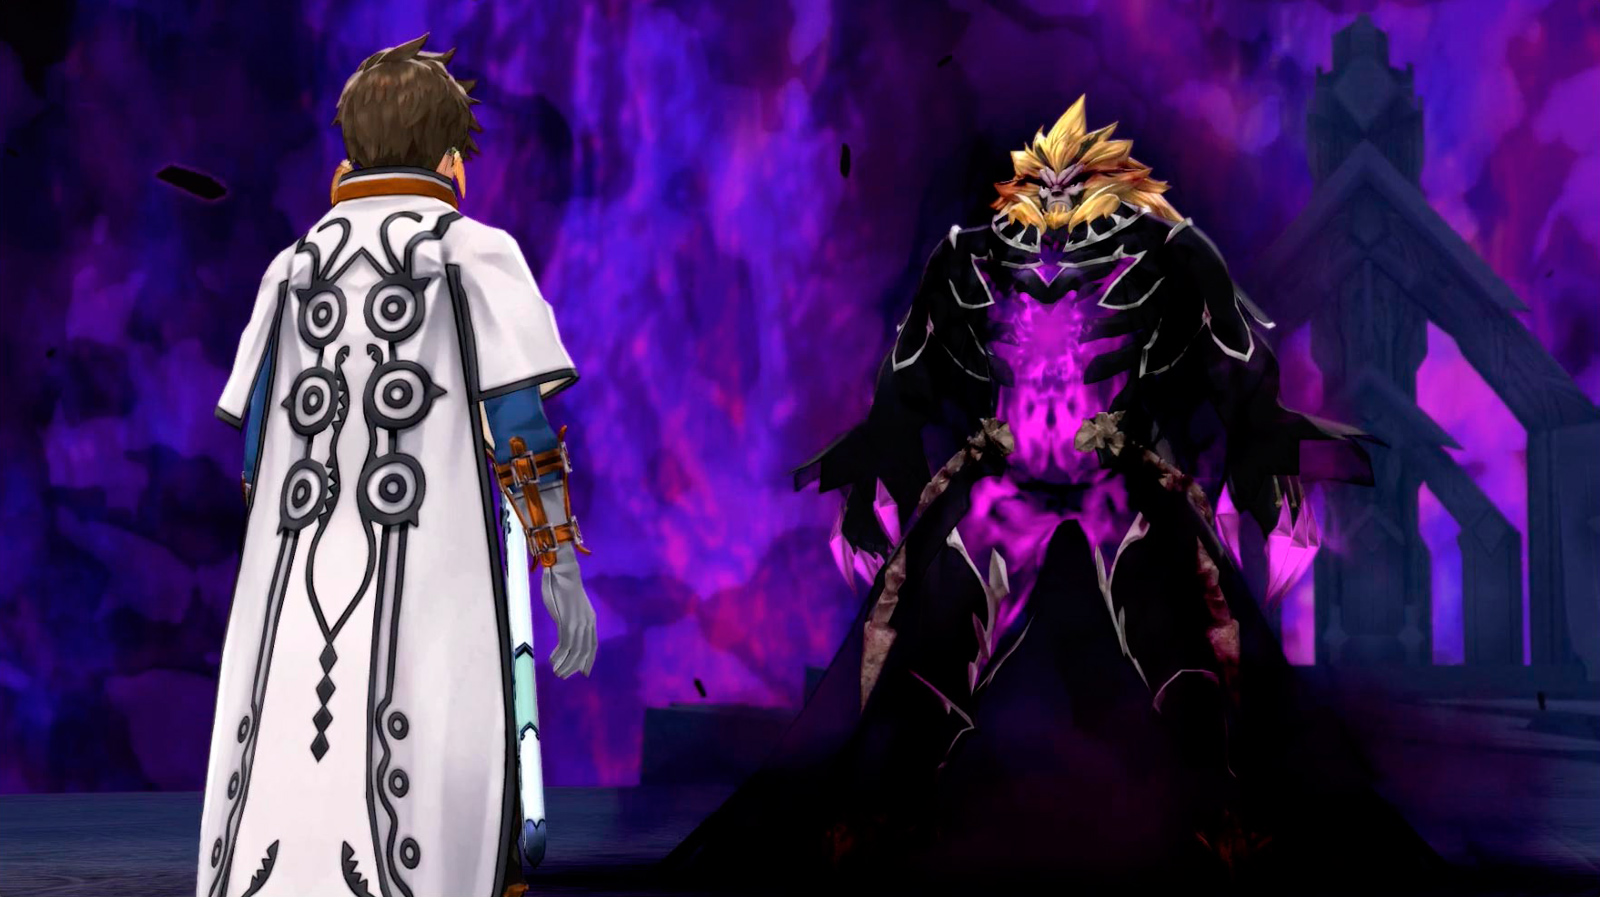
This is definitely the final boss battle, and the difficulty and dramatic nature of the fight reflects that. Evade Heldalf’s attacks as much as possible, as they are very, very strong. Luckily, Pay attention to the types of artes he uses so you can dodge or step out of the way. These attacks are mostly hidden artes, so don't let your martial artes leave you vulnerable. Heldalf is resistant to Non-Elemental attacks, which makes armatization extremely useful for this battle. Additionally, since most of his attacks are short-ranged, taking on a seraph and attacking with seraphic artes from a distance is a great tactic to break his hidden artes while bringing down his health in safety. Once you whittle away about one-fourth of his health, a cutscene occurs where Heldalf reveals that he has absorbed Gramps. Heldalf takes advantage of Sorey's shock, and forces Gramps to use his lightning artes against Sorey.
The fight continues on, and the group decides they must take down Heldalf first before they can figure out how to save Gramps—if they can. Beware, Heldalf will now have access to new powerful hidden artes, and he'll try to trigger his mystic arte "True Lion's Howl." Once you bring down his HP, Rose attempts to take it on herself to land a lethal attack against Gramps, but Mikleo and Sorey ultimately decide that it’s something they need to do themselves.
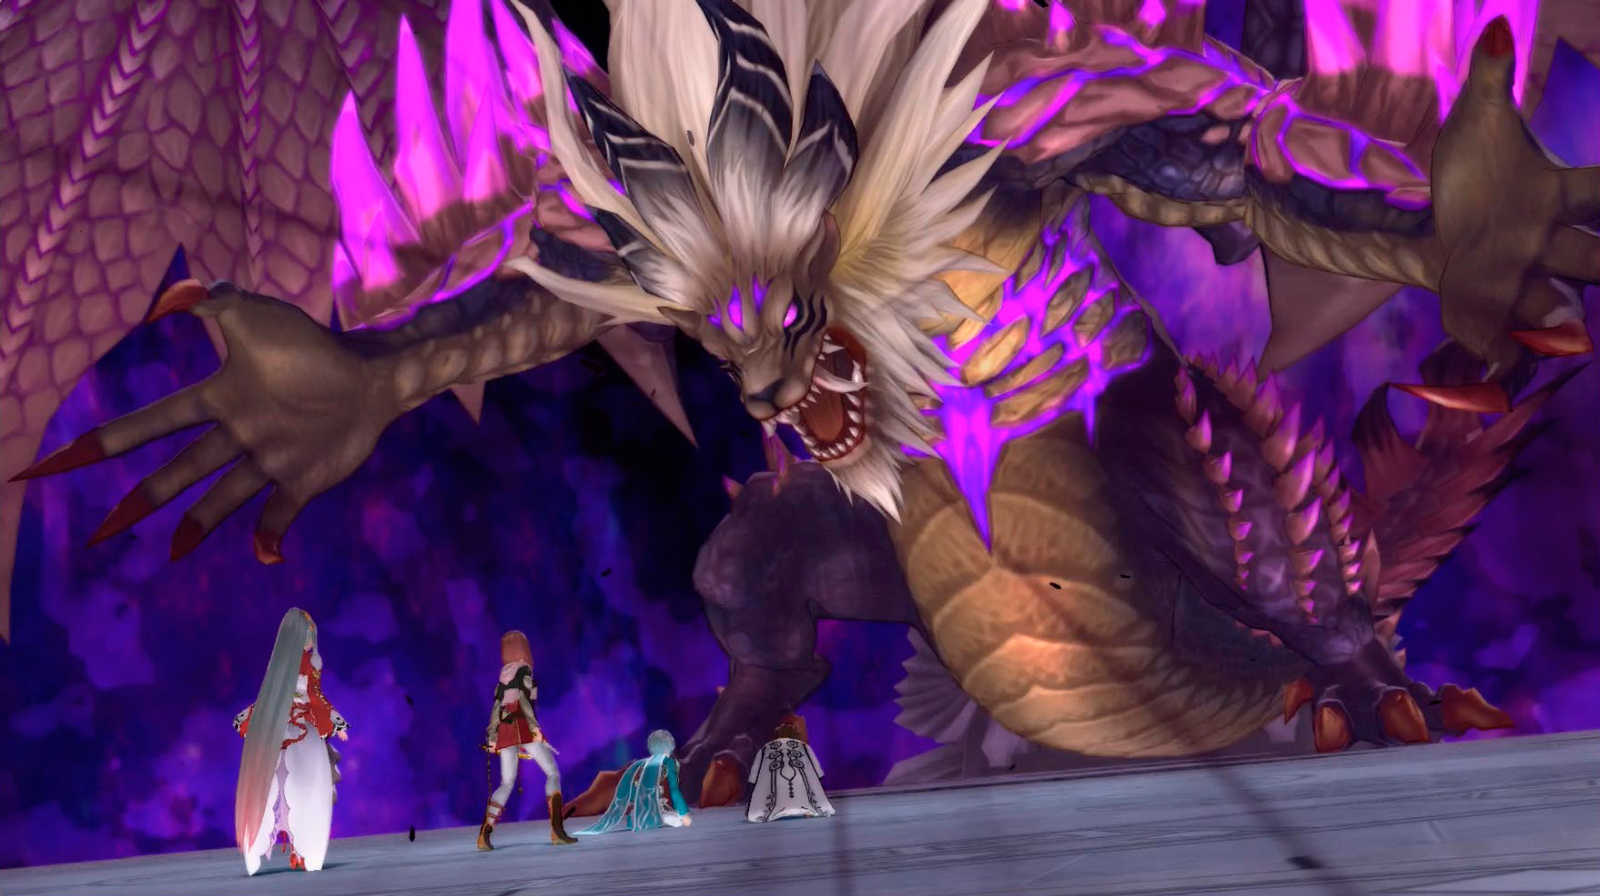
Angry that he is still unable to break the will of the Shepherd, Heldalf armatizes with Maotelus. You need to take out a quarter of his HP so that you can use Seigfried against him, but in the meantime, he will attempt to take you down with attacks that can hurt you up close and from a distance.
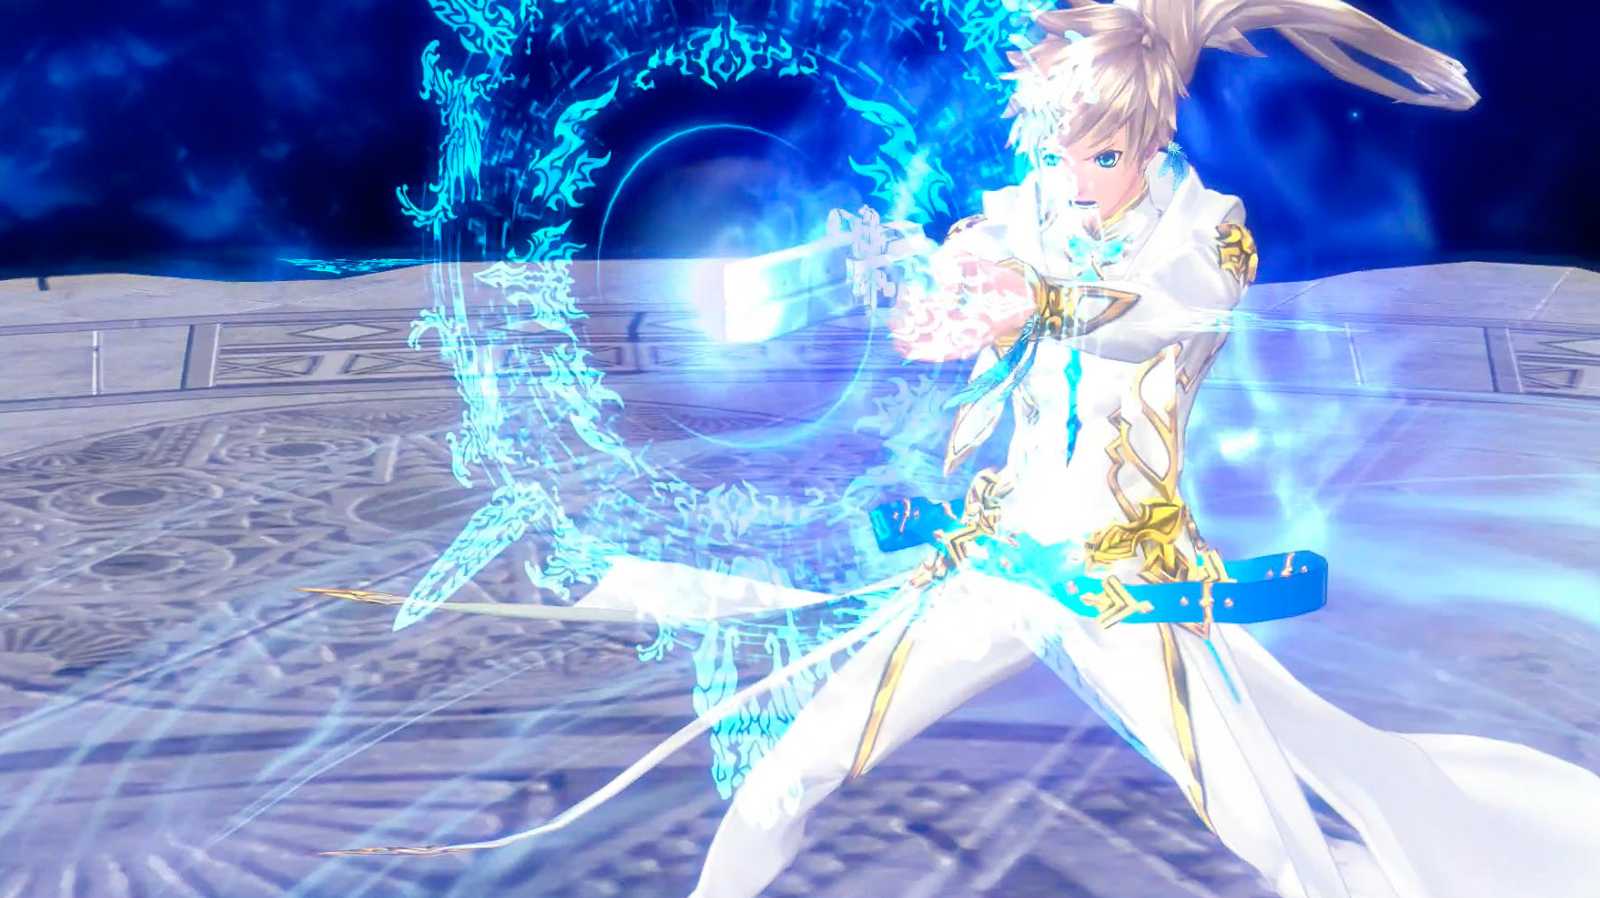
Once his health has depleted by 25%, Heldalf will begin chanting to cast a vicious attack that will wipe out your entire party if it is not interrupted in time. Once he starts chanting, pummel him with your strongest attacks. If you cause enough damage, you’ll be able to interrupt the casting and stun him just long enough for you to fire a seraph through Siegfried by following the on-screen instructions. Remember that any seraph you fire will no longer be available for the remainder of the battle, so choose your armatization order carefully. Luckily, every time you do this, your party heals to full health. This process will repeat every time Heldalf has been brought down by a quarter of his health.
After doing this all four times in a row, you are victorious and Heldalf loses his armatization form. Sorey will then push an exhausted Rose out of harm’s way. She watches the Shepherd and the Lord of Calamity fall, angry and upset that she unable to assist him as his Squire. Sorey will have to face the final part of the battle alone.
Now Heldalf is back to his regular self, which is a welcome change after that crazy armatization form. His resistance to Non-Elemental artes is back, but his health has dropped to more than half than it was before. Focus on dodging and guarding his hidden attacks, then attacking when he is vulnerable. Pay attention to the type of hidden artes he uses—for some, it'll be best to backstep; for others, sidestep. You can take him out faster by taking the risk to overpower these attacks with your own hidden artes. But remember, if you lose health, the only way to heal is to use items. You need to lower his health so you can finish him with a mystic arte that Mystic Arte, which Heldalf will match. Unfortunately for Heldalf, Sorey has a trick up his sleeve, and blasts the weakened Heldalf back into a throne, revealing Maotelus at last.
After everything you have fought through, all you can do now is walk forward. Sorey picks up a fallen sword, which you must use to end Heldalf's life. When you reach him, press K to lift the sword, and press K again to stab him in the heart. When Heldalf dies, the seraphim drift away, and the malevolence within him finally dissipates. Sorey reaches out for Maotelus, and a bright beam of light erupts into the sky, spreading out to the entire world.
Thus concludes the main story. To find out what happens afterwards, stick around during and after the ending credits. You can also check out the DLC expansion, "Alisha's Story."





 /
/  /
/ 


 /
/