
Tales of Zestiria Guide Walkthrough Part 4: The Duty of the Shepherd
Glaivend Basin (2)
The War-Torn Battlefield
Great Camelot Bridge
Despite the party's determination to go to Elysia, if you head over to a save point, you'll realize that you won't be able to warp anywhere passed the Great Camelot Bridge; you'll have to walk for now. Head over to the Bridge, and at its centerpoint, the group overhears some merchants talking about war breaking out again in Glaivend Basin. Looks like the plans to return to Elysia will have to be put on hold.
Glaivend Basin
Since you won't be able to warp directly to the Basin or anywhere in Hyland, Volgran Forest will be the closest available save point. Enter the Basin near the Rolance outpost. Near the outpost, the party overhears Rolance soldiers discussing the skirmish casualties. While the rest of the army is readying for an all-out war, the Platinum Knights seem to be back in Lastonbell, attempting to evacuate the citizens. Time to visit Sergei.
Volgran Forest
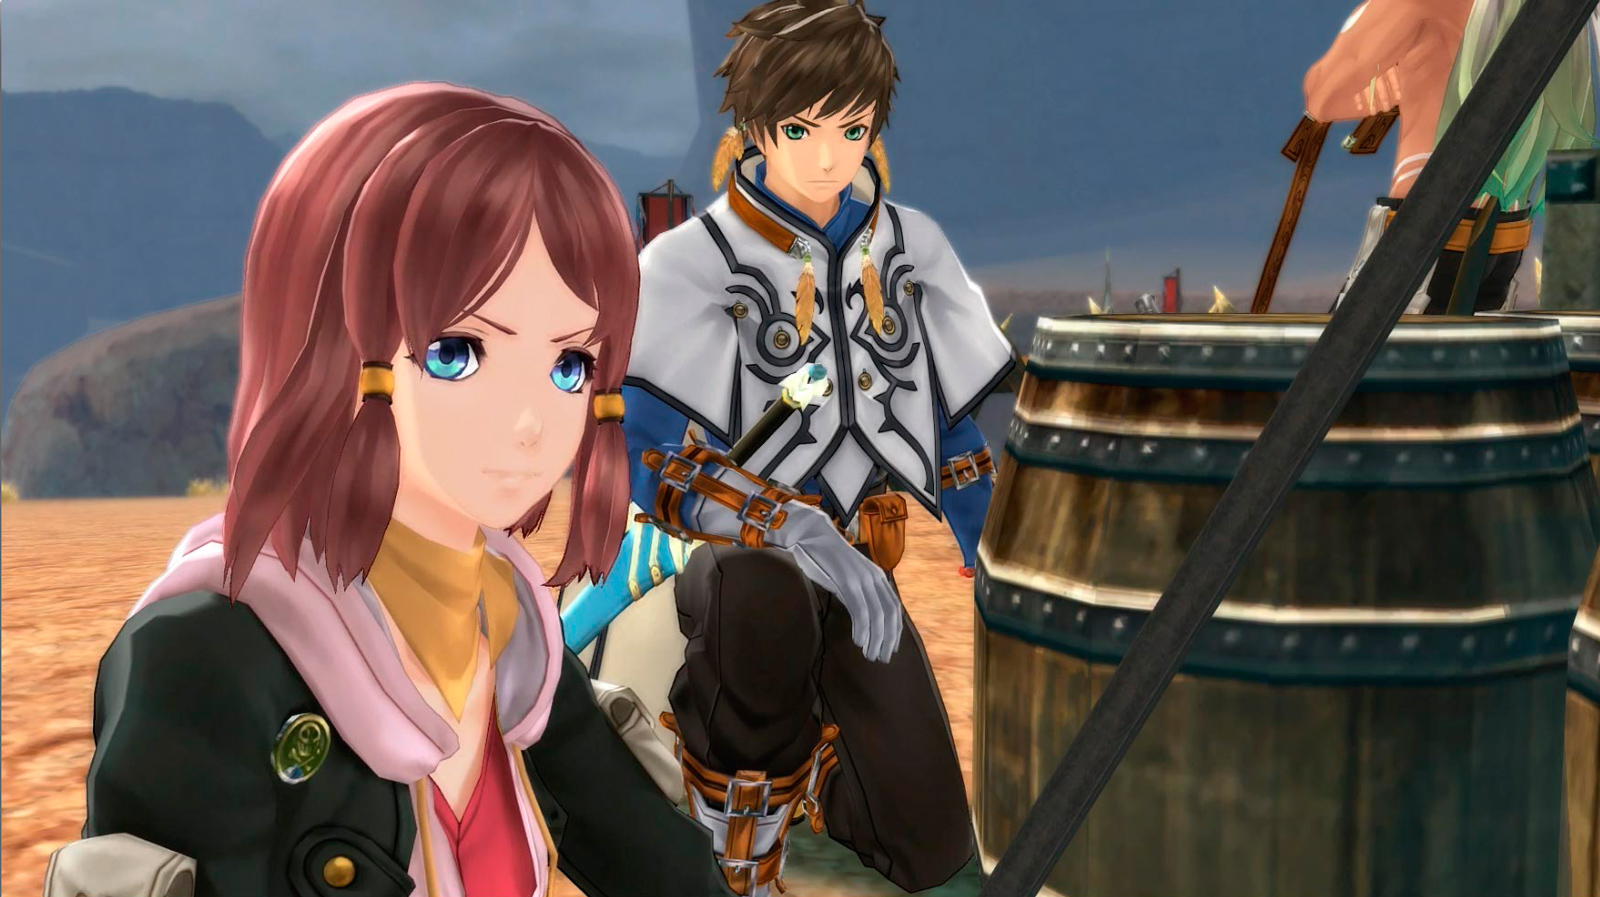
As you re-enter the forest, a familiar figure approaches. Ayn Talfryn managed to escape the capture of the Sparrowfeathers in Pendrago, with news that Lunarre has framed them for the assassination of the Cardinal in order to get Rolance an excuse to start the war with Hyland, using the Scattered Bones as a scapegoat. Sorey encourages Rose to go save her family, and Rose leaves the party.
From here, there are three places you can go:
1. Hyland, to speak to Alisha
2. Lastonbell, to speak to Sergei
Which place you go to next is up to you. Rose will not rejoin your party again until all three sections are completed. You can go to whichever one you'd like, but in this guide, we'll go to Hyland first, then Lastonbell, and finally Pendrago.
Glaivend Basin
Warp to the Marlind entrance in Falkewin Hillside and head to the outpost from there. Inside, the Basin is covered in malevolence once more, while Maltran is at the outpost, ordering the troops to ready for battle. Speak with her to discover that Alisha has been tasked with bringing Maltran the order to start the war. Once you return to Falkewin Hillside, you can warp back to Ladylake.
Ladylake, the Aquapolis
Alisha is under attack at her home by hellionized Hyland troops. Defeat the first wave of Armor Knights and Lailah will bring Alisha back into the fold for the next wave, her Squire vows reforged. During the battle, Zaveid introduces himself.
Armor Knight  / / | |
|---|---|
| Level | 52 |
| HP |
6110 |
| Attack Type | Weapon |
| Weakness |   |
| Resistance |   |
Speak with Alisha on her terrace to hear her firm resolve to not start the war. The group breaks the news to Alisha that Lady Maltran is a hellion working to incite war. Alisha doesn’t believe it, and needs to confirm it with her own eyes. She walks away, but is now officially in your party. Update her gear and stats; all four of her titles have now risen to their highest ranks.
Head out to the Central District and watch another cutscene where the party reassures Alisha of her place as a Squire. Stop at the inn or shops if you'd like, then warp or head out to the Falkewin Hillside.

Falkewin Hillside
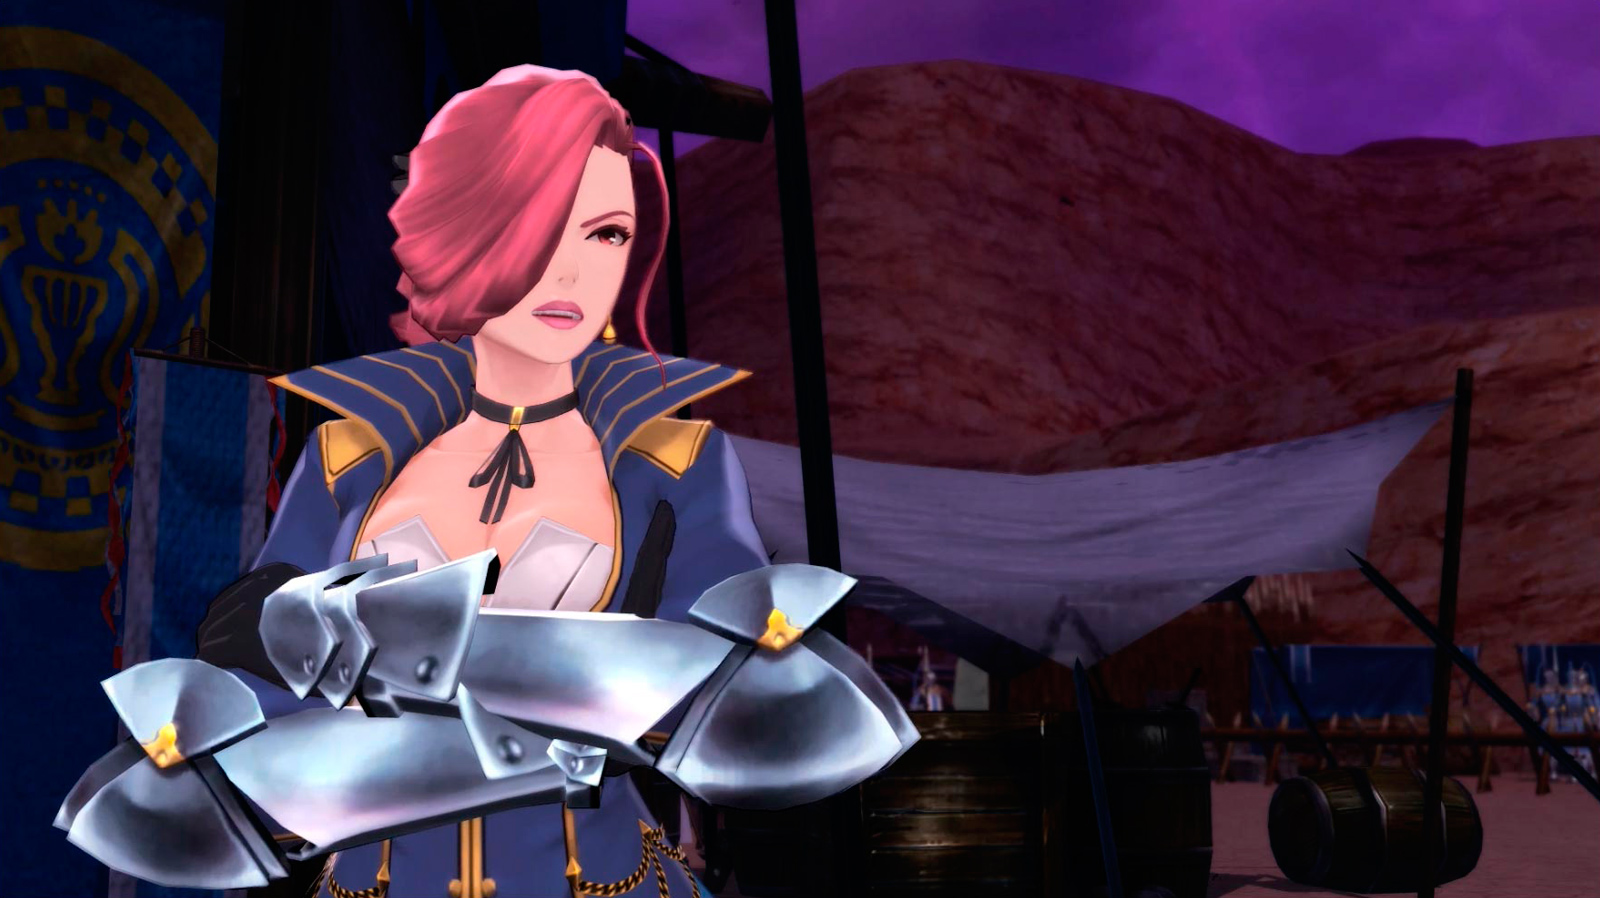
Near Glaivend Basin, Lady Maltran comes out to confront Alisha and Sorey. She is amused that Alisha has discovered her true identity and demands the royal order, stating she is more than willing to take it by force. Despite her threat, Maltran wants to avoid any "prying eyes". Follow her into Bors Ruins for a battle.
Bors Ruins
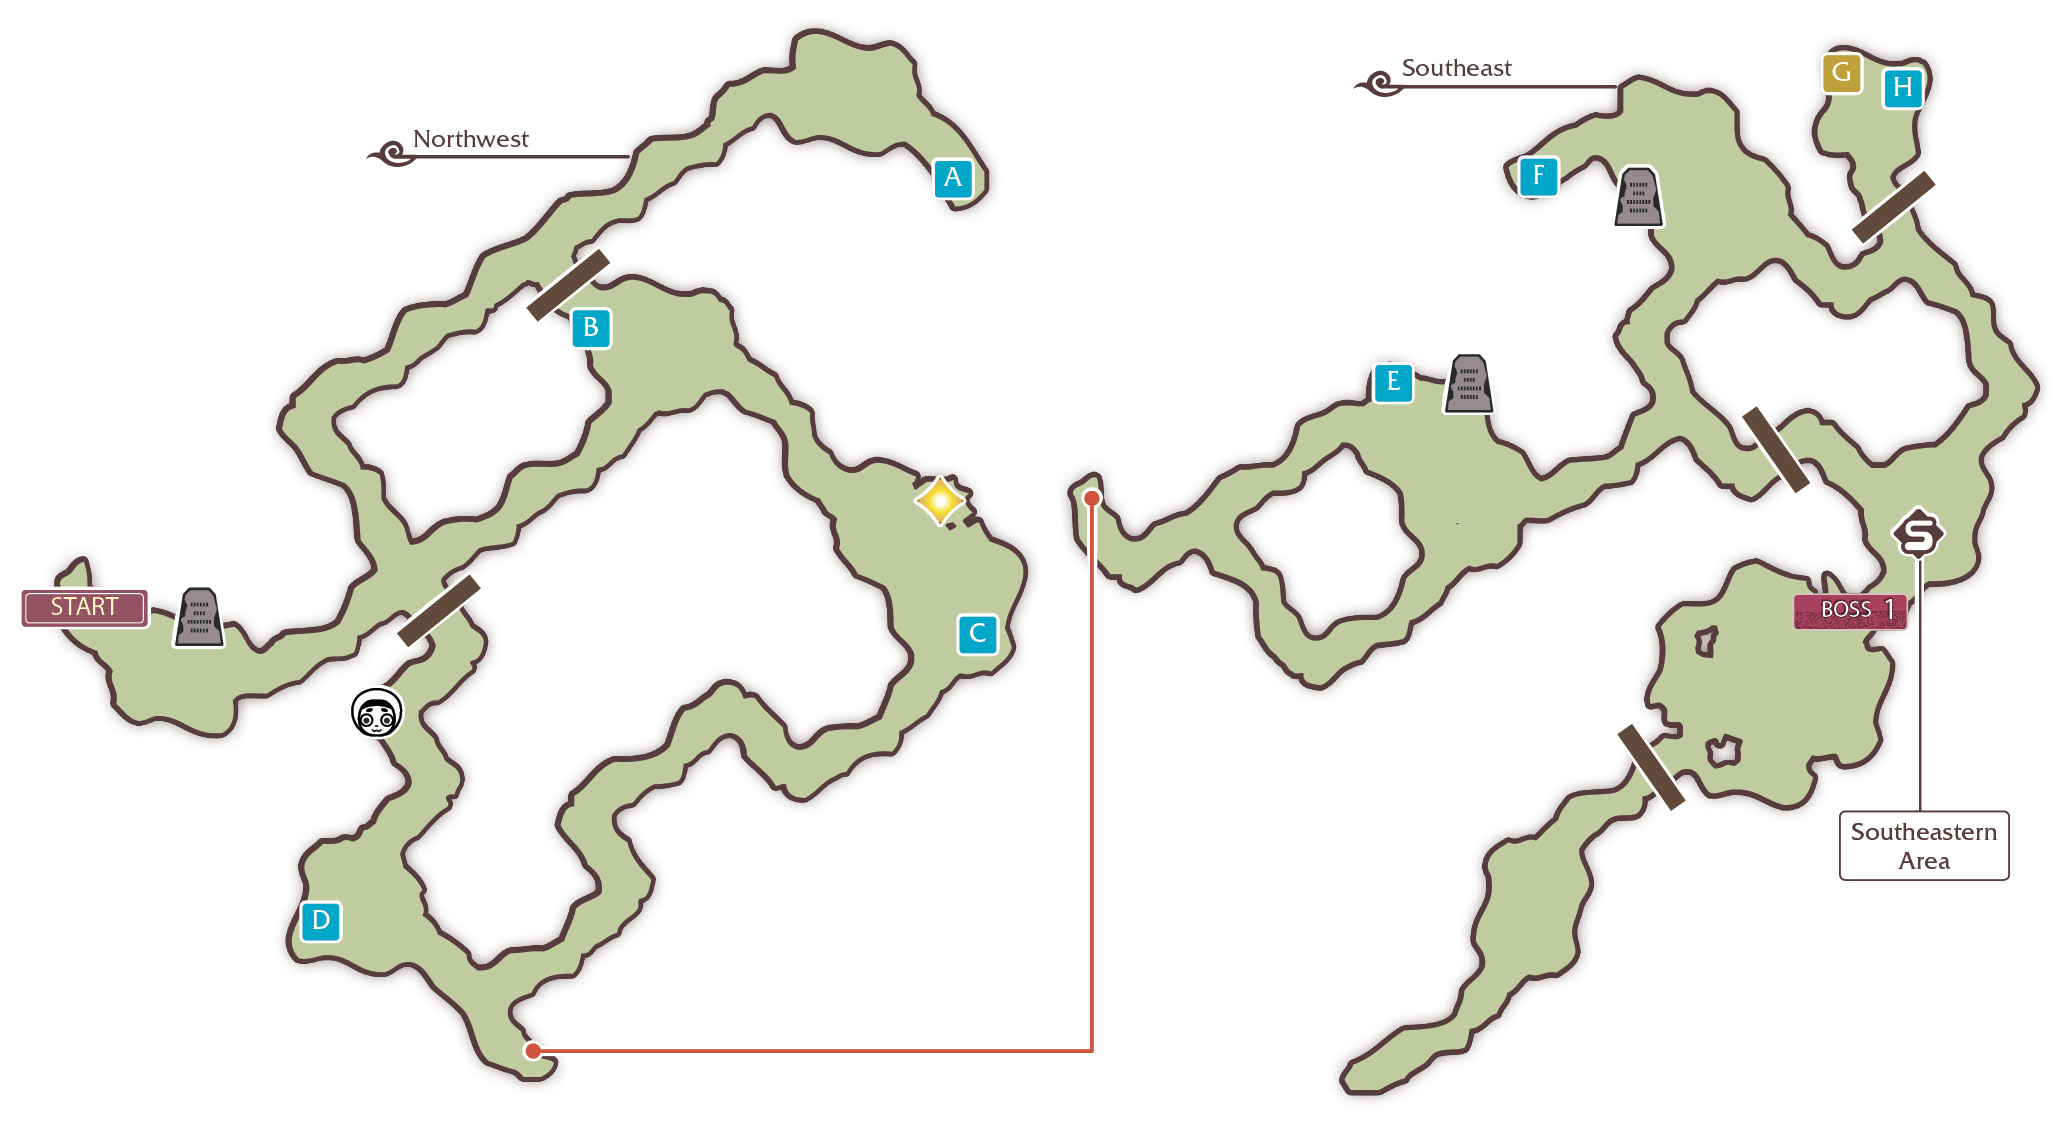
You’ll find Lady Maltran in the Southeast area, beyond the save point.
ENEMIES


ITEMS
 |
Hanging (Left) |
 |
Sage |
 |
Elixir |
 |
Bamboo Stack |
 |
Apple Gel |
 |
Thorny Vest |
 |
Spear of Impending Death |
 |
Lavender |
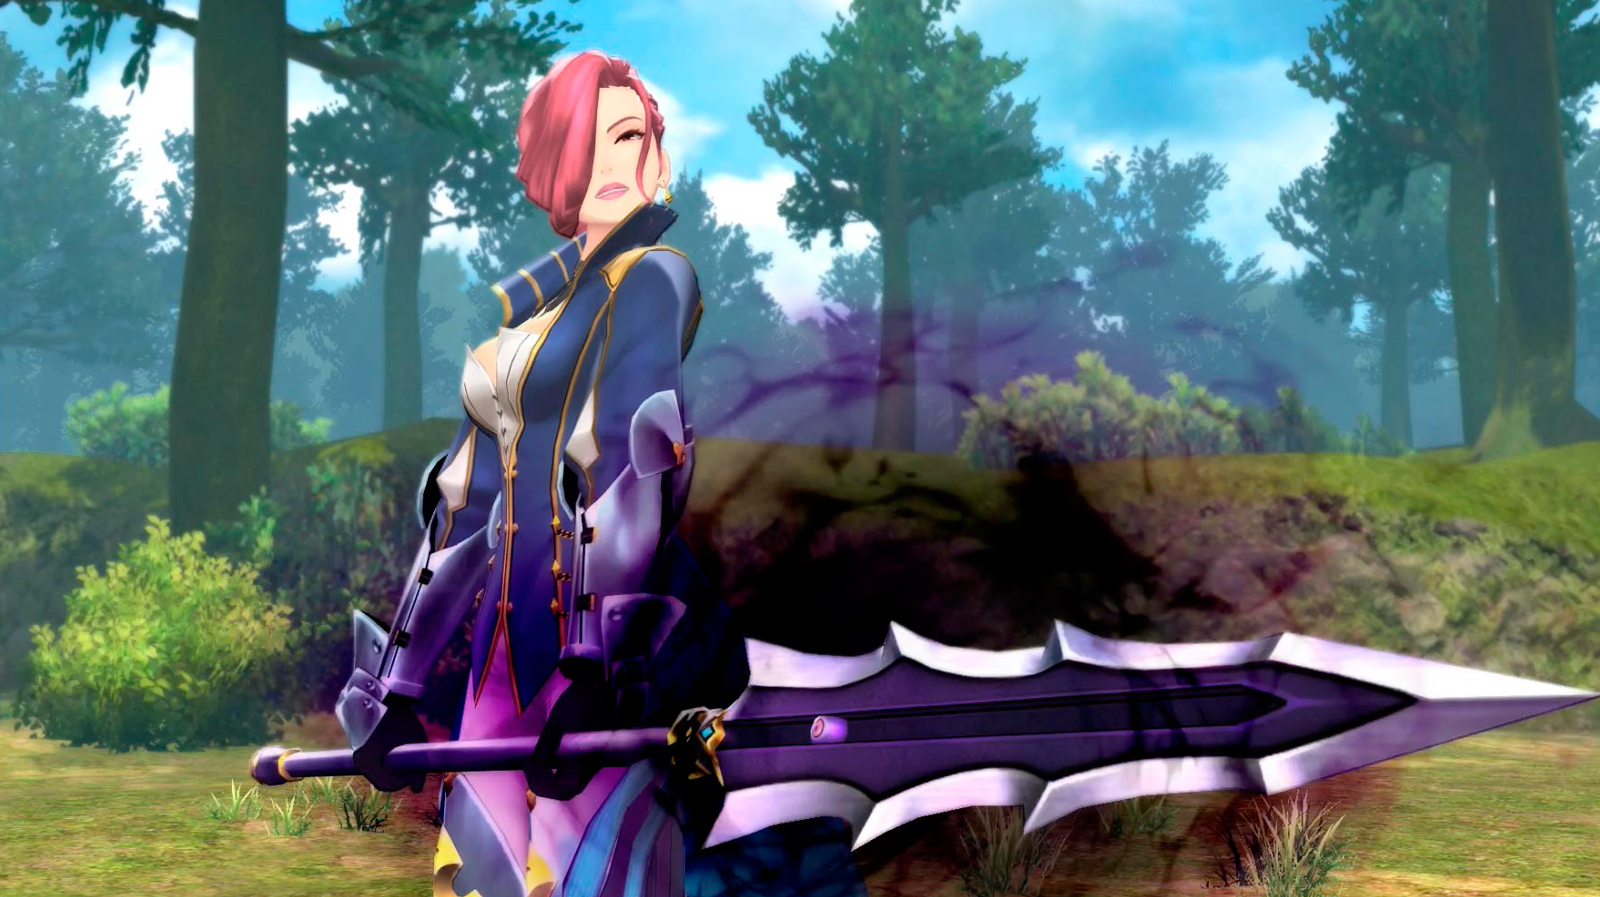

Maltran is resistant to Non-Elemental, Earth, and Water atres, so focus on Fire and Wind artes and keep Zaveid and Lailah on the field. Her spear gives her long-ranged attacks with a mixture of martial and hidden artes. Unsurprisingly, as Alisha's teacher, Maltran shares many of her same moves, including a mystic arte. Dodge her combos if you can, especially later in the battle, to avoid getting hit by the mystic arte.
Triggering any Power Combos may be challenging, so the key to defeating Maltran is to balance offense with defense. Remember, Alisha may be your Squire, but unlike Rose, she cannot armatize. Keep an eye on her health since she won't be able to heal or revive herself.
After her defeat, Maltran resists purification, and then impales herself on Alisha’s spear, manipulating her until the very end.
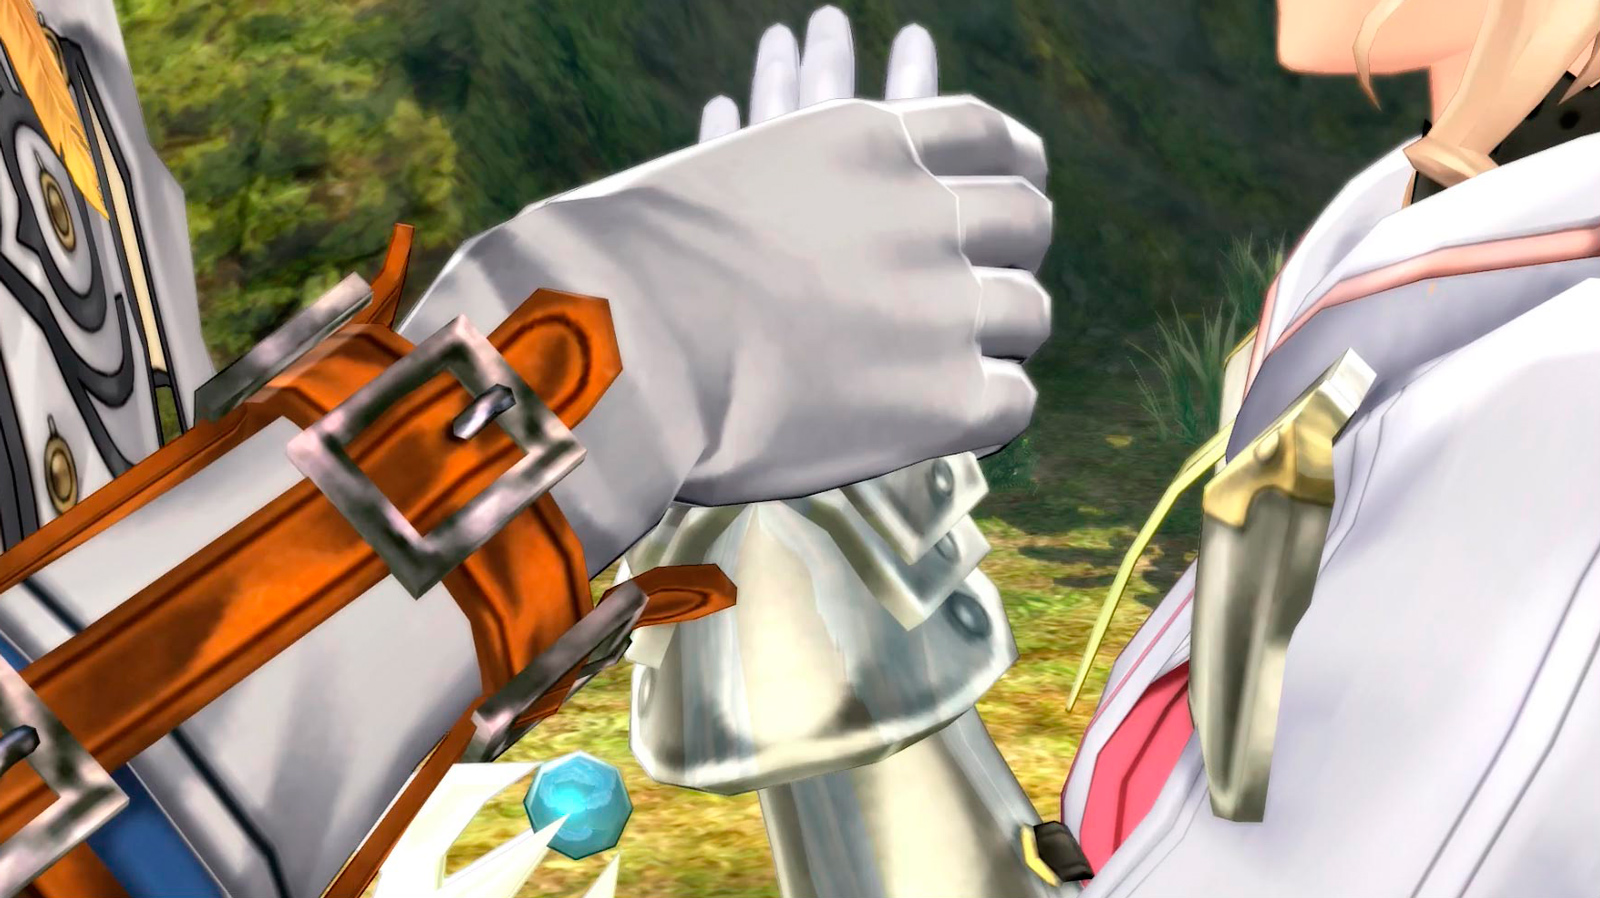
Track down Alisha. She has a breakdown, understandably, but Sorey helps her find her resolve again. She leaves the party intending to do all she can to stop the war.
This completes the Hyland section. From here, you can go to Sergei in Lastonbell or Rose in Pendrago. This guide covers Lastonbell next.
Lastonbell

Speak with Sergei outside the Sanctuary. The townsfolk have not taken kindly to his suggestion to evacuate, accusing him of cowardice and lacking patriotism to try and prevent the war with Hyland. Sergei suggests that he and Sorey head outside the city to talk. Follow him to Volgran Forest, as he calmly takes the insults of the town the entire way to the doors.
Volgran Forest
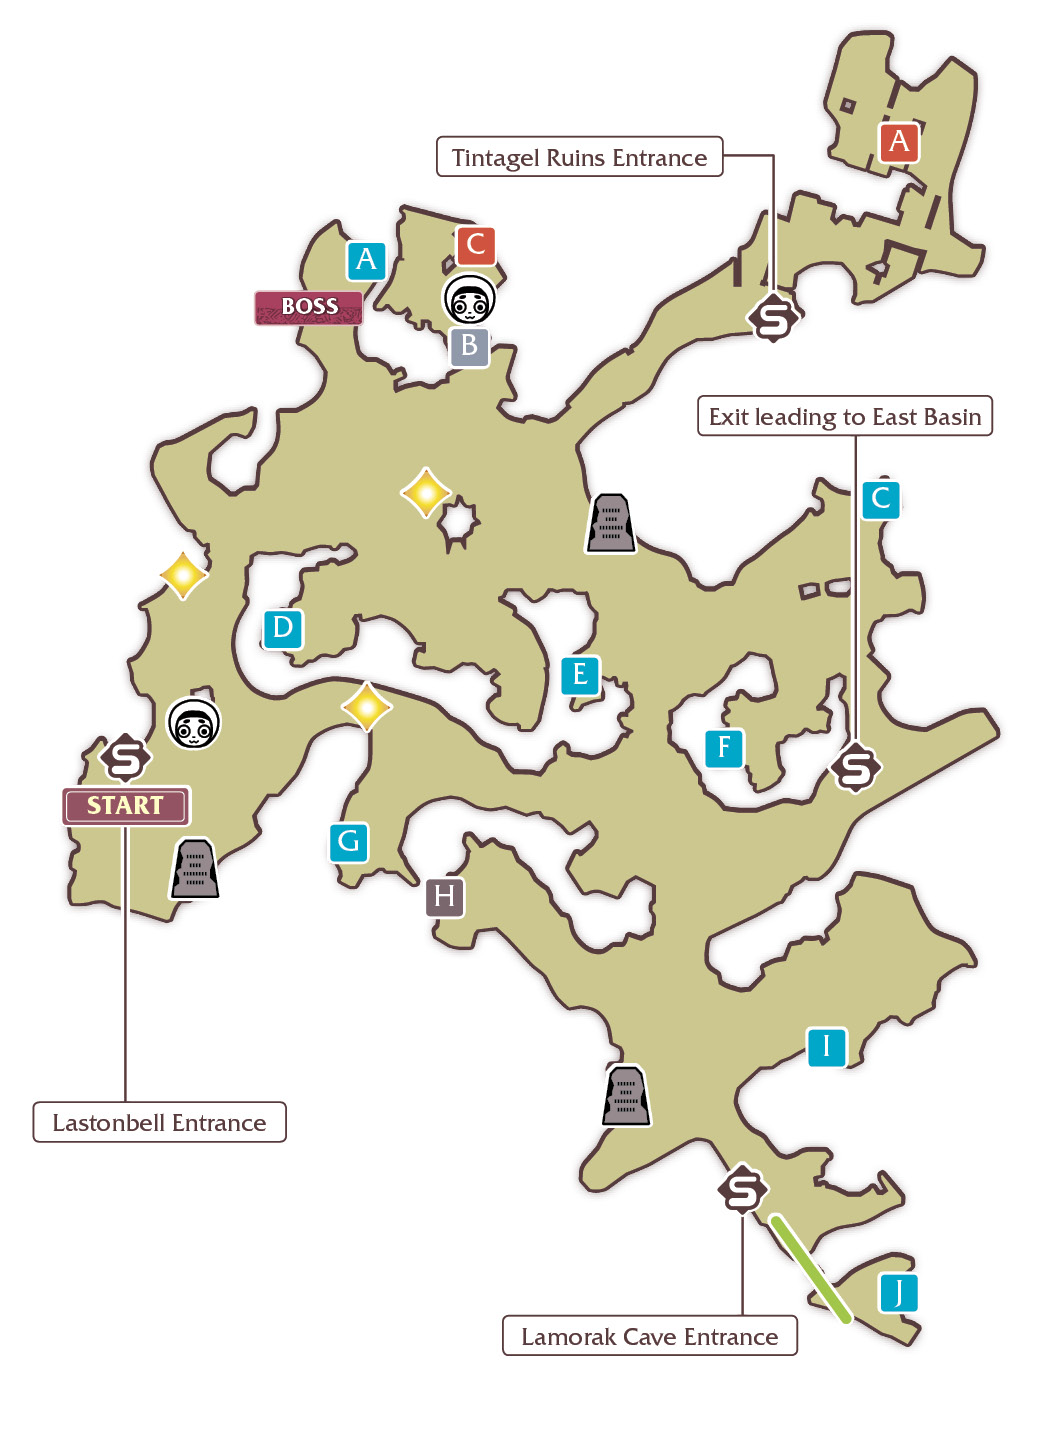
ITEMS
|
Sage |
 |
Horns |
|
Rune Crest |
 |
Mango Sorbet |
 |
Middy Blouse |
 |
Black Talismans |
 |
Lavender |
 |
Panacea Bottle |
 |
Verbena |
 |
Rosemary |
ENEMIES
Sergei (2)  | |
|---|---|
| Level | 60 |
| HP | 14,131 |
| Link | — |
| Weakness | — |
| Resistance | — |


Sergei waits on the hill to the right. Speak to him; despite their abuses, Sergei understands the townsfolks anger towards him. However, Lailah and Mikleo suspect that there is more to the sudden rise of malevolence than solely hatred towards the enemy. They request his aid, but at that moment one of the angry citizens, a child, is attacked by a hellion and Sergei takes his men to protect the kid. Suddenly, the world goes grey and Symonne unmasks herself; she had been disguising herself as a Lastonbell citizen, helping to spur on the jeers and anger towards Sergei. She leads them farther into the woods. Follow her until you reach what appears to be Sergei and his men. Symonne is unable to further fool the party with her illusions, but nevertheless, she attacks them in her new form.
Fake Sergei lacks any resistances or weaknesses, but the three Undead Sorcerers at his side are weak to Fire, so bring out Lailah for some area-of-effect Fire artes. Without a Squire at your side, this battle will be more difficult. Sergei will lay into you with quick martial and hidden artes, while the Undead Sorcerers will attack you from a distance with seraphic artes. Use Spread Out so Sorey and Lailah can focus on different enemies—better yet, take control of Lailah and take out the Undead Sorcerers while Sorey focuses on Sergei. If you can withstand their attacks, you might try focusing on taking out Sergei first, since his quick attacks can easily take you out if you're not careful.
After the battle the world returns to normal. Symonne attempts to taunt the party, but Sorey dismisses her arguments, and she retreats with disgust. They decide to return to Sergei, who is still dealing with the hellions from before. His efforts were not without cost, but at least now the townspeople will listen to him. Despite this small victory, Sergei questions himself as a hypocrite for talking down his fellow citizens from the very same anger he harbors himself. He even fears that he may be corrupted by malevolence, but Sorey assures him that he is not. Sergei and Sorey agree to find a path to peace together, and your objective in Lastonbell is complete.
Now that these two allies from rival kingdoms agreed to do their best to prevent the upcoming war, its time to get your personal ally back. Head to Pendrago to assist Rose with saving the Scattered Bones.
Pendrago, the Blessed Capital
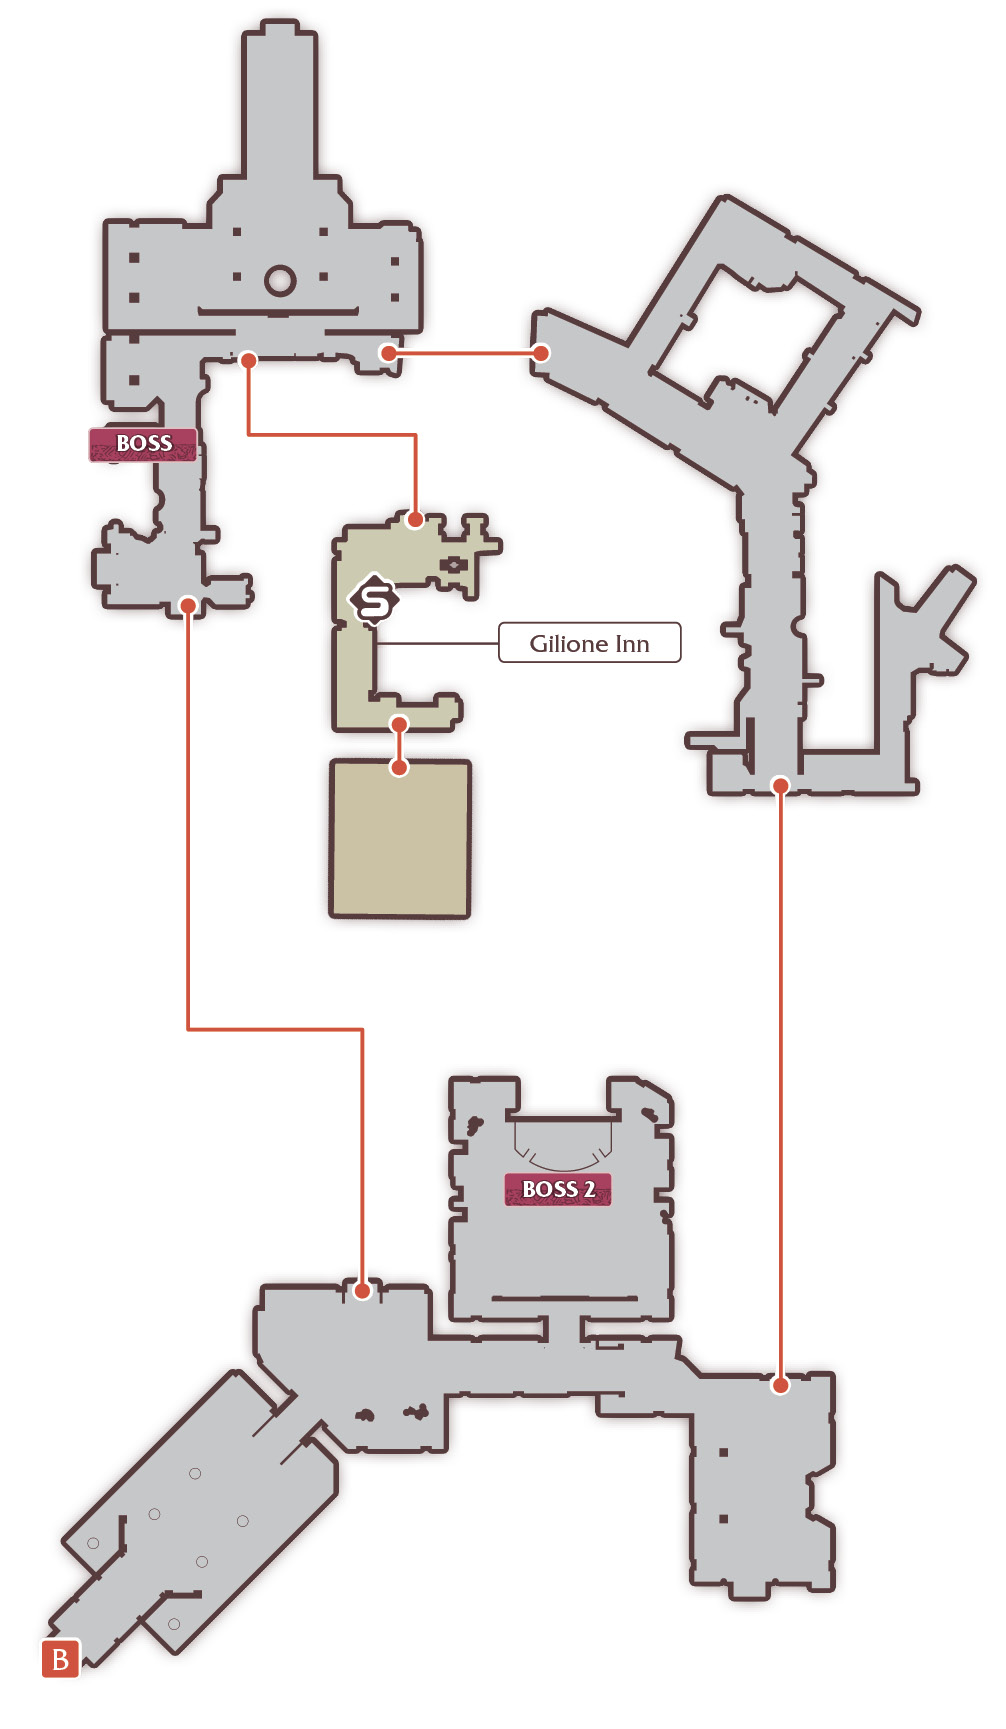
ENEMIES


| Lunarre (2) | |
|---|---|
| Level | 60 |
| HP | 29,790 |
| Link | — |
| Weakness | — |
| Resistance |   |
Warp over to the Pendrago Entrance in Pearloats Pasture and head into the city. Near the entrance, Sorey spots Rose’s handiwork. Rose has been robbing the nobility each night and calling out Lunarre. Head to the inn to rest until the evening, and then head over to the Noble’s District. Zaveid and Sorey listen in to a conversation between Lunarre and some noblemen. As you move to chase Lunarre, two Lizard Warrior hellions block the way. They are weak against Non-Elemental arte, so just whale on them with Sorey and get moving.
You’ve lost Lunarre's trail, but you’ll find him again at the amphitheater in the Castle Diocese district. Head to the entrance to see several Scattered Bones members trussed up, and Rose facing off against Lunarre. Zaveid and the rest of the party intervenes to take on Lunarre while Rose saves her guildmembers.
Lunarre is resistant to all elements besides Non-Elemental and Fire, so use Sorey and Lailah for this battle. You've defeated Lunarre several times before, but without a Squire by your side, he is more powerful than ever—fight defensively! As you battle Lunarre, Rose will release the Scattered Bones members one by one—there are three members total, so use that to gauge how much time you have left to spend fighting. Once she saves Eugille, a cutscene will interrupt, and Rose saves Zaveid in turn. She rejoins your party, so now you can attack with your full lineup. Lunarre now has access to a mystic arte that can easily knock out your party members, so keep your party spread out towards the end of the battle. Once you finish bringing his HP down, Sorey attempts to purify Lunarre. Unfortunately, it doesn’t work, and Rose stabs him, intending on killing him. Instead, Lunarre disappears in a flurry of blue flames. Rose stays behind with the Scattered Bones for now, so head back to the entrance.
Once all three tasks are complete, your party will receive word that the war has finally broken out, the heads of each nation having circumvented Alisha's and Sergei's efforts. Rose now rejoins you. Prepare for a difficult battle: stock up on supplies, visit an inn, or do any last minute training. When you're ready, head to Glaivend Basin from the Volgran Forest.
Glaivend Basin
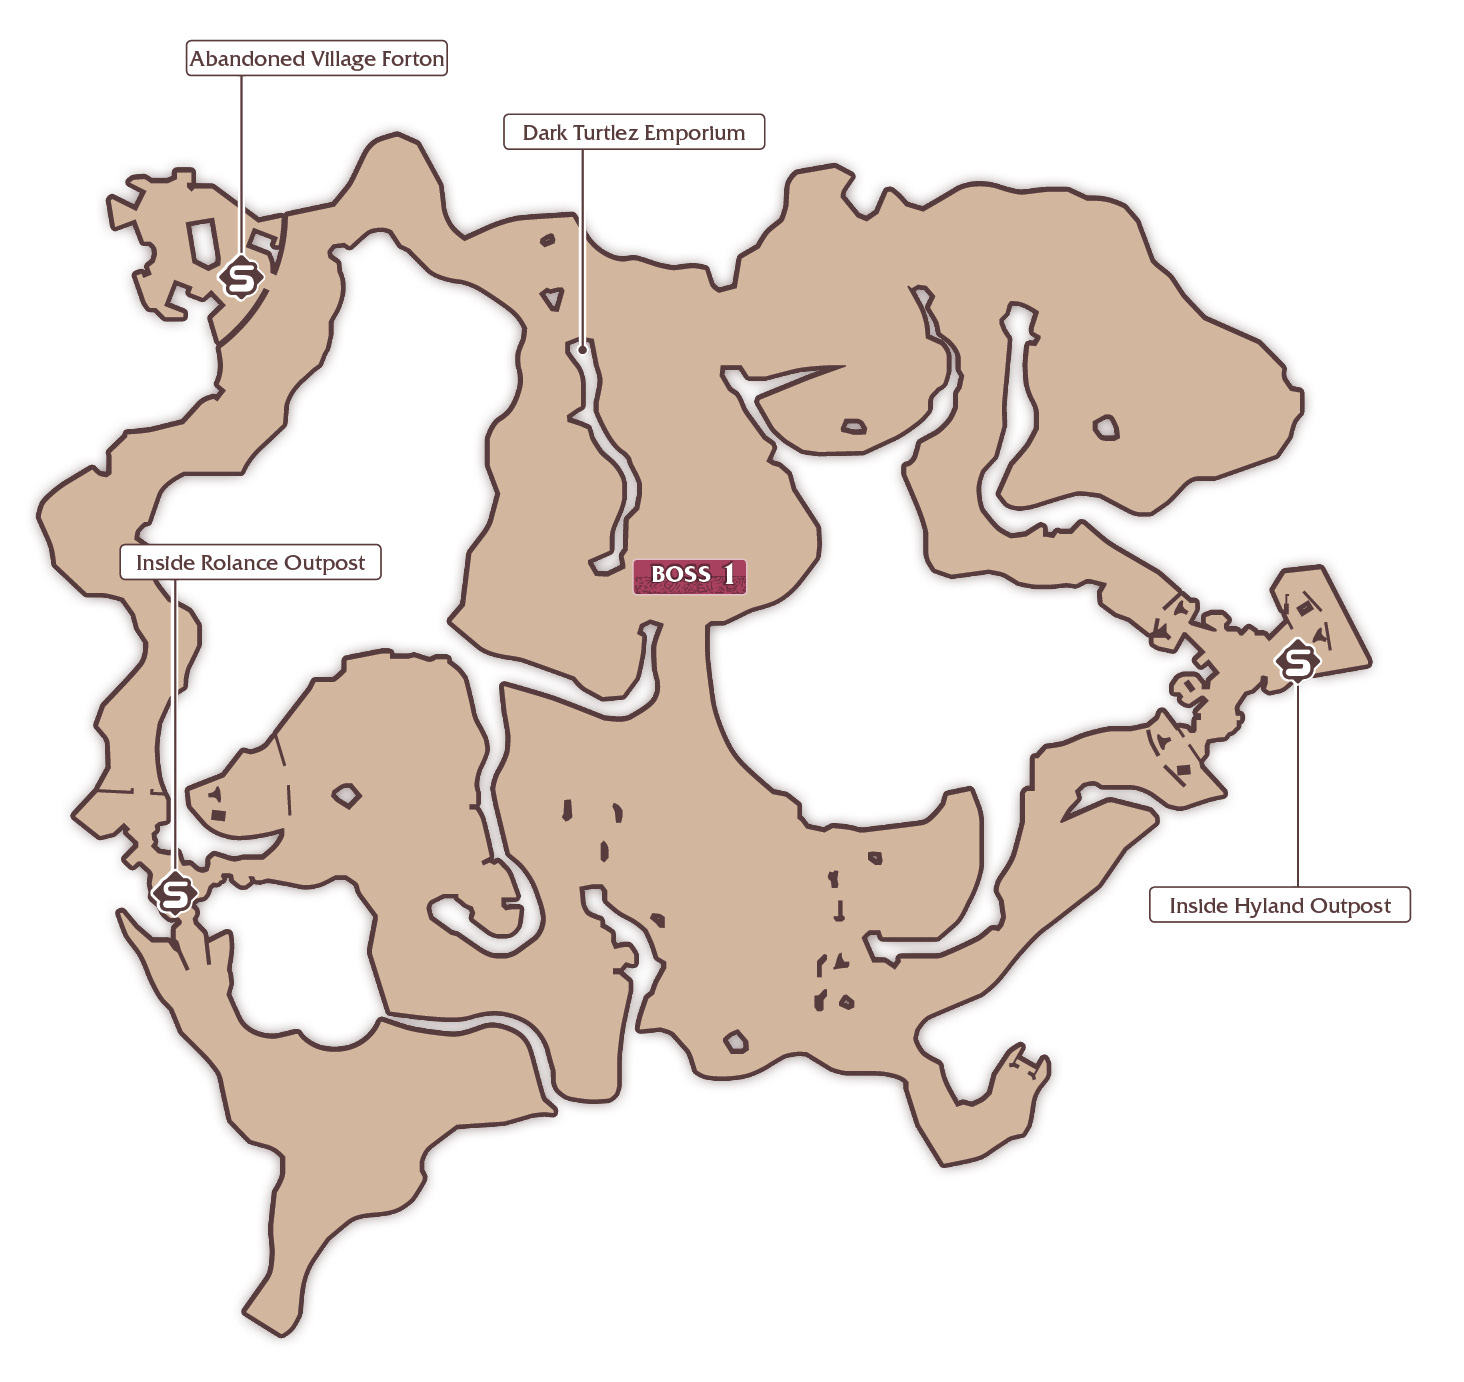
ENEMIES
Armor Knight  / /  | |
|---|---|
| Level | 52 |
| HP | 6110 |
| Attack Type | Weapon |
| Weakness | |
| Resistance |  |
| Lizard Warrior | |
|---|---|
| Level | 50 |
| HP | 4436 |
| Attack Type | Weapon |
| Weakness |  |
| Resistance | |
| Undead Sorcerer | |
|---|---|
| Level | 50 |
| HP | 5309 |
| Attack Type | Long Range |
| Weakness | |
| Resistance | |
BOSS ENEMIES
Tiamat  | |
|---|---|
| Level | 62 |
| HP | 75,106 |
| Link | — |
| Weakness |  |
| Resistance |   |
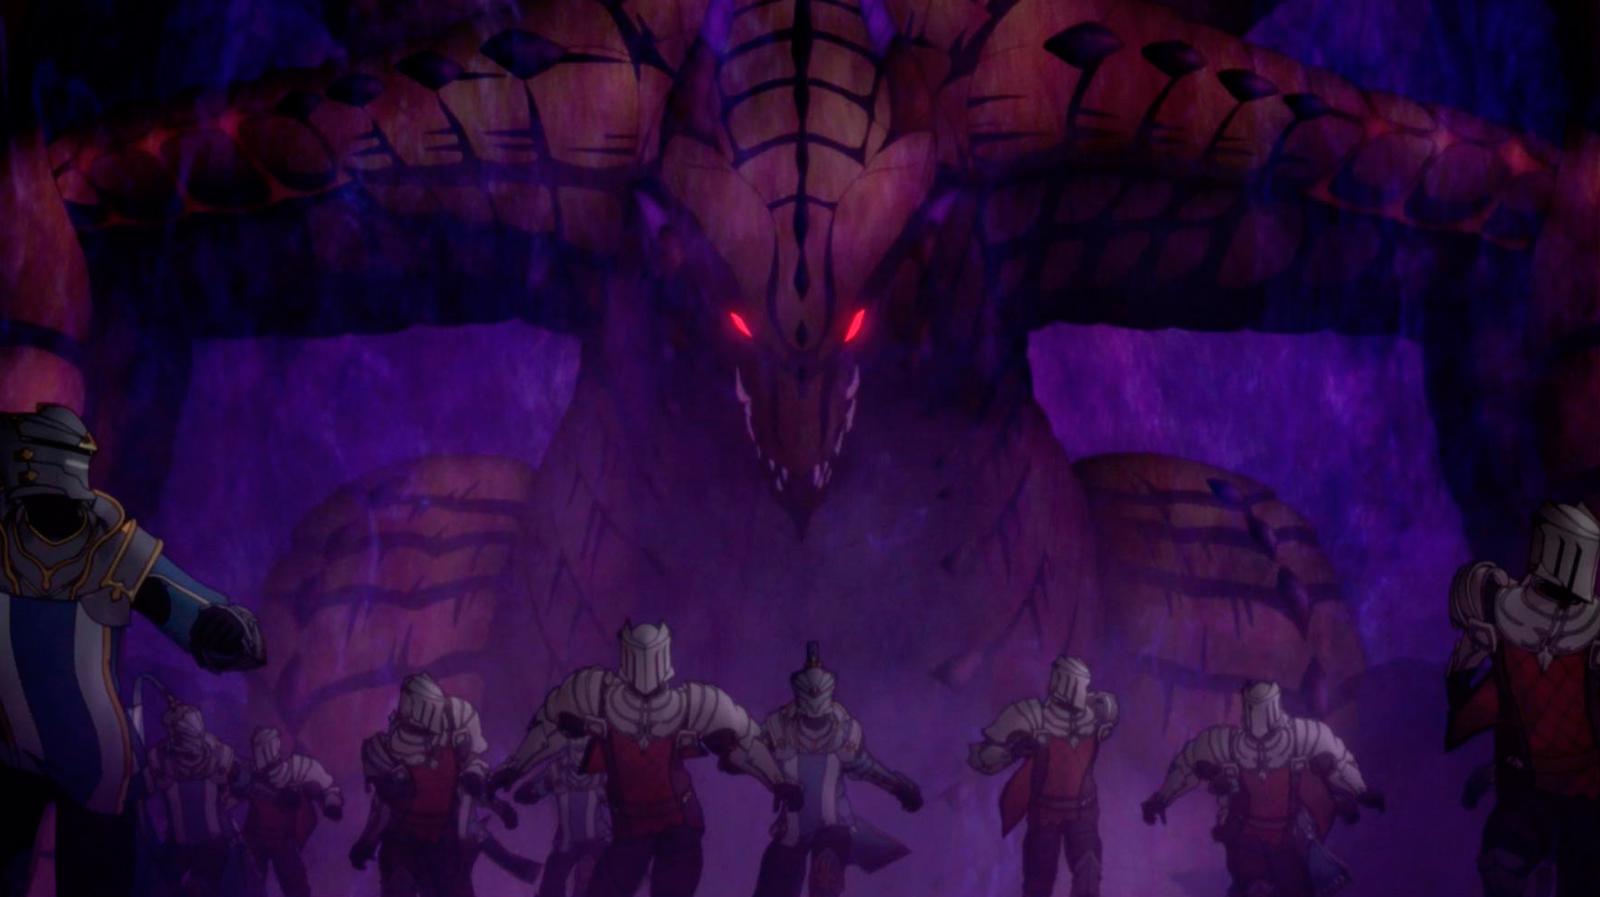
An animated cutscene shows the battlefield descending into chaos as the malevolence turns humans into hellions. A seraph in the middle of the battlefield is overwhelmed by the malevolence and becomes a dragon, completely decimating every human in its path. Terrified, the armies flee.
On your way to the center of the battlefield, you’ll pass the Abandoned Village Forton. You can come back later to finish "The Forton Sisters" Sub-Event here, but for now, activate the save point and move forward. There is also a Dark Turtlez on the battlefield if you need to stock up on items or gear before the battle. If you have equipment with skills against Dragons, now is the time to fuse and equip them!
Approach the dragon, which is just about to gobble up Lucas and his men. Sorey and Rose dive into battle to give Lucas a chance to escape. The mercenaries fall to safety with what is left of the Hyland and Rolance armies, with Alisha and Sergei at the lead. The humans look on as Sorey, Rose, and the seraphim take on the dragon.
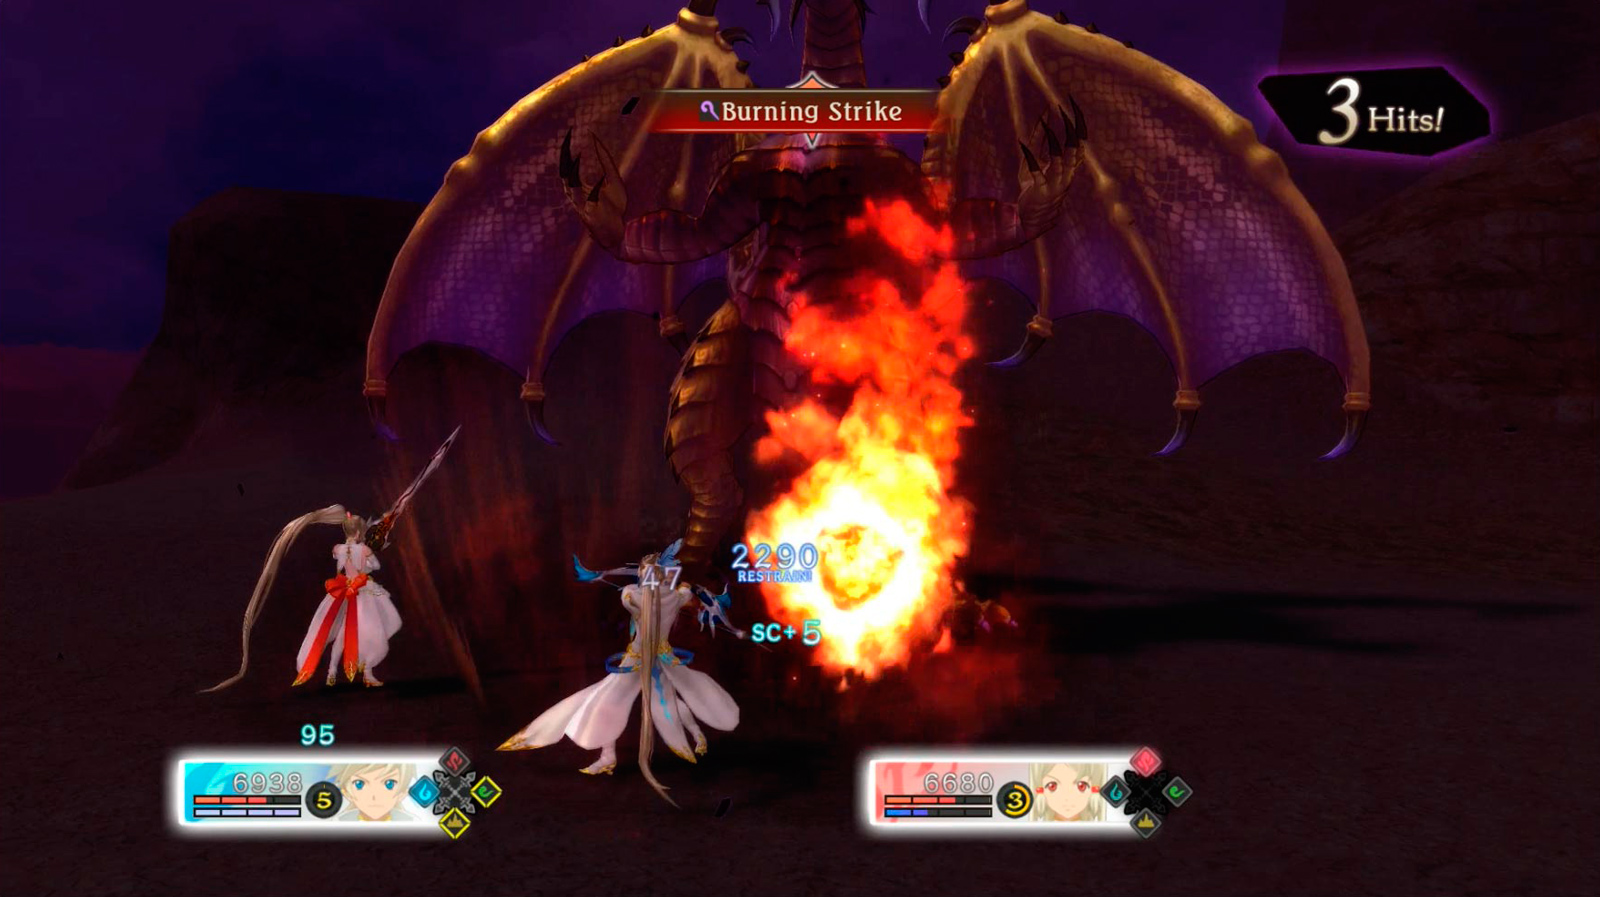

This is a difficult battle, so make sure you are well equipped. This isn’t a drake or a wyvern, but a full dragon. With its weakness to Non-Elemental artes, it's important for Sorey and Rose to keep Tiamat caught in a Power Combo to negate its resistance to Fire, Earth, and Water artes for the seraphim. Zaveid will be useful for armatization offensively, otherwise use the other seraphim's armatizations for healing your party. Most importantly, focus on survival—keep an eye on your seraphim and switch them out if they are low on health or are inflicted with an ailment so they can heal in safety.
Tiamat attacks are powerful, but they are also slow, with distinct hints to the type of attack he'll unleash next. While Non-Elemental artes will trigger Power Hits, besides the occasional stun, most of Tiamat's attacks cannot be broken even with proper arte balancing. As he builds up his next attack, get ready to dodge or guard. Many of his attacks can be avoided by evading behind him, while his slam and swipe attacks are best guarded. Beware: some of his attacks can inflict Paralyze, so it's very important to avoid getting hit as much as possible.
A cutscene will interrupt after you've brought down about a fifth of it's health. Your party realizes that the dragon is using the malevolence permeating throughout the battlefield to heal itself. The humans below look on, both in awe and despair at the struggle of the Shepherd. When the cutscene ends Sorey and Rose are armatized, and the dragon has completely restored it's health. Nothing else has changed, so keep fighting it like before.
At about two-thirds health, another cutscene will interrupt. Just as Rose is beginning to doubt they'll last for much longer, the humans launch a flurry of arrows at the dragon, inspired by the courage of the Shepherd. The battle begins once more - now, whenever Tiamat tries to heal, more arrows will rain down on it, temporarily dazing it to prevent it from recovering health. With the united efforts of the humans and the Shepherd, you can now defeat the dragon.
Unfortunately, defeating the dragon does not purify it. Sorey hesitates, but then makes the ultimate choice to end the dragon's life, as well as the seraph that inhabits it. Sorey and Rose armatize, and in a flash of light and fire, bring the dragon down. Beneath them, the humans cheer, their war ended and forgotten.
Volgran Forest
Sorey and Rose awake in Volgran Forest. Mikleo makes note that the malevolence of Glaivend Basin has completely vanished. Exhausted, they all agree to rest in the old hideout, the Tintagel Ruins. Sorey's top three titles raise to their highest rank: "Veteran Warrior", "Master Sword Danseur", and "Wielder of the Demon's Bane." Head north to the Ruins for a much needed rest.
The two humans sleep for three whole days. After awaking, the party agrees to head for Lastonbell to see what has become of the humans now that the dragon has been slayed, and the war stopped in its tracks.
Alisha and Lucas are outside Lastonbell trying to speak with Sergei about a peace treaty. Sorey smooths things over with the guards, and Sergei emerges and invites the Hyland princess inside.
Lastonbell, City of Artisans
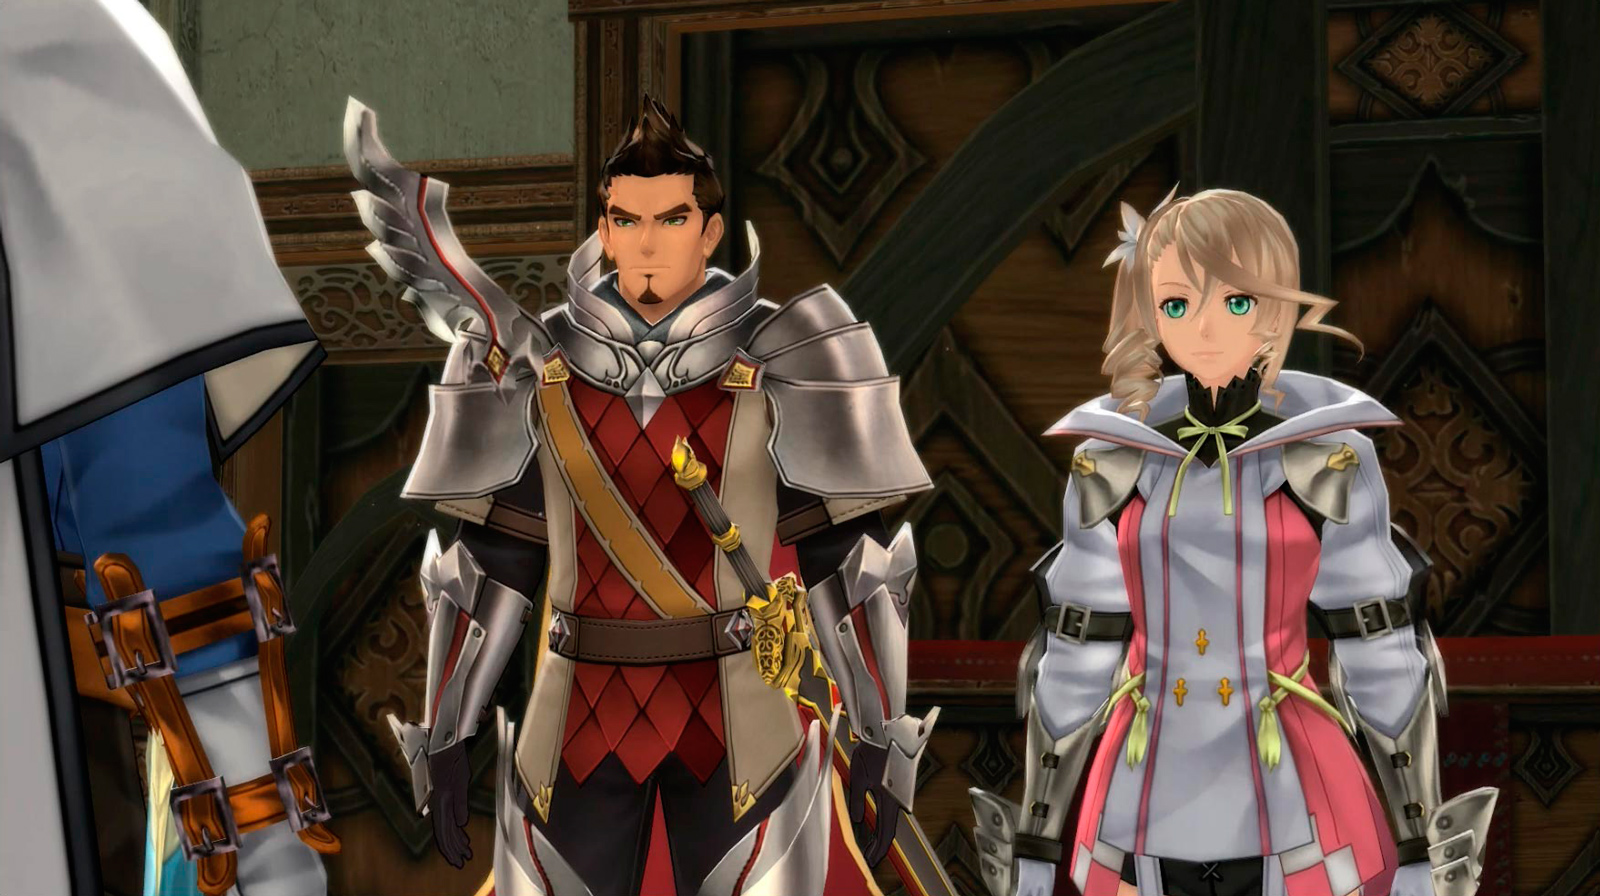
Head to the Sanctuary to see that things are progressing well with Sergei and Alisha. As you’re leaving town, the party sees the townspeople responding well to the idea of peace, as well as soldiers from both sides celebrating together. Everyone makes excuses to stay in town for the night, and the characters have important conversations throughout the town.


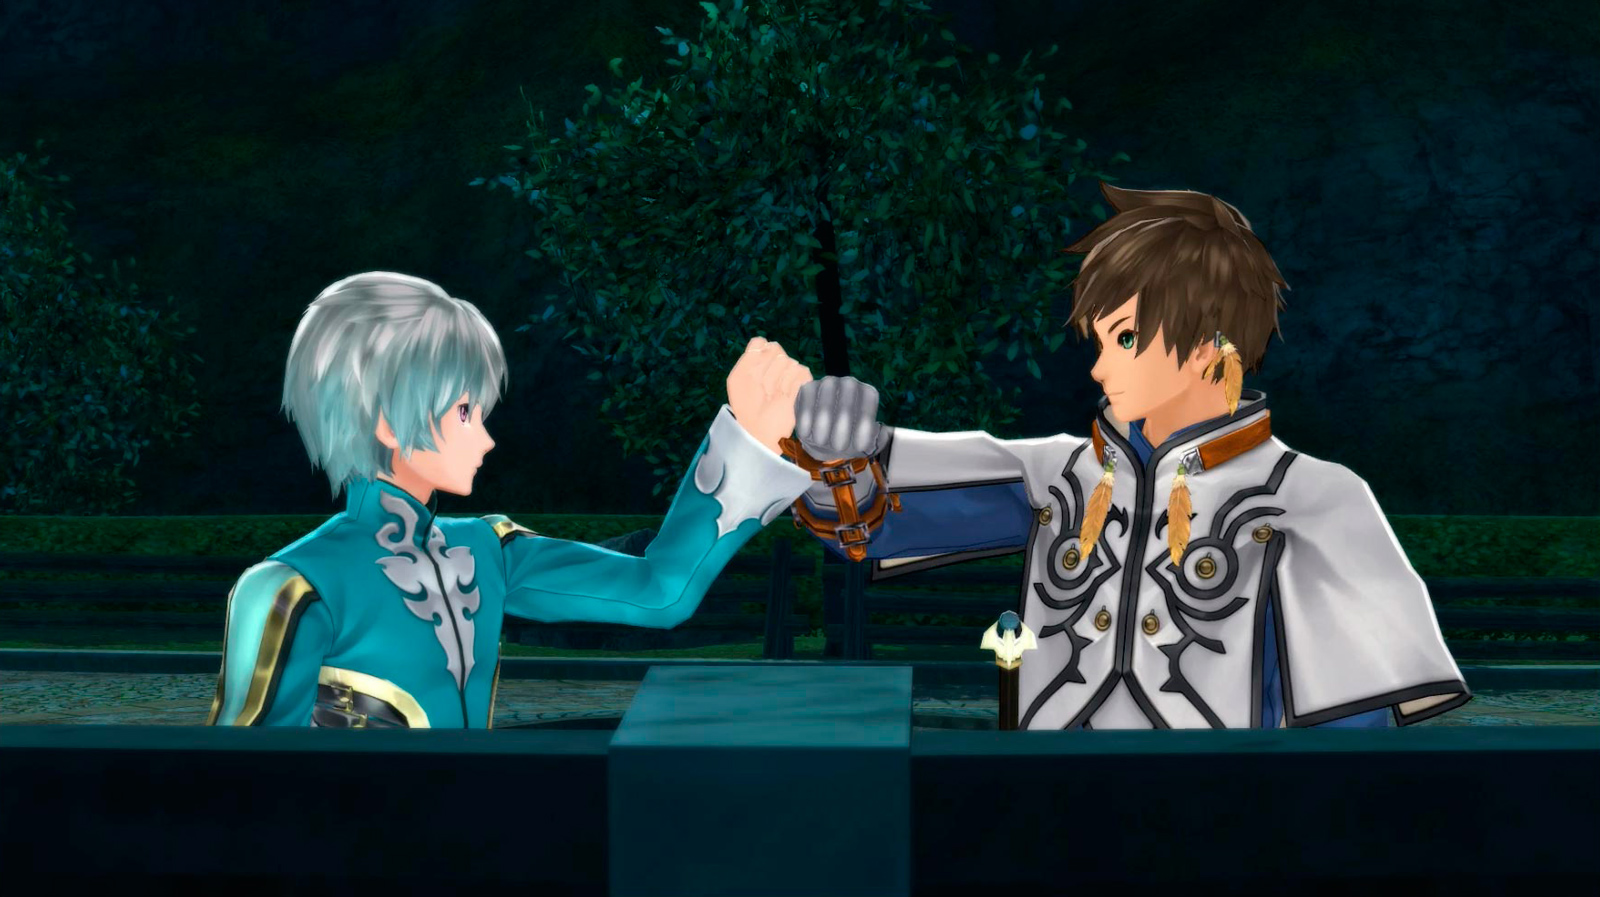
Lailah and Rose have a good talk above the city at the belltower. Zaveid helps Edna try to wrap her head around the idea of death as salvation. Sorey and Mikleo share a moment of contemplation and self-reflection. Sorey comes to a decision about what he’ll do after the final battle. Maotelus, now corrupted by malevolence, will need a new vessel to truly be purified. Unfortunately, Maotelus is so corrupted that this process could take a long time, even centuries, and would also require the assistance of future Squires and Shepherds. Sorey, however, is willing to put his faith in the future generations that will come after him. With Mikleo's help, they decide how to set himself up as the new vessel, but it will means breaking Heldalf's connection to Maotelus with Siegfried. The rest of the party overhears their conversation and unanimously agree that it is a "stupid" plan, but nonetheless, they will follow Sorey to the end. The Shepherd and his friends decide to set off that very night to defeat the Lord of Calamity.