
Tales of Zestiria Guide Walkthrough Part 4: The Duty of the Shepherd
Lohgrin, the Tower Remains (2)
The Storyteller of Time
Lohgrin, the Tower Remains
ENEMIES
Mayvin  | |
|---|---|
| Level | 56 |
| HP | 24,357 |
| Link | — |
| Weakness | — |
| Resistance | — |
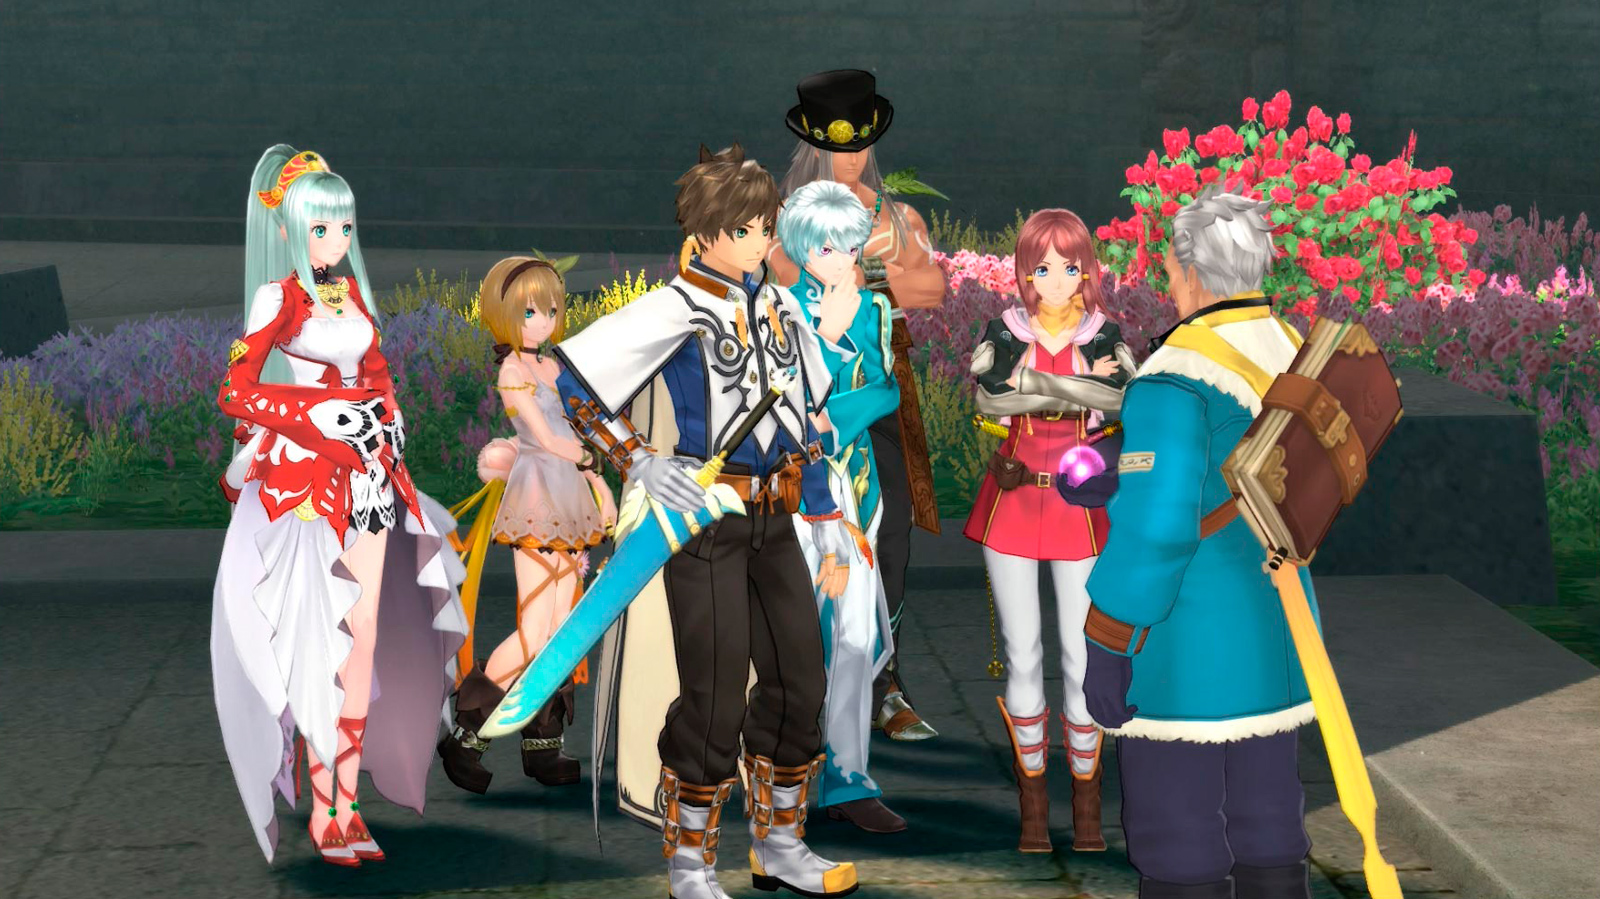
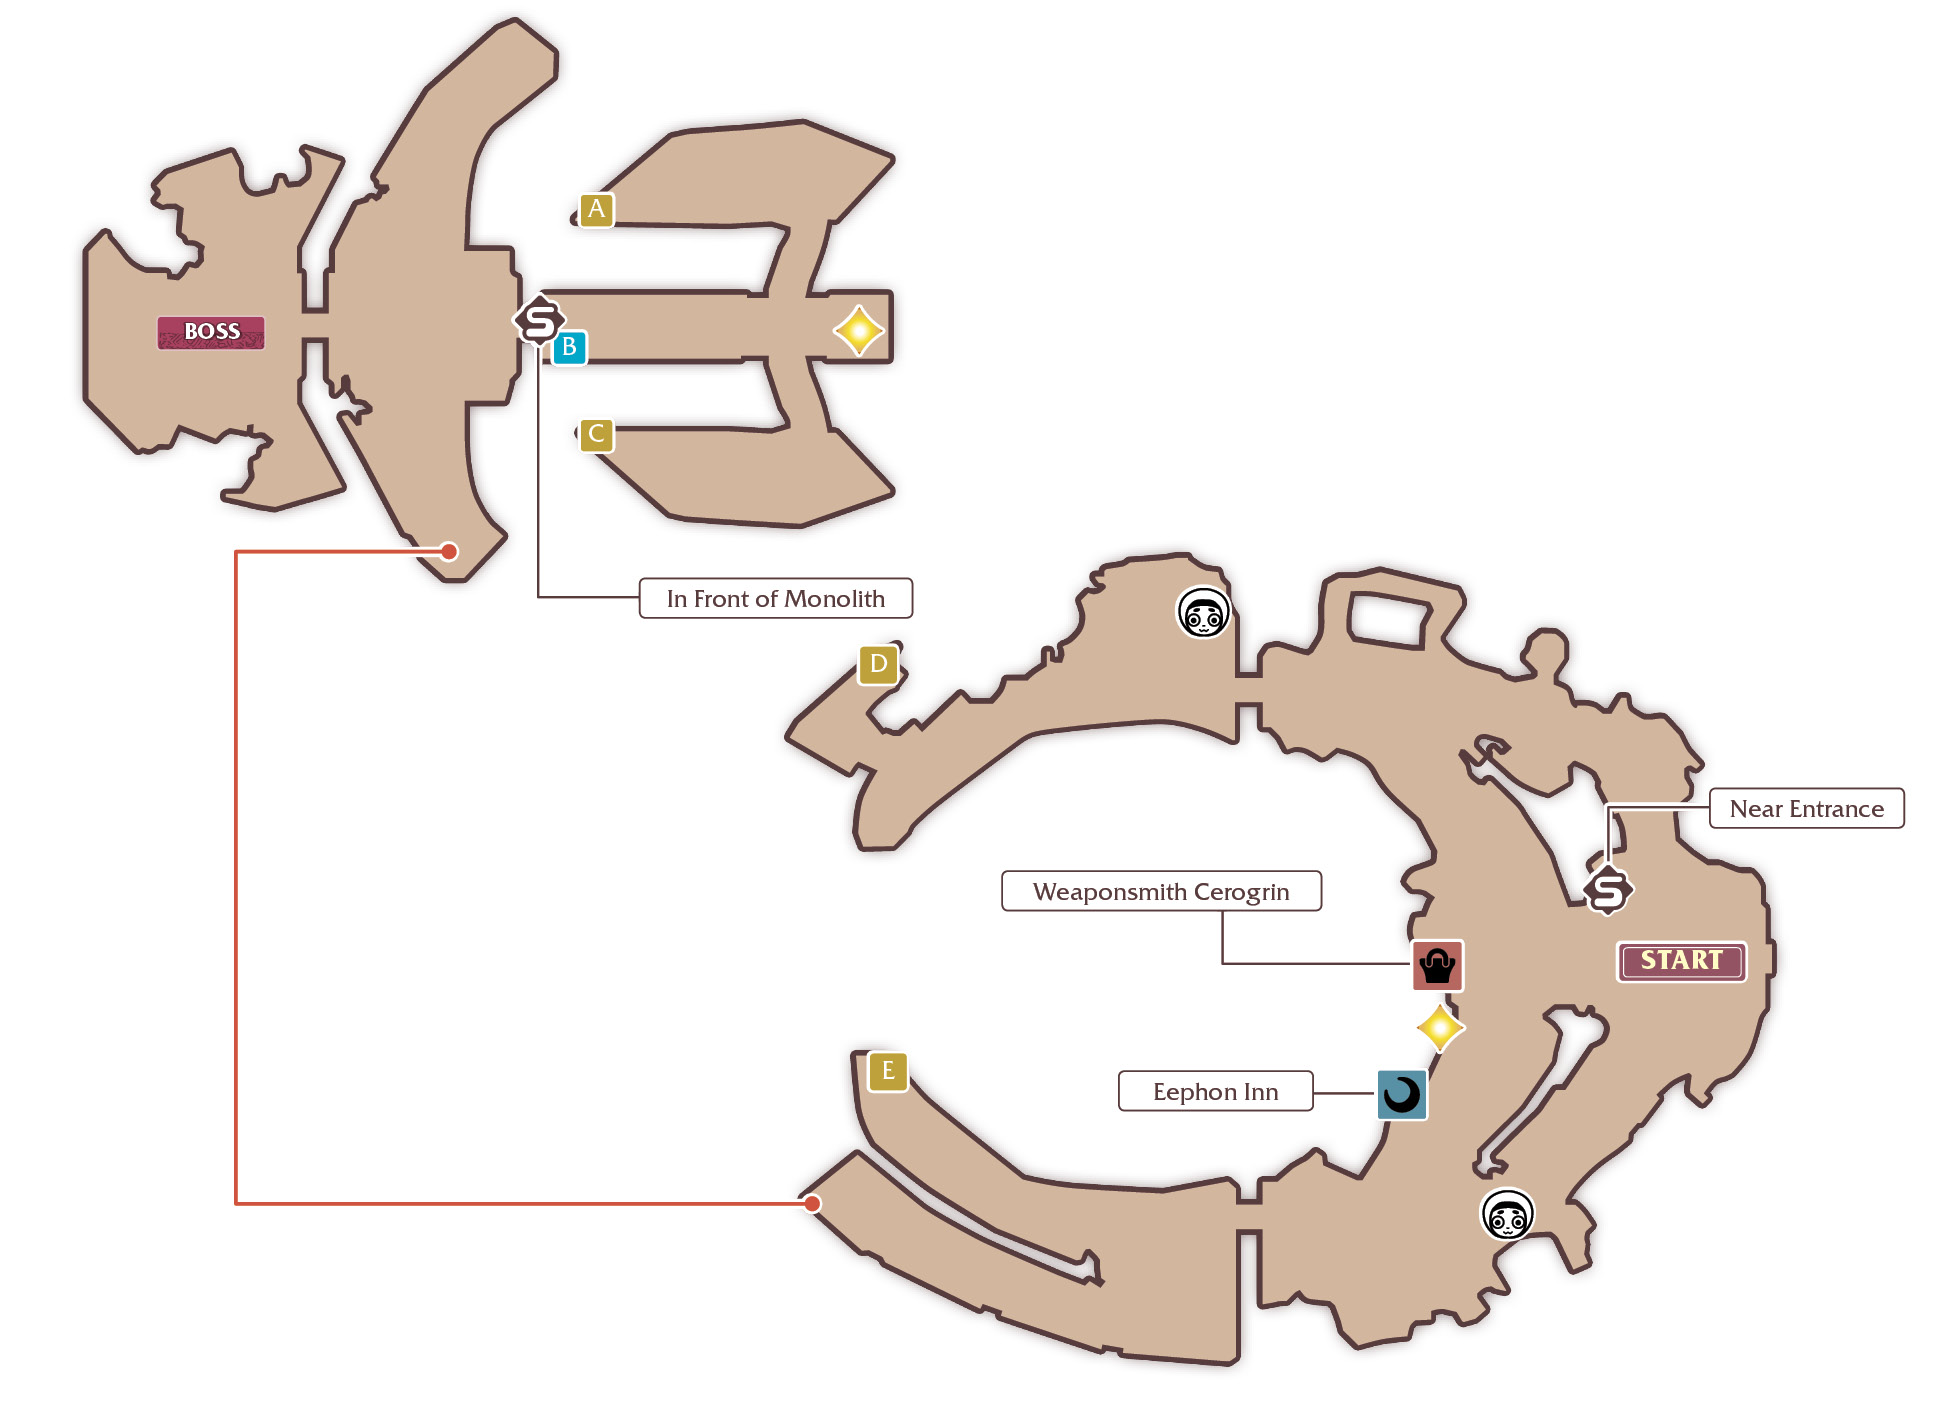
Return to Lohgrin and tell Mayvin what you’ve found. Mayvin takes the group to the top of the tower ruins, unlocking the door there. Behind it lies a massive stone monument. Mayvin uses it to show Sorey and his party a special Earthen Historia that records the Dawn of Chaos.
With the power of the monument, you can actually move around within the memory. Move out of frame once the dialogue ends in order to progress through the different scenes.
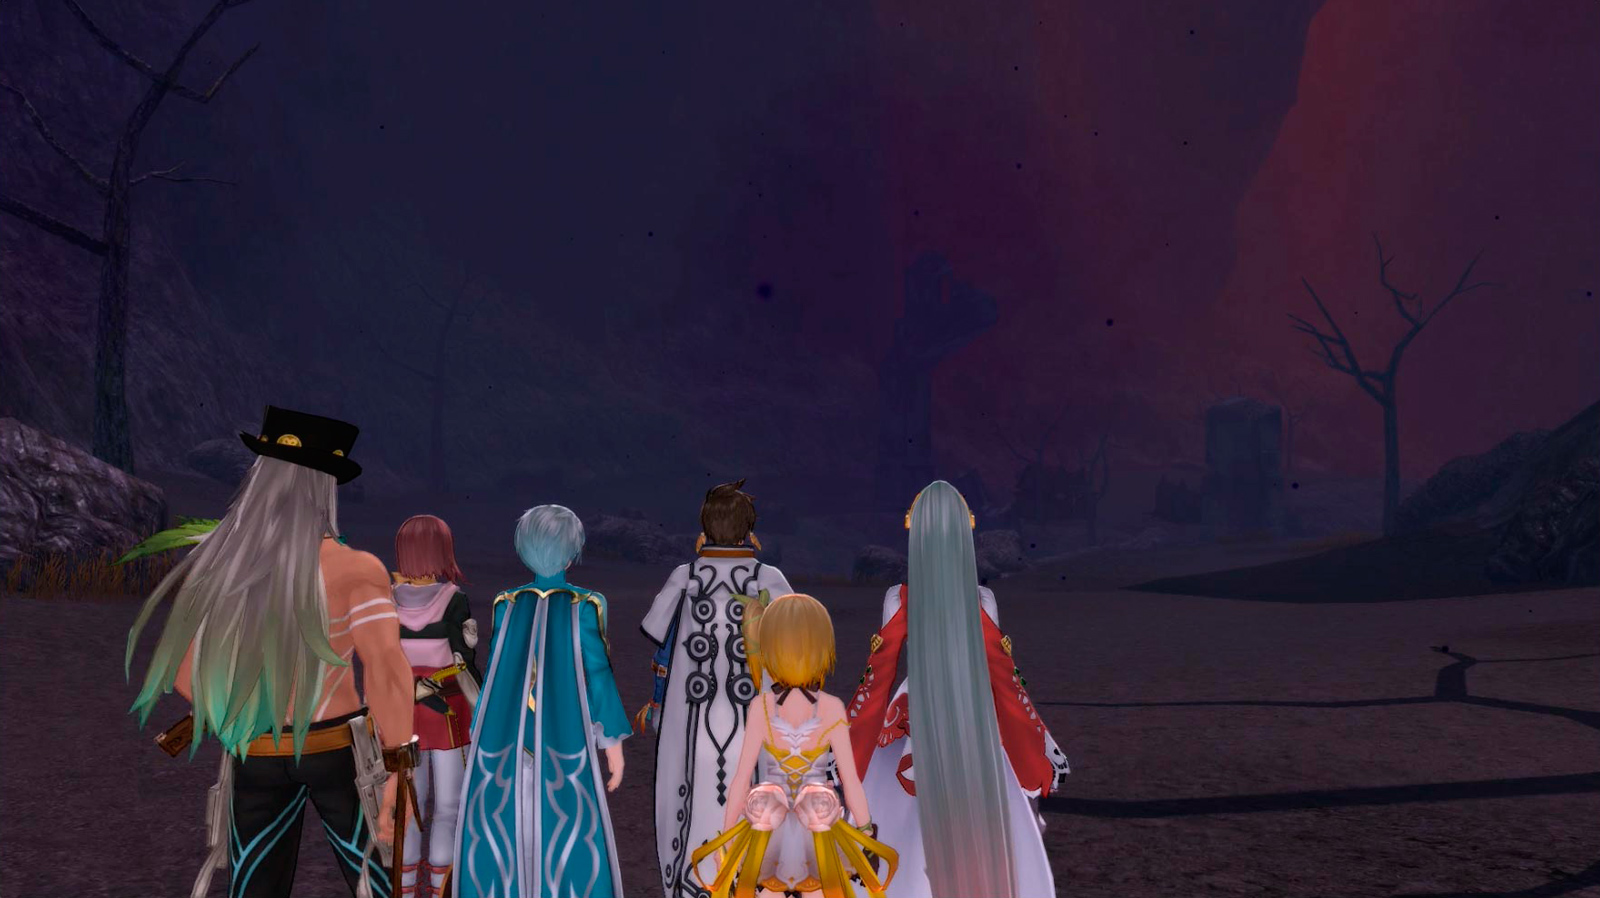
Shepherd Michael founded Camlann and then the village was occupied by Heldalf and the Rolance army. The villagers speak of a nearby shrine to Maotelus that the Rolance army has turned into a fortress. Heldalf abandoned the village and the Hyland army ravaged it.
Muse and Michael resemble Mikleo so much that the entire party picks up on the apparent relationship. As the story draws to a climax, Muse and Michael are left in a destroyed shrine, Maotelus became a hellion, and Michael used the malevolence of a tainted infant Mikleo to curse Heldalf into becoming the Lordof Calamity.
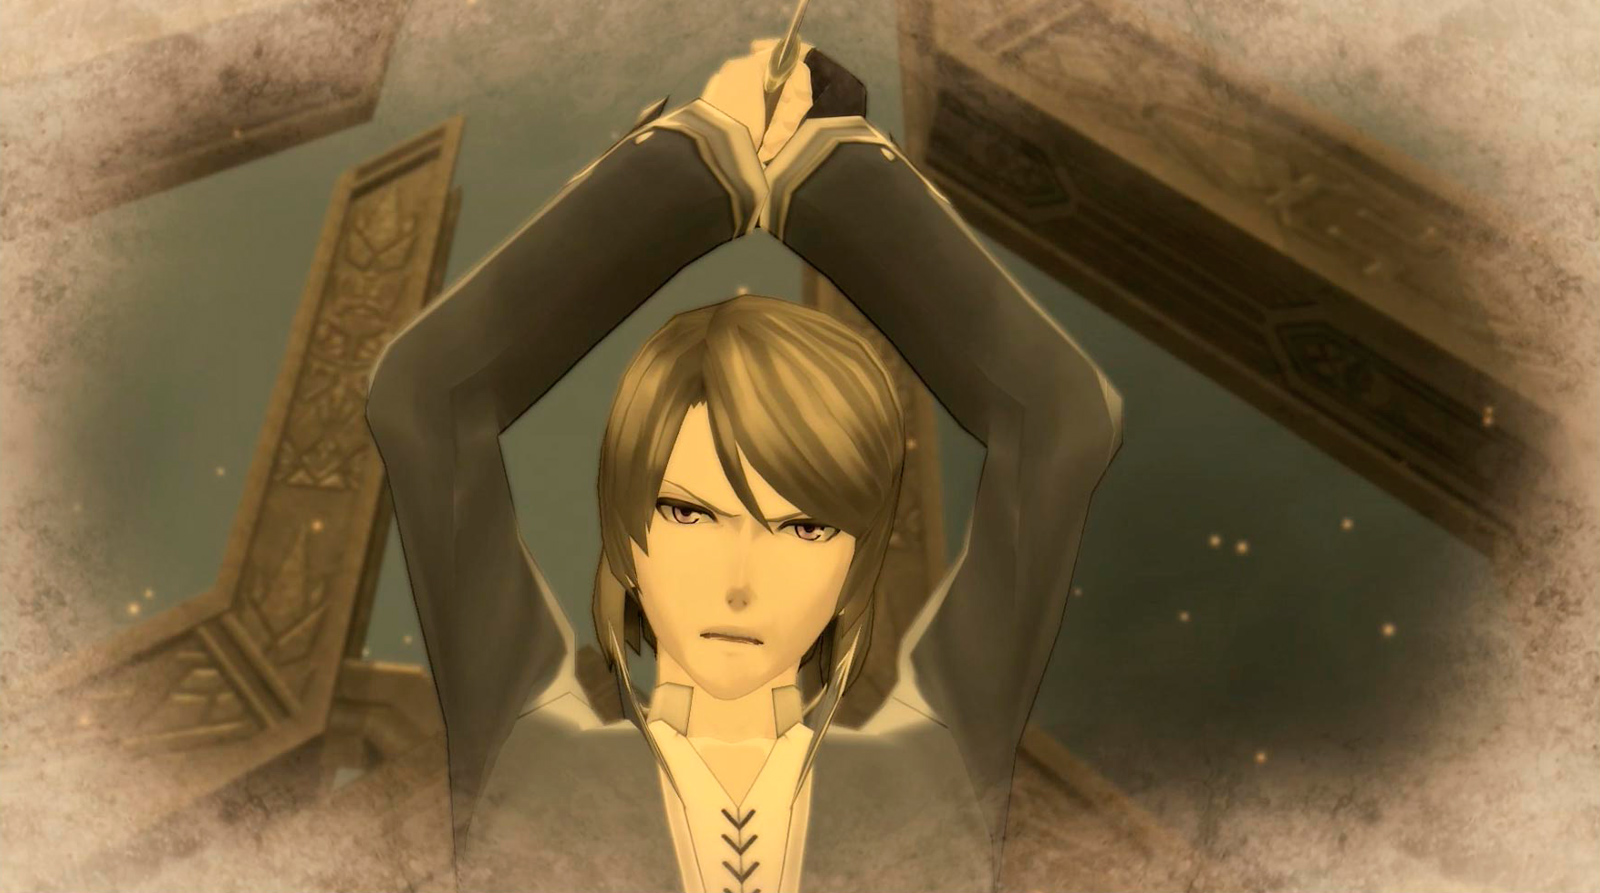
Zenrus arrives with some seraphim and they sadly survey the scene. Selene, a villager, gave birth prematurely to the human child, Sorey. Mikleo was revealed to be Muse's child, who gave him over to Zenrus’ care and sacrificed herself to seal off Camlann so that the malevolence would not reach Elysia. Zenrus saved both children and raised them in hopes that they would one day become the Shepherd and his Sub Lord.
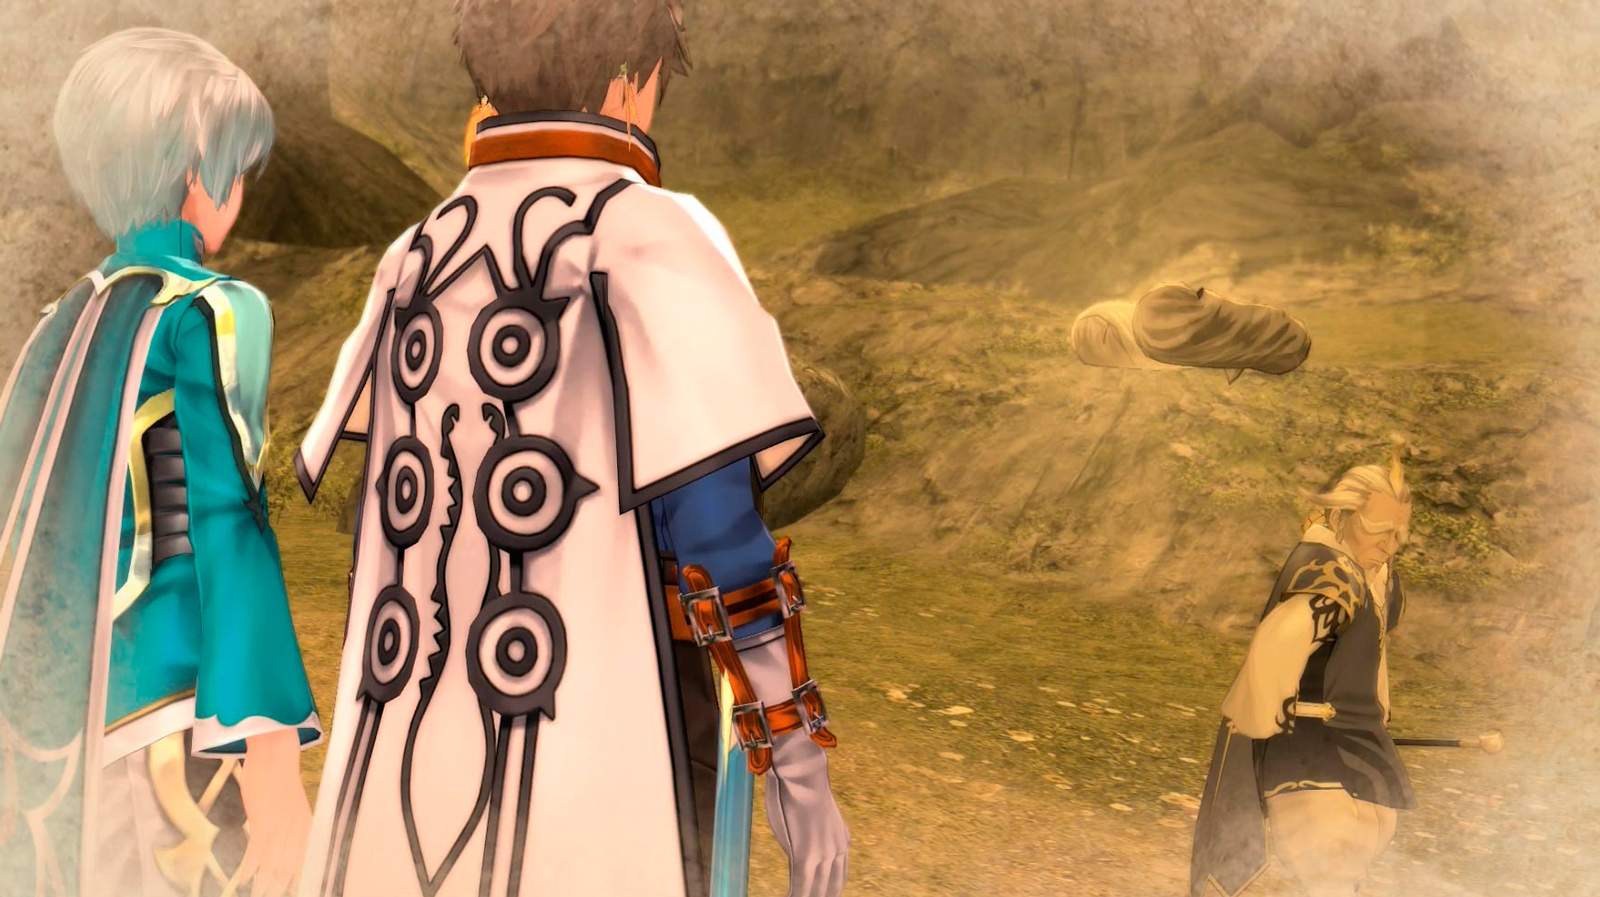
After the Earthen Historia recording ends, the party reflects and searches for Mayvin. Activate the save point and head across the way to challenge the Storyteller in battle. Be prepared for a difficult fight! Mayvin intends to test the party’s strength and resolve to back up Sorey’s answer: to save Heldalf, by taking his life.

This battle is straightforward, but by no means easy. Mayvin has no resistances but also lacks any weaknesses. It's difficult to activate a Power Combo, stun him, or inflict status ailments; on the other hand, Mayvin has a slew of hidden artes that can trigger stuns and ailments, and sometimes he'll end his combos with a powerful mystic arte. Always be ready to guard against these, and dodge when he throws his unblockable hidden arte. Attack whenever possible, go on the defense when you must, and always switch out your seraphim before they are knocked out to keep them all healed and ready for armatization.
Once you bring his HP down, Mayvin asks Sorey why he hasn’t finished him off with the spirit gun. He speaks of the fact that hesitation will ruin Sorey’s good intentions, so he’d better get used to making these difficult decisions if he wants to succeed at his goal. The party wavers, and Mayvin unleashes a Mystic Arte that takes out everyone. He tells Lailah that he’s disappointed, but Lailah and the rest of the group rally back and stand tall again. The seraphs all give their support to Sorey, and they enter battle again.
Follow the prompts to use the gun, but before the attack lands Mayvin collapses. He has violated his oath, and is no longer immortal. The group exchanges heartfelt farewells with Mayvin, and they bury him in the Moor, marking his grave with his silver pipe. With new resolve and determination, the party sets their sights on Elysia to find the road to Camlann.
Sorey's title "Reunited Traveler" raises to "Vigil-Keeper", and Lailah's tiles "Paper Nemesis", "Fire Guardian", and "Flame Caster" raise to their highest ranks. Sorey also earns the costume "Shepherd's Outfit: Trial", which changes the music in battle when worn.
Return to the Monolith in Lohgrin to find the Discovery Point "Mysterious Monolith". You can now use this Monolith to re-watch all records of the Iris Gems in chronological order.