Tales of Zestiria Guide Walkthrough Part 2: The Burdens of a Shepherd
Tintagel Ruins
A Learning Expedition
Tintagel Ruins
ITEMS
 |
Rossweisse |
 |
Silver Key |
 |
Life Bottle x2 |
 |
Soft-Serve Ice Cream |
 |
Apple Gel |
 |
Burning Dash |
 |
Panacea Bottle x2 |
 |
Saffron |
 |
Chamomile |
 |
1500 gald |
 |
Sage |
 |
Donut |
 |
Raider Blade |
ENEMIES
Savage Wolf  |
|
| Level | 18 |
| HP | 1406 |
| Link | — |
| Weakness |  |
| Resistance | — |
Werewolf  |
|
| Level | 20 |
| HP |
2016 |
| Link |
Lizard Priest |
| Weakness |  |
| Resistance |  |
Serpent  |
|
| Level | 20 |
| HP | 1385 |
| Link | Armored Centipede (+60%) |
| Weakness |  |
| Resistance |  |
Wolf Heddin  / / |
|
| Level | 20 |
| HP | 774 |
| Link | — |
| Weakness |  |
| Resistance | — |
| Undead Magician |
|
| Level | 18 |
| HP |
1091 |
| Link | Wraith (+30%) |
| Weakness |   |
| Resistance | — |
Down in the ruin, inspect your surroundings and activate the Save Point. The hideout even comes equipped with a store, thanks to the guild’s double-identity, so if you need to restock or fuse equipment, take the time to do so. Then, head to the star and rest in the bed. After waking, Sorey’s resonance is restored, and the seraphim are once again able to communicate. Rose freaks out after Sorey uses himself as a channel to let her hear the seraphim; apparently she’s terrified of the supernatural.

Speak with Dezel in the main hall to learn a little more about the wind seraph. Then, head to the exit ladder for a short scene in which the seraphs warn Sorey not to go blindly into danger. For now, the party decides to explore this ruin before doing anything else.
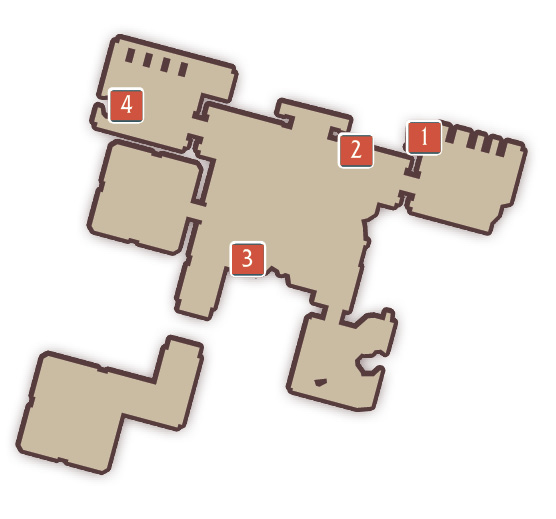
Head to the semi-circular door and Rose will join the seraphs around it. Once she does, the assassin blocking the north-west doorway will move, allowing you to enter. Explore it and start pushing buttons! And by that, step on the four floor switches. One is  near the bed you slept in, another is
  near the semi-circular door, another is
  across the room from the semi-circular door, and the last is in the
  room that was previously blocked. You can speak to the seraphs and Rose if you wish, or you can skip the conversations and just open the door. Rose decides to tag along, and where Rose goes, so does Dezel.
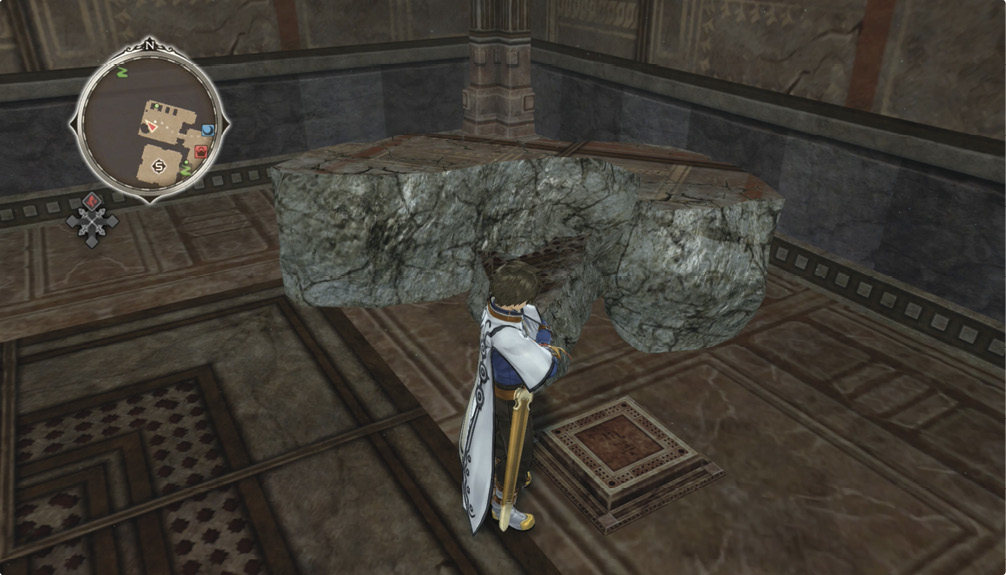
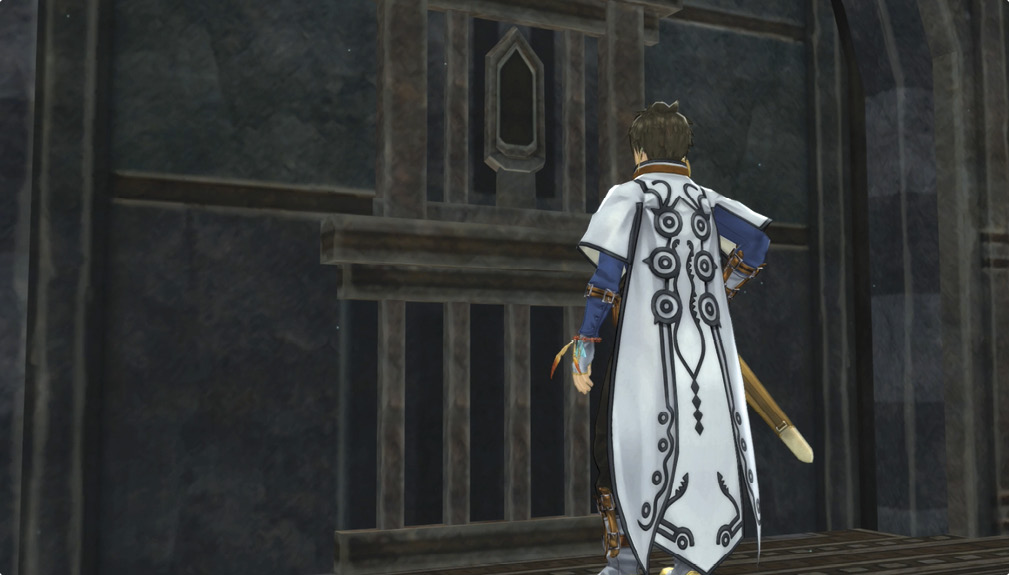
Head into the ruin and activate the save point. Rose is busy pulling levers ahead of you, and manages to lock you in. Investigate the closed door and Rose will move on to check out the next room. While you’re waiting, check both doors and the two walls without doors. The seraphs mention that Rose would be a good match for Sorey as a Squire, and then you have an opportunity to speak to them individually. Choosing to speak to one of them will cause Rose to activate a trap.
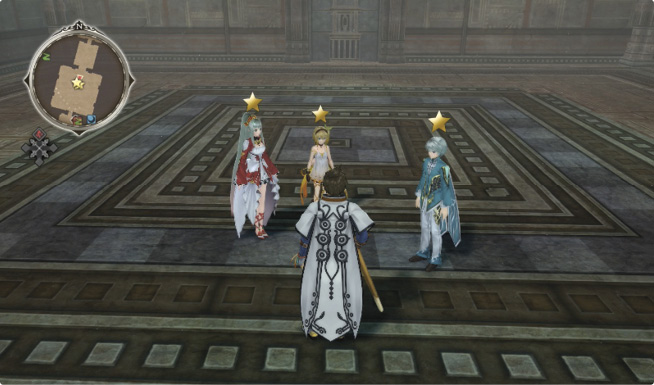
Speak to...
Lailah
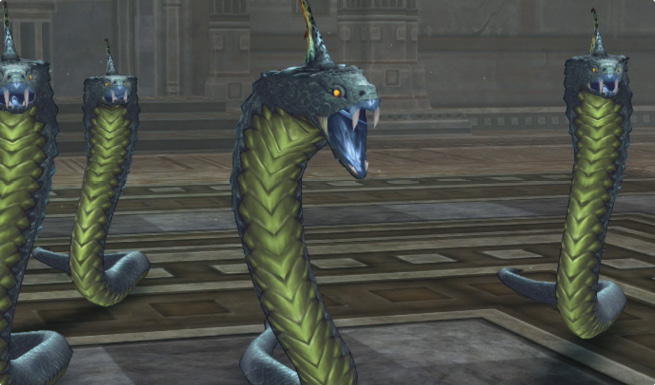
Serpents fall from the ceiling! Fight them off, and try not to get paralyzed.
Edna
Dangerous smoke fills the room! Activate the floor switches in the proper order—if you mess up, you’ll have to start from the beginning again!  ,
,  ,
,  ,
,  .
.
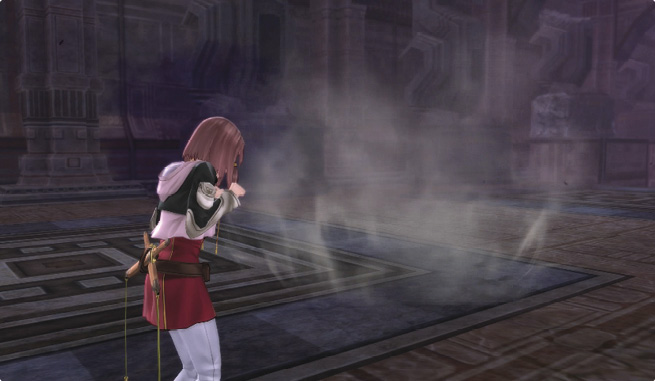
Mikleo
Mikleo and Sorey will figure out that the room was designed for experiments!
BOSS Hellion
Dragonewt  |
|
| Level | 24 |
| HP | 11,718 |
| Link | — |
| Weakness |  |
| Resistance |     |
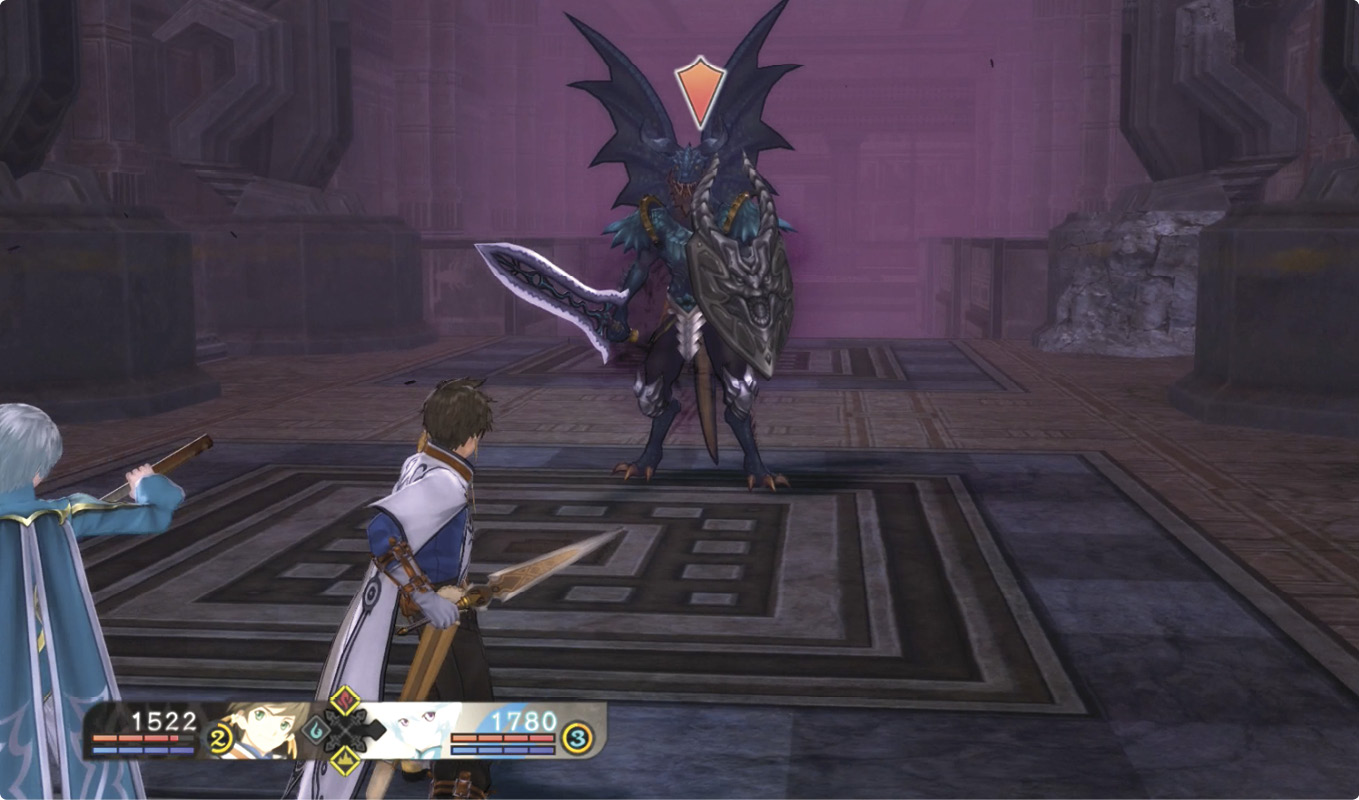
Once you have spoken to all three seraphs, the door will open and the party will sense a malevolent domain. A dragon-type hellion is attempting to attack Rose, and Dezel is fending it off. Rose doesn’t know what’s going on and is pretty freaked out.
Take a few swings and Rose will interrupt the battle—in the meantime, focus on using Sorey's arte True Fang, since it might be the only wind arte your party has at the moment. As the first arte of a martial arte set you can start a Power Combo right from the onset, which will cut its resistance to all of the other elements. Otherwise, play on the defensive until a cutscene triggers. Mikleo will talk Rose through the situation, explaining that they’d like her to join Sorey and help support him. Rose steels her resolve and focuses very hard, and after a moment she is able to see and touch Mikleo—and she’s also able to see Dezel and the hellion. She agrees to form the Squire’s Pact while Sorey, Mikleo, and Edna buy them time.
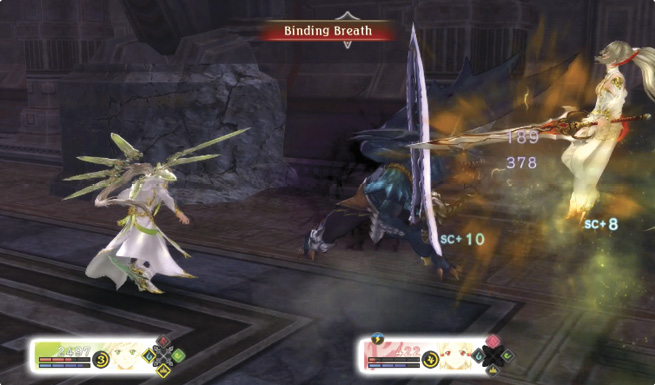
Try to avoid the heavy overhead Head Splitter attack, as it can break through your guard and stun you. Also watch out for Binding Breath, which will inflict status ailments if it hits you. Both of these attacks are hidden artes, so while Sorey's True Fang is useful, make sure it doesn't leave you vulnerable. If you see the "!!" indicator, don't guard, but Quick Evade instead. Interrupt any seraphic arte so that it does not gain the benefits of Rock Satellite—however, this hellion has the special ability "Iron stances while casting +3," so it might take more hits than normal to break its casting. Your attacks may not cause much damage unless you armatize, so suit up and focus on getting the hellion’s HP down below 10,000.
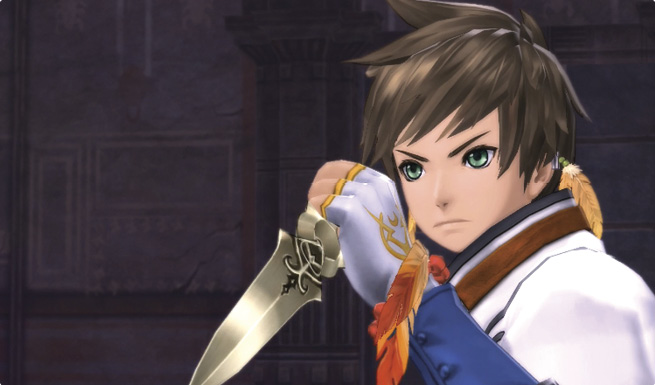

Rose will join you, armatized with Lailah, and Dezel will toss Sorey his Divine Artifact, having made a Sub Lord pact with Lailah. Armatize with Dezel and let loose with his wind attacks—on top of the added element boost, your hidden and seraphic artes will now easily overpower the Dragonewt's artes. Continue evading and slowly but surely you’ll whittle down the Dragonewt’s HP. Don’t forget to use restorative artes if you are low on health or are afflicted with an ailment—or you can just use items, if you prefer.
After the battle, the Dragonewt is revealed to be Oysh, a seraph. Rose collapses due to the shock of her new powers and knowledge, prompting Edna and Lailah to reveal why Dezel joined the group and why Lailah allowed it. Without Rose to use as a vessel, Dezel would have soon become a hellion, and Dezel wants to avoid corruption. He also desires the power of the armatus to help him get his revenge.
For gaining a new Squire and a seraph of each element, Sorey gains the costume: "Regular Clothes: Departure". It looks just like his starting costume, but adds a new musical theme during battle.
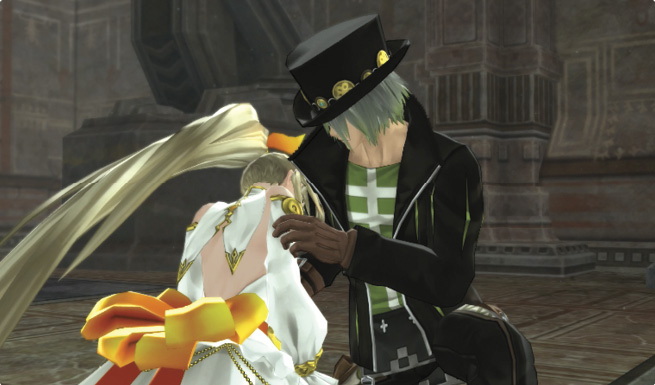
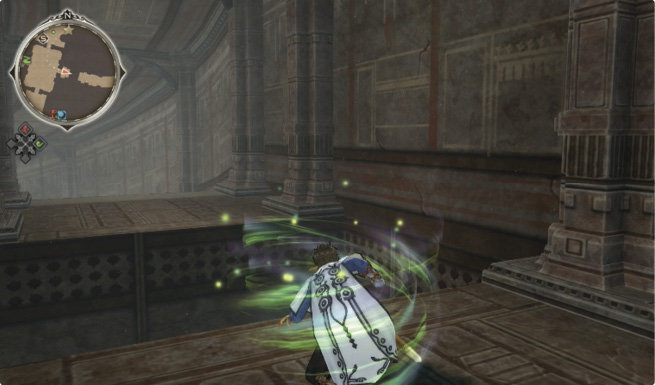

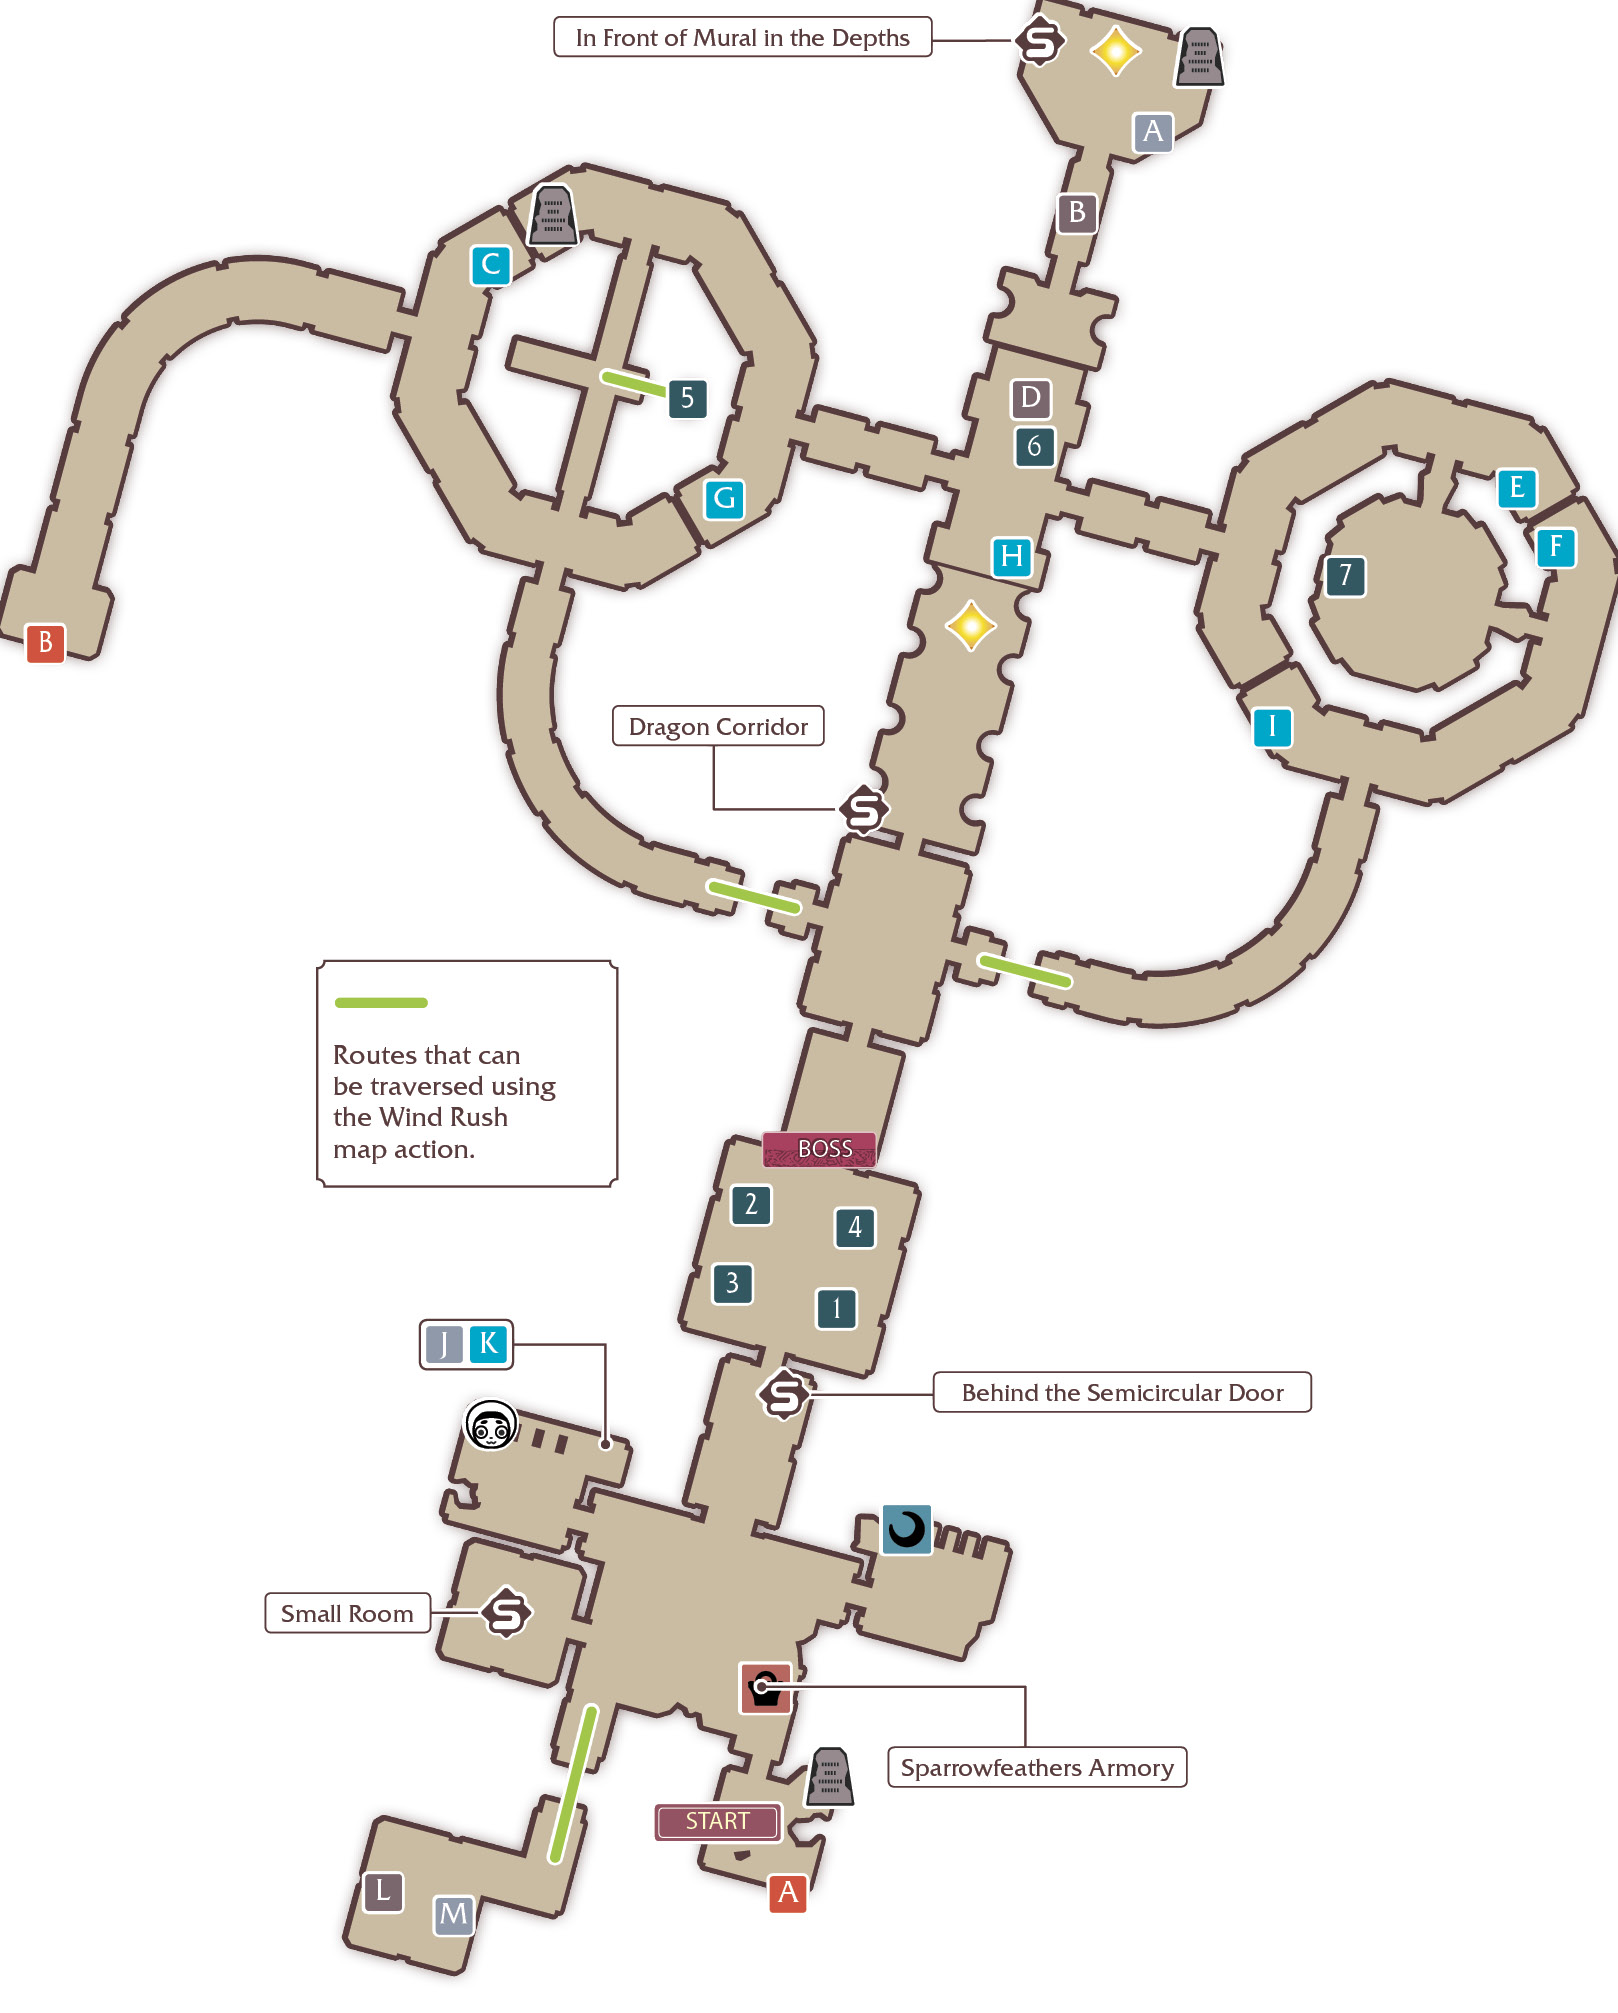
Speak with everyone, leaving Dezel for last. When you talk to Dezel he will acquire the title "Wind of Vengeance," and Oysh and Rose will awaken. After Rose rejoins the party, examine the corridor for a Discovery Point, “Dragon Corridor”, and the accompanying skit, Legend of the Dragons. Return back through the doorway and head down the western path by using your new map action, Wind Rush, to cross the gap. Continue forward into the narrow corridor and use Wind Rush to reach the  floor switch on the right at the middle of the corridor. Before continuing on, you can go up the side chamber to reach the upper section of the Volgran Forest—there's a normin and a silver treasure chest up there, which you'll be able to open soon. Return to the Tintagel Ruins and head back to the narrow corridor; turn right, then go through the doorway on the left to reach the middle chamber. You’ll approach an Iris Gem and collect it. Trigger the
  switch in this room, and then move across and navigate to the circular room where
  another switch lies. Step onto this one, and then head up the stairs and back to the Dragon Corridor.

Each triggered switch caused a platform to extend, and with Wind Rush you can now reach the other end of the corridor. The copper chest at the end holds a Silver Key. You can now open up all those silver chests you left behind, but for now, head forward.
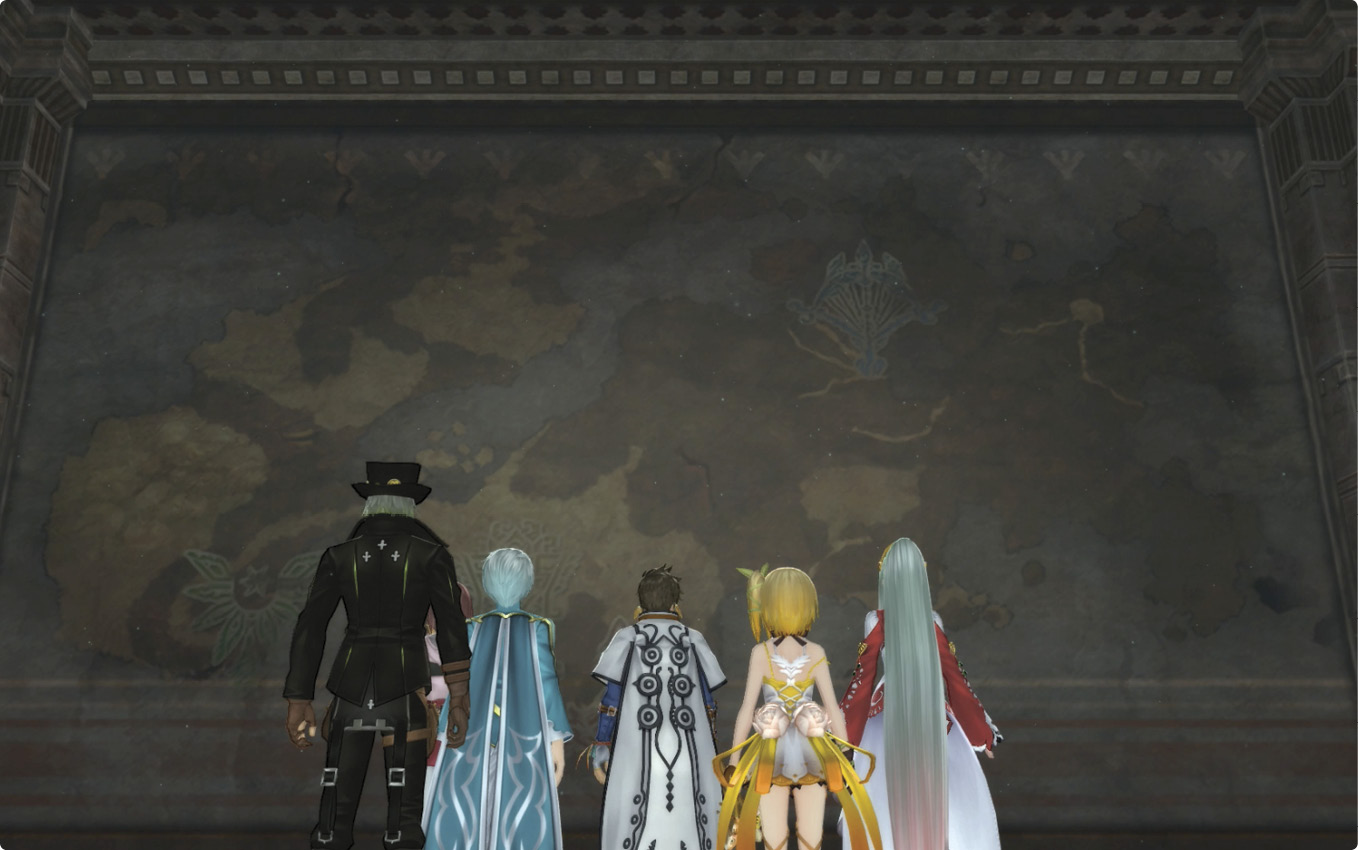
In the room beyond, a large mural of the continent covers the wall. Four symbols mark the general locations of the four trials of the Shepherd. You can consult this mural if you ever need a hint about where to find the next trial. Examine it for a new Discovery Point and skit.
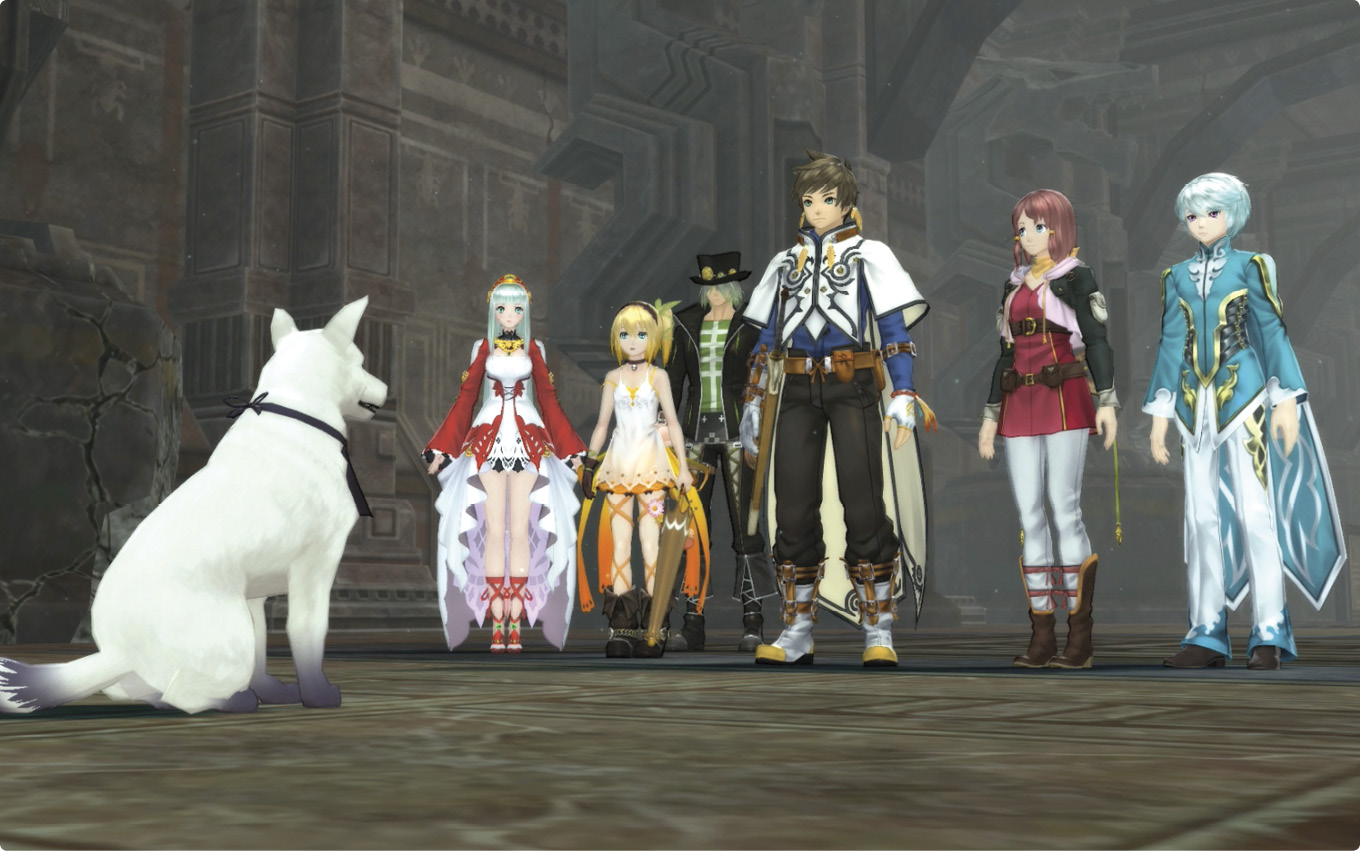
Report back to Oysh before heading out, and the party agrees to find someone to worship there so that Oysh can safely remain and provide a blessing over the area. Return back through the semi-circular door. Sorey's title, "Lad of Separation," raises to, "Reunited Traveler."
In the morning, the party regroups. Make your way to Lastonbell and enter the city.