Tales of Zestiria Guide Optional Content Alisha's Story
Falkewin Hillside
Falkewin Hillside
Item List
 |
Red Lavender |
 |
Arcane Bottle |
 |
Red Verbena |
 |
Red Rosemary |
 |
Life Bottle |
 |
Grape Gel |
 |
Red Saffron |
Enemies
Extremist  |
|
| Level | 70 |
| HP | 6818 |
| Link | — |
| Weakness | — |
| Resistance | — |
Trilobite  |
|
| Level | 70 |
| HP | 6842 |
| Link | — |
| Weakness | — |
| Resistance |    |
Succubus  / /  |
|
| Level | 64 |
| HP | 9657 |
| Link | — |
| Weakness |  |
| Resistance |   |
Voided Eye  |
|
| Level | 64 |
| HP | 7323 |
| Link | — |
| Weakness |  |
| Resistance |   |
Hell Lady  |
|
| Level | 62 |
| HP | 8328 |
| Link | — |
| Weakness |  |
| Resistance |   |
Arachne  |
|
| Level | 62 |
| HP | 8181 |
| Link | — |
| Weakness |  |
| Resistance |   |
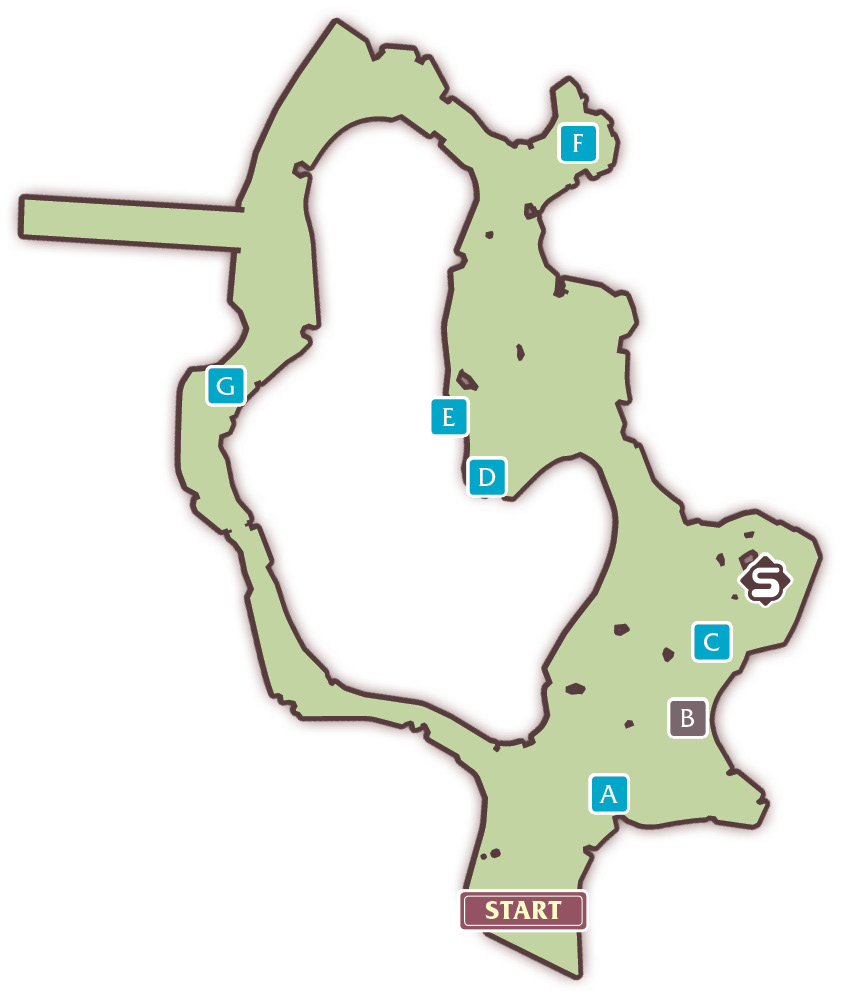
The dead end path to the left of the cave entrance has a treasure chest holding a Ribbon of Cosmos. Grab this before exploring the rest of the dungeon.
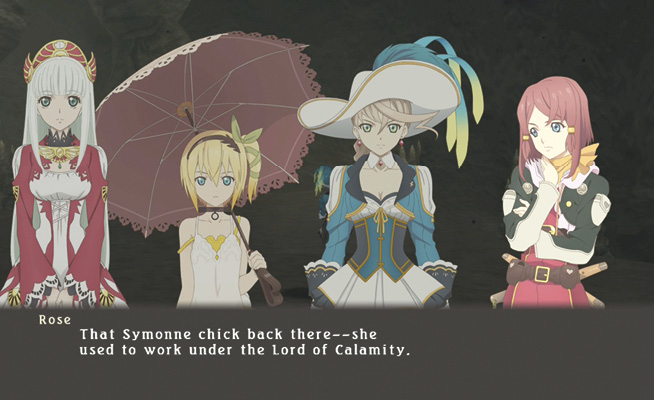
Edna expresses her concerns about who reopened the cave, and Alisha surmises this must have something to do with Sorey. However, she doesn’t bother asking questions from the group as she knows she will not receive any answers. Grab the Red Chamomile to your right and continue north on the path, battling (or bypassing) any enemies you come across.
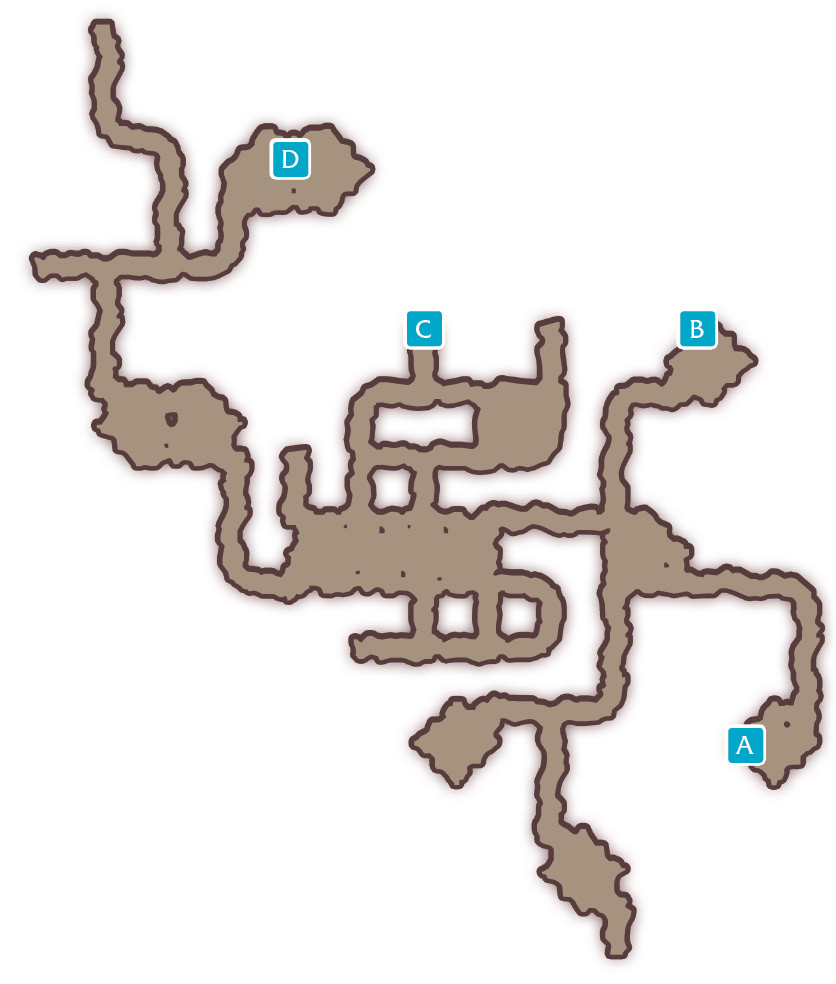
When you reach the first three-way junction, make a left since there is nothing of value to your right. Head south at the next junction and at the dead end open the treasure chest that contains a Raspberry Mousse before continuing north. There is another treasure chest containing an Elixir near the eastern dead end. Finish off any enemies you may encounter or progress to the next area.
Cornic Sealed Cave – Center
Item List
 |
Ribbon of Cosmos |
 |
Red Chamomile |
 |
Raspberry Mousse |
 |
Elixir |
 |
Life Bottle |
 |
Red Sage |
 |
Arcane Bottle |
 |
Grape Gel |
 |
Red Lavender |
Enemies
| Trilobite |
|
| Level | 70 |
| HP | 6842 |
| Link | — |
| Weakness | — |
| Resistance | |
| Succubus / |
|
| Level | 64 |
| HP | 9657 |
| Link | — |
| Weakness | |
| Resistance | |
| Voided Eye |
|
| Level | 64 |
| HP | 7323 |
| Link | — |
| Weakness | |
| Resistance | |
| Hell Lady |
|
| Level | 62 |
| HP | 8328 |
| Link | — |
| Weakness | |
| Resistance | |
| Arachne |
|
| Level | 62 |
| HP | 8181 |
| Link | — |
| Weakness | |
| Resistance | |
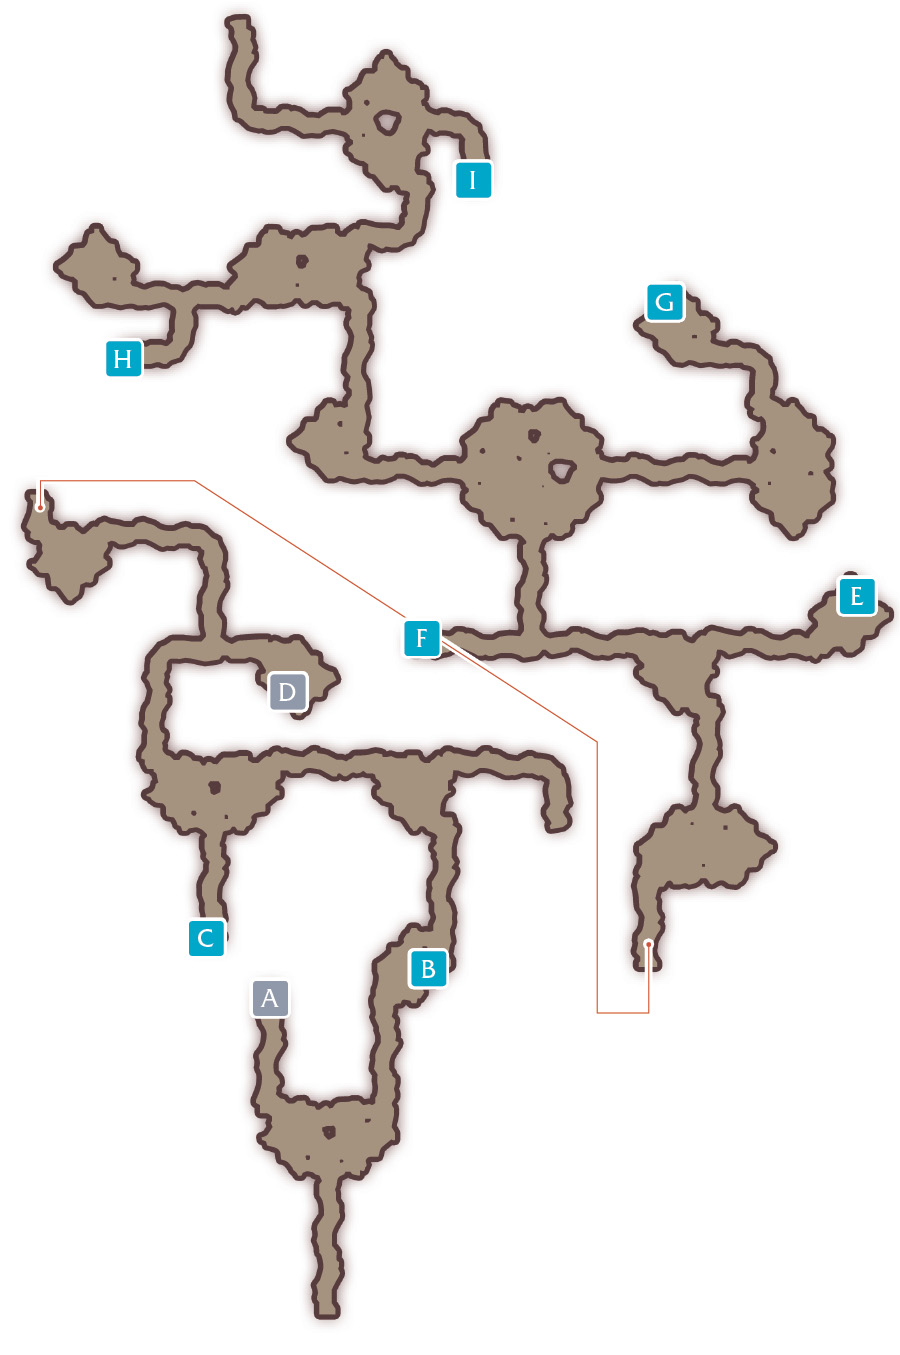
Continue battling enemies until you reach the first three-way junction and make a right, where there is a treasure chest containing a Life Bottle at the end. Doubling back, there is a Red Sage herb near the dead end to the left.
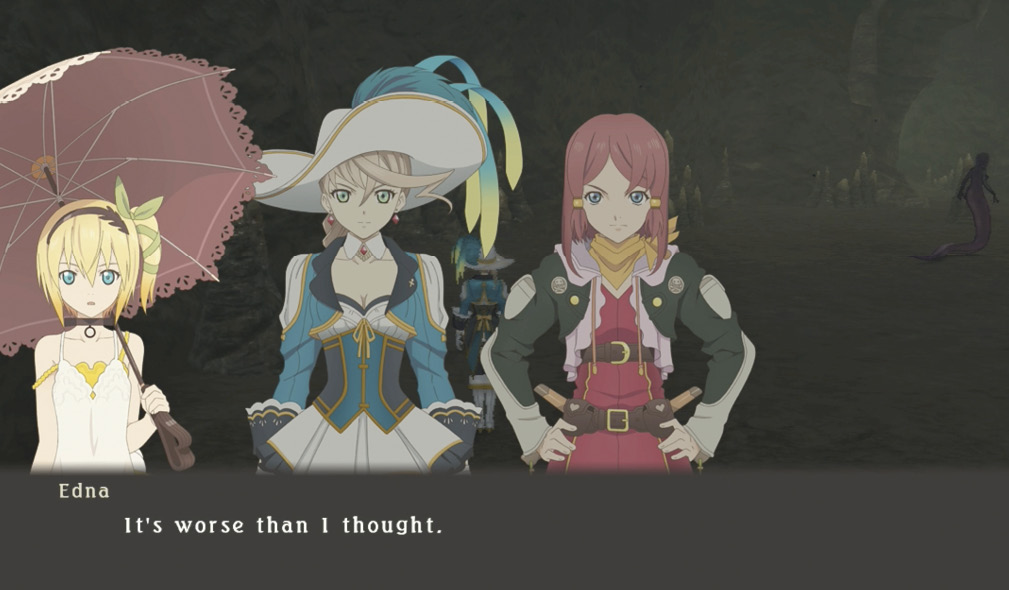
Proceeding along the north path, Lailah notices something strange. Why has every extremist become a hellion, and why is there such a large concentration of evil? Edna, pointing out the fact that this place was reopened for a reason, cautions the group as they continue through the cave.
Continue battling enemies until you reach the first three-way junction and make a right, where there is a treasure chest containing a Life Bottle at the end. Doubling back, there is a Red Sage herb near the dead end to the left.
Proceeding along the north path, Lailah notices something strange. Why has every extremist become a hellion, and why is there such a large concentration of evil? Edna, pointing out the fact that this place was reopened for a reason, cautions the group as they continue through the cave.
Make a right and travel to the dead end to find a treasure chest containing an Arcane Bottle, then return to the path leading north to the checkpoint. At the next junction, make a left towards the dead end and open the treasure chest containing a Grape Gel. The last dead end near the north end of the map has a Red Lavender herb. Grab this then proceed to the northern waypoint. As you near it, the color suddenly drains out of the surroundings, and Rose, Lailah, and Edna recognize the illusory artes of the seraph Symonne.

Cornic Sealed Cave – north
Item List
 |
Melon Gel |
 |
Life Bottle |
 |
Red Verbena |
 |
Red Rosemary |
EnemIES
Maltran
|
|
| Level | 80 |
| HP |
65,350 |
| Link | — |
| Weakness |  |
| Resistance |   |

Proceed to the second dead end; there is nothing of value to the left, so make a right to find a treasure chest containing a Melon Gel. Before reaching the starred location on the map, a second treasure chest containing a Life Bottle can be found along the northern dead end.
Alisha is shocked to find Lady Maltran, her old spear teacher, in the cave depths. As Maltran goes to attack, Rose steps in front of Alisha, but Alisha decides she must confront Maltran herself. Make sure to surround Maltran, landing stuns and interrupting her attacks so your party can whale in with your powerful seraphic artes. About half way through the battle, Maltran will have raised enough BG to trigger her mystic arte "Light Blast". She'll try to end her combos with this mystic arte, so evade out of her line of attack if you can. Time your blocks, evades, and artes accordingly, and this battle should be straightfoward.
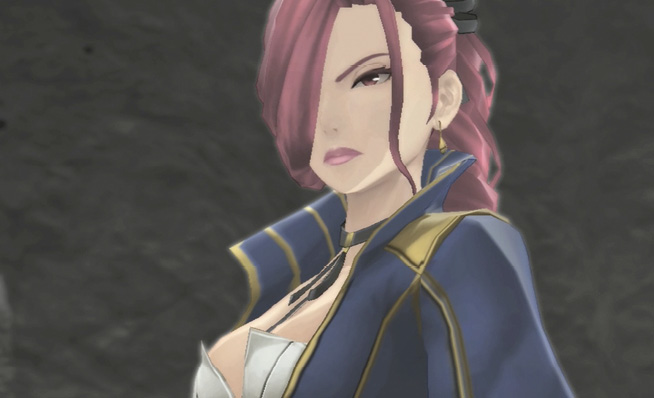
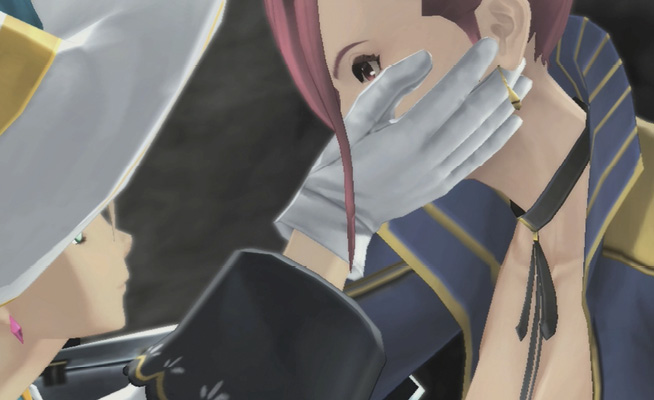
After her defeat, it is revealed that this Lady Maltran is in fact an illusion. Nevertheless, she refuses to let you purify her, instead choosing death. However, Alisha does not wish to reenact the events of her last encounter with her teacher. With great sorrow, Alisha strikes down the illusion, saying goodbye one last time.
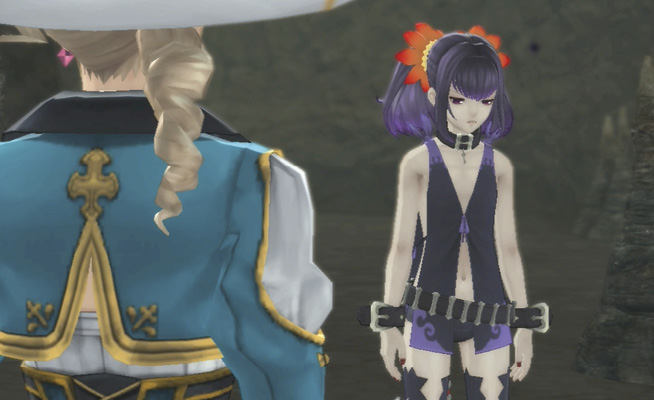
Symonne reveals herself once her illusory Lady Maltran is defeated. Symonne’s plan to crush Alisha’s spirit backfires, giving Alisha the strength to move on from her past. Before Symonne leaves, she hints at the burden Rose is carrying as well, alluding to things to come as the group reflects on Sorey and their respective paths.
Rose is finally ready to open up about what happened to Sorey, but still remains coy. Meanwhile, a familiar figure watches from the shadows with Symonne. It seems the events so far were all part of a plan concocted by Lunarre...
For defeating Maltran, Alisha's title "Sheltered Princess" raises to "People's Protectress". She also learns the mystic arte "Azure Apocalypse".
Symonne reveals herself once her illusory Lady Maltran is defeated. Symonne’s plan to crush Alisha’s spirit backfires, giving Alisha the strength to move on from her past. Before Symonne leaves, she hints at the burden Rose is carrying as well, alluding to things to come as the group reflects on Sorey and their respective paths.
Rose is finally ready to open up about what happened to Sorey, but still remains coy. Meanwhile, a familiar figure watches from the shadows with Symonne. It seems the events so far were all part of a plan concocted by Lunarre…