
Tales of Zestiria Guide Walkthrough Part 3: The Trials of the Shepherd
Igraine, Shrine of the Fire Trial
The Fire Trial
Igraine, Shrine of the Fire Trial
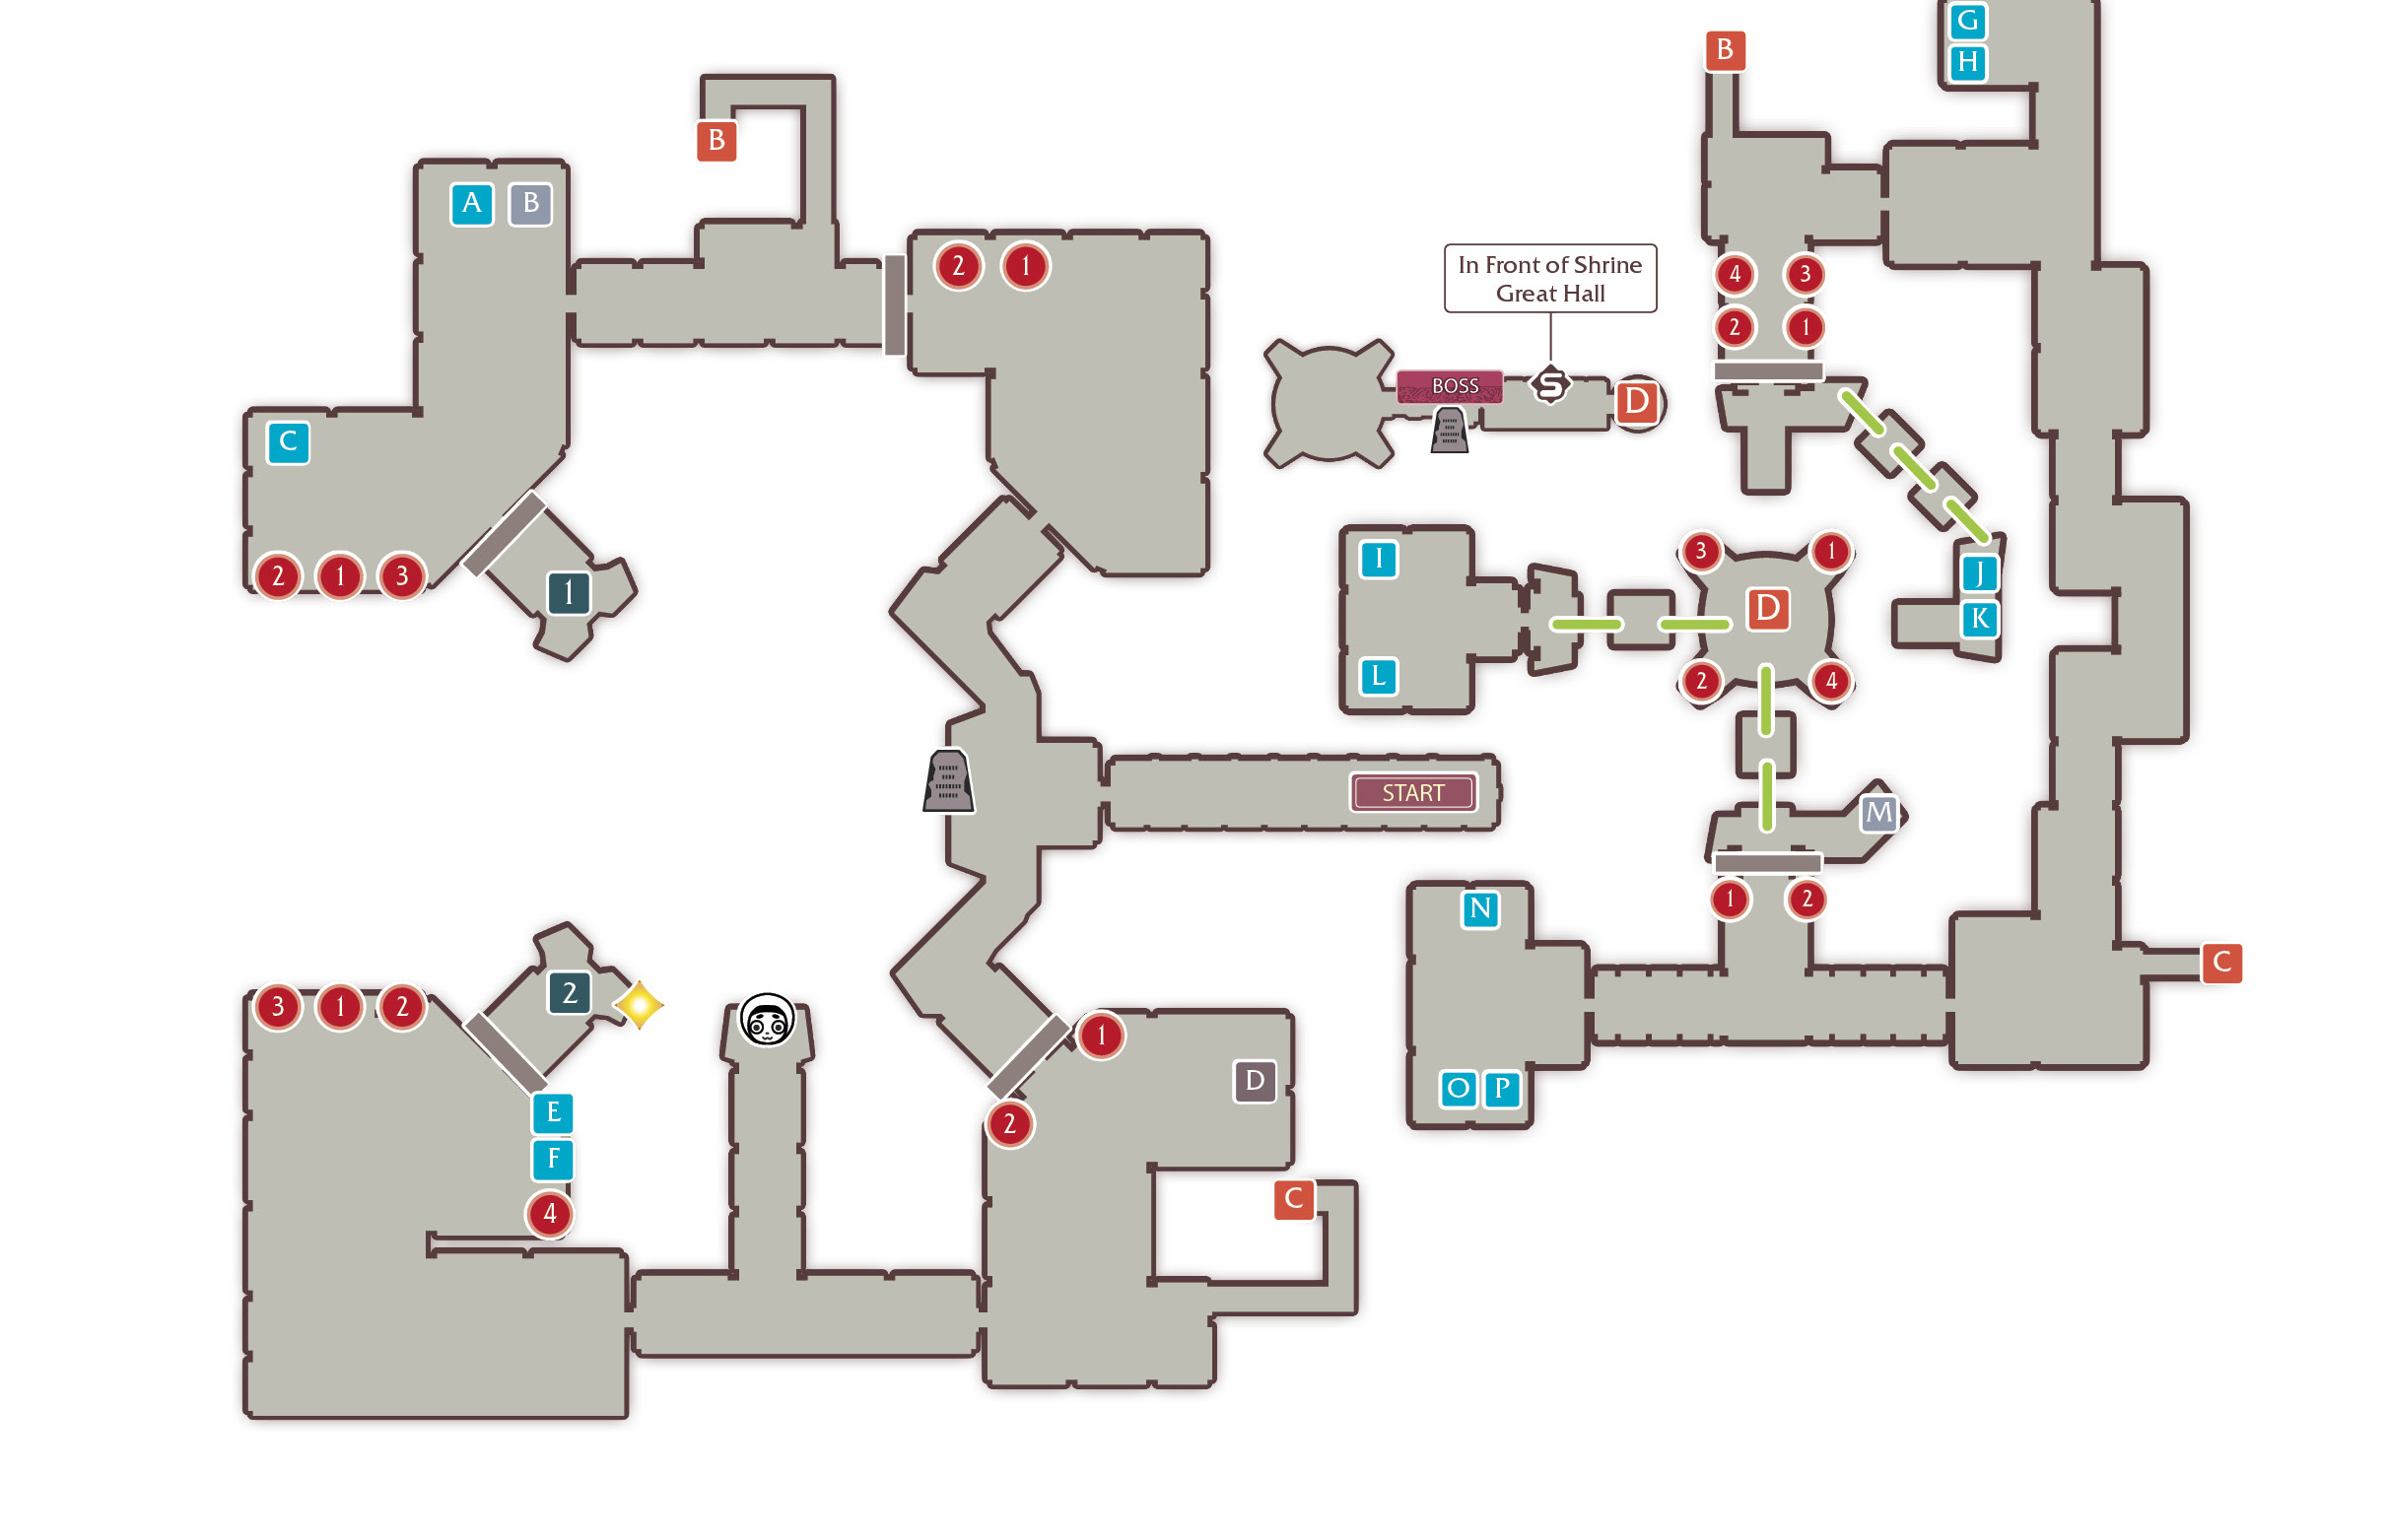
ITEMS
 |
Peach Gel |
 |
Fire Ring |
 |
Red Chamomile |
 |
Flame Ward |
 |
Crimson Veil |
 |
Peach Gel |
 |
3600 gald |
 |
Apple Gel |
 |
Madeline |
 |
Dragon Tail |
 |
Vellum |
 |
Chocolate Gelato |
 |
Burning Dash |
 |
Ortlinde |
 |
Roll Cake |
 |
Red Saffron |
ENEMIES
Orb Weaver  | |
|---|---|
| Level | 31 |
| HP | 2411 |
| Link | — |
| Weakness |  |
| Resistance |   |
Blazen Wolf  | |
|---|---|
| Level | 31 |
| HP | 2958 |
| Link | — |
| Weakness |  |
| Resistance |   |
| Flame Roller / | |
|---|---|
| Level | 31 |
| HP | 2325 |
| Link | — |
| Weakness |  |
| Resistance |   |
Boar Heddin  / / | |
|---|---|
| Level | 31 |
| HP | 1278 |
| Link | — |
| Weakness |  |
| Resistance |   |
BOSS HELLION
Salamander  / /  | |
|---|---|
| Level | 38 |
| HP | 11,041 |
| Link | Blazen Wolf (+20%) |
| Weakness |  |
| Resistance |   |
Head right since the path left is inaccessible at the moment. To open the next door, set the two torch pedestals alight using Silver Flame. Make sure to light them in order based on the number of markings on their bases.
Ignore the stairs for now and continue forward, again lighting the torch pedestals in the correct order to open the next locked door. Light the  torch behind the statue and lava will begin spilling out into the chamber below. Looks like you’ll need to raise the lava level a bit more before the floating tiles will align and let you access the middle area.
Now, backtrack and head down the stairs. Unlock the door leading into the central chamber by once again lighting torch pedestals in the correct order. You can’t do anything there yet since the lava isn’t high enough, so continue through the eastern doorway.
Make your way south until you find another staircase. Head up and light the two pedestals next to the locked doorway—you now have a second exit route out of the dungeon. Pick up the Flame Ward in the copper chest nearby, as it will be useful later. Enter the second door heading westward. If you go up the center path, you can find a normin; otherwise, keep going.
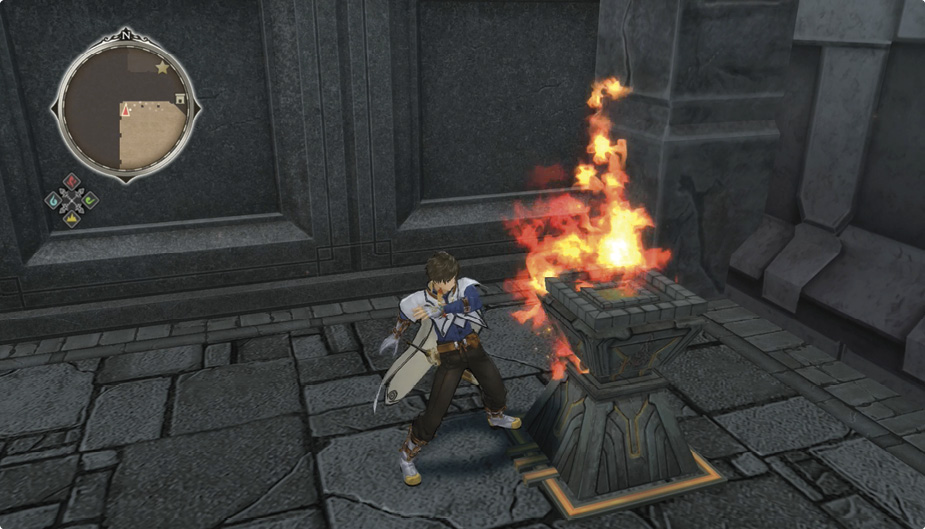
Continue on through the southern passageway to reach another locked door. Light all four torch pedestals in the correct order, but this time make sure you are standing in front of the number indicator when you light each one. If you light one while facing the wrong side, the flame will sputter out. You may not see the last pedestal immediately, but it’s just across the doorway on the other side of the two treasure chests.
At the second statue, light the torch  to bring the lava to the correct height. Check out the Discovery Point "Large Rock of Vermillion Ore" to the right, then head back down the southeast staircase.
Continue forward through the doorway ahead as you exit the staircase. At the door leading into the central cavern, light the torch pedestals in order to open the way forward, and make sure you are standing in front of the number indicator when you light each one.
Now you can travel across using Wind Rush! Light the four torch pedestals on the middle island in the correct order to activate the center elevator. Head down and activate the save point before entering the Shrine Great Hall. If you picked up the Flame Ward while in the shrine, equip it to Rose or Sorey before proceeding.
This is the shrine of Musiphe, one of the five lords. Mikleo and Sorey read the black tablet, which instructs them to touch all the other tablets in order to obtain a great power. Suddenly, a hellion appears with a domain strong enough to block Sorey’s connection to the seraphim!
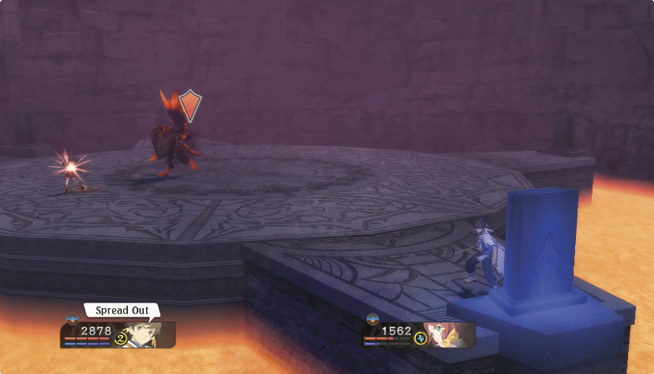
Unless you have equipment or food effects protecting against the Burn status ailment, you begin the battle afflicted with Burn. This battle is just Sorey and Rose, but luckily you don’t have to do much to survive the first half. While your other party member distracts the hellion, run around and touch all of the four black tablets as quickly as you can. Once you do, the seraphs return, Burns are healed, and if anyone was knocked out they’ll be revived for the second half of the battle alive at 1 HP. Salamander now has a pack of Power Linked Blazen Wolves with him, so take them out first. Since Edna and Dezel will only trigger the Salamander's resistance, armatize with Mikleo while keeping Lailah out as your second seraph to maximize your overall attack damage. Keep your distance from the Salamander’s powerful attacks, and you’ll be able to slowly but surely whittle his health down. Salamander have a special ability to prevent staggering while it has over 70% health. Concentrate on lowering his health from safe distances, rather than taking advantage of arte balancing until the special ability is nulled. Beware its powerful yet varied unblockable hidden artes and avoid accidentally charging its seraphic artes. While un-armatized, try fighting as Mikleo to take advantage of his water artes and trap the Salamander in a Power Combo, all at a safe distance with your seraphic artes.
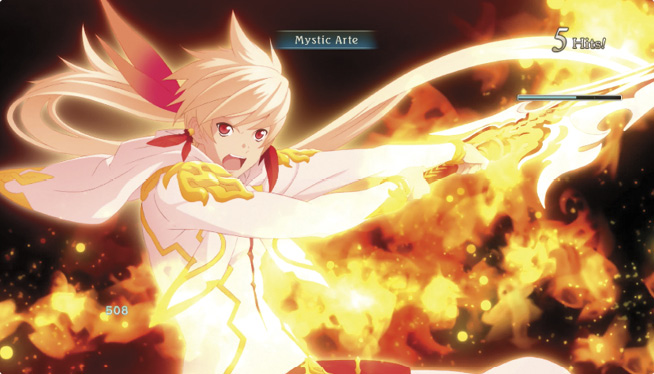
Sorey is unable to purify the hellion because it is actually a seraph in disguise! Ekseo, the protector seraph of fire, tells Sorey he passed the test of strength and is worthy of the power of Musiphe. However, he must brand either himself or Lailah on the face in order to receive it. Sorey falters, and Lailah tells him not to bear the burden by himself. They armatize and enter battle again, neither willing to let the other be branded. Follow the tutorial to unleash your first armatized mystic arte, Flamberge.
Ekseo is satisfied that Sorey has passed both of his tests, and Sorey acquires the spiritual power of fire, a strength which allows him to withstand more powerful domains than ever before. They’ll need all four of the spiritual powers in order to confront Heldalf, so it’s time to search for the other shrines. Lailah's title "Prime Lord" raises to "Scything Crimson", and she also gains a scenario skill that heals all Burn effects upon armatization. While armatized with Lailah, you can now use the mystic arte Flamberge as long as you have at least 4BG.
Back in Gododdin, Masedra tells Sorey that Forton wasn’t always the way she is now. For now, Sorey needs to report back to Sergei in Pendrago. As the group leaves, they are watched from afar by Heldalf and a young girl.