
Tales of Zestiria Guide Game System
Menus
PAUSE MENU
To Pause
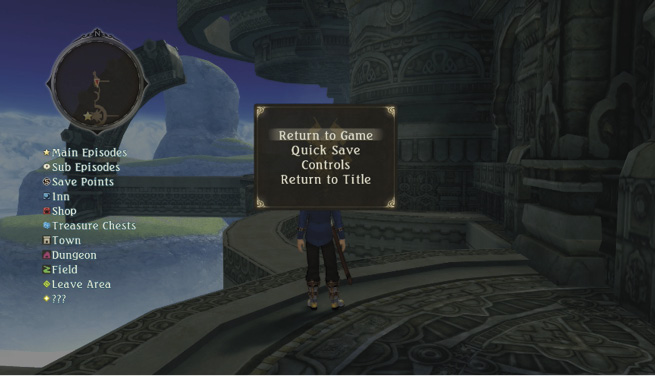
Press the OPTIONS button. Pausing the Game will halt your Play Time timer as well as give you access to these options:
- Quick Save
- Controls – The Controls screen will give you context-sensitive information on game controls, so if you open it during battle, you can confirm the battle controls.
- Return to Title – Returns you to the title screen. You won’t be prompted to save, so make sure to do that before returning to the title screen or you’ll lose your progress.
- You can also find an Icon Guide for your mini-map here as well.
Top Menu (Main Menu)
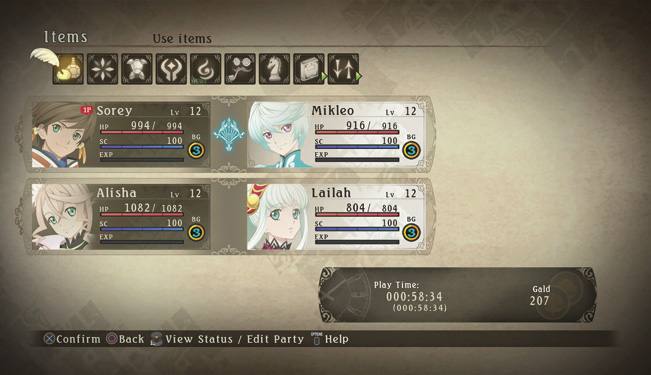
The Top Menu is where you can check on your characters HP and SC gauges, their experience, and also change which allies start off with you in battle. This is also where you can access all of your inventory and customization options, read up on your collected information, etc. Here are all of the options within this menu:
Change Formation: Switch formation and/or controlled character(s)
|
|
Status - Gives you a detailed view of the characters’ stats, as well as their next arte. |
|
|
Switch Seraph - Switches which Seraph is initially tied to each human. This can be changed during battle with the directional buttons. |
|
|
Switch Battle Character - Switch which character the player controls. Sets character to Manual or Semi-Auto. |


Items
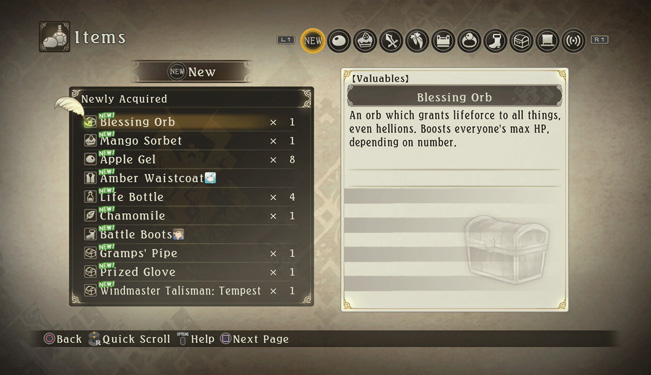
Access items that are in your possession here. Switch between the following categories by pressing L1 or R1: New, Consumables, Snacks, Weapons, Accessories, Armor, Rings, Shoes, Valuables, Fashion, and Downloadable Content.
Only the Consumables section of the Items menu can be accessed during combo through the Battle Menu.
Artes
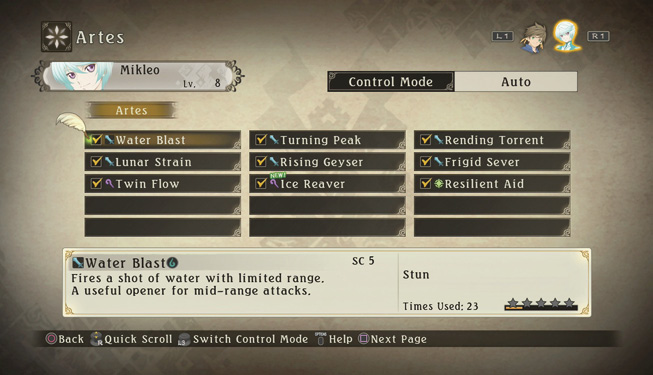
Here, you can view the martial artes sets acquired by characters – these sets are in relation to  + Left Stick settings as well as the length of combos, and these sets cannot be changed. New artes are unlocked over time and correlate to your chosen Title (see Equipment). Click
  to access hidden, seraphic, and mystic artes, which are tied to
  and are set manually by the player (if in Manual / Semi-Auto mode). This area also contains your blast and mystic arte information.
On each character’s Artes screen, you can switch between normal artes and armatization artes with L2 and R2. You can view your armatization hidden artes and change settings for  seraphic artes here. You can also view your Banish Blasts, Rejuvenation, and mystic artes here as well.
If you would like to read up on the differences between martial, hidden, seraphic, and mystic artes, please refer to "Artes" within the Battle section. The Artes menu is also accessible during battle.
Equipment
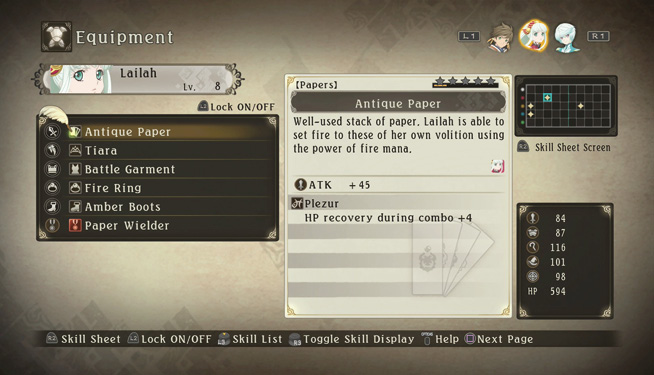
Here you can strengthen a character’s stats by equipping them with items and titles. When selecting items, use the Left Stick or Right Stick to change the sort order. Press L1 or R1 to change characters and R2 to switch to the skill sheet, where you can check the equipped items’ skills (you can find more a descriptive explanation about what these do in the Skills section). Leveling up characters will increase your proficiency with the equipped title and unlock skills if they are sealed. Press L2 to lock items, which will keep them out of the sellable list at shops so you never sell them accidentally.
The Equipment menu can be accessed and modified during combo through the Battle Menu.
|
Equippable items enhance different stats: |
|
|
Attack |
|
|
Arte Attack |
|
|
Defense |
|
|
Arte Defense |
|
|
Footwear |
Focus |
Support Talents
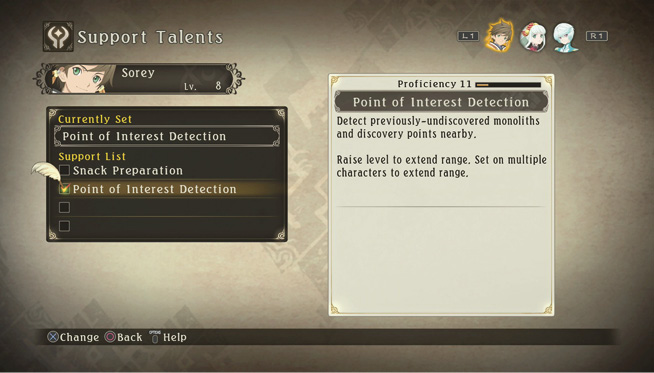
Every character has a special group of talents that can perform a variety of different, helpful abilities. Using them repeatedly will strengthen their talent, and new talents can be acquired by staying at inns. You can find more details in the Support Talents section.
Battle Actions
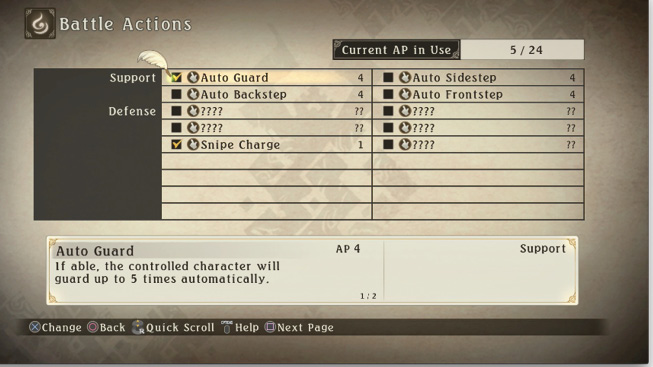
Here, you can set abilities used in battle that, generally speaking, apply to all party members. To set actions, you need action points (AP), which can be gained by leveling up, locating discovery points, and finding monoliths. Most new Battle Actions can be unlocked by meeting certain criteria specific to each action, which you can find by reading their descriptions, but some are unlocked as the story progresses.
You can view the Battle Actions menu during battle by pressing R2 while the Battle Menu is opened, but it cannot be modified.
Fashion
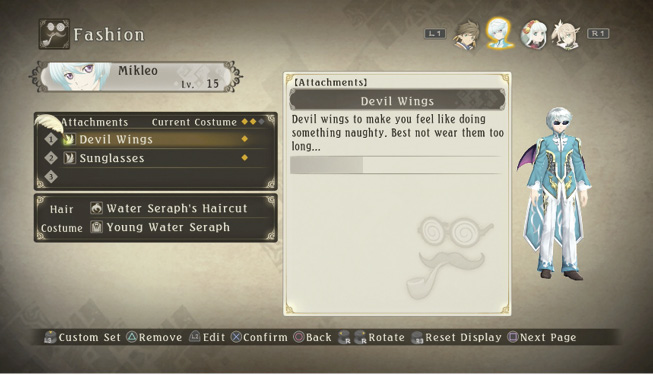
Fashion items can be found around the world or after story events and change your character’s appearance. Each item is assigned a certain cost; you can only ever wear a maximum of three item costs, as well as a total of three attachments. Press L2 to customize their placement, size, or color. You can also change your hairstyle and costume.
Strategy
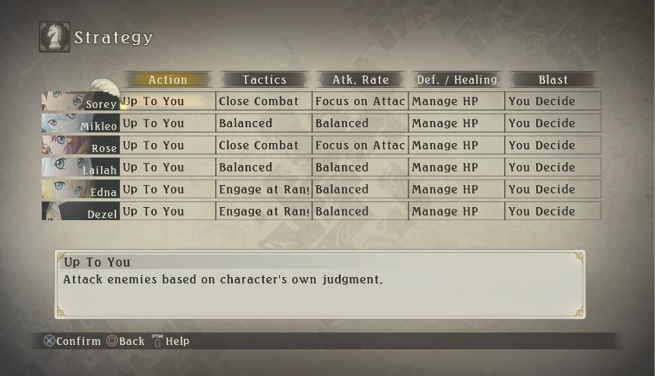
In this menu, you can configure what actions characters can take when their Control Mode is set to Auto. If you find that a party member is often KO’d or not as useful as they can be, go through your choices here to see if anything can be improved.
The Strategy menu can be opened and modified during combat through the Battle Menu.
Library
Here, you can view records and explanations about the game system and gameplay elements.
 |
 |
 |
 |
 |
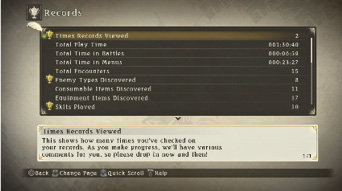 |
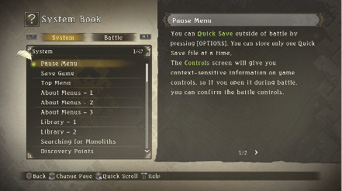
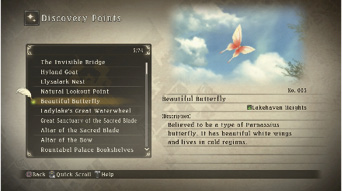
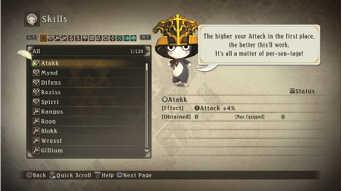
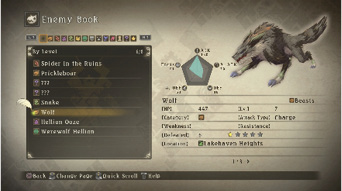
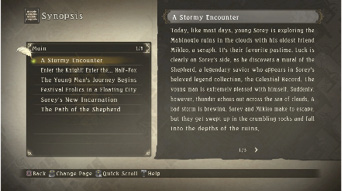
| System Book: | Discovery Points: | Skills: | Enemy Book: | Synopsis: | Records: |
| Learn more about game and battle systems. If you’re ever confused about a gameplay function, you will probably find an explanation here. You unlock battle information by finding monoliths out in the world as well as by completing battles after certain mechanics have been unlocked. | View the discoveries you’ve found. | View information about skills you’ve obtained. Later, if you’ve found the normin associated with that skill, that normin will give you helpful tips about that skill. | View information about foes you’ve encountered. When enemies seem tough, you might uncover tactics and alternative ways of taking them on. | Read an outline of the story so far. Refer to this if you aren’t sure where to go next, or if you need brushing up on the story. | View various kinds of data about the way you play. |
System:
|
Save |
Save game data (only available when standing on a Save Point) |
|
Load |
Load game file |
|
Options |
Change various settings (these are the same options listed when you start a new game) |
Lord of the Land Menu
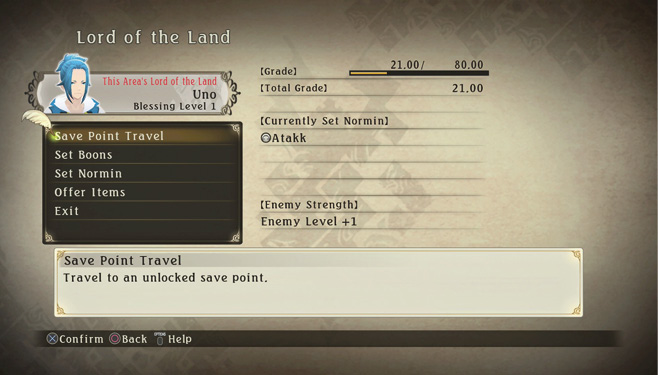
You can access the Lord of the Land menu either with the Lord of the Land themselves, or through Save Points in areas where the Lord of the Land has been established. Fighting battles in those areas will raise the Blessing Level depending on the Grade earned within those battles, and will automatically be added to the Blessing Level when you touch a Save Point. Grade can also be earned by offering items to the Lord of the Land. As the Blessing Level goes up, you will gain access to new boons with various effects as well as increase the maximum allowable boons cost.
| Save Point Travel | Travel to an unlocked save point. You can travel between save points within the same town for free, but it’ll cost gald to move greater distances. Gald cost is cheaper in areas where a Lord of the Land is present. Note: Sometimes the story plot limits or prohibits the use of Save Point Travel. |
| Set Boons | Set boons within maximum allowable boon cost. Boons availability depends on Blessing Level, and largely have battle-related effects. |
| Set Normin | Once a normin has been found, you can set it to serve the Lord of the Land, making dropped items in that area more likely to have that normin’s skill attached. However, doing this will increase the difficulty of the enemies in that area depending on that normin’s skill group. As you raise your Blessing Level you can assign multiple normin to that area, which will in turn raise the enemy levels even higher. It will make that area more challenging, but then again, you’ll also get a nice experience boost from battles while you grind for items. |
| Offer Items | Offer items to be converted to Grade. |
| Sanctify Equipment | Sanctify equipment at +10 or more to double the effects of the first skill--the item will also be given a new name. This does not cost gald to use. |