
Elder Scrolls V: Skyrim Guide The Atlas Soul Cairn
Soul Cairn Minor Locations
[SC1.A] Path of Souls
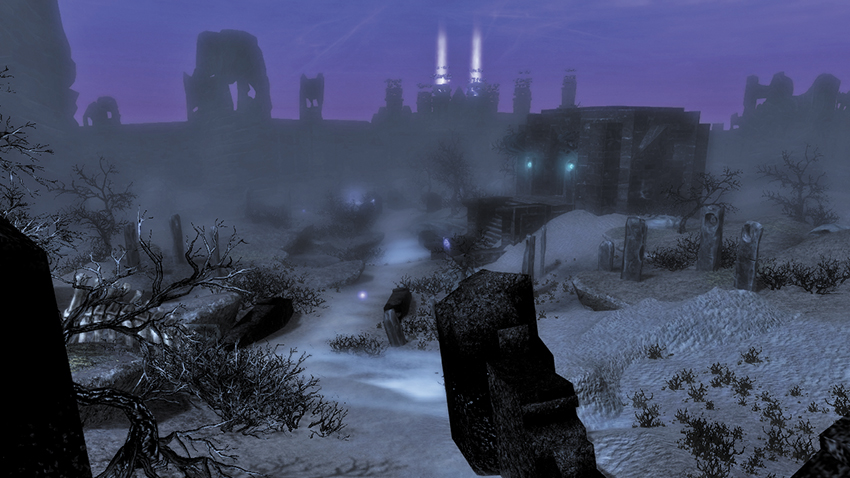
This winding pathway stretches out in a northeasterly direction, all the way to the Boneyard in Parish 2. The start of it has a baleful, ghostly figure standing on either side, among the dirt and stones. Speak to them and listen to their confused cries if you wish.
[SC1.B] The Black Chapel
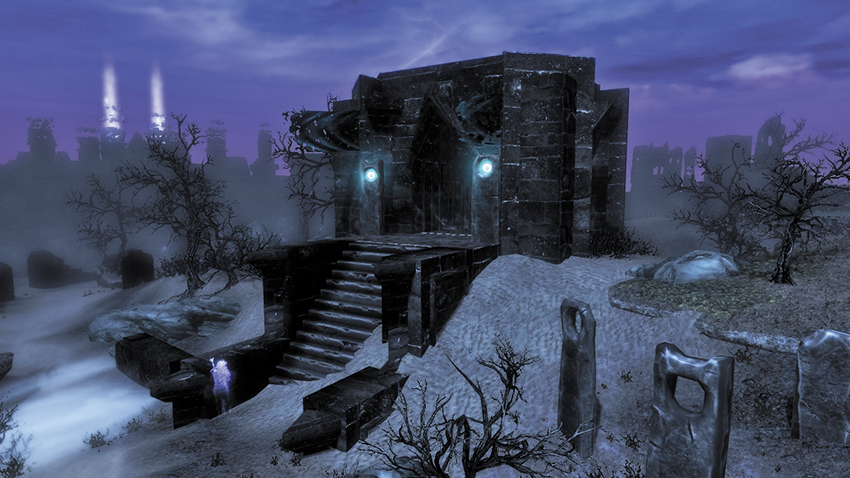
- Related Quest: Side Quest: Impatience of a Saint
The first charcoal structure you’ll come across is this chapel, with tattered banners flapping and a mournful soul standing at the bottom of the steps. Shoot an arrow into each turquoise orb so the bars at the chapel entrance recede. Then head inside, looking for one of Jiub’s pages, as well as the following:
- Chest
- Jiub’s Opus (Page 8) [1/10]
- Loose gear
[SC1.C] Mournful Soul
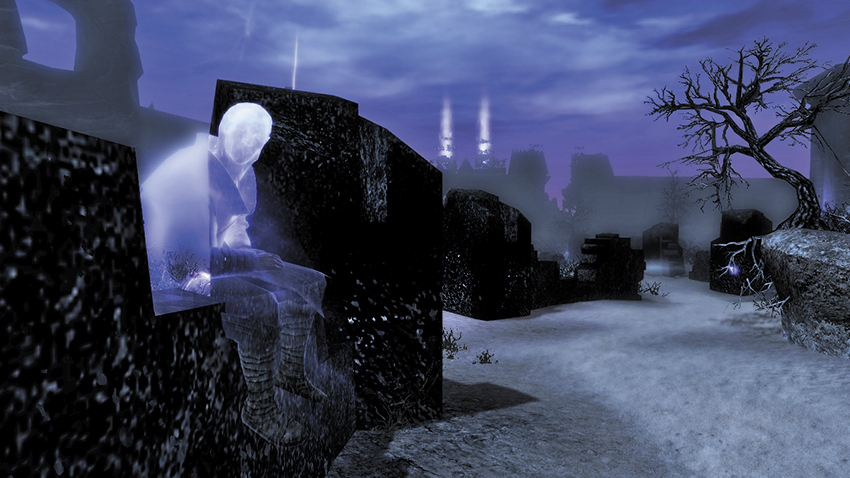
Farther along the Path of Souls, you’ll periodically encounter more trapped souls that are expressing sorrow, anger, and bewilderment. There are many scattered throughout the Cairn; speak to any you wish, but from this point on, the important ones are flagged. The two sitting on the side of the road are of no help to your cause.
[SC1.D] The Black Church
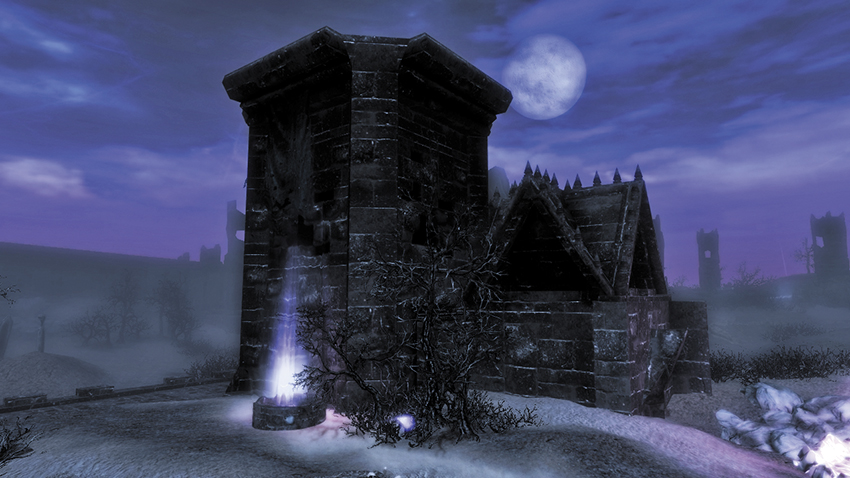
- Related Quest: Side Quest: Impatience of a Saint
This ornate structure houses a Boneman on the ground, guarding a chest with another of Jiub’s pages. Outside is a small, circular pool of light. Step into it, and you’re whisked to the rooftop. Step around the grating (so you don’t fall through) and claim a book and items from a second chest.
- Chest (2)
- Jiub’s Opus (Page 6) [2/10]
- Teleporter [1/9]
[SC1.E] Arvak’s Rider
- Related Regional Activity: Arvak the Spectral Steed
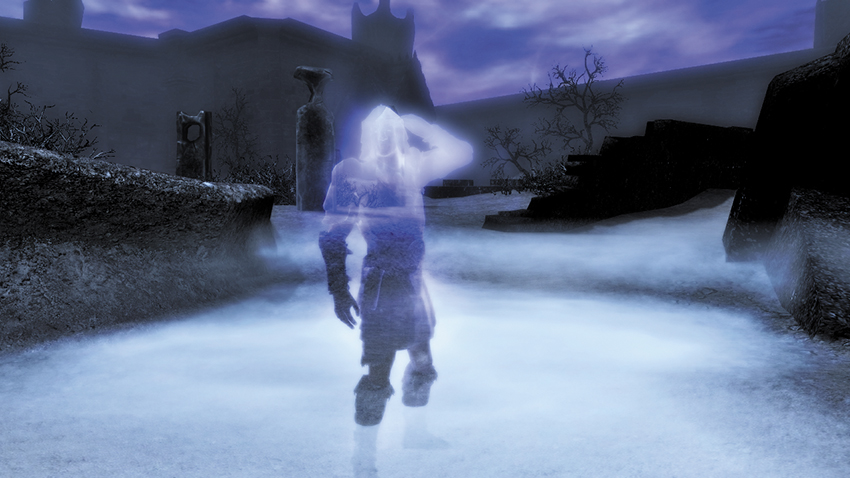
The soul standing ankle-deep in the mist along this part of the pathway pleads with you to find his horse, Arvak. This steed is frightened, loyal, and must be rescued. Agree to help to begin the quest.
[SC1.F] The Barrier Wall
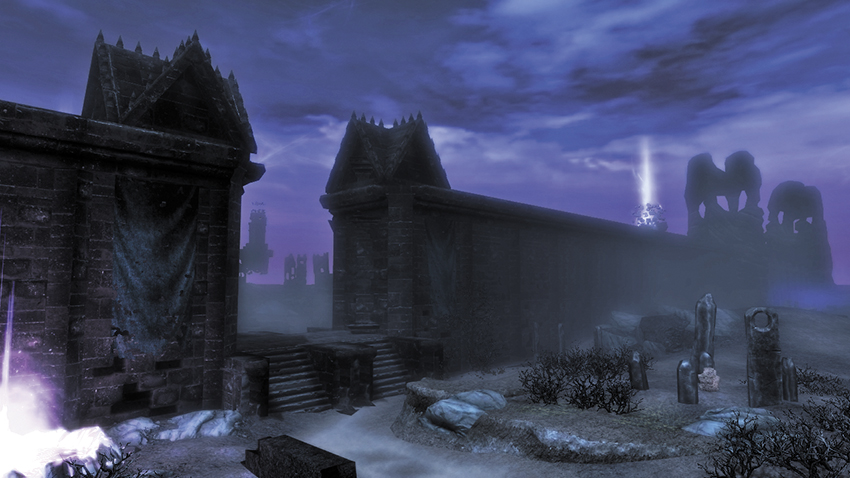
Bisecting the Parishes of the Soul Cairn is a giant black wall constructed by unknown hands. The steps and gap here is the only way through to the larger expanse of land beyond.
[SC1.G] The Black Gatehouse
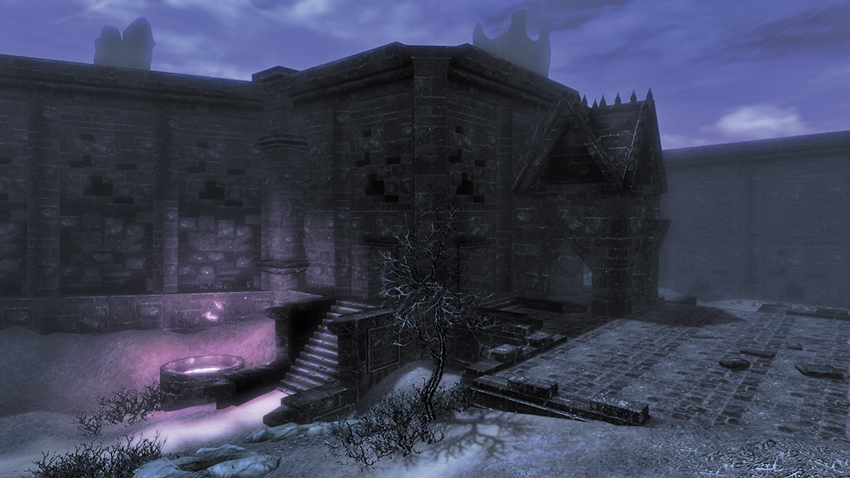
This structure protrudes from an area of the Barrier Wall and provides an entrance to the small, self-contained area where the Crystal Folly stands. Pry open the chest along the way.
- Chest
[SC1.H] The Crystal Folly
- Related Quest: Side Quest: Impatience of a Saint
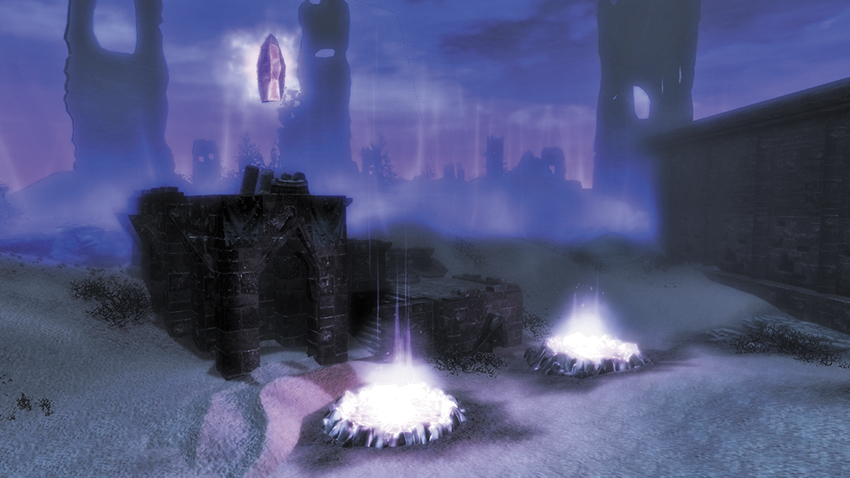
Guarded by Bonemen, this small hillock has a folly to the Ideal Masters built on it. Deal with the bony foes before you close in, as the giant crystal floating above the chest atop the structure severely damages your energy. One of Jiub’s pages is up here too.
- Chest
- Ideal Master Crystal [1/8]
- Jiub’s Opus (Page 3) [3/10]
[SC1.I] Steps of the Barrier Wall (South)
- Related Quest: Side Quest: Impatience of a Saint
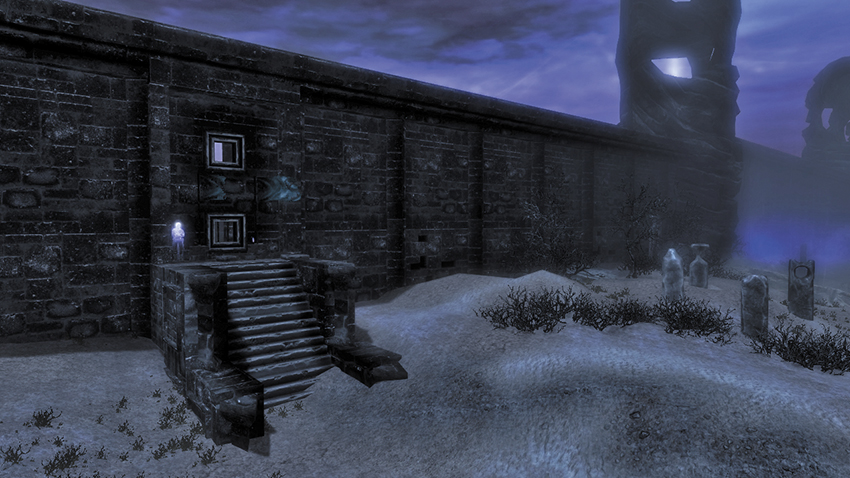
Farther along the Barrier Wall to the east is a set of steps to a lost soul waiting near a book, a potion, and another of Jiub’s pages. Through the window, you’ll see a chest, on the north side. You can reach it only by trekking around to the wall’s other side.
- Jiub’s Opus (Page 1) [4/10]
[SC1.J] Totem to the Ideal Masters
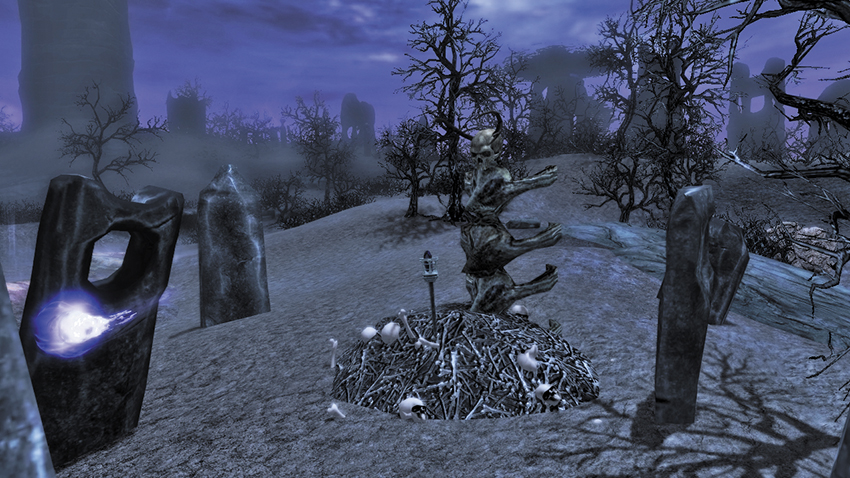
A pile of bones arranged to form a strange totem is found among the gnarled trees here. Take the Black Soul Gem if you wish (there are three Bonemen to face if you do).
- Black Soul Gem
[SC1.K] Heaven’s Arc Point
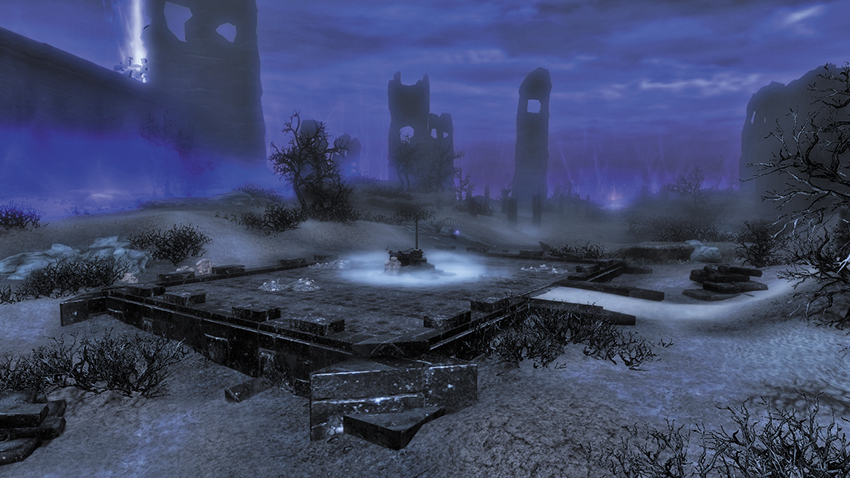
This stone pavement holds a strange altarlike collection of stones in its middle. Nearby is a Greater Soul Gem. Pick it up and place it in the receptacle of the Lightning Attractor. A crackle of lightning and a clap of thunder echo through the Cairn, transforming the gem into a Black Soul Gem. You’ll find a Soul Husk here too (these aren’t listed but can be collected for the quests listed previously).
- Greater Soul Gem
- Lightning Attractor [1/4]
- Soul Husk
[SC1.L] The Black Sanctuary
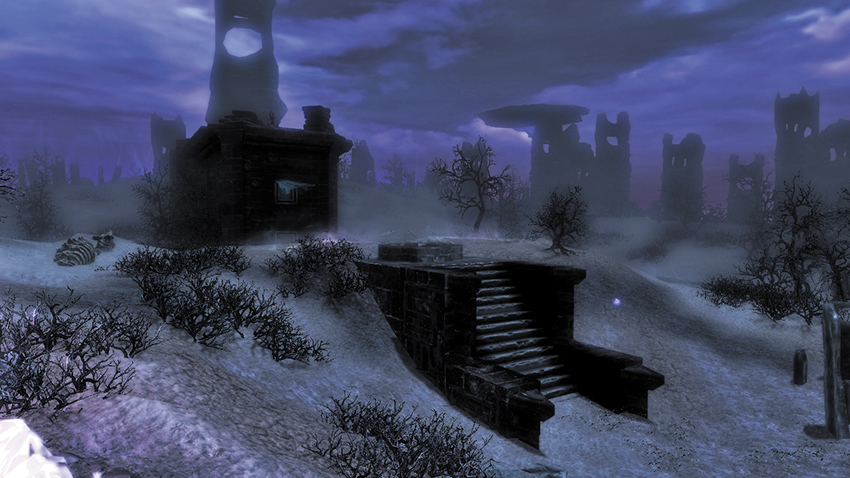
A set of half-buried stairs leads up to a teleporter. Check the ground level of the sanctuary structure first (there are Soul Gems among the skeletal rubble). You may wish to attack the Boneman patrolling the roof with a long-range attack, as the teleporter transports you there, to a chest and combat with a Wrathman.
- Chest
- Teleporter [2/9]
[SC1.M] The Black Monastery
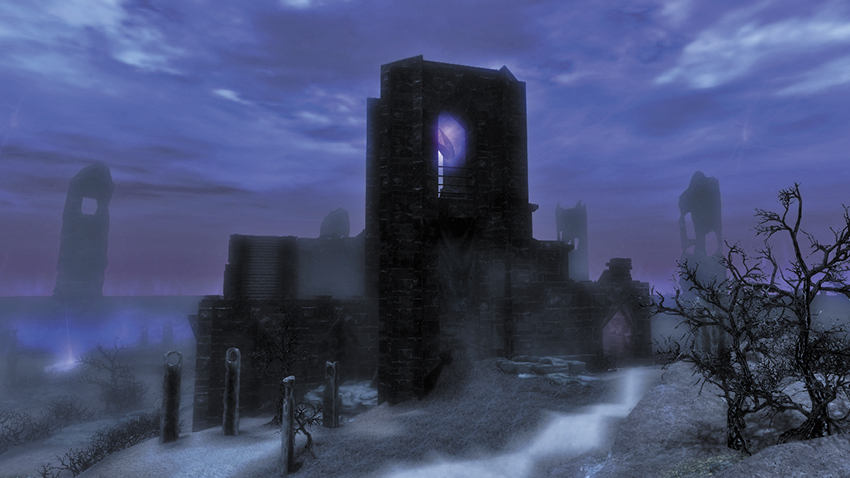
This sizable structure dominates the southern part of the Cairn. Below the imposing tower is an interior courtyard with a wretched soul and steps to the roof area. Work your way around, past another prone soul, then head down the steps to the southwest and go to the tower. Fight fatigue from an Ideal Master Crystal, above a third soul and a chest.
- Chest
- Ideal Master Crystal [2/8]
Parish 2: The Cemetery
A large part of the Soul Cairn is given over to the countless piles of bones that have accumulated here throughout the centuries. These piles are everywhere, as are the wandering souls of the banished. This area is dominated by a cluster of large buildings to the northwest, where a Keeper lurks. However, to the north is the largest structure of all: the Boneyard where Valerica is imprisoned.
Major Locations
[SC2.1] The Boneyard (Entrance)
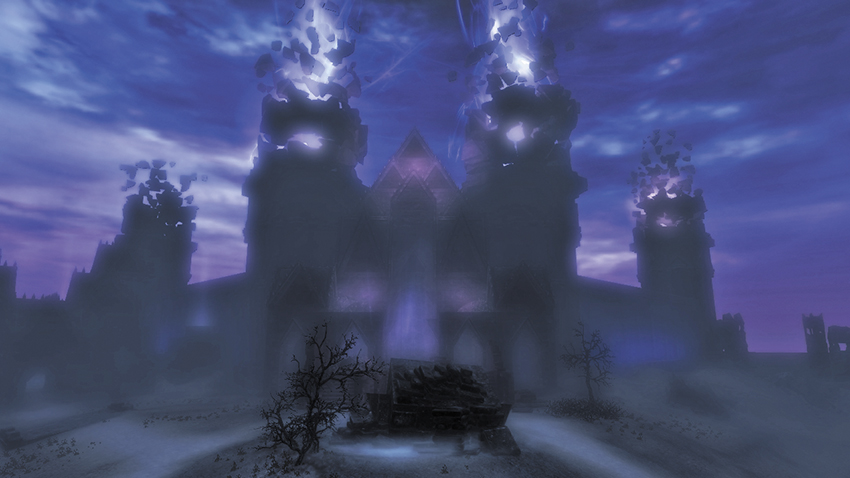
Related Quest: Dawnguard Main Quest: Beyond Death
Related Regional Activities
- Dark Conjurations*
- Valerica’s Concoction*
- The Whole Soul*
Trapped behind a barrier of energy, Valerica spends her time perfecting her alchemy and staving off the madness of loneliness. She is a font of knowledge about this place; speak to her if you want to learn more about her life, the Ideal Masters, and the origins of the Soul Cairn.
- Alchemy Lab
Boneyard (Interior)
The interior of the Boneyard is accessible only after all the Keepers have released their grip on Valerica, as part of the quest. Once inside, you face a troublesome dragon named Durnehviir, along with several Bonemen called upon by the Ideal Masters.
 Exit to Soul Cairn
 Boneyard Arena
The battle begins here. Note the five clusters of standing stones around the arena, where four Bonemen (or other foes) are summoned during combat. Deal with them and the dragon.
 Dragon Perch
Durnehviir begins his attack from this launching point. You can use the steps on either side to reach cover (away from the Bonemen) if combat isn’t going your way.
 Outer Battlements
Surrounding the boneyard (on all five sides) are steps to the upper battlements, where you are afforded some cover. Move up here if the battle in the arena is too hectic.
 Valerica’s Alcove
Between the steps to the arena’s east is an alcove where Valerica stores her most precious items. Aside from the books and potions, there is a case containing the most valuable item of all: an Elder Scroll!
- Alchemy Lab
- Elder Scroll (Blood)
- Potions aplenty
[SC2.2] Keeper 1: Tabernacle of the Ideal Masters
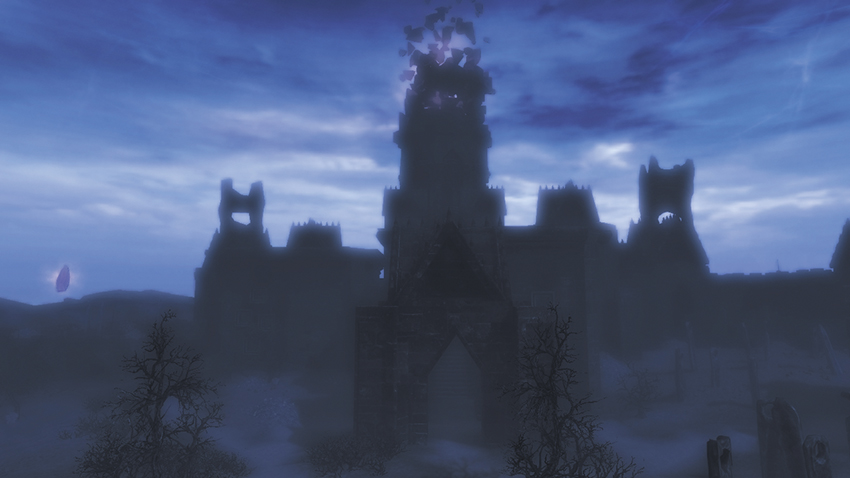
- Related Quest: Dawnguard Main Quest: Beyond Death
This sprawling structure is perhaps the largest outside of the Boneyard. Flanked by two adjoining wings, you can approach from the southeast (heading northwest) after navigating the cemetery, or move through the many gaps around the sides and rear of the structure. This is important, as a Keeper resides here, so cautious maneuvering is advisable.
To the northeast is a sunken courtyard with a teleporter that transports you to the roof. Here you find a Lightning Attractor (and a three-strong Boneman ambush) and a chest. To the southwest is a barred gate (to open it, fire at the two turquoise orbs above and to the right of the gate from the interior courtyard near the Keeper) leading to an exterior foundation area, where two Bonemen guard a chest and an Ideal Master Crystal. Finally, don’t forget the teleporter to the northwest among the standing stones: It transports you to a section of roof you can’t otherwise reach. Here, you’ll find the skeletal remains of an adventurer, along with his gear and potions (and a Boneman to surprise you).
The Keeper sits on a massive throne in a large courtyard in the middle of this place. However, there are plenty of hiding places among the various pillars and structures surrounding him. Or you can attack and use the space provided by the courtyard to avoid his incredibly damaging weapon swings. Defeat the Keeper, claiming a Black Soul Gem (Grand) from the dust he leaves behind.
- Chest (3)
- Enemy: The Keeper
- Ideal Master Crystal [3/8]
- Lightning Attractor [2/4]
- Loose gear
- Potions
- Reaper Gem Fragment [2/3]
- Teleporter [3/9]
- Teleporter [4/9]
Minor Locations
[SC2.A] Black Gatehouse 1
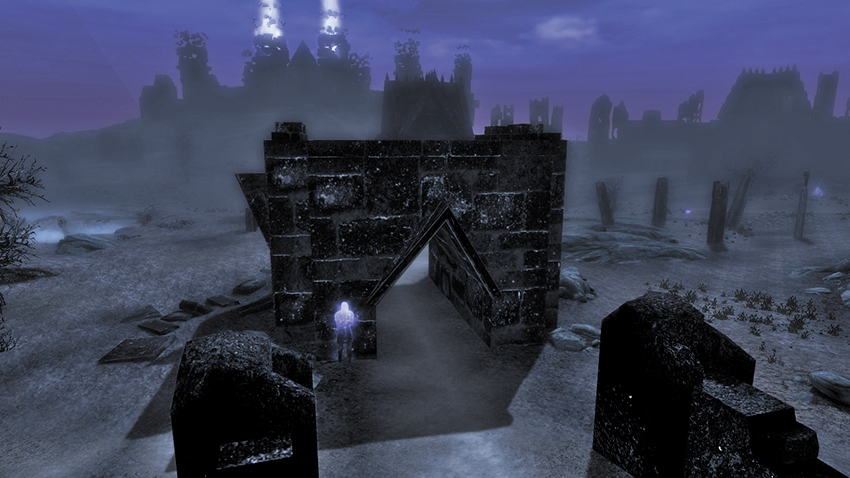
Located on the Soul Path, with a damned spirit waiting at one of the entrances, this provides a landmark and cover as you explore.
[SC2.B] Black Gatehouse 2
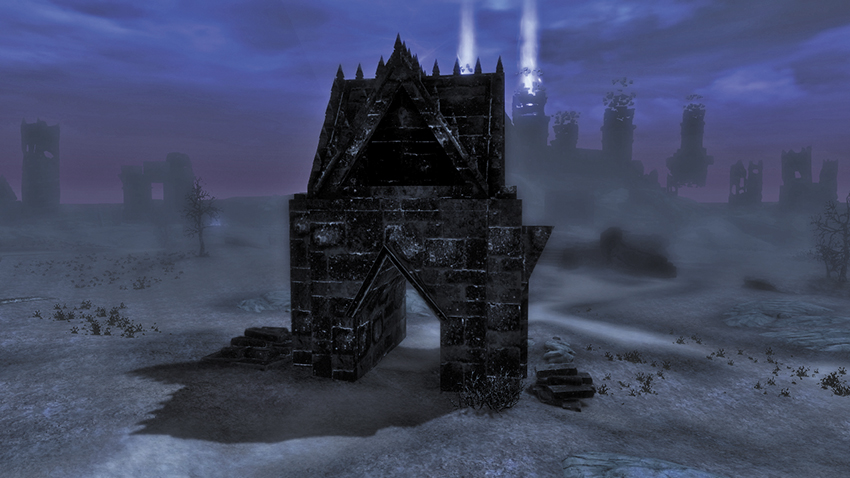
This empty gatehouse has a pointed roof. Pass through it on the Soul Path, using it as a visual marker.
[SC2.C] Lost Structure
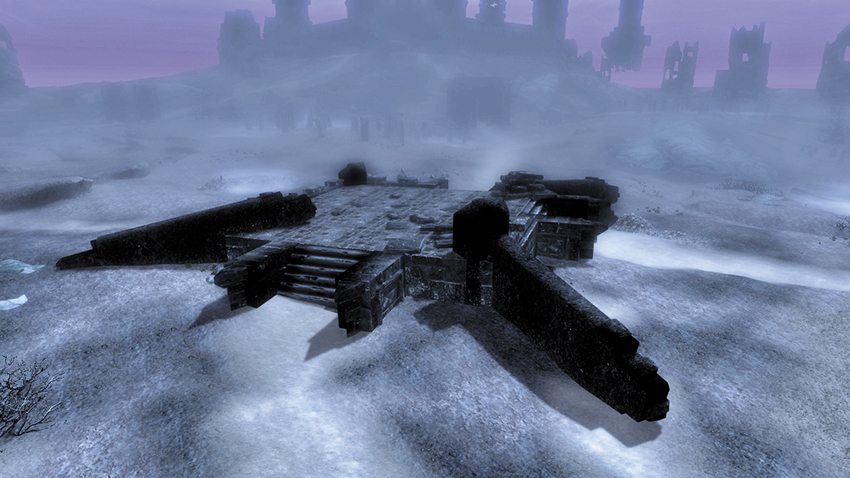
The unofficial “center” of the Soul Cairn, souls were placed here, at these crossroads, so they couldn’t return to seek revenge on their captors. Now only the foundations and a few bone piles remain. Use this to situate yourself, as all the major roads lead from here.
[SC2.D] Black Gatehouse 3
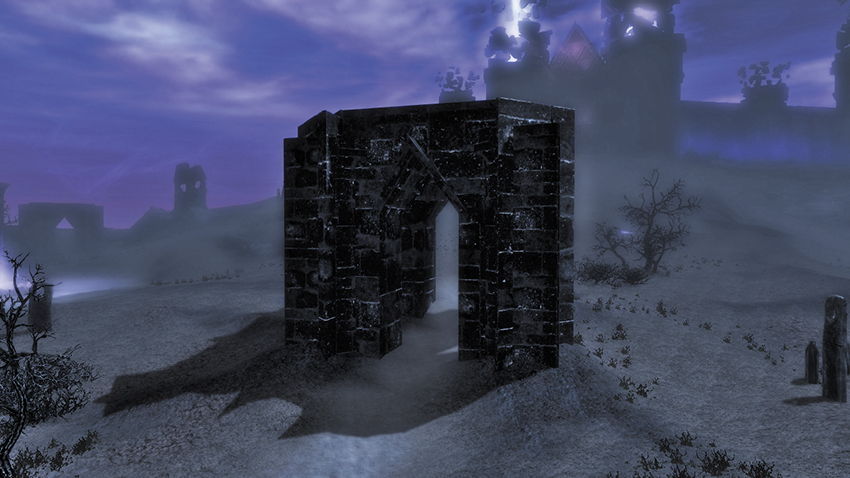
Located at the foot of the hill on which the Boneyard is situated, you begin your climb up the hill from here. Watch for a few Bonemen to rise up and attack from the bones scattered near the structure to the south.
[SC2.E] Durnehviir’s Rooftop Perch
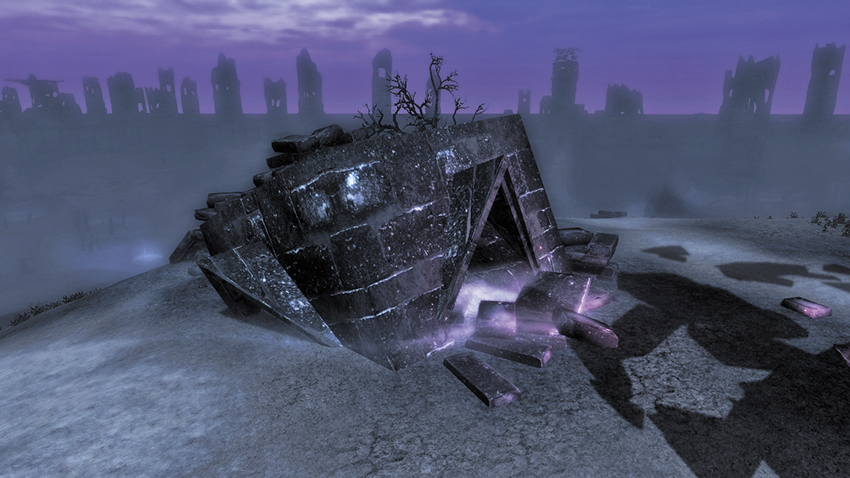
Related Side Quest: Durnehviir
An enslaved dragon named Durnehviir stops you as you exit the Boneyard. Listen to what he says, and agree to his requests.
- Word of Power: Curse, Summon Durnehviir
- Word of Power: Dying, Summon Durnehviir
- Word of Power: Never, Summon Durnehviir
[SC2.F] The Black Folly
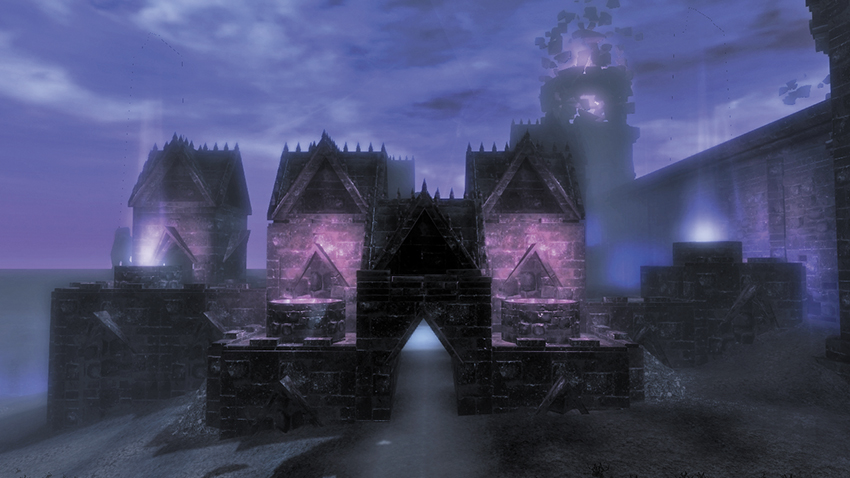
Related Quest: Side Quest: Impatience of a Saint
The occasional home of the enslaved dragon Durnehviir, this area has several crenellations and stairs to explore, but none lead to anything valuable. In fact, the only area of note is a partially destroyed Word Wall (that grants no Words of Power) that Durnehviir sometimes sits on. Below it, you’ll find the following in the ankle-deep mist:
- Chest
- Jiub’s Opus (Page 2) [5/10]
- Lots o’ Gold
[SC2.G] Black Gatehouse 4
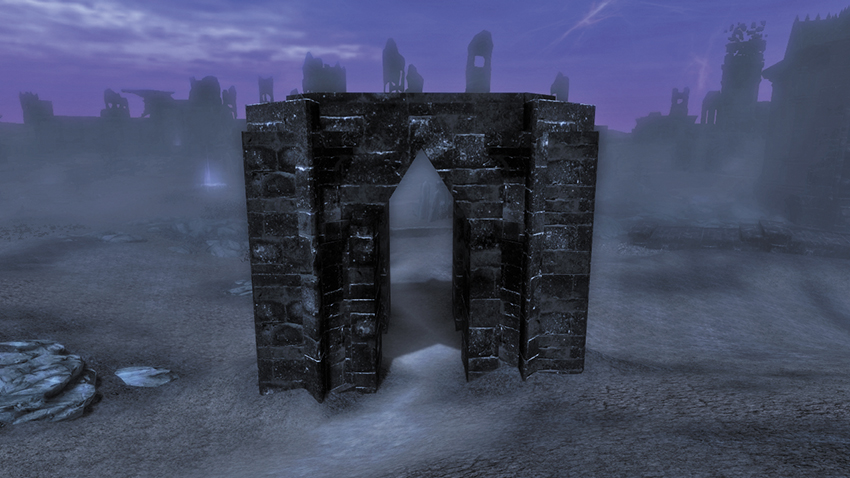
Don’t confuse this with Location SC2.D, as the pathway this gatehouse marks takes you toward the second Keeper and into the main cemetery area.
[SC2.H] The Black Bethel
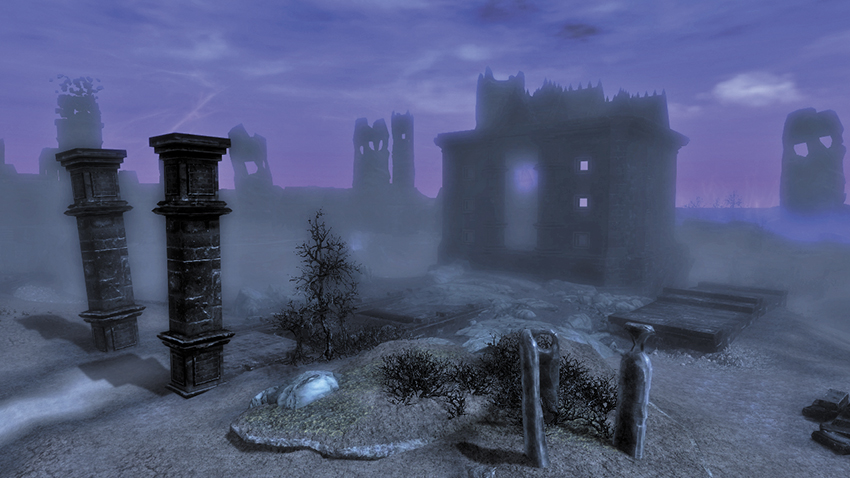
The reward for exploring this dangerous location is a chest guarded by the only Ideal Master Crystal hidden inside a structure. Heading north, approach from the south, past the two columns, and use the subterranean stairs and short tunnel for a fight with two Bonemen; then head inside. Or, clamber in from ground level, ignoring the tunnel. Alternatively, approach from the north (heading south), using your Bats (Vampire Lord) or Whirlwind Sprint (Shout) power to dash across the gap between the stone step slabs and the windowed interior.
- Chest
- Ideal Master Crystal [3/8]
[SC2.I] The Dark Battlements (Main)
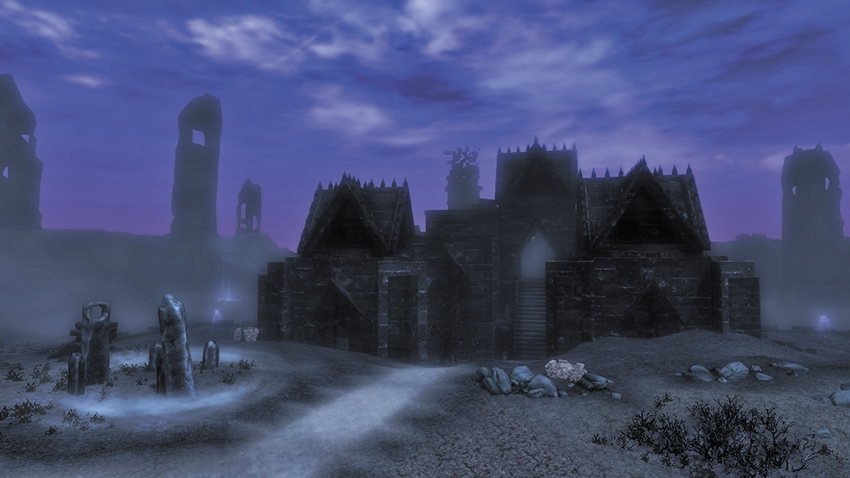
If you’re using the rudimentary pathway in your exploration, the entrance to the cemetery is via this ruined entrance, now merely half-sunk battlements silent in the stale air. Enter from either the north or south, moving quickly to step out of the Ideal Master Crystal’s range. Engage the Boneman and Wrathmen that rise on the main platform. Remove the bars in the small spire that holds a soul and a chest by firing an arrow or bolt at both of the turquoise orbs (one above the bars, the other half hidden in an inaccessible alcove in the south corner of the platform).
- Chest
- Ideal Master Crystal [4/8]
[SC2.J] The Dark Battlements (Skeleton and Soul)
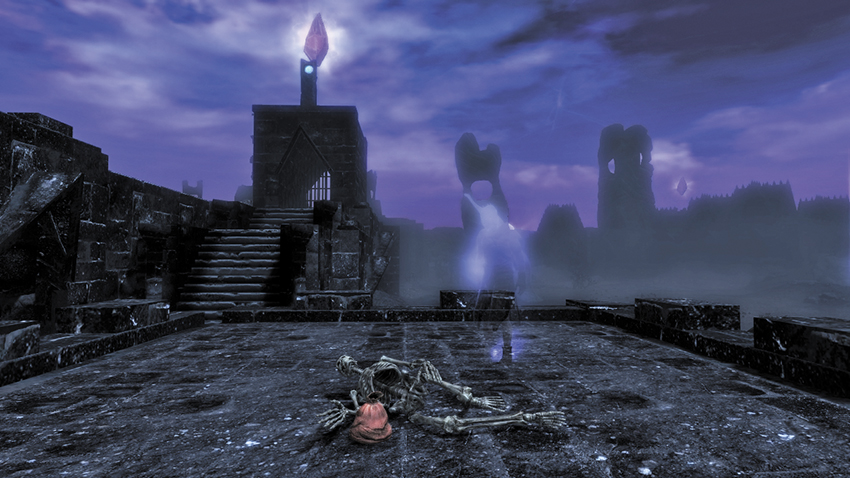
The edge of the battlements holds a soul watching over sprawled skeletal remains and a coin purse.
[SC2.K] The Dark Battlements (Wandering Soul)
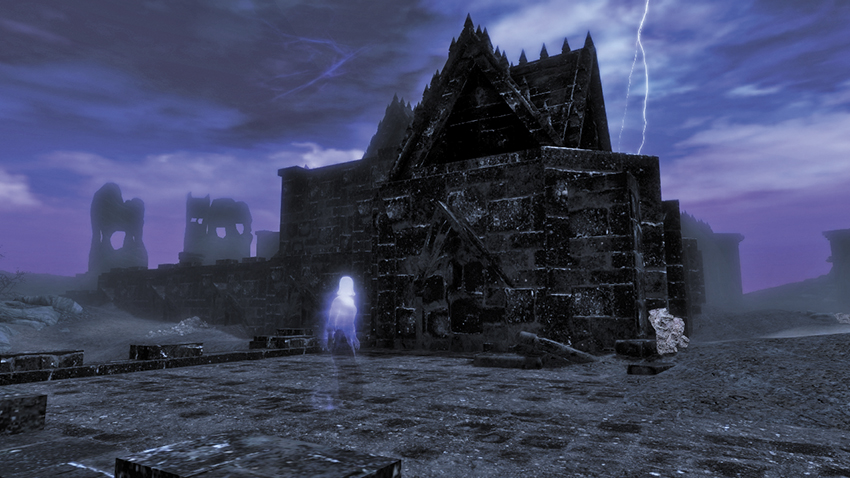
If you speak to it, a soul babbles incoherently. It lives out eternity by wandering close to the battlements.
[SC2.L] The Black Mausoleum
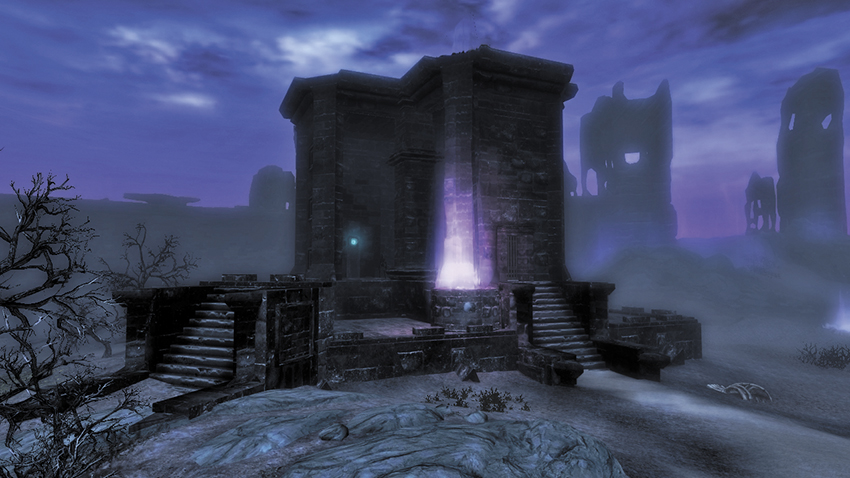
A larger, tall structure close to the cemetery, this place coaxes you in with a barred entrance at the top of some steps, which can be removed by firing at the two turquoise orbs within the structure (or you can leap onto the soul pool and circumvent it entirely). The interior has nothing of value, except for a Boneman battle. But unlike the restless souls, only a moment of your time has been wasted.
[SC2.M] The Cemetery Gatehouse 1
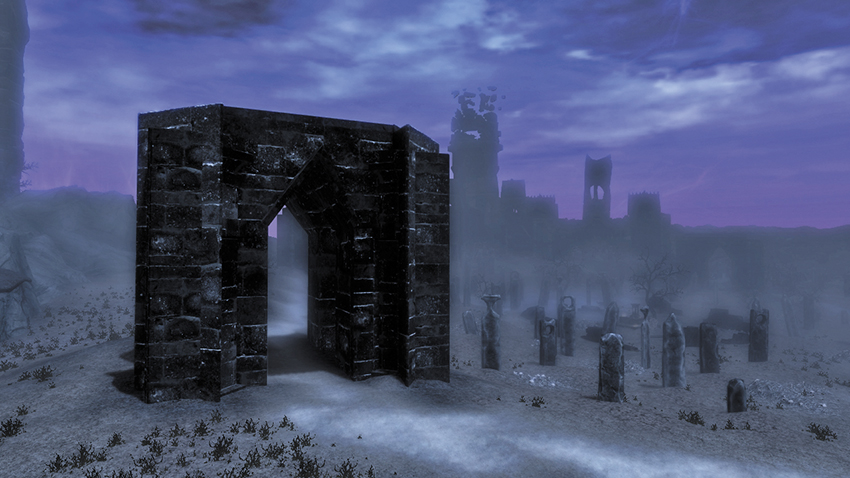
One of five gatehouses that surround the cemetery. This is close to the rocky perimeter of the Soul Cairn, to the southwest.
[SC2.N] The Cemetery Gatehouse 2
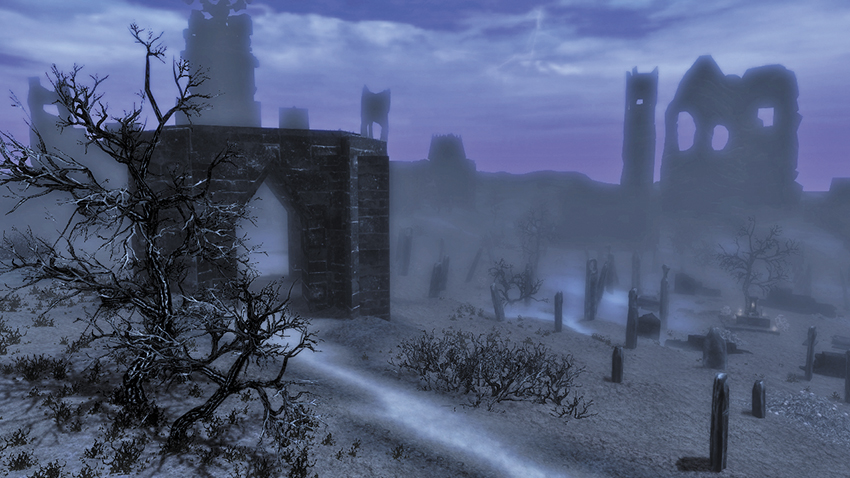
The second gatehouse offers a path toward the domain of the second Keeper.
[SC2.O] The Cemetery Altar
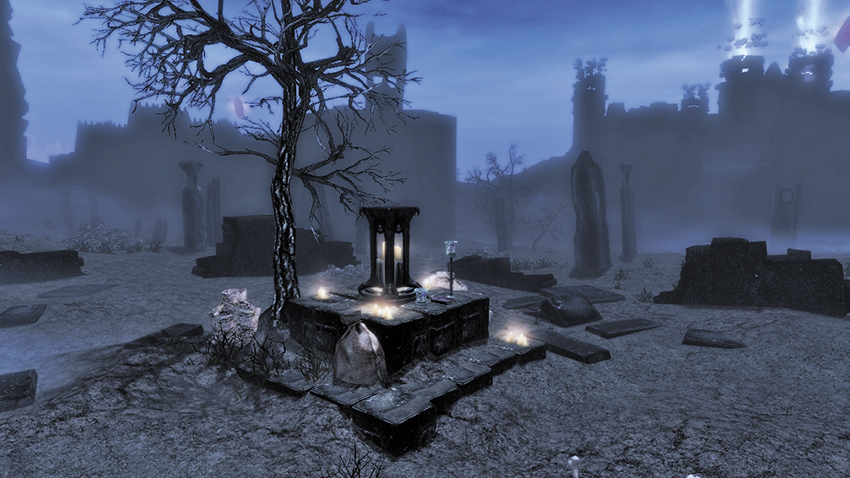
- Related Regional Activity: Dark Conjurations*
The eerie graveyard of lost souls dominates this Parish. In the middle is a black altar, upon which rests a Spell Tome you haven’t read before. Take it before the five summoned Bonemen and Wrathman pick you apart.
- Spell Tome: Conjure Boneman [1/3]
[SC2.P] The Cemetery Gatehouse 3
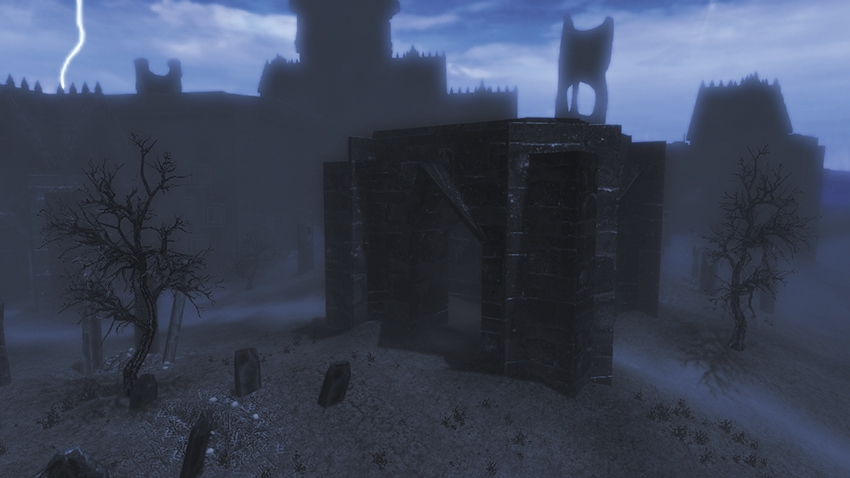
This gatehouse is on the lower ground and offers a side path toward the large structure known as the Black Minster.
[SC2.Q] The Cemetery Gatehouse 4
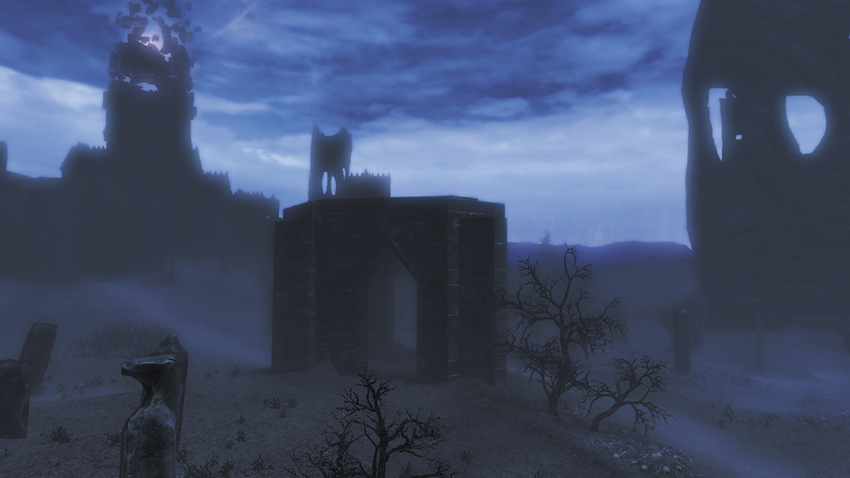
Low down with the graves and ceremonial stones on either side, follow the path through this gatehouse.
[SC2.R] The Cemetery Gatehouse 5
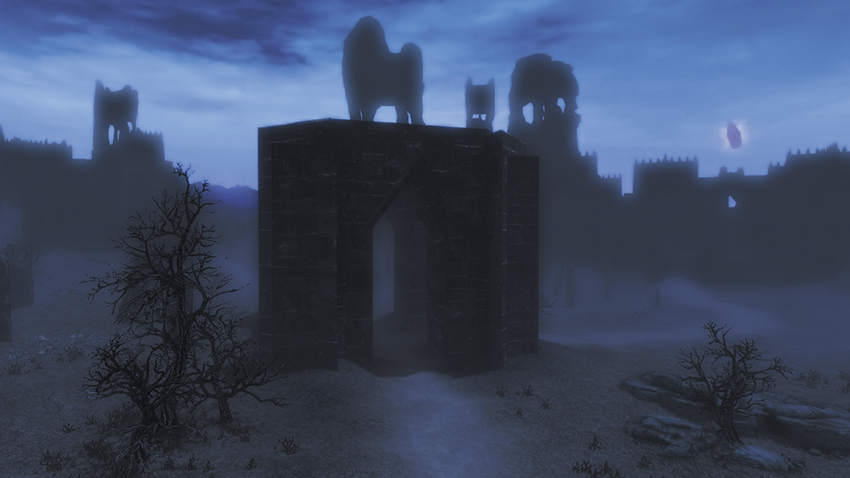
The last gatehouse is on the outskirts of the second Keeper’s territory, on the slightly higher ground on the edge of the cemetery.
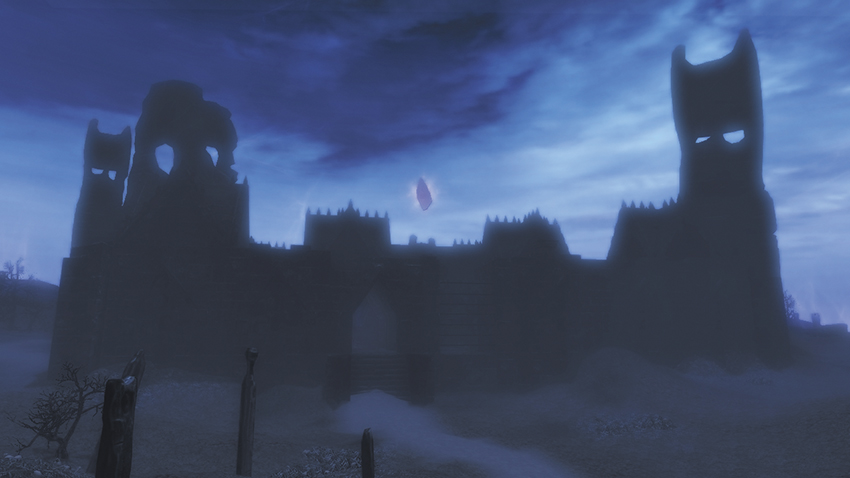
[SC2.S] The Black Minster
- Related Quest: Side Quest: Impatience of a Saint
Along the northern edge of this Parish is an ominous maze with an Ideal Master Crystal visible from the perimeter. A quick walk around this place reveals only one entrance, close to a barred section. Keep your wits about you as you work your way through the short maze, pausing to slay any Wrathmen that clamber out of bony piles. There’s a chest in the southwest corner and a foe to face in the dead-end passage to the west.
Pass the Daedra Heart and Soul Husks to reach the middle thoroughfare, then head south and east into the second part of the maze. Follow the corridor until you notice a sack to the east. Then check that corridor for a chest to the south, along with a foe guarding a chest and a book. Find the next enemy near a teleporter. This transports you directly up onto the battlements. From here, sprint to the chest guarded by the Crystal and take another of Jiub’s pages lying by the foot of the chest.
- Chest (2)
- Ideal Master Crystal [5/8]
- Jiub’s Opus (Page 9) [6/10]
- Teleporter [5/9]
Parish 3: The Blasted Heath
A mist-filled twisting path cuts more scars through this parched and rancid land, where the remnants of forgotten buildings and the spirits of malevolent foes still linger. A shriveled forest dominated by a Keeper’s spire gives way to more rocky ground and a collection of imposing structures to the northeast, dominated by a floating spire where the third Keeper watches over this realm.
Major Locations
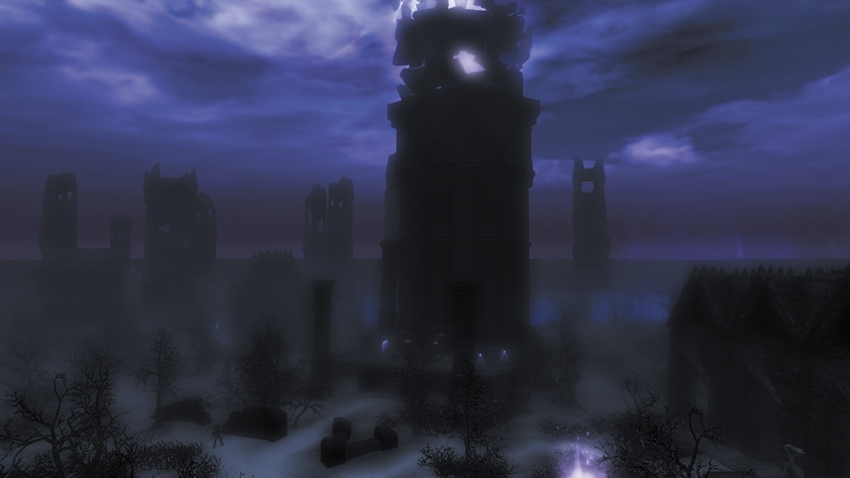
[SC3.1] Keeper 2: The Shriveled Forest
- Related Quest: Dawnguard Main Quest: Beyond Death
Fight through the low hills of scrub and deal with any Wrathmen that appear along the path leading to this location, an imposing spire slowly sinking into the shriveled forest. There are a few structures to hide behind, and the Keeper is visible at a good distance; this is helpful for ranged attacks.
- Enemy: Keeper
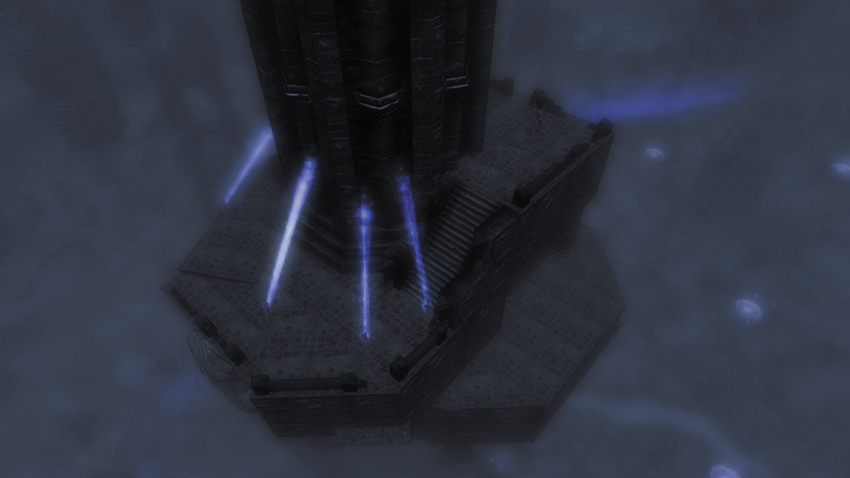
[SC3.2] Keeper 3: The Floating Citadel
- Related Quest: Dawnguard Main Quest: Beyond Death
The final Keeper resides in an ominous floating citadel offering the most impressive views and deadly plummets available in the Soul Cairn. Expect Boneman and Wrathman combat as you reach a teleporter under the hovering rock; this is the only way up to it. Climb the spire counterclockwise, and face down the third Keeper, who carries a bow that can drop you with a single arrow. Time ranged attacks to strike before the Keeper can fire his bow, or use the scenery as protection. The teleporter to return to the ground is on the uppermost ledge.
- Enemy: Keeper
- Teleporter [6/9]
Minor Locations
[SC3.A] Steps of the Barrier Wall (North)
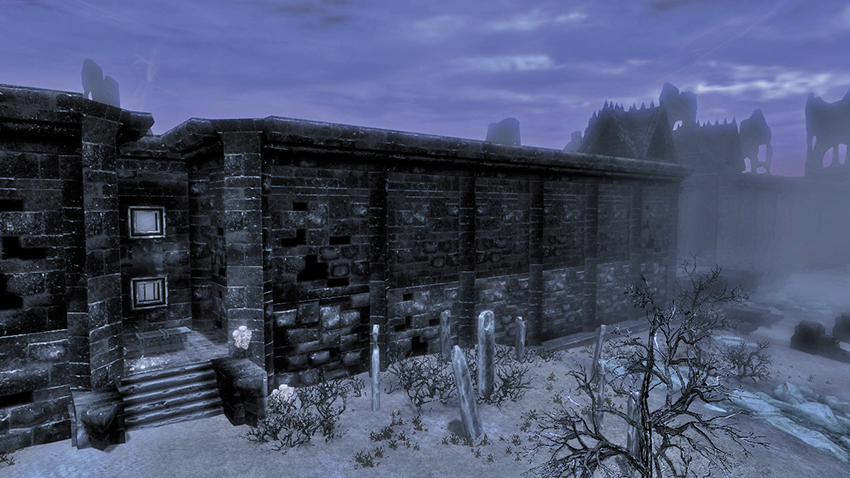
Farther along the Barrier Wall to the east is a set of steps leading up to a chest. Through the window, you’ll see a lost soul waiting near a book, a potion, and another of Jiub’s pages, on the south side. You can reach it only by trekking around to the other side of the wall.
[SC3.B] Morven Stroud, the Soul Husk Merchant
- Related Quest: Side Quest: Impatience of a Saint
- Related Regional Activity: The Soul Husk Merchant*
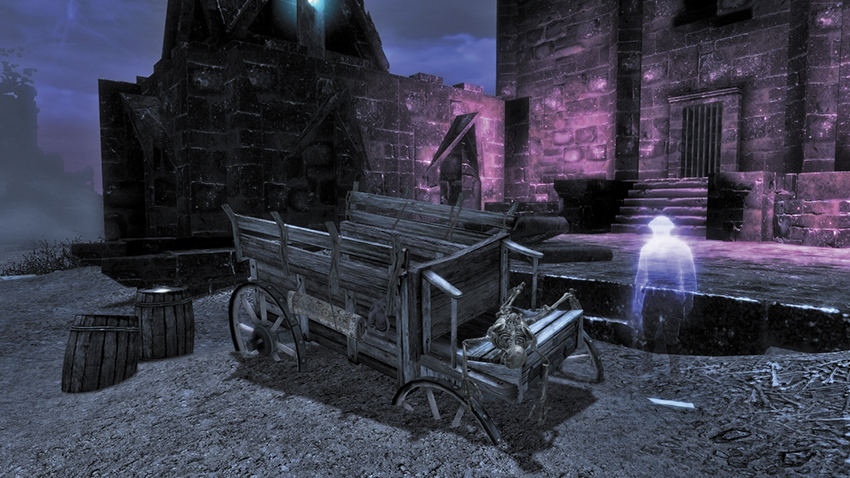
With his remains parked outside the Black Rectory, Morven Stroud is one of the few souls you can converse with. He ended up here after selling an item with suspect ingredients to a necromancer coven. No longer plying his wares in High Rock, he wants only Soul Husks. Return with 25 and you can claim a random leveled item from his collection. A nearby barrel has another one of Jiub’s pages to take.
- Jiub’s Opus (Page 10) [7/10]
- Vendor (Morven Stroud): Special Goods [DG1/1] [DG&HF 8/23]
[SC3.C] The Black Rectory
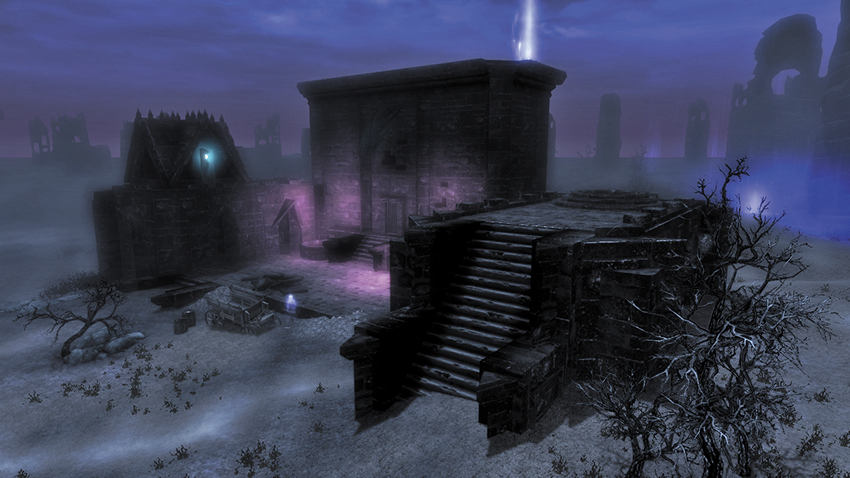
This is a smaller but imposing structure close to the two gatehouses in Parish 2. Access the barred entrance to an interior with a chest by firing an arrow or bolt at the turquoise orbs set into the building on either side. Next, climb the exterior steps to the south, leading to a teleporter up onto the roof. It is empty, but you can drop to the lower roof on the northern side and claim items from a second chest.
- Chest (2)
- Teleporter [7/9]
[SC3.D] Heaven’s Wand Point
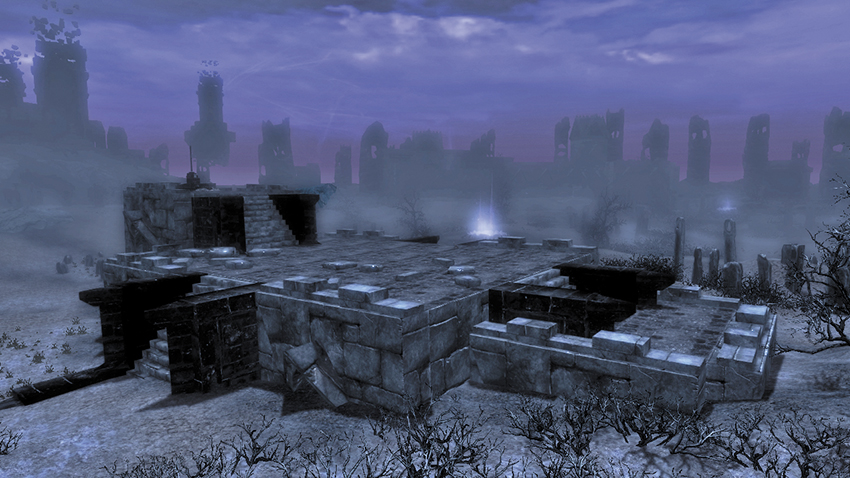
These foundations are slowly sinking into the heath, but the structure provides some aid; there is a Lightning Attractor to turn your Greater or Grand Soul Gems into Black ones. Note that a Boneman ambush (usually three strong) appear as you do this.
- Lightning Attractor [3/4]
[SC3.E] The Keeper’s Chapel
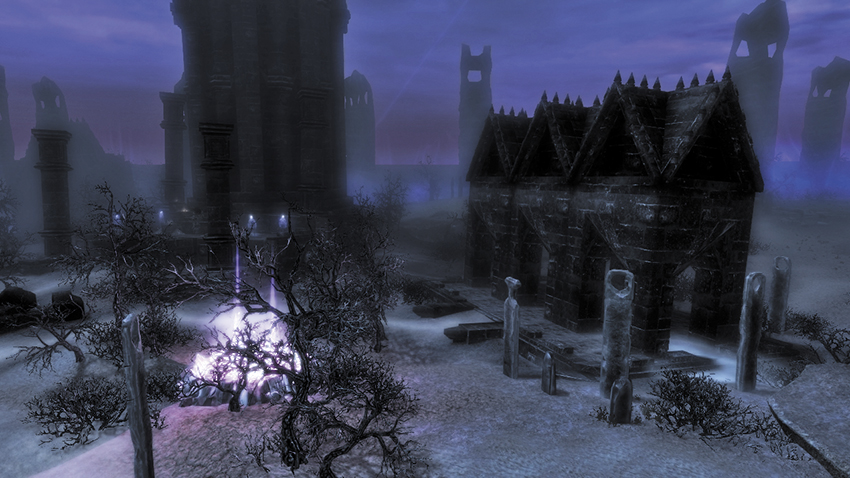
East along the path, past a giant unnatural pillar, is a cluster of three buildings near location [SC3.1], the Shriveled Forest. Dominated by the second Keeper’s domain, this side building holds little value, except as a place to hide or snipe from when fighting the Keeper.
[SC3.F] The Keeper’s Altar
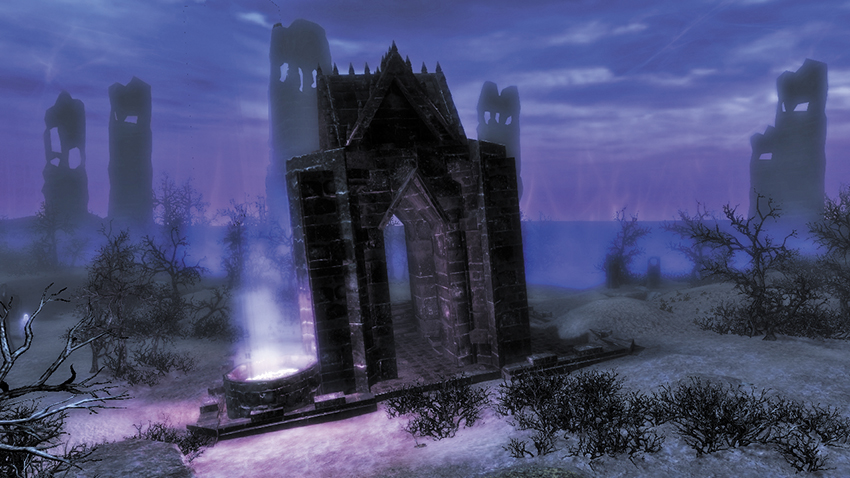
- Related Regional Activity: Dark Conjurations*
The other building adjacent to the Keeper’s throne is a sagged structure with pointed roof and crumbling foundations. Inside is a small altar with a book. Grab it, and prepare for two or three Wrathmen to rise and try to stop you.
- Spell Tome: Conjure Wrathman [2/3]
[SC3.G] Reaper’s Lair
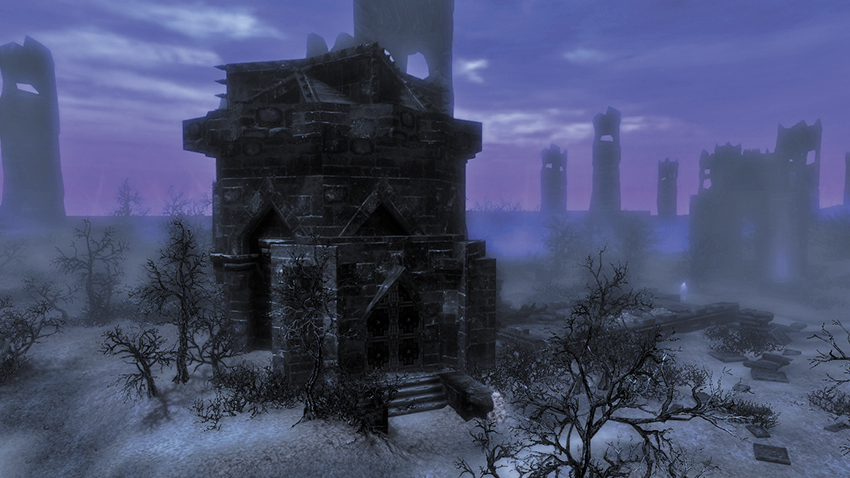
- Related Regional Activity: (Don’t Fear) the Reaper*
With scattered foundation stones and a raised foundation forecourt, this structure is short in stature but long on foreboding. You can enter this lair via the double arched doors. Inside is a strange altar crackling with arc lightning. If you have collected all the necessary Reaper Gem Fragments, you can fuse them at this Shard Receptacle and summon the fearsome Reaper himself! He attacks, along with a few Bonemen. Search his ghastly remains for the following:
- Black Soul Gem (3)
- Daedra Heart
[SC3.H] The Unwary Adventurer
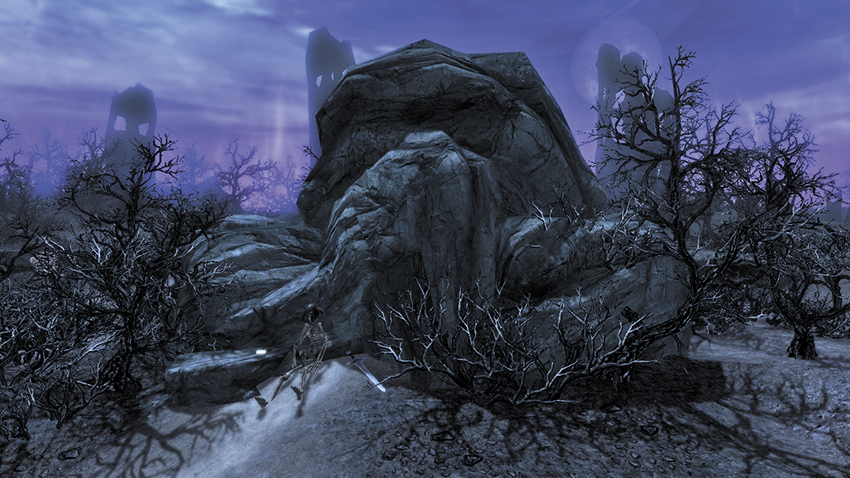
A helmeted Nord skeleton lies slumped against a rock outcrop. His note tells of his hapless adventuring.
- Loose gear
[SC3.I] The Black Cloister
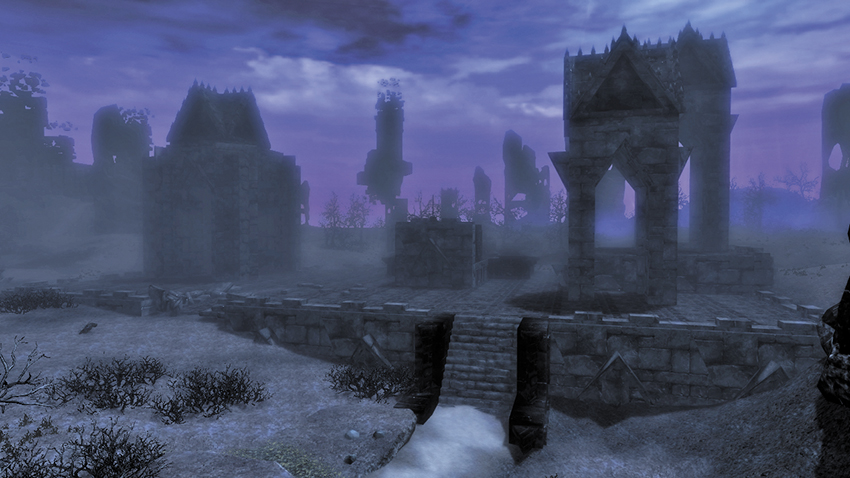
Featuring a Lightning Attractor (to turn Greater or Grand Soul Gems to Black) in its center and a five-strong Boneman ambush if you use the attractor, this three-tower ruin is otherwise dormant.
- Lightning Attractor [4/4]
[SC3.J] Soul Pool Foundation
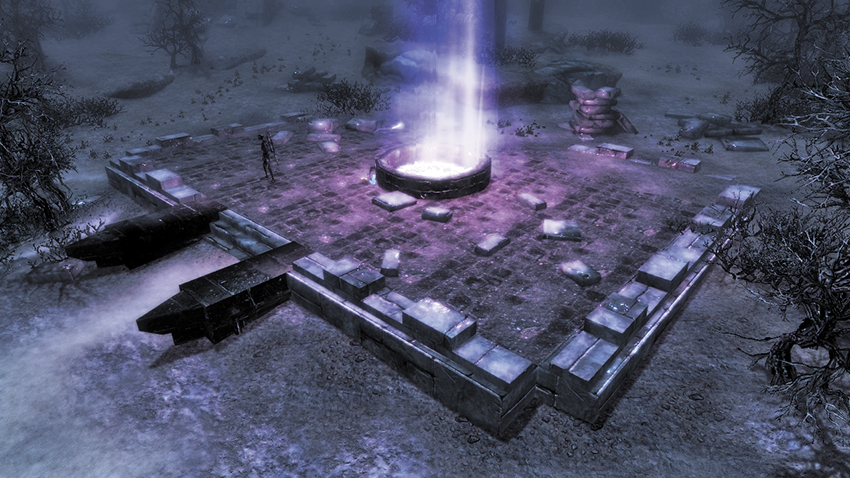
- Related Quest: Side Quest: Impatience of a Saint
Easy to find if you follow the paths of the Soul Cairn, this area of flat scrubland has a stone foundation and a circular soul pool. Take Jiub’s page near some loose gear, watching for Wrathmen.
- Jiub’s Opus (Page 5) [8/10]
- Loose gear
[SC3.K] Saint Jiub the Eradicator
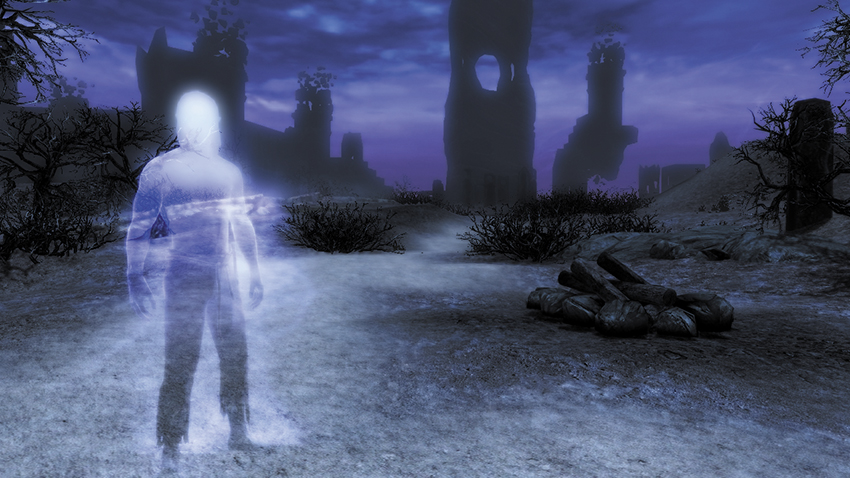
- Related Quest: Side Quest: Impatience of a Saint
Previously seen in Morrowind, this Dark Elf now resides here, seemingly oblivious to his fate. Speak to him to begin his Side Quest, and bring all ten of the found pages to him at this location, a small campfire on the path through the heath.
- Saint Jiub’s Opus
- Unique Item: Locket of Saint Jiub [DG12/17]
[SC3.L] The Obsidian Hall
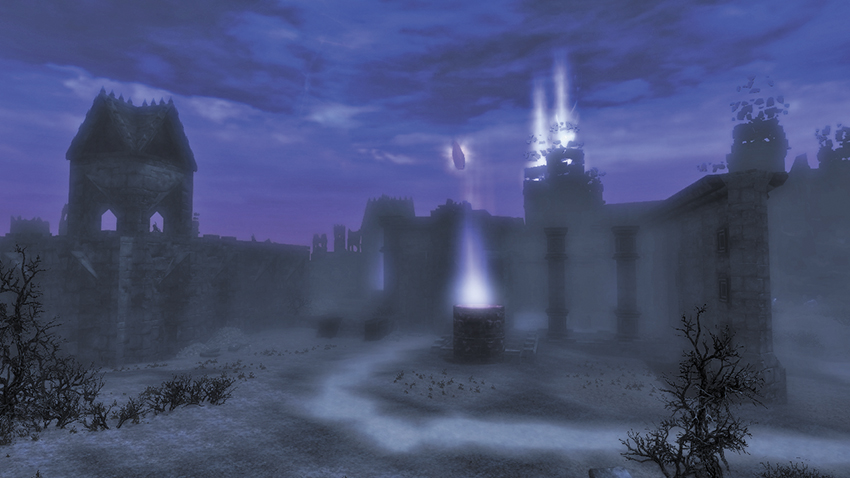
- Related Regional Activity: (Don’t Fear) the Reaper*
This large ruin with huge walled sides is located south of the Boneyard but north of the second Keeper’s location. Beware of foes as you investigate inside, finding a small, circular teleporter that allows you to move to the upper roof (rather than the roof section you can reach via the nearby stairs). Beware of an Ideal Master Crystal hovering above a chest to the south. Among other items, a Reaper Gem Fragment is found here.
- Ideal Master Crystal [7/8]
- Reaper Gem Fragment [2/3]
- Teleporter [8/9]
[SC3.M] Husk Pasture
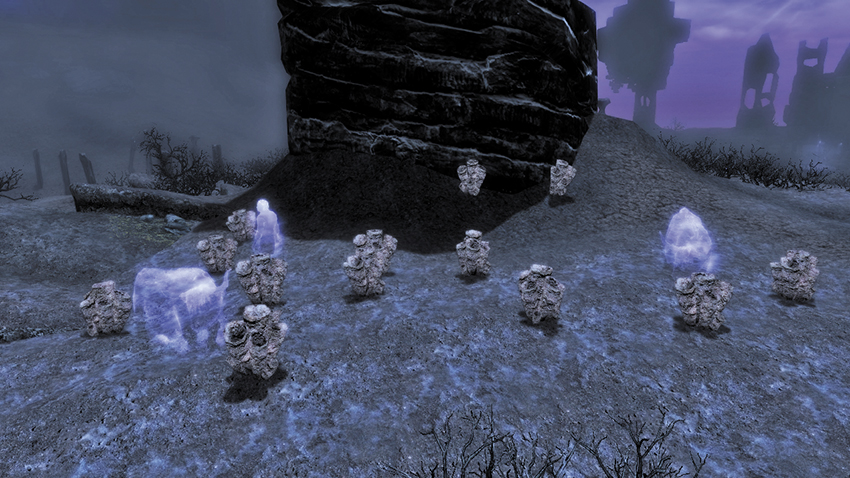
A doleful farmer and the souls of his two cattle slowly move about this cluster of Soul Husks, lamenting their lot. This is the largest concentration of Soul Husks in the Cairn.
[SC3.N] Arvak’s Altar
- Related Regional Activity: Arvak the Spectral Steed
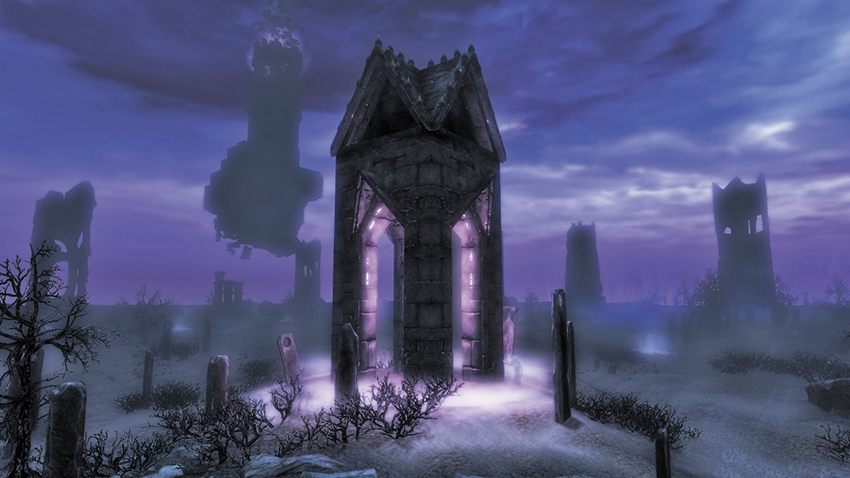
The skeletal horse whose ghost you may see galloping across the Cairn from time to time is bound to this spot. The skull of Arvak rests atop the small altar, surrounded by Mistmen. Sometimes, four souls stop and pray from each opening of the stone structure covering the altar. Tackle the foes and claim the skull.
- Arvak’s Skull
[SC3.O] Soul Pool Camp
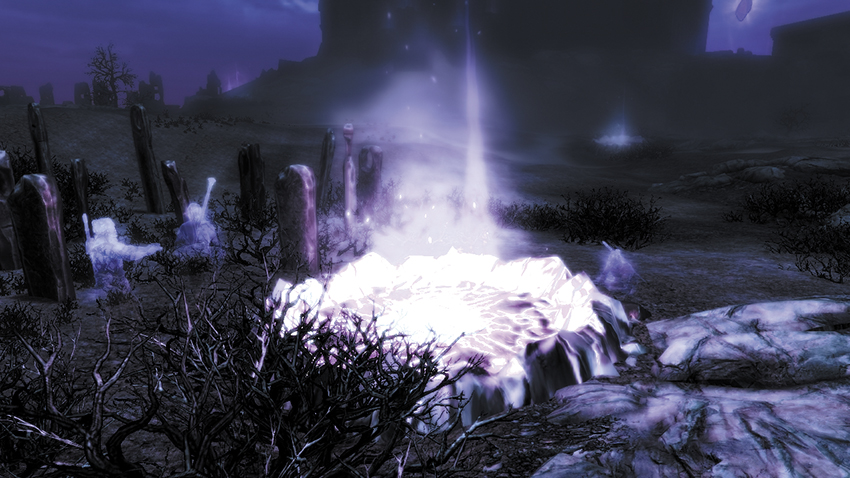
Is there no end to this nightmare? Not for the three hapless souls seeking warmth from a soul pool among the thickets. Speak to them for a one-sided conversation.
[SC3.P] The Black Tower
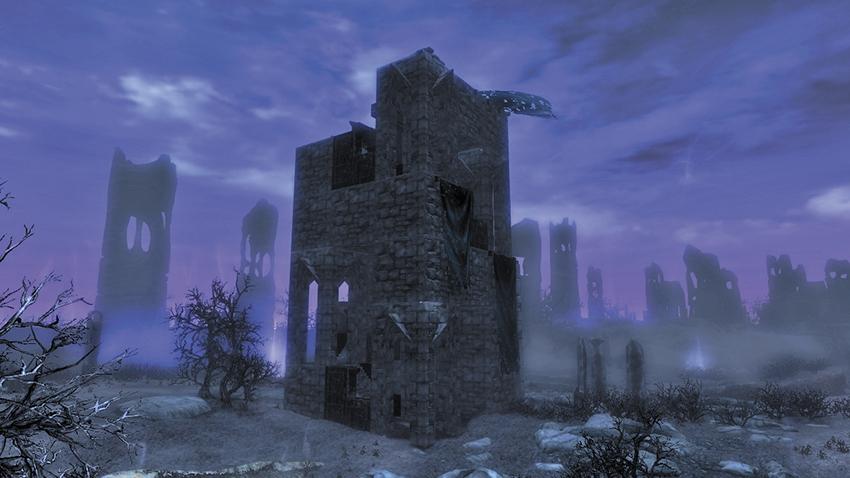
The tallest structure that you can climb—at least, one that is attached to the ground—this tower is guarded by Wrathmen and Bonemen and has a teleporter at its base, transporting you to the top vantage point. Or, you can traipse up the stairs to the top instead. Aside from the views, there are no items to gather here.
- Teleporter [9/9]
[SC3.Q] Foundation Altar
- Related Quest: Side Quest: Impatience of a Saint
- Related Regional Activity: Dark Conjurations*
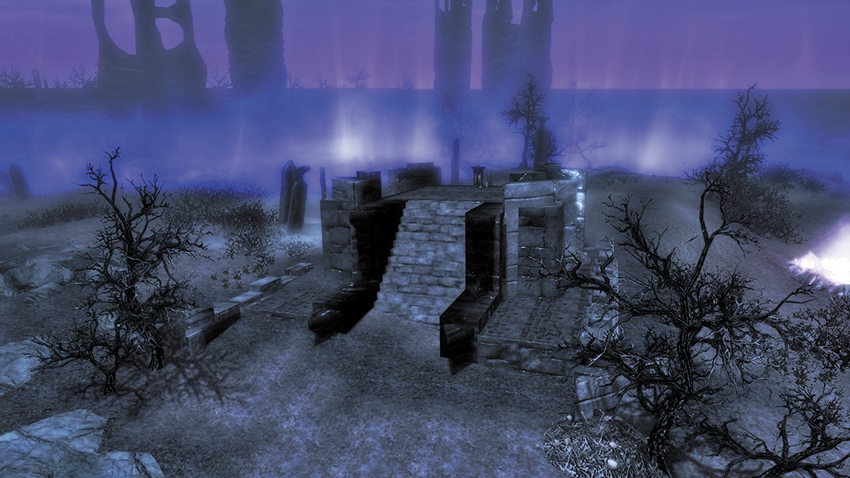
East and a little north of Arvak’s Skull is a stepped area leading to an open altar just east of the teleporter to Keeper 3. Beware of Bonemen guarding this altar, which has the Spell Tome: Conjure Mistman on it. Below it is Jiub’s Opus (page 7), next to a coin purse and Soul Gem. Watch for a Mistman ambush after you swipe the book.
- Jiub’s Opus (Page 7) [9/10]
- Spell Tome: Conjure Mistman [3/3]
[SC3.R] Boneyard Citadel
- Related Quest: Side Quest: Impatience of a Saint
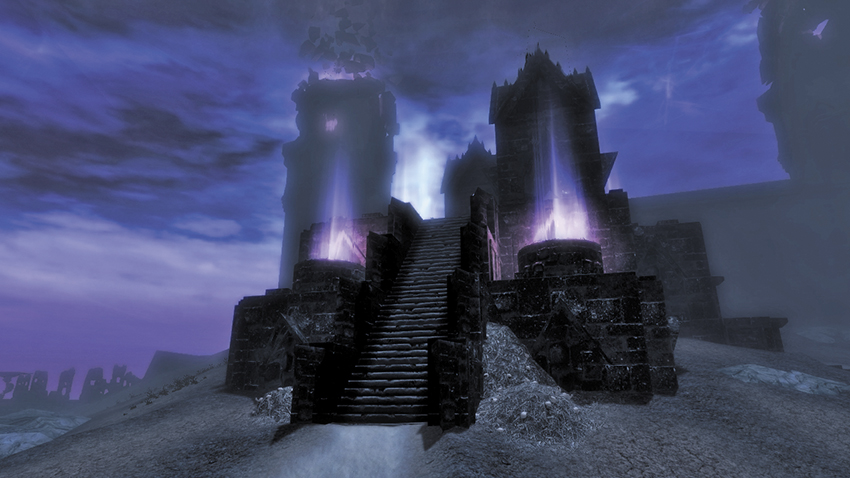
On the opposite side of the Boneyard exterior wall from where Valerica is imprisoned is a fortification attached to the wall. Clamber up the steep steps, passing the three lost souls to find one of Jiub’s pages beside a chest in the highest of the small spires. Watch for the Mistman guarding it and other foes close by.
- Chest
- Jiub’s Opus (Page 4) [10/10]
[SC3.S] The Black Temple
- Related Regional Activity: (Don’t Fear) the Reaper*
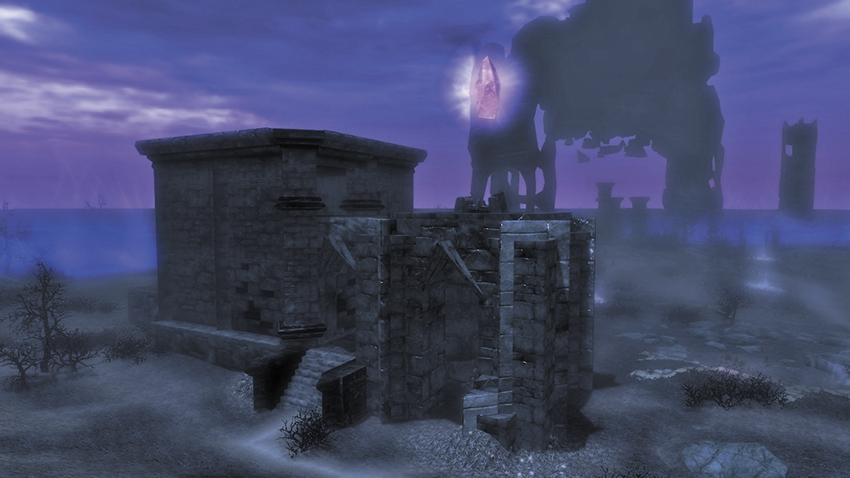
Just west of the floating citadel where the third Keeper lurks is a blocklike temple with an Ideal Master Crystal above the roof. Look for the open doorway on the ground, and climb the steps to reach it. The chest the Crystal guards contains the following:
- Reaper Gem Fragment [3/3]
- Ideal Master Crystal [8/8]