
Elder Scrolls V: Skyrim Guide The Atlas Hold 6: Whiterun Hold
Primary Locations
[6.01] Lund’s Hut
Recommended Level: 12
Dungeon: Animal Den
- Animal
Collectibles
- Chest(s)
- Potions
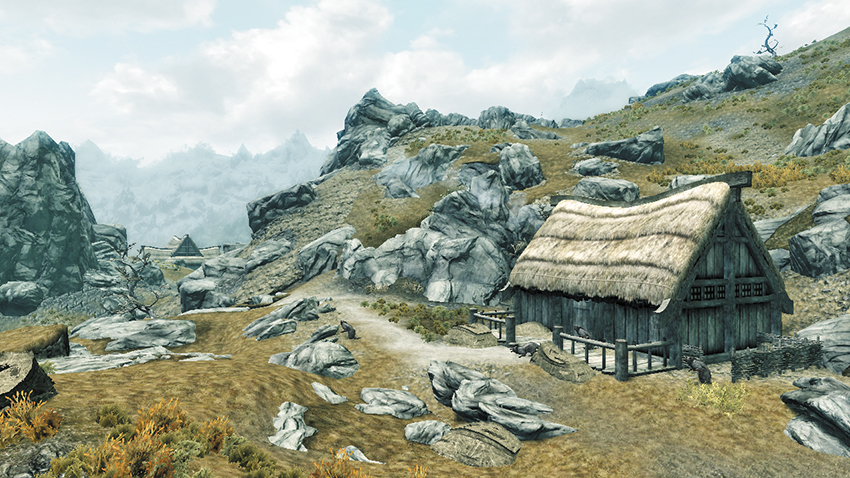
Ravenous animals have swarmed this small cabin. Search poor Lund’s remains, along with his chest, to relieve him of his final possessions.
[6.02] Rorikstead
Related Quests
- Civil War Quest: Liberation of Skyrim
- Civil War Quest: A False Front
- Daedric Quest: A Night to Remember
- Side Quest: In My Time of Need
- Miscellaneous Objective: Innkeeper Rumors (Frostfruit Inn)
- Miscellaneous Objective: Erik the Slayer* (Erik)
- Favor (Activity): Harvesting Crops* (Reldith)
- Favor (Activity): Harvesting Crops* (Lemkil)
Habitation: Town
- Britte
- Ennis
- Erik the Slayer (Follower; Marriage Prospect)
- Jouane Manette
- Lemkil
- Mralki (Innkeeper)
- Reldith
- Rorik
- Sissel
Services
- Follower: Erik the Slayer [30/47]
- Marriage Prospect: Erik the Slayer [37/62]
- Trader (Innkeeper): Mralki [9/15]
- Food, Room and Board
- Quest Rumors
Crafting
- Tanning Rack
- Chest(s)
- Potions
- Loose gear
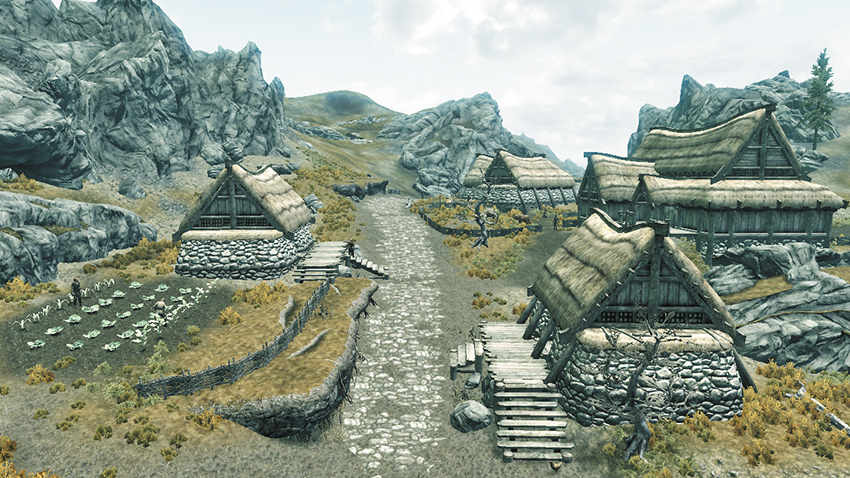
This small farming community lies at the west edge of Whiterun, near the Reach’s border. A cozy inn offers food and comfort to weary travelers.
Exterior
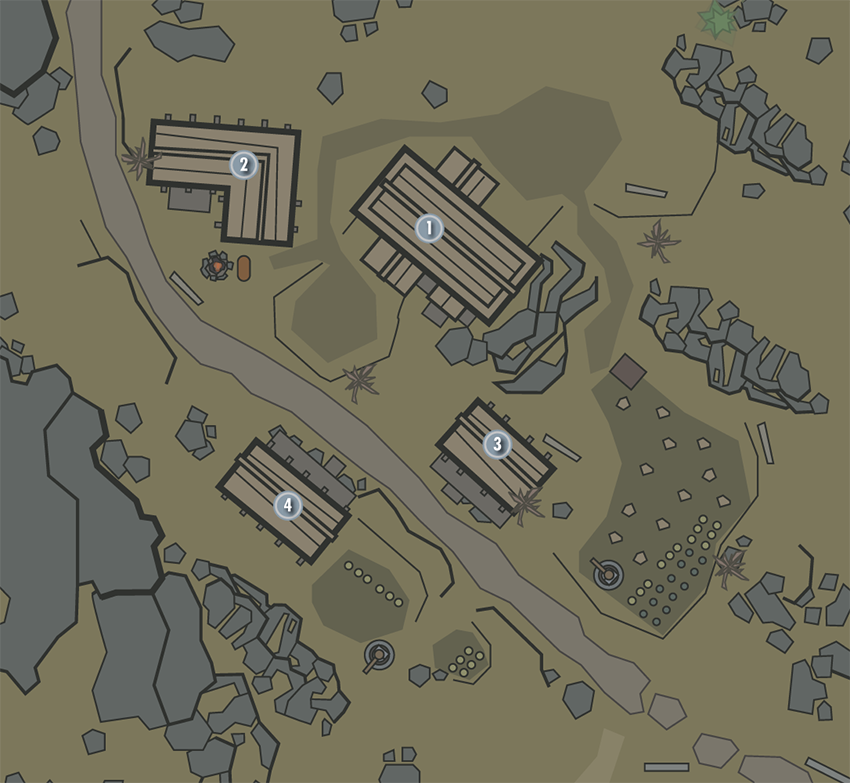
There are plenty of crops to pluck up around the village, but little else of interest. Speak to Erik out in the fields to gain a Side Quest that you can fulfill right here.
- Crafting: Tanning Rack
 Frostfruit Inn
This small inn offers a warm bed and hot meal at a fair price.
- Chest
 Rorik’s Manor
Rorikstead’s founder lives quite modestly. Still, his abode is worth looting.
- Chests (2)
- Potion
- Loose gear
 Cowflop Farmhouse
Break into this farmhouse when no one’s looking and steal from two chests.
- Area Is Locked (Novice)
- Chests (2)
- Potions
 Lemkil’s Farmhouse
This humble home has just one chest, but it’s worth a peek if you can break in unseen.
- Area Is Locked (Novice)
- Chest
[6.03] Serpent’s Bluff Redoubt
Related Quests
- Dungeon Activity
Recommended Level: 14
Dungeon: Forsworn Redoubt
- Forsworn
- Hagraven
Crafting
- Arcane Enchanter
- Forge
- Tanning Rack
- Workbench
Dangers
- Battering Ram Trap (pressure plate)
- Dart Trap (pressure plate)
- Spear Trap (tripwire)
- Swinging Wall Trap (pressure plate)
Collectibles
- Skill Book [Enchanting]: Twin Secrets [E1/10]
- Chest(s)
- Potions
- Loose gear
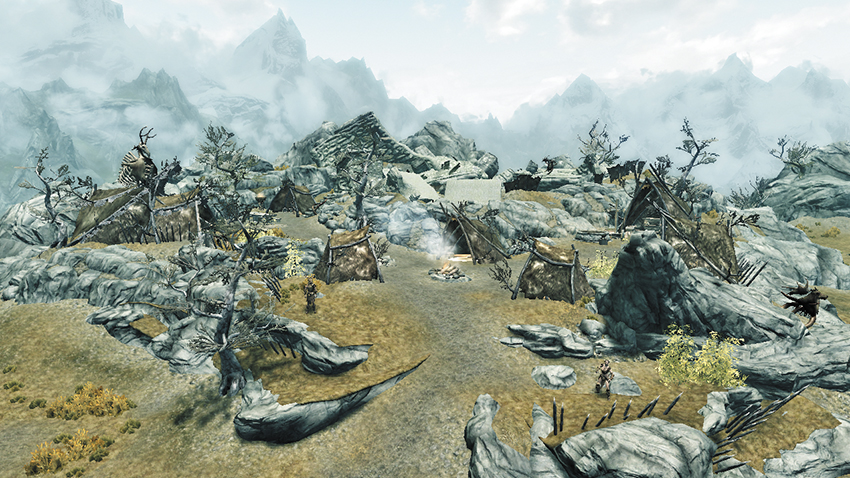
Sharing a border with the Reach has its drawbacks—the Forsworn have established a formidable encampment in Whiterun’s western flatlands.
Exterior
Slay a host of Forsworn as they pour forth to defend their camp, then begin looting their tents for valuables.
- Crafting: Forge, Tanning Rack, Workbench
- Chest
- Chest (Locked: Apprentice)
- Knapsack
- Potions
- Loose gear
Serpent’s Bluff Redoubt (Interior)
The interior ruins begins with a trio of lethal traps: Sidestep a pressure plate at the foot of the stairs (which triggers a dart trap), jump the trip wire that lies just beyond (spear trap), and avoid the pressure plate beyond the wire (a swinging wall trap). Slay the Forsworn archer, then descend the stairs and avoid yet another pressure plate at the bottom (battering ram). Assail more Forsworn and a dangerous Hagraven in the main chamber, then unlock the Adept-level door under the platform to access a small room with a chest. Place any object (book, etc.) onto the pressure plate that sits atop the altar to open the passage on the upper level. Go through to discover a Skill Book sitting atop an Arcane Enchanter in the next area, along with a giant chest. Press a wall button to open the exit gate.
- Danger! Battering Ram Trap (pressure plate), Spear Trap (trip wire), Swinging Wall Trap (pressure plate), Dart Trap (pressure plate)
- Crafting: Arcane Enchanter
- Skill Book [Enchanting]: Twin Secrets [E1/10]
- Chest
- Chest (Locked: Apprentice)
- Potions
- Loose gear
[6.04] Whiterun Imperial Camp
Related Quests
- Civil War Quest (when active, depending on who you side with)
Habitation: Military: Imperial Camp
- Imperial Quartermaster (Blacksmith)
- Imperial Soldier
Services
- Trader (Blacksmith): Imperial Quartermaster [19/33]
- Weapons, Apparel, Misc
Crafting
- Alchemy Lab
- Anvil
- Grindstone
- Workbench
Special Objects
- Civil War: Map of Skyrim
- Chest
- Potions
- Loose gear
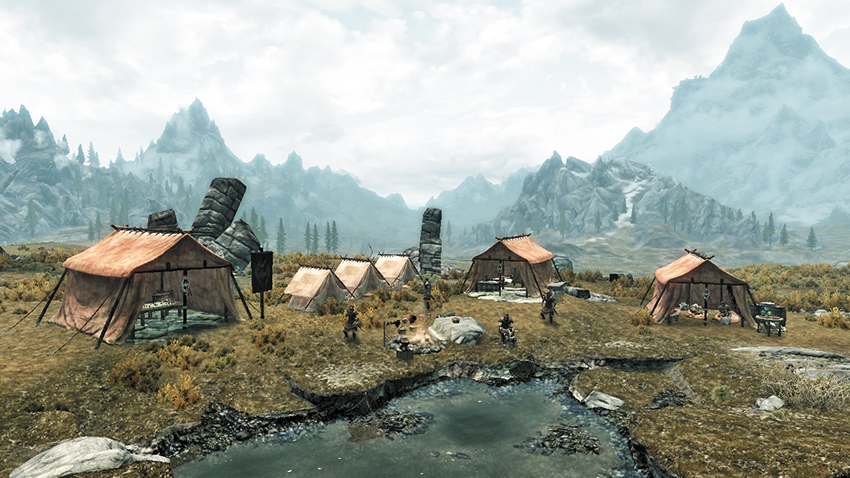
Hardened Imperial soldiers have made camp at this site; however, the camp may or may not exist, depending on the state of the Civil War quest line. Trade with the quartermaster and feel free to utilize his numerous crafting stations. Inspect the tabletop map in the largest tent to potentially gain new map data as well.
[6.05] Swindler’s Den
Related Quests
- Side Quest: In My Time of Need
Recommended Level: 6
Dungeon: Bandit Camp
- Bandit
- Kematu
- Alik’r
Dangers
- Bear Traps
Collectibles
- Skill Book [One-Handed]: Night Falls on Sentinel [D1/10]
- Skill Book [Pickpocket]: Thief
- Chest(s)
- Potions
- Loose gear
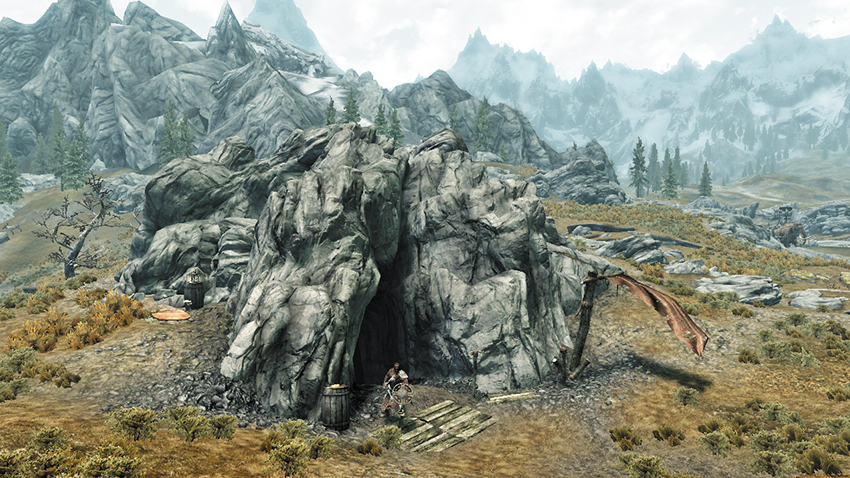
Tall rocks east of Rorikstead mark the entrance to a sizable underground cave. During Side Quest: In My Time of Need, this cave is used by the Alik’r Coterie as a base of operations. Bandits occupy the cave otherwise. Test your mettle against the drunken exterior guard before venturing inside.
Sunlit Cavern
Dispatch a bandit in the first cavern, then leap up to discover a chest on a sunlit ledge.
- Chest
- Loose gear
Firepit Cavern
Silence a few more bandits in the next cavern, then collect potions and loot a satchel that sits on a crate in the corner.
- Satchel
- Potions
- Loose gear
Mess
Fight hard to secure this cavern—more bandits are likely to emerge from the north passage. When you return to this cavern, navigating the high overlook on your way from the Sleeping Area to the Waterfall Cavern, you can claim a Skill Book that rests on a crate.
- Skill Book [One-Handed]: Night Falls on Sentinel [D2/10]
- Potion
Sleeping Area
Loot a chest on your way into this dimly lit cavern, where a Skill Book rests on a bedroll.
- Skill Book [Pickpocket]: Thief
- Chest
Waterfall Cavern
Avoid a pair of bear traps as you journey to this watery cavern, where the bandits’ formidable leader lurks. Loot the cavern’s giant chest after the battle, then simply continue along to come full circle and return to the first cavern.
- Danger! Bear Traps
- Chest
- Potion
[6.06] Gjukar’s Monument
Related Quests
- Side Quest: Kyne’s Sacred Trials
- Temple Quest: The Book of Love
Recommended Level: 12
Dungeon: Special
- Ruki
Collectible
- Loose gear
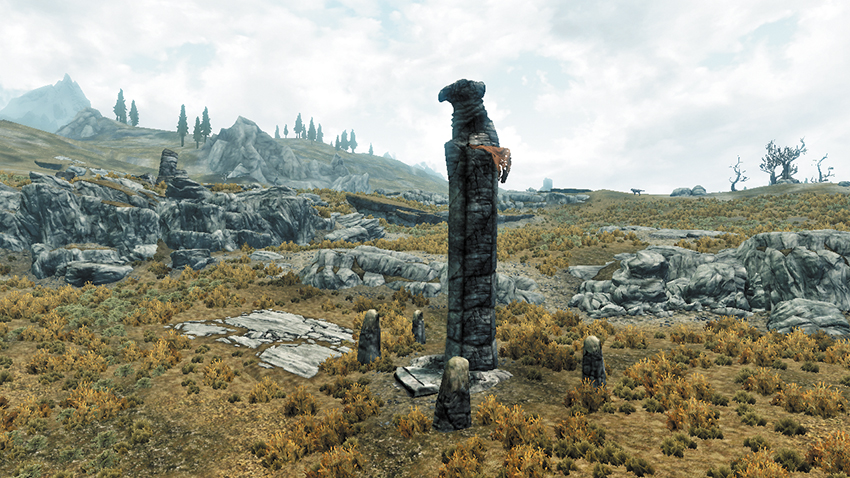
A small circle of rocks stands out among Whiterun’s western flatlands, with one central pillar that’s tall enough to catch one’s eye from afar. Stop by this quiet shrine to collect some valuable gear. During Temple Quest: The Book of Love, you’ll help reunite a pair of wayward souls here.
[6.07] Broken Fang Cave
Recommended Level: 6
Dungeon: Vampire Lair
- Skeleton
- Vampire
Crafting
- Alchemy Lab
- Arcane Enchanter
Collectibles
- Skill Book [Illusion]: Mystery of Talara, v4 [D2/10]
- Skill Book [Lockpicking]: The Wolf Queen, v1
- Chest
- Chest (Locked: Adept)
- Potions
- Loose gear
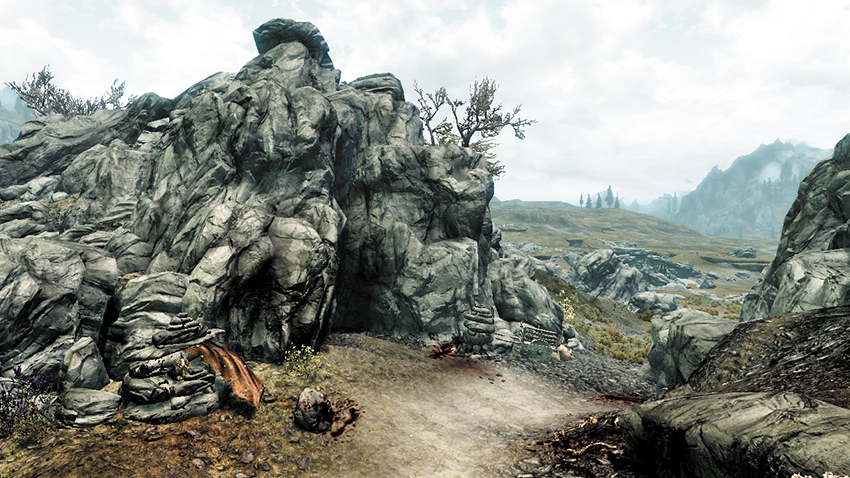
This shallow, rocky cave stands out among Whiterun’s western flats. Inside lurks a powerful vampire and several lowly skeletons. Search the entry cavern’s southeast corner to discover a locked chest, then take the west passage to a sleeping area, where another mighty vampire lurks, along with a large chest and a few crafting stations. Find a Skill Book on the metal shelf near the Arcane Enchanter, and another resting beside the Alchemy Lab.
[6.08] Sleeping Tree Camp
Related Quests
- Dungeon Quest: The Secret at the Sleeping Tree*
Dungeon: Giant Camp
- Giant
- Mammoth
- Ulag
Quest Items
- Sleeping Tree Sap
- Chest
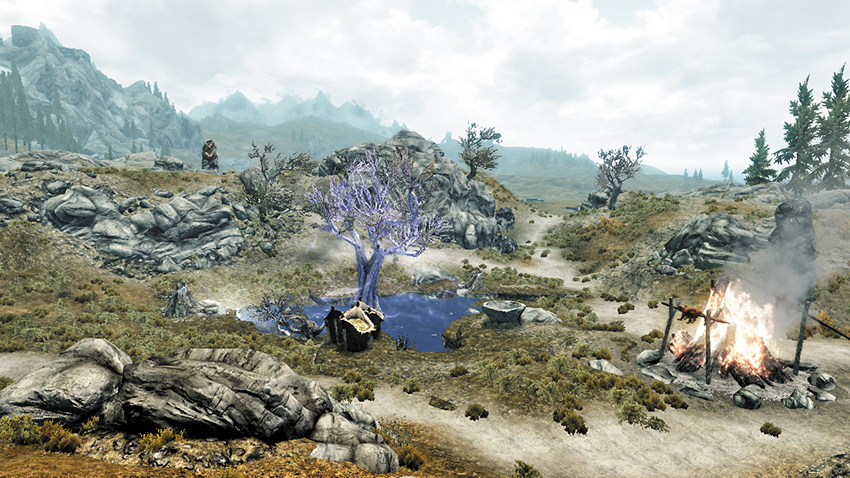
A group of giants have made camp at this remote site, perhaps drawn by the mystifying glow of an unusual tree that grows from a steamy glowing pond. The tree has a sap spigot that you can turn to acquire some Sleeping Tree Sap, an unusual substance that greatly increases your health...with certain side effects. Returning here after a few days will allow another batch of Sap to be harvested. Enter the nearby cave afterward to face another formidable giant and a dead orc named Ulag. Read the note that Ulag carries to gain a new Side Quest to sell the Sleeping Tree Sap to Ysolda in Whiterun.
[6.09] Rannveig’s Fast
Related Quests
- Side Quest: No Stone Unturned
Recommended Level: 8
Dungeon: Warlock Lair
- Sild the Warlock
- Subjugated Ghost
Crafting
- Alchemy Lab
Collectibles
- Skill Book [Destruction]: Horrors of Castle Xyr [B1/10]
- Unusual Gem: [14/24]
Special Objects
- Word Wall: Kyne’s Peace [2/3]
- Chest(s)
- Potions aplenty
- Loose gear
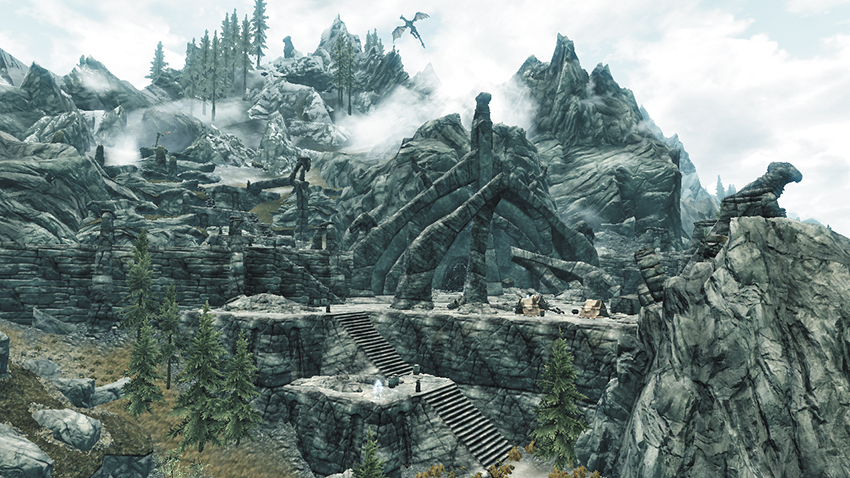
A nefarious warlock named Sild is forcing a host of ghosts to defend these ancient ruins. Send the exterior ghosts to their eternal rest, or have pity and simply sprint past them, entering the large door that leads to an ancient crypt. Scaling the ruins’ exterior steps leads to Cold Rock Pass [2.12] in Hjaalmarch.
Rannveig’s Fast (Interior)
All is silent in the crypts’ massive entry cavern. Proceed through the north passage, dispatching a ghost and swiping some potions on your way to the next chamber, where a giant chest tempts you from afar. Avoid the large, discolored trapdoor on the ground before the chest—the chest turns out to be empty, but you obtain a new Word of Power from the nearby Word Wall in the process. Take the north passage and scale a long staircase to reach the chamber’s upper walkways; pull a lever to open the portcullis on the lower level that will lead you behind Sild as he still waits for you, or some other unlucky adventurer, to fall into the pit. Before you move on, cross the walkways to reach a high nook with a locked chest.
- Word Wall: Kyne’s Peace [2/3]
- Chest
- Chest (Locked: Apprentice)
- Chest (Locked: Expert)
- Potions
Sild’s Pit
If you’ve fallen through the trapdoor near the Word Wall, you will find yourself in a locked cage, with a madman named Sild the Warlock taunting you from just beyond the bars. Exploit Sild’s hubris by crouching and pickpocketing a key off of him (you can also pick the lock, or loot another key out of Sild’s Assistants Satchel that sits beside the cage), then escape the cage and slay the nefarious mage. Claim a number of potions from this frightening area, along with a Skill Book and an Unusual Gem that pertains to a Thieves Guild Radiant Quest. Then open the south door and scale some stairs that lead up to a chest and an exit door.
- Crafting: Alchemy Lab
- Skill Book [Destruction]: Horrors of Castle Xyr [B1/10]
- Unusual Gem: [14/24]
- Rannveigs Fast Key (Sild the Warlock)
- Chest
- Potions aplenty
[6.10] Drelas’s Cottage
Recommended Level: 12
Dungeon: Warlock Lair
- Drelas
Crafting
- Alchemy Lab
- Arcane Enchanter
- Chest(s)
Potions aplenty
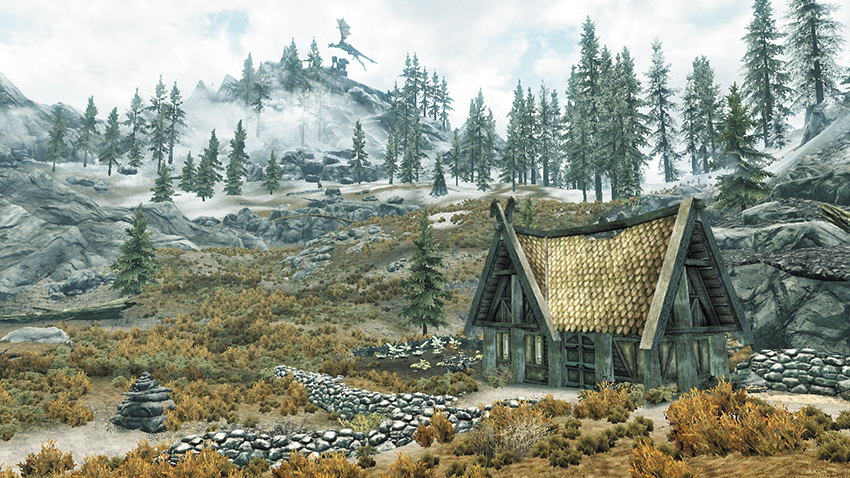
This quaint cottage is home to a seclusive mage named Drelas, who’ll attack you on sight if you dare enter. Slaying Drelas is worthwhile, for the mage has amassed a wealth of valuable potions and ingredients.
[6.11] Greenspring Hollow
Related Quests
- Temple Quest: The Book of Love
Dungeon: Animal Den
- Animal
Crafting
- Tanning Rack
- Chest (Locked: Adept)
- Loose gear
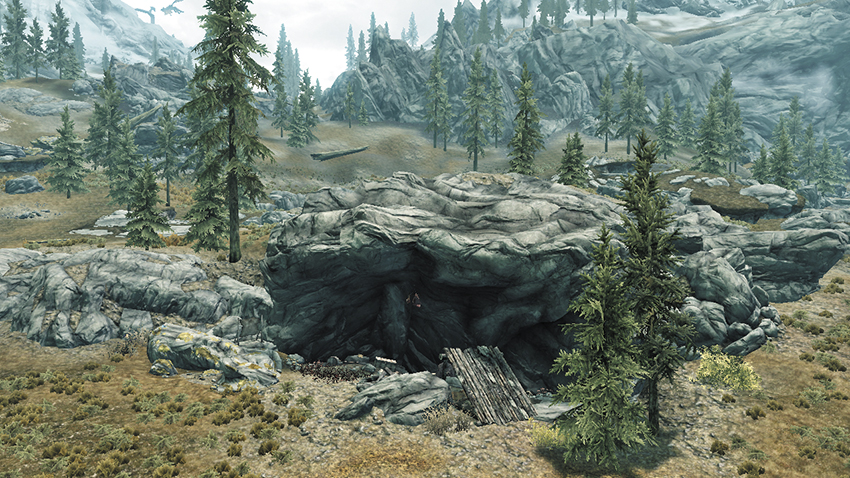
A hunter has become the hunted in Whiterun’s western wilds, where a ferocious animal has slaughtered an unwary woodsman at his own camp. Avenge the poor hunter by dispatching the beast, then relieve the man of his final possessions.
[6.12] Dustman’s Cairn
Related Quests
- The Companions Quest: Proving Honor
- Dungeon Activity
Recommended Level: 6
Dungeon: Draugr Crypt
- Animal
- Draugr
- Silver Hand
Crafting
- Alchemy Lab
Dangers
- Dart Trap (pressure plate)
Quest Items
- Fragment of Wuuthrad
Collectibles
- Skill Book [Two-Handed]: The Battle of Sancre Tor [A2/10]
Special Objects
- Word Wall: Fire Breath [1/2]
- Chest(s)
- Potions
- Loose gear
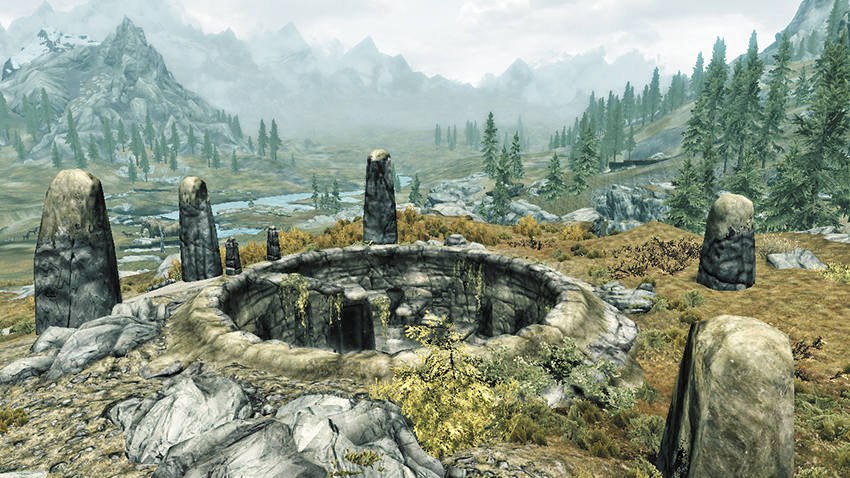
Scale the hill that lies northwest of Whiterun’s capital to discover ancient ruins dug directly into the hilltop. You visit this site with your Shield-Sibling during Companion Quest: Proving Honor, in search of a fragment of Wuuthrad, the Blade of Ysgramor. Only a small portion of Dustman’s Cairn can be explored until you visit the site as part of that quest.
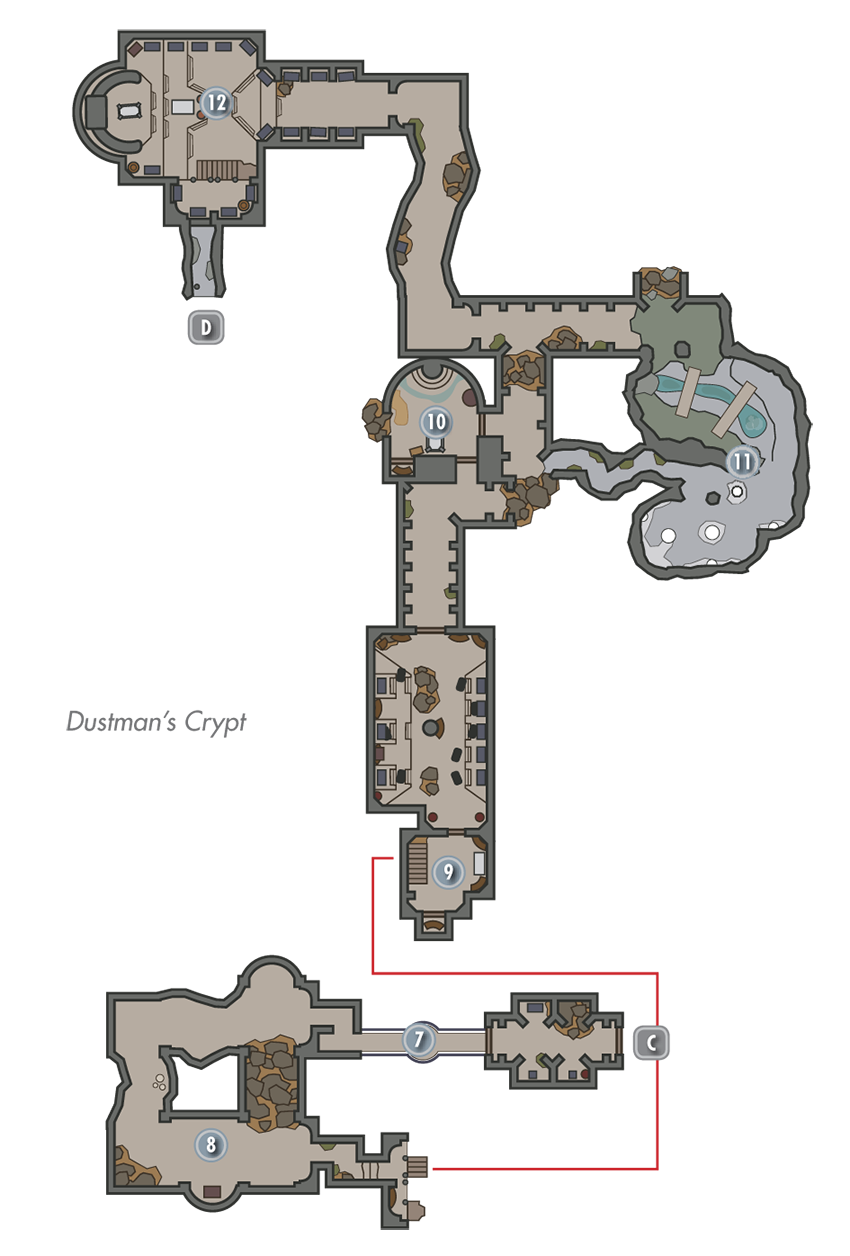
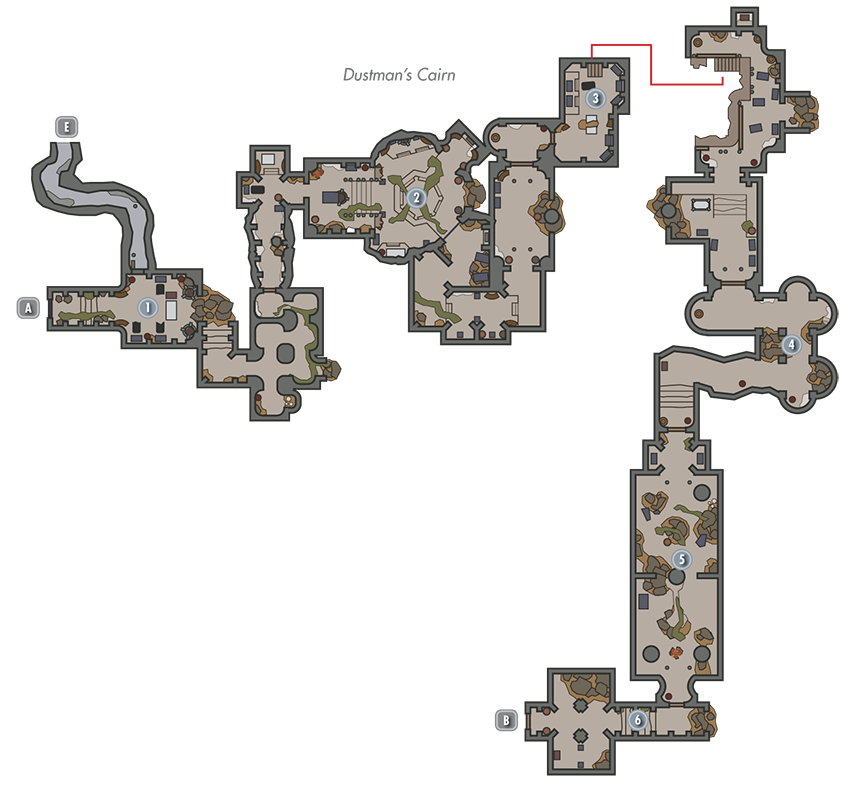
 Exit to Skyrim
Entry Chamber
Inspect the Skill Book on the entry chamber’s central table, then loot the nearby chest before advancing.
- Skill Book [Two-Handed]: The Battle of Sancre Tor [A2/10]
- Chest (Locked: Novice)
Cavernous Chamber
Snag potions from a north nook in this quiet chamber, then pull a lever to open the south portcullis and advance the plot.
- Crafting: Arcane Enchanter
- Potions
Burial Hall
Dispatch several Silver Hand mercenaries on your way to this chamber, then raid the chest beneath the stairs. Find a larger chest hidden among the upstairs rubble, and open a secret nook in the upstairs north wall by pulling the nearby wall chain so you may access a third chest. Descend the south stairs and claim a bit of loot from a table on your way to [4].
- Chest
- Chest (Locked: Novice)
- Chest (Locked: Master)
- Potions
- Loose gear
Overgrown Passages
Slay a powerful Silver Hand mercenary and several Draugr in these passages. Loot the locked chest as you near [5].
- Chest (Locked: Adept)
 Crumbling Hall
Dispatch worthy Silver Hand mercenaries in this wide, debris-filled chamber. You can just reach the coin purse on the south ledge by standing on the nearby stone.
 Crypt Access
Avoid a pressure plate as you descend this
- Danger! Dart Trap (pressure plate)
- Chest
 Door to Dustman’s Crypt
 Door to Dustman’s Cairn
 Walkway Chamber
You arrive just in time to witness a fierce battle between the Silver Hand and Draugr. Wait for the battle to play out, then slaughter the victors and cut across to [8].
 Looping Passage
Loot a lone chest as you loop around this passage, heading back toward [7].
- Chest
 Burial Preparation Area
Raid a chest that lies beneath this chamber’s wooden stairs, then open the nearby door to find several potions.
- Chest (Locked: Adept)
- Potions
Walkway Chamber Revisited
Raid a chest on this chamber’s ground floor, then search the nearby chest to discover a key that unlocks the north door.
- Dustman’s Cairn Key ( chest)
- Chest
 Lab
Lab
Mix up a few potions at the Alchemy Lab here, and unlock the Novice-level door to access a closet with a potion.
- Crafting: Alchemy Lab
- Potion
 Spider Den and Waterfall
Combat a Giant Frostbite Spider here, along with her young, then slaughter the Draugr that lie in the watery passage beyond.
 Word Wall Chamber
Obtain a new Word of Power from this chamber’s far Word Wall, then raid the nearby large chest and collect the Fragment of Wuuthrad from the nearby table to advance your quest. Beware: a host of powerful Draugr emerge from the surrounding sarcophagi after you claim the Fragment, and you’ve no choice but to slay them all. They will come at you in waves, so take your time and jump off the raised area and over the altar to give you space between you and your opponent if you need it. After the final Draugr emerges, a passage that leads back to the Dustman’s Cairn is revealed.
- Fragment of Wuuthrad
- Word Wall: Fire Breath [1/2]
- Chest
- Potions
 Path to Dustman’s Cairn
 Path to Dustman’s Crypt
[6.13] Hamvir’s Rest
Recommended Level: 6
Dungeon: Draugr Crypt
- Draugr
- Skeleton
Collectible
- Chest (Locked: Master
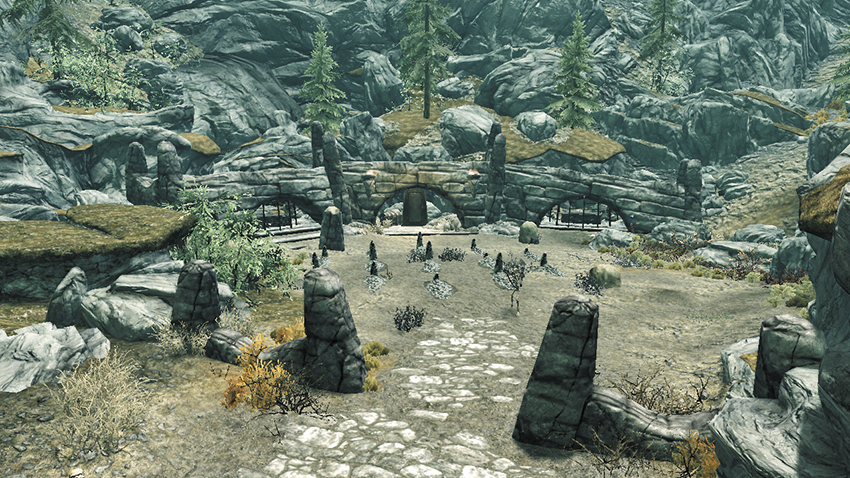
Follow Whiterun’s central road to its north end, and you’ll find yourself standing before this plagued graveyard. Slay the undead here to cleanse the site and safely loot its giant—albeit locked—chest.
[6.14] Redoran’s Retreat
Related Quests
- Side Quest: The Great Skyrim Treasure Hunt*
Recommended Level: 6
Dungeon: Bandit Camp
- Bandit
- Dog
Dangers
- Bear Trap
- Bone Alarm Trap
Collectibles
- Skill Book [Sneak]: 2920, Last Seed, v8 [A2/10]
- Treasure Map IV [4/11]
- Chest
- Chest (Locked: Novice)
- Potions
- Loose gear
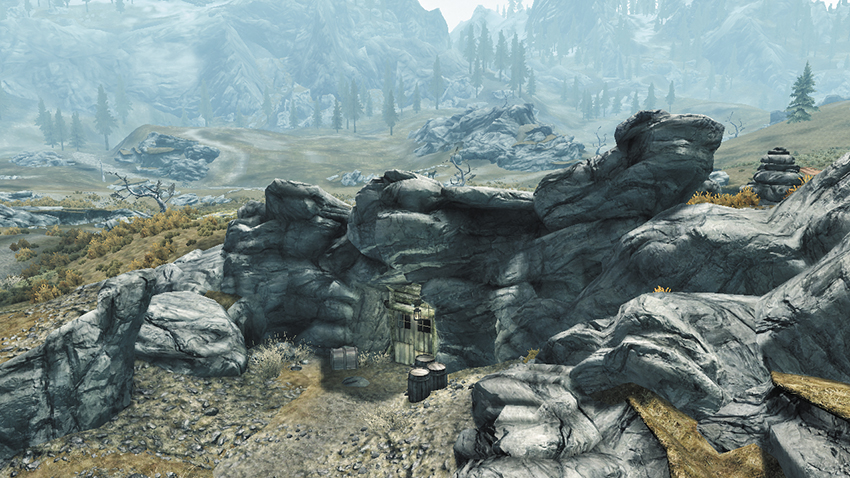
This shallow cave, which lies near Whiterun’s central main road, has been occupied by ruthless bandits. Open a locked chest in the first cavern if you’re able, then make your way into the rear cavern, where the bandit’s chief lurks. Beware the bear trap that lies in front of the large chest. Open it from the side to claim a rare Treasure Map, among other spoils.
[6.15] Fort Greymoor
Related Quests
- Dark Brotherhood Quest: Side Contract: Agnis
Recommended Level: 6
Habitation: Military Fort
- Agnis
- Bandit
- Soldier (Stormcloak/Imperial, depending on your allegiance during the Civil War)
Crafting
- Blacksmith Forge
- Tanning Rack
- Workbench
Dangers
- Bear Traps
- Flail Trap (trip wire)
- Oil Pool Trap
Collectibles
- Skill Book [Light Armor]: Rislav The Righteous [C1/10]
- Chest(s)
- Potions
- Loose gear
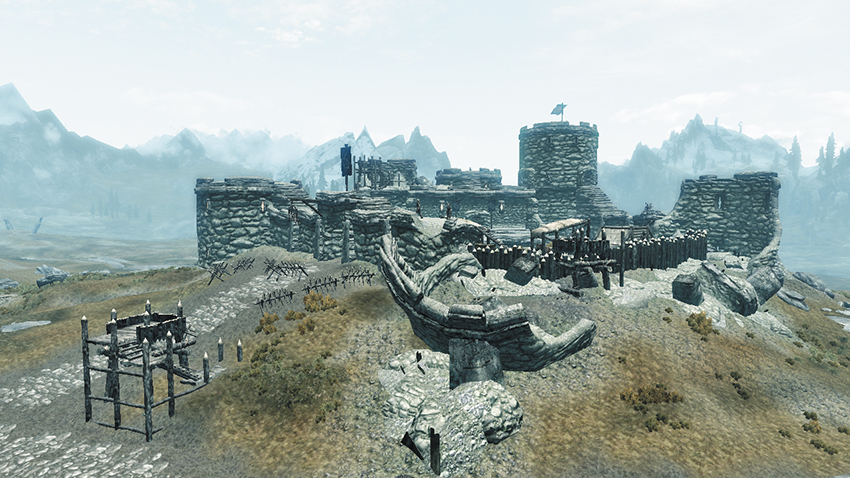
Near the heart of Whiterun stands an imposing fortress that’s been overrun by lawless bandits. Fort Greymoor also serves as a point of contention between the Stormcloaks and Imperials during the Civil War quest line, and therefore may be found populated by soldiers instead of bandits. A friendly old maid named Agnis also resides here—she’s a person of interest to the Dark Brotherhood.
Exterior
Fight hard to secure the fort’s exterior, then search the grounds thoroughly to find a chest tucked away near some hay to the east, along with a potion and coin purse near the west wooden lookout. A locked grate can be used to enter covertly from outside the walls. Enter the north tower to find another chest.
- Crafting: Blacksmith Forge, Tanning Rack, Workbench
- Chest
- Potion
Fort Greymoor (Interior)
The fort’s interior consists of three multifloor towers. Find a chest in the middle tower’s main floor, and avoid a trip wire and several bear traps as you head downstairs to explore its lower level. Take the passage to the north tower next, slaying bandits as you head upstairs to chat with a friendly maid named Agnis. Cut across to the south tower afterward and go upstairs to discover a large chest and a Skill Book.
- Danger! Bear Traps, Oil Pool Trap, Flail Trap (trip wire)
- Skill Book [Light Armor]: Rislav The Righteous [C1/10]
- Chest
- Chest (Locked: Novice)
- Potions
- Loose gear
Fort Greymoor Prison
Dispatch rugged bandits as you fight your way toward a chest that lies at the bottom of the prison. None of the cells are worth opening, unless you’re simply after some lockpicking practice.
- Chest
- Loose gear
[6.16] Silent Moons Camp
Recommended Level: 6
Dungeon: Bandit Camp
- Bandit
Crafting
- Blacksmith Forge
- Grindstone
- Workbench
Collectibles
- Skill Book [Smithing]: Heavy Armor Forging [B1/10]
- Skill Book [Smithing]: Light Armor Forging
- Unique Weapon: Lunar Iron Mace [42/80]
- Unique Weapon: Lunar Iron Sword [43/80]
- Unique Weapon: Lunar Iron War Axe [44/80]
- Unique Weapon: Lunar Steel Mace [45/80]
- Unique Weapon: Lunar Steel Sword [46/80]
- Unique Weapon: Lunar Steel War Axe [47/80]
- Chest(s)
- Potions aplenty
- Loose gear
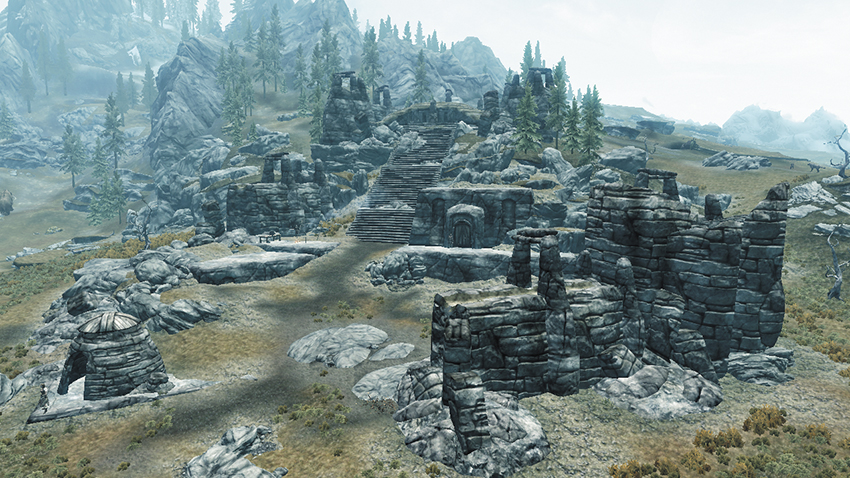
These ancient ruins, located along Whiterun’s northern border, have become home to ruthless bandits. Beware: these scoundrels’ unique weapons deal additional fire damage, but only at night. This Silent Moons enchant can be disenchanted and put on other weapons!
Exterior
Slay some tough outer guards, then scale the ruins’ exterior steps to reach a small enclosure at the top, where more bandits lurk. Loot a giant chest if you can manage to pick its tricky lock, then claim a pair of Skill Books and make use of some crafting stations before heading back downstairs and entering the door to the Silent Moons Camp.
- Crafting: Blacksmith Forge, Grindstone, Workbench
- Skill Book [Smithing]: Heavy Armor Forging [B1/10]
- Skill Book [Smithing]: Light Armor Forging
- Chest
- Chest (Locked: Master)
- Loose gear
Silent Moons Camp (Interior)
Slay bandits and loot a chest in the ruins’ small interior. If you’re able, pick an Adept-level door to access a storage room filled with potions and another chest. Climb the central ladder to return outside, then loot an exterior chest that you couldn’t have reached before.
- Chests (2)
- Potions aplenty
[6.17] Halted Stream Camp
Related Quests
- Dungeon Activity
Recommended Level: 6
Dungeon: Bandit Camp
- Bandit
Crafting
- Blacksmith Forge
- Grindstone (2)
- Tanning Rack (2)
Dangers
- Bear Trap
- Bone Alarm Trap
- Oil Lamp Traps
- Oil Pool Trap
- Rockfall (pressure plate)
- Trapped Chest
Collectibles
- Unique Weapon: Poacher’s Axe [49/80]
- Chest(s)
- Potions
- Loose gear
- Mineable ore (Iron)
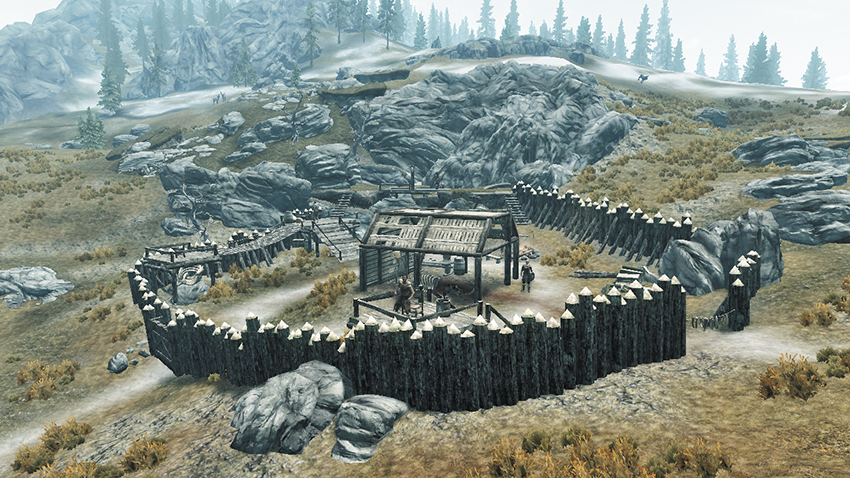
Bandits have raised an impressive campsite just north of Whiterun. This is good place to acquire Iron Ore early in the game if you’re into smithing.
Exterior
Avoid falling into the pit that lies just east of the camp; sharpened stakes will spell your end. Search beneath the wooden stairs to find two chests, but beware the trapped chest near the potions. Stand back and to the right when you open it to avoid being struck by a swinging flail, or lockpick the trigger attached to the chest to disarm it.
- Danger! Trapped Chest
- Crafting: Grindstone, Tanning Rack
- Chest (Locked: Apprentice)
- Potions
- Loose gear
Halted Stream Camp (Interior)
Beware a pressure plate trap as you enter the mine around which the bandits have built their camp. Slay a bandit within the mine and search his body to find a key that opens the following gate. Face the bandit chief in the large cavern beyond—sneak in and knock down the overhead lamps to start things off with a bang. Search the room afterward to secure multiple potions and pillage a pair of chests. Avoid the bear trap and hanging lamp in the exit passage as you make your way back outside. A bandit may be present sharpening a unique axe called the Poacher’s Axe, which gives bonus damage against animals.
- Danger! Bear Trap, Oil Lamp Traps, Bone Alarm Trap, Oil Pool Trap, Rockfall (pressure plate)
- Crafting: Blacksmith Forge, Grindstone, Tanning Rack
- Unique Weapon: Poacher’s Axe [48/80]
- Key to Halted Steam Mine (Bandit)
- Chest
- Chest (Locked: Novice)
- Potions aplenty
- Loose gear
- Mineable ore (Iron)
[6.18] Bleakwind Basin
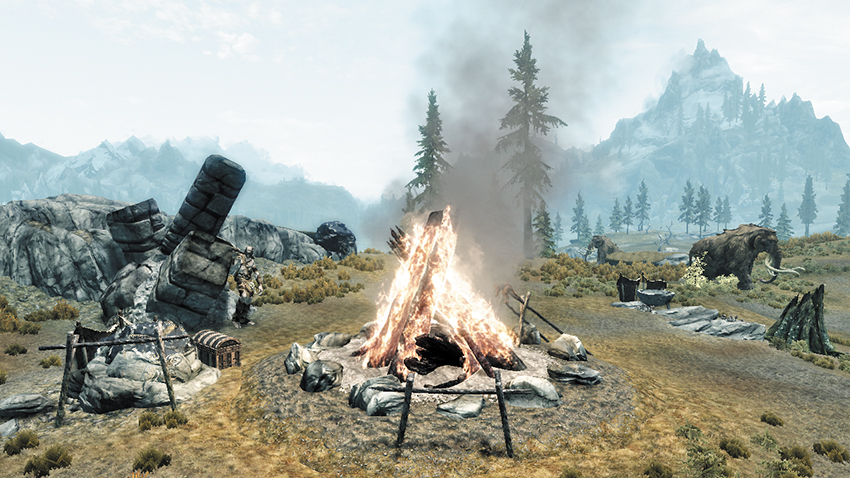
Recommended Level: 2
Dungeon: Giant Camp
- Giant
- Mammoth
Collectible
- Chest (Locked: Expert)
Two towering giants have made camp in the heart of Whiterun, tending to a herd of aggressive mammoths. Slay the brutes and their hulking livestock to secure the campsite. If you’re able, unlock the giants’ Expert-level chest to claim even more plunder from this site.
[6.19] Western Watchtower
Related Quests
- Main Quest: Dragon Rising
Dungeon: Dragon Lair
- Dragon (only during Main Quest visit)
- Whiterun Guard
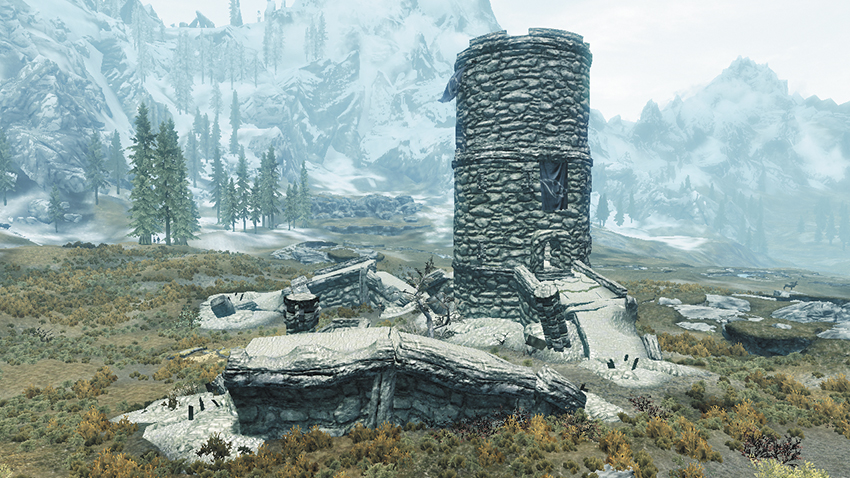
This tall tower lies west of Whiterun’s capital and is patrolled by Whiterun Guards. Early in the Main Quest, a dragon attacks you here. This is your first battle against a dragon. Exploit the defensive nature of the tower to help you bring down the mighty beast.
[6.20] Whiterun Stables
Related Quests
- Side Quest: In My Time of Need
Habitation: Farm
- Bjorlam (Carriage Driver)
- Skulvar Sable-Hilt (Stablemaster)
Services
- Trader (Carriage Driver): Bjorlam [3/5]
- Trader (Stablemaster): Skulvar Sable-Hilt [3/5]
Special Objects
- Business Ledger
- Chest
- Strongbox (Locked: Expert)
- Potions
- Loose gear
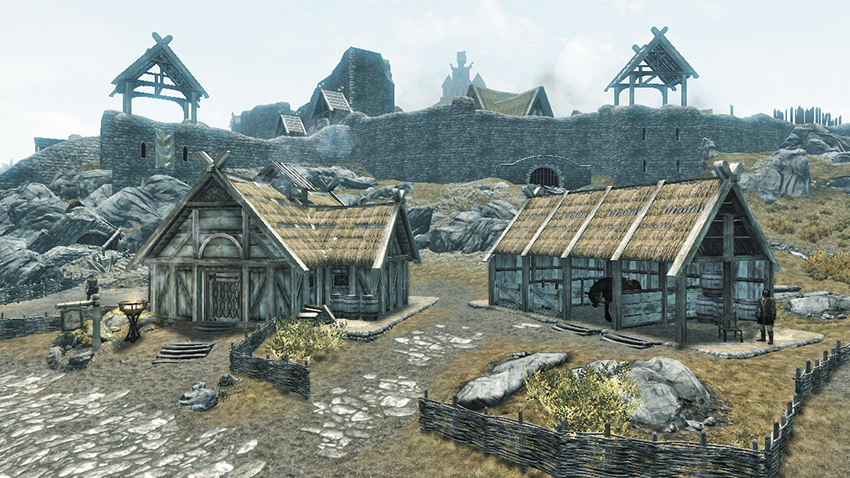
Stop by the stables south of Whiterun’s capital during daylight hours to buy a horse or buy a carriage ride to any other capital in Skyrim. If you’re hard up for loot, pick the stable house’s Novice-level lock to break in and raid the place.
[6.21] Pelagia Farm
Related Quests
- The Companions Quest: Take Up Arms
- Favor (Activity): Harvesting Crops* (Severio Pelagia)
Habitation: Farm
- Nimriel
- Severio Pelagia
- Potion
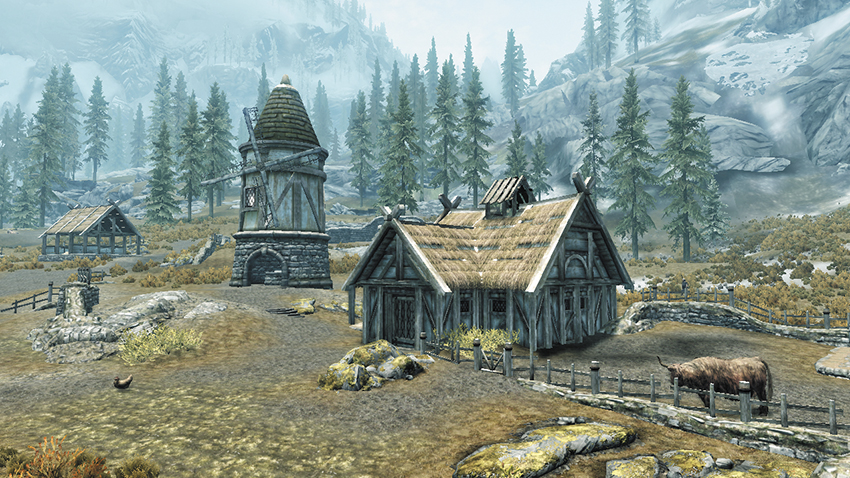
A windmill draws the eye to this quaint farm, which lies just south of Whiterun’s capital. There’s little worth stealing from these humble folk—better to leave them be.
[6.22] Honningbrew Meadery
Related Quests
- Thieves Guild Quest: Dampened Spirits
- Thieves Guild Radiant Quest: Larceny Targets*
Recommended Level: 8
Habitation: Special
- Animal
- Hamelyn
- Mallus Maccius
- Sabjorn (Food Vendor)
- Venomfang Skeever
Services
- Trader (Fence): Mallus Maccius [5/10]
- Trader (Food Vendor): Sabjorn [6/12]
- Food
Crafting
- Alchemy Lab
Dangers
- Bear Traps
- Flail Trap (trip wire)
Quest Items
- Honningbrew Meadery Key (Sabjorn)
- Pet Poison (Sabjor)
- Promissory Note
Collectibles
- Larceny Target: Honningbrew Decanter [5/7]
- Skill Book [Alchemy]: A Game at Dinner [A1/10]
- Skill Book [Sneak]: Three Thieves [E2/10]
- Chests
- Potions
- Loose gear
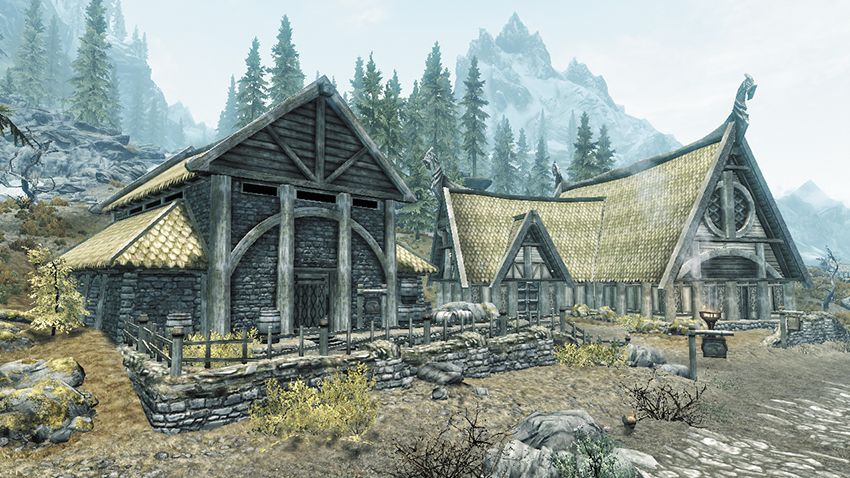
Whiterun’s renowned meadery lies just southeast of her capital. There’s little of interest outside but quite a bit of drama and intrigue brewing within.
Honningbrew Meadery (Interior)
Speak with Sabjorn inside the meadery to purchase a variety of foodstuffs. You need special keys to enter the meadery’s basement and upstairs office; these are obtained during Thieves Guild Quest: Dampened Spirits. The office holds most objects of value, including an informative note and Skill Book found on tables, as well as a locked chest that’s further secured behind an Expert-level locked door (no key for this one). The office also contains one of seven Larceny Targets that pertain to a Thieves Guild Radiant Quest.
- Larceny Target: Honningbrew Decanter [5/7]
- Skill Book [Alchemy]: A Game at Dinner [A1/10]
- Honningbrew Meadery Key (Sabjorn)
- Pet Poison (Sabjor)
- Promissory Note
- Chest (Locked: Master)
- Loose gear
Honningbrew Basement
Beware of bear traps as you purge the brewery’s basement of Skeevers during the “Dampened Spirits” quest. Beware: the Venomfang Skeevers can poison you. Stay sharp and safely trigger a trip wire from as far away as possible to disable a swinging flail. Surprisingly, a dangerous mage named Hamelyn lurks in the cavern that follows. Slay him and poison the nearby Skeever nest, then read the journal you find on Hamelyn’s corpse to learn of his questionable motives. Loot a chest here as well before proceeding into the boilery.
- Danger! Bear Traps, Flail Trap (trip wire)
- Crafting: Alchemy Lab
- Skill Book [Sneak]: Three Thieves [E2/10]
- Chest (Locked: Novice)
- Potions
Honningbrew Boilery
You can only enter the boilery via the meadery’s basement passage—the front door remains locked at all times. Head upstairs and optionally steal from a locked chest before nefariously poisoning the giant vat. Exit the boilery afterward with the key that hangs on the wall near the door.
- Chest (Locked: Apprentice)
- Honningbrew Brewhouse Key
[6.23] Chillfurrow Farm
Habitation: Farm
- Wilmuth
Collectibles
- Skill Book [One-Handed]: The Importance of Where [E2/10]
- Chest
- Loose gear
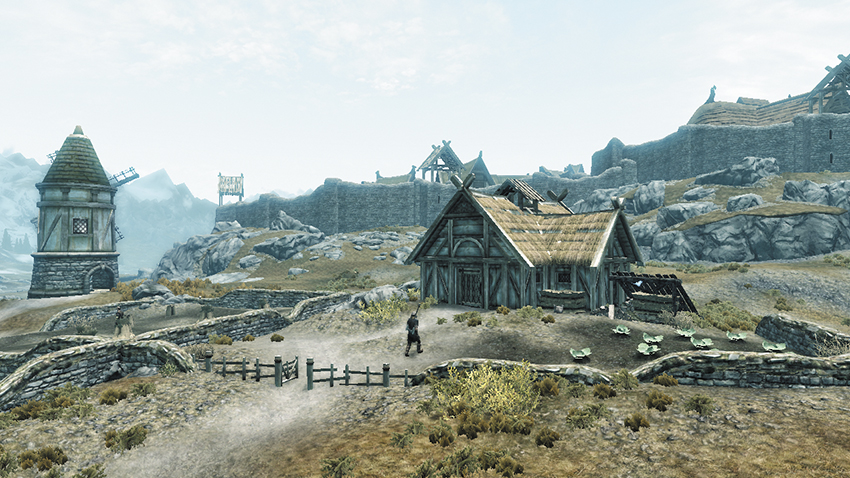
This small farm consists of a farmhouse, a windmill, and a small plot of wheat. Pick the Novice-level door to enter the farmhouse and steal from a chest if you like. A Skill Book rests on the nearby dresser as well.
[6.24] Battle-Born Farm
Related Quests
- Favor (Activity): Harvesting Crops* (Alfhild Battle-Born)
Habitation: Farm
- Alfhild Battle-Born
- Gwendolyn
Collectible
- Loose gear
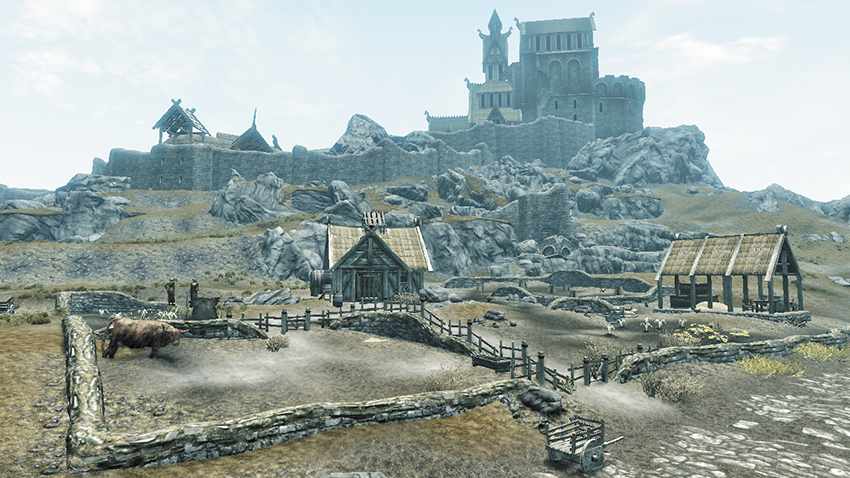
Harvest Alfhild Battle-Born’s crops and sell them back to her—she’ll pay a fair wage for your work in her fields. If you don’t feel like toiling out in the Skyrim sun, pick the farmhouse’s Novice-level door and pilfer a couple of coin purses from within.
[6.25] Whitewatch Tower
Related Quests
- Dungeon Activity
Recommended Level: 6
Dungeons: Special
- Whiterun Guard
Collectibles
- Chest
- Chest (Locked: Novice)
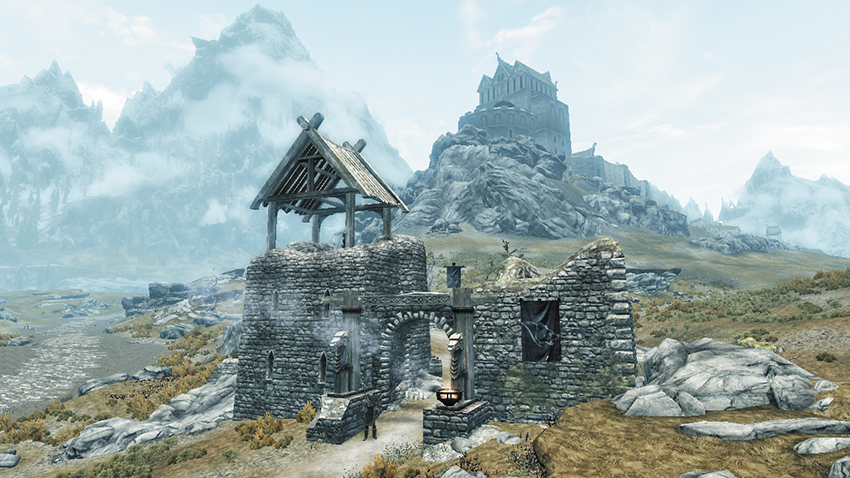
Whiterun guards patrol this small tower, which lies on the road just north of the city. A small group of bandits are attacking the tower when you first approach; rush in, and you may be able to lend the guards a hand. Strip the bandits of their valuables, then scale the ruined western tower to claim a chest. If you’re willing to take the risk, you can also loot the locked chest and weapon racks on the ground level, though the guards consider it theft if they catch you. Make sure to listen to the latest local gossip before moving on.
[6.26] White River Watch
Related Quests
- Dungeon Activity
Recommended Level: 6
Dungeon: Bandit Camp
- Bandit
- Hajvarr Iron-Hand
- Ulfr the Blind
Crafting
- Alchemy Lab
Collectibles
- Unique Item: Ironhand Gauntlets [59/112]
- Chest(s)
- Potions
- Loose gear
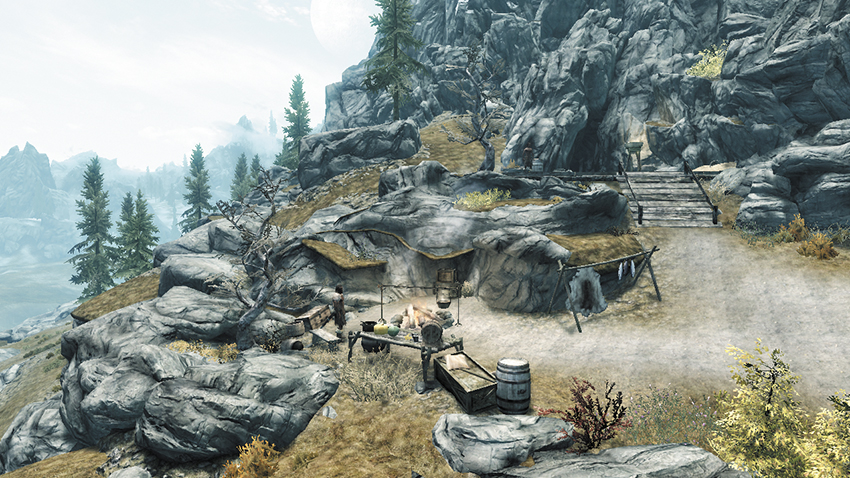
This small bandit hideout lies east of Whiterun’s capital, just across the White River. Pass through the small cave to face the bandits’ leader, who prefers the cold embrace of the outdoor mountain air.
Exterior
Dispatch the exterior guards to secure a chest, then head inside.
- Chest (Locked: Novice)
White River Watch (Interior)
A blind guard sits just inside the cave—he’ll call for reinforcements if you threaten him. Lie your way past the blind sentry and proceed upstairs. Dispatch or avoid the bandits in the sleeping area that follows. Loot the chest near the cupboard before heading upstairs to discover an Alchemy Lab. Bandits have been mistreating a wolf in the cavern that follows. Free the animal to have it attack its captors, then attack while they’re distracted. Scale the winding ramp to reach a high passage that leads out to the White River Overlook.
- Crafting: Alchemy Lab
- Chest
- Potions
- Loose gear
Overlook
You emerge onto this rocky overlook, where the bandits’ leader, Hajvarr Iron-Hand, awaits. Slay this worthy adversary to obtain valuable plunder from his corpse and from the nearby chest. Take in the view before Fast-Traveling away.
- Chest
- Potions
- Loose gear
- Unique Item: Ironhand Gauntlets [59/112]
[6.27] Riverwood
Related Quests
- Main Quest: Before the Storm
- Main Quest: The Horn of Jurgen Windcaller
- Main Quest: A Blade in the Dark
- Main Quest: Diplomatic Immunity
- Main Quest: A Cornered Rat
- Main Quest: Alduin’s Wall
- Main Quest: Paarthurnax
- Side Quest: The Golden Claw
- Miscellaneous Objective: Innkeeper Rumors (Sleeping Giant Inn)
- Miscellaneous Objective: The Love Triangle: Helping Sven* (Sven)
- Miscellaneous Objective: The Love Triangle: Betraying Sven* (Sven)
- Miscellaneous Objective: The Love Triangle: Helping Faendal* (Faendal)
- Miscellaneous Objective: The Love Triangle: Betraying Faendal* (Faendal)
- Favor (Activity): Chopping Wood* (Hod)
- Favor (Activity): A Drunk’s Drink* (Embry)
- Crafting Tutorial: Blacksmithing* (Alvor)
- Crafting Tutorial: Alchemy* (Orgnar)
Habitation: Settlement
- Alvor (Blacksmith)
- Camilla Valerius (Marriage Prospect)
- Delphine (Innkeeper)
- Dorthe
- Embry
- Faendal (Follower; Trainer: Archery)
- Frodnar
- Gerdur
- Hilde
- Lucan Valerius (General Store Vendor)
- Orgnar (Bartender)
- Stump (dog)
- Sigrid
- Sven (Follower)
Services
- Follower: Faendal [31/47]
- Follower: Sven [32/47]
- Marriage Prospect: Camilla Valerius [38/62]
- Trader (Bartender): Orgnar [1/5]
- Food, Ingredients
- Trader (Blacksmith): Alvor [20/33]
- Weapons, Apparel, Misc
- Trader (General Store Vendor): Lucan Valerius [8/19]
- Weapons, Apparel, Potions, Scrolls, Food, Books, Misc
- Trader (Innkeeper): Delphine [10/15]
- Room and Board
- Innkeeper Rumors
- Trainer (Archery: Journeyman): Faendal [2/3]
Crafting
- Alchemy Lab
- Blacksmith Forge
- Grindstone (2)
- Tanning Rack (2)
- Workbench
Collectible
- Chest(s)
- Potions
- Loose gear
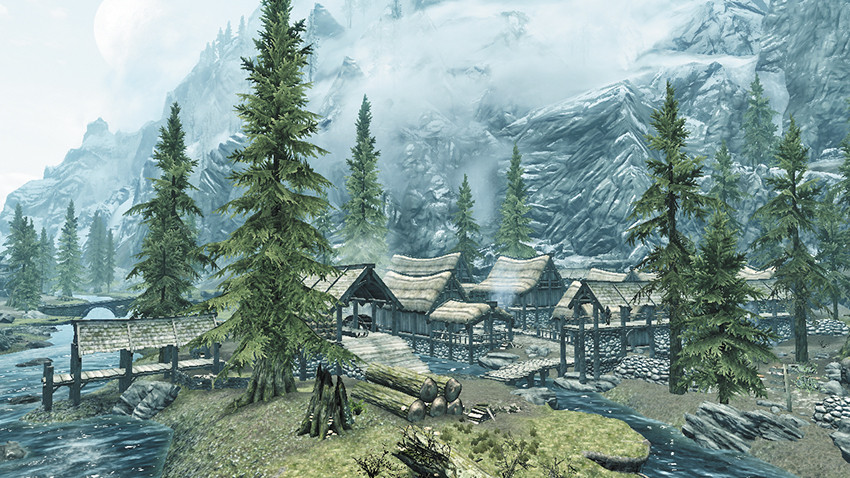
Located in Whiterun’s eastern valley, this small logging community is the first village that you’re urged to visit following your escape from Helgen [8.32]. The friendly villagers here assist you and give advice during the early stages of your adventure.
Exterior
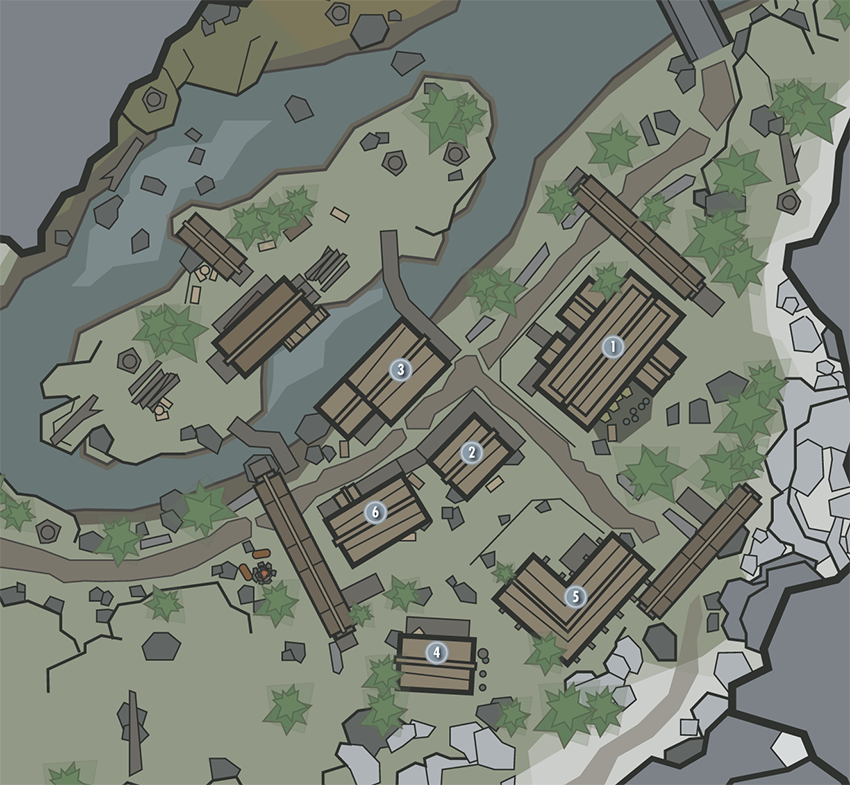
Speak with villagers to learn a little about Riverwood. Alvor will sell you fine weapons and armor and can also give you a Side Quest involving the use of his forge.
- Crafting: Blacksmith Forge, Grindstone (2), Tanning Rack (2), Workbench
- Loose gear
Sleeping Giant Inn
Rent a room for the night by talking to Delphine, or purchase food and drink from Orgnar. Gain a Miscellaneous Objective by asking Orgnar if you can use the inn’s Alchemy Lab, and speak with Sven, the bard, to gain another Miscellaneous Objective involving the Bard’s College. Delphine has a secret room beneath the inn with two chests, an Alchemy Lab, an Arcane Enchanter, and a lot of loose items. Once you befriend her in Main Quest: The Horn of Jurgen Windcaller, you have access to all of it.
- Crafting: Alchemy Lab
- Chest (3)
- Loose gear
Riverwood Trader
Speak with this humble shop’s proprietor, Lucan Valerius, to gain a Side Quest involving the retrieval of a Golden Claw that’s recently been stolen from his store. Then browse Lucan’s impressive array of goods.
- Chest
- Chest (Locked: Novice) (2)
- Potions
- Loose gear
Alvor and Sigrid’s House
If you followed Hadvar out of Helgen, you’ll be welcomed into Alvor and Sigrid’s home. The town blacksmith’s house has a few items worth swiping, if you’re that kind of adventurer.
- Area Is Locked (Novice)
- Chests (2)
- Potions
- Loose gear
Faendal’s House
This wily elf has amassed several valuables that are well worth stealing if you think you can get away with it.
- Area Is Locked (Novice)
- Chests (2)
- Potions
- Loose gear
Hod and Gerdur’s House
If you followed Ralof out of Helgen, after you speak with Gerdur, you’ll be welcome to sleep at her humble home whenever you like.
- Area Is Locked (Novice)
- Chests (2)
- Potion
Sven and Hilde’s House
Sven and Hilde have very little worth stealing, but you may rob them if you like.
- Area Is Locked (Novice)
- Chest
- Loose gear
[6.28] Shimmermist Cave
Recommended Level: 18
Dungeon: Falmer Hive
- Animal
- Dwarven Centurion
- Falmer
Dangers
- Swinging Wall Trap (trip wire)
Quest Items
- Ebony Blade
- Chest(s)
- Loose gear
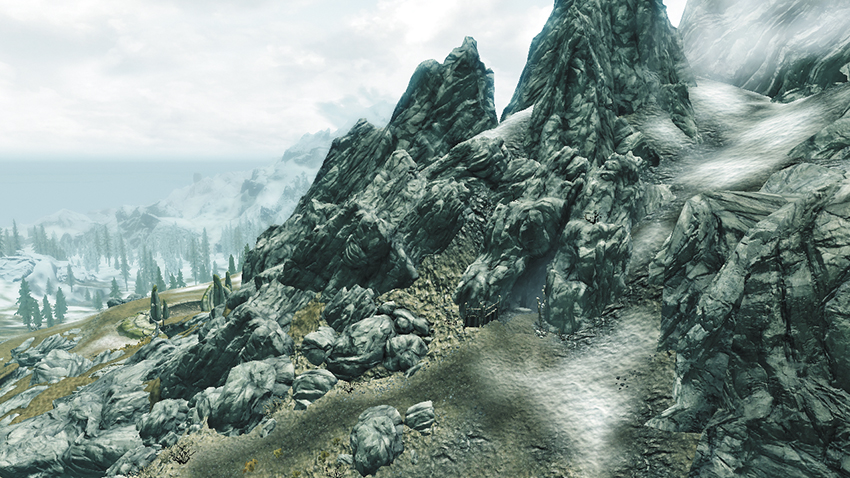
This sizeable cave is found at the foot of mountains that lie northeast of Whiterun’s capital.
Shimmermist Cave (Interior)
Slay an overgrown Frostbite Spider in the first watery cavern, and beware the trip wire that’s stretched across the end of the following passage. Slay a lone Falmer Archer in the next cavern with the Falmer tent, then proceed along the upper passage, dispatching another Falmer and looting an unusual chest on your way to the cave’s inner grotto.
- Swinging Wall Trap (trip wire)
- Chest
- Loose gear
Shimmermist Grotto
Pick off more Falmer in the grotto’s first tall cavern, and raid a tent to loot a chest before descending to the cavern’s bottom. Dispatch an overgrown Chaurus in the passage that leads to the second chamber, where yet more Chaurus lurk. Loot a chest that rests near the mouth of the following passage, which leads to some long-forgotten dwarven ruins. Defeat a powerful Falmer here, along with a lumbering Dwarven Centurion, then loot one last chest before taking the east passage back to the cave’s entrance.
- Chests (3)
[6.29] Fellglow Keep
Related Quests
- College of Winterhold Quest: Hitting the Books
- Side Quest: No Stone Unturned
- Dungeon Activity
Recommended Level: 8
Dungeon: Warlock Lair
- Animal
- Mages
- Atronachs
- Orthorn
Crafting
- Alchemy Lab
- Anvil
- Arcane Enchanter
- Workbench
Dangers
- Bear Traps
- Dart Traps
- Rune Traps
Quest Items
- Book: Fragment: On Artaeum
- Book: Night of Tears
- Book: The Last King of the Ayleids
Collectibles
- Skill Book [Conjuration]: The Doors of Oblivion [D2/10]
- Skill Book [Destruction]: A Hypothetical Treachery
- Unusual Gem: [15/24]
Special Objects
- Shrine of Julianos [4/5]
- Shrine of Talos [9/17]
Collectibles
- Chest(s)
- Potions
- Loose gear
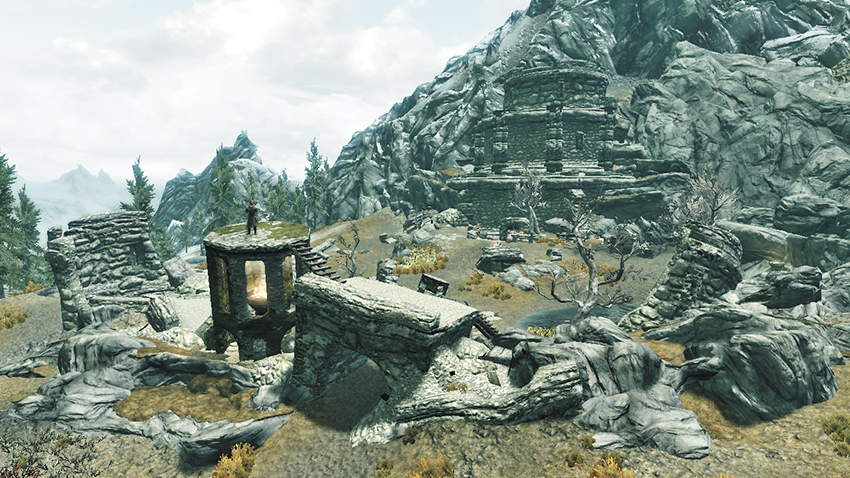
This crumbling stronghold in Whiterun’s northeast mountains has become a haven for renegade mages and necromancers.
If you’re here for College of Winterhold Quest: Hitting the Books, this location changes substantially. The front door is locked, forcing you to enter through the side tower and take the longer route through the dungeons. The upper levels of the keep, previously sealed, are now accessible. And a whole host of unique events await you. The description below assumes you’re here for the quest; if not, expect to have more flexibility in exploring the space, and be aware that most of the unique events described below will be replaced by combat with a handful of mages and their familiars.
Regardless, deal with the guardians in the exterior, then scale the cliffs to reach the first-level roof, where a chest awaits you on the eastern side.
- Chest (Locked: Novice)
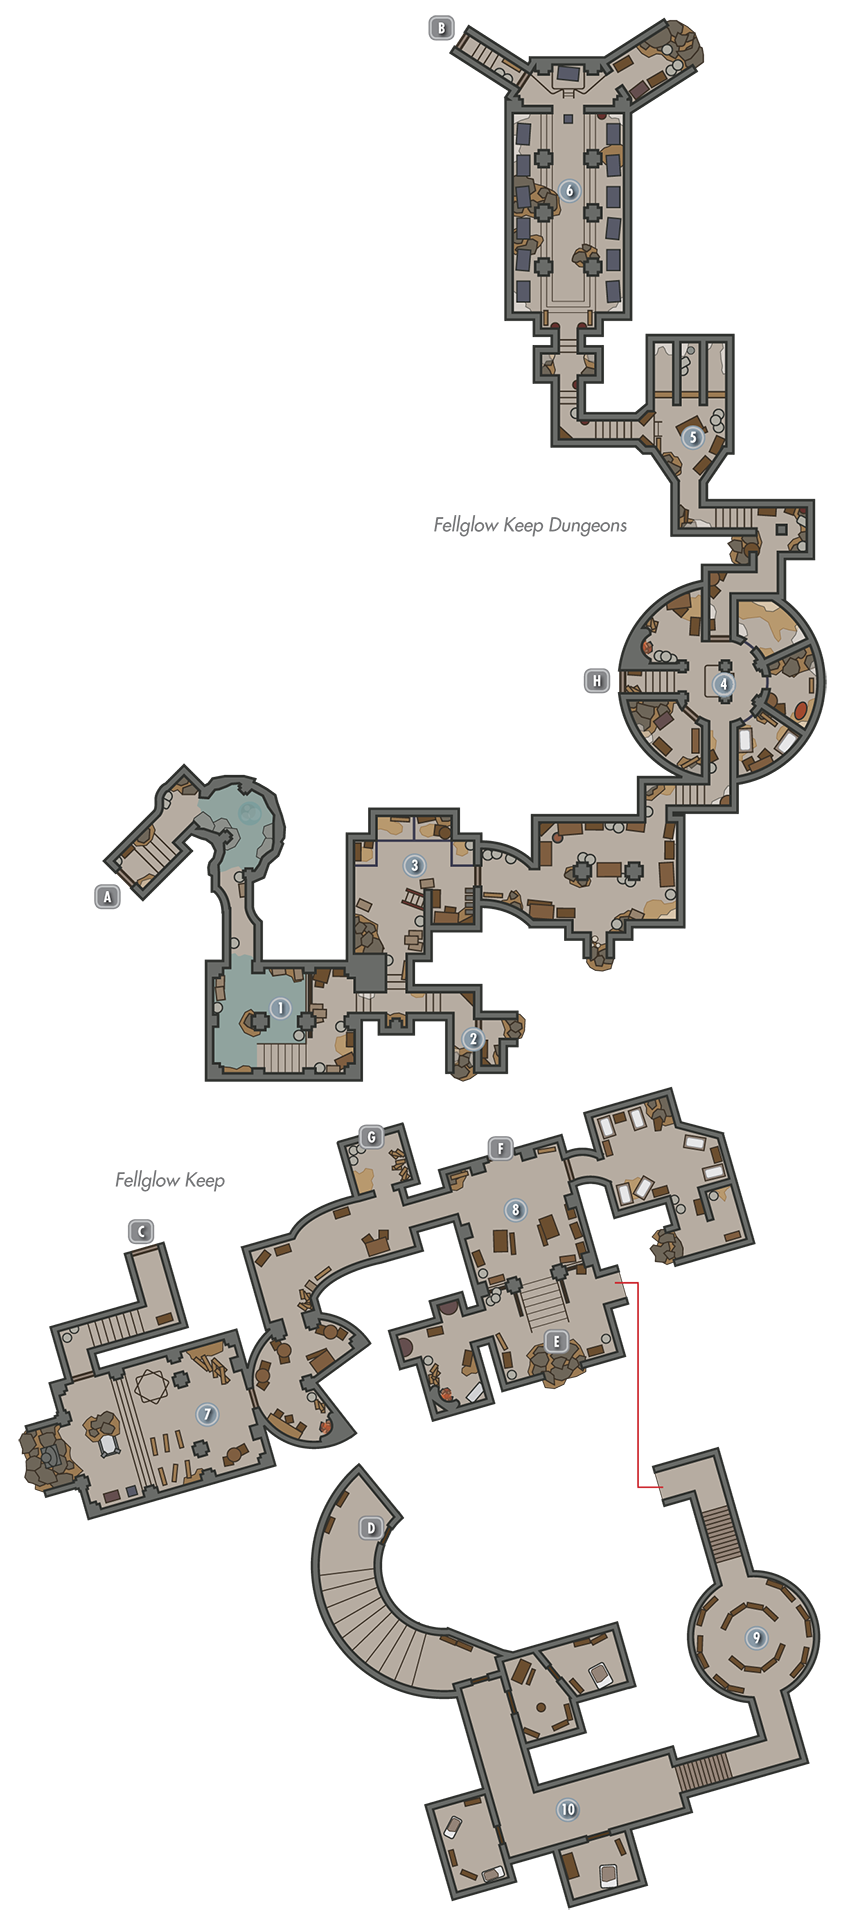
Exit to Skyrim
Flooded Chambers
Avoid the bear traps on your way through the first two flooded chambers. In the second room, a mage unleashes his pet Frostbite Spiders to fight you. Slay the arachnids and their master to continue on.
- Danger! Bear Traps
- Potions
- Loose gear
Treasure Nook
Sidestep a pressure plate as you head down the hall to loot the chest in this small room.
- Danger! Dart Trap (pressure plate)
- Chest (Locked: Apprentice)
- Potion
- Loose gear
Cell Block A
Detonate a dangerous Rune Trap with a ranged spell before entering this small prison, where a powerful mage stands guard. Free the caged vampires by picking the locks on their cell doors or by using the levers near the mage. They’ll help you defeat the mage here and rush off to battle the mages in the next room before making their escape.
- Danger! Rune Trap (floor)
- Loose gear
Cell Block B
A mage throws a lever as you enter this room, loosing a pair of wolves that quickly attack you. Slaughter them, then pull the middle of the room’s three levers to free Orthorn, who offers to help you find the books you seek. Unlock the nearby Apprentice-level wooden door if possible, then raid the storage room beyond.
- Chest (Locked: Apprentice)
- Potion
- Loose gear
Firing Range
A powerful mage is training some students in this room, giving you an opportunity for a stealthy ambush.
- Loose gear
Undercroft
Lay waste to more necromancers here, along with the skeletons that emerge from the surrounding sarcophagi. Claim a chest from a dead-end room at the hall’s far end, then take the nearby exit up to Fellglow Keep’s main level.
Door to Fellglow Keep
Door to Fellglow Keep Dungeons
Chapel
Cut down more mages and a summoned creature in this room, then grab the Skill Book. If you picked up any diseases from the animals and traps downstairs, find the Shrine of Talos buried amid the rubble on the altar and activate it to heal yourself before continuing on.
- Skill Book [Conjuration]: The Doors of Oblivion [D2/10]
- Shrine of Talos [9/17]
- Loose gear
Fellglow Foyer
Loop around to the keep’s foyer and fight your way upstairs, slaying two more mages and a summoned creature. (There’s little of interest in the east room aside from a few more mages.) Enter the upstairs west room to find several crafting stations, some good loot, and an Unusual Gem for Side Quest: No Stone Unturned.
- Crafting: Alchemy Lab, Anvil, Arcane Enchanter, Workbench
- Unusual Gem: [15/24]
- Potions
- Loose Gear
Library
Kill or sneak past a pair of mages in the round library. A Skill Book and potion rest on the central tables.
- Skill Book [Destruction]: A Hypothetical Treachery
- Potion
- Loose gear
Bedchambers
Defeat a powerful mage and a Flame Atronach here, then loot a chest in the south room and find a satchel in the west room. Unlock the Adept-level door to gain access to a larger bedroom with a shrine and locked chest. Continue up to the Ritual Chamber, making sure to loot the scrolls and potions from the nearby shelf—you’ll need them.
- Shrine of Julianos [4/5]
- Chest
- Chest (Locked: Adept)
- Satchel
- Potions
- Loose gear
Door to Fellglow Keep Ritual Chamber
Ritual Chamber
The leader of these mages awaits you in the Keep’s Ritual Chamber and introduces herself as “The Caller.” Negotiate with her to obtain the books you seek. You can Persuade her to just let you take them or offer to trade her Orthorn. If you succeed, take the books and retrace your steps to leave the Keep.
If you decide to fight, the Caller summons Atronachs and uses a unique ability to teleport around the room to evade your attacks. See College of Winterhold Quest: Hitting the Books for tips on this challenging battle. Once she falls, take the books and collect a key from her corpse, which you can use to raid the nearby treasure room. Take the trapdoor there to quickly return to the foyer and leave this dreadful place.
- Book: Fragment: On Artaeum
- Book: Night of Tears
- Book: The Last King of the Ayleids
- Fellglow Ritual Chamber Key (The Caller)
- Chest
- Satchel
- Potions
- Loose gear
Trapdoor to Fellglow Keep
 Exit to Skyrim
 Door to Fellglow Keep Dungeons
 Door to Fellglow Keep
[6.30] Graywinter Watch
Related Quests
- Side Quest: Kyne’s Sacred Trials
Dungeon: Animal Den
- Animal
Collectibles
- Skill Book [Archery]: Vernaccus and Bourlor
- Unique Weapon: Froki’s Bow [49/80]
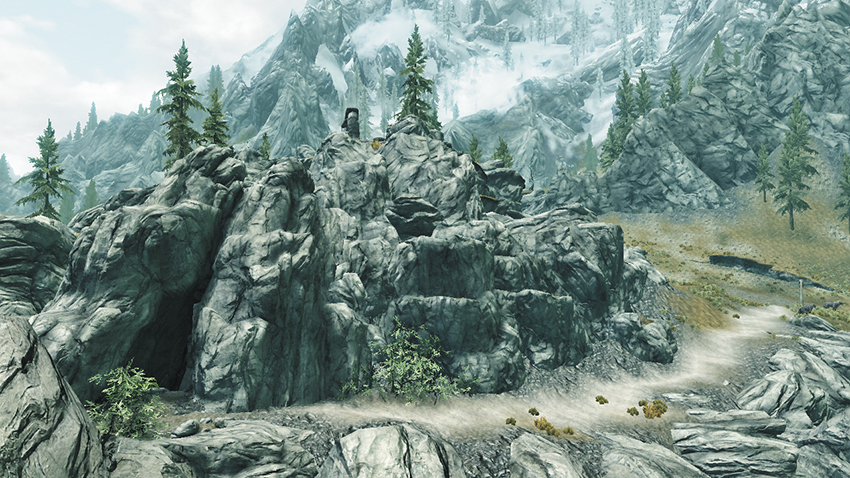
This shallow cave lies due north of Whiterun’s breathtaking mountain, the Throat of the World [6.38]. This cave used to be a hideout for bandits, but a pair of vicious predators have recently taken up residence here. Slay the foul beasts and then loot the bandits’ remains. Find a unique bow and Skill Book resting atop barrels at the back of the cave.
[6.31] The Ritual Stone
Dungeon: Special
- Necromancer
- Skeletons
Recommended Level: 6
Special Objects:
- Standing Stone: The Ritual Stone [7/13]
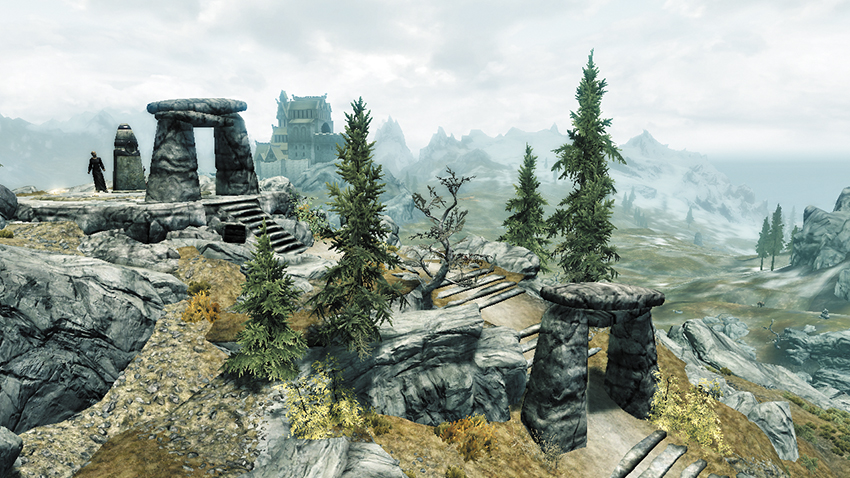
Along the road east of Whiterun, a series of stone steps lead up a small bluff. Slay a dangerous necromancer and his skeletal minions here, then inspect the mysterious rune-covered stone to accept a new sign blessing. Those under the sign of the Ritual can reanimate all nearby corpses to fight for them once a day. Try it now on the mage you’ve just slain! Note that you can have only one sign blessing at a time, so activating this Standing Stone will override your current sign blessing (if any).
[6.32] Whiterun Stormcloak Camp
Related Quests
- Civil War Quest (when active, depending on who you side with)
Habitation: Military: Stormcloak Camp
- Hjornskar Head-Smasher
- Stormcloak Quartermaster (Blacksmith)
- Stormcloak Soldier
Services
- Trader (Blacksmith): Stormcloak Quartermaster [21/33]
- Weapons, Apparel, Misc
Crafting
- Alchemy Lab
- Anvil
- Grindstone
- Workbench
Special Objects
- Civil War: Map of Skyrim
- Chest
- Potions
- Loose gear
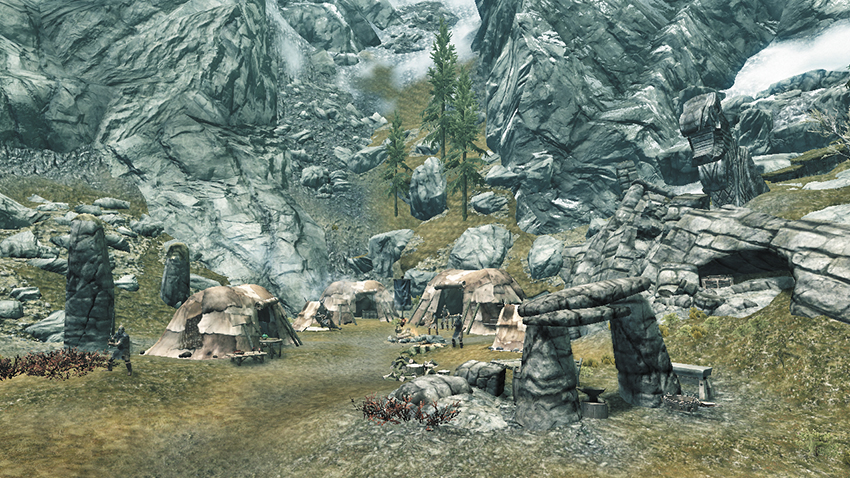
A band of fearless Stormcloak soldiers has made camp at the base of Whiterun’s towering mountain, the Throat of the World [6.38]. Trade with the quartermaster if you like, or use his array of crafting stations. Inspect the tabletop map in the largest tent to potentially gain new map data.
[6.33] Valtheim Towers
Recommended Level: 6
Dungeon: Bandit Camp
- Bandit
Crafting
- Alchemy Lab
Dangers
- Trapped Chest
Collectibles
- Skill Book [Archery]: The Black Arrow, v2 [B2/10]
- Chest(s)
- Potions
- Loose gear
- Mineable ore (Iron)
- Mineable ore (Corundum)
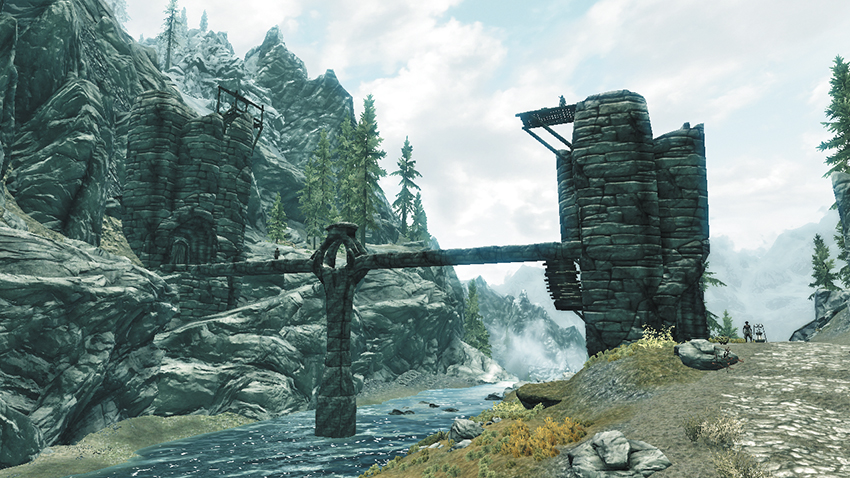
A large gang of bandits has taken control of two neighboring towers along the road, and they demand a toll of all travelers who think to pass. Those unwilling or unable to endure the extortion must face the bandits’ wrath.
South Tower
Beware: the south tower’s chest is trapped. Crouch as far away from the chest as possible before opening it to avoid the swinging flail trap, or use your lockpicking talent to disarm the trigger attached to the chest.
- Danger! Trapped Chest
- Potions
North Tower
Cross the narrow footbridge that connects the two towers to reach the north tower, where you must deal with more bandits. Inspect the book on the upstairs nightstand to increase your Archery skill. Along the path leading north from this tower, you can find a few veins of ore.
- Crafting: Alchemy Lab
- Skill Book [Archery]: The Black Arrow, v2 [B2/10]
- Chests (2)
- Potions
- Mineable ore (Iron)
- Mineable ore (Corundum)
[6.34] Darkshade
Recommended Level: 6
Dungeon: Animal Den
- Animal
Collectibles
- Skill Book [Heavy Armor]: Orsinium and the Orcs
- Chest
- Potion
- Loose gear
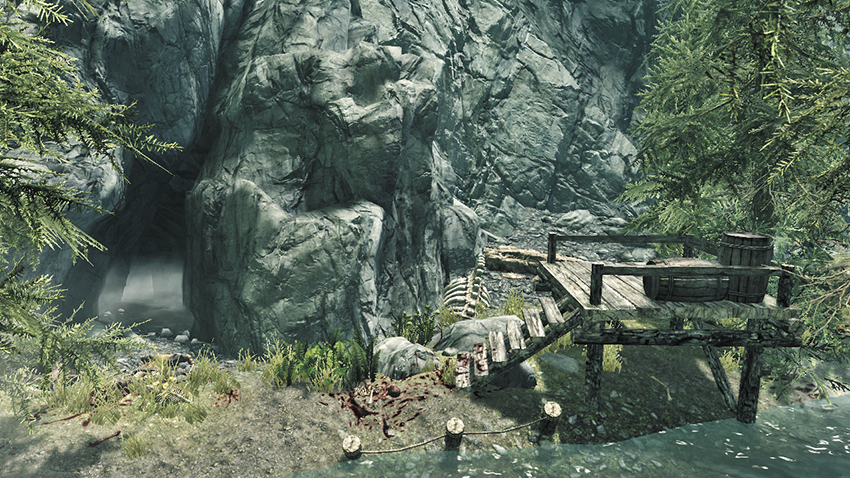
Massive bones mark the entrance to this otherwise unassuming cave, which lies at the far east edge of Whiterun. Slay a few beasts as you navigate the first few caverns and passages, which hold little of value. Follow a stream to a waterfall and find a potion and Skill Book nearby. Nab a coin purse in the passage that leads to the next chamber, where a large chest begs looting.
[6.35] Guldun Rock
Recommended Level: 24
Dungeon: Giant Camp
- Giant
Collectibles
- Skill Book [Heavy Armor]: The Knights of the Nine
- Chest
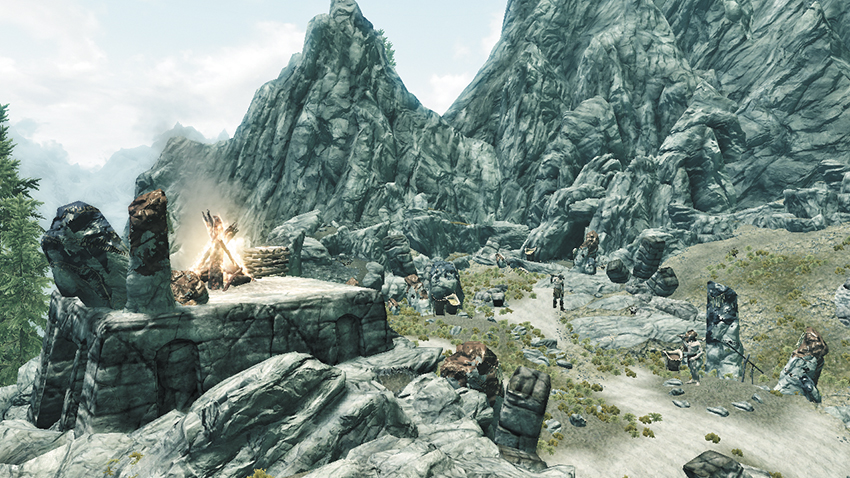
Giants have made camp at Whiterun’s eastern edge. Slay two of the brutes if you can, then enter their cave to plunder gold and valuables from a chest. A Skill Book sits on the rock near the chest as well.
[6.36] Hillgrund’s Tomb
Related Quests
- Dungeon Quest: Ancestral Worship
Recommended Level: 6
Dungeon: Draugr Crypt
- Draugr
- Golldir
- Vals Veran
Dangers
- Dart Trap (pressure plate)
- Flail Trap (door)
- Oil Pool Trap
Collectibles
- Chest(s)
- Potions
- Loose gear
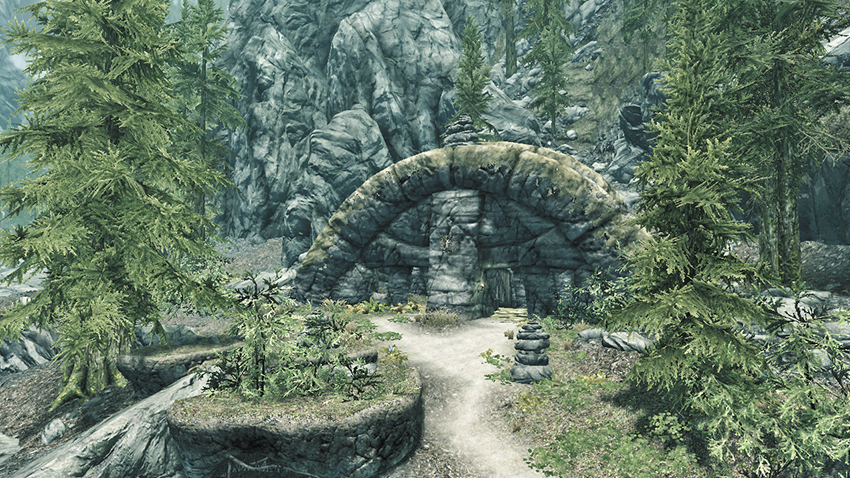
These small burial ruins are found along Whiterun’s eastern border, just west of the White River. The locals use this site as a burial ground for loved ones.
Exterior
Before entering the tomb, scale the rocky slope behind it and locate a hidden chest. Then enter the exterior enclosure and speak with a troubled man named Golldir. Agree to help Golldir confront a dangerous necromancer named Vals Veran within the crypt to gain a new quest. Golldir then unlocks the crypt’s door.
- Chest (Locked: Expert)
- Potion
Hillgrund’s Tomb (Interior)
Follow Golldir into the crypt. He will accompany you through here. Beware of the first trapped door in the entry passage, and ignite the oily floor behind the second door to help slay a mighty Draugr—or simply avoid the sleeping monster. Loot a web-covered chest on your way to a bloodsoaked chamber, where you discover the remains of Golldir’s poor aunt. Proceed through the west door and loot a chest that lies among the rubble. Sneak through the tight burial passages that follow to skirt pressure plates and avoid waking the resting Draugr.
Find another chest as you creep toward a Draugr-filled chamber. Pull a chain near a Bear glyph here to expose a secret passage, then go through and unlock an Apprentice-level door to access a treasure nook. Open the large north door to confront Vals Veran in a large chamber. Defeat the foul necromancer to avenge Golldir and obtain a key that opens the nearby door. Raid a chest and collect more plunder on your way out of this unholy place. Golldir will also give you a small reward, and if you speak with him after you exit the tomb, he will agree to be your Follower if you desire.
- Danger! Oil Pool Trap, Flail Trap (door), Dart Trap (pressure plate)
- Hillgrund’s Tomb Crypt Key (Vals Veran)
- Chests (2)
- Chest (Locked: Novice)
- Chest (Locked: Adept)
- Chest (Locked: Expert)
- Apothecary’s Satchel
- Potions
- Loose gear
[6.37] High Hrothgar
Related Quests
- Main Quest: The Way of the Voice
- Main Quest: The Horn of Jurgen Windcaller
- Main Quest: The Throat of the World
- Main Quest: Elder Knowledge
- Main Quest: The Fallen
- Main Quest: Season Unending
- Main Quest: Epilogue
- Other Factions: Greybeards Quest: Word Wall Revelations*
Recommended Level: 8
Habitation: Special
- Arngeir
- Borri
- Einarth
- Wulfgar
Collectible
- Area Is Locked (quest required)
- Potions aplenty
- Loose gear
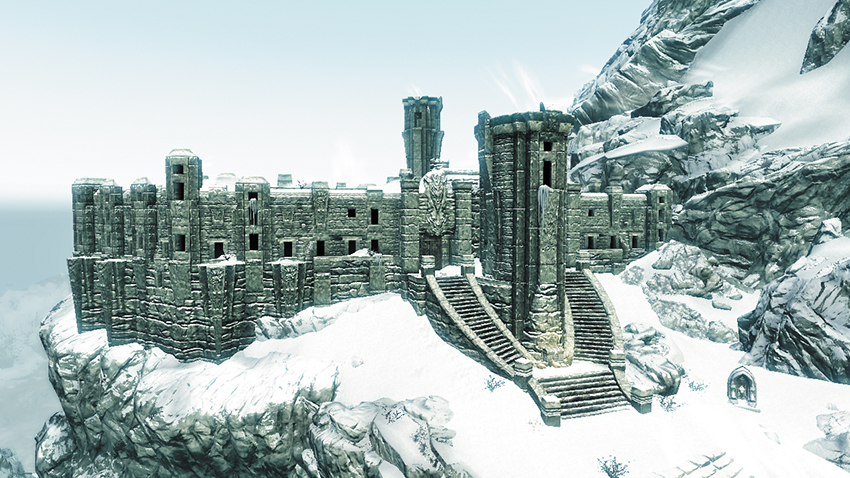
This ancient monastery stands high upon Skyrim’s tallest mountain, the Throat of the World [6.38]. High Hrothgar is home to the Greybeards—the legendary masters of the Voice. Many important quests intersect at this remote monastery, but you can’t enter until you’ve advanced to Main Quest: The Way of the Voice.
High Hrothgar (Interior)
Speak with the Greybeards to advance your quests here. A host of potions and ingredients are scattered about the monastery’s small interior, but anything you take is considered theft.
- Potions aplenty
High Hrothgar Courtyard
Exit through any of the north doors to visit High Hrothgar’s frigid courtyard. The southeast stairs lead to the summit, but a raging blizzard prevents passage until you’ve advanced to Main Quest: The Throat of the World.
Enjoy the commanding view from the north ledge, then use your Ethereal Form Shout and leap off—it’s fun! Enter the courtyard’s tower for even more stunning views of Skyrim.
[6.38] Throat of the World

Related Quests
- Alduin’s Bane
- Main Quest: Paarthurnax
- Main Quest: Epilogue
- Side Quest: Repairing the Phial
- Other Factions: Greybeards Quest: Meditations on Words of Power*
Recommended Level: 10
Dungeon: Dragon Lair
- Paarthurnax
Quest Items
- Snow
Collectibles
- Unique Weapon: Notched Pickaxe [50/80]
- Mineable ore (Malachite)
The highest point in Skyrim, the Throat of the World stands at the apex of Whiterun’s towering eastern mountain, which forms the border between its neighboring Hold, Eastmarch. This site has great significance to the story surrounding the Dragonborn. It is also the place where special snow that never melts can be found—a necessary ingredient for “The White Phial” quest.
But after coming all this way, why stop here? Make your way up the final, rocky slope to reach the summit of the mountain and see all of Skyrim spread out below you. Just below the peak is a vein of rare Malachite (Glass) ore, and a unique pickaxe is imbedded in the rock way up top—a nice little bonus for completing your epic climb!