
Elder Scrolls V: Skyrim Guide The Atlas Hold 7: Eastmarch
Secondary Locations
[7.A] Lucky Lorenz’s Shack
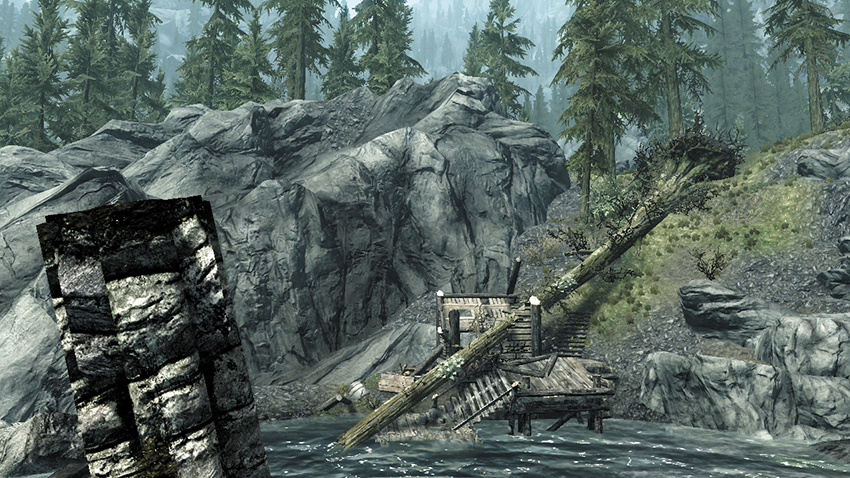
Side Quest: The Great Skyrim Treasure Hunt*
Just below the waterfall, close to the Abandoned Prison on the White River, are the remains of a shack, demolished by a fallen tree. The inhabitant, whose luck ran out, has been struck by the tree as well. He carries a Treasure Map. A Shrine of Dibella is found in one surviving corner of the cabin.
- Skill Book [Light Armor]: Rislav the Righteous
- Treasure Map IX [8/11]
- Shrine of Dibella [7/8]
[7.B] Shrine of Talos: Cradlecrush Pond
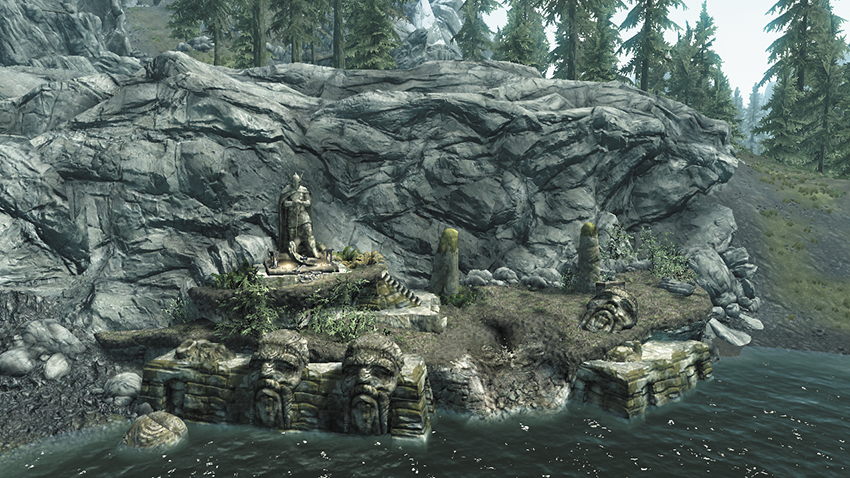
On a rocky outcrop just northeast of Cradlecrush Rock is a pond where the Imperials haven’t found a Shrine to Talos. Clamber up past the old Nordic stone heads and worship here if you wish; there’s a chest, Skill Book, and other equipment left as offerings.
- Skill Book [Heavy Armor]: 2920, Midyear, v6
- Shrine of Talos [12/17]
- Chest
- Loose gear
[7.C] Mara’s Eye Stones
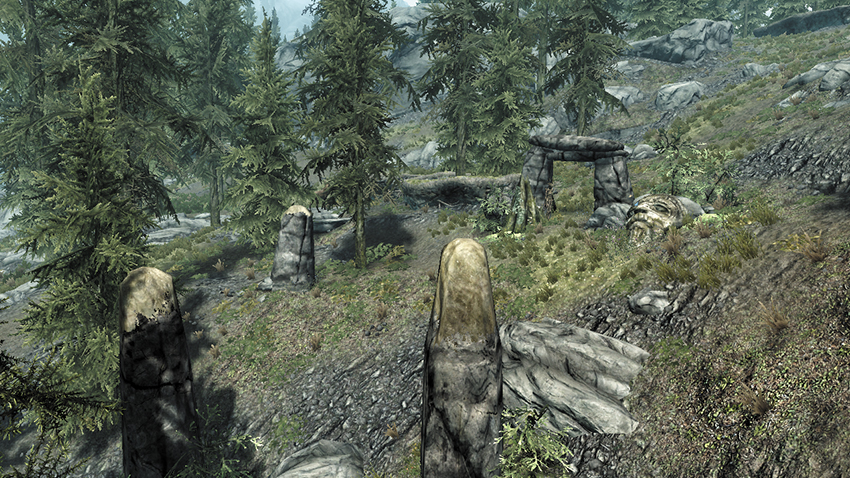
South of Mara’s Eye Pond on the steep forest and scree is a set of standing stones. Beware of Spriggan flitting around this place, as they tend to attack you on sight.
[7.D] Frost Troll Den: Uttering Hills
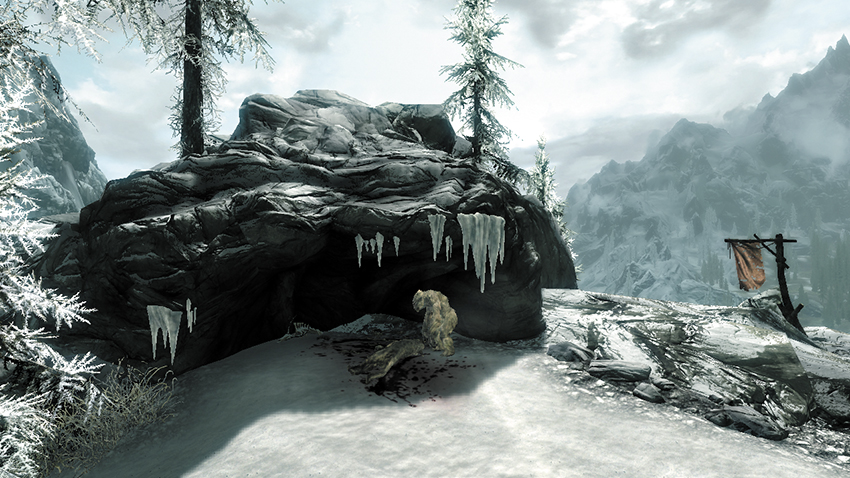
Climb north from Mara’s Eye Pond and cross the snow line. Trek to the top of Uttering Hills to find a ferocious Frost Troll guarding his den. The den is empty, but outside is a fluttering flag, marking two mineral veins.
- Mineable ore (Corundum, Gold)
[7.E] Shrine of Talos: Watcher of Windhelm
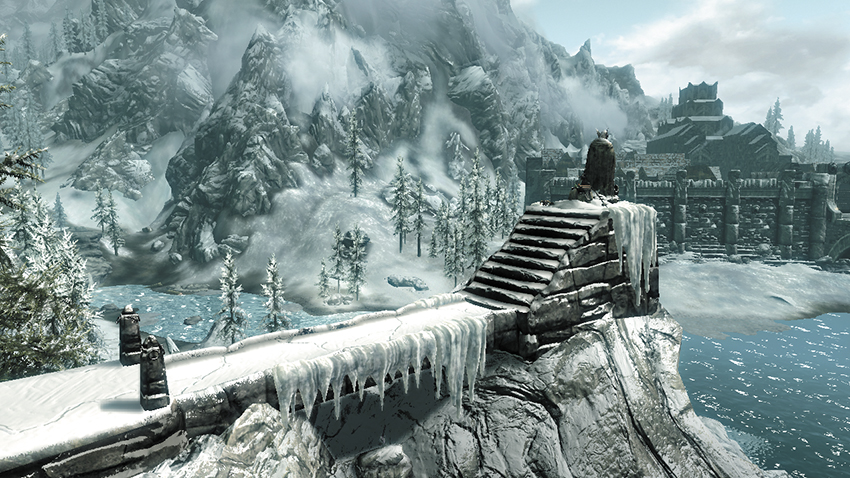
Approach this craggy hillside shrine from the south to reach steps to the Talos statue towering over the bridge and Windhelm Stables below. You’ll find a shrine to receive a blessing, and various offerings to take. The dead body of a Thalmor Agent has been disposed of below the walkway to the statue, along with the enchanted weapon that did him in.
- Shrine of Talos [13/17]
- Loose gear
[7.F] Hunter’s Camp: Windhelm Plateau
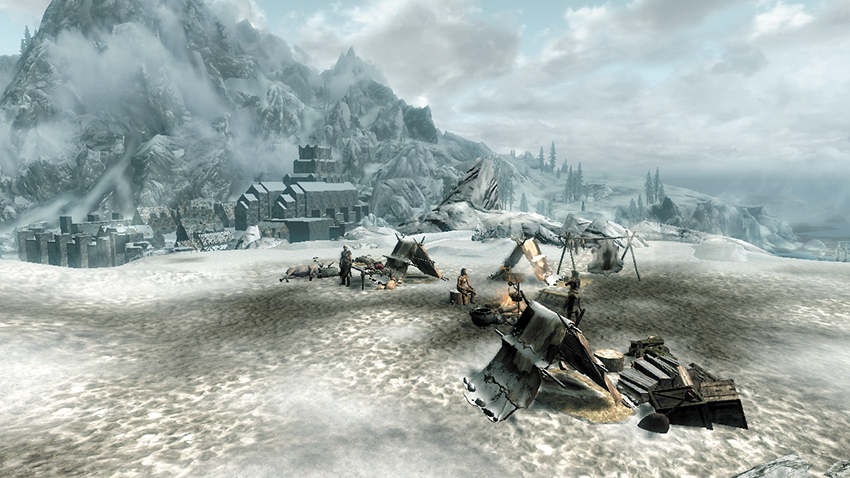
Unless the Imperial Legion is laying siege to Windhelm, this mountain plateau is occupied by a hunters’ camp. As you approach, a Frost Troll suddenly appears over the ridge. The hunters have little chance against this powerful foe, so rush in to help (or watch them die, if you prefer). You can loot the corpses and the camp for some valuables, though any surviving hunters will turn on you if you steal their items (so much for gratitude). A Skill Book lies inside one of the lean-tos.
- Skill Book [Light Armor]: Ice and Chitin
- Chest (Apprentice)
- Loose gear
[7.G] Windhelm Attack Camp
Related Quests
- Civil War Quest: Reunification of Skyrim
- Civil War Quest: Battle for Windhelm
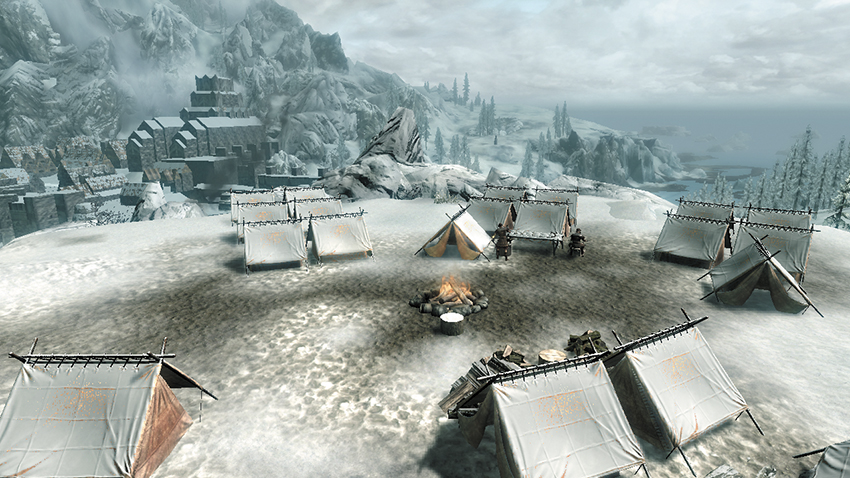
 At the end of the Civil War, if you sided with the Imperials, the assault on Windhelm begins here, with most of the catapults bombarding the city from this point. General Tullius assembles his men for a rousing speech close to this location, prior to the epic assault on this Stormcloak stronghold.
[7.H] Dragon Mound: Kynesgrove Resurrection
Related Quest: Main Quest: A Blade in the Dark
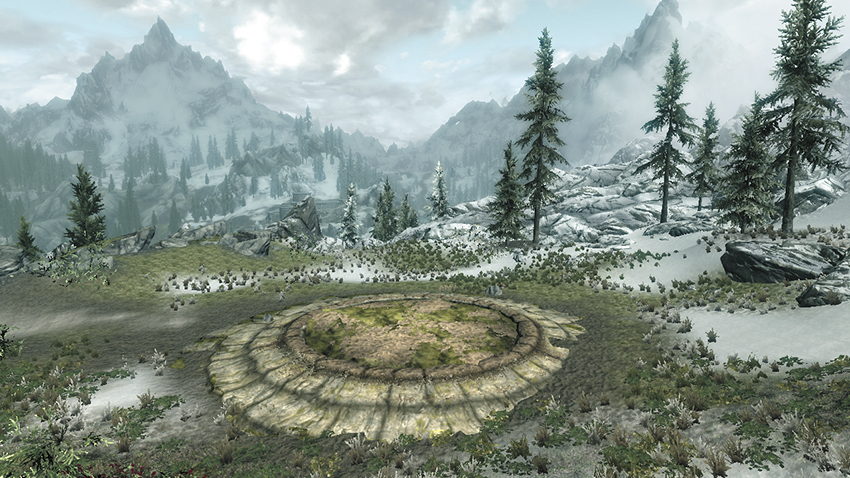
This Dragon Mound is initially sealed. It opens during Main Quest: A Blade in the Dark, when you arrive with Delphine and watch Alduin resurrect Sahloknir, the dragon that was entombed here. Alduin himself cannot be harmed; he resurrects his brethren and flies off. But slay Sahloknir and absorb his soul to continue the quest.
[7.I] Hunter’s Camp: Dunmeth Pass
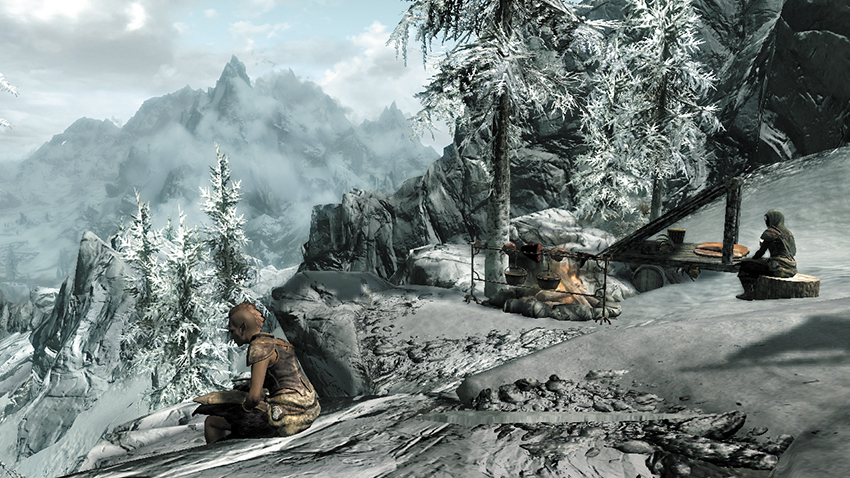
Halfway up the exceptionally steep snowbanks is a small hunter’s camp with a lean-to and roaring fire. The hunters are friendly, unless you attempt to steal from them. Look for a blowing ragged flag to indicate this camp’s proximity.
- Crafting: Tanning Rack
- Knapsack
[7.J] Wild Animal Den: Dunmeth Pass
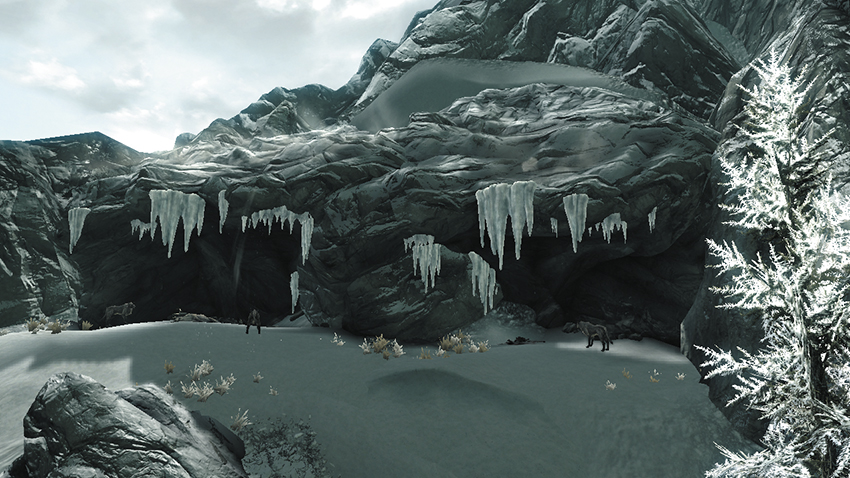
A few wild animals are snarling at the top of the incredibly steep snowbanks and mountain slopes. The ragged flag halfway up the slope is a good route marker to look for. The den is devoid of items but provides a view of the Shrine of Boethia.
[7.K] Hunter’s Camp: Sulphur Soaking Pools
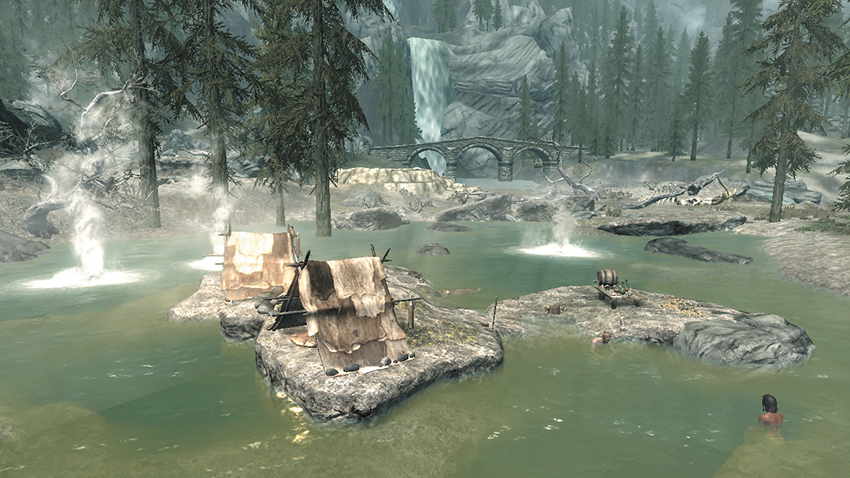
West and a little south of Eldergleam Sanctuary is a group of hunters bathing in a sulphur pool. The camp has a couple of tents and some loose gear, and a Skill Book sits on the short table with the keg. The hunters are friendly, unless you try to steal their clothes and equipment. It seems the wine has been flowing freely here!
- Skill Book [Smithing]: Cherim’s Heart
- Loose gear
[7.L] Dragon Mound: Bonestrewn Crest
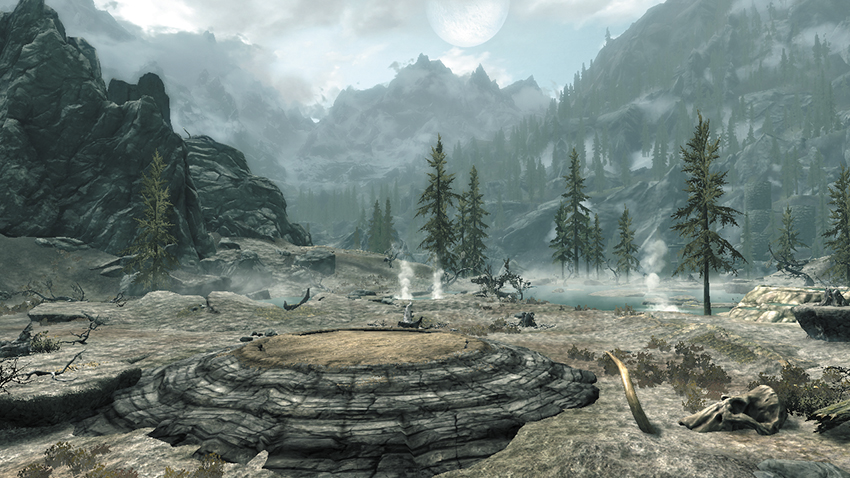
Related Quest: Main Quest: Dragon Rising
This Dragon Mound is initially sealed. It opens during Main Quest: Dragon Rising. If you visit during or after this point in the Main Quest, the mound will be open and empty. Once the quest is complete, a dragon will appear atop Bownstrewn Crest [7.20] nearby; perhaps the resurrected dragon simply thought it a better lair.
[7.M] Cronvangr Summoning Altar
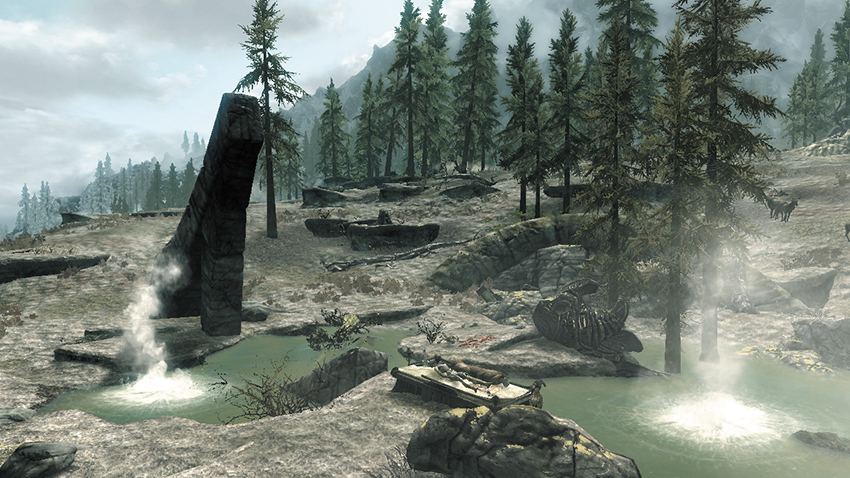
The bubbling sulfur in this area has forced an old Nordic entrance to crumble and fall, and the sacrificial altar is currently exposed to the elements. Watch for a couple of necromancers attempting to raise a thrall on the slab here.
[7.N] Dragon Mound: Witchmist Grove
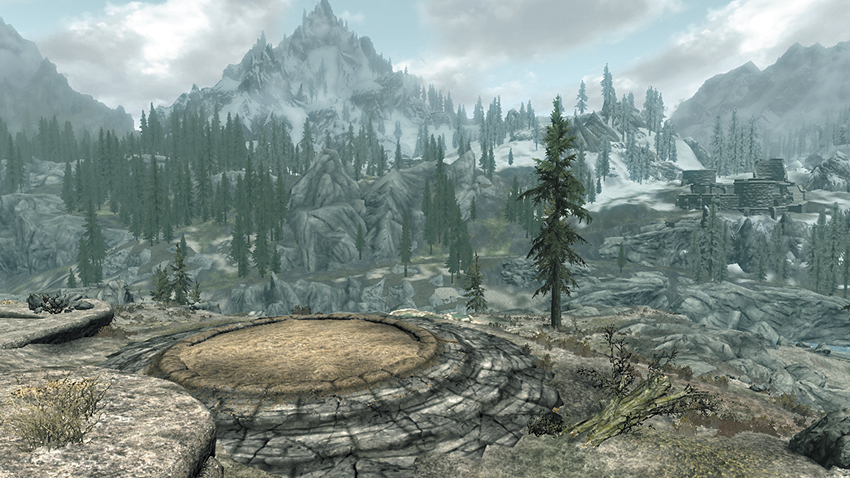
Related Quest: Main Quest: The Way of the Voice
This Dragon Mound remains sealed. It opens during Main Quest: The Way of the Voice, when you train with the Greybeards. If you return during or after this point in the Main Quest, the mound will be open and empty. The dragon summoned has disappeared.
[7.O] Witchmist Sulphur Pool
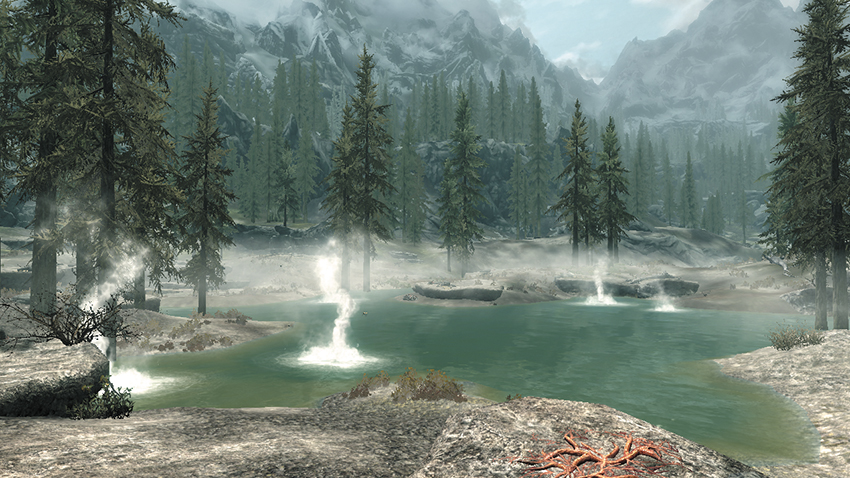
Expect to find a couple of wandering mammoths and a giant bathing in the hot waters of this sulphur pool, which is just east of Witchmist Grove. Approach them with caution, or bring them down from a distance.
[7.P] Hunters’ Camp: Steamcrag Slopes
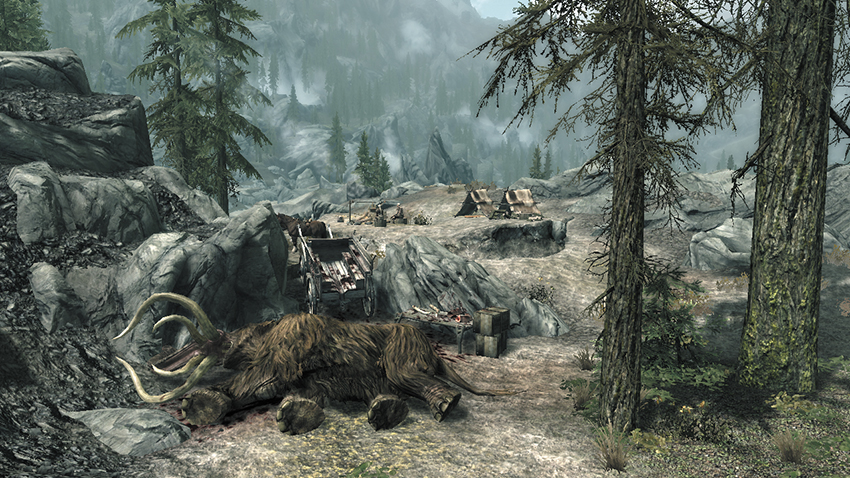
On the slopes to the east of Steamcrag Camp is a well-hidden hunters’ camp. There are likely to be two adventuring types here, along with their horses and a recently slain mammoth that’s being carved up for meat and tusks. A Skill Book sits on a crate near the wagon.
- Skill Book [Two-Handed]: The Legendary Sancre Tor
[7.Q] Mistwatch Folly
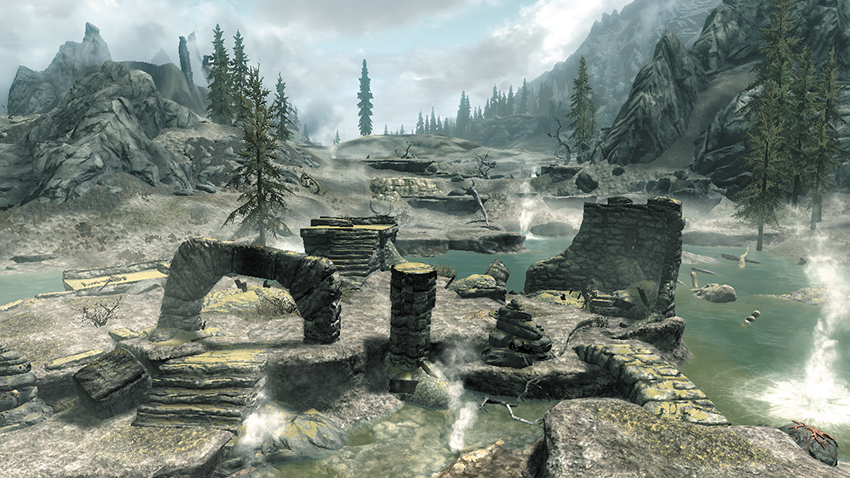
The remains of a small fortification long-since lost to the sulphur pools is now home to three skeletons. They reanimate when you approach, so attack before they’re fully mobile. The only treasure are the items these bony fiends are carrying.
[7.R] Shrine of Akatosh: Steamcrag Hillock
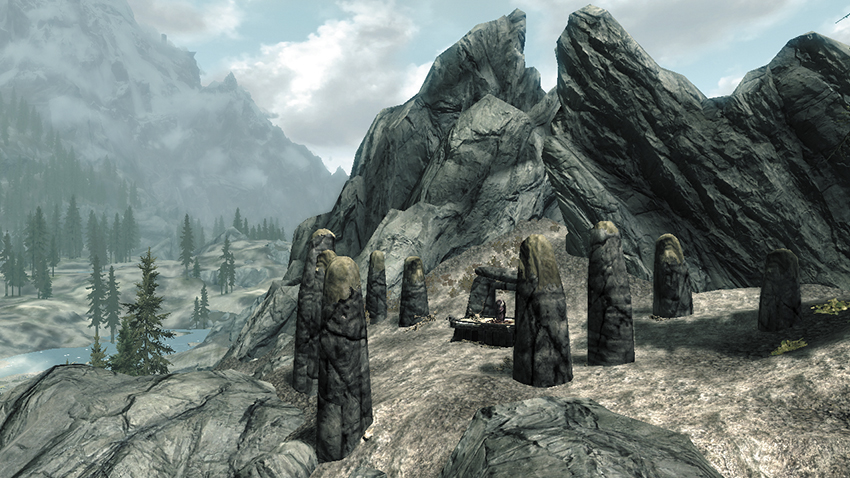
On the rocky hillock south of Steamcrag Camp is a set of standing stones and an altar, upon which is a Shrine to Akatosh and a Skill Book. Beware the crumpled bones; these reanimate into three skeletons as you approach!
- Skill Book [Alteration]: Breathing Water
- Shrine of Akatosh [5/6]
[7.S] The Mournful Giant
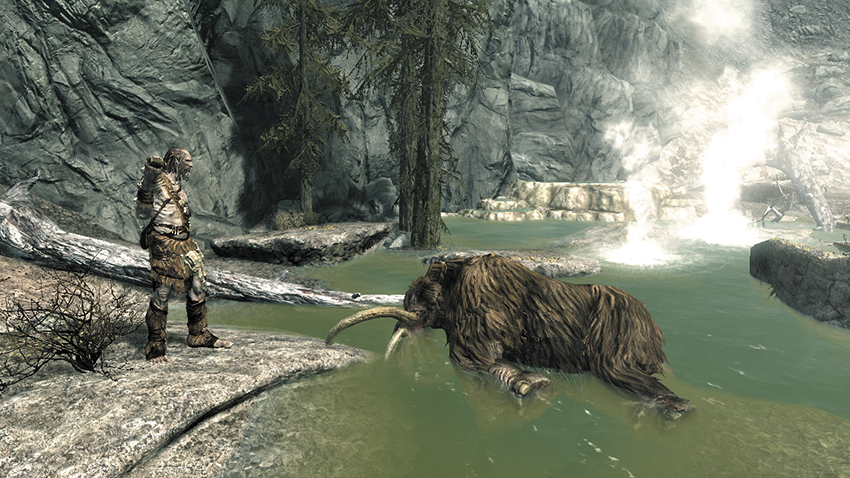
A mammoth has succumbed to death at the eastern end of a small sulphur pool, and a despondent giant waits by its furry corpse. You may attack or edge around this melancholy fellow.
[7.T] Dragon Mound: Mzulft Foothills
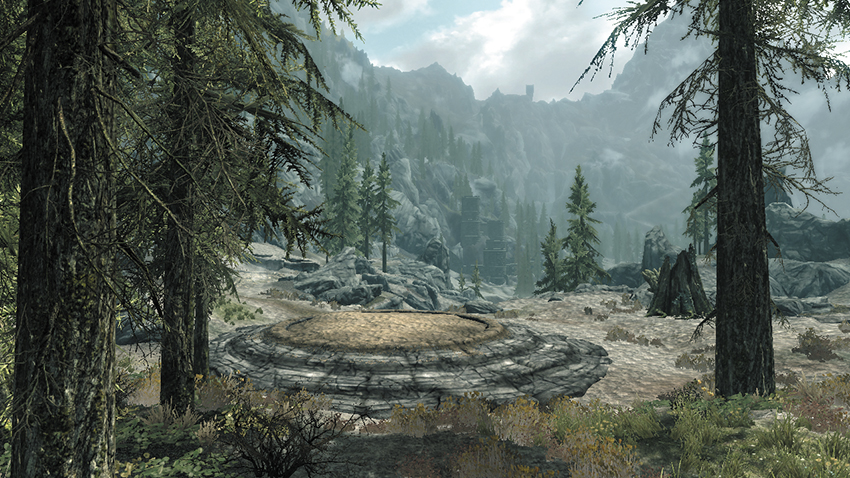
Related Quest: Main Quest: Dragon Rising
This Dragon Mound is initially sealed. It opens during Main Quest: Dragon Rising. If you visit during or after this point in the Main Quest, the mound will be open and empty.
[7.U] Hunters’ Camp: Slopes of Kagrenzel
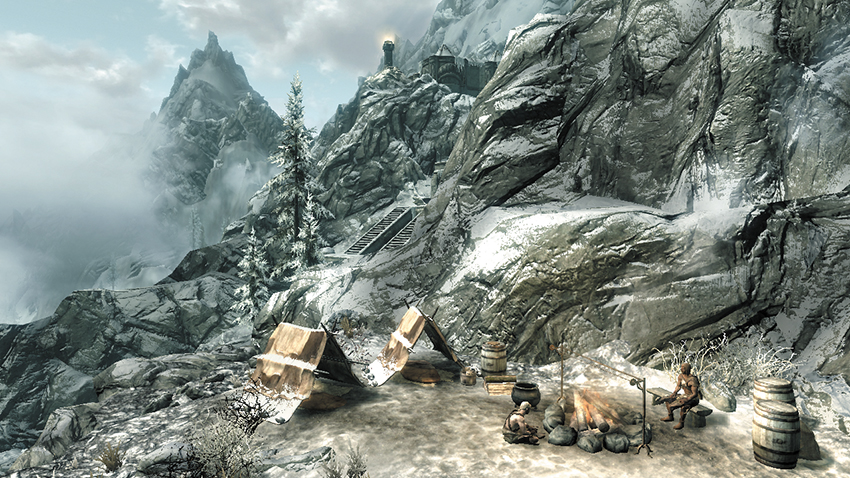
On the treacherous slopes leading to Kagrenzel is a small hunters’ camp, with two hardy folk braving the inclement weather. There’s a small vein of Corundum to mine here, and a Skill Book sits atop a barrel near one of the tents.
- Skill Book [Archery]: Father of the Niben
- Mineable ore (Corundum)