Elder Scrolls V: Skyrim Guide Essentials Training
Training Part 3: Adventuring Across Skyrim
This section looks at the broader aspects of adventuring in Skyrim. There’s information on how Skyrim is segmented so you can grasp how where you are within this giant realm. We explain the different types of map locations and the kinds of enemies and challenges that await you. Finally, we provide a range of tips on mapping, what to expect when exploring dungeons, who to speak to in Skyrim and why, and what services, areas of interest, and collectibles you should look for.
The Holds of Skyrim
Skyrim is divided into nine separate Holds: Haafingar, Hjaalmarch, the Pale, Winterhold Hold, the Reach, Whiterun Hold, Eastmarch, Falkreath Hold, and the Rift. Each of these Holds has a distinct atmosphere to it, from the Autumnal Forest of the Rift, to the Tundra Plains of Whiterun Hold, to the ragged and rugged Northern Coast of the Pale. You can’t see the borders of these Holds on your world map, but we show them in this guide’s maps. Wherever possible, cartographers have used rivers, roads, and treacherous mountains to separate Holds so it’s easier to find a location in this guide.
Each Hold has a capital city: Solitude, Morthal, Dawnstar, Winterhold, Markarth, Whiterun, Windhelm, Falkreath, and Riften. These are the nine shields (crests) that you can see on your world map. While most Holds contain smaller towns and settlements as well, the capital is always the most important and highly populated location within the Hold and is among the safest places to be (unless it’s under siege during the Civil War, of course).
Habitations
A city, town, or dwelling populated with citizens who are almost always neutral, if not civil and friendly, toward you.
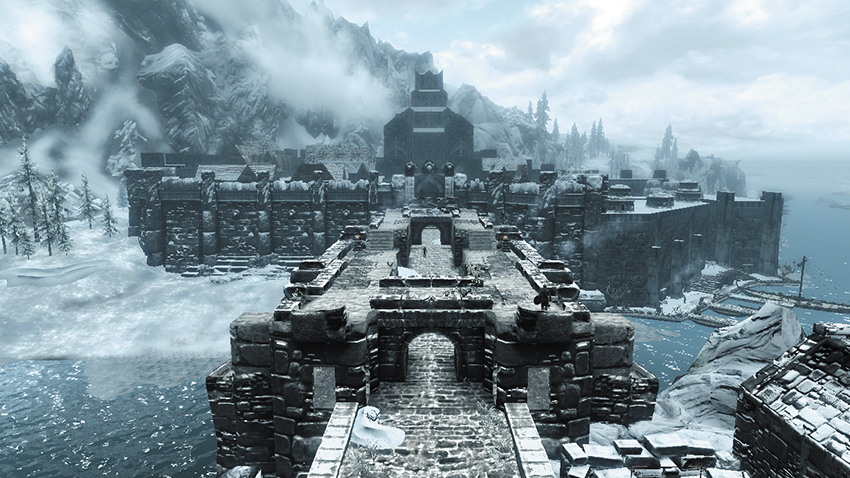
Windhelm, capital of Eastmarch
Habitations range in size from a small group of Khajiit Caravaneers to the rugged majesty of Solitude, the sprawling capital of Haafingar Hold. Here, you’re likely to find citizens in need of help (or at least a Favor or two) or who have rumors to share, tasks to accomplish, quests to start, and interactions that test your social skills more than your skill at arms. The major types of habitations are listed in this guide’s Atlas.
Dungeons
A location populated with hostile people or creatures that typically attack you on sight.
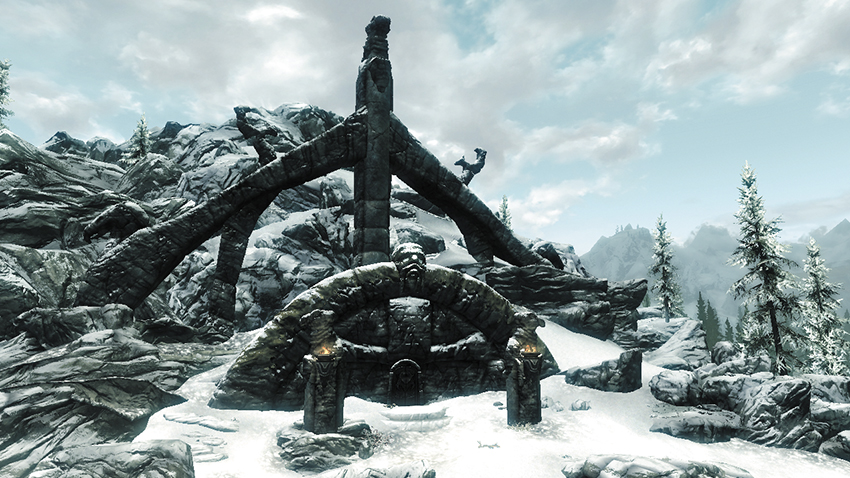
High Gate Ruins, in the Pale
A “dungeon” is a place where you will find exploration and combat. It is an all-encompassing term for a location with usually no friendly faces, a place where you encounter wild animals, brigands, or worse. When you fully explore a dungeon, you typically leave with a reward that makes the harrowing trek worth your time and sanity. Dungeons vary widely in size, from small caves to massive, multistoried ruins. Most have a high-level foe you most defeat (a “boss”), and some even have their own small quests. Others are woven into the larger quests that dominate your adventure.
When you clear a dungeon—that is, explore it and defeat all of the major foes within—your map typically marks it as “cleared.” Some locations cannot be cleared, and others can be cleared only under special circumstances.
Most dungeons will repopulate over time. This can happen in as little as a week for a location you left midway through and may not happen for a month or more (if ever) for a dungeon you have cleared. Note that your map will not indicate when a location has repopulated (once cleared, always cleared), so be careful—you may find enemies where you least expect them.
Other Locations
There are also many minor locations and encounters not flagged on your in-game world map, but all of them are listed on this guide’s map. These are Secondary Locations, usually small shrines, lost treasure chests, tiny campsites, dragon burial mounds, or other odd occurrences that you can stumble upon. There are also World Encounters, small events that occur randomly. This could be anything from a fox chasing some chickens, to a challenge from an Orc, to a Khajiit with a penchant for being economical with the truth....
Mapping and Movement
The realm of Skyrim is vast and foreboding and at times almost overwhelming—there are over 350 Primary Locations to discover! Although you can go where you want, do what you want, and see what you want, it is worth considering the following plans to explore a location more logically:
Plan 1—The Base Camp: Use a location you’ve cleared out or a location you know is safe (such as Riverwood) as a base camp until you’re familiar with your surroundings. Learn how far a new location is from this safe place.
Plan 2—The Landmarks: Look for landmarks when you travel. No matter where you are in Skyrim, you should be able to spin around slowly and spot two familiar landmarks to get your bearings. This is easier in some Holds (such as Whiterun, with its capital and the towering Throat of the World mountain) and more difficult in others (such as the craggy Reach). However, once you know the locations around a big landmark, you can investigate other locations close to it without becoming lost. Also use smaller landmarks such as roadside shrines, bridges, or signposts to remember where you’ve been.
Plan 3—Roads and Paths: You may be tempted to charge off into the wilderness, and this is perfectly fine. But to efficiently discover everything in the area of a Hold, it is worth using the network of roads (cobblestones, with signposts) and pathways (tracks, goat trails, and even foot-tracked snow). These almost always lead you close or directly to a Primary Location. Follow the roads to make a circular trek around a Hold, then return and methodically search areas off this beaten track.
Plan 4—Your Destination Marker: If you select an empty spot on the world map, you can place your own destination marker there. This is extremely useful when used in conjunction with this guide’s Atlas, as there are close to 200 Secondary Locations, which don’t show up on your world map! Simply gauge where a Secondary Location is by comparing the world map to the guide map, place the marker, and head there.
Plan 5—Use the Atlas: This guide has a sizable section revealing every location in Skyrim. Reference the locations and maps in that giant chapter to help you on your way.
Dungeon Exploration
Finding Your Way
Whether you’re assaulting a ruined fortress filled with bandits or stealthily creeping through some long-forgotten crypt, dungeons are at the heart of your adventuring experience. Although they may appear confusing at first, the winding tunnels and twisting corridors generally lead to a final chamber, where you must defeat a powerful foe to claim your reward. In Skyrim, many dungeons also have a secret exit or shortcut—a hidden passage, barred door, elevated tunnel, or dwarven elevator that leads back to the entrance. This allows you to exit a dungeon without having to backtrack.
Lighting Your Way
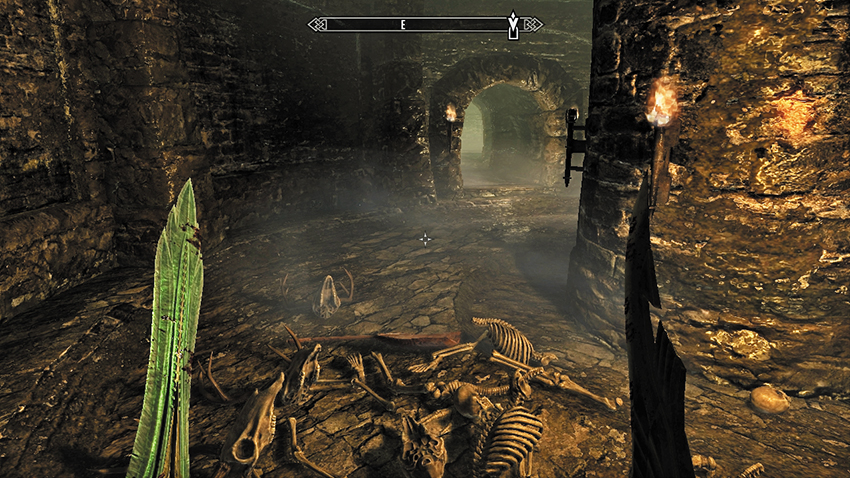
Carrying a torch or employing a staff or spell to light your way makes the frightening darkness of dungeons a little less intimidating. Be sure to have a light source tagged as a Favorite so you can quickly switch between it and your combat weapons as needed.
Khajiit and vampires can call on their Nighteye power to see in the dark, allowing them to more easily slip through the darkness undetected.
Also note the positions of lanterns, torches, and braziers inside dungeons, as they are almost always visual cues that point you in the correct direction. If you’re lost, look for these light sources to guide you.
Dungeon Puzzles

Many dungeons were sealed for a reason—they contain the dormant (and often undead) remains of a once-powerful entity. To protect these tombs from grave robbers and brigands, the ancient Nords concocted many puzzles to flummox and foil the unwary. The same is true inside Dwarven Ruins, but on a far grander scale. Here is what you can expect:
Switches, Levers, Chains, and Handles
If you’re stuck in a chamber, look for any of these devices to open the doors, gates, and portcullises that prevent your progress. Chains are usually the most difficult to spot, hanging on a gloomy wall. Sometimes, these must be triggered in a specific order to open the path forward.
Nordic Puzzle Door
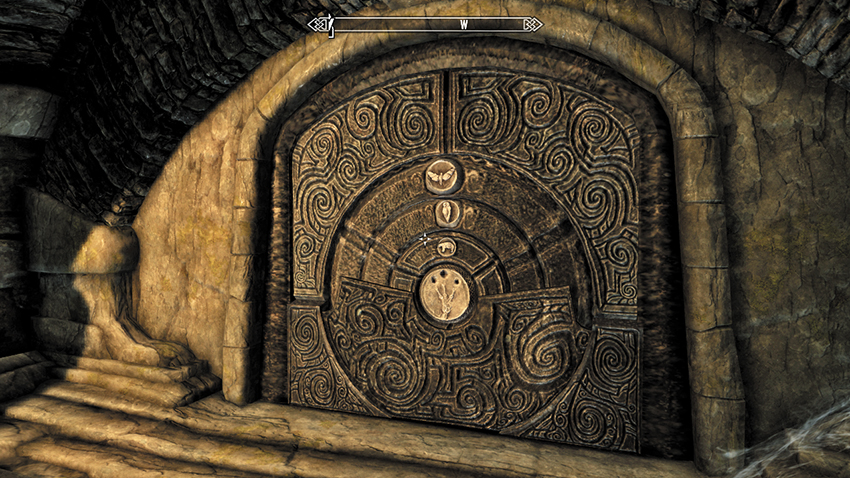
A series of concentric metal rings are embedded in an impenetrable door, each embossed with three animal glyphs. Explore the dungeon to find the Dragon Claw associated with the door—a precious artifact that holds the key to this puzzle. In your inventory, inspect the palm of the claw to find the solution to the door. Line up the three animals glyphs in the correct order, then activate the central “keyhole” with the Dragon Claw to unlock the door.
Nordic Puzzle Pillars and Petroglyphs
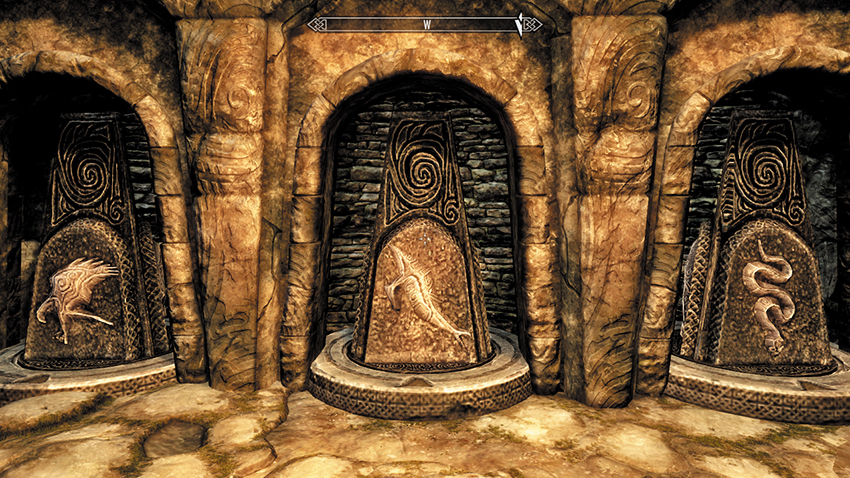
Many chambers require you to rotate two or more stone pillars to face the correct direction in order to open a path forward. These pillars have been inscribed with a set of animal petroglyphs, which correspond to another set of glyphs somewhere in the surrounding chamber. Match the two sets of animal carvings to solve the puzzle.
Rotating Walls
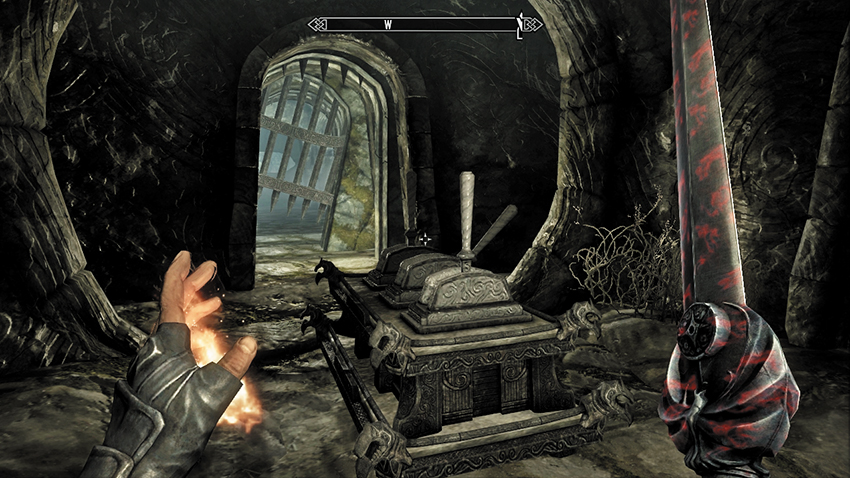
Stone walls controlled by a hidden mechanism can rotate to open or close paths in a dungeon. When you encounter them, look for a set of Nordic Puzzle Pillars or a lever, chain, or switch you can use to open the way forward.
Dwarven Puzzles
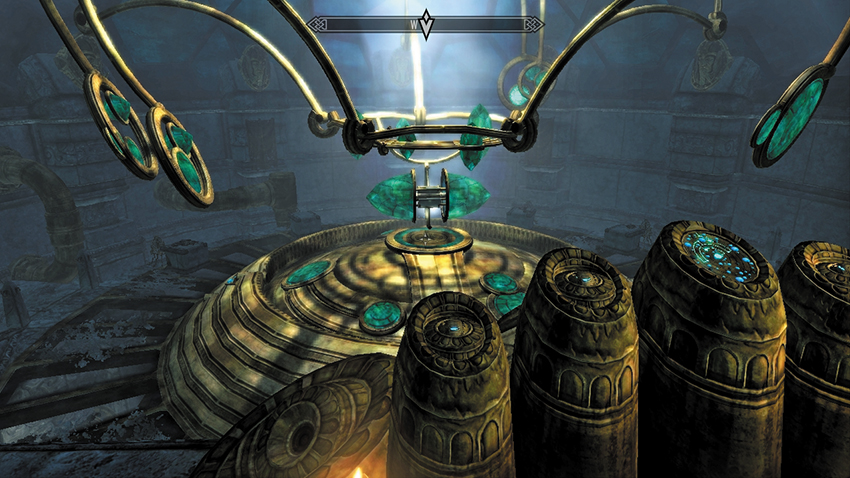
Long ago, the ancient dwarves constructed immense clockwork mechanisms and complex steamworks. The ruins of this long-lost race still yield a variety of intricate and unique puzzles, from trying to stop the flow of poisonous gas into a chamber, to carefully aligning a system of mirrors in an Oculory, to inserting an otherworldly key into a strange slot. In some cases, you may need to find the “key” object beforehand, or your progress will be limited at best.
Other Puzzles
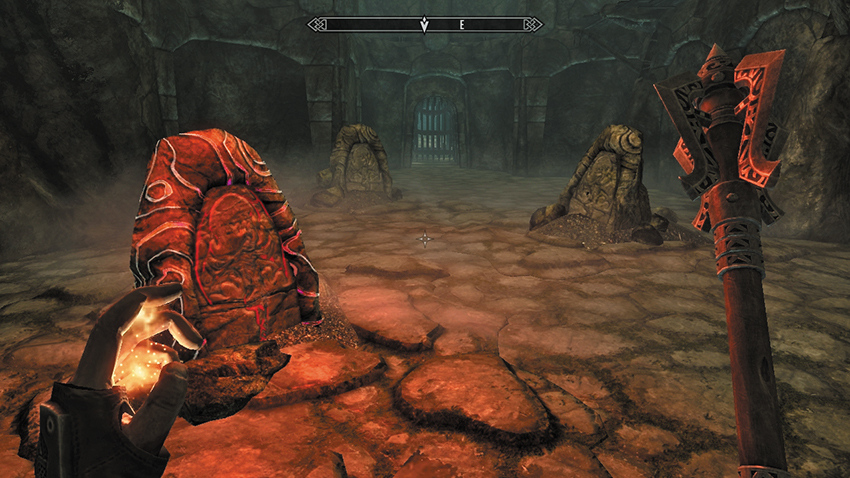
There are occasionally other puzzles that are more complicated, requiring a Shout or other technique to solve. These are duly noted.
Traps and Triggers
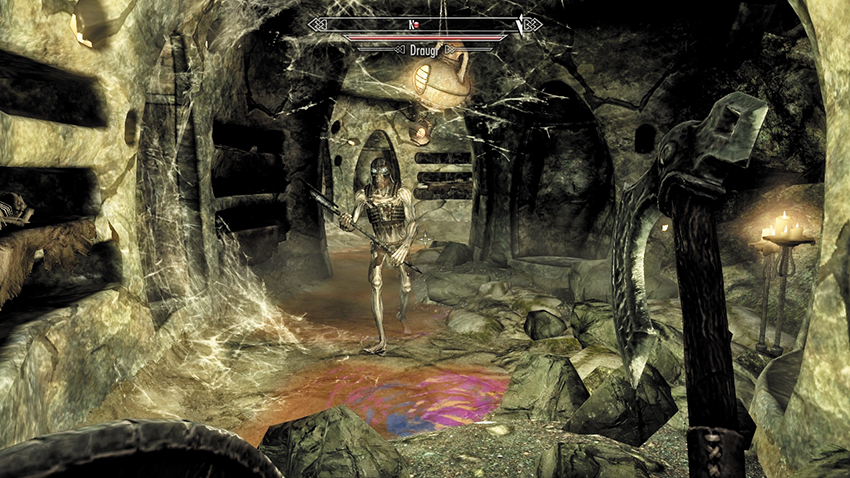
The infamous oil lamp trap: Turn the burn on your enemies, if you’re quick and clever!
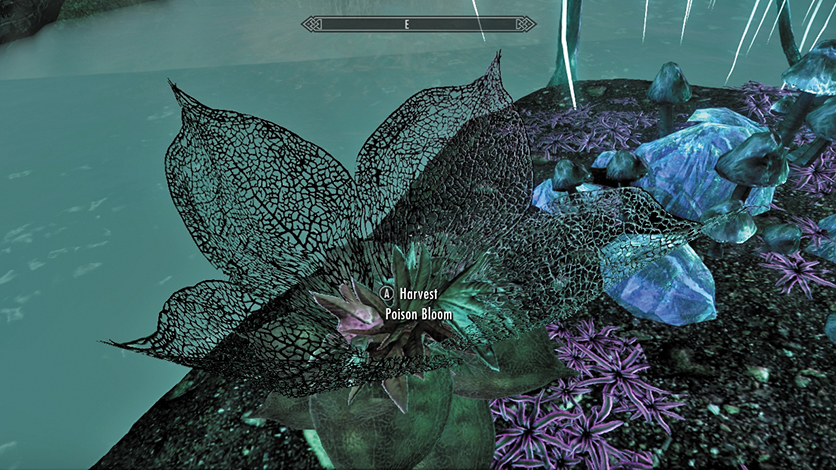
The unpleasant Poison Bloom Trap: What pretty lattice-like petals. What a heady aroma...Gak!!
Dungeon exploration would be nowhere near as terrifying without the uncertainty of possibly stumbling over a tripwire and being pincushioned by a dozen rusty darts! Throughout your adventure, expect to run into, step on, or trigger any of 30 different traps. The following chart lists every major type of trap and trigger, along with advice on how best to avoid them.
Note that most traps have a small chance of infecting you with a random disease. It might be worth keeping around a Cure Disease potion just in case...
| Trap | Damage | Threat Level | Most Common In… | Tips |
|---|---|---|---|---|
| Apocrypha Tentacles | Average | Average | Apocrypha | Yet another reason to avoid the water. As you explore Apocrypha, tentacles will frequently rise up from the inky depths to lash out at you, doing damage and possibly afflicting you with disease. You can often avoid them entirely by hugging the walls and keeping well away from the edge of the platforms. |
| Apocrypha Water | Low | Average | Apocrypha | The roiling black waters of Apocrypha are lethal to mortals, although “dying” will merely return your spirit to Tamriel. Avoid the water at all costs, and be careful that your foes don’t knock you into it. |
| Bear Trap | Average | Nuisance | Bandit Camps, Outdoors | Watch where you step! Bear Traps are often hidden in the bushes or under low grass, ready to snap if you aren't careful. You can often lure enemies into stepping on them. Interacting with the trap will also allow you to close or open them. |
| Battering Ram Trap | High | High | Nordic Ruins | Talk about a headache! Battering Ram traps cover a long arc, and at higher levels, can kill you or your foes in a single hit. Look out for the triggers that set them off, and keep an eye on the ceiling for them. Lure enemies into them to take them out in one shot. |
| Bone Alarm Trap | None | Nuisance | Bandit Camps, Forsworn Redoubts | Bone Alarm traps don't do any damage, but alert enemies to your presence. If you aren't sneaking anyway, they won't make much difference. If you are, watch your step and try to avoid them if you can. Shooting them with a bow will draw unaware enemies to them, allowing you to set up an ambush. |
| Crossbow Trap | Average | Average | Dawnguard/Vigilant Bases | Crossbow Traps fire fast and hit hard, like any other crossbow. However, they fire only a single shot and are relatively easy to disarm. Avoid their trigger mechanism, approach the crossbow, and activate it to pick it up. You can also place a standard crossbow and steel bolt into the mechanism if you want to use it against your foes. |
| Dart Trap | Average | Average | Nordic Ruins, Dwarven Ruins | The most common kind of trap, dart traps are also among the most avoidable. Even if you trigger them by accident, you can often just jump out of the way to minimize the damage you take. They deal a small amount of poison damage. |
| Dwarven Ballista Trap | High | Low | Dwarven Ruins | Dwarven Ballistas shoot a large bolt that explodes on impact, doing massive damage to anything in the blast radius. Functional ballistas are extremely rare, and often something you can turn to your advantage-- look for a valve or lever you can use to turn the trap on your enemies. |
| Dwarven Fire Pillar Trap | Average | Average | Dwarven Ruins | Initially resembling a pressure plate, Dwarven Fire Pillars rise from the ground and rotate, spewing gouts of flame. Spotting these traps in advance is key to avoiding them. |
| Dwarven Piston Trap | None | Nuisance | Dwarven Ruins | Dwarven Pistons shove anything in front of them away. They don't do any damage, but they hit hard, and have a habit of pushing you (or your enemies) into something nasty. |
| Dwarven Thresher | Average | High | Dwarven Ruins | Dwarven Threshers are a pair of whirling blades that rise from the floor, sometimes remaining in place and sometimes moving along a track built into the ground. Often appearing in narrow corridors, they are highly dangerous, capable of killing you, your followers, or your enemies with a few solid hits. If you see one, get out of the way! |
| Explosive Gas Trap | Average | Low | Nordic Ruins, Caves | See that ripple in the air? It might be a cloud of flammable, explosive gas. Put away your torch, keep your Flames spell in check, and you shouldn't have any problems with them. Explosive Gas is extremely rare. |
| Flail Trap | High | Average | Bandit Camps | Also fairly rare, Flail traps tend to be located on the ceiling, ready to drop a large, spiked sphere into your head. If you see it coming, back away-- once the trap has come to a full and complete stop, it's harmless. |
| Flamethrower Trap | Average | Average | Any Dungeon | Often built into the mouths of Nordic dragon statues or set into pressure plates, flamethrower traps are a threat most adventurers will see from time to time. Because their flame travels in a narrow, focused beam, your best bet is to quickly step out of the way and let the trap subside. |
| Infected Spike Trap | Average | Nuisance | Vampire Lairs | These hanging ropes are strung with bloody caltrops that pierce the skin and inflict you with disease. If you’re careful, you can usually avoid them entirely or even lure enemies through them. |
| Magic Caster Trap | Varies | Varies | Any Dungeon | Magic Casters consist of a runed pedestal powered by a Soul Gem. When triggered, the Soul Gem casts a preset spell, which could be anything from Flames to Ice Storm. If you can't avoid the trap altogether, you can disarm it by removing the Soul Gem-- taking it directly works, but you can also hit it with an arrow from a safe distance, or grab it with Telekinesis. |
| Mammoth Skull Trap | High | Low | Any Dungeon | When triggered, this huge mammoth skull swings forward on its support ropes, slamming into anything in front of it with lethal force. This trap tends to be easy to spot-- you can't exactly overlook a giant mammoth skull-- so it's rarely much of a threat to you, though you can lure your enemies into it. |
| Oil Lamp Trap | Low | Low | Nordic Ruins | The oil lamp itself isn't usually a problem. It's the pool of oil that often sits under the lamp that you should keep an eye on, and lure your enemies into if possible. Then hit or shoot down the lamp to set the oil ablaze. They are often triggered by tripwires, but shooting or attacking them will also cause the lamp to drop. |
| Oil Pool Trap | Average | Low | Any Dungeon | Oil Pools are easily turned against your foes-- just lure them into the oil and light it with any fire source. Oil Lamp traps are often conveniently nearby, but lacking one of those a Flames Spell, or Fire Atronach will work just as well. |
| Poison Blooms | None | Varies | Falmer Hives | Poison Blooms are easy to identify by their large, white, lattice-like petals. When you approach them, they begin to shudder. Quickly activate them to pluck the bloom, or they will open, spewing a cloud of poison gas. |
| Poison Gas Trap | Average | Average | Dwarven Ruins | Poison Gas does steady damage over time if you stand in it. When you find a patch of poison gas, look around for a way to turn it off. Failing that, make a run for it, using a Healing spell or potions to keep your health up. The Clear Skies Shout can also be used to disipate the gas. |
| Rockfall Trap | Average | Average | Bandit Camps, Nordic Ruins, Mines, Caves | Rockfall traps are fairly rare, but the sheer number of rocks they contain can make them a threat if you're standing in the wrong place. If you see one, your best bet is to get out of the way. |
| Rune Trap | Average | High | Any Dungeon | Rune Traps look much like the Fire, Frost, and Shock Runes that you can place with the Destruction spells of the same name. And like those spells, these traps pack a quite a punch, exploding automatically if you get close enough. Your best bet is to lure an enemy to run across them and set them off. Failing that, you can shoot them with a spell to set them off, but keep your distance. |
| Spear Trap | Average | High | Any Dungeon | A single spear trap is no threat… but spear traps tend to come in groups of five or more, lashing out unexpectedly from the floor or walls. Your best bet is to look for the ports from which they emerge and try to avoid setting them off in the first place. |
| Swinging Blade Trap | Average | Average | Nordic Ruins | Blade traps often appear in sets in long, narrow hallways. They're usually easy enough for you to dodge, although enemies (and your followers) have a harder time, making them a great kill zone. When you're ready to go through, tell your follower to stay behind, time your run carefully, and look for a lever on the far side to disable them. |
| Swinging Wall Trap | High | High | Any Dungeon | Swinging wall traps come in a variety of shapes and sizes, from the heavy spiked-iron walls in forts to the netting and tusk traps of Riekling dens. But all are fast, lethal, and difficult to distinguish from other wood or metal beams in a dungeon. If you notice a freestanding beam that doesn’t quite reach the ceiling, be careful. Try to snare an enemy with it if possible—few things are as satisfying as watching a foe get hurled into the wall by this trap. |
| Hinge Trigger | None | Varies | Any Dungeon | Find a suspicous-looking chest or door? Then look for this little metal hinge and wire on the side. Carefully activate it, and you can pick its lock to safely disable it before opening the object it was attached to. You can also hit it with an attack from a distance to break it and set off the trap in (relative) safety. |
| Pressure Pedestal | None | Varies | Nordic Ruins | If you see a flat-topped pedestal with a tantilizing item on it, be careful-- it could be a pressure pedestal trap. If the pedestal isn't weighted down, a trap will be set off. Grab the item from a distance (Telekenesis is great for this), or drop something else on the pedestal to keep it weighed down. Or just grab the item and run for it. |
| Pressure Plate | None | Varies | Any Dungeon | By far the most common trap-triggering mechanism, Pressure Plates can be found in almost any dungeon-- just look for suspicious raised stones and avoid them. Or take the Sneak Skill's Light Foot Perk to avoid setting these off altogether. |
| Tripwire | None | Varies | Any Dungeon | See a low-lying white wire? That's a tripwire. Leap over it or skirt around it to avoid setting it off. Or edge forward very carefully to see what happens when it breaks. You can also interact with the tripwire to disarm it. Tripwire-triggered traps only fire once. |
Other Sites of Interest
Dragon Mounds
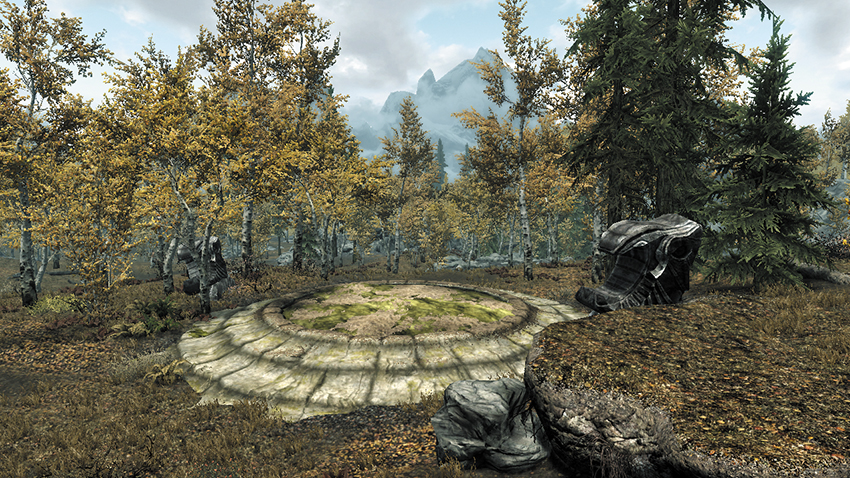
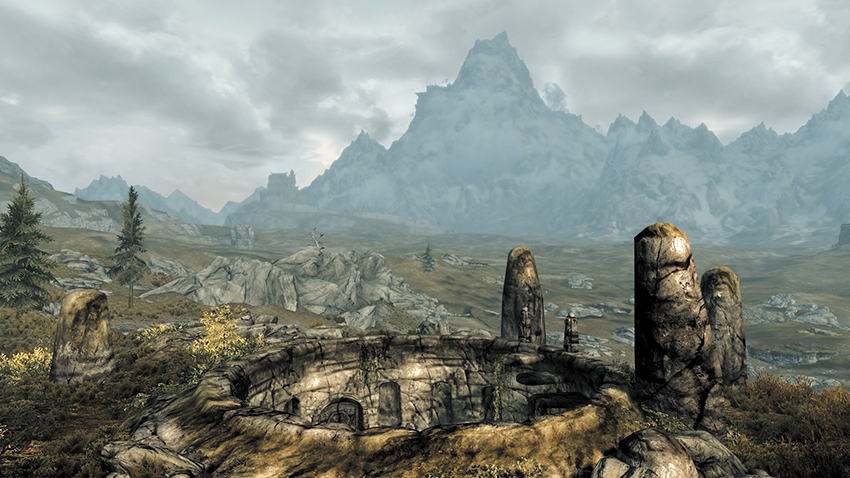
Dotted across the fells and forests and the plains and snowlines of Skyrim are strange circular mounds, surrounded by a scattering of standing stones. These are ancient dragon burial mounds, the final resting places of these creatures when they were slain centuries ago. But now the dragons are back! Alduin the World-Eater, a terror out of the most ancient legends, has returned to Skyrim, and over the course of the Main Quest, he opens these mounds and resurrects the dragons within, calling them forth to wreak havoc once more!
How Dragon Mounds Open
There are 22 Dragon Mounds scattered throughout the Nine Holds of Skyrim, and two more on the isle of Solstheim. When you encounter one (all are listed in the Atlas and marked on the Hold maps), it will be in one of four states. Over the course of the Main Quest, these mounds gradually open, releasing the dragons trapped within.
State I: Dormant
Each Dragon Mound opens in response to a specific objective in the Main Quest. Before that point, the Dragon Mound is dormant. The ground is covered, and the site could easily be mistaken for an ancient Nordic burial mound, as the two are quite similar.
State II: Deserted
As the Main Quest develops, you may find some mounds that have been opened but have no dragon nearby. This means Alduin has visited this site, resurrected a dragon from the mound, and both creatures have flown away. There is little for you to do here. But look around carefully—you may well spot the dragon at a nearby Dragon Lair!
State III: Awakened
As the Main Quest goes on, you will find more and more mounds in this state. Alduin has visited the site, resurrected the dragon from the mound, and flown away. Meanwhile, the reborn dragon remains here, gathering its strength and waiting for a chance to strike. Slay the beast and claim its soul to unlock your power as Dragonborn!
State IV: Resurrection
And in a few cases, if you stumble across just the right mound at just the right time, you may encounter Alduin himself! If you watch, Alduin will resurrect the dragon before your eyes, then fly off to his next destination. Attack, and Alduin roars into the skies, mocking you, before making his escape (he cannot be harmed). Meanwhile, the resurrected dragon will turn and attack! If you miss this opportunity, the mound will change to State III, with the newly resurrected dragon remaining near its mound until you arrive to challenge it.
Dragon Mound Stages Chart
The following chart lists (by Hold) all of the Dragon Mounds, when they are opened, and what state the mound will be in when it opens.
| Name of Dragon Mound | Hold Location | State | Dragon? | Main Quest Notes |
|---|---|---|---|---|
| [2.C] Dragon Mound: Karth River Forest | Hjaalmarch | II | No | Opens during Act II: Diplomatic Immunity |
| [2.G] Dragon Mound: Robber’s Gorge Bluffs | Hjaalmarch | III | Yes | Opens during Act II: Diplomatic Immunity |
| [2.P] Dragon Mound: Labyrinthian Peaks | Hjaalmarch | II | No | Opens during Act II: Elder Knowledge |
| [3.D] Dragon Mound: Sea Shore Foothills | The Pale | III | Yes | Opens during Act II: Elder Knowledge |
| [3.M] Dragon Mound: Shimmermist Hills | The Pale | III | Yes | Opens during Act II: Elder Knowledge |
| [3.Q] Dragon Mound: Yorgrim Resurrection | The Pale | IV | Yes | Opens during Act II: Elder Knowledge. Visit this location before Act II: Alduin’s Bane is complete in order to witness the resurrection! |
| [5.B] Dragon Mound: Reachwater Pass | The Reach | III | Yes | Opens during Act II: Elder Knowledge |
| [5.I] Dragon Mound: Ragnvald Vale | The Reach | III | Yes | Opens during Act II: Elder Knowledge |
| [5.T] Dragon Mound: Karthspire Bluffs | The Reach | III | Yes | Opens during Act II: Alduin’s Wall |
| [6.B] Dragon Mound: Rorikstead Resurrection | Whiterun Hold | IV | Yes | Opens during Act II: Alduin’s Wall. Visit this location before Act II: Elder Knowledge begins in order to witness the resurrection! |
| [6.K] Dragon Mound: Great Henge Resurrection | Whiterun Hold | IV | Yes | Opens during Act II: Diplomatic Immunity. Visit this location before Act II: Alduin’s Wall begins in order to witness the resurrection! |
| [6.O] Dragon Mound: Lone Mountain | Whiterun Hold | III | Yes | Opens during Act II: Alduin’s Wall |
| [7.H] Dragon Mound: Kynesgrove Resurrection | Eastmarch | IV | Yes | Opens during Act I: A Blade in the Dark. You will visit this location during Main Quest: A Blade in the Dark, witness the resurrection, and kill resurrected dragon. |
| [7.L] Dragon Mound: Bonestrewn Crest | Eastmarch | II | No | Opens during Act I: Dragon Rising |
| [7.N] Dragon Mound: Witchmist Grove | Eastmarch | II | No | Opens during Act I: The Way of the Voice |
| [7.T] Dragon Mound: Mzulft Foothills | Eastmarch | II | No | Opens during Act I: Dragon Rising |
| [8.A] Dragon Mound: Bilegulch Ridge | Falkreath Hold | II | No | Opens during Act II: Alduin’s Wall |
| [8.L] Dragon Mound: Evergreen Woods | Falkreath Hold | III | Yes | Opens during Act II: Alduin’s Wall |
| [8.AI] Dragon Mound: Bloodlet Peaks | Falkreath Hold | II | No | Opens during Act II: Alduin’s Wall |
| [9.F] Dragon Mound: Autumnwatch Woods | The Rift | II | No | Opens during Act II: Diplomatic Immunity |
| [9.M] Dragon Mound: Autumnshade Woods | The Rift | II | No | Opens during Act I: Bleak Falls Barrow |
| [9.Q] Dragon Mound: Lost Tongue Pass | The Rift | II | No | Opens during Act II: Diplomatic Immunity |
| [S.NN] Dragon Mound: Frozen Shoals | Solstheim | III | Yes | Opens during Act I: Dragon Rising |
| [S.SK] Dragon Mound: Temple Foothills | Solstheim | III | Yes | Opens during Act I: Dragon Rising |
Standing Stones
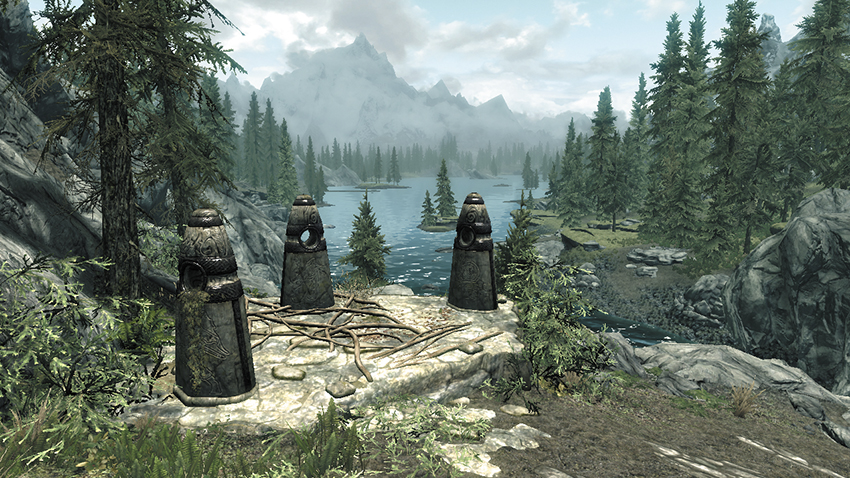
Throughout the wilderness of Skyrim, you can find 13 of these ancient and powerful standing stones. Etched into each is the sign of one of the major constellations known throughout Tamriel. Touch the stone, and you can choose to receive its blessing. You’ll focus the stone, and a bolt of pure magic arcs to the heavens. This blessing is now permanent, until you visit a different stone and receive its blessing, which supersedes the previous one. You may have only one blessing at a time. Standing stones can be divided into two major sets: 4 Skill Improvement stones, and 9 other stones.
Skill Improvement Stones
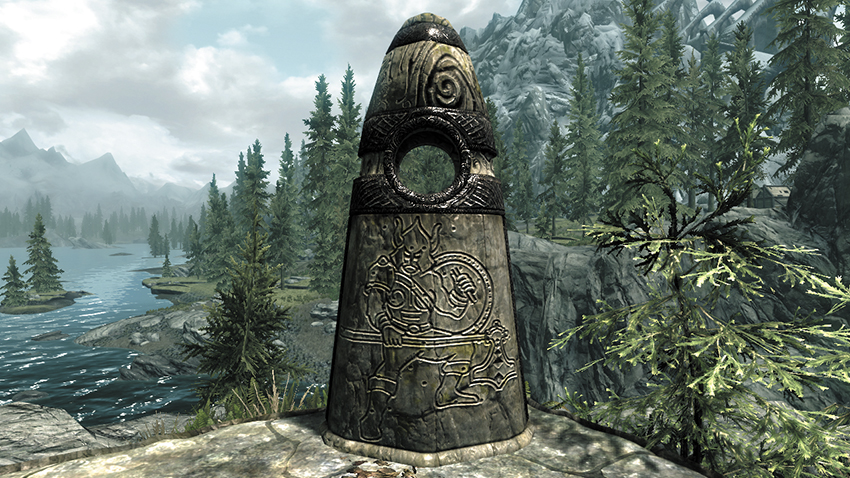
The Warrior Stone: Located at the Guardian Stones (Falkreath Hold). Combat skills increase 20% faster.
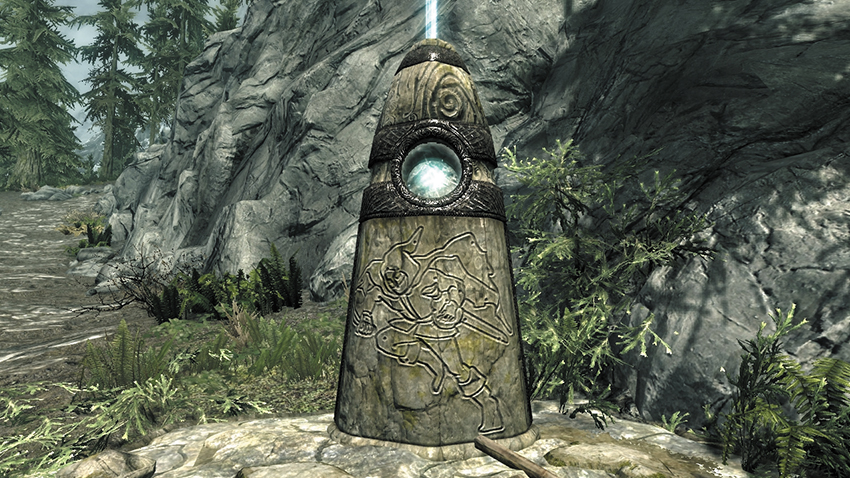
The Thief Stone: Located at the Guardian Stones (Falkreath Hold). Stealth skills increase 20% faster.
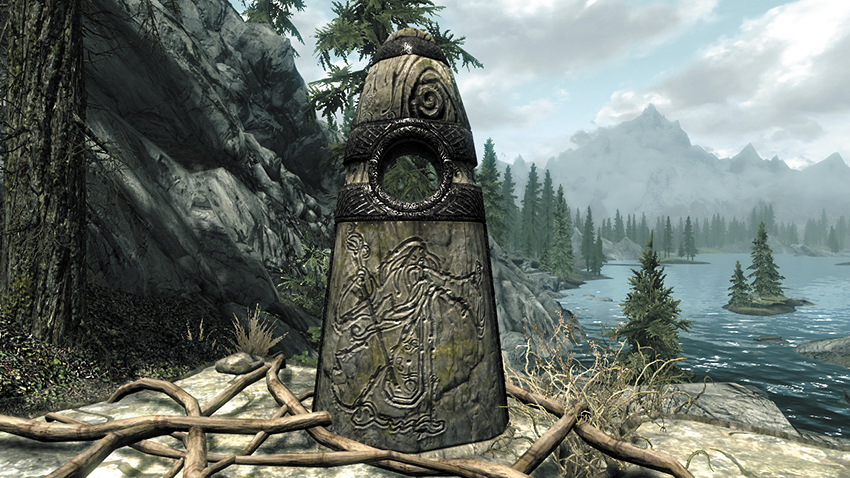
The Mage Stone: Located at the Guardian Stones (Falkreath Hold). Magic skills improve 20% faster.
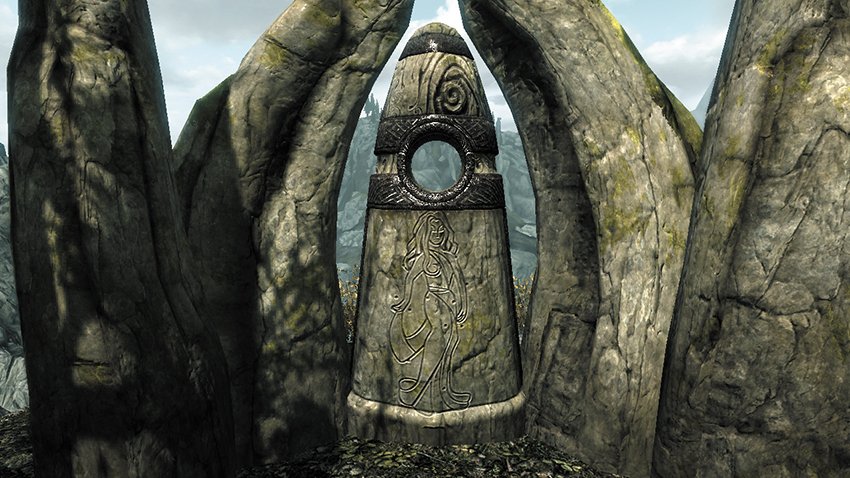
The Lover Stone: Located in the Reach. All skills improve 15% faster.
Four standing stones—Warrior, Thief, Mage, and Lover—increase the rate at which your skills improve. The choice to use or not to use these stones is more important than you may think.
Accept one of these stones’ blessings if:
- You crave high-level spells and perks and want access to them as quickly as possible.
- You want to trek through high-level dungeons (such as Dwarven Ruins and Dragon Priest crypts) as soon as you can.
- You’re trying to maintain a second set of skills that you don’t use as often: For example, your primary focus might be as a warrior, with a secondary interest in stealth. You may want to take the Thief Stone just to help your stealth-based skills keep pace.
- You want to quickly increase a skill or set of skills that you haven’t used before or that you’ve neglected: For example, if you decide to add Restoration spells to your Warrior’s repertoire or if you want to pick up some Illusion Magic to complement your Thief’s skills, the Mage Stone will help you master them more quickly.
Resist these stones’ blessings (and choose one of the other stones) if:
- You want to make your adventure as long and rewarding as possible and want to see and do everything you possibly can in Skyrim. Your adventure is most entertaining when you’re below Level 50. Impatience isn’t rewarded....
- You’re more interested in experimenting with the dramatic and varied effects that the other stones can have on your style of play, rather than accepting these “hidden” bonuses.
Other Stones
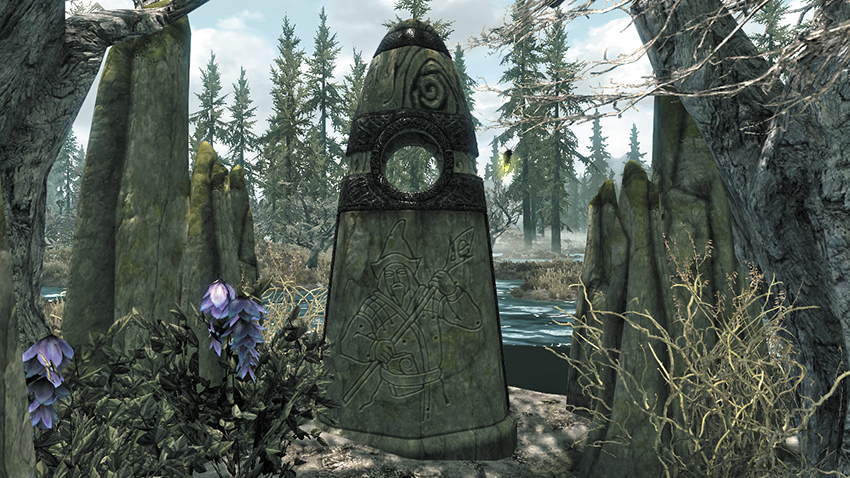
The Apprentice Stone, located in Hjaalmarch Hold: Recover Magicka twice as fast; twice as vulnerable to magic.
This stone offers a slightly risky option for Mages who find themselves running out of Magicka too frequently or for Battlemages who don’t want to sacrifice the protection of their armor for the Magicka Regeneration bonuses of mage robes. The weakness to Magicka is a real liability—especially in warlock or vampire dungeons, where almost all of your foes cast spells—but it can be offset by having a summoned creature or Follower to help soak up the damage. For Bretons, this weakness is also offset by your racial Magic Resistance, making it much more palatable.
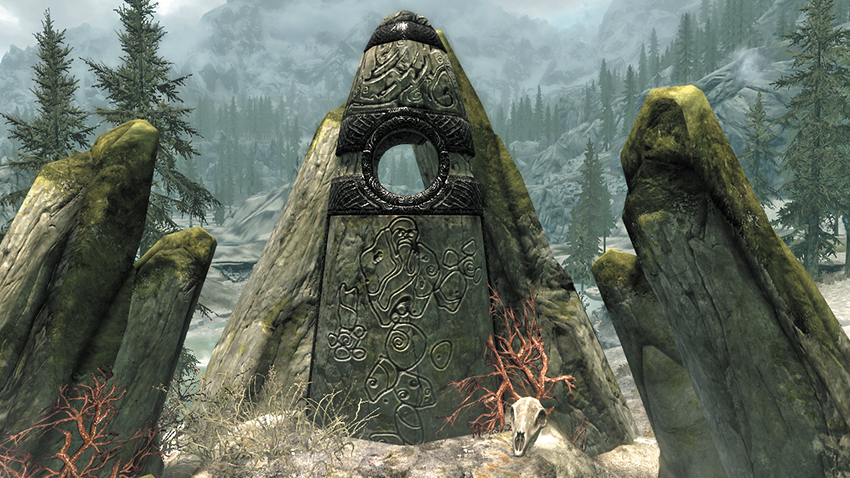
The Atronach Stone, located in Eastmarch Hold: 50 extra points of Magicka, 50% absorb spells, -50% Magicka Regen.
This gives you the benefits of two of the best racial abilities—the High Elves’ Highborn Magicka and the Breton’s Dragonskin (as a constant effect)—with the huge drawback of halved Magicka Regen. You can easily offset or overcome this drawback by equipping mage robes or other items that increase your Magicka regeneration rate.
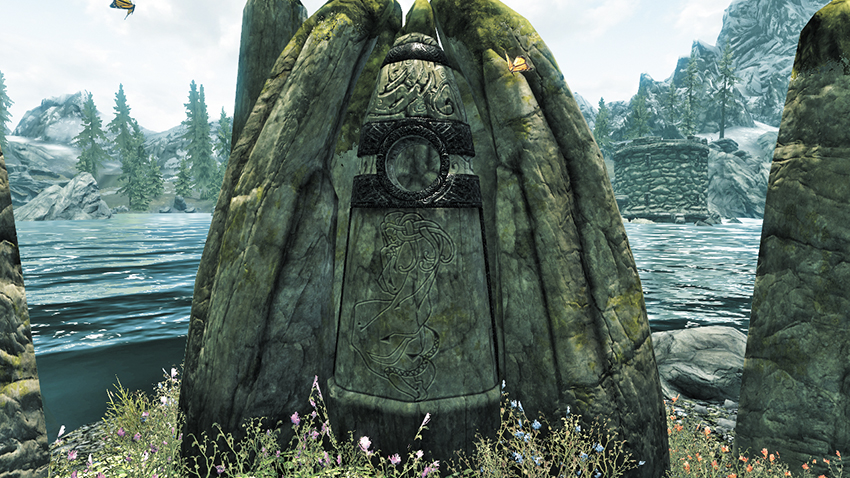
The Lady Stone, located in Falkreath Hold: Regenerate Health and Stamina 25% faster.
This is a solid, effective choice for offensive warriors. The bonus isn’t spectacular, but it will give you more staying power in combat. It’s also an excellent choice for vampires, as it can offset your Health and Stamina regeneration penalties while in sunlight.
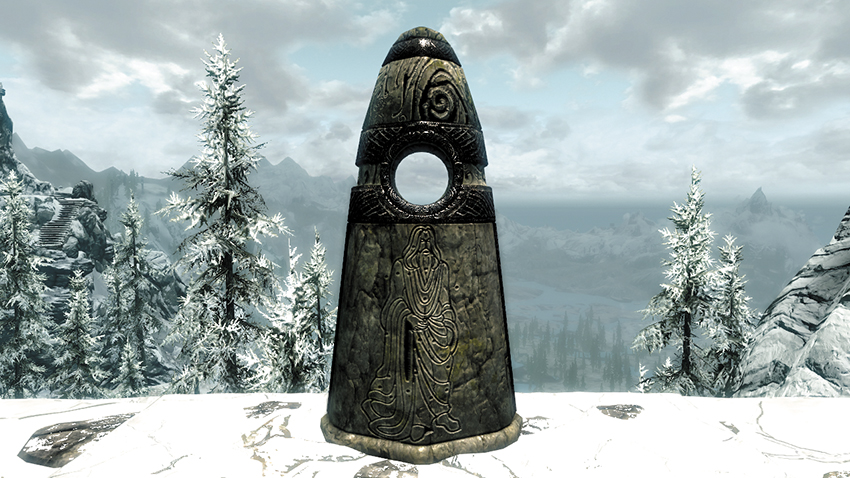
The Lord Stone, located in the Pale: 50 points of damage resistance, 25% magic resistance.
This grants you two excellent resistance bonuses in one! The damage resistance bonus is the equivalent to 50 points of armor, which is like giving your robed mage a Daedric Cuirass (and makes an already well-armored warrior even more resilient)! The magic resistance bonus is also solid, cutting spell damage by a quarter. Overall, this is a good choice for any character who wants to shore up their defenses.
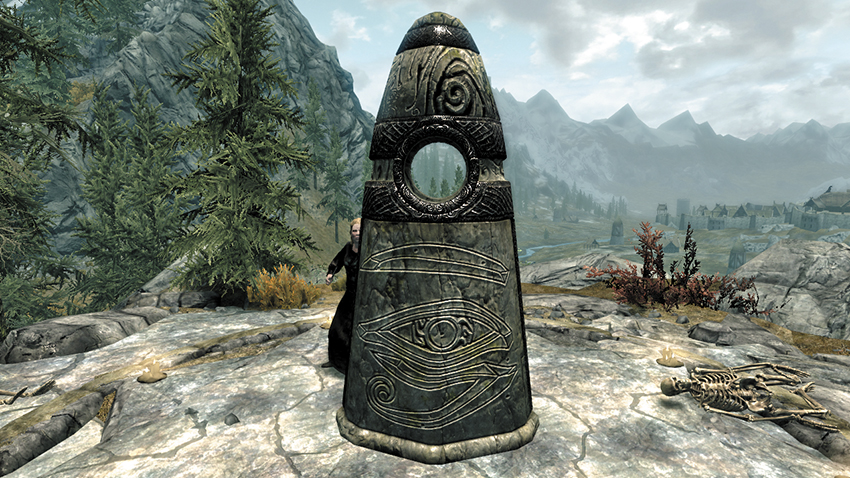
The Ritual Stone, located in Whiterun Hold. Raises all dead around you to fight for you.
Arguably the most entertaining, and one of the most useful blessings, the Ritual Stone grants you a power that raises all the dead around you—from the mightiest Draugr Deathlord to the lowliest chicken—and causes them to fight for you. Useful in a wide range of situations, this power really shines in the large-scale battles at the end of many dungeons, where you can find yourself quickly raising 5 to 10 corpses to take on their former allies!
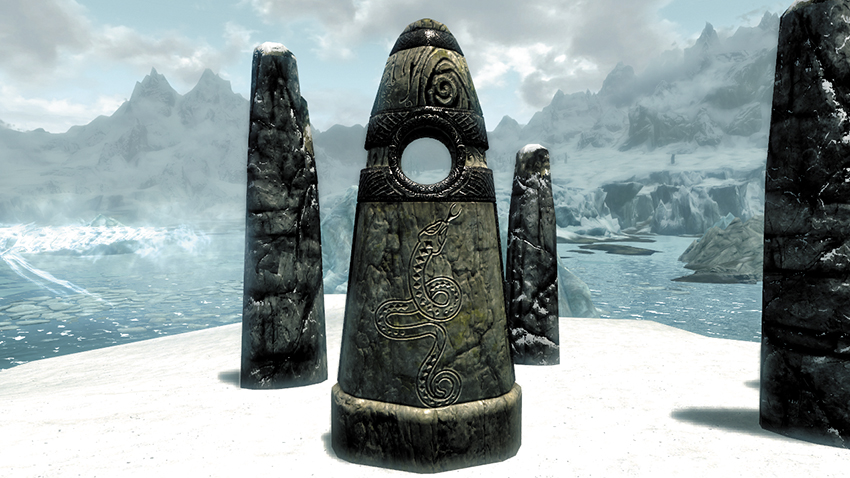
The Serpent Stone, located in Winterhold Hold: Paralyze the target for 5 seconds and do 25 points of damage.
Paralyze is a useful ability to have on hand, allowing you to quickly score multiple hits on a foe before they can recover, take one enemy out of the fight so you can deal with others, or simply buy yourself a few seconds to retreat and regroup. It’s especially useful when fighting individual, high-level foes. However, you can achieve the same effect with a spell or poison, so this power may be less useful at higher levels once you have other options at your disposal.
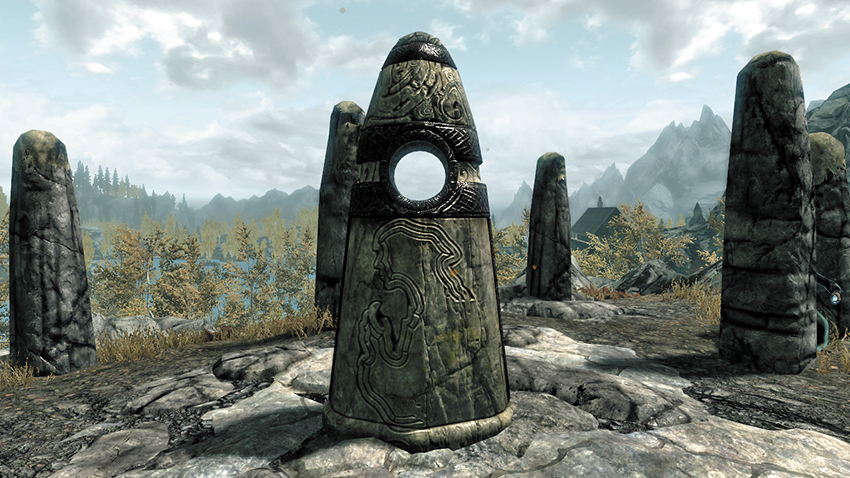
The Shadow Stone, located in the Rift: Invisibility for 60 seconds.
This power is exceptionally useful for a stealthy character. It can be invoked instantly, silently, with no Illusion skill or casting time required. You can achieve the same effect with a spell—and you definitely want that spell—but even after obtaining it, the Shadow Stone’s power can still be useful to keep around as a backup.
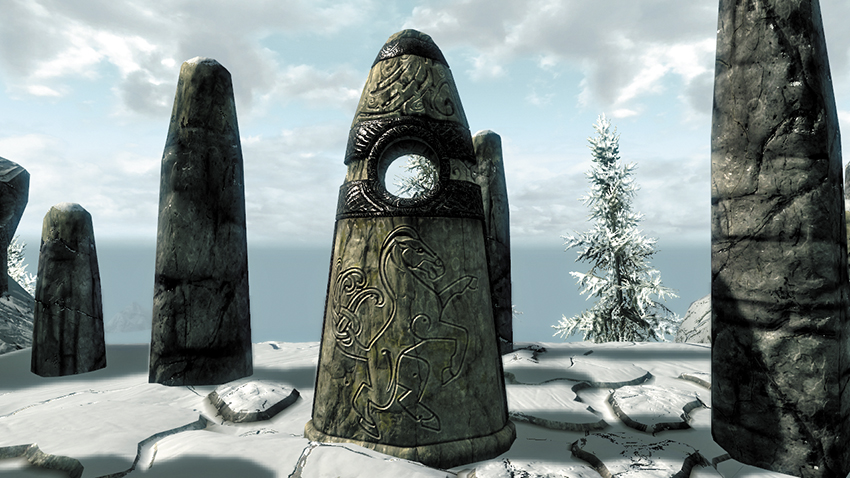
The Steed Stone, located in Haafingar Hold: Carry weight +100, no movement penalty from armor.
Although this blessing doesn’t bring you the instant gratification or protection of those that help you in combat, it is worth considering the Steed Stone’s ability if you rely on heavy armor: You’ll appreciate the extra mobility and Carry Weight it affords you. It’s also worth trying this ability before taking the Conditioned (Heavy Armor) or Unhindered (Light Armor) perks; you may even want to take it instead of those perks and select another perk.
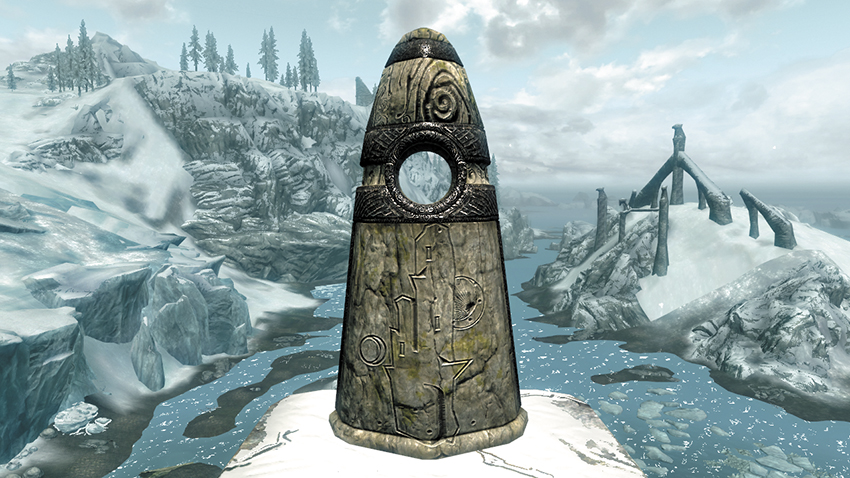
The Tower Stone, located in Winterhold Hold. Unlock any Expert-level lock (or lower) once per day.
If you constantly find yourself out of lockpicks or simply don’t enjoy lockpicking, the Tower Stone’s power will help you open one locked door or treasure chest per day. For everyone else, there are more useful abilities to choose from.
 Sacred Stones (All-Maker Stones)
The Skaal of Solstheim revere six Sacred Stones, symbols of their bond with nature and the All-Maker. These places of power are being corrupted by Miraak, who is compelling the people of Solstheim to rebuild them to strengthen his own power.
In order to draw upon their magic, you must first cleanse them of Miraak’s influence by using the Bend Will Shout on them. Doing so destroys the shrine, frees the people enslaved by Miraak’s power, and releases a powerful Lurker that attacks you.
Blessings of the Sacred Stones
Thereafter, you can interact with each Sacred Stone once per day to receive its blessing: it fully heals you and grants you a potent single-use power. Once you expend it, you must return to the Sacred Stone to acquire this power again.
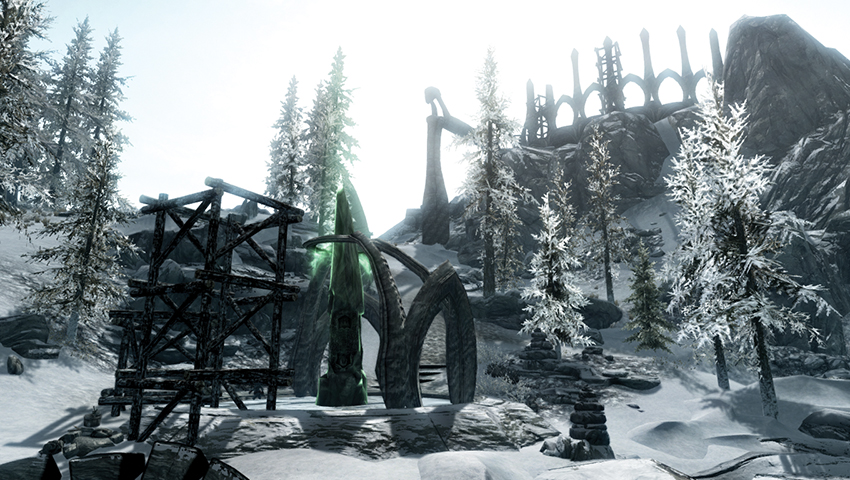
Beast Stone: Grants you the Conjure Wearbear power, which summons a werebear for 60 seconds wherever the caster is pointing.
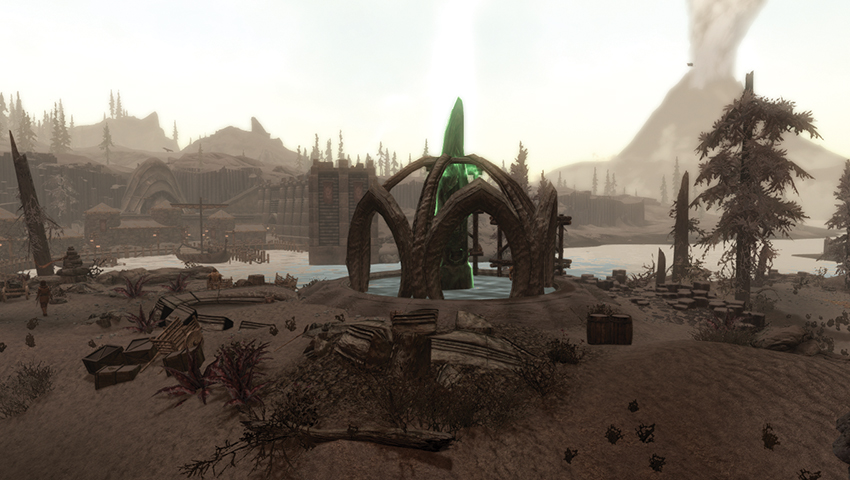
Earth Stone: Grants you the Bones of the Earth power, which protects you from 80% of all physical damage for 30 seconds.
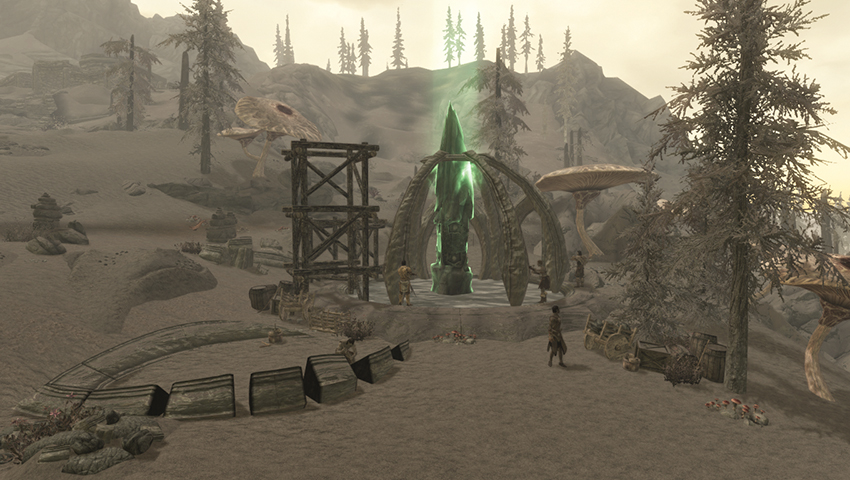
Sun Stone: Grants you the Sun Flare power, a 100-point fiery explosion centered on the caster. Does more damage to closer targets.
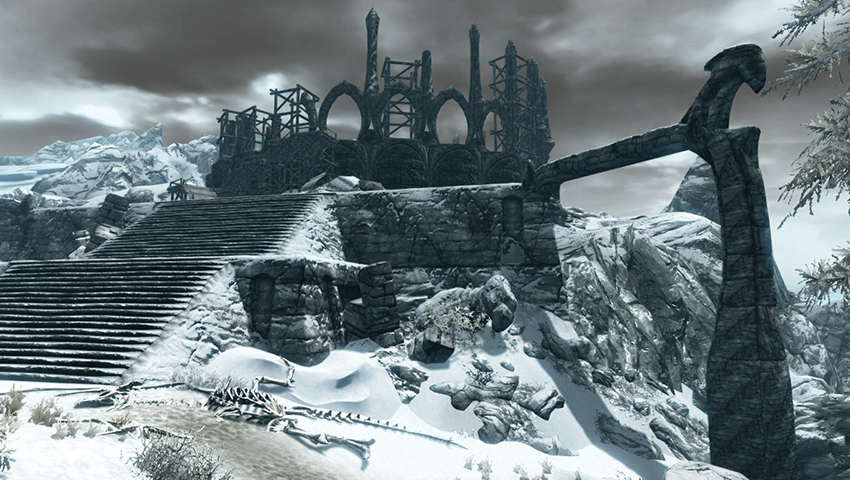
Tree Stone: Grants you the Root of Power, which causes all spells to cost 75% less for 60 seconds.
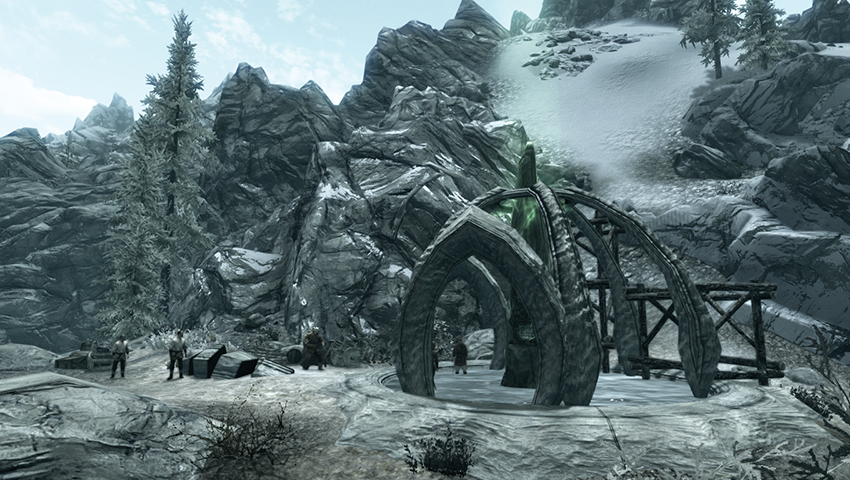
Water Stone: Grants you the Waters of Life power, which heals everyone close to you for 200 points.
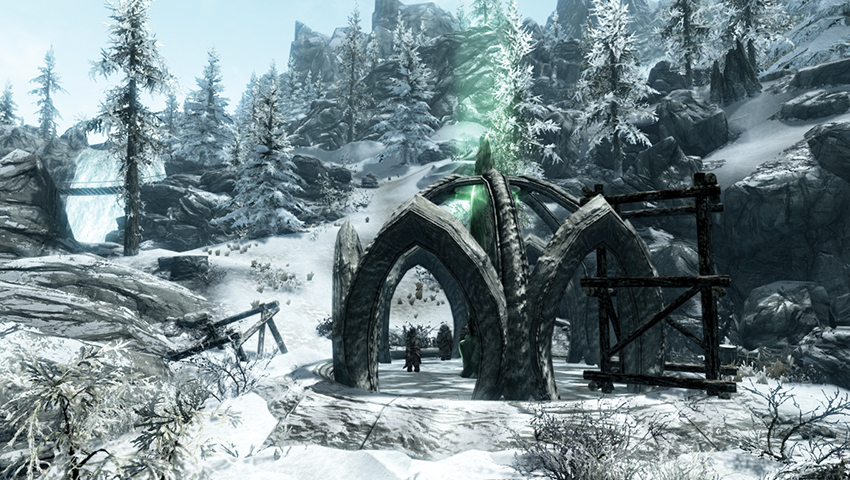
Wind Stone: Grants you the North Wind power, which does 20 points of frost damage to all enemies within range for 10 seconds.
Shadowmarks
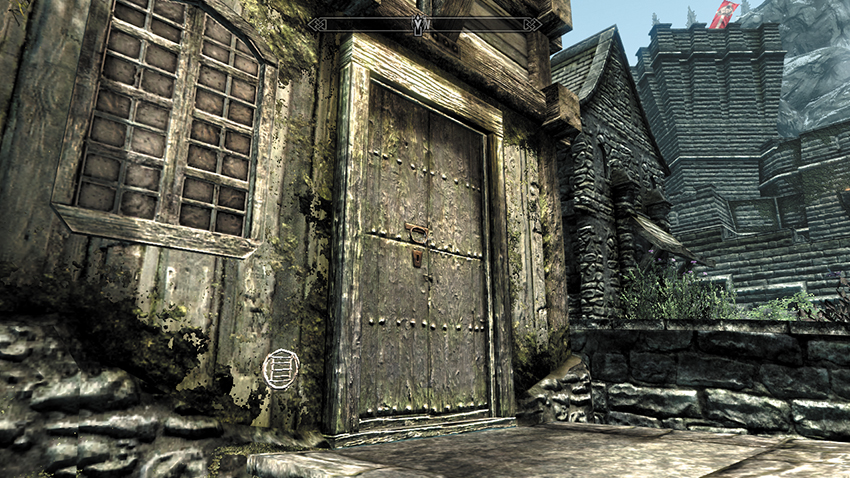
A strange rune on a building in Solitude. It has a meaning to those in the know.
Eagle-eyed adventurers may notice that some locations across Skyrim are marked with strange glyphs. Unbeknownst to most, these runes are actually symbols used by the Thieves Guild to indicate locations that members feel are particularly wealthy targets, safe, dangerous, or have inhabitants that may be helpful or problematic. These symbols are known as Shadowmarks. To learn more about Shadowmarks, search the Thieves Guild for a book written by Delvin Mallory called Shadowmarks, which lists all of the markings that the Thieves Guild uses.
Books
Voracious readers will be pleased to learn that a wealth of knowledge is located in dozens of different books. These fall into one of six general categories: Skill Books, Spell Tomes, functional books, common books, notes and journals, and Black Books of Hermaeus Mora.
Skill Books
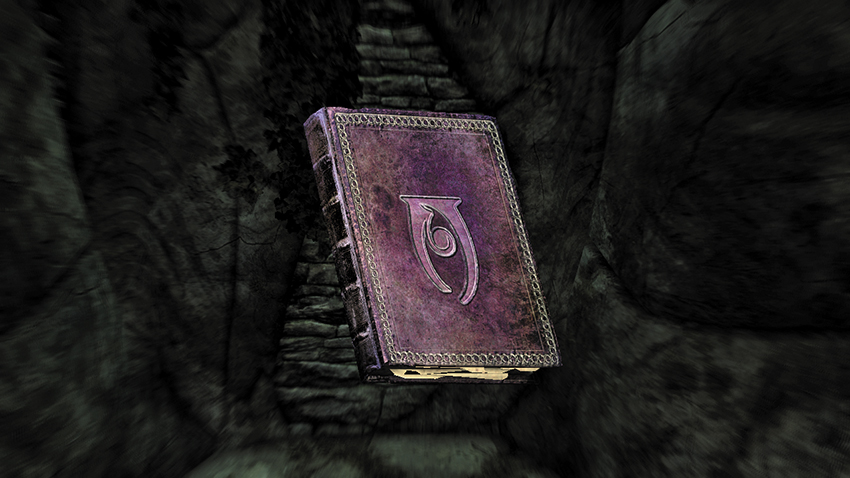
The Doors of Oblivion (Conjuration), one of only five copies of this rare book.
When read, these books increase one of your skills by a single point. There are five different Skill Books associated with each skill (meaning 90 different book titles), but there are multiple copies of each book (usually 3 to 5 each), bringing the total number of Skill Books to well over 400. However, you only receive a skill increase the first time you read any particular title; rereading that book or any of its copies has no further effect. This means you can only use Skill Books to increase each skill by a maximum of five points.
For example: Those interested in the Sneak skill should look for Three Thieves (four copies), 2920, Last Seed, v8 (four copies), Sacred Witness (four copies), Legend of Krately House (three copies), and The Red Kitchen Reader (five copies). This means there are 20 Sneak Skill Books and five points you can add to your Sneak from reading the first copy you encounter of each tome.
Spell Tomes
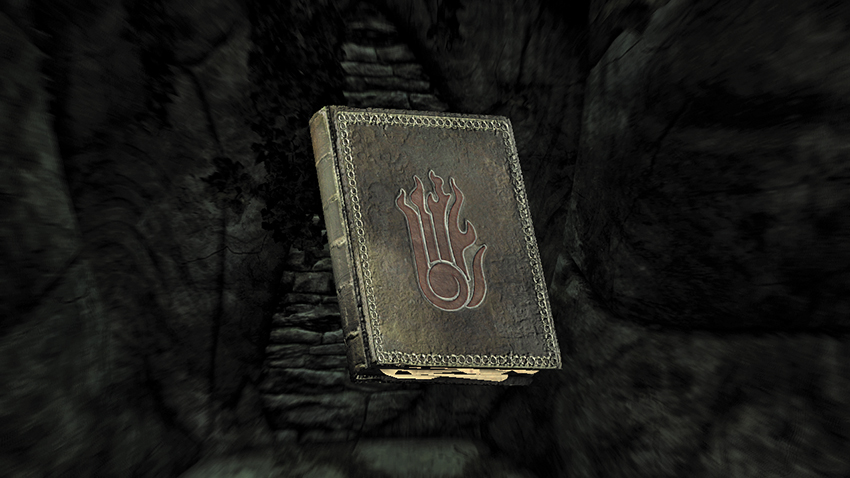
Spell Tome: Ice Storm (Destruction), which is located in the world or purchased from select vendors.
Spell Tomes are books of magic with the sigil of their school embossed on the front cover. When you read them, the book is consumed and you instantly learn the spell it contained. If you later find another copy of the same Spell Tome, sell it, as it isn’t of any use to you anymore. You can purchase Spell Tomes from a few select vendors, the Court Wizards in each of the major Hold capitals, and the mages of the College of Winterhold. You can also find Spell Tomes randomly in dungeons.
Functional Books
Lost Legends of Skyrim hints at an ancient mystery.
Functional books describe actual locations, legends, or mysteries to be discovered in the wilds of Skyrim. When read, they add locations to your world map and might trigger a quest or objective related to the contents of the book. There are seven of these types of books, each with several copies. Once you’ve read one copy, you never need to read another copy of the same book, as the information is identical.
Common Books
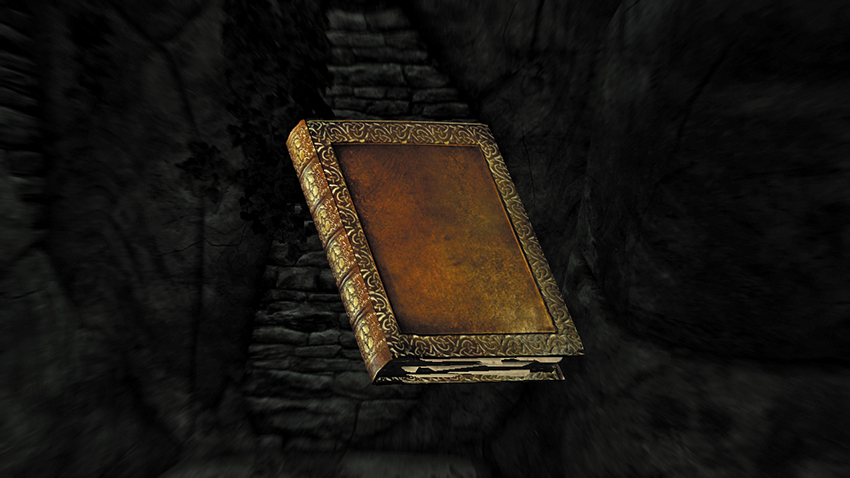
The Lusty Argonian Maid, v2, one of only three copies of this scandalous work.
There are a wide variety of other books in Skyrim. They provide stories, histories, advice on battle, fiction, and many other types of reading material to add a little flavor to your adventure. Many of these books provide interesting asides to locations you visit. However, none of these books grant you any kind of bonus; they are simply there to be read. Across Skyrim and Solstheim, there are 263 different books to read (or collect, if you like). Some are quite common, while others are rare and valuable.
Notes and Journals
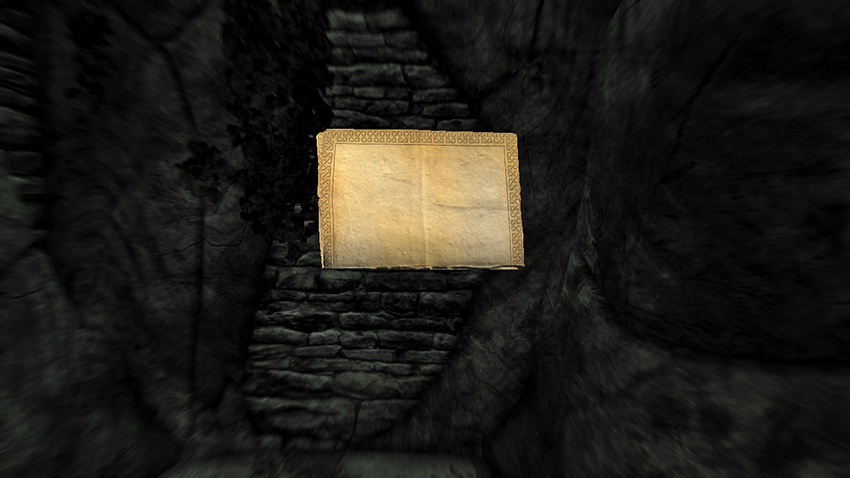
A Note from Falk Firebeard of Solitude, delivered by courier during Side Quest: The Wolf Queen Awakened.
In addition to books, there are a wide variety of notes and journals used throughout your adventure to convey shorter or more personal messages, from the important to the trivial. Some are given or found during quests, while others can be picked up in houses and dungeons. Quest notes are listed in the appropriate quests, while most other notes simply aren’t important enough to be tracked in this guide. But they’re all worth a read, if you have the time.
Black Books and Apocrypha Powers
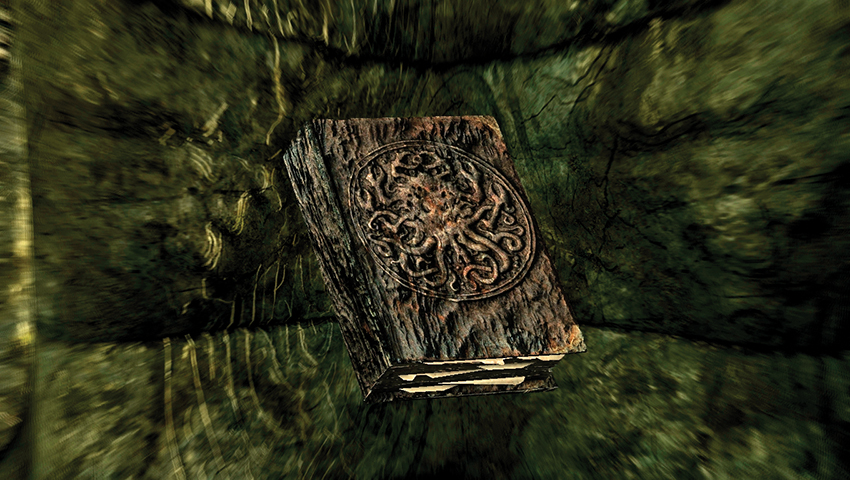
One of seven known Black Books, with the power to transport you into a realm of Oblivion.
On the isle of Solstheim, you may come across one of seven Black Books—tomes of forbidden knowledge that transport you into the realm of Oblivion controlled by the Daedric Prince Hermaeus Mora. This realm is known as Apocrypha. Two of these are found and used as part of the Dragonborn Main Quest.
The other five are located in specific dungeons across the island and can be found through normal exploration (even before the Dragonborn Main Quest). For example, the Black Book: Filament and Filigree can be found in Kolbjorn Barrow.
If you are on Solstheim (and not Skyrim), and you aren’t engaged in combat, reading a Black Book will transport you to the book’s corresponding Apocrypha realm. If you are not on Solstheim or are in combat, the book doesn’t work.
Each book takes you to a specific Apocrypha realm (a dungeon you can explore). While all seven of these dungeons are known as “Apocrypha,” they are all distinct areas. For clarity, this guide has subtitled each distinct area with the name of the book that sends you there. For example, when you read Black Book: Filament and Filigree, you are transported to a specific part of Apocrypha. You cannot move into areas served by other Black Books.
Consult the Apocrypha section of the Solstheim Atlas for further details, and search out Dragonborn Main Quests and Solstheim Side Quests for more information on these locations.
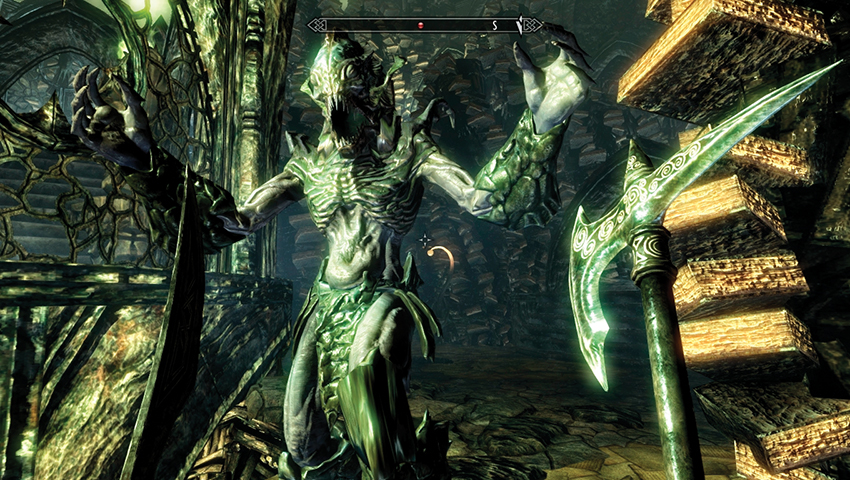
Your arrival into the churning, burning skies of Apocrypha, where all forbidden knowledge is learned...
Upon arriving in Apocrypha, you receive a quest to finish the Black Book you’ve just read. Exactly what happens next varies depending on the book you opened (which you can open as many times as you like by accessing it in your inventory). The variations are as follows:
- For the Main Quest book Waking Dreams..., you read the book as part of Dragonborn Main Quest: The Temple of Miraak, but you don’t obtain a quest because Miraak confronts you and throws you out of the realm. You can’t complete this book until you do so as a part of Dragonborn Main Quest: At the Summit of Apocrypha.
- For the Main Quest book Epistolary Acumen, you read the book as part of Dragonborn Main Quest: The Gardener of Men. Completing it is required by that quest.
- For the other five books, you receive the corresponding Solstheim Side Quest (named the same as the book) as a reminder that you need to complete it.
When you appear in Apocrypha for the first time, you are confronted by an apparition of Hermaeus Mora, who beckons you into the realm, explaining it a little more clearly. This occurs only once.
As you progress through each Apocrypha realm, specific checkpoints are invisibly set as you complete certain actions or events. If you leave the realm and return, you will arrive at the last checkpoint—you don’t have to start all over again. These checkpoints are never seen or known, but you’re likely to appear just after the chapter you’ve reached in a previous exploration.
To leave Apocrypha and return to Solstheim, you can:
- Die. Dying in Apocrypha simply transports you out; it doesn’t actually kill you.
- Read any Black Book in your inventory.
- Complete the Apocrypha realm, reach the Reward Book, claim your reward, and then interact with the Reward Book again to leave.
When you leave Apocrypha, you return to Solstheim exactly where you were when you read the Black Book.
At the end of each Apocrypha realm, you will find a Reward Book. There are large tomes matching the name of the book you read to enter the realm. Interacting with the book opens it, causing three orbs to emerge, each representing a power or ability that the book can bestow.
Each book has a specific and distinct set of rewards. Some are passive abilities that are always “on” while you have them. Some are powers, which you can use only once a day. Some are lesser powers, which you can use as often as you like.
Once you select a reward, interacting with the Reward Book again will return you to Solstheim. However, since you can always read the Black Book in your inventory to return to Apocrypha, you can return here and choose a different power whenever you want. You can have only one power from each book at a time.
Dragonborn Black Books and Apocrypha Powers List
The following table shows the rewards for each of the seven Black Books available in Apocrypha.
Black Book: Epistolary Acumen
| Black Book Located In | Black Book Dungeon | Associated Quest(s) |
|---|---|---|
| [S.S14] Nchardak | [S.A01] Apocrypha: Epistolary Acumen | Dragonborn Main Quest: The Gardener of Men |
| Power Name | Description | Notes and Tips |
| Dragonborn Force | Passive Ability. Your Unrelenting Force Shout does more damage, and using all three words may disintegrate enemies. | Increases the damage of Unrelenting Force to 10/25/50. Enemies will only be disintegrated if you use the complete shout (all three words), and only if the damage would have killed them anyway. |
| Dragonborn Flame | Passive Ability. When your Fire Breath Shout kills an enemy, a fire wyrm emerges from their corpse to fight for you for 60s. | Fire Wyrms fight in melee, doing modest damage and setting foes on fire; see the Bestiary for complete details. They do not count as or replace any summoned creatures you may have. They remain at the spot where they were created (instead of following you), making this much more useful early in a battle. |
| Dragonborn Frost | Passive Ability. Your Frost Breath Shout encases foes in ice for 15s. | Foes encased in ice are paralyzed and unable to attack (just as with the Ice Form Shout), although it’s worth noting that, unlike Ice Form, they do not take additional damage over time. Enemies immune to paralysis are immune to this effect as well. |
Black Book: Waking Dreams
| Black Book Located In | Black Book Dungeon | Associated Quest(s) |
|---|---|---|
| [S.N24] Temple of Miraak | [S.A07] Apocrypha: Waking Dreams of a Starless Sky | Dragonborn Main Quest: The Temple of Miraak, At the Summit of Apocrypha |
| Power Name | Description | Notes and Tips |
| Shadow Constellations | Activated Object. You may spend a Dragon Soul to reset all of the Perks in a skill constellation. | You can spend as many Dragon Souls in this way as you like, allowing you to completely retool your character’s perks whenever you want. This is great for experimenting with different combinations of perks, or for changing the feel of the game when you want a new challenge. |
Black Book: Filament and Filigree
| Black Book Located In | Black Book Dungeon | Associated Quest(s) |
|---|---|---|
| [S.S04] Kolbjorn Barrow | [S.A02] Apocrypha: Filament and Filigree | Solstheim Side Quest: Black Book: Filament and Filigree, Solstheim Side Quest: Unearthed |
| Power Name | Description | Notes and Tips |
| Secret of Strength | Power. Power attacks cost no Stamina for 30s. | Combined with a good weapon and the Elemental Fury Shout, this power allows you to inflict incredible amounts of damage. |
| Secret of Arcana | Power. Spells cost no Magicka for 30s. | This power actually reduces the cost of all of your spells to 0, potentially allowing you to cast high-cost Ritual spells you normally couldn’t afford at all. Care to summon a Storm Thrall? Or maybe blast your enemy with Lightning Storm for 30 seconds straight? |
| Secret of Protection | Power. You take half damage for 30s from all physical and most magical attacks. | If you prefer defense to offense, Secret of Protection can make a huge difference against enemies with a high damage output (such as dragons or Karstaag), halving all incoming damage for its duration. |
Black Book: The Hidden Twilight
| Black Book Located In | Black Book Dungeon | Associated Quest(s) |
|---|---|---|
| [S.S00] Tel Mithryn | [S.A03] Apocrypha: The Hidden Twilight | Solstheim Side Quest: Black Book: The Hidden Twilight, Solstheim Side Quest: The Reluctant Steward |
| Power Name | Description | Notes and Tips |
| Mora’s Agony | Power. Summons a field of writhing tentacles that lasts 30 seconds and poisons foes who enter it. | In addition to poisoning foes (5dmg/s for 3s), the tentacles also stagger enemies, who may stumble into them repeatedly and suffer the poison effect multiple times. This makes Mora’s Agony an effective way of stopping humanoid pursuers in their tracks (though don’t expect it to stop a Dragon or a Mammoth). Consult the Bestiary to make sure your foes are not immune to poison. |
| Mora’s Grasp | Power. Target is frozen between Oblivion and Tamriel for 30 seconds, and immune to all damage. | Mora’s Grasp affects a much wider range of targets than most paralysis-type spells: only Dragons and some boss enemies are unaffected by it. Just be careful not to miss-- you only get one shot per day. |
| Mora’s Boon | Power. Fully restores your Health, Magicka, and Stamina. | It may not be flashy, but having a full heal on hand can make all the difference if you find yourself in a close battle and run out of potions. |
Black Book: The Sallow Regent
| Black Book Located In | Black Book Dungeon | Associated Quest(s) |
|---|---|---|
| [S.N17] White Ridge Barrow | [S.A04] Apocrypha: The Sallow Regent | Solstheim Side Quest: Black Book: The Sallow Regent |
| Power Name | Description | Notes and Tips |
| Seeker of Might | Passive Ability. Improves all of your combat skills by 10%. | This ability increases the damage you do with all weapons by 10%, increases the amount of damage blocking will prevent by 10%, increases the armor rating of your Heavy Armor by 10%, and increases the bonuses you get from tempering items by 10%. |
| Seeker of Sorcery | Passive Ability. Improves all of your magic skills by 10%. | This ability reduces the cost of all spells by 10%, and increases the strength of your enchantments by 10%. |
| Seeker of Shadows | Passive Ability. Improves all of your stealth skills by 10%. | This ability increases the armor rating of your Light Armor by 10%, makes it 10% easier to sneak, pick locks, or pick pockets, and improves the prices you get from buying or selling items by 10%. |
Black Book: The Winds of Change
| Black Book Located In | Black Book Dungeon | Associated Quest(s) |
|---|---|---|
| [S.S00] Raven Rock (Mine) | [S.A06] Apocrypha: The Winds of Change | Solstheim Side Quest: Black Book: The Winds of Change |
| Power Name | Description | Notes and Tips |
| Scholar’s Insight | Passive Ability. Reading Skill Books gives you an extra Skill Point. | Scholar’s Insight is great for getting maximum value out of the Skill Books you find. For best results, avoid reading skill books until you hit 90 in a skill, then read all five for a quick boost to 100. |
| Companion’s Insight | Passive Ability. Your attacks, shouts, and destruction spells do no damage to your followers in combat. | If you prefer ranged combat or (especially) spells with large areas of effect, you may have accidentally killed your own followers on occasion. Take this ability, and you’ll never have to worry about that again. |
| Lover’s Insight | Passive Ability. Do 10% more damage and get 10% better prices from people of the opposite sex. | This is a more subtle bonus, but its effects do add up over time. Consult the Traders list in the appendix to identify vendors of the opposite sex. |
Black Book: Untold Legends
| Black Book Located In | Black Book Dungeon | Associated Quest(s) |
|---|---|---|
| [S.N16] Benkongerike | [S.A05] Apocrypha: Untold Legends | Solstheim Side Quest: Black Book: Untold Legends |
| Power Name | Description | Notes and Tips |
| Black Market | Lesser Power. Summons a Dremora merchant for 15s. | Black Market allows you to summon a merchant anytime, anywhere. The Dremora Merchant has 2000 gold and a small selection of rare and enchanted items to sell. However, he drives a hard bargain-- expect to pay more, and get less, than you would from any other merchant. |
| Secret Servant | Lesser Power. Summons a Dremora butler for 15s. | If you’d prefer to save your loot and sort it out when you get back to town, Secret Servant summons a dremora butler who can carry up to 150-weight of items for you. |
| Bardic Knowledge | Lesser Power. Summons a spectral drum to play for you, increasing Stamina regenration for you and nearby allies for 240s. | More of a fun choice, the drum summoned by Bardic Knowledge just follows you around and plays instrumental music. It does provide a significant (50%) boost to your Stamina regeneration, and doesn’t count as or replace any summoned creatures you may have. |
Apocrypha Fonts
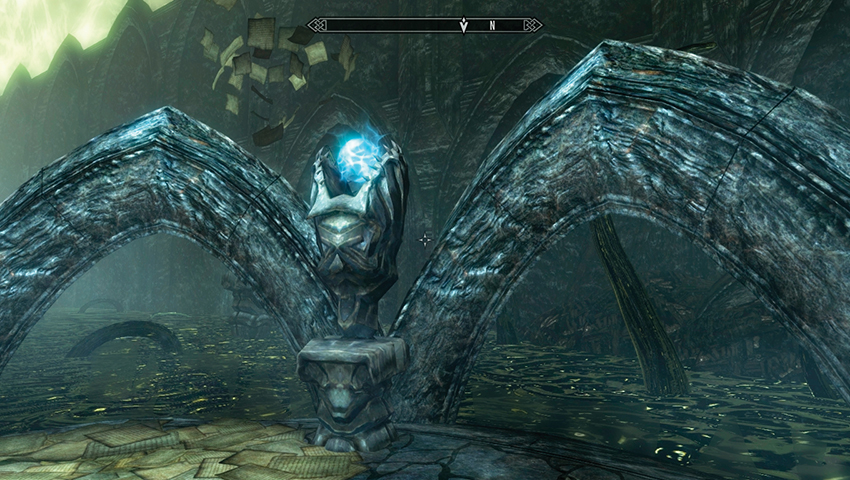
A font of Magicka
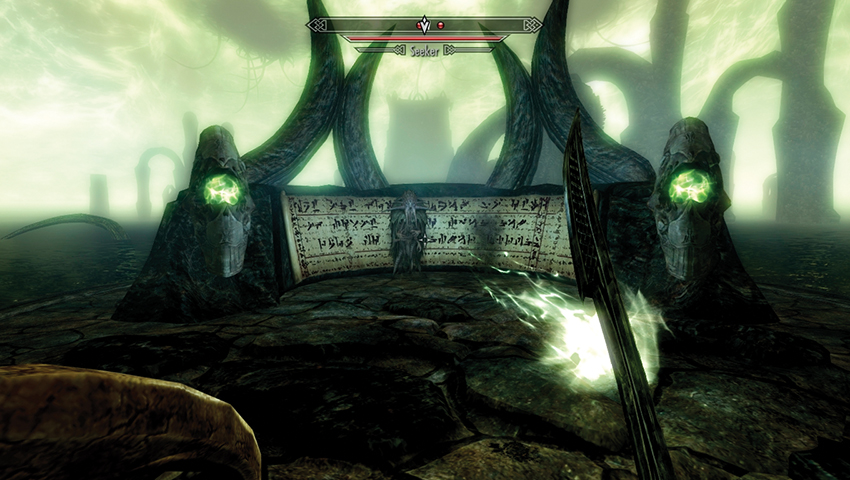
A font of Stamina
In Apocrypha, you can find sculptures with blue and green orbs set into them. Interacting with them will fully restore your Magicka or Stamina, respectively. You can use each font only once per visit to Apocrypha.
Improving Your Standing in Skyrim
Quests
Quests are a series of related objectives that make up a single mission or story. These range from the simple to the epic, and a large amount of this guide is spent detailing every one of them! In game, the Quest Journal tracks all of your current and former quests, while the General Stats page keeps track of how many quests you’ve completed. Remember that there are dozens of Miscellaneous Objectives, Favor Quests, and World Encounters and Interactions to discover as well. Every quest is documented later in this guide.
Favors and Friendship
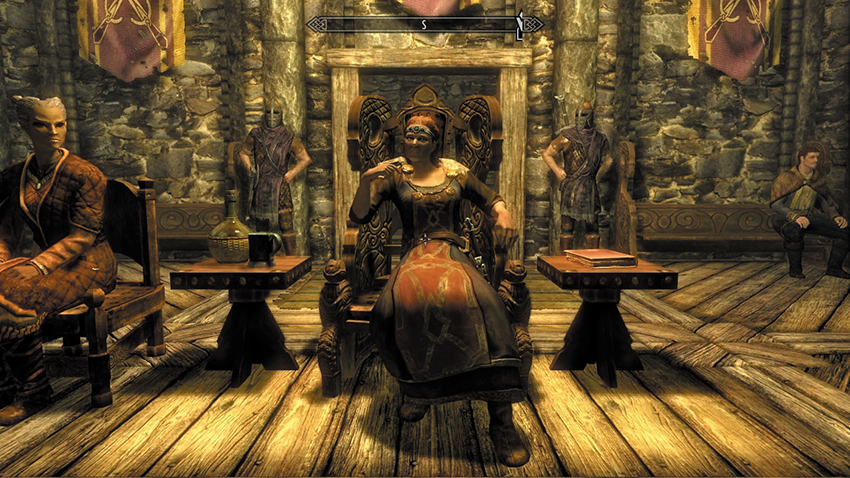
Ingratiate yourself with important folks, such as Jarl Laila Law-Giver of Riften, to gain social standing and power.
When visiting a city, town, or settlement, take a moment to speak with everyone you meet. In addition to learning more about the area, they often have a Favor or other task they could use your help with. Complete it, and they react to you much more favorably. Keep this up among folks in the same settlement, and you’ll soon hear the guards mention your pleasant reputation. Consult the Miscellaneous Objectives and Favor Quest chapters, for a list of the huge number of favors you can perform.
Making friends has several useful benefits:
- Your friends will often be willing to help you in return.
- They will occasionally give you gifts.
- They may allow you to take items from their house, shop, or market stall without paying for them (you’ll notice that many items are no longer marked “steal,” so help yourself!).
- They’re willing to put you up for the night. When in their home, you are no longer trespassing, and you can sleep in any bed they own. An unscrupulous “friend” could take advantage of this hospitality to rob them blind...
- Some may even be willing to join you on your adventure if you ask! Consult the Followers list later in this section for details.
Houses
Buying a House
When the time comes to establish yourself as more than just a wandering dragon-slayer, you can put down roots in any (or all) of Skyrim’s major capitals by purchasing a House. You can’t just saunter into town with a hefty bag of gold and demand a dwelling, though: You must first win the Jarl’s trust. Speak to them and complete the quests or Favors they assign until you earn their friendship and permission to buy a house in the city. For more details on what you need to do, see the appropriate Thane task in the Favors section.
With the Jarl’s approval, you can now approach the steward (who is usually nearby) and ask about purchasing a home. The price is displayed and is not negotiable. Pay the steward, and you receive the key to the dwelling.
Decorating Your Property
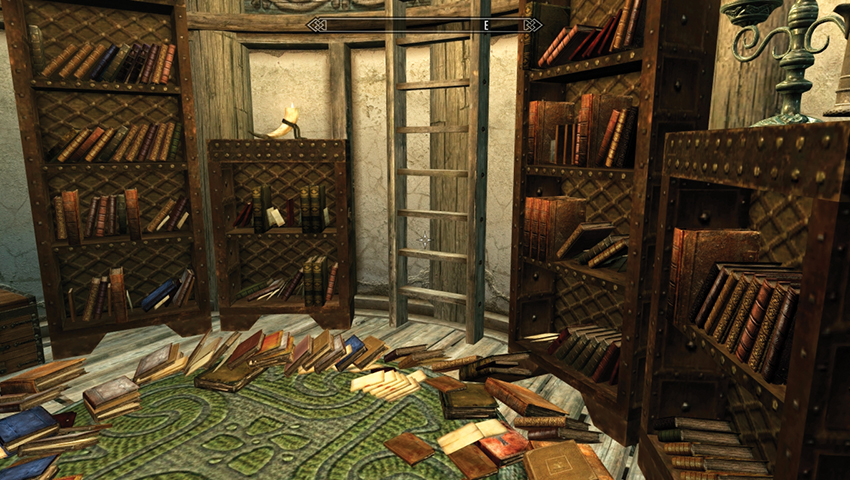
Furnish your house with a variety of accoutrements, ideally keeping your areas tidy.
Once you’ve purchased a house, you can leave it in its current (usually sparse and cobwebbed) state or speak to the steward again to begin decorating it. Each house comes with a Home Decorating Guide that describes the options available to you, so you can make an informed decision about which furnishings to purchase. In addition to purely cosmetic items like chairs or cupboards, decorations also include such useful things as crafting stations, weapon racks, mannequins, and bookshelves. Simply return to the steward and buy the decorations you want; when you return to your house, they have been installed.
Benefits of Home Ownership
Owning a house gives you a variety of useful benefits:
- You have a convenient base of operations in the city, with several easily accessible crafting stations and a bed you own (for the Well Rested or Lover’s Comfort bonuses).
- You can store any weapons, armor, crafting materials, or other items you have in your house, knowing they will always be there when you return.
- You can prominently display the weapons, artifacts, and items that you’ve collected on a variety of weapon racks, weapon plaques, mannequins, and bookshelves.
- If you’ve been named Thane of the Hold, you can find your housecarl in your house, ready to join you at a moment’s notice.
- If you’re married (see Side Quest: The Bonds of Matrimony), you can also ask your spouse to move in with you, instead of meeting them in the inn or bedding down in their (often rudimentary) place!
Available Properties
Proudspire Manor, Solitude (Haafingar Hold)
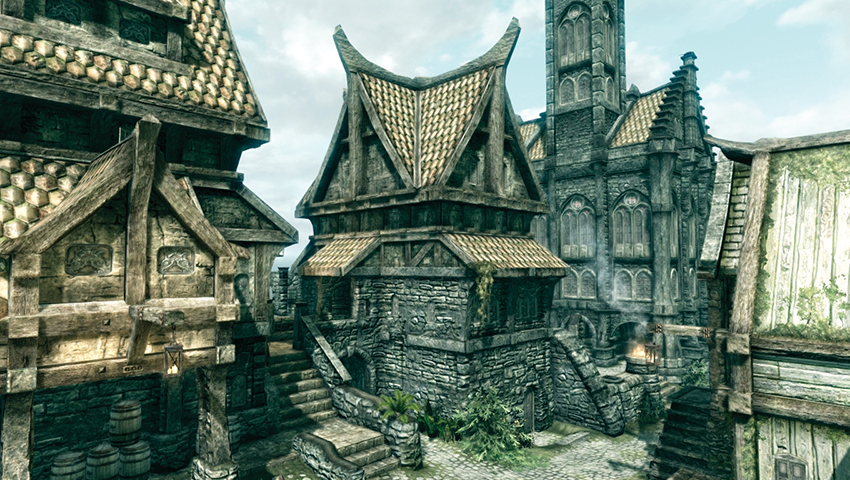
- Bedroom (2,000)
- Living Room (2,000)
- Alchemy Laboratory (2,500)
- Enchanting Laboratory (2,500)
- Patio Decorations (500)
- Kitchen (1,500)
- Windstad Manor (Hjaalmarch Hold)
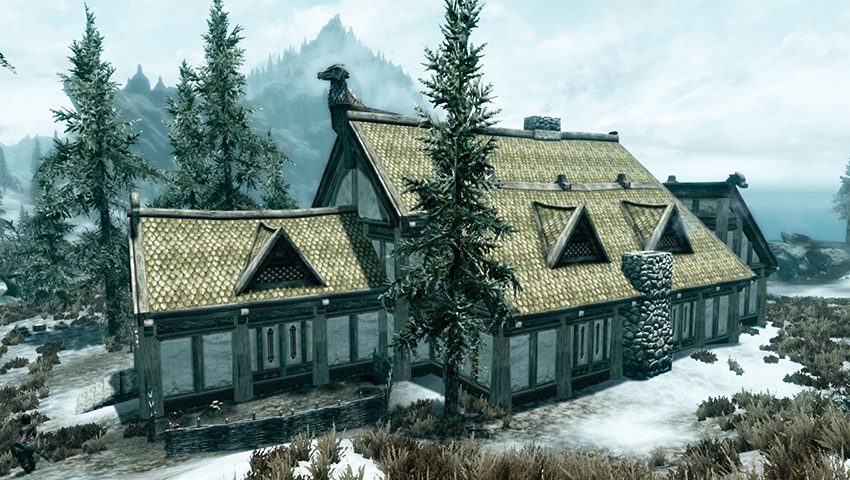
- See the Hearthfire section of Training
Heljarchen Hall (The Pale)
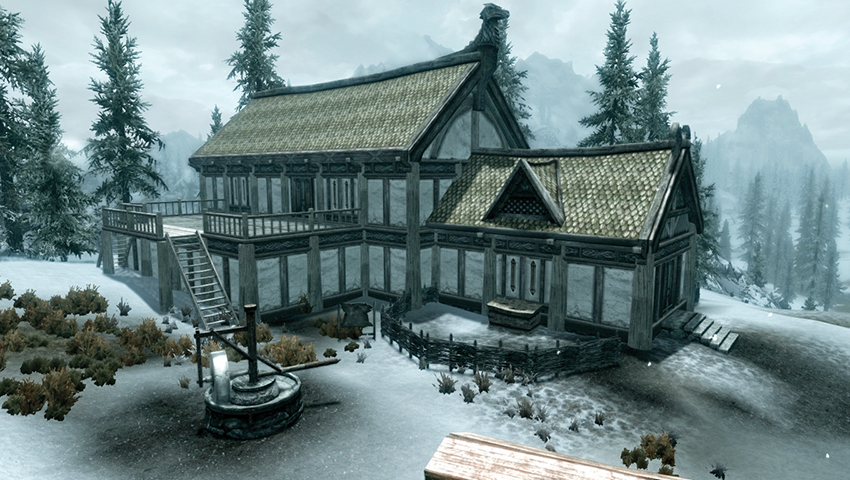
- See Hearthfire section of Training
Vlindrel Hall, Markarth (The Reach)
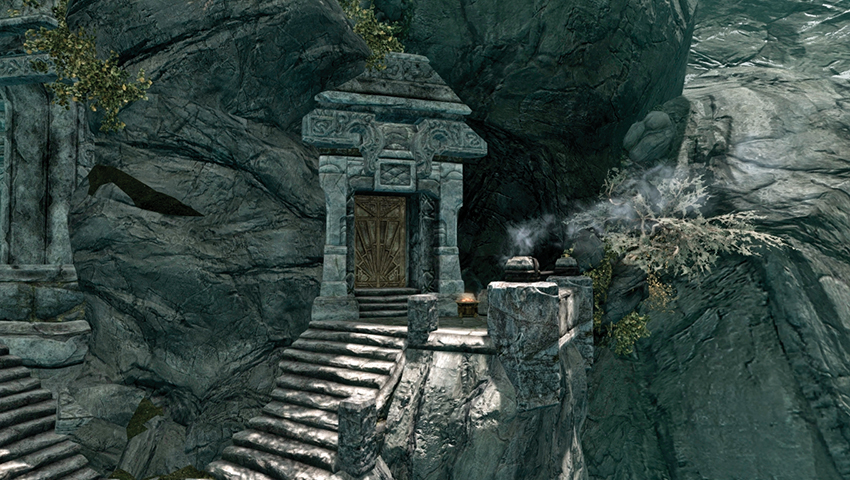
- Bedroom (800)
- Living Room (900)
- Alchemy Laboratory (1,000)
- Enchanting Laboratory (1,000)
- Entrance Hall (500)
- Breezehome, Whiterun (Whiterun Hold)
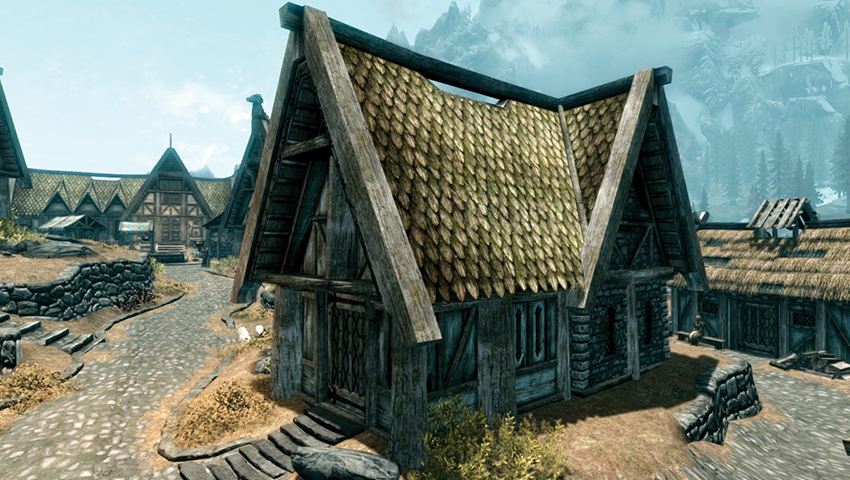
- Alchemy Laboratory (500)
- Bedroom (300)
- Loft (200)
- Dining Room (250)
- Hjerim, Windhelm (Eastmarch)
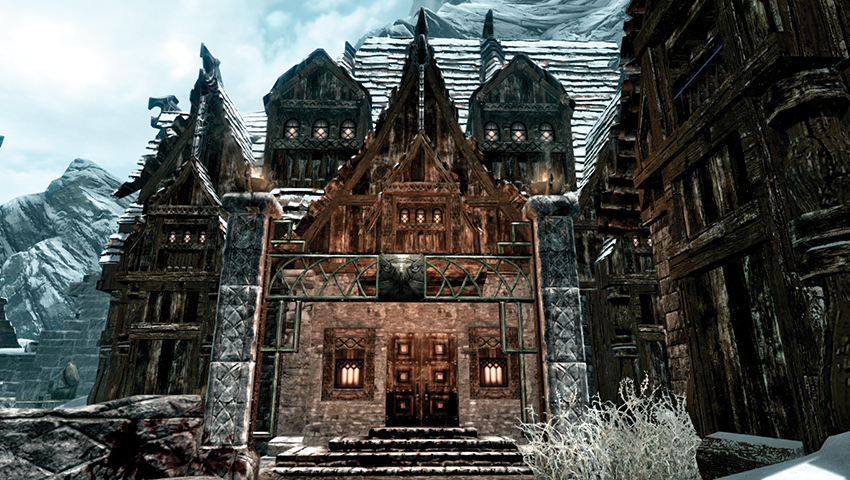
- Kitchen (1,000)
- Bedroom (1,000)
- Living Room (1,500)
- Alchemy Laboratory (1,500)
- Enchanting Laboratory (1,500)
- Armory (2,000)
- Clean up that murderer’s mess (500)
- To purchase Hjerim, you must complete the first part of Side Quest: Blood on the Ice.
Lakeview Manor (Falkreath Hold)
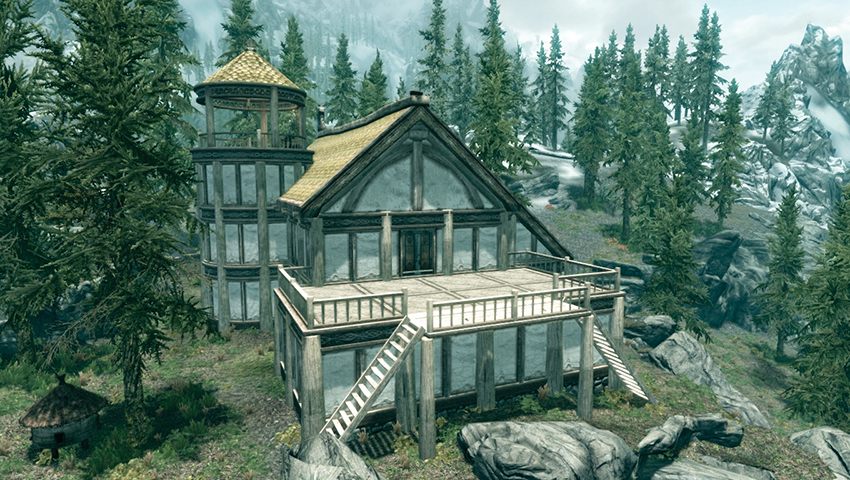
- See Hearthfire section of Training.
Honeyside, Riften (The Rift)
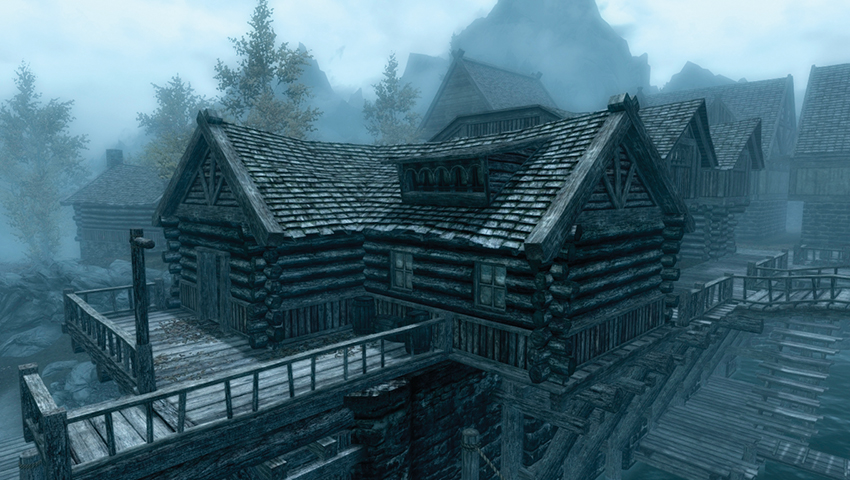
- Bedroom (600)
- Kitchen (500)
- Alchemy Laboratory (1,000)
- Enchanting Laboratory (1,000)
- Garden (800)
- Porch (400)
- Severin Manor (Raven Rock, Solstheim)
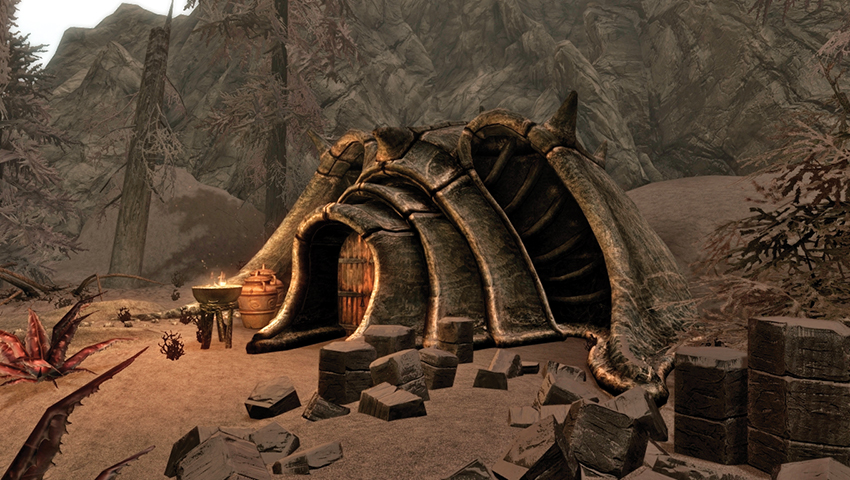
- None. It comes fully furnished and cannot be decorated.
- Your spouse and children cannot live here either.
Followers
Throughout the realm, there are those who stand ready to join you in your adventure and are prepared to lay down their lives in your service. These selfless companions are broadly known as Followers. Followers may join you for any number of reasons, whether because you’ve hired their services, helped them in the past, or are simply taking on a charge that they have an interest in. Some join you only for the duration of a specific quest, while others will follow you indefinitely. This section explores these and other details about your Followers.
General Traits
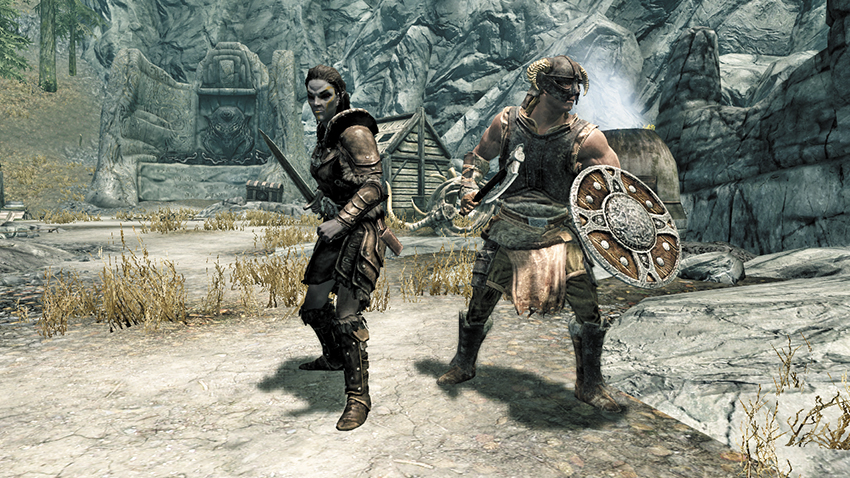
Your Follower normally acts as a shadow, bodyguard, item repository, and friend.
When a Follower has agreed to join you on your adventure, there are several advantages they bring and help you can expect from them:
- Equipment: Your Followers will always equip the best weapons, armor, and items they have available and will try to use staffs and other items effectively. They take their own skills and proficiencies into account when making these decisions, so all else being equal, expect Jenassa (an archer) to prefer a bow to a two-handed sword and light armor to heavy plate.
- Skills: All Followers have a specific set of favored skills (listed below), which improve as their level increases. Unlike your character, Followers do not become better at the skills they use—for example, no matter how hard you try to force Marcurio (a mage) to be a greatsword-wielding warrior, he’ll always be better with magic. Make sure to select a Follower whose skill set meets your needs.
- Levels: Most Followers automatically level up when you do, so there’s no need to worry about a Follower “falling behind” if you go off and adventure on your own or want to work with someone else for a while.
- Tactics: Followers will try to follow your lead whenever possible:
- When you sneak, they will sneak as well and will stop when you do. Don’t expect them to take cover on their own, though—if you want them to hide in a particular location, order them to move to it.
- When you draw or sheathe your weapons, so will they.
- When attacked, they will use their best weapons, spells, and tactics to defend both themselves and you.
- Catching Up: If you travel on horseback (or with the great loping strides of a werewolf), you may find that your Followers fall behind. Don’t worry about losing them; there are several ways you can help them catch up:
- Just Wait (using the Wait System), and they’ll use the time to catch up.
- Load into any new space, and they’ll be right behind you.
- Fast-Travel anywhere, and they’ll arrive next to you.
- Heading Home: If you dismiss a Follower, they will return home and take up their original routine. Most Followers will rejoin you if you ask, though you may need to pay for the services of hirelings again if too much time has passed.
- Death and Dying: When a Follower’s health is exhausted, they will collapse. Heal them or finish the combat and wait for their health to regenerate, and they will recover, none the worse for wear.
At Your Command
You can also issue orders to your Followers. To do this, either speak to them or enter Command mode (target them, then press and hold the Activate button until the cursor changes). The available orders are:
- Wait/Follow: If you want to explore an area on your own or try a stealthy approach, use the Wait command to tell your Follower to stop shadowing you. Once you’re done, return to your Follower and tell them to accompany you again. Note there are some situations and locations where Followers can’t accompany you (such as to jail, if you’re arrested). If you leave a Follower at a location and don’t return, they eventually return home.
- Do Something: You can order your Follower to do something specific, which can be helpful in all kinds of situations. Move your target crosshairs onto something you want your Follower to use, take, steal, or attack, then press Activate to give the order.
- Trade Items: This allows you to exchange items between your inventory and your Follower’s. Some notes:
- All Followers start with some basic equipment. You can’t take these items from them. You can, however, give your Followers better gear, such as items that you’ve improved, enchanted, or think your Follower might be more adept at using. If they judge the item is better than what they currently have, they’ll equip it immediately.
- You can have your Follower carry their share of the treasure, effectively turning them into a pack mule. This roughly doubles the amount of loot you can carry, which is handy if you’re trying to gather as much as you can from a dungeon before returning to town and selling it off. Note that your Followers do have a maximum carry weight (not shown), so there is a limit to what they can carry as well.
- Part Ways: If this relationship just isn’t working out, you can tell your Follower that you no longer need their services. They’ll head home, and you can then acquire a different Follower or set off on your own.
Other Notes and Tips
When choosing a Follower, pick one that complements your play style. If you’re adept at sneaking and silent ranged takedowns with a bow, find someone with similar prowess. If you’re a robed mage, seek the company of a powerful warrior to hold your foes at bay. Experiment around with the available Followers until you find one you enjoy adventuring with. Then add a dog!
It’s almost always a good idea to bring a Follower along; they can distract foes, soak up damage on your behalf, and help you to take down enemies more quickly. However, there are two cases to be wary of:
- If you plan to take a stealthy approach to your next mission, Followers can be more of a hindrance than a help. Even with a well-outfitted stealthy Follower, they can’t use cover and concealment as effectively as you can. When stealth is essential, you may want to go it alone.
- If you’re a Mage with a lot of area-of-effect spells, the collateral damage can be lethal to your Followers. Control your casting carefully, or leave your Follower at home and take up Conjuration instead—Atronachs are immune to spells of their element, and Zombies are, well, dead anyway.
Types of Followers
This section identifies all of the characters who can become your Followers. We detail each Follower’s primary combat style (e.g., Warrior) and their favored skills. We also note any prerequisites for obtaining them.
In general, Followers can be classified into these major categories:
- Hirelings: Mercenaries who will accompany you if you hire them.
- Housecarls: If you are named Thane of a Hold, the Jarl will appoint a Housecarl as your bodyguard.
- Guildmates: If you join one of the major guilds, you may be able to ask your fellow guild members to follow you.
- Quest or Dungeon Followers: These characters will follow you once you complete their quest or dungeon.
- Favor Followers: Friends you have completed Favors for may join you if you ask.
- Animal Companions: Loyal dogs who will fight at your side in combat. The following are also available:
- Armored Trolls, Armored Frost Trolls, Death Hounds, and Huskies
- A Steadfast Dwarven Spider and a Steadfast Dwarven Sphere
Hirelings
The following are mercenaries for hire, each with their own unique combat style. To purchase their services, you must pay a flat fee of 500 gold pieces. If you dismiss them, they may charge you that fee again.
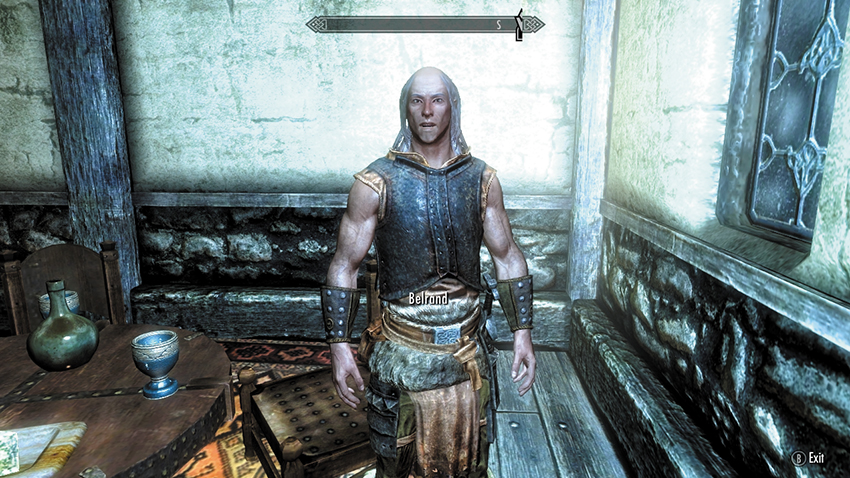
Belrand, in Solitude (Haafingar)
Spellsword: One-Handed, Light Armor, Destruction, Restoration
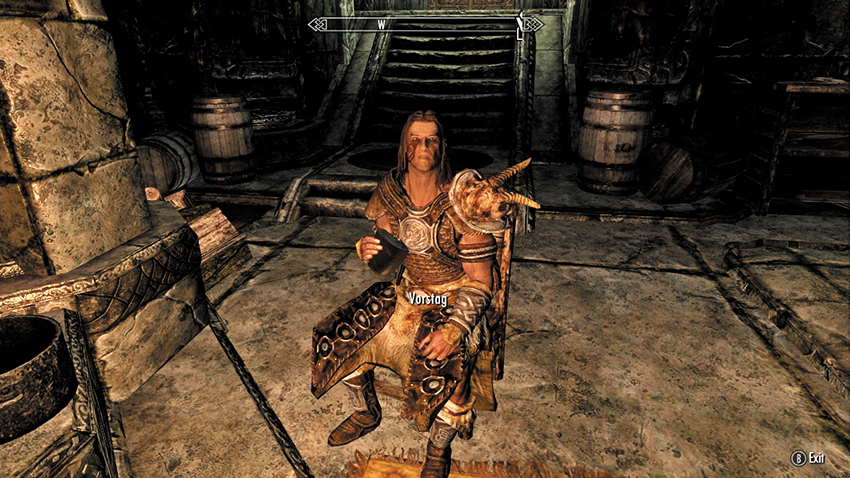
Vorstag, in Markarth (the Reach)
Warrior: One-Handed, Heavy Armor, Archery, Block
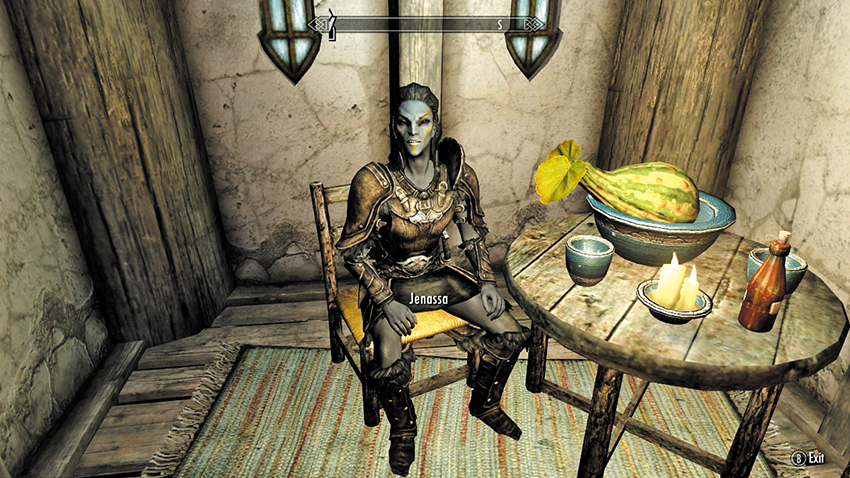
Jenassa, in Whiterun (Whiterun Hold)
Archer: Archery, Light Armor, One-Handed, Block, Sneak
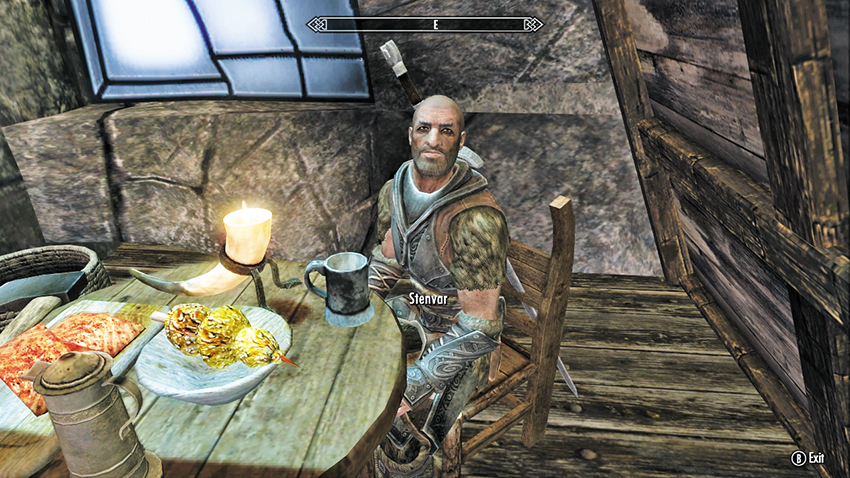
Stenvar, in Windhelm (Eastmarch)
Knight: Two-Handed, Heavy Armor, Archery, Block
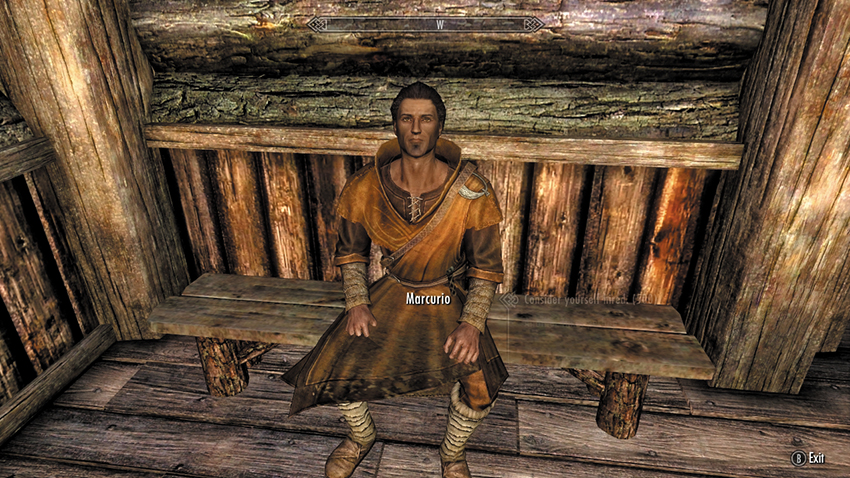
Marcurio, in Riften (the Rift)
Mage: Destruction, Restoration, Alteration, Conjuration, Sneak
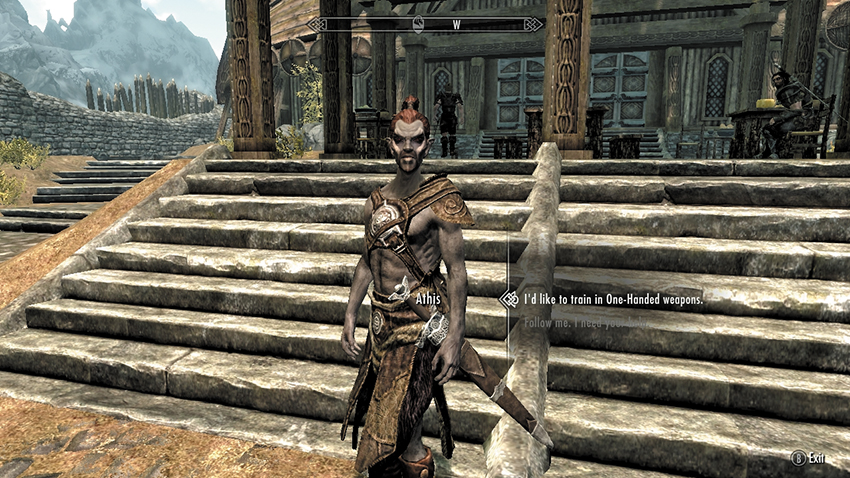
Erik the Slayer, in Rorikstead (Whiterun Hold)
Barbarian: Two-Handed, Light Armor, Archery, Block. (You must complete Miscellaneous Objective: Erik the Slayer before you can hire Erik.)
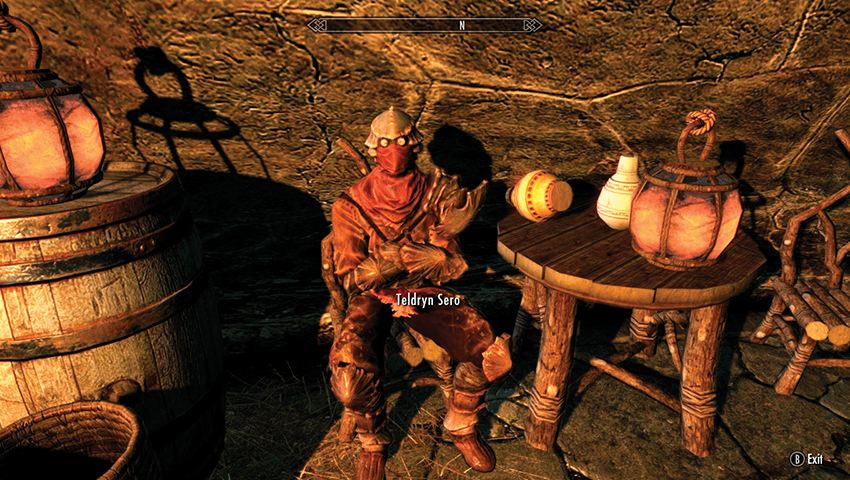
Teldryn Sero, in Raven Rock (Solstheim)
Spellsword—One-Handed, Destruction, Light Armor, Conjuration, Restoration
Housecarls
The following Housecarls are bodyguards sworn to your service as Thane. For advice on becoming the Thane of one or more Holds. You do not receive a Housecarl for becoming Thane of Winterhold.
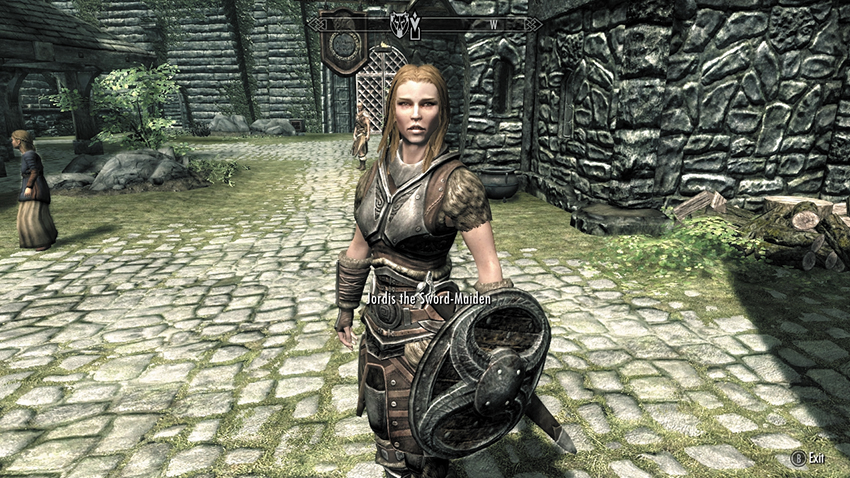
Jordis the Sword-Maiden, Housecarl of Solitude (Haafingar)
Housecarl: One-Handed, Heavy Armor, Archery, Block
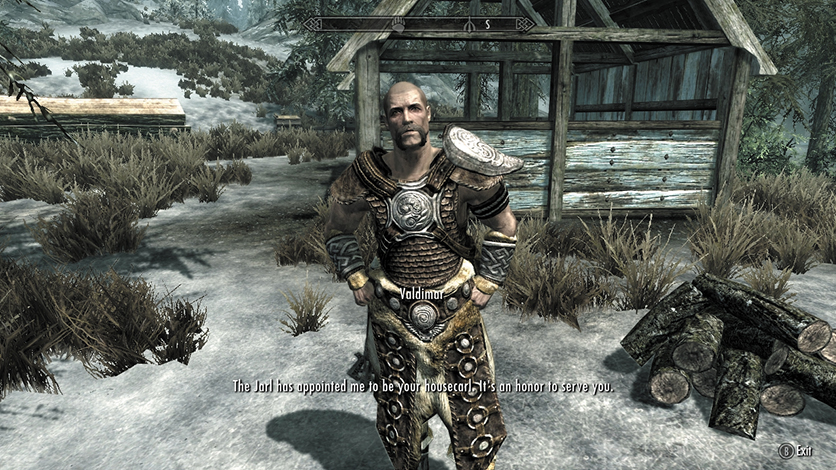
 Valdimar, Housecarl of Windstad Manor (Hjaalmarch)
Housecarl: Heavy Armor, One-Handed, Archery, Block
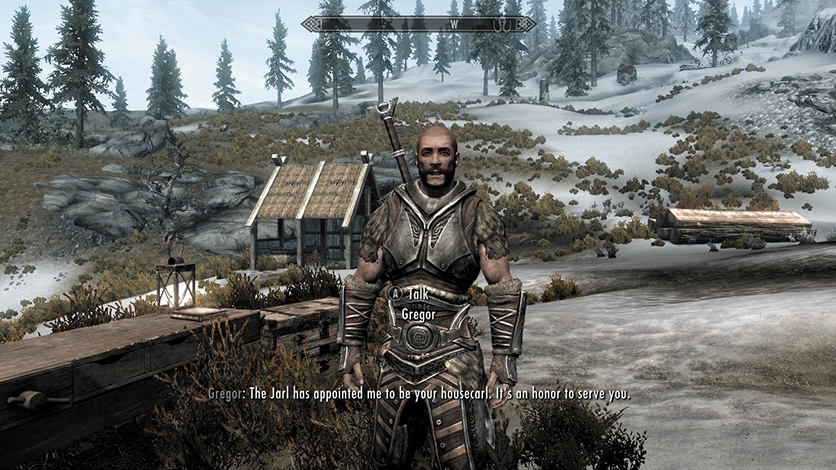
Gregor: Housecarl of Heljarchen Hall (The Pale)
Housecarl: Heavy Armor, One-Handed, Archery, Block
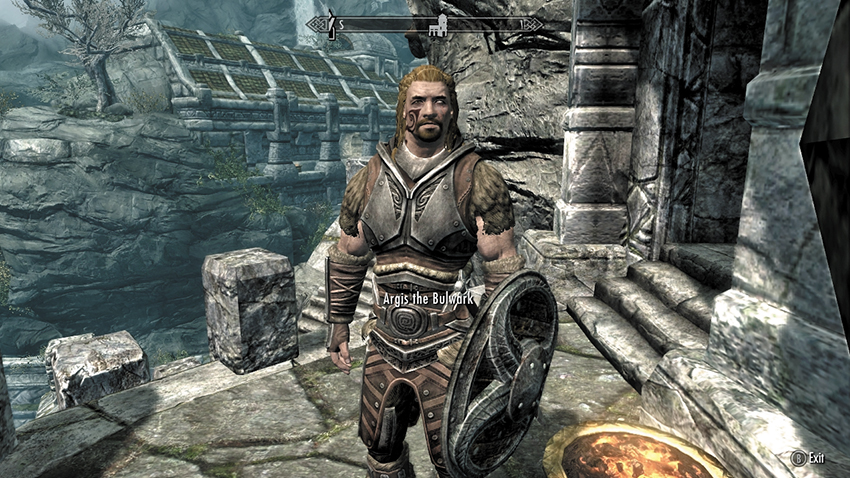
Argis the Bulwark, Housecarl of Markarth (the Reach)
Housecarl: One-Handed, Heavy Armor, Archery, Block
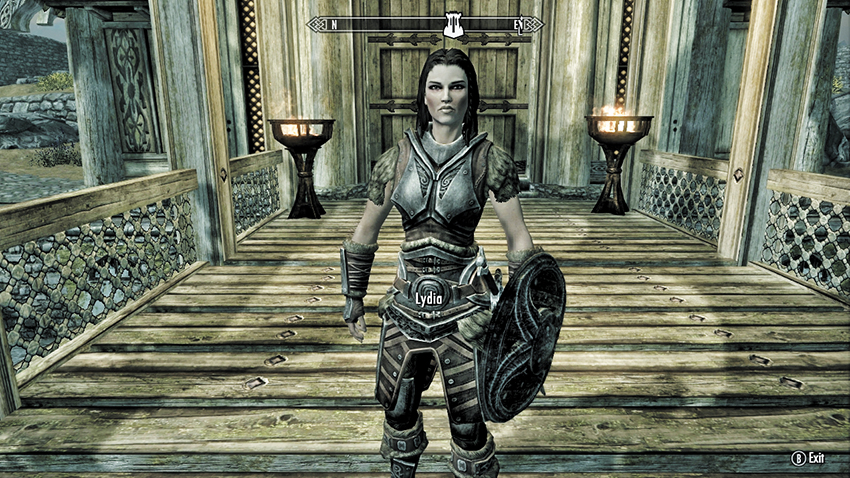
Lydia, Housecarl of Whiterun (Whiterun Hold)
Housecarl: One-Handed, Heavy Armor, Archery, Block
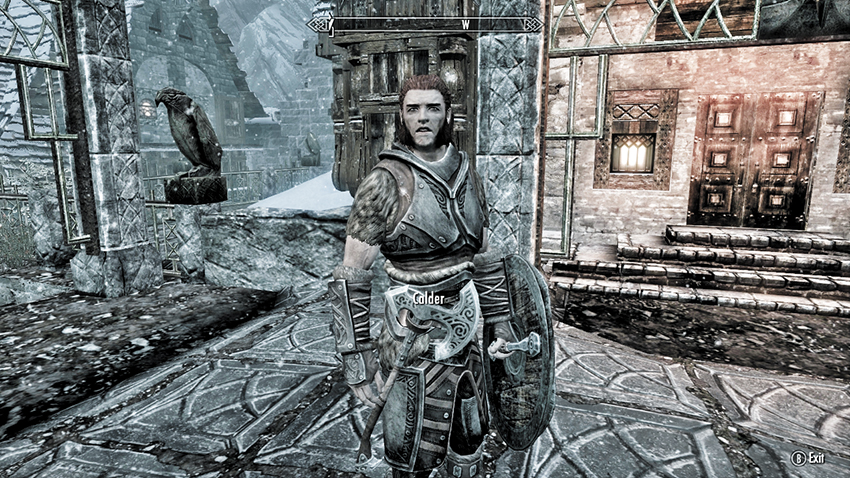
Calder, Housecarl of Windhelm (Windhelm Hold)
Housecarl: One-Handed, Heavy Armor, Archery, Block
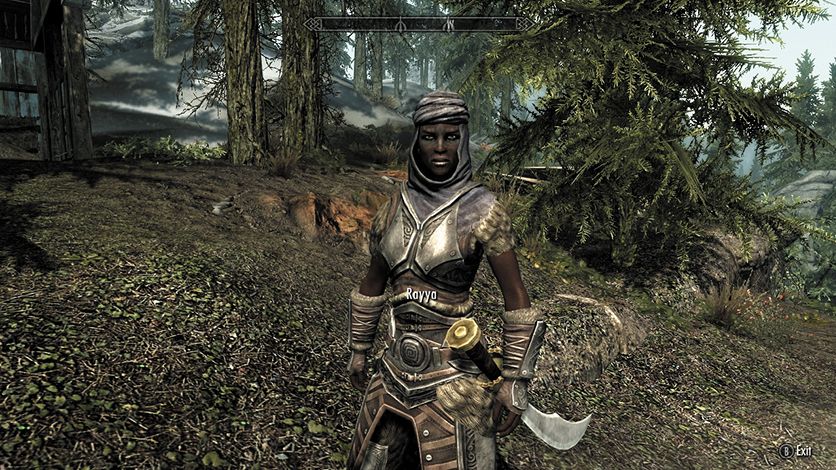
Rayya, Housecarl of Lakeview Manor (Falkreath Hold)
Housecarl: One-Handed, Heavy Armor, Archery, Block
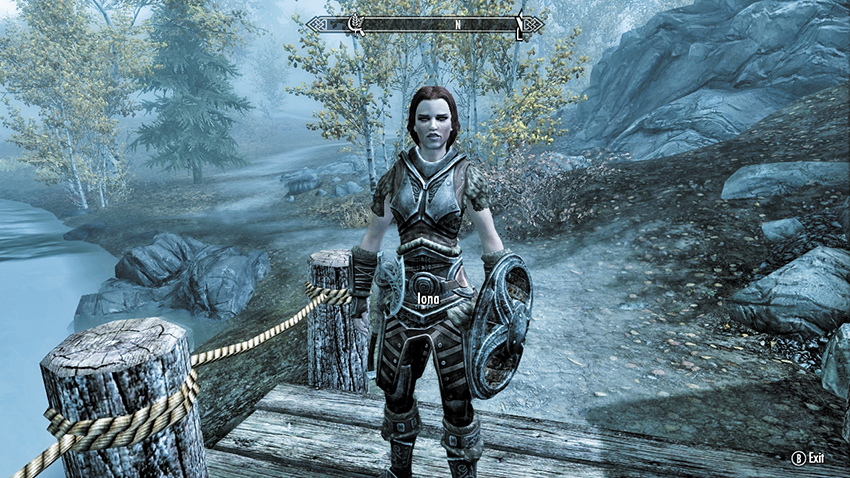
Iona, Housecarl of Riften (the Rift)
Housecarl: One-Handed, Heavy Armor, Archery, Block
The Companions
This ancient and renowned order of warriors is headquartered in Whiterun. Companions have an extremely close bond, referring to each other as Shield-Siblings. Once you complete their questline, the following Companions become available as Followers. Visit Jorrvaskr in Whiterun to find them.
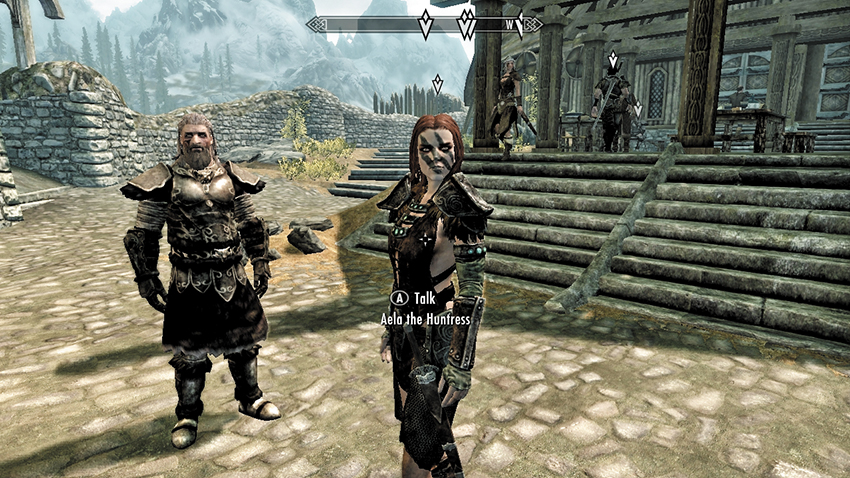
Aela the Huntress
Archer: Archery, Light Armor, Sneak, Speech, One-Handed
Expert Trainer: Archery
Athis
Warrior: One-Handed, Block, Archery, Light Armor
Expert Trainer: One-Handed
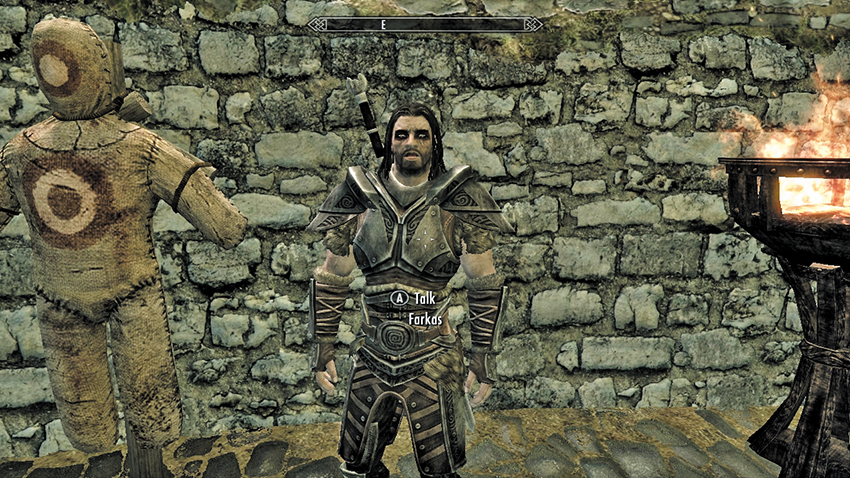
Farkas
Warrior: One-Handed, Heavy Armor, Smithing, Speech
Master Trainer: Heavy Armor
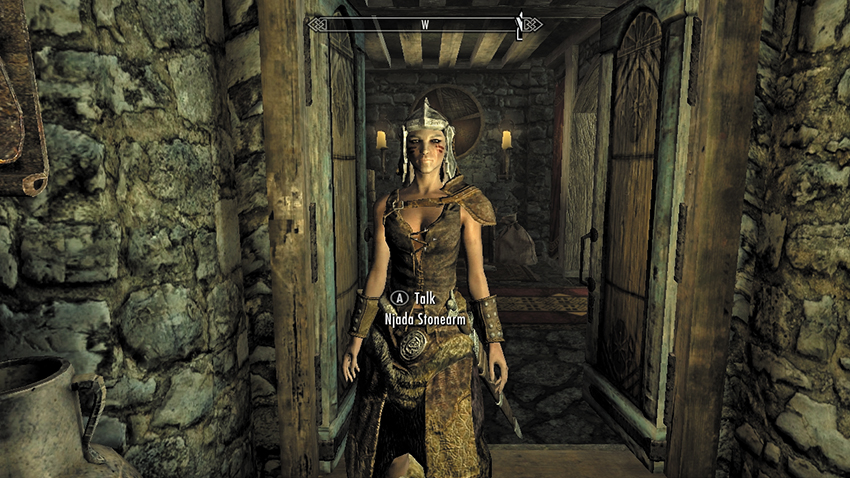
Njada Stonearm
Warrior: One-Handed, Block, Speech
Expert Trainer: Block
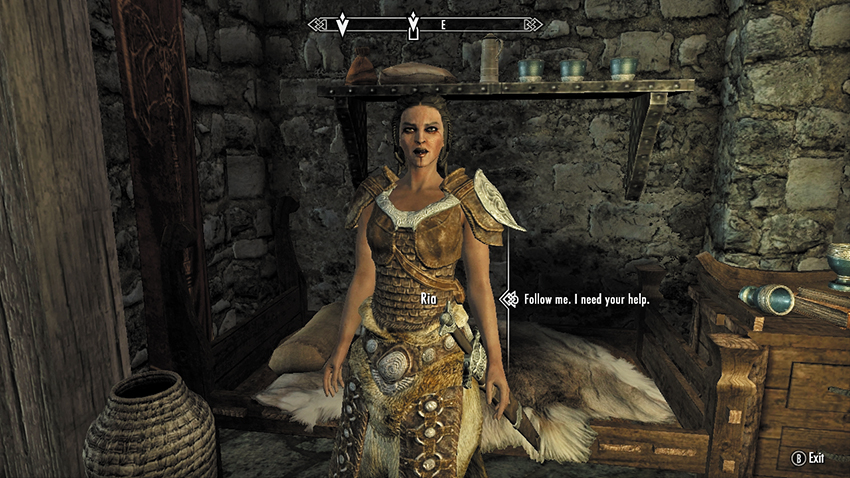
Ria
Warrior: One-Handed, Heavy Armor, Archery, Block
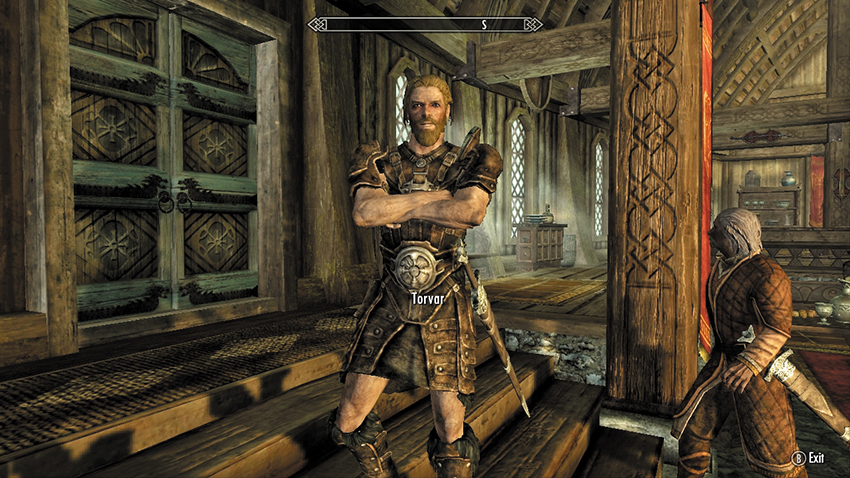
Torvar
Warrior: One-Handed, Heavy Armor, Archery, Block
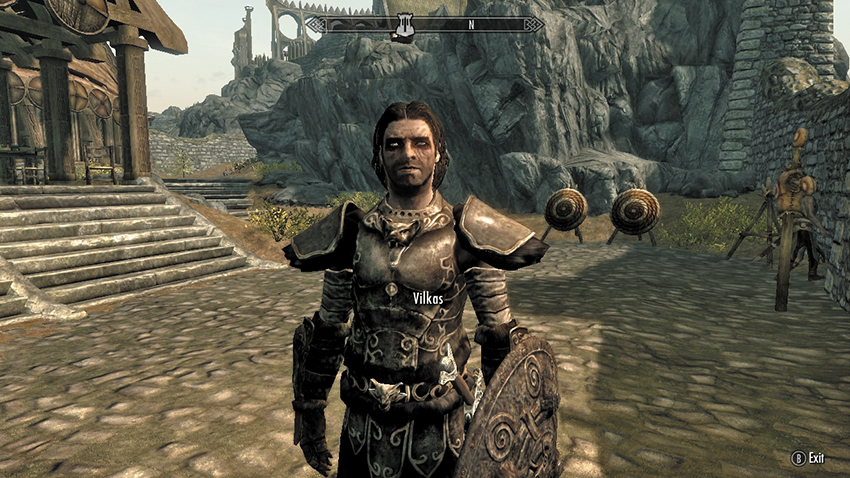
Vilkas
Knight: Two-Handed, Heavy Armor, Archery, Block
Master Trainer: Two-Handed
The College of Winterhold
Your fellow students at the College of Winterhold will join you once you are a member of the College and complete their specific College of Winterhold Radiant Quest:
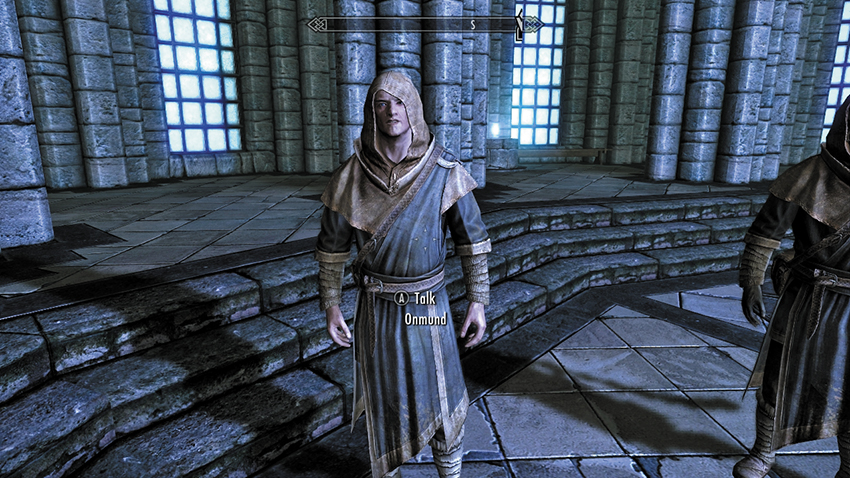
Onmund
Sorcerer: Destruction, Illusion, One-Handed, Heavy Armor
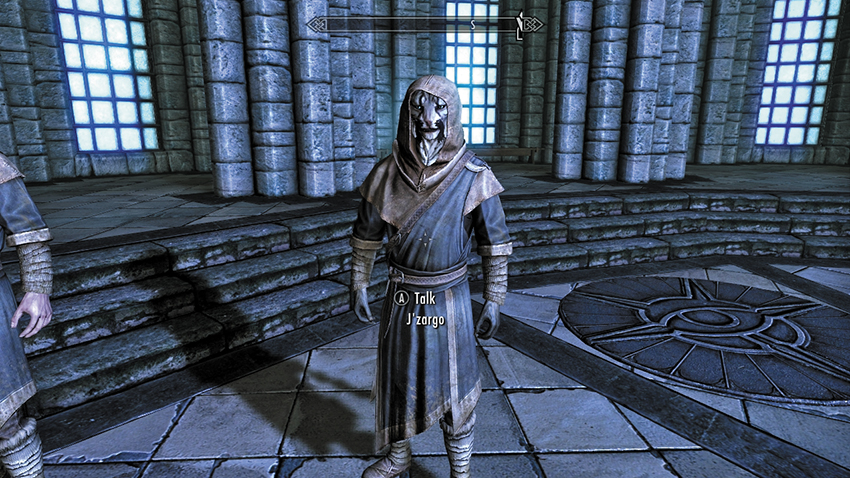
J’Zargo
Sorcerer: Destruction, Illusion, One-Handed, Heavy Armor
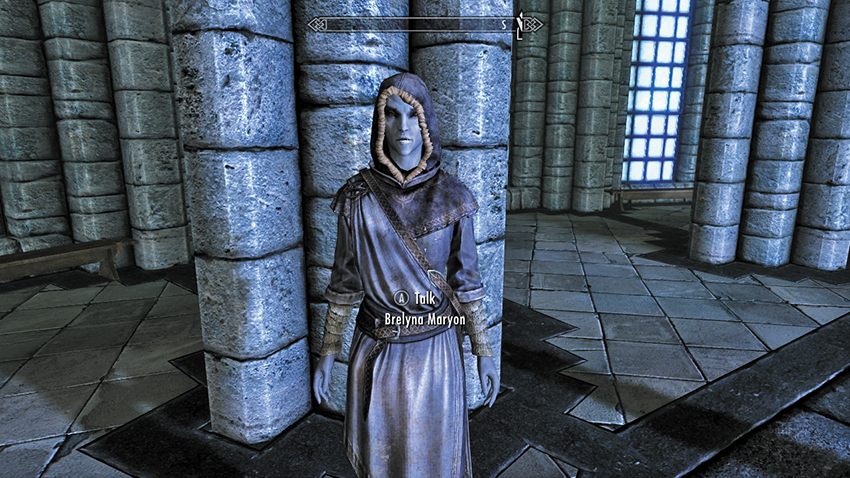
Brelyna Maryon
Mage: Alteration, Illusion, Conjuration, Sneak
Dark Brotherhood Assassins
After completing the Dark Brotherhood questline, two new initiates and a strange jester are available to aid and abet you in your adventures. You’ll find them at the Dawnstar Sanctary in the Pale:
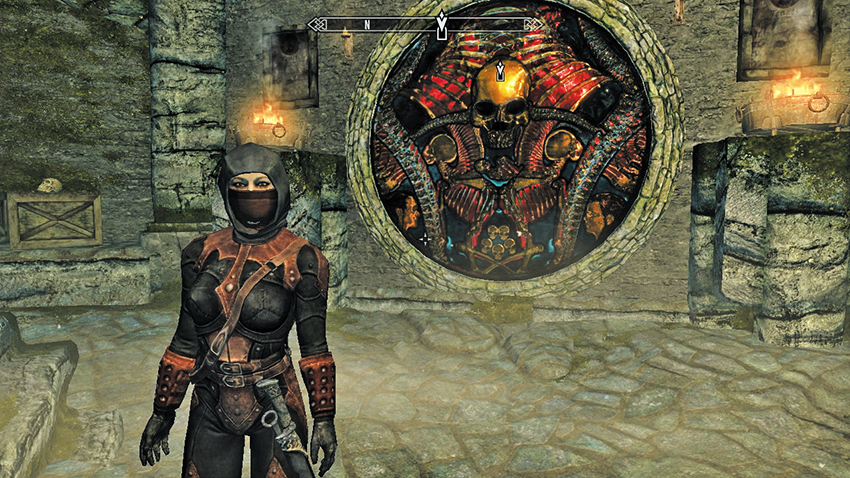
Dark Brotherhood Initiate (Male and Female)
Assassin: Sneak, One-Handed, Archery, Light Armor
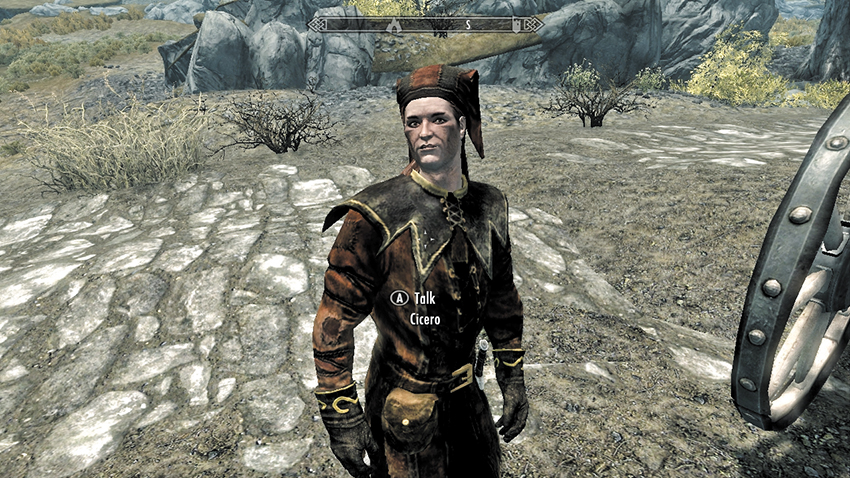
Cicero, the Fool of Hearts, Jester and Keeper of the Night Mother
Assassin: Sneak, One-Handed, Archery, Light Armor
Quest-Related Followers
The following citizens of Skyrim and Solstheim sometimes accompany you on specific quests and are willing to join you after you finish the quest they are involved in (providing they survive the quest as well). Consult each quest for more information.
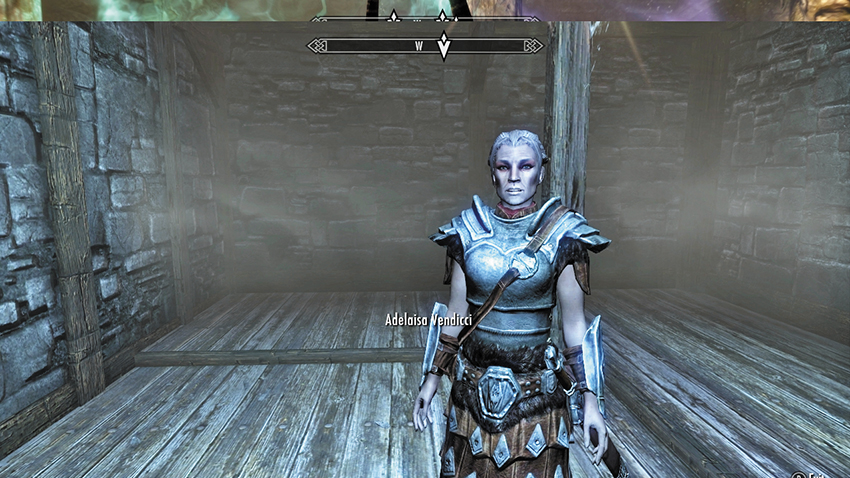
Adelaisa Vendicci (Side Quest: Rise in the East)
Townsperson: Alchemy, Enchanting, Smithing, Speech
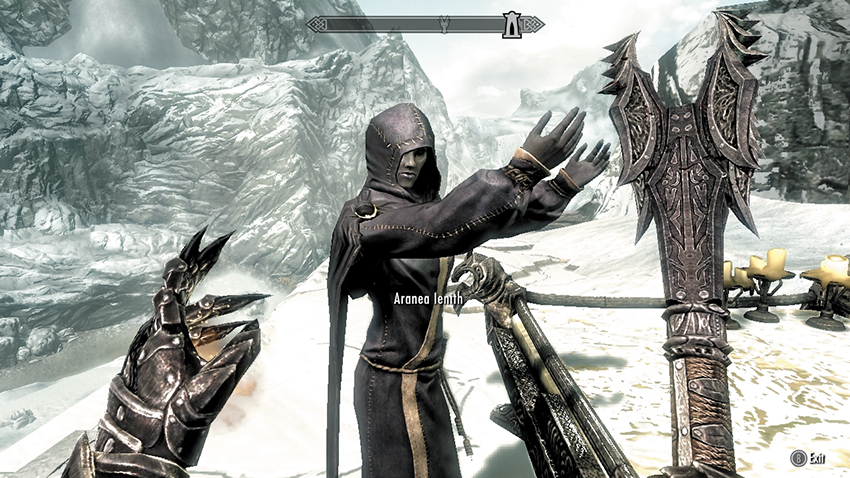
Aranea (Daedric Quest: The Black Star)
Mage: Destruction, Restoration, Conjuration, Alteration
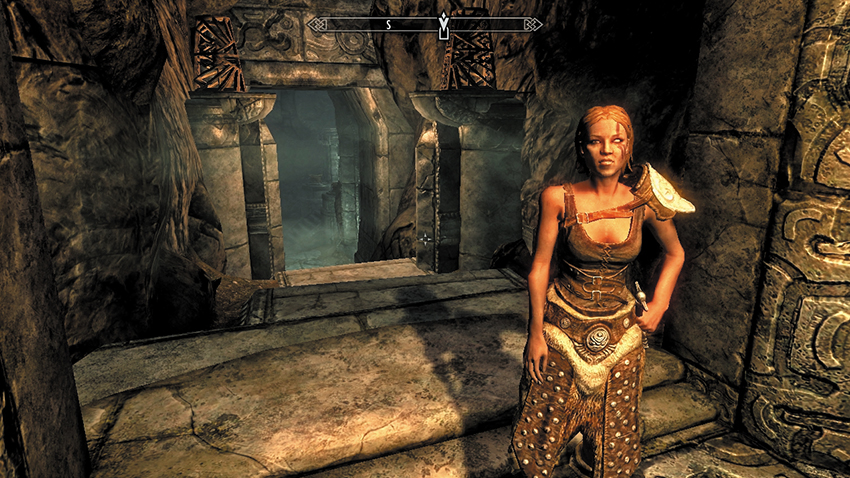
Eola (Daedric Quest: The Taste of Death)
Nightblade: Destruction, One-Handed, Alteration, Sneak
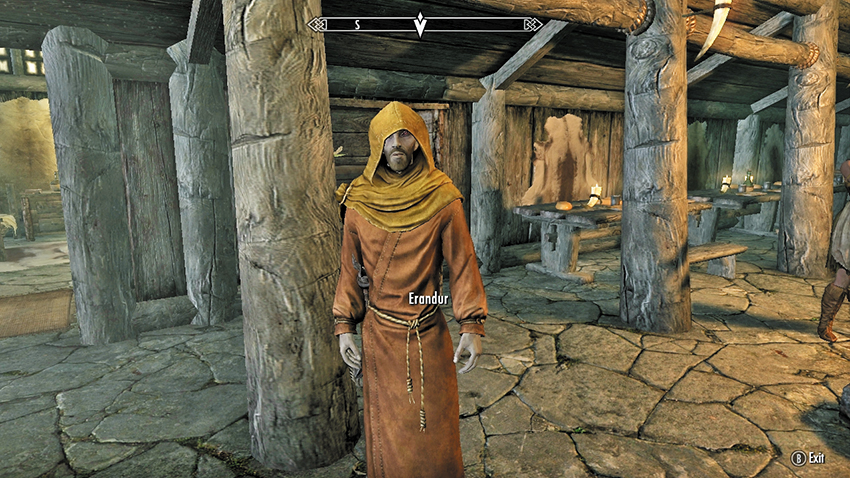
Erandur (Daedric Quest: Waking Nightmare)
Healer: Restoration, Conjuration, Speech, Alchemy
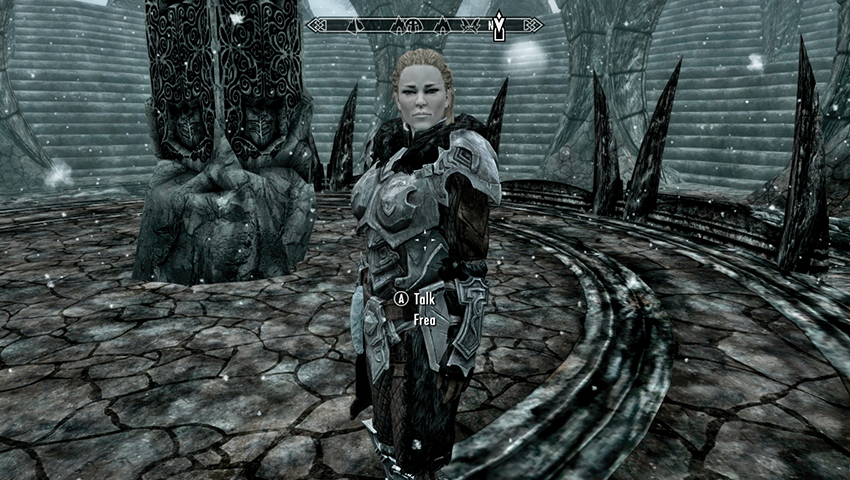
Frea (Dragonborn Main Quest: The Temple of Miraak)
Shaman: One-Handed, Alteration, Light Armor, Restoration, Archery
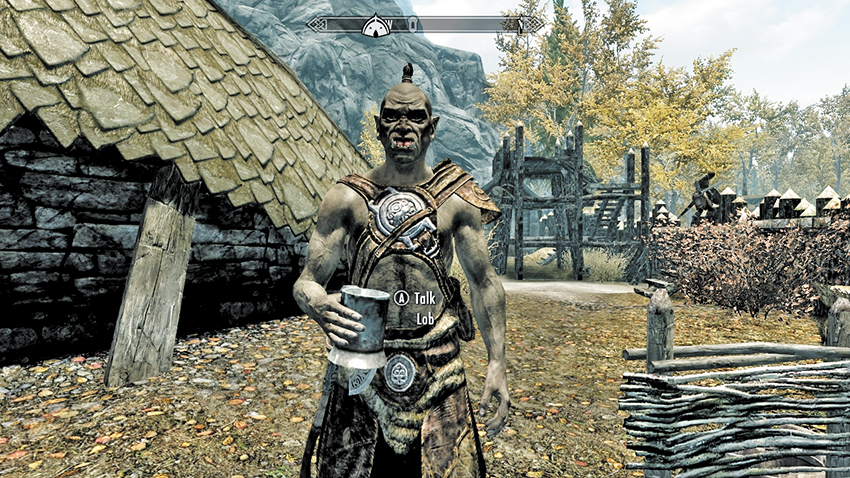
Lob (Daedric Quest: The Cursed Tribe)
Archer: Archery, Light Armor, One-Handed, Block, Sneak
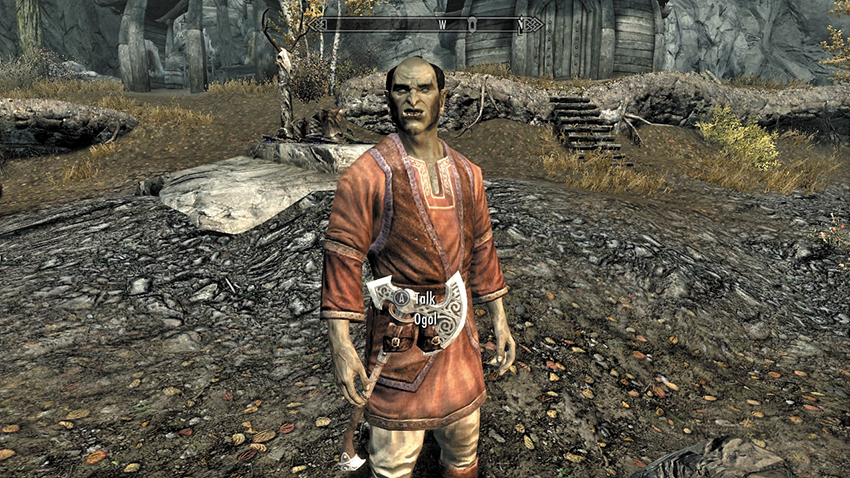
Ogol (Daedric Quest: The Cursed Tribe)
Warrior: One-Handed, Heavy Armor, Archery, Sneak
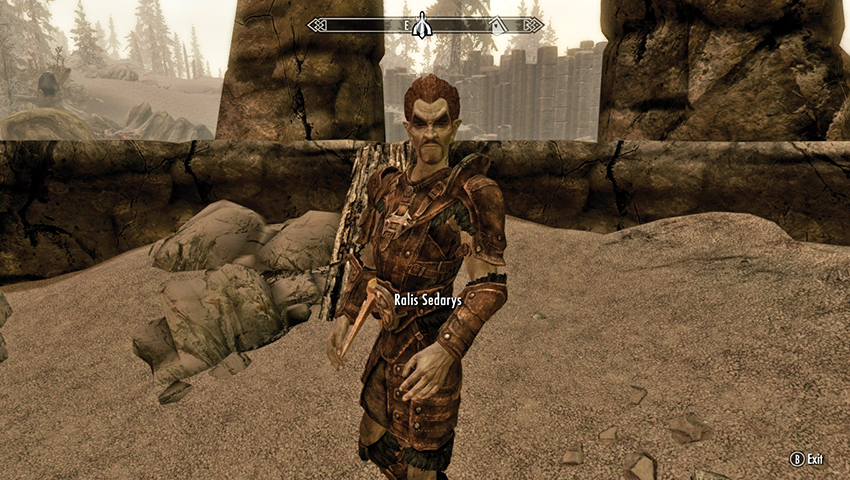
Ralis Sedarys (Solstheim Side Quest: Unearthed)
Warrior: One-Handed, Light Armor, Block, Sneak
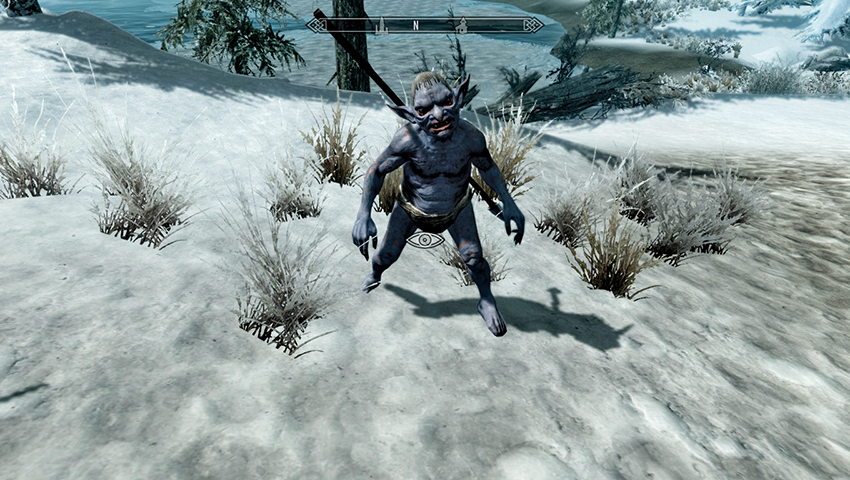
Rieklings (Solstheim Side Quest: The Chief of Thirsk Hall)
Riekling: Archery, Two-Handed, Light Armor, Sneak (see the Bestiary for complete details)
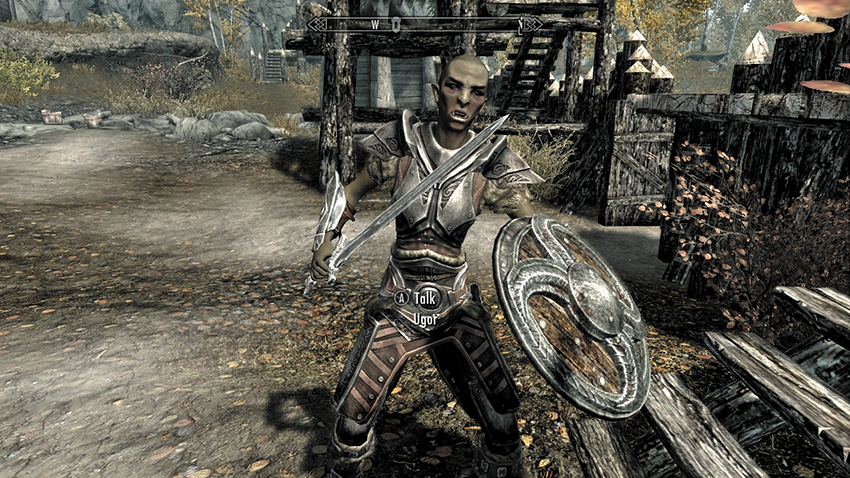
Ugor (Daedric Quest: The Cursed Tribe)
Archer: Archery, Light Armor, One-Handed, Block, Sneak
 Dawnguard Followers
The characters listed below are willing to join you on your adventures if you meet their requirements. However, for most of the Dawnguard Main Quest, you will be fighting alongside Serana, who is vehemently opposed to leaving your side. You can have an animal companion and Serana with you, but not another higher-functioning bipedal Follower. For these Followers, request their presence after the Dawnguard Main Quest is over.
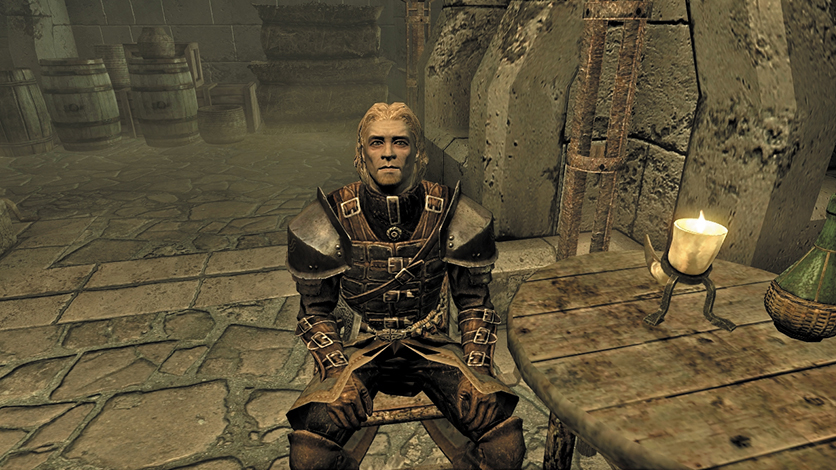
Agmaer
Dawnguard Recruit: One-Handed, Two-Handed, Block, Light Armor, Heavy Armor.
You must be allied with the Dawnguard and complete Dawnguard Main Quest: Prophet.
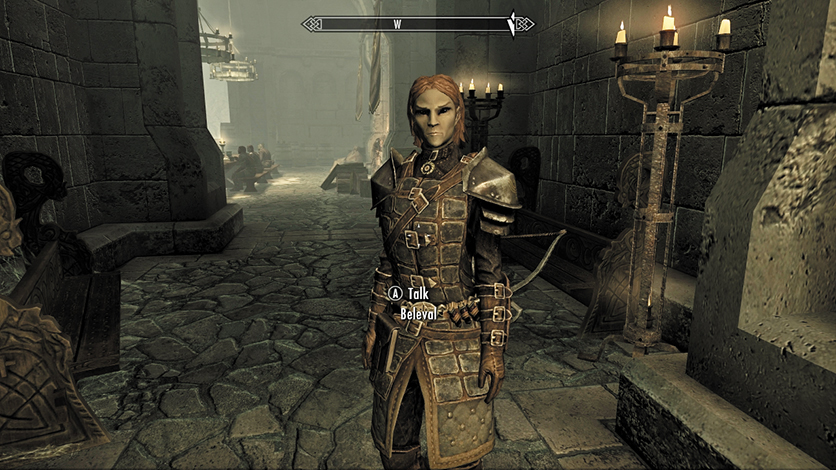
Beleval
Dawnguard Recruit: One-Handed, Two-Handed, Block, Light Armor, Heavy Armor.
You must be allied with the Dawnguard and complete Dawnguard Main Quest: Prophet.
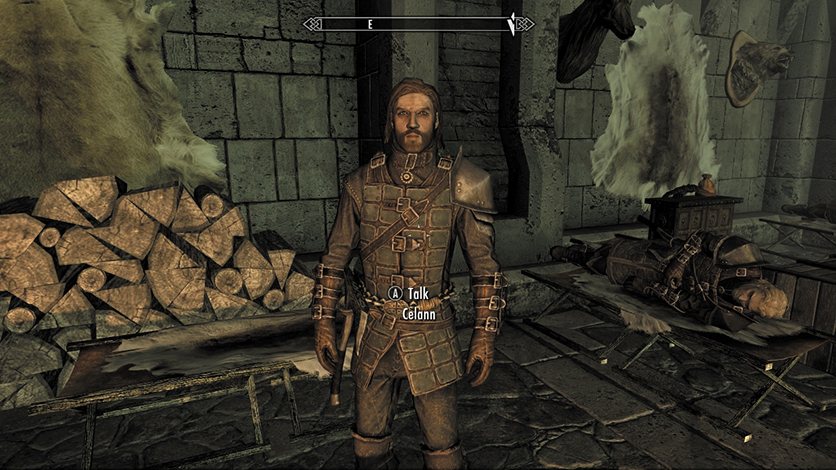
Celann
Dawnguard Warrior: One-Handed, Heavy Armor, Archery, Block.
You must be allied with the Dawnguard and complete Dawnguard Main Quest: Prophet.
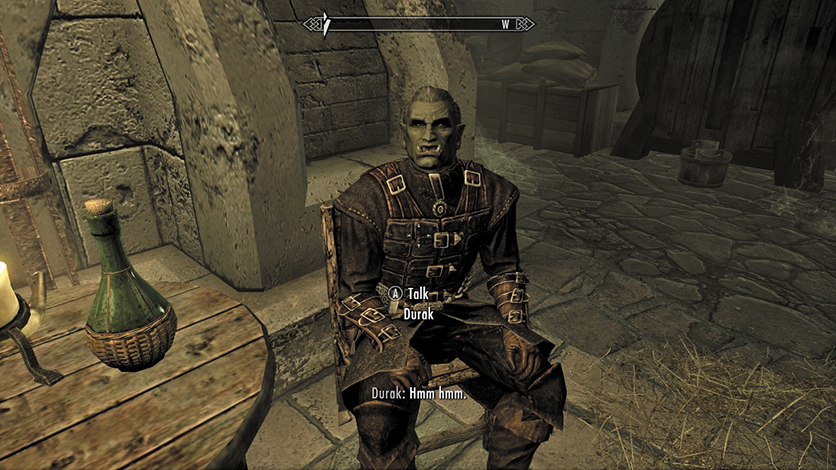
Durak
Dawnguard Hunter: Archery, One-Handed, Light Armor, Block.
You must be allied with the Dawnguard and complete Dawnguard Main Quest: Prophet.
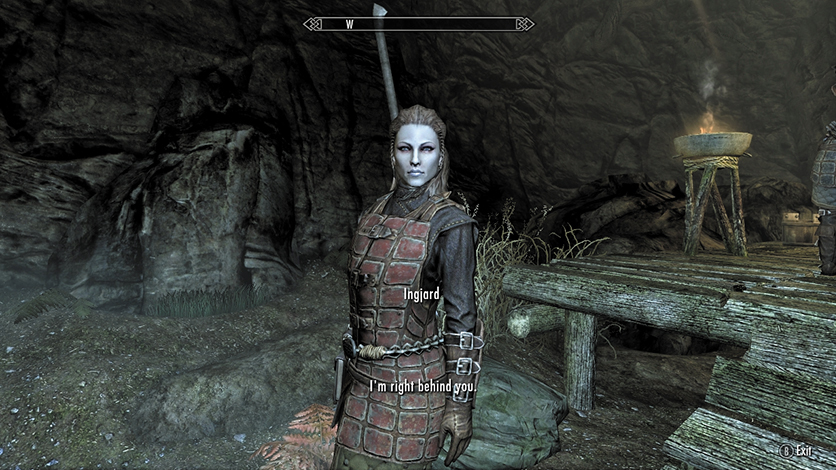
Ingjard
Dawnguard Warrior: Two-Handed, Heavy Armor, Archery, Block.
You must be allied with the Dawnguard and complete Dawnguard Main Quest: Prophet.
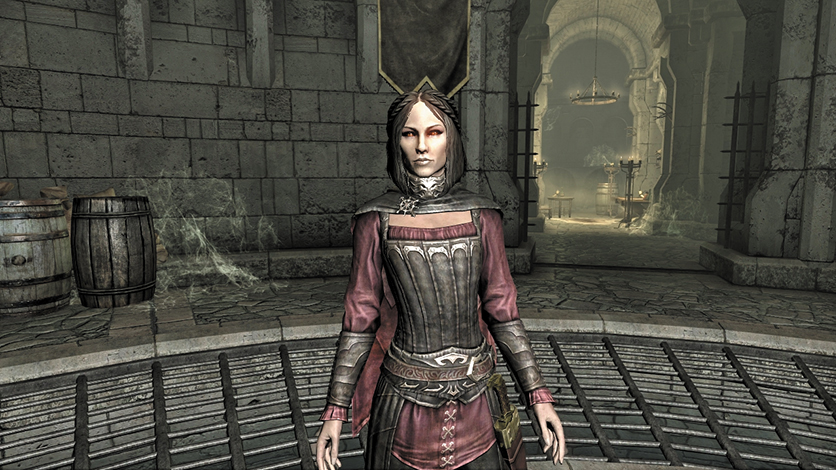
Serana
Vampire Mage: Sneak, One-handed, Light Armor, Conjuration, Destruction, Alteration.
Available once Dawnguard Main Quest: Awakening is complete. For a full rundown of Serana’s abilities and strengths, consult the introduction to the Dawnguard Main Quests.
Dungeon-Related Followers
The following denizens of the dungeons of Skyrim are available to help your cause once you clear the dungeon in which you find them. Providing they survive. Consult the Dungeon Quests for more information.
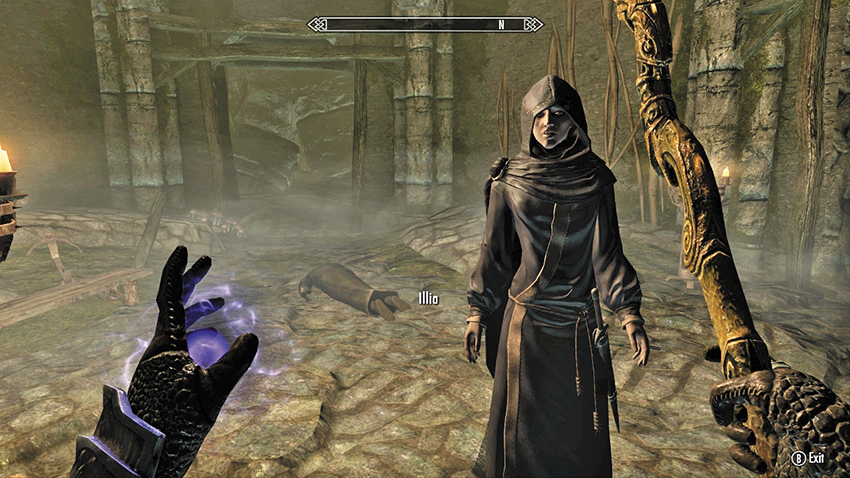
Illia, Darklight Tower (the Rift)
Mage: Destruction, Restoration, Conjuration, Alteration
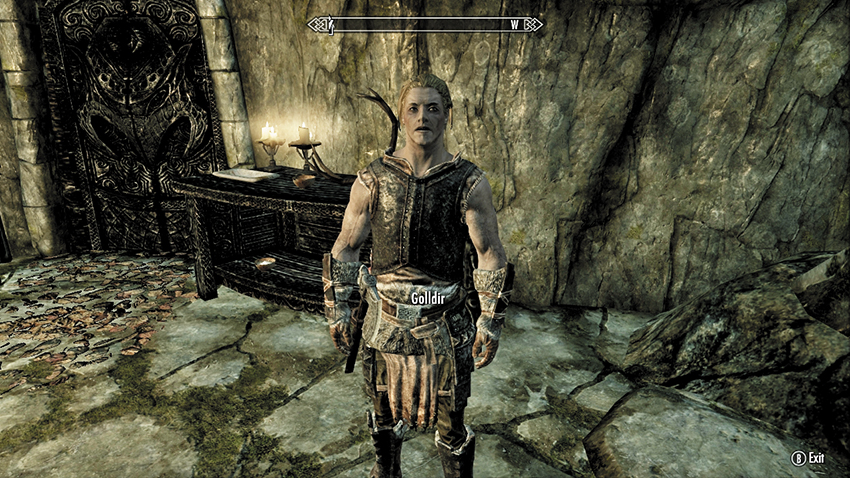
Golldir, Hillgrund’s Tomb (Whiterun Hold)
Warrior: One-Handed, Heavy Armor, Archery, Block
Favor Followers
The following inhabitants of Skyrim agree to join you once you’ve befriended them by completing a task or Favor they set for you. Consult Favors for more information.
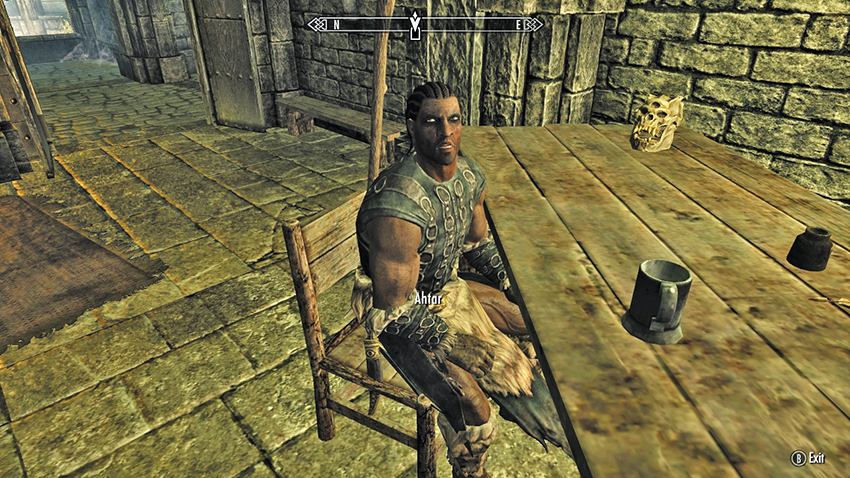
Ahtar the Jailor, in Solitude’s Castle Dour (Haafingar)
Knight: Two-Handed, Heavy Armor, Archery, Block
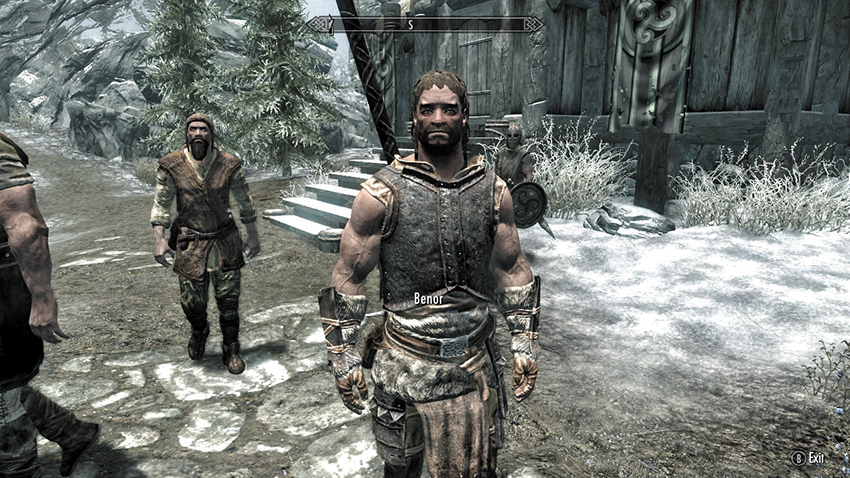
Benor, the guard lieutenant of Morthal (Hjaalmarch)
Knight: Two-Handed, Heavy Armor, Archery, Block
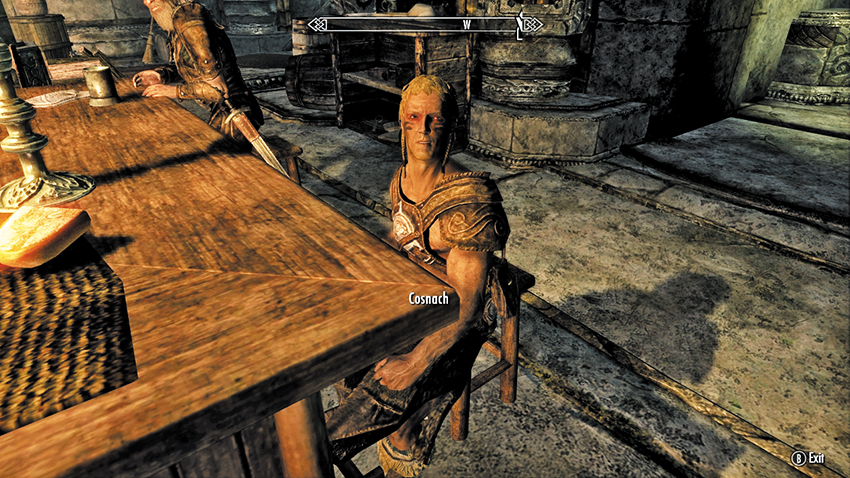
Cosnach, the drunkard in Markarth (the Reach)
Warrior: One-Handed, Heavy Armor, Archery, Block
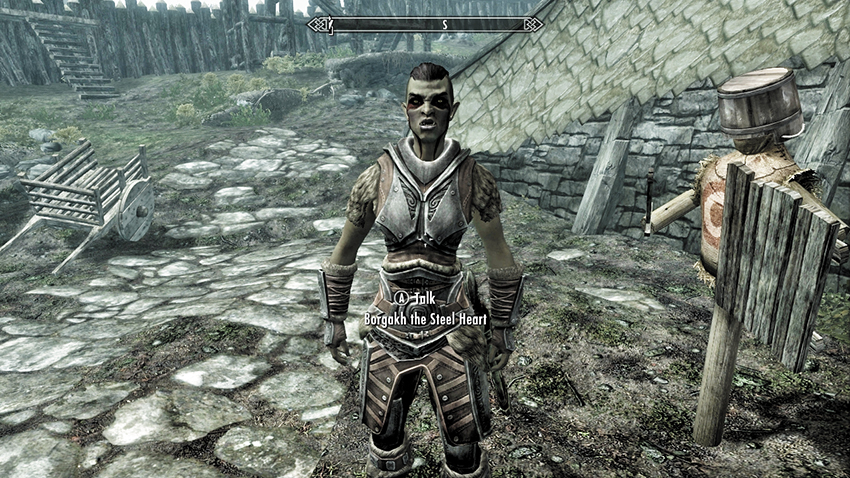
Borgakh, the daughter of Bagrak, in Mor Khazgur (the Reach)
Warrior: One-Handed, Heavy Armor, Archery, Sneak
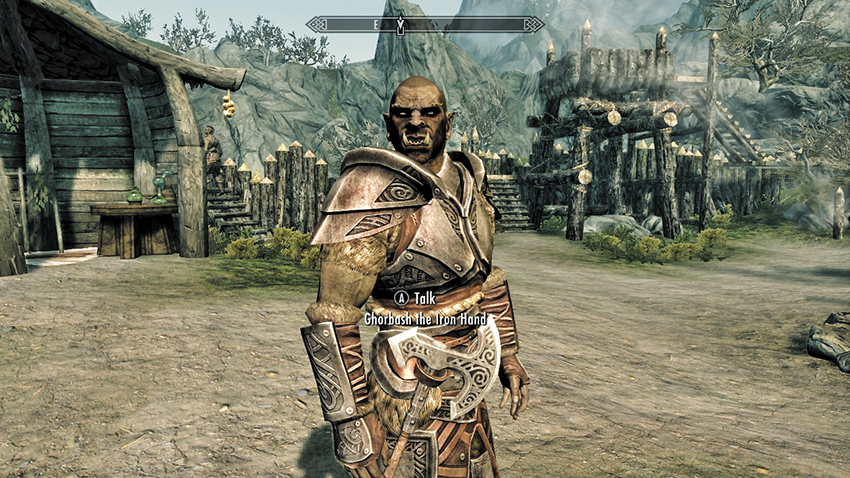
Ghorbash, the brother of the Orc Chief of Dushnikh Yal (the Reach)
Archer: Archery, Light Armor, One-Handed, Block, Sneak
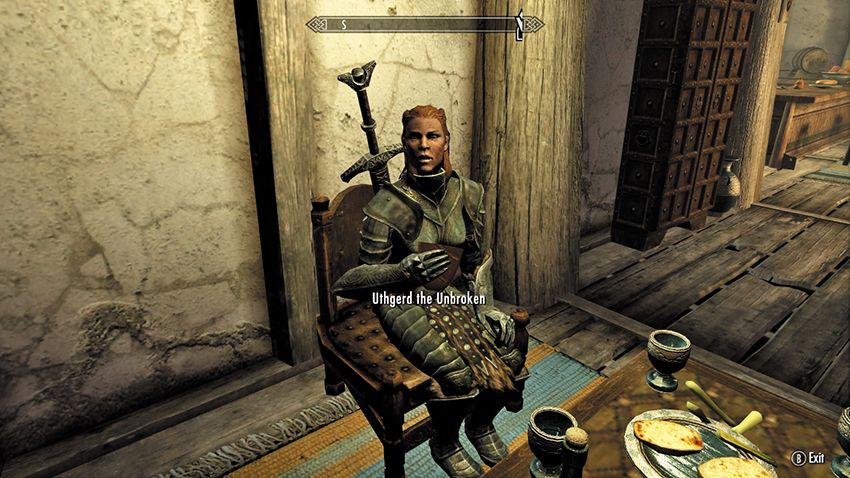
Uthgerd the Unbroken, the brawling warrior of Whiterun (Whiterun Hold)
Warrior: One-Handed, Heavy Armor, Archery, Block
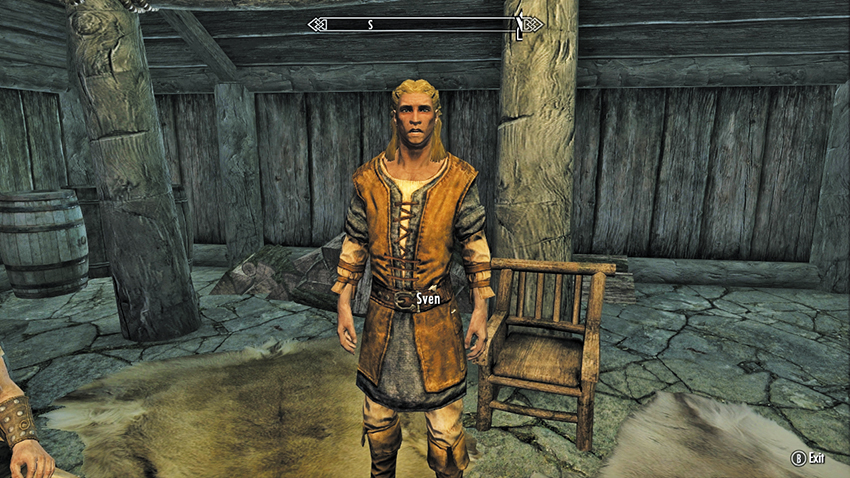
Sven, the minstrel and lumberjack of Riverwood (Whiterun Hold)
Townsperson: Alchemy, Enchanting, Smithing, Archery
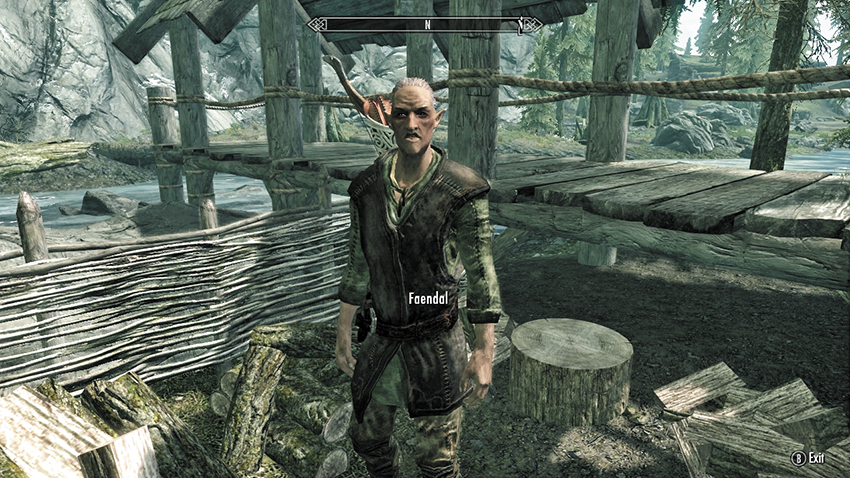
Faendal, the hunter and lumberjack of Riverwood (Whiterun Hold)
Archer: Archery, Light Armor, One-Handed, Sneak
Journeyman Trainer: Archery
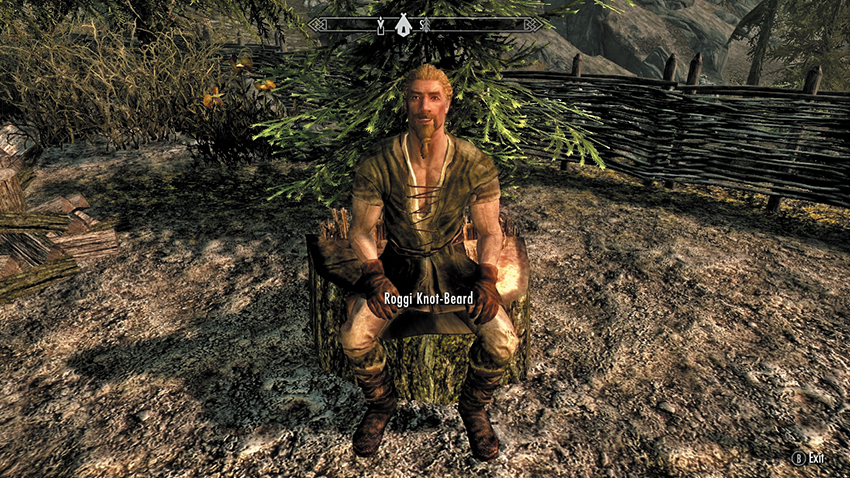
Roggi Knot-Beard, the Nord miner of Kynesgrove (Eastmarch)
Townsperson: Alchemy, Enchanting, Smithing, One-Handed
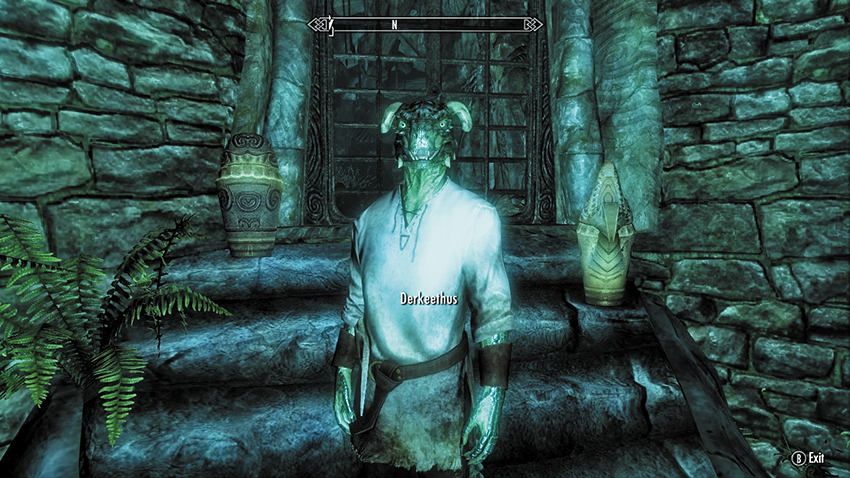
Derkeethus, the kidnapped fisherman, held in Darkwater Pass (Eastmarch)
Archer: Archery, Light Armor, One-Handed, Block, Sneak
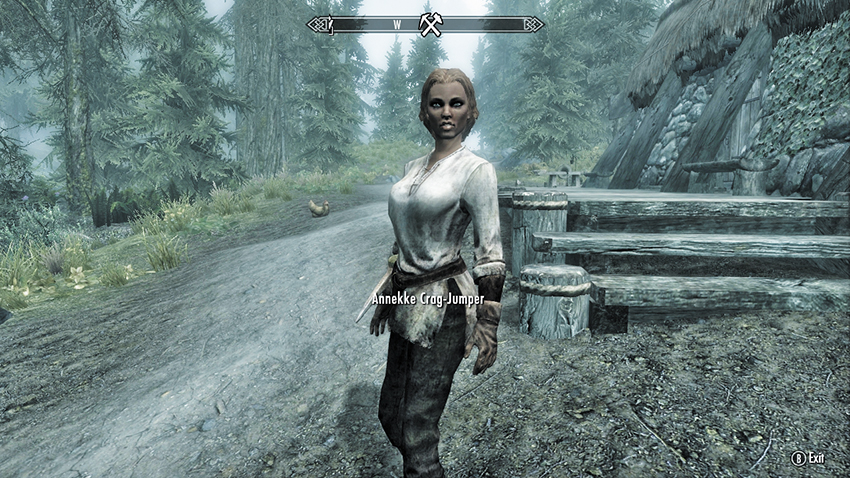
Annekke Crag-Jumper, the adventuress of Darkwater Crossing (Eastmarch)
Archer: Archery, Light Armor, One-Handed, Block, Sneak
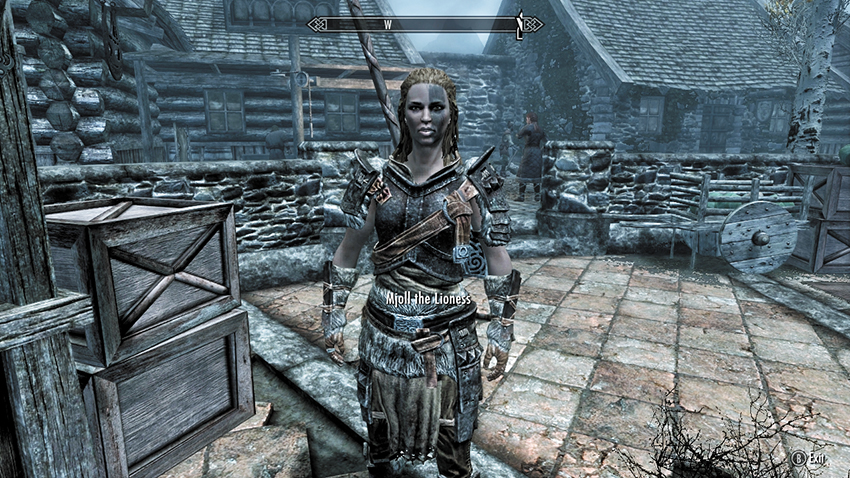
Mjoll the Lioness, adventuress, in Riften (the Rift)
Knight: Two-Handed, Heavy Armor, Archery, Block
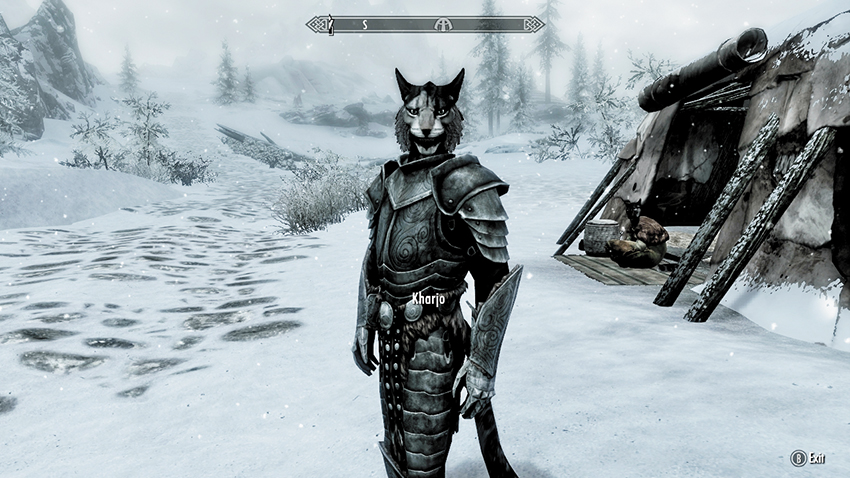
Kharjo, the bodyguard for Ahkari’s Caravan (Khajiit Caravans)
Warrior: One-Handed, Heavy Armor, Archery, Block
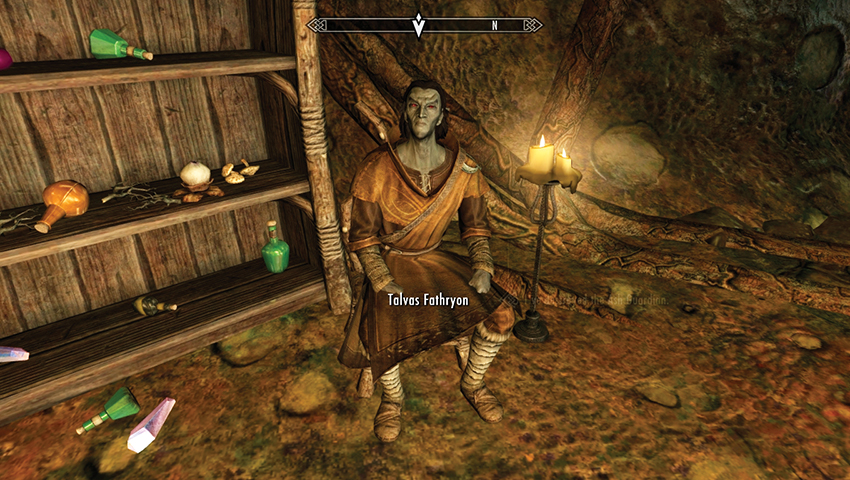
Talvas Fathryon, Master Neloth’s apprentice in Tel Mithryn (Solstheim)
Mage: Conjuration, Restoration, Destruction, Alteration, Sneak
Animal Companions
Two-legged, higher-functioning Followers aren’t the only ones you can bring with you on adventures. Four-legged friends and other beast or mechanical Followers are also available. The following animal companions can follow, stay, and attack, but they can’t carry items:

Vigilance: A war dog you can purchase from Banning at Markarth Stables (in the Reach) for 500 gold.
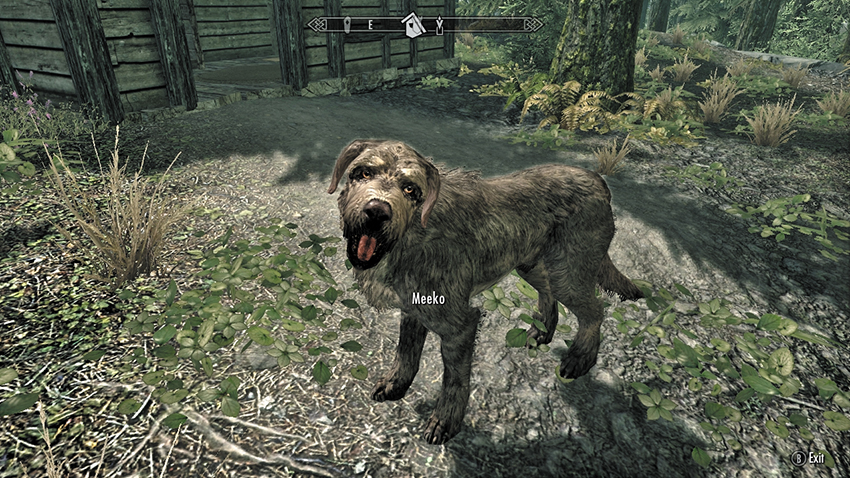
Meeko: A dog you find in the wilderness close to Meeko’s Shack, in Hjaalmarch.
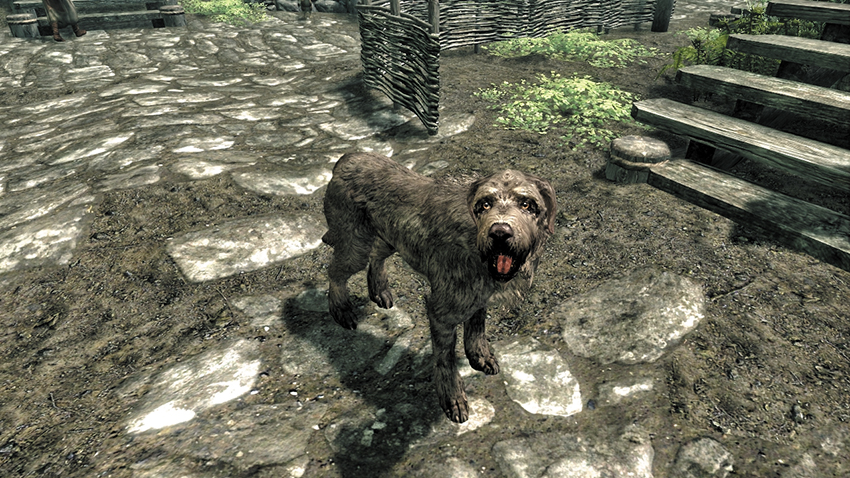
Stray dog: A dog you can meet in a random World Encounter (Corpses in the Aftermath of a Dragon Attack or Dog Fending Off a Pair of Wolves).
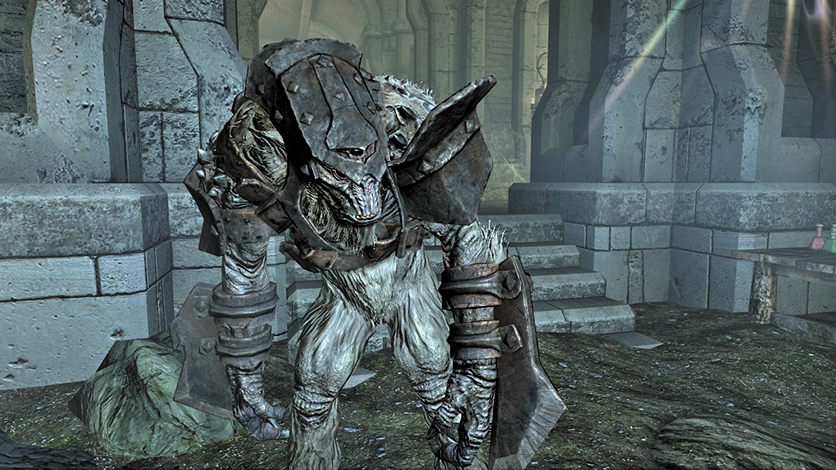
Armored Frost Troll
- In Fort Dawnguard
Frost Troll: Claw and Bite attacks. Animal companion. You must be allied with the Dawnguard and complete Dawnguard Main Quest: A New Order to hire this troll from Gunmar for 500 gold.
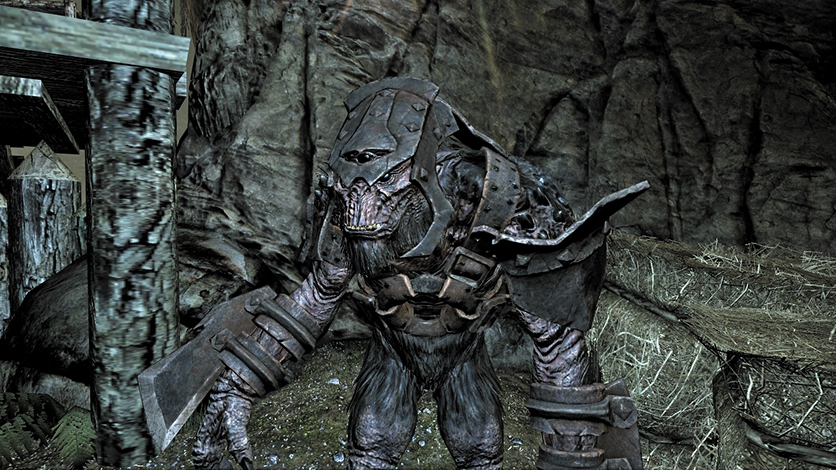
Armored Troll
- In Fort Dawnguard
Troll: Claw and Bite attacks. Animal companion. You must be allied with the Dawnguard and complete Dawnguard Main Quest: A New Order to hire this troll from Gunmar for 500 gold.
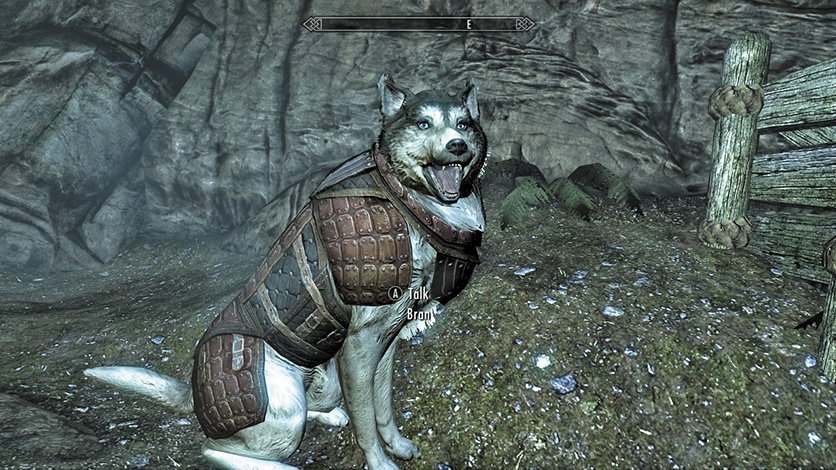
Bran
- In Fort Dawnguard
Dawnguard Husky: Bite attacks. Animal companion. You must be allied with the Dawnguard and complete Dawnguard Main Quest: A New Order.
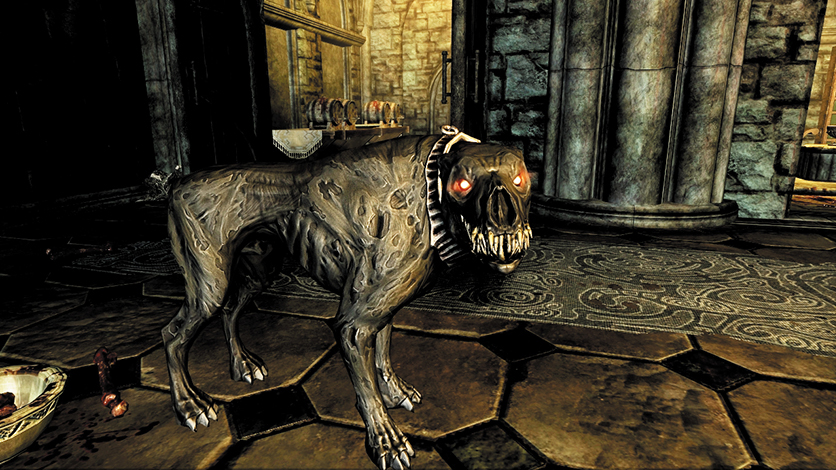
CuSith
- In Castle Volkihar
Death Hound: Claw and Bite attacks. Animal Companion. You must be allied with the Volkihar Vampires and complete Dawnguard Main Quest: The Bloodstone Chalice.
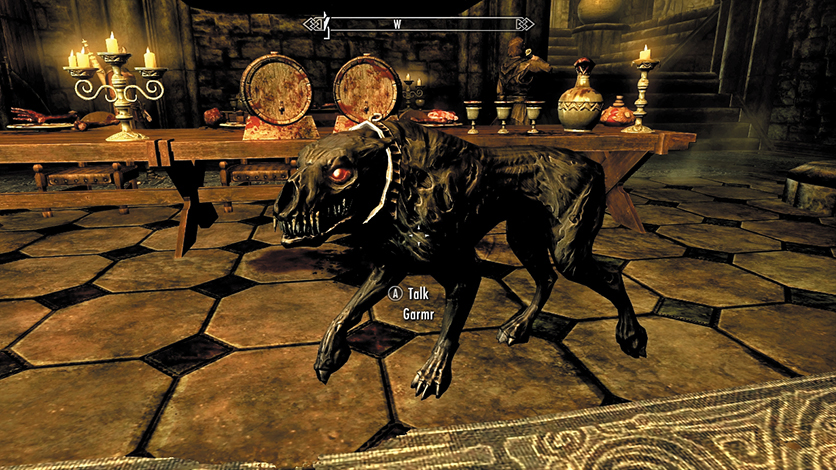
Garmr
- In Castle Volkihar
Death Hound: Claw and Bite attacks. Animal companion. You must be allied with the Volkihar Vampires and complete Dawnguard Main Quest: The Bloodstone Chalice.
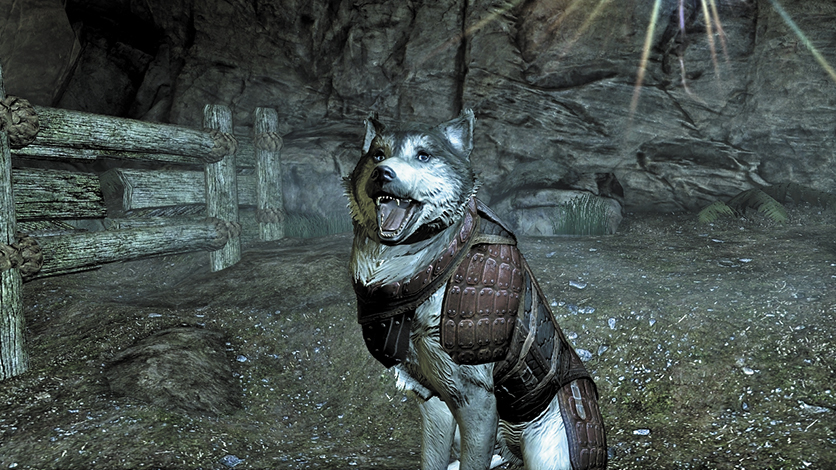
Sceolang
- In Fort Dawnguard.
Dawnguard Husky: Claw and Bite attacks. Animal companion. You must be allied with the Dawnguard and complete Dawnguard Main Quest: A New Order.
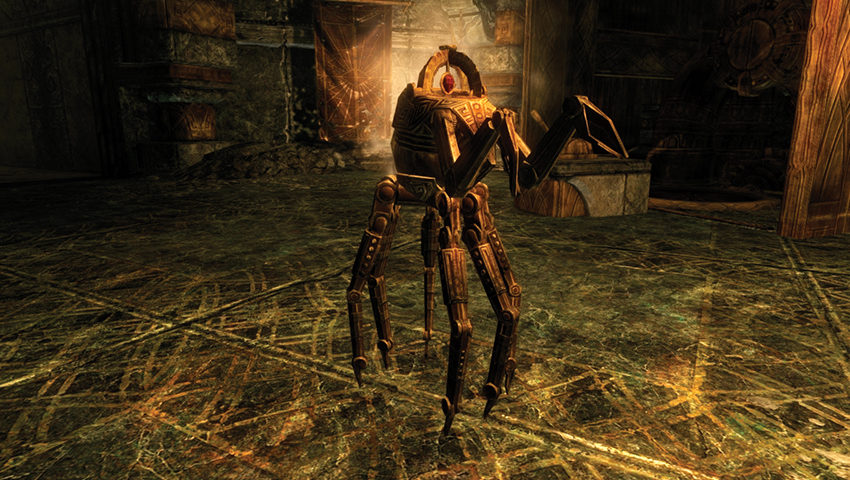
Steadfast Dwarven Spider: Your prize for completing the first battle in Kagrumez, as part of Solstheim Side Quest: The Challenges of Kagrumez*.
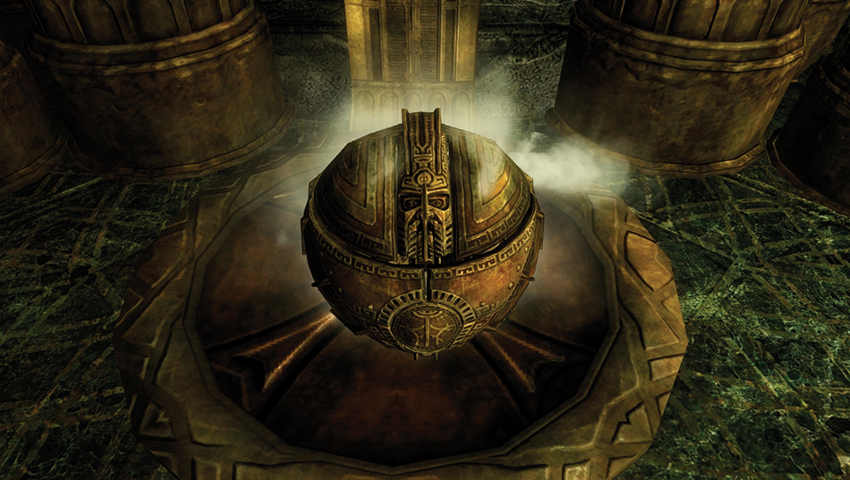
Steadfast Dwarven Sphere, your prize for completing the second battle in Kagrumez, as part of Solstheim Side Quest: The Challenges of Kagrumez*.
Pets
Finally, if you’ve built your own dwelling and adopted a small child, they may bring home an animal to play with. These pets aren’t cut out for adventuring.
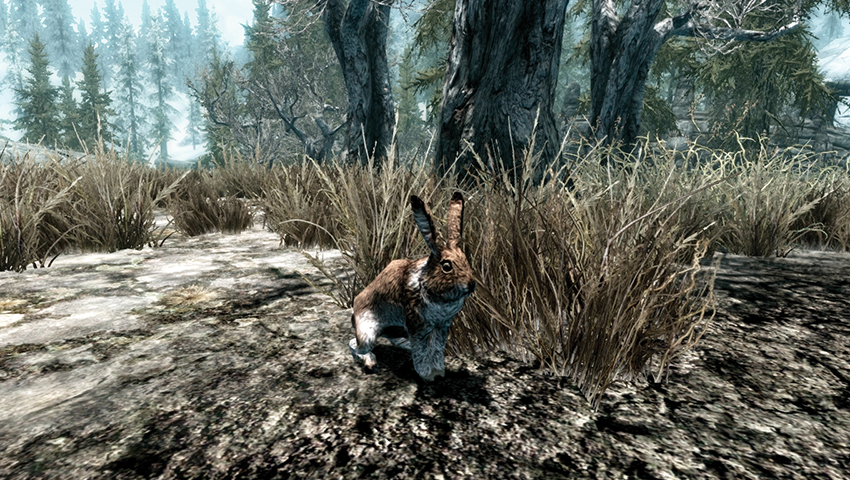
Hares (adopted girls only)
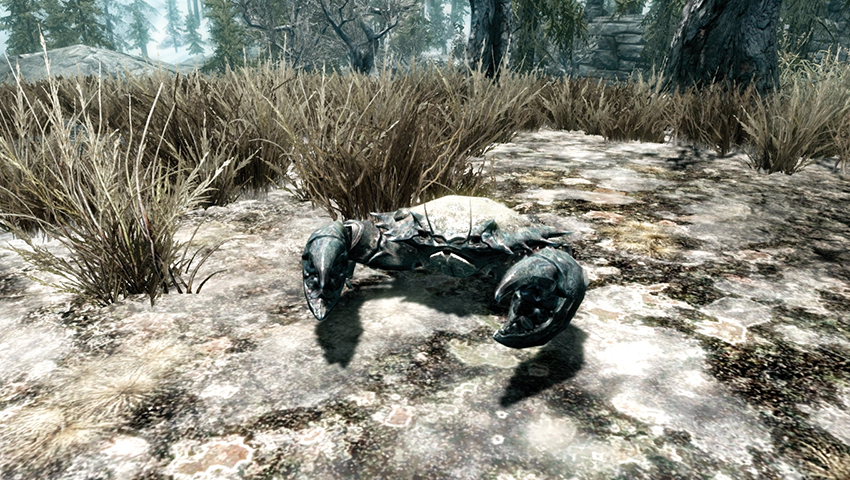
Mudcrabs (adopted boys only)
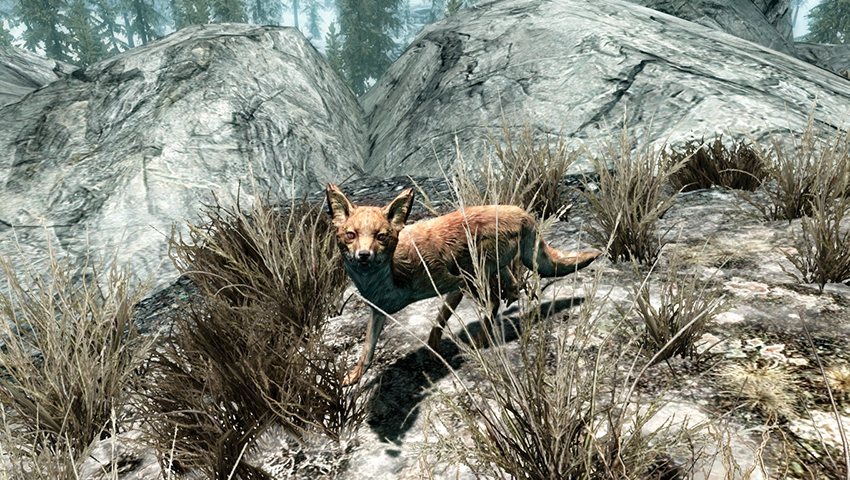
Red Foxes (adopted girls only)
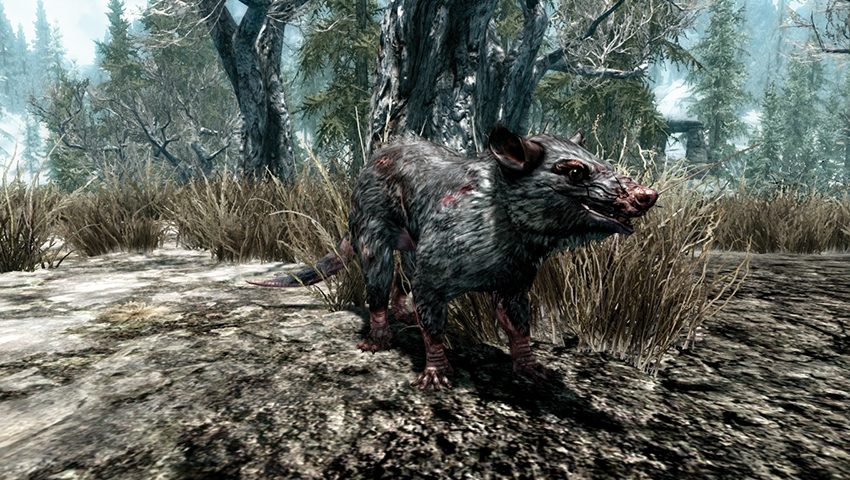
Skeevers (adopted boys only)
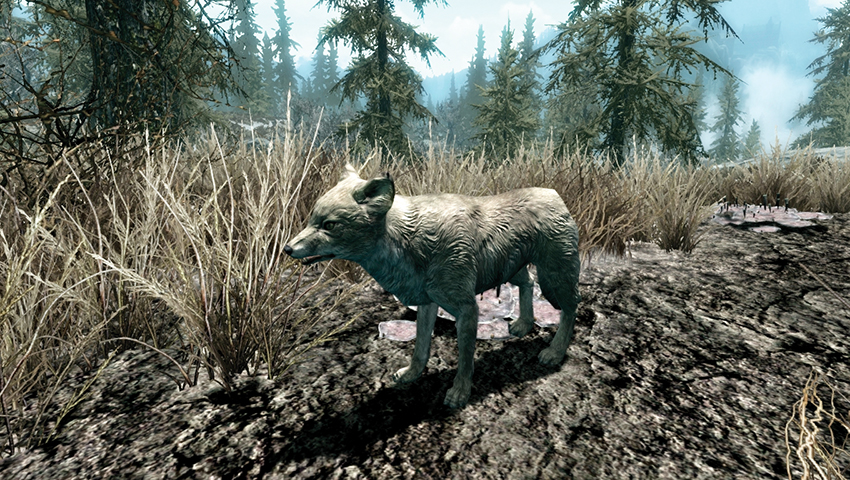
White Foxes (adopted girls only)
Horses
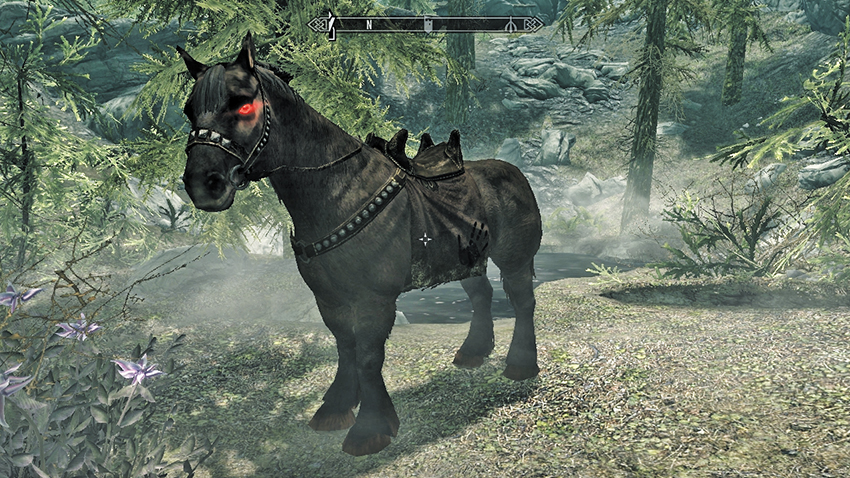
Shadowmere: The ultimate steed of Skyrim?
Horses can be purchased and used by adventurers to quickly travel between far-flung destinations. There are several ways in which you can acquire a horse:
Buying a Horse
You can purchase a horse at the stables adjacent to each of the five major Hold capitals; the four minor Hold capitals (Morthal, Dawnstar, Winterhold, and Falkreath) do not have stables.
Each stable sells a particular type of horse. The price of each horse, regardless of its type, is 1,000 gold pieces. This price is fixed and isn’t affected by your Speech skill, Speech perks, or other effects (such as a Potion of Haggling). Horses are all identical in terms of speed, health, and performance; the only difference is their color.
Available Horses
| Horse Type | Hold Name | Location of Purchase | Price |
|---|---|---|---|
| Black | Whiterun Hold | Whiterun Stables | 1,000 |
| Brown | Eastmarch | Windhelm Stables | 1,000 |
| Gray | The Rift | Riften Stables | 1,000 |
| Paint | The Reach | Markarth Stables | 1,000 |
| Palomino | Haafingar | Katla’s Farm (Solitude) | 1,000 |
| Frost | The Rift | Special | N/A |
| Shadowmere | Falkreath | Special | N/A |
| Arvak | Soul Cairn | Special | N/A |
Owning a Horse
Horses you own are always saddled and have your name added to their title (e.g., “Prisoner’s Horse”). This helps you differentiate between your horse and any others that may be around—just look for the name and saddle.
You can own all five types of horses, providing you have the gold to pay for each of them. If you own more than one horse, the horse you’ve most recently ridden travels with you if you decide to Fast-Travel to a location. All of your other horses return to the stables where you purchased them and wait for you there (you can return and use them whenever you wish).
Borrowing or Stealing a Horse
You can steal horses from several different locations. The best places to look are the stables where you can purchase a steed, any military camp or military fort, and in World Encounters. To steal a horse, simply walk up to it and mount it. Stealing a horse adds 50 to your bounty for that Hold. Dismounting from a stolen steed and then mounting it again counts as a separate theft, adding 50 more gold to your bounty. Horse rustling can get expensive fast.
Occasionally, you can “borrow” an unowned horse (one not marked “Steal”) from a location, World Encounter, or military fort. Unowned horses behave in the same manner as stolen horses, except that riding them isn’t a crime and your bounty won’t increase.
Using a Horse
It is important to learn what you and your steed are capable of. Horses can move at a canter (run) and gallop (sprint) speed equal to your very best run and sprint speeds while on foot. However, horses aren’t weighed down by your armor, and they likely have more stamina than you do, making them a faster way to travel overall. Plus, you get to conserve your stamina so you won’t be worn out if you find yourself ambushed by brigands on the road.
Horses can charge through or leap over low or small obstacles (essentially anything you could jump across when on foot). Larger obstacles can’t be jumped, so avoid them or move around them.
By nature, horses are not aggressive, and although able to attack, they generally flee from combat once you dismount.
Your Followers can’t ride horses. If you ride off on horseback, your Follower will run after you but is likely to fall behind. When you approach your destination, you may want to stop and use the Wait command, which will give them a chance to catch up.
Controlling a Horse
When riding a horse, it’s important to note the following controls:
- The camera is locked into a third-person view, and the View-Switch button centers the camera behind you.
- The Activate button allows you to dismount. You must dismount in order to activate objects or speak to others.
- The Jump button causes your horse to rear dramatically. You can jump while riding a horse if you’re running at a moderate pace.
- The Sprint button allows you to gallop.
Fast-Traveling and Horses
If you own one or more horses, the horse you most recently rode will Fast-Travel with you. This is handy if you’ve lost your horse after a fight or emerged from a dungeon in a different location. Simply Fast-Travel somewhere nearby, and your horse will be standing next to you.
If you’re riding a stolen or borrowed horse, your horse will only Fast-Travel with you if you’re riding it when you trigger the Fast-Travel. Otherwise, you’ll leave it behind.
Horses won’t accompany you into cities, dungeons, or other interiors. If you Fast-Travel to a city, your horse will be left at the stables just outside.
The Death of a Horse
While riding a horse, most of the damage from falls and enemy attacks will be absorbed by your horse. When a horse is reduced to 10% of its health or less, it drops you and tries to flee. If your horse takes lethal damage, it will die.
If you own a horse and it expires, a new horse of the same type will become available for purchase at the same stables as previously indicated. The same cannot be said for Frost or Shadowmere; when they expire, it is usually permanent.
 Mounted Combat
This information is designed to be read after you’ve familiarized yourself with the section on Horses (see above).
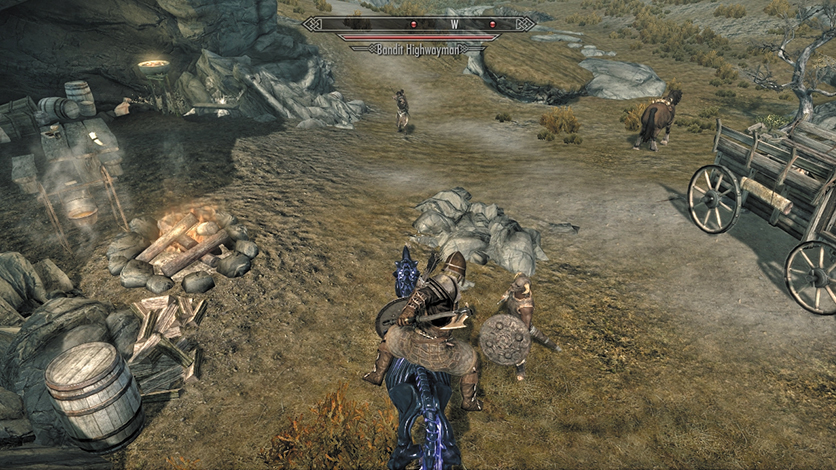
The ultimate steed and rider of Skyrim: Arvak attacks!
For the warrior, charging a group of bandits on the Whiterun tundra has never been so epic, especially if you’re riding a steed and bloodying your blade while on horseback!
The Basics of Mounted Combat
Before you ride off with bludgeoning from horseback on your mind, it’s worth having a small amount of practice first and learning the rudimentary rules for fighting from a horse:
- You’re able to use one-handed weapons, two-handed weapons, or archery (bows/crossbows) in mounted combat. You can’t use staffs, torches, shields, or spells of any kind.
- Only the weapon equipped in your right hand is used for mounted combat. If you equip a weapon in your left hand, it can’t be used.
- In mounted combat, you wield two-handed weapons with one hand, but they swing much more slowly than one-handed weapons do. You still can’t equip anything in your left hand while using them.
Weapon Attacks
The Left Hand button will use your equipped weapon to attack to the left of the horse. The Right Hand button will use your equipped weapon to attack to the right of the horse. If you hold either the Left or Right Hand buttons, you will draw back and hold your attack until you release the button. This makes it easier to time a “ride-by” attack. This strike is also a power attack (which costs Stamina, hits harder, and does more damage). If you don’t have enough Stamina to perform the power attack, you’ll just perform a regular attack instead, as you would if fighting on foot.
Bow Attacks
Bow attacks work as usual, although you cannot aim behind you. Archery Perks like Eagle Eye (zoom) and Steady Hand (slow time while aiming) will still work, although Ranger (faster movement speed) will not increase your speed while riding a horse.
The Subtleties of Mounted Combat
Once you’re able to maneuver around a group of foes and rip them apart from your steed, consider the following advanced tactics:
- If you’re wielding a one-handed weapon, equip a shield. Even though you can’t actively block with it, the shield still increases your armor rating.
- If you’re a dual-wielding specialist, don’t despair! You may not be able to use your left-hand weapon in mounted combat, but just having it equipped will still allow you to take advantage of the Dual Flurry (faster attack speed) and Dual Savagery (higher power attack damage) Perks, if you have them.
- More generally, any One-Handed, Two-Handed, or Archery Perks you have will still apply during mounted combat, although you may not be able to perform certain attacks (such as directional power attacks) while mounted.
- You can sprint on the horse while attacking. This doesn’t affect your attack in any way (damage, stagger chance, etc.), but it will make it a little easier for you to flee.
- During mounted combat, virtually all incoming damage will be absorbed by your horse. While horses have a fair amount of Health (around 300 points), this damage adds up quickly, and you have no way to heal your horse while mounted. If you aren’t careful, your horse will die, and replacing horses can get expensive fast. If you plan to use mounted combat extensively, you may wish to consider a more sturdy beast (Shadowmere) or one you can recall if he should die (Arvak).
- Mounted combat keeps you and your horse together. Particularly when riding Shadowmere, you may want to consider whether you could be more effective fighting separately.
Advantages of Mounted Combat
- Your horse acts as a damage shield, taking almost all of the damage that you would otherwise suffer.
- Remaining on horseback allows you to move quickly and make a getaway if the combat turns against you.
Disadvantages of Mounted Combat
- Your combat options are much more limited, since you can’t block or cast spells. You may find it more difficult to time and aim your attacks.
- Once you dismount, most horses will usually flee, although this does distract enemies and absorbs damage from anyone who attacks them.
- However, once you dismount, if you’re riding Shadowmere (the Dark Brotherhood’s special horse), he is free to attack, giving you an extra ally in your fight.
Unique Horses: Arvak, Frost, and Shadowmere
There are three unique horses you may wish to seek out:
- Frost: As part of Side Quest: Promises to Keep, you’re tasked with stealing Frost from the Black-Briar Lodge in the Rift. At the end of this quest, you have the option to betray the man who sent you on that mission, Louis Letrush, and keep Frost for yourself. If you do, you gain legal ownership of Frost. Aside from the fact this didn’t cost you any gold, Frost is a normal horse in every other respect.
- Shadowmere: At the start of Dark Brotherhood Quest: The Cure for Madness, Astrid—the leader of the Dark Brotherhood—summons Shadowmere, a powerful steed. From this point forward, you have ownership of Shadowmere. In addition to this not costing you any gold, Shadowmere has other advantages:
- He has twice the stamina and almost five times the health of a normal horse.
- When injured, his health regenerates rapidly, making him extremely difficult for foes to kill.
- He is much more aggressive than a normal horse, fighting with you instead of fleeing from danger.
- With glowing eyes, a unique saddle, and a jet-black mane, Shadowmere is one of the ultimate steeds of Skyrim!
Arvak: Complete Regional Activities: Soul Cairn: Arvak the Spectral Steed*, and find Arvak’s Skull within this realm. Return it to the lost soul in the cairn. In gratitude, the soul teaches you a spell that causes Arvak to appear before you.
Summon Arvak to aid you on your travels. Select Magic > Conjuration > Summon Arvak, and with enough Magicka, you can conjure the spectral horse in the Skyrim Exterior, Blackreach, Forgotten Vale Exterior, Soul Cairn, Dayspring Canyon, and Solstheim Exterior.
Carriages and Ferries
Carriages: Hold Capital Travel
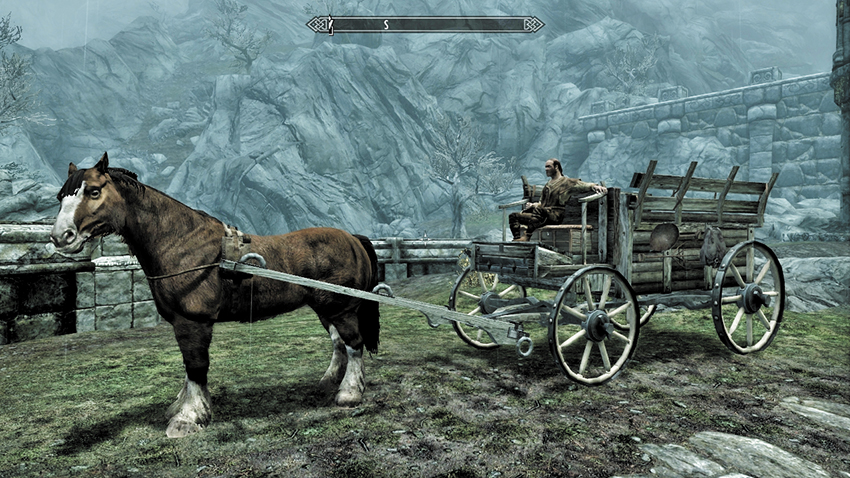
Travel between Hold capitals in some style and comfort.
If you can’t afford a horse, carriages are another good way to quickly travel around Skyrim. Outside each of the five major Hold capitals (generally near the stables), you can find a horse cart hitched up and ready to go. Speak to the driver to learn that he offers a carriage service and will gladly ferry you to any of Skyrim’s capitals for a nominal fee:
- 20 gold for a ride to the major Hold capitals: Solitude, Markarth, Whiterun, Windhelm, or Riften.
- 50 gold for a ride to the minor Hold capitals: Morthal, Dawnstar, Winterhold, or Falkreath.
If you’ve constructed Windstad Manor, Heljarchen Hall, or Lakeview Manor, and hired a carriage driver, you can travel between your properties and the Hold capitals free of charge. These carriage drivers can also take you to the smaller settlements (any village, town, or Hold capital).
Pay the fee, then head around back and activate the carriage to climb aboard. The driver will mention a piece of lore as you set off. A moment later, you’ll find yourself at your destination.
Ferries: Setting Sail
Gort waits patiently on the icy docks of Windhelm for a paying customer.
Are the carriage drivers of Skyrim giving you a bit of backchat? Fed up of buying a horse and having it die in the wilderness? Then why not travel through Skyrim by sea (and specifically, the Sea of Ghosts), courtesy of Skyrim’s fledgling Ferry system? Recently launched, there are now ferry boats moored at the docks in Solitude, Dawnstar, and Windhelm:
- Jolf is tending to his boat on the edge of the docks at the East Empire Company Warehouse, just south of Solitude.
- Harlaug has moored his vessel on the shallow beach close to Silus Vesuius’s House in Dawnstar.
- Gort is waiting for a paying customer outside Windhelm’s gates, down in the dock area, just outside the Clan Shatter-Shield Office.
Speak to the ferryman by each boat, and you’re offered a ride to either of the other two cities. The cost is 50 gold. Agree, climb into the boat and sit down, and you appear at the docks (described above) at the city you chose.
In addition, once you complete Dawnguard Main Quest: Awakening, you can ask any ferryman to bring you to Castle Volkihar (Serana’s home), although it’s described as “an island near the border of High Rock.” This startles the ferryman, as they believe the place is cursed and won’t take you all the way there; they take you only to Icewater Jetty. The fee for this dangerous journey is 500 gold!
If you haven’t already visited Northwatch Keep (for Side Quest: Missing in Action) and can’t Fast-Travel anywhere close to Icewater Jetty, the cost may be worth it. Otherwise, you can trek there on foot (although this takes time). From Icewater Jetty, you can take the rowboat out to Castle Volkihar.
The Northern Maiden
Launching from Windhelm Docks, the Northern Maiden makes Raven Rock on the isle of Solstheim its port, transporting people and cargo to and from the mainland. This is the only method of entering the island, and safe passage must be obtained by speaking with the ship’s captain, Gjalund Salt-Sage.
Dragon Mounts
Dragon Taming
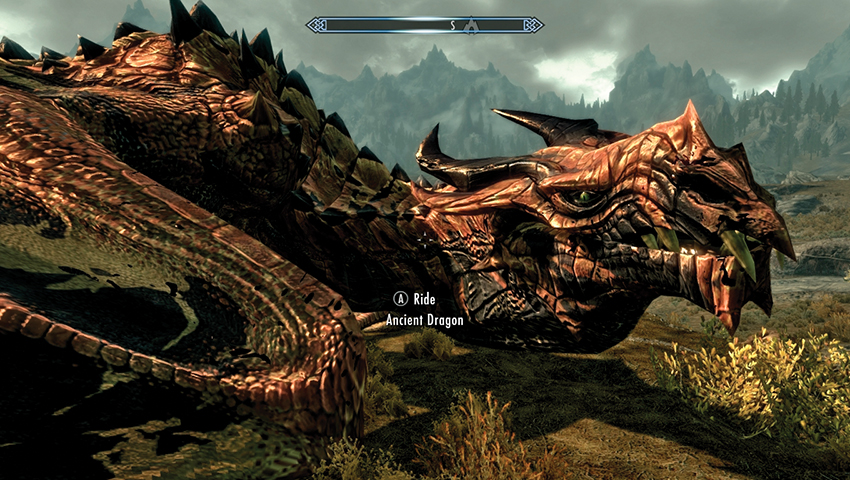
Once the Bend Will Shout is learned, you may summon a Dragon instead of battling it. This occurs throughout Skyrim or Solstheim
In order to tame and ride a dragon, you must learn all three words of the Bend Will Shout by completing Dragonborn Main Quest: The Gardener of Men; then unlock them with Dragon Souls in the usual manner. After that, you need to find a dragon:
- If you have completed the Main Quest, you can call upon Odahviing, using the Call Dragon Shout.
- You can also tame almost any dragon you find in the wild. Dragon lairs or dragon mounds are often the best places to look for them.
The following dragons cannot be tamed or ridden:
- Alduin
- Paarthurnax
- Durnehviir
Use the complete Bend Will Shout on the dragon to tame it. You must use the full Shout (all three words), or it will have no effect.
Dragon Riding
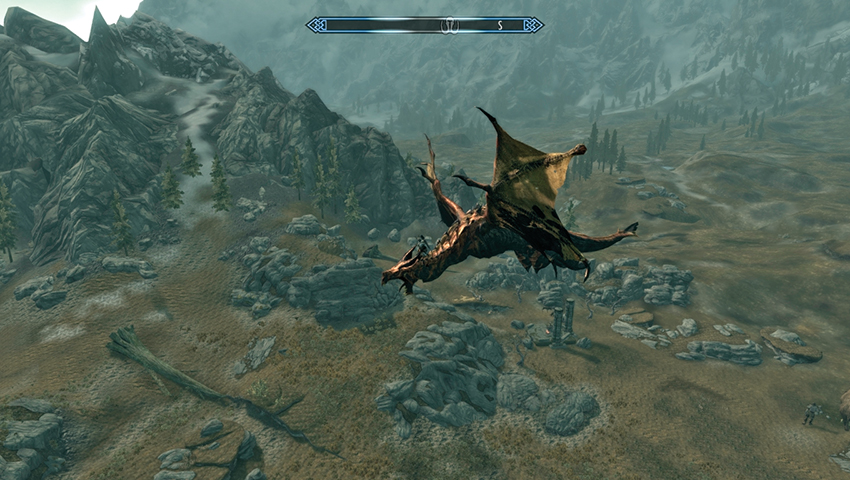
Dragons offer great protection, swift travel, and the ability to Fast-Travel, even during combat!
After you successfully tame a dragon, it will land nearby. Press your Activate button or key to mount up and begin riding. While riding a dragon, you can:
- Orbit: By default, the dragon will simply begin flying around the immediate area. Enjoy the view—it’s often spectacular.
- Lock Targets: You can press the Jump button or key to enter or exit target-lock mode. While you are in target lock mode:
- The name of your current target will be displayed below the compass. Your camera will remain focused on this target as the dragon flies around.
- You can cycle between targets with the left and right arrows on your D-pad.
- You can order your dragon to attack by pressing the Sneak button or key.
- You can equip and use most spells and Shouts (those that can’t be used will be grayed out). Given the dragon’s high rate of speed, only projectile spells and Shouts tend to be effective, though.
- Fly to a Destination: While your dragon is flying, you can call up the map to Fast-Travel to almost any location you have discovered. You will arrive still mounted and ready to engage in combat.
- While riding a dragon, you can Fast-Travel even while in combat. This makes it easy to escape if the battle is going badly for you. However, you cannot Fast-Travel to some destinations, such as Dragonsreach, in this way and that location will be hidden on your map.
- Dismount: When you’re ready to move on, press the Activate button or key button to order the dragon to land. If you change your mind, you can press the Activate button or key again to cancel the landing.
Death from Above: Advice for Proficient Dragon Combat
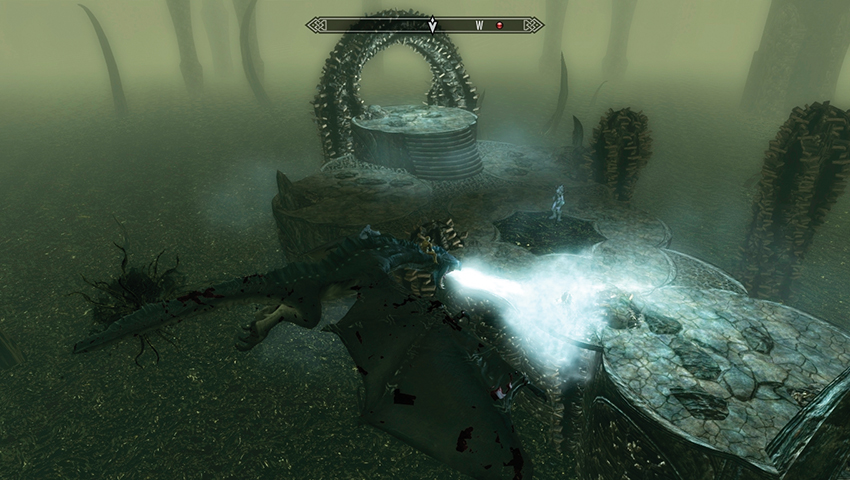
The might of the Dragonborn wins over this most terrifying of beasts: Sky-bound to victory!
If you use Bend Will on a dragon but decide not to ride it or are at a location where the dragon can’t find room to land (such as Deepwood Vale), the dragon will just orbit your position and engage your foes in combat. This is often as (or more) useful than actually riding it—you can’t ask for a better ally than a dragon.
If you decide not to ride your dragon, then change your mind, just aim Bend Will at it to get it to land again and allow you to climb on. However, this does not extend the duration of the Bend Will effect.
If you choose not to enter Target Lock mode, your dragon can still fight on its own. It will initiate combat if attacked, pick its own targets, and continue fighting until they are defeated. Leaving Target Lock mode does not cause your dragon to break off combat.
When you first enter Target Lock mode, your initial target is either your dragon’s current combat target or the nearest available target (if your dragon isn’t in combat). The list of available targets does not update, so if more foes join the fray, exit and reenter Target Lock mode to acquire them.
When you use projectile spells or Shouts while in Target Lock mode, you automatically lead your target (aim your shot based on their current movement). Your shots are most accurate when both your target and your dragon are flying in a straight line (or your target is standing still). If you have trouble connecting, choose a spell with an explosive impact, like Fireball.
If your dragon loses too much health, it will land and remain on the ground until it dies or its health recovers enough for it to fly again. If you have the Restoration spell Grand Healing, you can use it to heal both the dragon and yourself.
If you are not riding your dragon, it will fight for you until the Bend Will Shout expires; then it will fly away. If you are riding it, the dragon will never become “untamed,” even if the Bend Will effect expires—it will wait until the next time you land, at which point it will immediately fly away.
Once your dragon departs, if you wait around long enough, it may return to its original location (e.g., to its lair), although it will no longer be friendly with you.
Services, Collectibles, and Items of Interest
In this section of the Training chapter, we briefly highlight the services, merchants, collectibles, and objects of interest that you can discover on your adventure. Those marked with an asterisk (*) are tracked in the Atlas. Those marked with a dagger (†) have a table in the Appendix that shows every location or instance of them in the game, or in the case of Skill Books, the two easiest locations to find in the game. Those marked with a double dagger (‡) have a chart or table elsewhere in this guide that shows all of their locations or instances.
If there’s something that you’re looking for that isn’t listed here or in a specific location in this guide’s Inventory, Bestiary, Atlas, or Appendices, it probably occurs randomly in the world and is thus impossible to track.
Achievements/Trophies
If you want to obtain all the different Achievements (PC and Xbox 360) or Trophies (PlayStation 3) that Skyrim has to offer, consult the Appendices. It lists all of them and provides advice on how to obtain each. You are wise to consult this chart now so you know how to unlock each of these rewards ahead of time.
Services and Traders
Apothecary*†
- Number Available: 17
This is a shop where alchemy ingredients and potions are sold. Apothecaries can be found in most towns and cities and typically display a sign such as the one shown here.
Innkeeper/Bartender*†
- Number Available: 21
The proprietors of inns and taverns sell food and drink and rent rooms where weary travelers can sleep for the night. They are also a great source of local rumors, which often lead to quests and objectives.
Blacksmith/Fletcher*†
- Number Available: 41
In medium or large settlements, you can often find a smith, which typically includes several smithing and crafting stations, often manned by a smith who sells weapons and armor. Most display a sign like the one shown here.
Caravan*‡
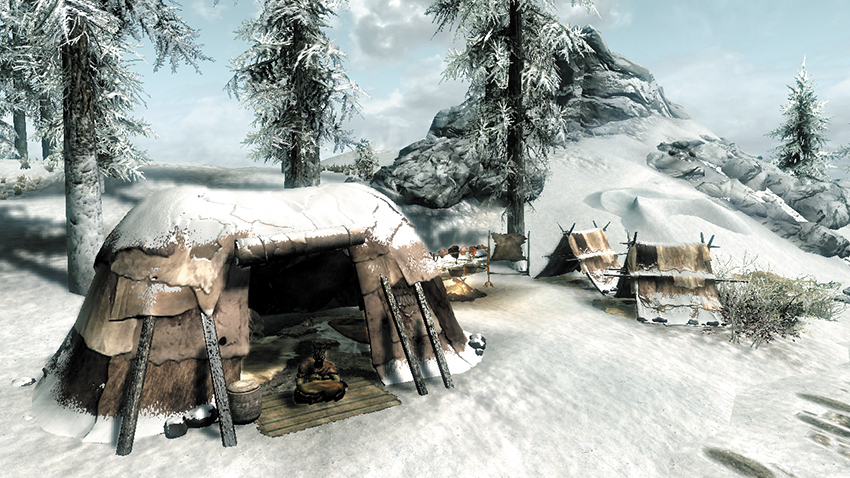
- Number Available: 3
Three Khajiit Caravans travel the roads of Skyrim, selling their wares and trading with anyone they meet. The routes they take are listed in the Atlas.
Follower/Hireling*‡
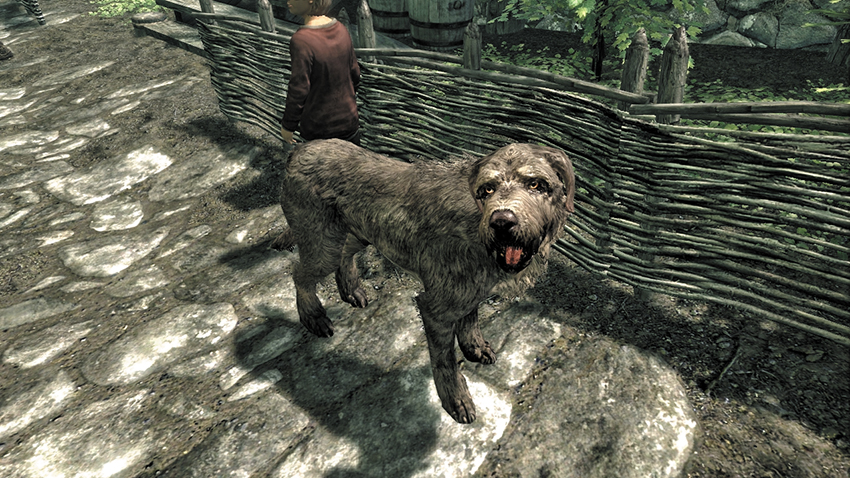
- Number Available: 70
A person who may be willing to join you on your adventure, lending sword or spell to your cause. Hirelings charge a fee for their services. Consult the information earlier in the Training.
Stables/Carriage Drivers *
- Number Available: 8 Ferrymen: 4
A location, always close to a Hold capital, where you can purchase or steal horses. You can usually find a carriage nearby as well; pay the carriage driver a nominal fee for a ride to any of Skyrim’s other major cities. These are Primary Locations in the Atlas.
Trader (Vendor)*†
- Number Available: 73
These merchants sell a variety of general goods, pawned items, and the like. Fences for stolen items are also included in this category, although not all vendors are fences (and none will serve as fences right away).
- Fence: 10
- Food Vendor: 10
- General Goods Vendor: 25
- Lumberjack: 9
- “Special” Vendor: 5
- Spell Vendor: 14
Trainer*‡
- Number Available: 61
A skilled individual (who may also be a Follower or Trader) who can help you improve a particular skill. Consult the information earlier in the Training.
Crafting Stations
Alchemy Lab*
A table-sized laboratory where you can mix ingredients into potions and poisons by using your Alchemy skill.
Arcane Enchanter*
A table-sized piece of furniture where you can enchant or disenchant magical items using your Enchanting skill.
Anvil or Blacksmith Forge*
The tools of a blacksmith, a forge, or an anvil allow you to forge metal, leather, and more esoteric materials into weapons, armor, and jewelry by using your Smithing skill.
Cooking Pot and Spit
A spit, stew pot, or other implement where meats and ingredients can be cooked. There are a huge number of these—one in almost every house.
Grindstone*
A foot-driven stone wheel that allows you to sharpen and improve weapons by using your Smithing skill.
Smelter*
A furnace that allows you to smelt ore (and some Dwarven materials) into ingots for smithing or selling.
Staff Enchanter*
A table-sized piece of furniture located in Tel Mithryn that allows you to enchant staffs using your Enchanting skill.
Tanning Rack*
A wooden rack that allows you to dry pelts and tan them into leather (or leather strips) for smithing or selling.
Wood Chopping Block
An old tree stump where you can split logs into firewood. They can be found in almost any lumber camp or settlement.
Workbench*
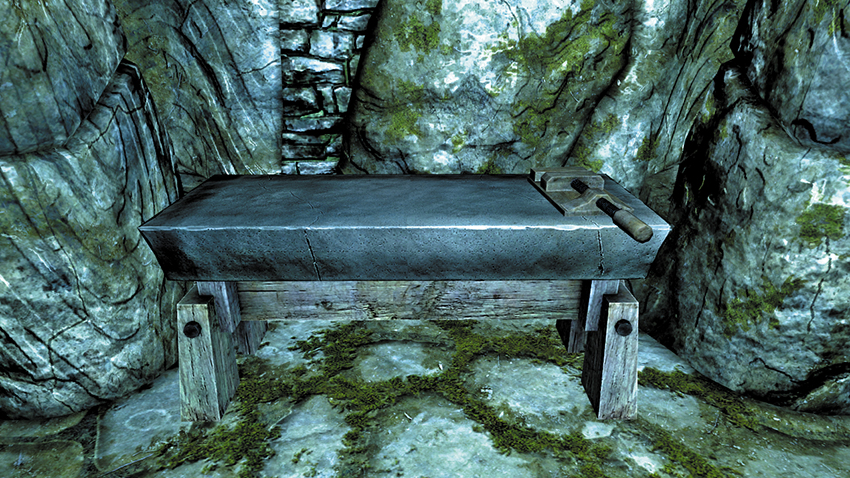
A sturdy bench that allows you to temper and improve armor by using your Smithing skill.
Collectibles
Captured Critter*‡
Number Available: 5
An insect caught in a glass jar. Find these as part of Side Quest: Captured Critters*.
Crimson Nirnroot*‡
Number Available: 30+
Related Character: Avrusa Sarethi (Sarenthi Farm in the Rift)
A special red variant of the odd, chiming plant, found only in the underground realm of Blackreach. Collect these as part of Side Quest: A Return to your Roots.
Dragon Priest Mask*‡
Number Available: 10
An ancient ceremonial mask, infused with great power and borne by a formidable Dragon Priest. Find these as part of Side Quest: Masks of the Dragon Priests.
Dragon Acolyte Mask*‡
Number Available: 4
An ancient ceremonial mask, infused with great power and worn by a frightening servant of Miraak the Dragonborn. Find these as part of Solstheim Side Quest: Masks of the Acolyte Priests.
Books‡
A wide range of Spell Tomes, functional books, and common books can be found throughout the world. Consult earlier sections of this chapter and the Inventory for more information.
Black Book*‡
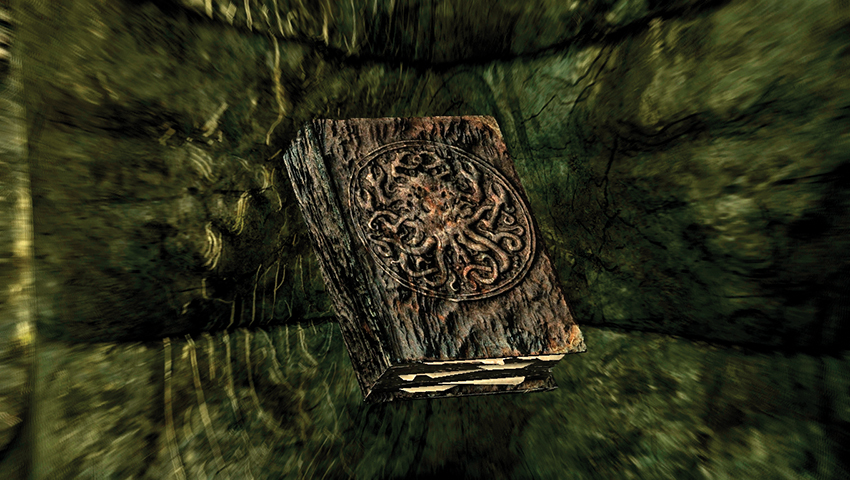
One of seven fabled tomes of forbidden knowledge that transport the reader to Apocrypha, the realm of Oblivion where Hermaeus Mora resides.
Skill Book*†‡
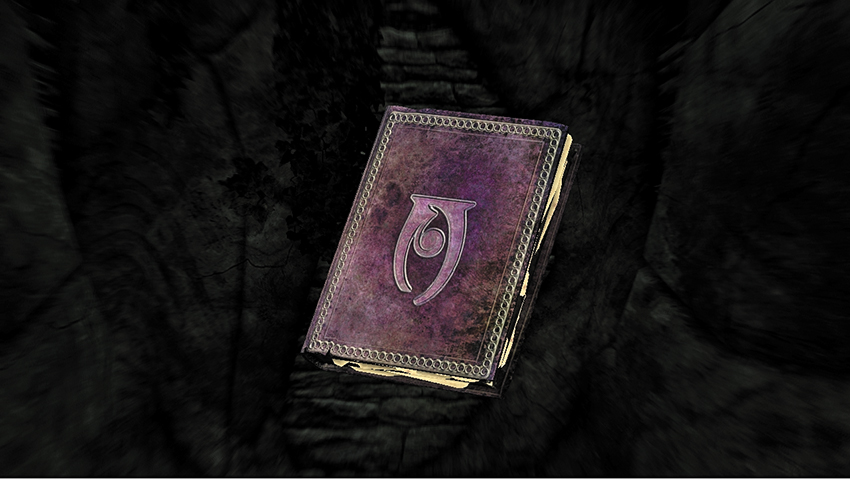
Each of these books increases a specific skill by one point when first read. There are five distinct books for each skill, for a total of 90 titles and 90 skill increases that you can earn (though there are multiple copies of each book). Two copies (the easiest to find) of each book are listed in the Appendices, although each Atlas location with a Skill Book is also flagged.
Treasure Map*‡
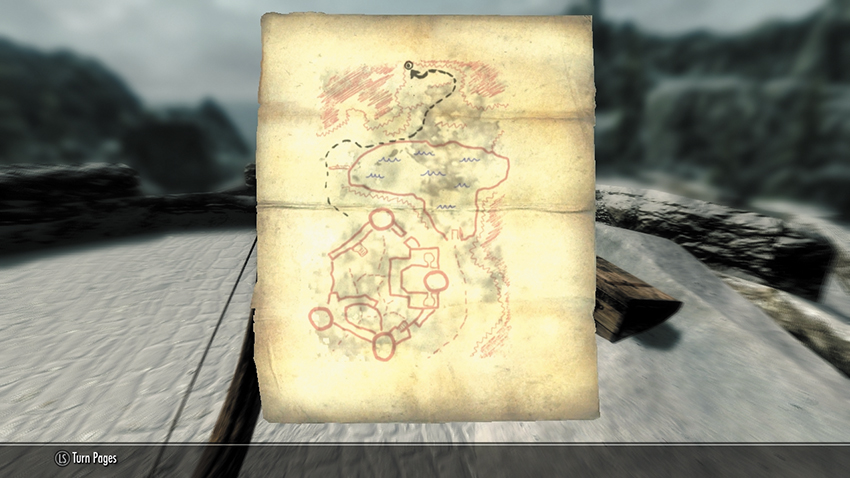
Number Available: 13
These pieces of parchment have a visual map drawn on them, revealing the location of a hidden treasure. Consult Side Quest: The Great Skyrim Treasure Hunt and Solstheim Side Quest: Deathbrand for details.
Unique Weapon*†‡
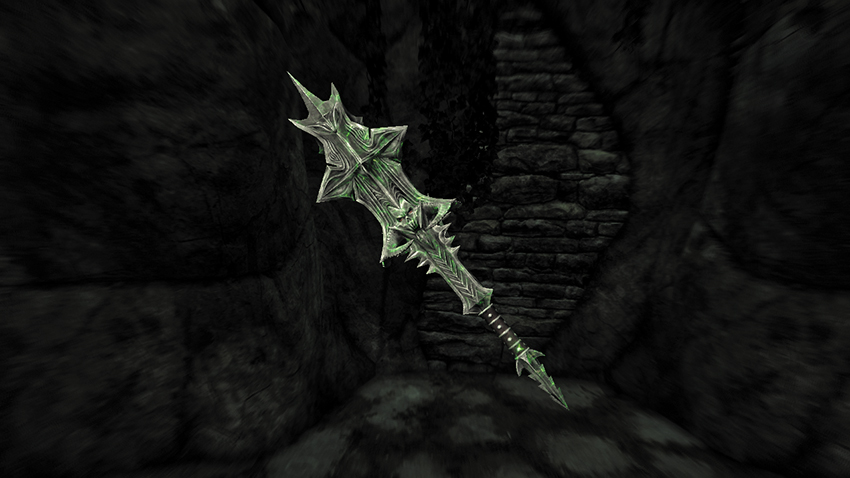
- Number Available: 98
These items are separated into unique weapons found in dungeons, those found or given to you as part of a quest, and Daedric artifacts. Details about all of these weapons can be found in the Inventory chapter.
Unique Armor or Item*†‡
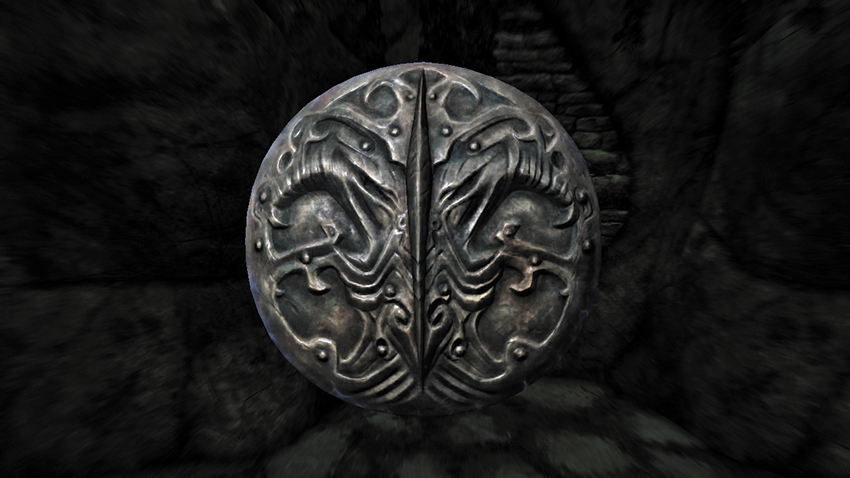
- Number Available: 160
These items are separated into unique armor and outfits found in dungeons, those found or given to you as part of a quest, and Daedric artifacts. Details about all of these items can be found in the Inventory chapter.
Unusual Gem*‡
- Number Available: 24 (plus Crown)
- Related Character: Vex (Thieves Guild in Riften)
Occasionally you may stumble across one of these Unusual Gems, which are actually stones from the legendary Crown of Barenziah. Consult Thieves Guild Radiant Quest: No Stone Unturned.
Items of Interest
Standing Stones*‡
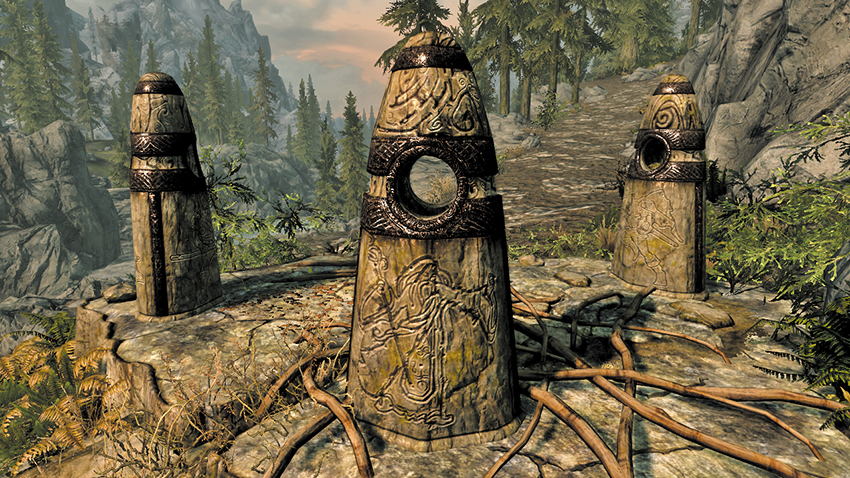
- Number Available: 13
These standing stones can be activated to receive a powerful blessing. Standing stones are Primary Locations in the Atlas and are described earlier in this guide.
Civil War Maps*
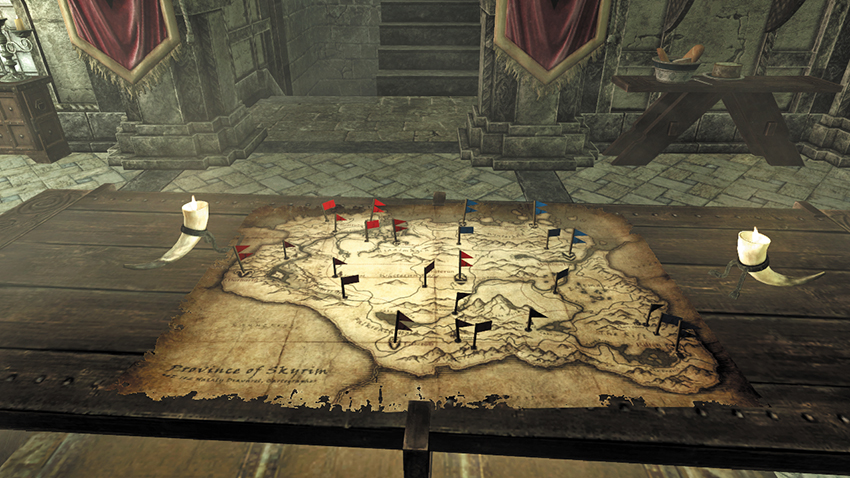
These maps show the current state of the Civil War that rages across Skyrim. Activate the flags on the map to add each location to your world map. These are flagged in the Atlas only, as each is identical.
Sacred Stones*‡
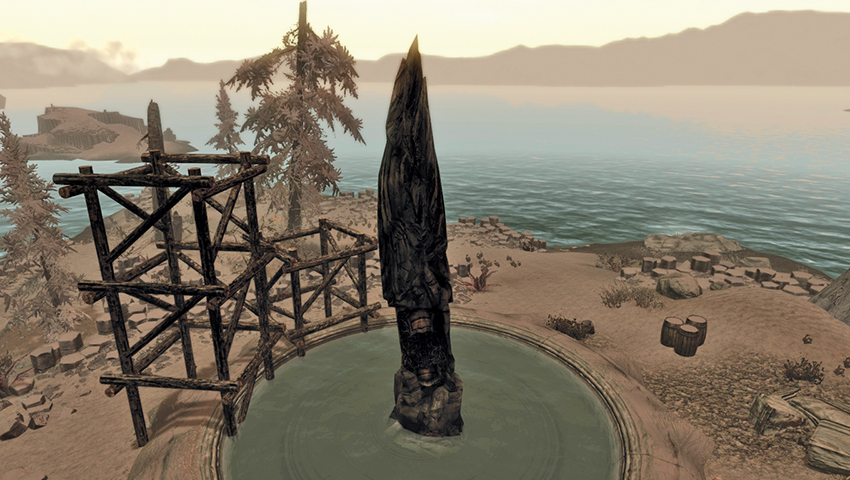
- Number Available: 6
These sacred All-Maker Stones must have the tainted energy of Miraak removed before they can be activated to receive a powerful blessing. Standing stones are Primary Locations in the Solstheim Atlas and are described earlier in this guide.
Shrines*†
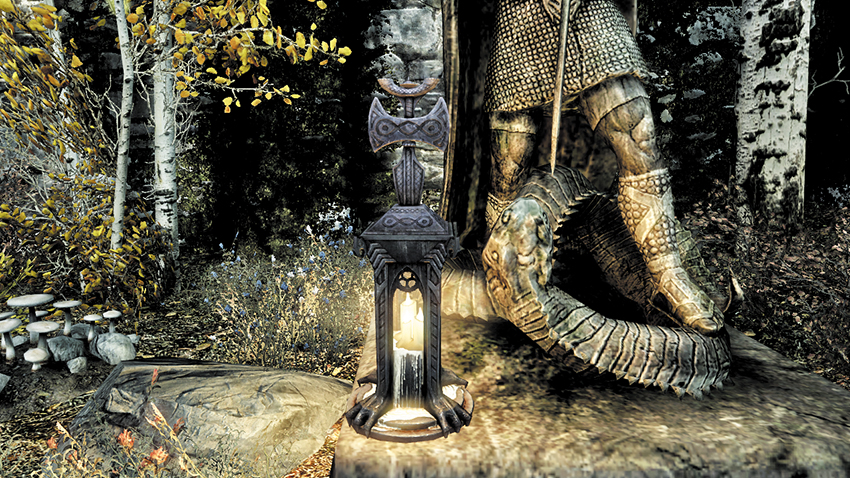
Number Available: 104
Activate a shrine to one of the Nine Divines to receive a blessing. The locations of these shrines are listed in the Atlas and the Appendices.
Word Walls*‡
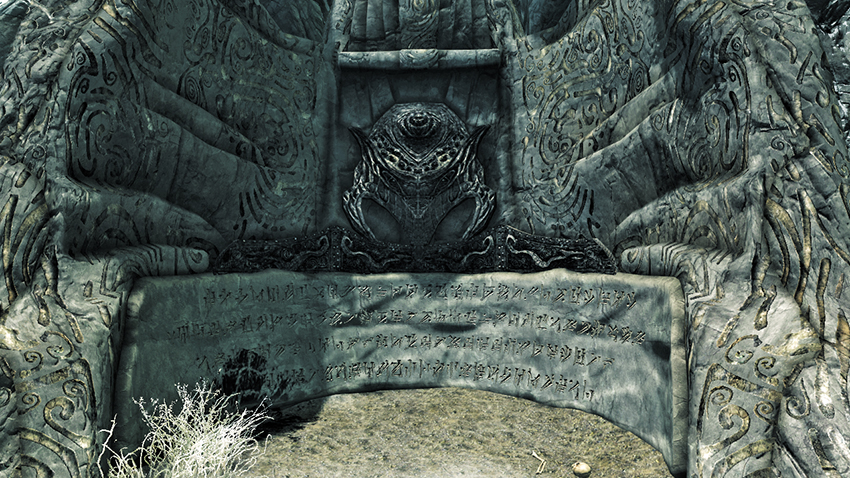
These ancient stone walls are (usually) inscribed with one of three Words of Power from a specific Shout. Approach them and absorb their Word, then unlock it with a Dragon Soul to increase the power of your Thu’um. Consult the Atlas.
Dragon Mounds*‡
- Number Available: 24
These ancient burial mounds mark the spot where the dragons of old were slain. Now the dragons are being resurrected, and the mounds are opening one by one. Dragon mounds are Secondary Locations in the Atlas and are described earlier in this chapter.
Watch the skies!