
Elder Scrolls V: Skyrim Guide The Atlas Hold 9: The Rift
Hold 9: The Rift
Topographical Overview
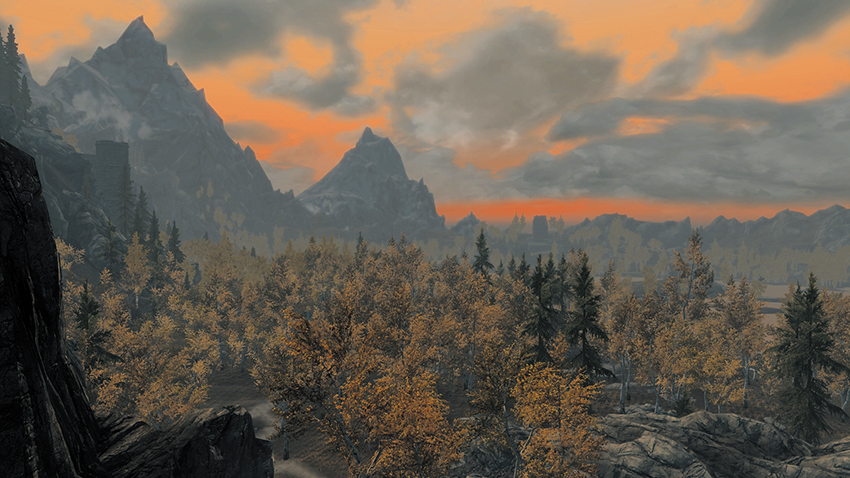
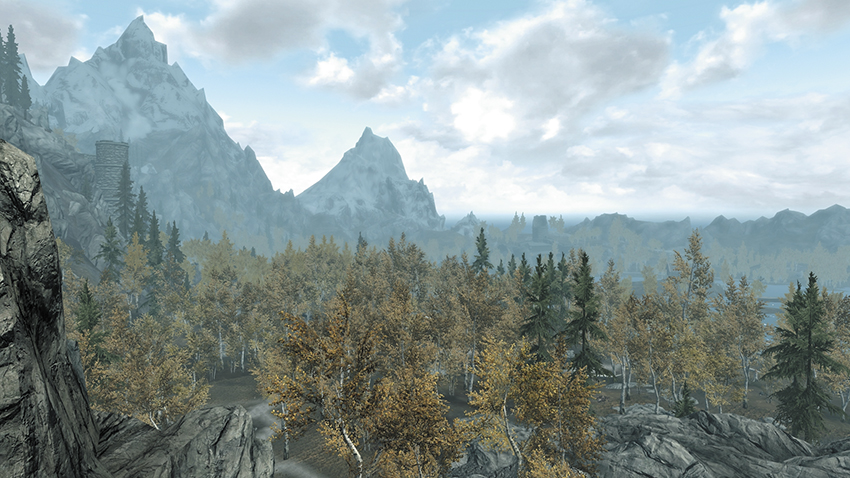
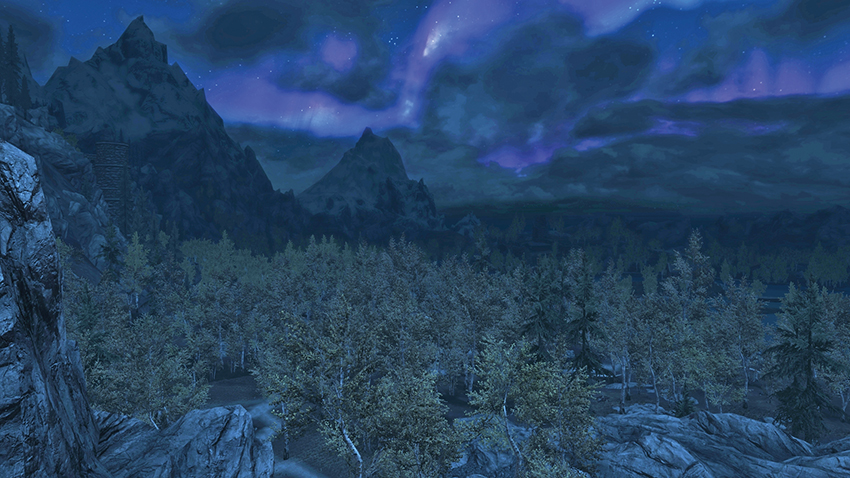
Nestled in the Autumnal Forest, high above the volcanic Tundra known as Eastmarch and bordering Cyrodill to the south and Morrowind to the east, is the prosperous and magical Hold known as the Rift. This is one of the four “old Holds” mentioned in history, and the majority of the Rift’s population live and work around the lake port of Riften. The large forest of deciduous birch trees, interspersed with pine and smoother rocks (the result of a gigantic prehistoric glacial movement northward) makes the Rift habitable year-round; indeed, many Nords make their living on and around Lake Honrich. Two small towns lie within the Hold’s borders: Shor’s Stone, which is a small mining village north of Riften, and Ivarstead, which lies to the west, at the base of the towering Throat of the World.
Routes and Pathways
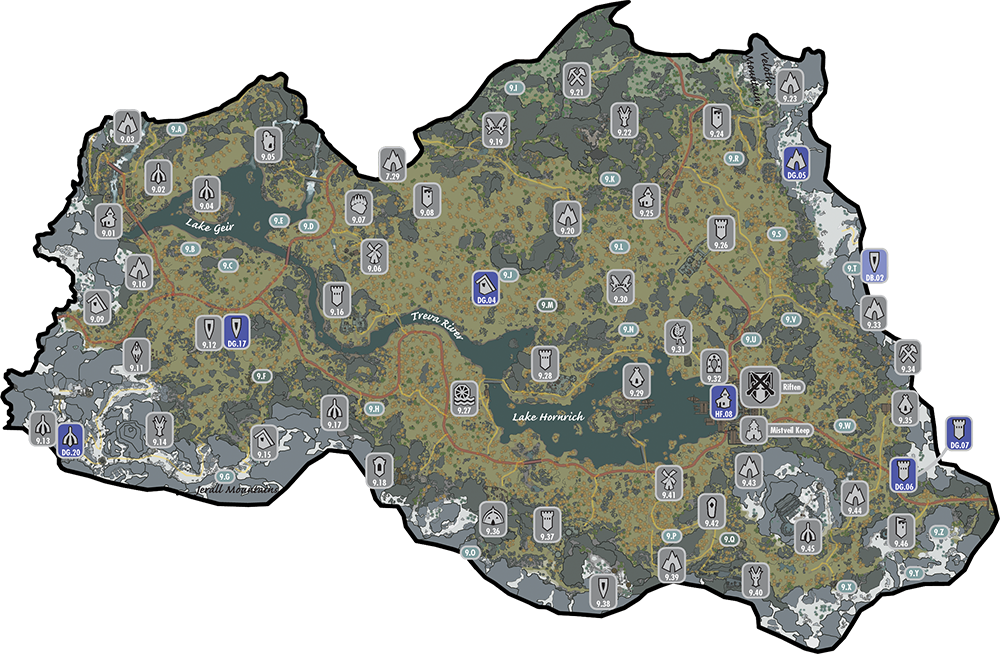
The Great Riften Road descends from the rugged mountain border with Falkreath to the west and winds east along the southern banks of the Treva River and Lake Honrich to Riften itself. Spurs from this road stretch north, connecting Riften to Ivarstead and Shor’s Stone and beyond, descending the nearly sheer cliffs that form the border between the Rift and Eastmarch. To the east are the gates to Cyrodiil, which are currently sealed. Along the eastern edge of the Hold lie the Velothi Mountains, with a number of caves and secret retreats. The peak towering above Riften to the southeast is home to Forelhost, an ancient and vast Nordic temple. To the west are the steep and treacherous mountains that connect the Rift to Falkreath, and the town of Ivarstead where pilgrims begin their journey up the 7,000 steps that lead to High Hrothgar, high on the steep slopes of the gigantic Throat of the World. Delve into the Autumnal Forest of the Rift, and you’ll find water mills, farms, and other more unspeakable places.
Available Services, Crafting, and Collectibles
Services
- Followers: [7/47]
- Houses for Sale: [1/5]
- Marriage Prospects: [11/62]
- Skill Trainers: [6/50]
- Alchemy: [0/3]
- Alteration: [0/3]
- Archery: [1/3]
- Block: [0/2]
- Conjuration: [0/3]
- Destruction: [0/3]
- Enchanting: [0/2]
- Heavy Armor: [0/3]
- Illusion: [1/2]
- Light Armor: [0/3]
- Lockpicking: [1/2]
- One-Handed: [0/3]
- Pickpocket: [1/3]
- Restoration: [0/3]
- Smithing: [1/3]
- Sneak: [1/3]
- Speech: [0/4]
- Two-Handed: [0/2]
- Traders [24/133]:
- Apothecary [2/12]
- Bartender [3/5]
- Blacksmith [6/33]
- Carriage Driver [1/5]
- Fence [1/10]
- Fletcher [1/3]
- Food Vendor [1/9]
- General Goods [4/19]
- Innkeeper [2/15]
- Jeweler [1/2]
- Special [0/3]
- Spell Vendor [1/12]
- Stablemaster [1/5]
Collectibles
- Captured Critters: [2/5]
- Dragon Claws: [2/10]
- Dragon Priest Masks: [1/10]
- Larceny Targets: [2/7]
- Skill Books: [23/180]
- Alchemy: [0/10]
- Alteration: [1/10]
- Archery: [1/10]
- Block: [1/10]
- Conjuration: [0/10]
- Destruction: [0/10]
- Enchanting: [1/10]
- Heavy Armor: [1/10]
- Illusion: [2/10]
- Light Armor: [1/10]
- Lockpicking: [4/10]
- One-Handed: [2/10]
- Pickpocket: [3/10]
- Restoration: [2/10]
- Smithing: [1/10]
- Sneak: [1/10]
- Speech: [1/10]
- Two-Handed: [1/10]
- Treasure Maps: [0/11]
- Unique Items: [24/112]
- Unique Weapons: [1/11]
- Unusual Gems: [2/24]
Special Objects
- Shrines: [9/69]
- Akatosh: [0/6]
- Arkay: [1/12]
- Dibella: [1/8]
- Julianos: [0/5]
- Kynareth: [1/6]
- Mara: [1/5]
- Stendarr: [2/5]
- Talos: [2/17]
- Zenithar: [1/5]
- Standing Stones: [1/13]
- The Shadow Stone
- Word Walls: [6/42]
- Animal Allegiance: [1/3]
- Aura Whisper: [1/3]
- Become Ethereal: [0/3]
- Disarm: [0/3]
- Dismaying Shout: [1/3]
- Elemental Fury: [0/3]
- Fire Breath: [0/2]
- Frost Breath: [0/3]
- Ice Form: [0/3]
- Kyne’s Peace: [1/3]
- Marked for Death: [1/3]
- Slow Time: [0/3]
- Storm Call: [1/3]
- Throw Voice: [0/1]
- Unrelenting Force: [0/1]
- Whirlwind Sprint: [0/2]
Crafting Stations: The Rift
| Type | Location A | Location B |
|---|---|---|
| Alchemy Lab | Riften (Mistveil Keep: Wylandriah’s Room) [9.00] | Alchemist’s Shack [9.09] |
| Arcane Enchanter | Riften (Mistveil Keep: Wylandriah’s Room) [9.00] | Riften (Honeyside) [9.00] (after Alchemy Lab Upgrade) |
| Anvil or Blacksmith Forge | Riften (the Scorched Hammer) [9.00] | Shor’s Stone [9.25] |
| Cooking Pot and Spit | Riften (the Scorched Hammer) [9.00] | Riften (Temple of Mara) [9.00] |
| Grindstone | Riften (the Scorched Hammer) [9.00] | Shor’s Stone [9.25] |
| Smelter | Shor’s Stone [9.25] | — |
| Tanning Rack | Riften (the Scorched Hammer) [9.00] | Shor’s Stone [9.25] |
| Wood Chopping Block | Riften (Mistveil Keep: Barracks) [9.00] | Ivarstead (9.01] |
| Workbench | Riften (the Scorched Hammer) [9.00] | Shor’s Stone [9.25] |
Primary Locations
Total—48: Hold Capital, Mistveil Keep, and 46 Hold Locations
[9.00] Hold Capital City: Riften
[9.00] Mistveil Keep
Jarl: Laila Law-Giver
[9.01] Ivarstead
[9.02] Shroud Hearth Barrow
[9.03] Pinepeak Cavern
[9.04] Geirmund’s Hall
[9.05] Nilheim
[9.06] Sarethi Farm
[9.07] Rift Stormcloak Camp
[9.08] Rift Watchtower
[9.09] Alchemist’s Shack
[9.10] Honeystrand Cave
[9.11] Rift Imperial Camp
[9.12] Ruins of Bthalft
[9.13] Arcwind Point
[9.14] Autumnwatch Tower
[9.15] Froki’s Shack
[9.16] Treva’s Watch
[9.17] Angarvunde
[9.18] Avanchnzel
[9.19] Clearspring Tarn
[9.20] Boulderfall Cave
[9.21] Northwind Mine
[9.22] Northwind Summit
[9.23] Tolvald’s Cave
[9.24] Shor’s Watchtower
[9.25] Shor’s Stone
[9.26] Fort Greenwall
[9.27] Heartwood Mill
[9.28] Faldar’s Tooth
[9.29] Goldenglow Estate
[9.30] Autumnshade Clearing
[9.31] Merryfair Farm
[9.32] Riften Stables
[9.33] Fallowstone Cave and Giant’s Grove
[9.34] Lost Prospect Mine
[9.35] Black-Briar Lodge
[9.36] Largashbur
[9.37] Darklight Tower
[9.38] Ruins of Rkund
[9.39] Crystaldrift Cave
[9.40] Lost Tongue Overlook
[9.41] Snow-Shod Farm
[9.42] The Shadow Stone
[9.43] Nightingale Hall
[9.44] Broken Helm Hollow
[9.45] Forelhost
[9.46] Stendarr’s Beacon
Secondary Locations
Total—26 Points of Interest
[9.A] Darkwater Overhang
[9.B] Wood Cutter’s Camp: Lake Geir
[9.C] The Poultry Reanimator: Lake Geir
[9.D] Treasure Hunter’s Camp: Lake Geir
[9.E] Treasure Island: Lake Geir
[9.F] Dragon Mound: Autumnwatch Woods
[9.G] Shrine of Talos: Froki’s Peak
[9.H] Medresi’s Camp: Angarvunde
[9.I] Wild Animal Den: Mistwatch
[9.J] Bandit’s Shack: Autumnshade
[9.K] Northwind Chest
[9.L] Altar in the Woods: Autumnshade
[9.M] Dragon Mound: Autumnshade Woods
[9.N] Hunters’ Camp: Autumnshade Hills
[9.O] Troll Den: Rkund
[9.P] Wild Animal Den: Crystaldrift Cave
[9.Q] Dragon Mound: Lost Tongue Pass
[9.R] Wild Animal Den: Shor’s Stone
[9.S] Trappers’ Dilemma
[9.T] Miner’s Camp: Velothi Mountains
[9.U] The Three Sentinels
[9.V] Shrine of Zenithar: Fallowstone
[9.W] Tumbledown Tower: Riften Outskirts
[9.X] Burning Farmhouse
[9.Y] Frost Troll Den: Jerall Mountain Ridge
[9.Z] Two Pine Ridge
Additional Locations
 [DG.04] Redwater Den (Updated)
[DG.05] Ruunvald Excavation
[DG.06] Dayspring Canyon
[DG.07] Fort Dawnguard
[DG.17] Ruins of Bthalft: The Aetherium Forge (Updated)
[DG.20] Arcwind Point (Updated)
 [HF.08] Honeyside (Updated)
 [DB.02] Last Vigil