
Elder Scrolls V: Skyrim Guide Quests Dragonborn Quests
Solstheim Regional Activities
Overview
Optimal Activity Start
The following activities are available during your time exploring Solstheim. Think of them as a subsection of Side Quests specific to these settlements.
Available Activities
There are 16 Regional Activities: 8 in Raven Rock, 2 in Skaal Village, 2 in Tel Mithryn, and 4 at Thirsk Mead Hall. Aside from a few exceptions, most of these tasks are independent of one another and can be completed whenever you encounter them or if you return to either location.
Raven Rock Regional Activities
| Quest Name | Related Location | Prerequisites |
|---|---|---|
| Solstheim Regional Activity: All Are Welcome* | Raven Rock (Bralsa Drel) | Complete Dragonborn Main Quest: Cleansing the Stones |
| Solstheim Regional Activity: Emberbrand Embargo* | Raven Rock (Captain Veleth) | Complete Solstheim Side Quest: March of the Dead |
| Solstheim Regional Activity: Jelly from Netch to Fetch* | Raven Rock (Milore Ienth) | None |
| Solstheim Regional Activity: Sadri’s Sujamma* | Raven Rock (Geldis Sadri) | None |
| Solstheim Regional Activity: Take Your Pick* | Raven Rock (Glover Mallory) | None |
| Solstheim Regional Activity: Thievery and the Karstaag Connection* | Raven Rock (Glover Mallory) | Complete Thieves Guild Quest: Taking Care of Business, and Meet the Family* |
| Solstheim Regional Activity: Tomb Eradicator* | Raven Rock (Elder Othreloth) | None |
| Solstheim Regional Activity: Tome Raider* | Raven Rock (Cindiri Arano) | None |
Skaal Village Regional Activities
| Quest Name | Related Location | Prerequisites |
|---|---|---|
| Solstheim Regional Activity: A Mother’s Lament* | Skaal Village (Edla) | Complete Dragonborn Main Quest: Fate of the Skaal |
| Solstheim Regional Activity: Return to Falkreath* | Skaal Village (Morwen) | Complete Dragonborn Main Quest: Fate of the Skaal |
Tel Mithryn Regional Activities
| Quest Name | Related Location | Prerequisites |
|---|---|---|
| Solstheim Regional Activity: Elynea’s Ingredients* | Tel Mithryn (Elynea) | Complete Solstheim Side Quest: Healing a House |
| Solstheim Regional Activity: Eyes and Ears* | Tel Mithryn (Neloth) | Randomly given |
Thirsk Mead Hall Regional Activities
| Quest Name | Related Location | Prerequisites |
|---|---|---|
| Solstheim Regional Activity: A Thirst in Thirsk* | Bujold’s Retreat (Elmus) | Neither Solstheim Side Quest: The Chief of Thirsk Hall nor Retaking Thirsk have been completed. |
| Solstheim Regional Activity: Berries out of Reach* | Thirsk Mead Hall (Elmus) | Complete Solstheim Side Quest: Retaking Thirsk |
| Solstheim Regional Activity: Ore Inspired* | Thirsk Mead Hall (Halban) | Complete Solstheim Side Quest: Retaking Thirsk |
| Solstheim Regional Activity: Primitive Pointy Sticks* | Thirsk Mead Hall (Hilund) | Complete Solstheim Side Quest: Retaking Thirsk |
Raven Rock Regional Activities
All Are Welcome*
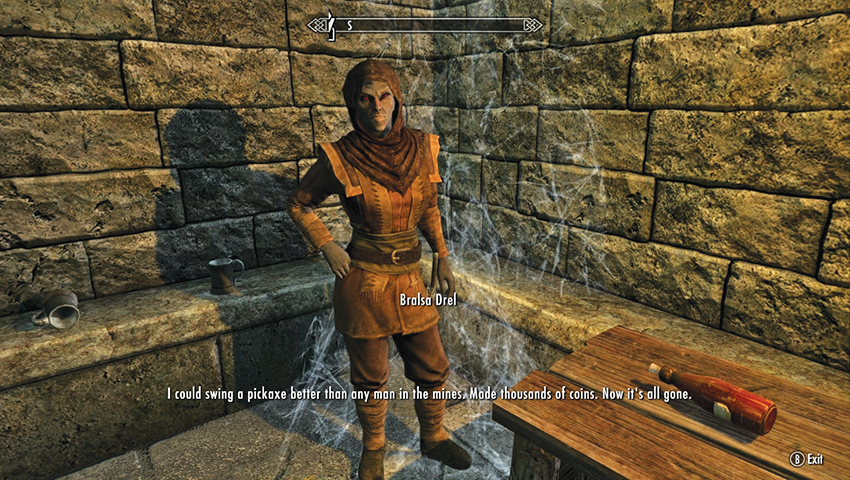
Bralsa Drel is a forlorn Dunmer who is enslaved at the Earth Stone just outside Raven Rock. She mumbles nonsense if you haven’t cleansed this stone and carries rocks around. But after she’s freed (and provided she survives the ensuing Lurker attack), she takes up residence inside the abandoned house in Raven Rock. Visit her and talk to her about her piteous existence. She tells you she’s bad for business after her drinking at The Retching Netch got out of hand. Tell her you’ll talk to Geldis Sadri for her.
- Miscellaneous Objective: Convince Geldis Sadri to admit Bralsa Drel to the inn
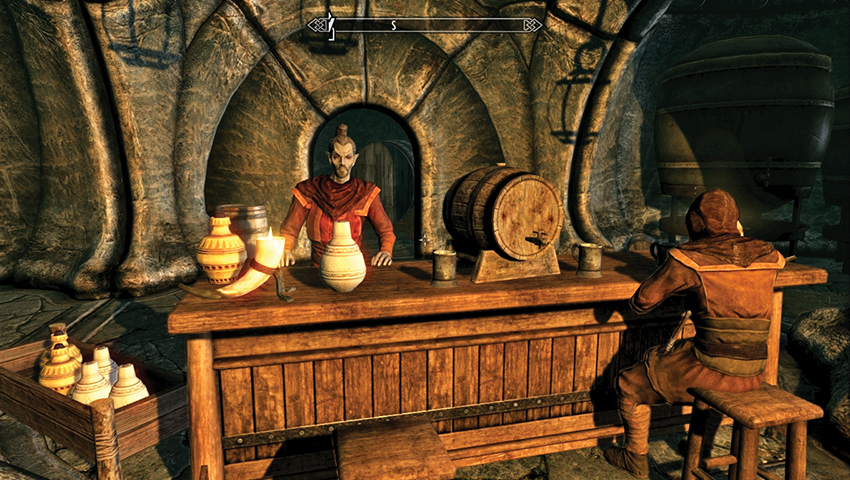
Head to the inn and ask why Bralsa Drel was banned. Sadri tells you he can’t bring himself to watch her drown herself in drink anymore. Reply with one of the following:
(Persuade) That she has the right to do what she pleases.
(Intimidate) That she will be let in, or Sadri will answer to you!
(Gold) Or pay him gold to let her in.
When one of the three plans works, Sadri agrees.
- Miscellaneous Objective: Tell Bralsa Drel she’s welcome at The Retching Netch
Quest Conclusion
Move back to Bralsa’s location and inform her of the news. She seems a little happier and grants you the following:
- Leveled item
Emberbrand Embargo*
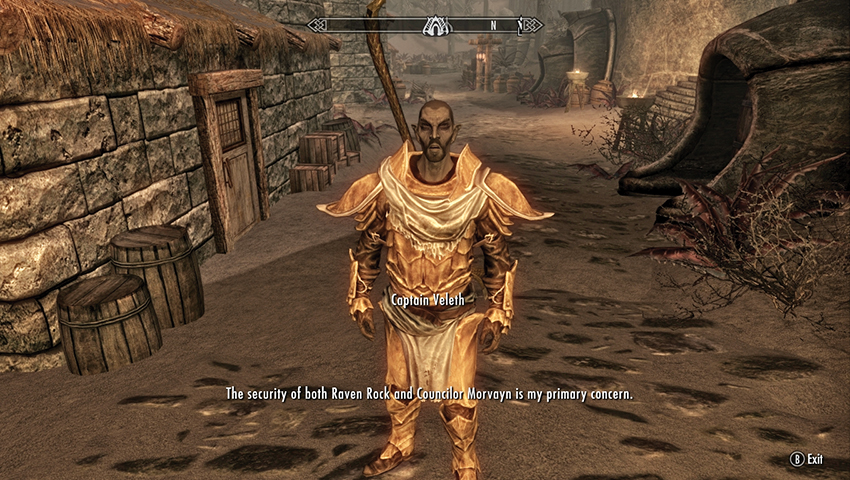
Locate Captain Veleth, who usually patrols the main thoroughfare of Raven Rock. Talk to him about the difficulties he has commanding the Redoran Guard, and he speaks of a particularly potent wine and a hidden stash his men have placed somewhere in town. Agree to find it for him.
- Miscellaneous Objective: Locate the hidden stash of Emberbrand Wine in Raven Rock
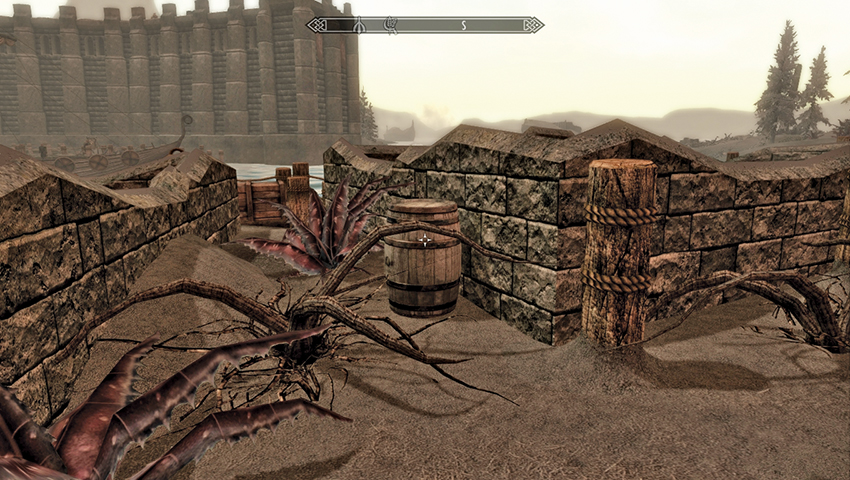
Captain Veleth recommends searching one of the abandoned houses on the outskirts of town. However, the structure with that name is empty of such contraband. Instead, continue southwest, to the gap between the two ruined structures with the trama root and a barrel, overlooking the docks. Search the barrel for the alcohol.
- Emberbrand Wine (8)
- Miscellaneous Objective: Report the stash of Emberbrand Wine to Captain Veleth
Quest Conclusion
Return to Captain Veleth with the wine, and he offers you a small reward for your troubles.
- Gold (250)
Jelly from Netch to Fetch*
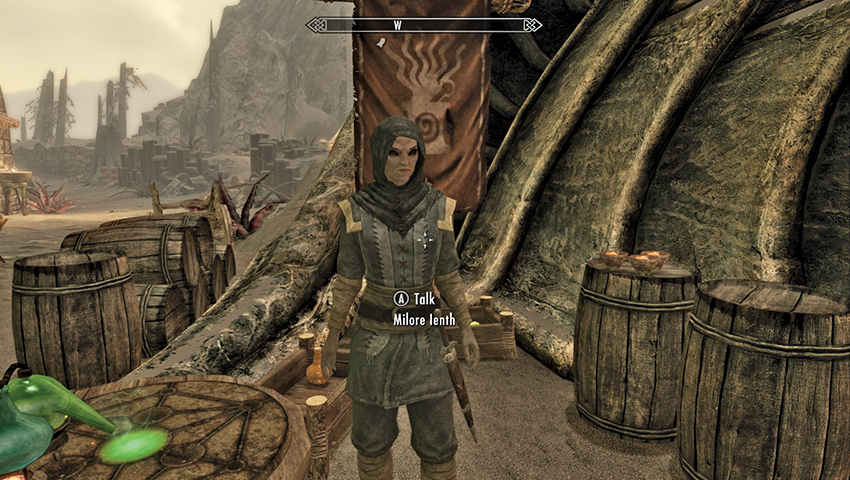
Find Milore Ienth at her alchemy store in the main square of Raven Rock, and speak to her about the exotic ingredients she sells. She tells you she’s trying to find a better source for netch jelly. Agree to locate some for her.
- Miscellaneous Objective: Retrieve netch jelly for Milore Ienth (5)
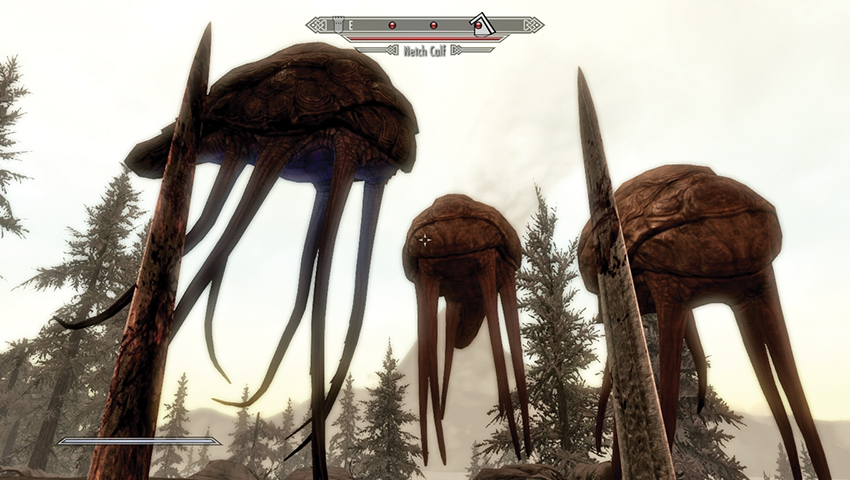
Netch jelly is particularly difficult to come by, so try one of the following plans:
Scour the coast of western Solstheim, where several small “pods” of Netch are located. Kill them and harvest the jelly from their remains.
Or, you can sneak into the dwellings in the main settlements (Raven Rock, Tel Mithryn, Skaal Village) and locate more jars of the stuff. Be careful with your stealing, though!
Or, during Solstheim Side Quest: The Final Descent, you can acquire two samples at an Alchemy Lab within the Raven Rock Mine exploration.
- Netch Jelly (5)
- Miscellaneous Objective: Bring the netch jelly to Milore Ienth
Quest Conclusion
Head back to Milore Ienth with the five jelly examples, and you’re given some potent potions.
- Potion of Ultimate Well-Being (2)
Sadri’s Sujamma*
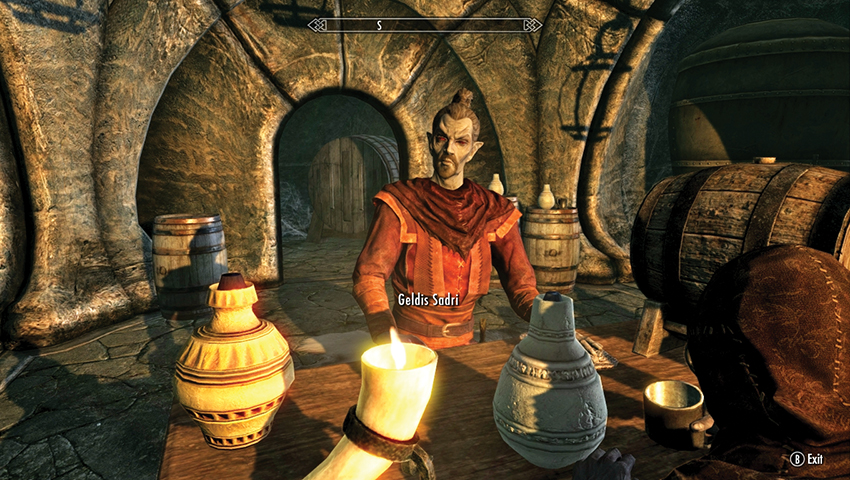
Geldis Sadri, the proprietor of The Retching Netch, has a specialty of the house. Asking about it prompts him to mention a special sujamma. It’s a taste sensation! Offer to spread the word of it, and you’ll receive recompense. You’re handed some samples to get rid of.
- Sadri’s Sujamma (10)
- Miscellaneous Objective: Distribute Sadri’s Sujamma (10)
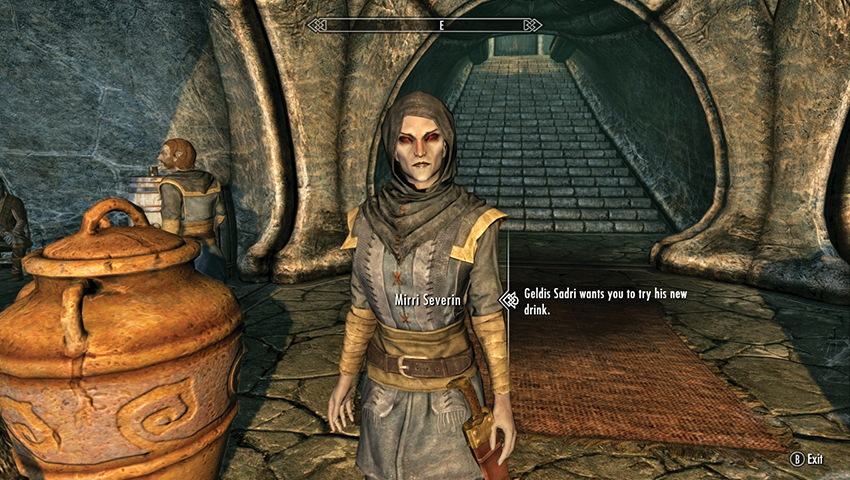
It falls to you to find interest among the townsfolk of Raven Rock for this elixir. Simply mosey up to any of the people of Raven Rock and ask if they wish to try. If they’re interested, that’s one fewer bottle you need to rid yourself of! Here are some plans to help you:
The following inhabitants are interested (although you may need to speak to them about their own woes first): Dreyla Alor, Fethis Alor, Cindiri Arano, Crescius Caerellius, Garyn Ienth, Milore Ienth, Glover Mallory, Gjalund Salt-Sage, Mirri Severin, Tilisu Severin, and Aphia Velothi.
Time your chats to after 8:00 p.m., inside The Retching Netch, as a large number of these folks head in here anyway, and you can rid yourself of at least five bottles without traipsing everywhere.
Time is also a factor, as waiting for 24 hours and then returning to someone you previously gave a bottle of sujamma to will cause them to take one again. This easily helps get rid of your stash!
- Miscellaneous Objective: Tell Geldis Sadri you’ve distributed his liquor samples
Quest Conclusion
Return to The Retching Netch, tell Geldis you’ve off-loaded the samples, and take his coin.
- Gold (250)
Take Your Pick*
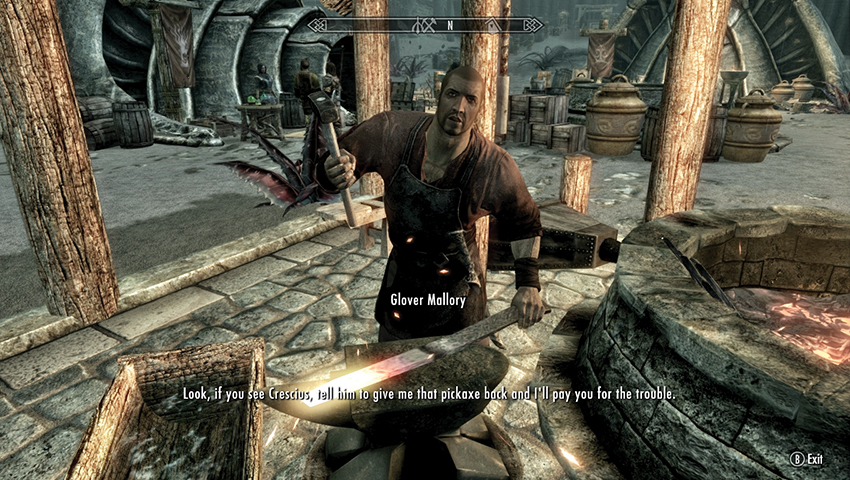
Glover Mallory is the smith of Raven Rock, and he’s an amenable fellow—that is, until you bring up the touchy subject of his lost pickaxe. He tells you that Crescius Caerellius, a crotchety (and possibly mad) old miner has this prized possession. He’d be happy if you retrieved it for him.
- Miscellaneous Objective: Retrieve the Ancient Nordic Pickaxe
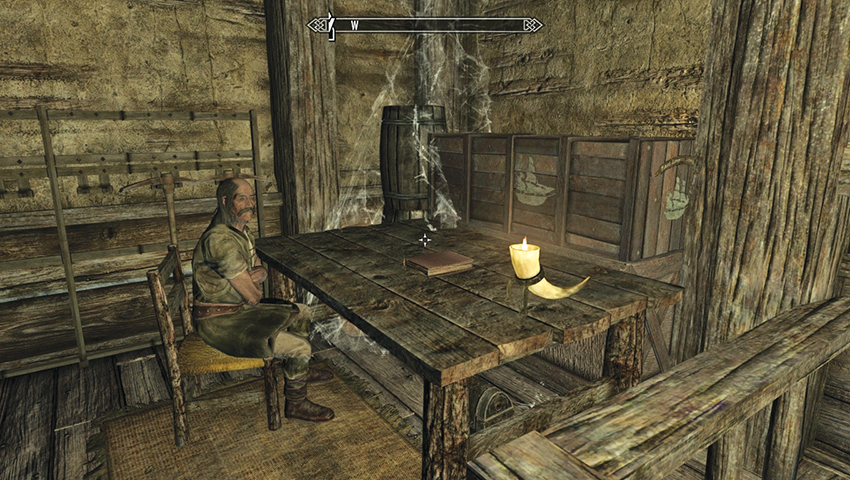
Crescius is nearby, usually in the entrance chamber inside Raven Rock Mine, which is a short stroll to the northwest. When the subject comes up, demand the pickaxe back. He begrudgingly hands it over.
- Miscellaneous Objective: Return Ancient Nordic Pickaxe to Glover Mallory
Quest Conclusion
There is no modicum of coin for this task; Glover insists you use this special pickaxe yourself! Take it, as it’s a rare item to find and the only type of pickaxe you can use to mine Stalhrim ore deposits.
- Ancient Nordic Pickaxe
Thievery and the Karstaag Connection*
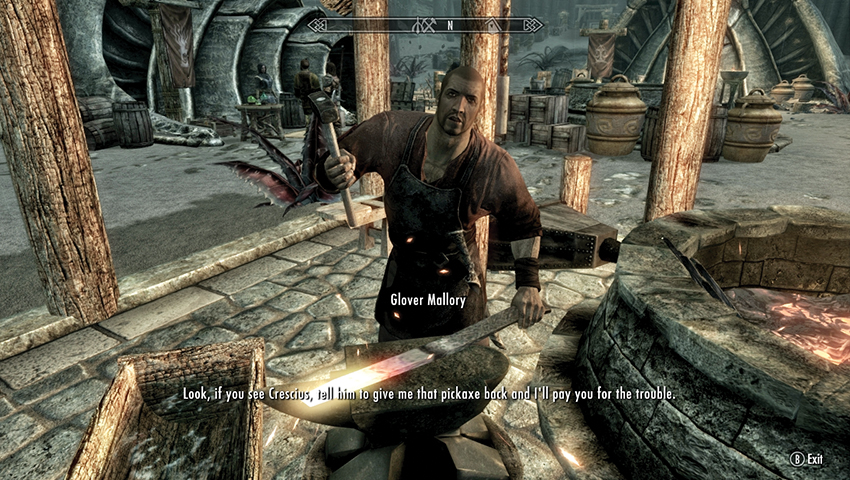
Being a member of the Thieves Guild has its privileges. In this case, provided you’ve chatted at length with Delvin Mallory over in The Ragged Flagon under Riften and completed the prerequisites listed above, you can seek out Glover for a special additional job: to secure a special formula for constructing improved armor. A fellow named Esmond Tyne was carrying it.
- Miscellaneous Objective: Recover the Bonemold Formula for Glover Mallory
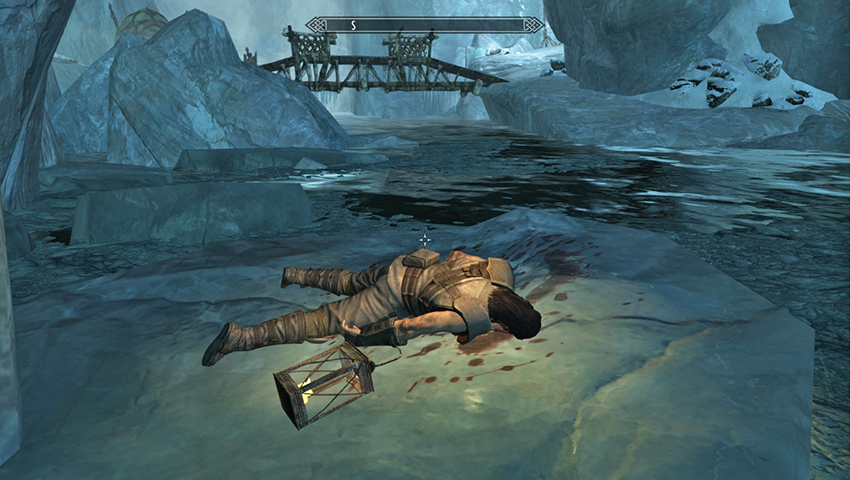
The formula is a note found on the corpse of Esmond Tyne. His bloodied body can be found on an ice floe at the water’s edge, as soon as you enter the giant initial chamber in Castle Karstaag Caverns. If you read this note, you can create Improved Bonemold Armor at any forge, so check the note out before returning to Glover.
- Bonemold Formula
- Miscellaneous Objective: Bring the Bonemold Formula to Glover Mallory
Quest Conclusion
Back at the forge in Raven Rock, hand over the formula. For a fellow thief, Glover gladly provides you with additional compensation far beyond the usual handful of coins—a key to a secret cellar inside Mallory’s home!
- Key to Glover Mallory’s House
Postquest Activities
Enter Glover’s house, head downstairs, and unlock the door. Inside is a thieves’ treasure trove, which includes a weapon and shield on a rack [leveled]; poisons and potions; sweetrolls (all stolen, no doubt); a Thief Cache barrel with a shadowmark on it; a strongbox (not of the East Empire variety); a set of Blackguard’s Armor; and Glover’s Letter, which reveals his past and his daughter, the thief Sapphire. If you meet up with Sapphire in Riften’s Ragged Flagon and talk to her about this note, she offers you an exquisite gem bearing her name.
- Blackguard’s Armor
- Blackguard’s Boots
- Blackguard’s Gloves
- Blackguard’s Hood
- Sword and Shield [leveled]
- Thief Cache
- Glover’s Letter
- Exquisite Sapphire
Tomb Eradicator*
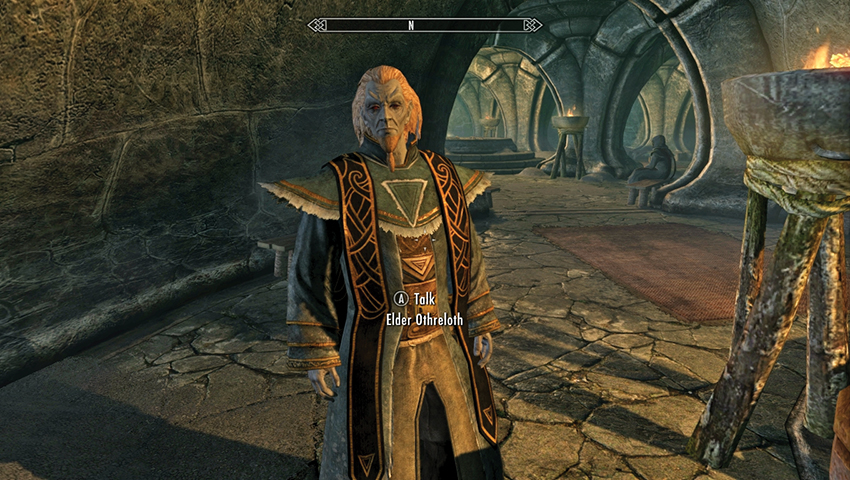
Elder Othreloth is located in or around the temple on the raised courtyard near the bulwark. Enter this sacred place, and ask more about the Ancestral Tombs. He’s having troubles with abominations known as Ash Spawn that have risen from the remains of his own ancestors! Can you cleanse the tomb of this filth for him? Agree to receive a key that opens the otherwise-sealed crypts.
- Raven Rock Tomb Key
- Miscellaneous Objective: Clear the Temple’s tomb of Ash Spawn
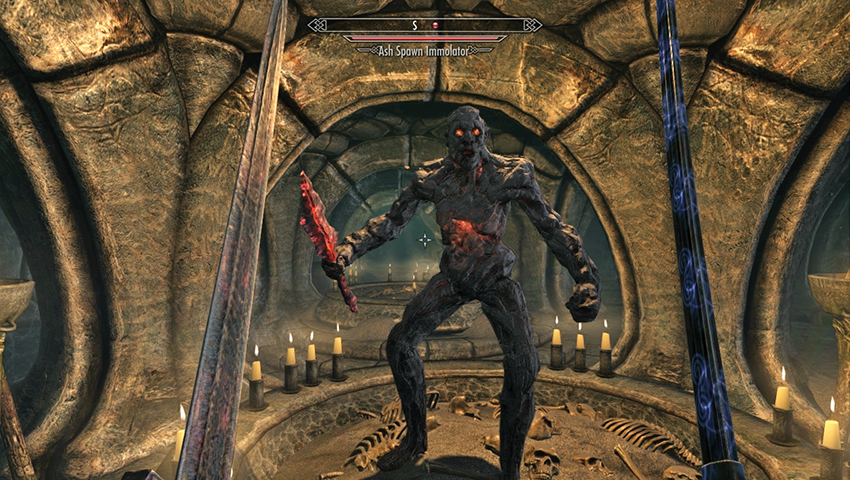
Head down the steps and north to the Temple Ancestral Tomb door, which only opens with the key. Then expect three waves of around four Ash Spawn, with more powerful variants appearing in the last wave, to attack you. They form from the cremated remains in the circular pyres throughout the tomb. Stay in one tomb or move between the different parts of the crypt; it doesn’t matter. Keep the slaying going until the objective updates.
- Miscellaneous Objective: Tell Elder Othreloth that the Tomb has been cleansed
Quest Conclusion
Elder Otherloth is most pleased, as you honor the Reclamations with your actions. Have some coin!
- Gold (250)
Tome Raider*
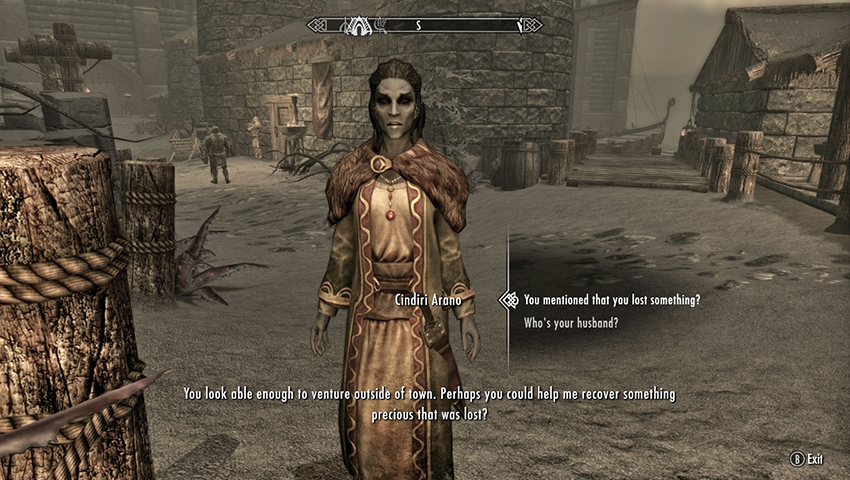
The wife of Second Councilor Adril Arano is the well-to-do Cindiri Arano. Meet up with her in town, and she believes you can handle the recovery of a lost item. She never received an important folio she sent to the Imperial City. It was being returned aboard a ship called the Strident Squall, or something like that. Can you find it for her?
- Miscellaneous Objective: Locate Cindiri’s Folio from the wreck of the Strident Squall
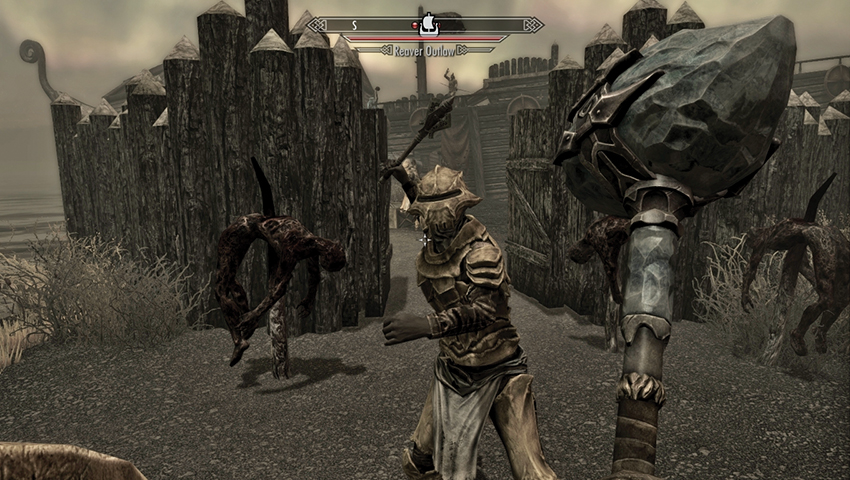
The Strident Squall has run aground, and the wreckage is now the base camp for an unruly gang of Reavers, in the southeastern coast of Solstheim. Travel there, slay the foes stopping you boarding the vessel, and work your way down into the hold and around to the large chest under the stairs. Take the saucy tome. Dare you read its shocking contents?
- Lusty Argonian Maid Folio
- Miscellaneous Objective: Return the Folio to Cindiri Arano in Raven Rock
Quest Conclusion
Cindiri Arano is most pleased with the return of her manuscript and offers you the following:
- Ring [Leveled]
Skaal Village Regional Activities
A Mother’s Lament*
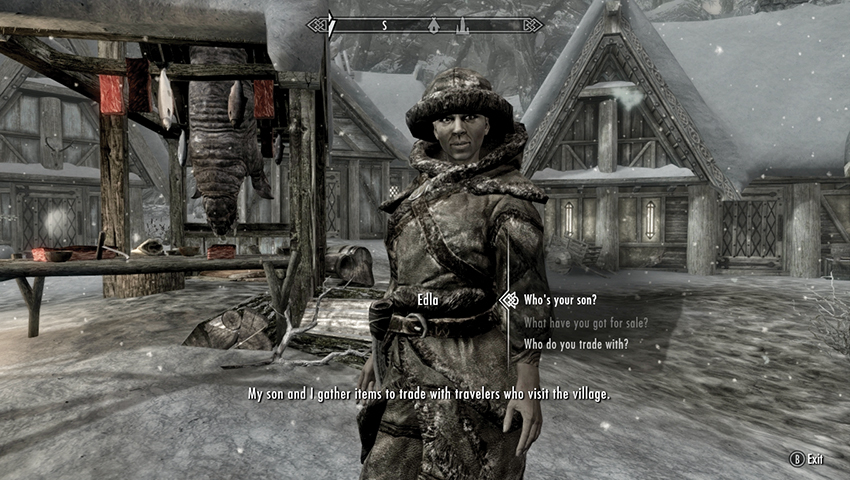
Speak to Edla, a trader who is usually wandering the village during the day, and she talks about her son. He’s a good lad, but she’s saddened at the prospect of him leaving the village. Tell her you’ll talk to him for her, and she mentions she’d be most grateful.
- Miscellaneous Objective: Convince Nikulas to stay in Skaal Village
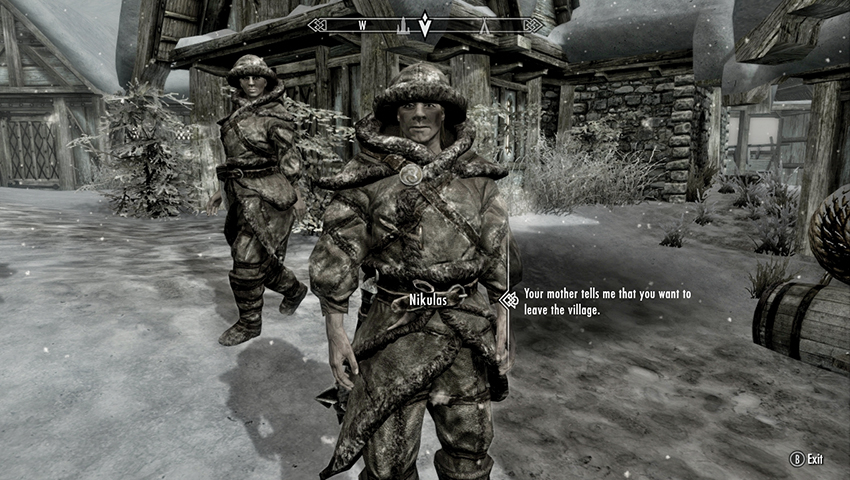
Nikulas is usually nearby, and he’s full of vigor at the idea of adventuring. He’s weary of village life and considers this a meager existence. You have a few options to convince him to stay. You can:
(Bribe) Tell him you’re willing to help him get started, and hand over some gold. In return, he needs to give his mother some more time.
(Intimidate) Tell him the world is dangerous, and he isn’t ready for it.
(Persuade) Ask him why he’s abandoning his mother when she needs him the most.
When one of these options works, Nikulas agrees to stall his exploration.
- Miscellaneous Objective: Speak to Edla
Quest Conclusion
Edla is overjoyed at the news and offers some rare herbs as payment for your help.
- Emperor Parasol Moss (5)
- Scathecraw (5)
- Ashen Grass Pod (5)
Return to Falkreath*
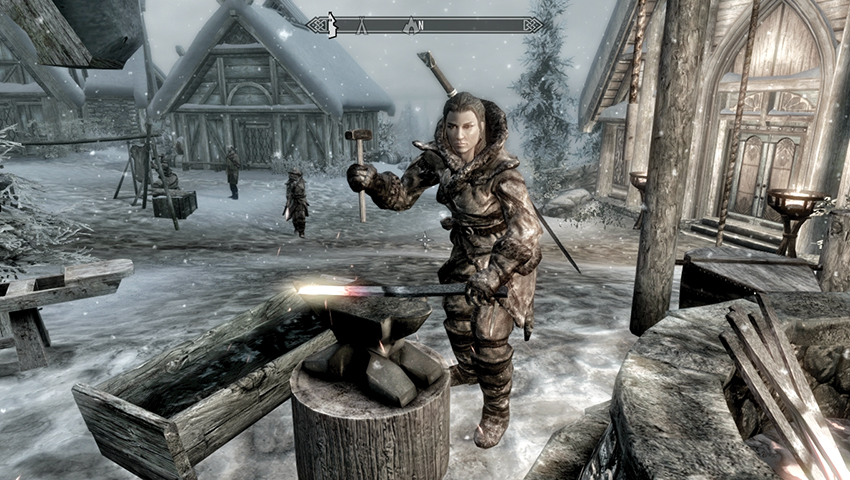
Find Morwen, who is usually clanging metal at the forge, or nearby. Strike up a conversation, and she mentions her mother once left the village. Morwen was born in Falkreath, where her mother’s remains are still interred. She found a necklace belonging to her mother and wants it buried with her mother’s bones.
- Bera’s Necklace
- Miscellaneous Objective: Take Bera’s Necklace to Runil in Falkreath
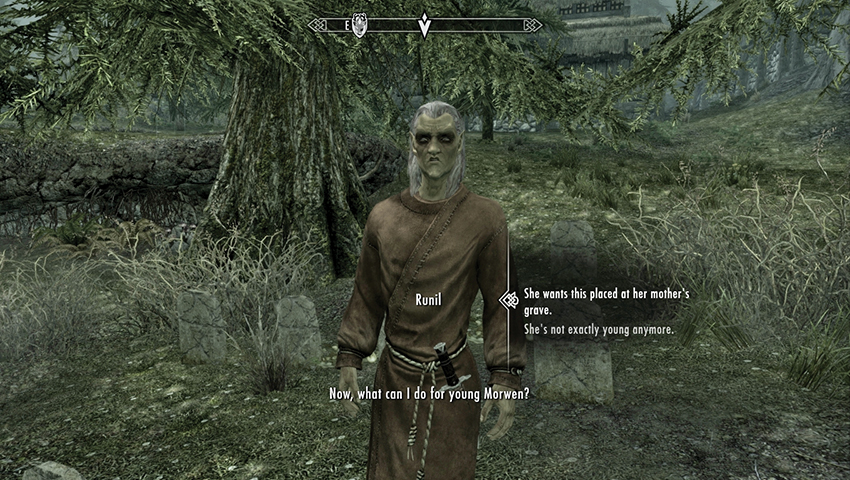
Travel back to Skyrim, and all the way to Falkreath, finding Runil the priest. He tends the graveyard and should be in that area. Speak to him of Morwen’s favor, and he remembers her mother and father, Bera and Ulfarr. Present the necklace—a wedding gift—and Runil agrees to grant the request; it should bring joy to both parents as they walk in Aetherius.
- Miscellaneous Objective: Return to Morwen in Skaal Village
Quest Conclusion
Morwen is most pleased. Once again you are a true ally to the Skaal. A fine reward is then offered.
- Nordic Carved Helmet
Tel Mithryn Regional Activities
Elynea’s Ingredients*
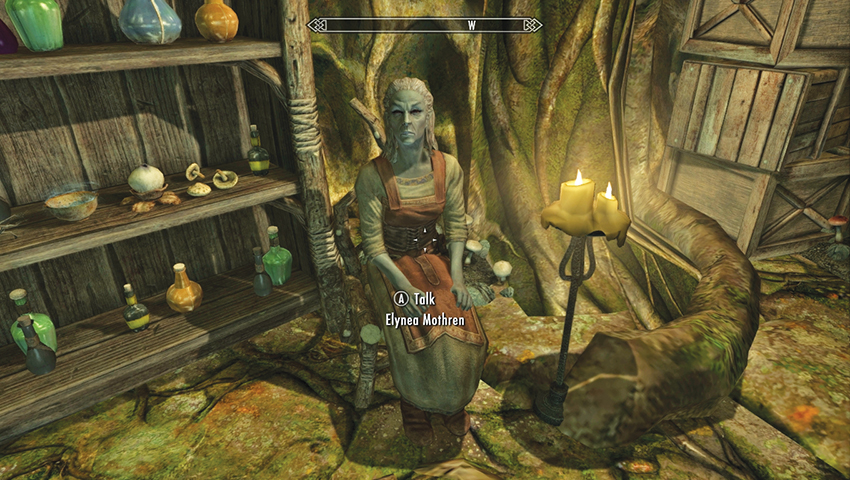
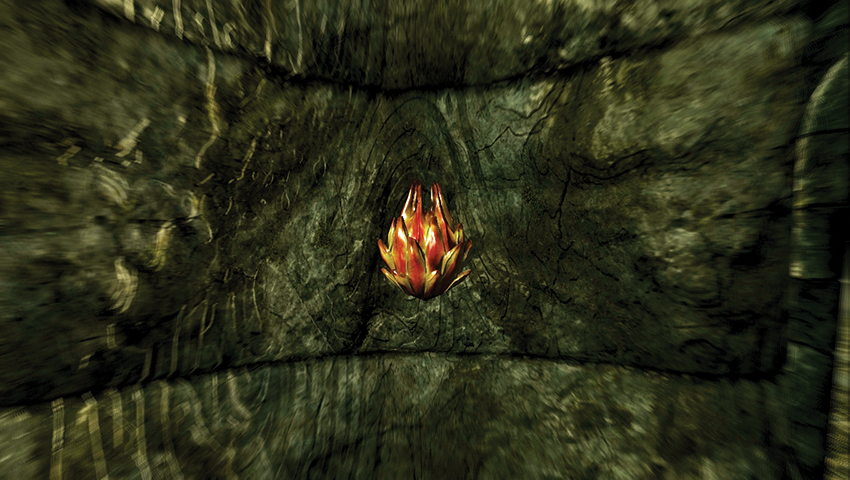
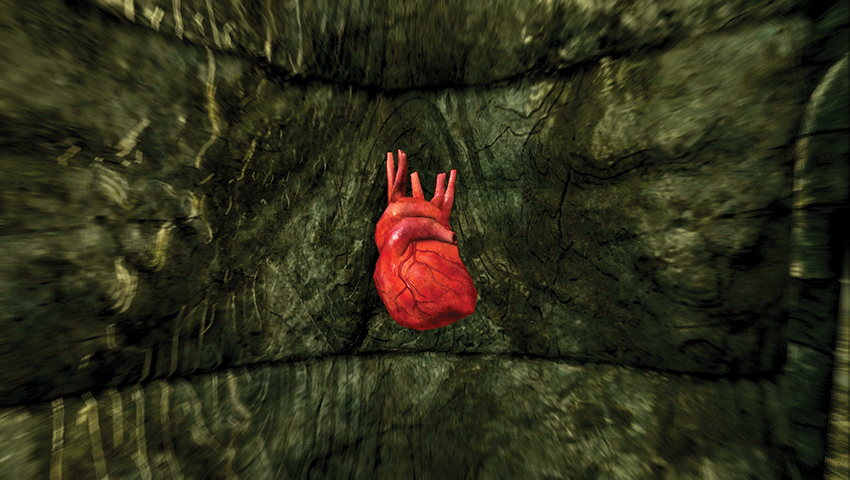
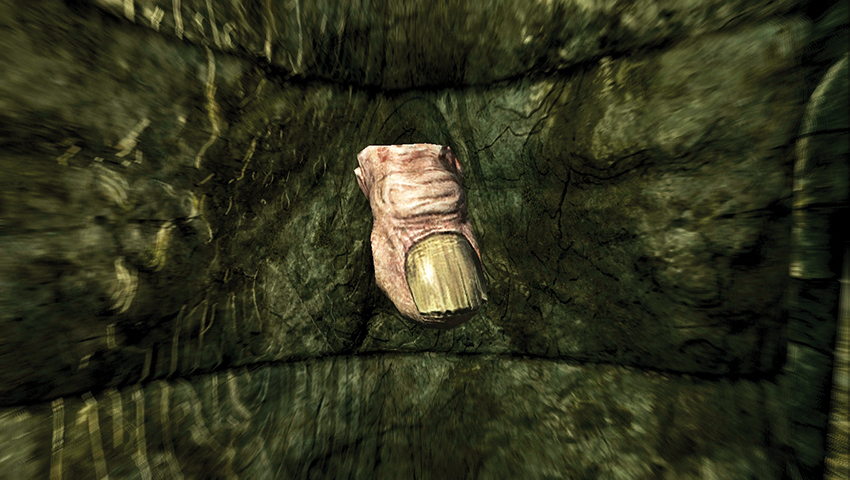
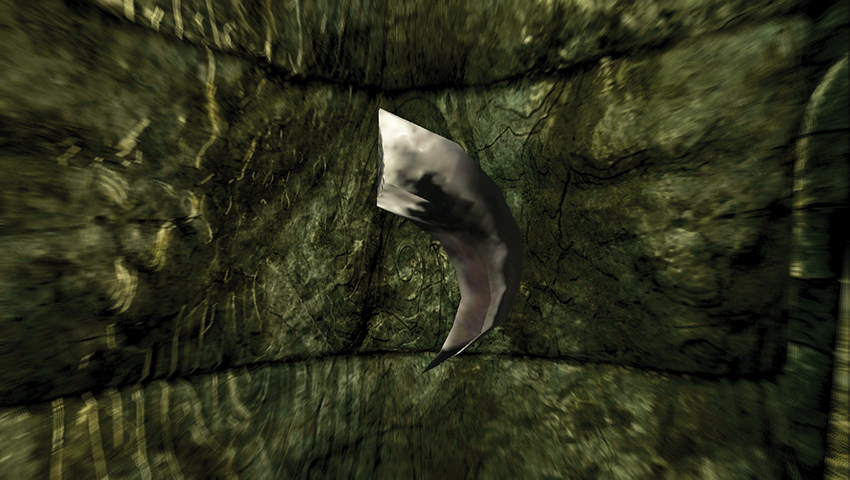
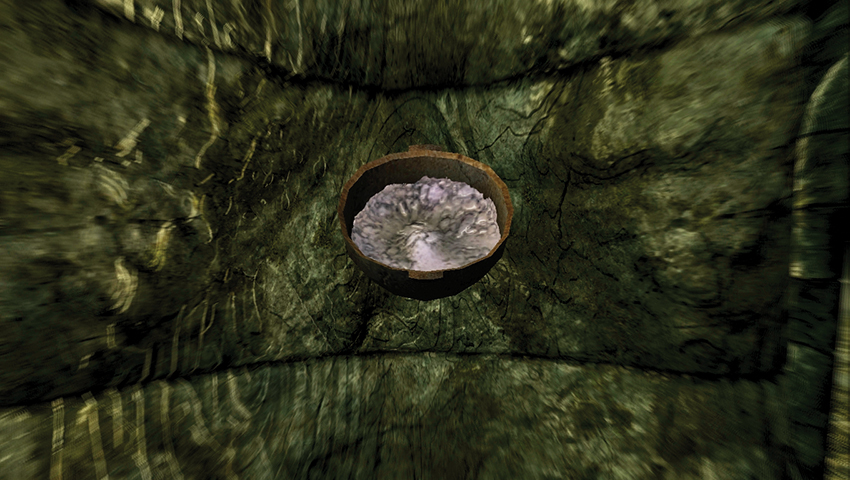
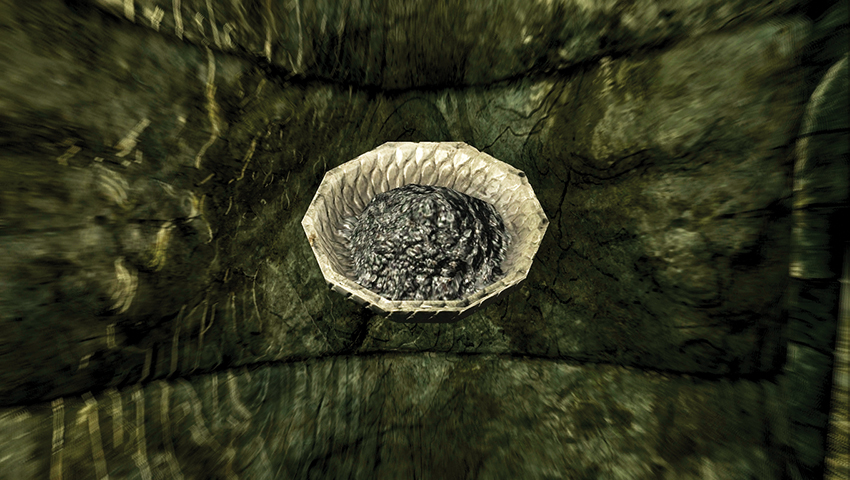
Head into Tel Mithryn Apothecary, and locate the owner Elynea Mothren. When she’s not attempting to heal the fungal housing stock of this settlement, she’s in need of particular ingredients for her alchemy. Can you bring back a [random] item for her?
- Miscellaneous Objective: Locate the [random ingredient] for Elynea Mothren
Thirsk Mead Hall Regional Activities
A Thirst in Thirsk*
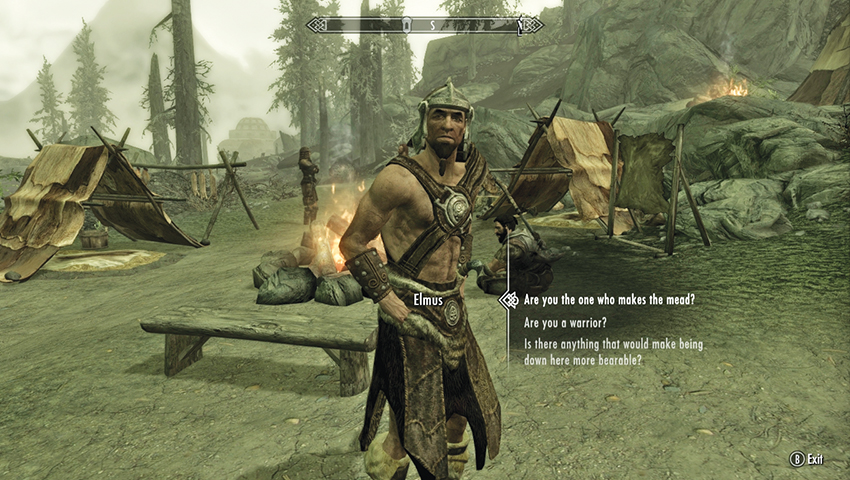
Visit the embarrassing ragtag collection of tents and Nords at Bujold’s Retreat, and locate Elmus the mead maker. He’s less concerned about the plight of his brethren and more interested in tasting some of that Ashfire Mead that they make at Thirsk. Of course, the place is overrun now, but if you could grab a bottle...
- Miscellaneous Objective: Bring Elmus some Ashfire Mead from Thirsk Mead Hall
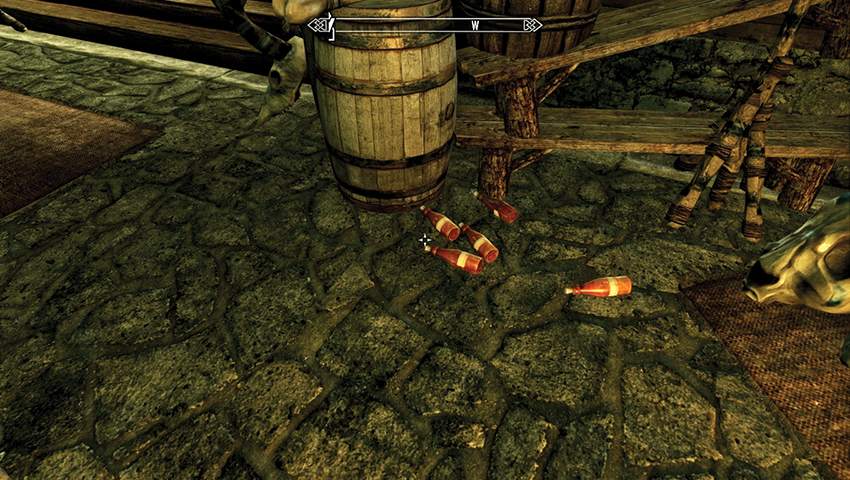
Climb the hill and enter Thirsk Mead Hall, which, if neither related quest has begun, does not mean fighting the Rieklings (although you can certainly have a go at them). There are five bottles of Ashfire Mead scattered on the stone floor near the central fire pit. You only need one of them.
Quest Conclusion
Return to Elmus and hand over the mead. He considers you a true friend to Thirsk and pays for your troubles.
- Gold [leveled]
Berries out of Reach*
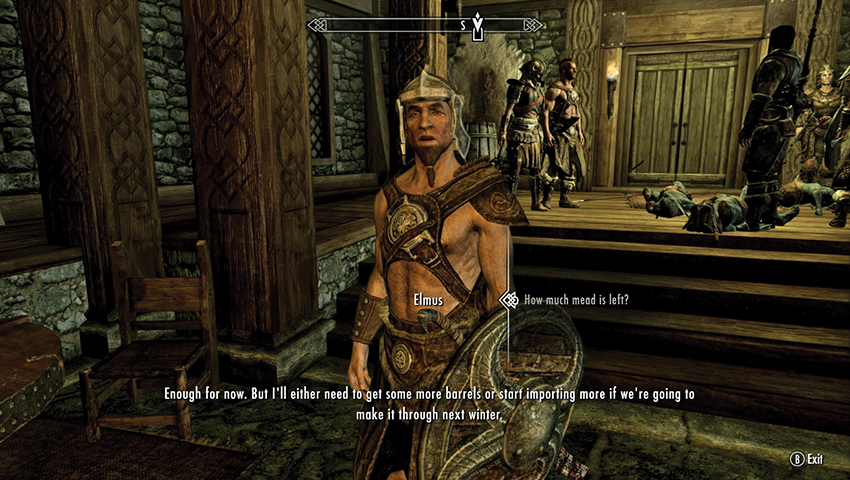
Once the Thirsk Mead Hall is back in the hands of Bujold’s Nord crew and you haven’t made them hostile or unfriendly by your actions at the end of that quest, search out the mead-master Elmus. He’s keen to begin brewing again but requires juniper berries for the concoction. Do you have any?
- Miscellaneous Objective: Bring Elmus some Juniper Berries
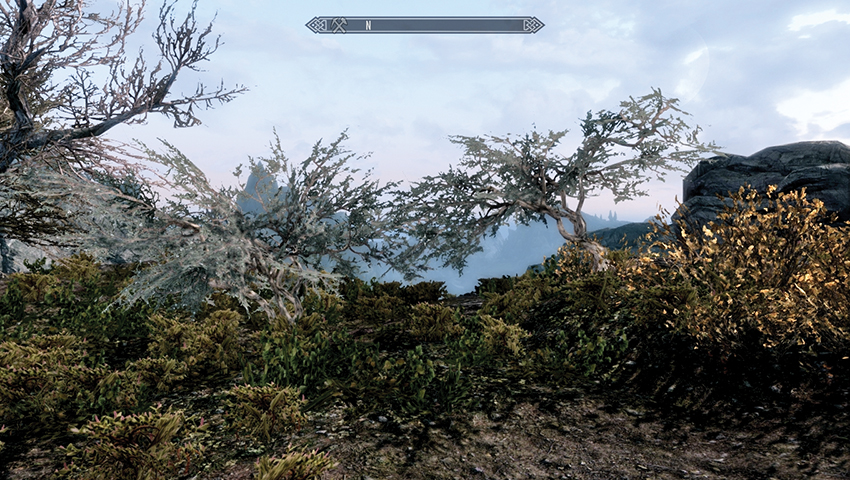
If you don’t, you can visit many of the apothecary merchants here or in Skyrim. But it is preferable to head to the Reach and locate the juniper trees that grow in abundance there. Gather some berries and return to Solstheim.
Quest Conclusion
Return to Elmus and give him the berries you’ve collected. He pays you for your troubles.
- Gold [leveled]
Ore Inspired*
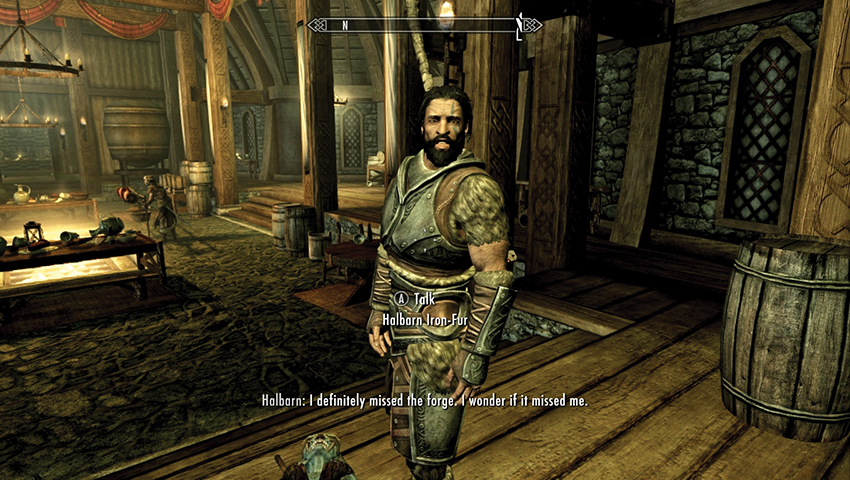
Once Bujold’s Nord crew has taken back Thirsk Mead Hall and you haven’t made them hostile or unfriendly by your actions at the end of that quest, locate Halbarn Iron-Fur and speak about his work. As there’s limited metal on Solstheim, and the Rieklings stole most of his ore, he asks if you’d mind finding him some more.
- Miscellaneous Objective: Bring 10 Stalhrim Ore and 15 Ebony Ingots to Halbarn
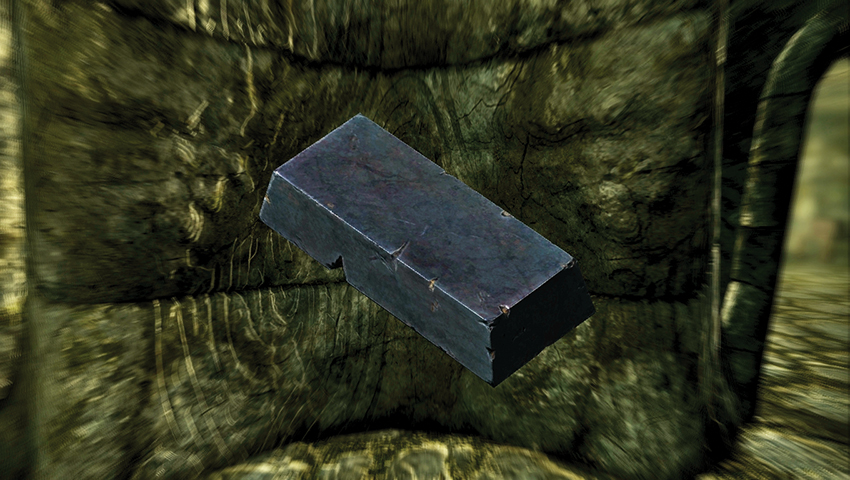
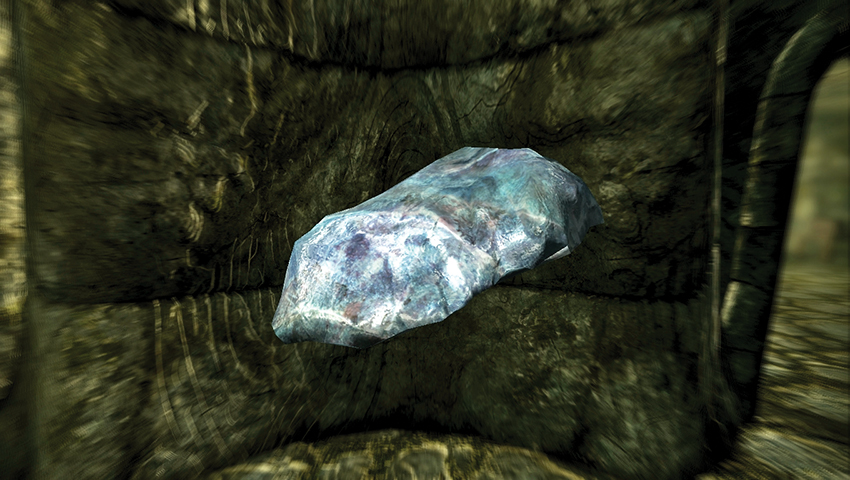
Be aware that Stalhrim is required in its ore form and ebony must be in ingots. Here are a few locations where you can find such deposits (and use any smelter to turn ebony ore into ingots).
Ebony Ingots: Head back to Skyrim and start mining in Gloombound Mine (Eastmarch) or Redbelly Mine (in Shor’s Stone, in the Rift). Then smelt the ore into ingots.
Stalhrim Ore: The Stalhrim Source location has triple what is needed. Consult Solstheim Side Quest: A New Source of Stalhrim for details.
Quest Conclusion
Stagger back to Halbarn with your materials. He is impressed by your haul. He starts his blacksmith business, and you can purchase from him. In addition, you receive gold, and the prospect of his hand in marriage.
- Gold [leveled]
- Marriage Prospect: Halbarn Iron-Fur
Primitive Pointy Sticks*
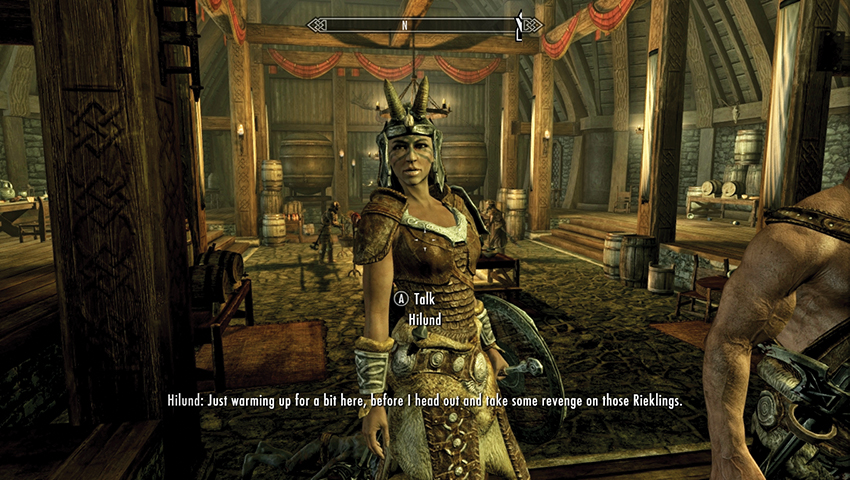
Once Bujold’s Nord crew has retaken Thirsk Mead Hall and you haven’t made them hostile or unfriendly by your actions at the end of that quest, find Hilund, and she tells you she wants you to find a number of Riekling Spears for her.
- Miscellaneous Objective: Bring 50 Riekling Spears to Hilund
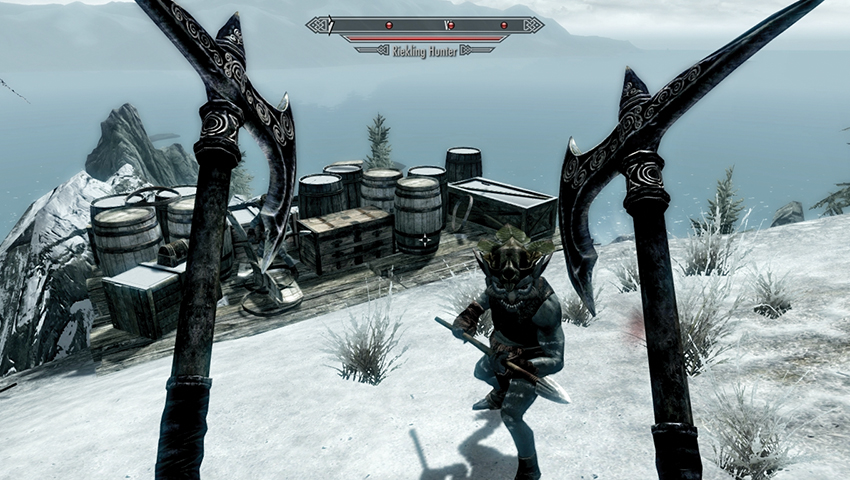
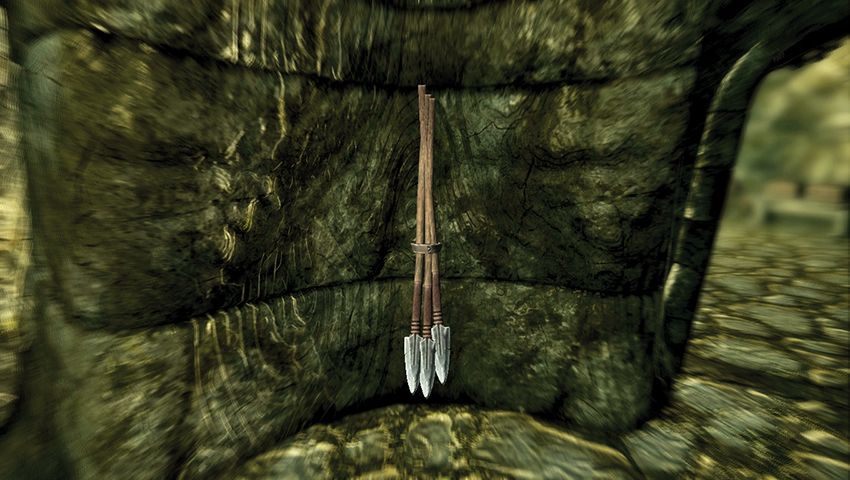
Such spears are commonly thrown by Rieklings. Consult this guide’s Atlas for the many locations where Rieklings dwell (almost always in the snowy climbs of Solstheim). Search any you kill, and their camps, for the spears.
- Riekling Spear
Quest Conclusion
Return to Hilund and drop off the collected spears, which are subsequently displayed in the Mead Hall after three days. You receive gold as a reward.
- Gold [leveled]