
Elder Scrolls V: Skyrim Guide Quests Dawnguard Quests
Regional Activities: Soul Cairn
Arvak the Spectral Steed*
A Good Deed for a Noble Steed
Among the various oddities and general chaos that pervades the Soul Cairn, there are a couple of strange occurrences tied to a spectral steed named Arvak. You can:
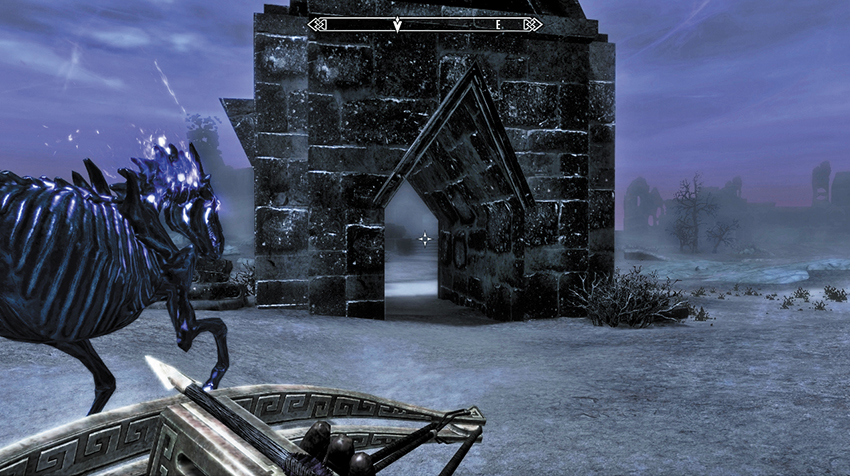
Witness the spectral horse galloping across the Soul Cairn (as shown). You’re unable to stop or interact with him. This is a Wilderness Special Encounter: Arvak.
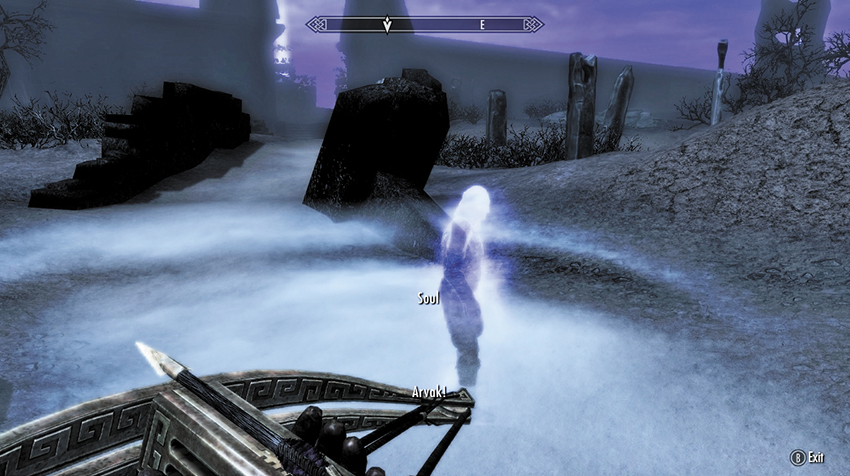
You can encounter a soul trapped in the Soul Cairn, just northeast along the path from the first Boneman encounter and black chapel, close to the entry portal. The soul pleads with you to “find my Arvak.” The steed accompanied this soul into the Cairn but fled after they were attacked by monsters. The soul loves his horse dearly and wants his suffering to end. Your quest updates.
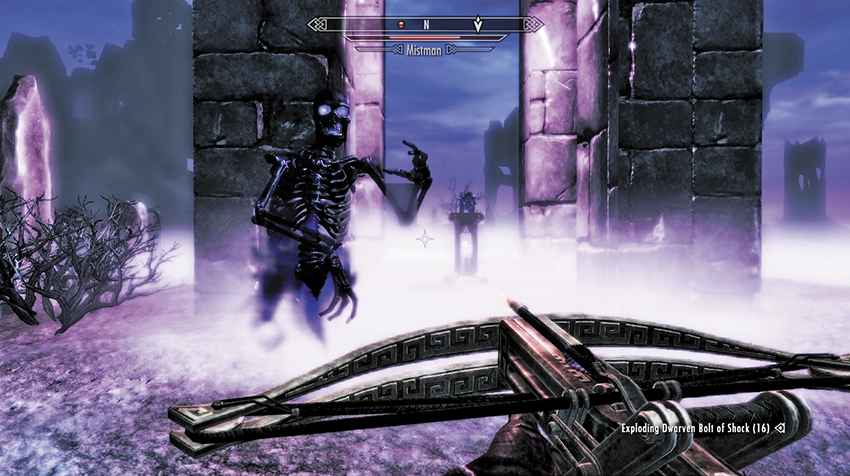
The horse’s skull is located on the direct route between the location of Keepers 2 and 3. Northeast of the second Keeper’s location, look for a small tower with an altar inside. This altar has Arvak’s Skull on it and is guarded by Mistmen (floating apparitions of skeletal blackness) and lightning.
- Arvak’s Skull
After you retrieve the skull, the soul you met earlier appears in a small graveyard just northeast of the altar (look for the compass waypoint with the Miscellaneous Objective active). The soul is ecstatic, as he can sense that Arvak’s soul has been freed! In gratitude, the soul teaches you a spell that causes Arvak to appear before you.
- Summon Arvak
Postquest Activities
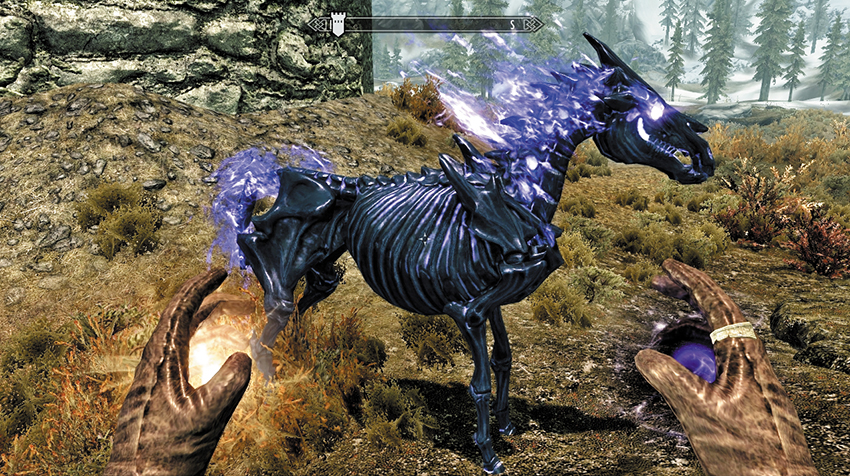
All that remains now is to summon Arvak to aid you on your travels. Select Magic > Conjuration > Summon Arvak, and with enough Magicka, you are able to conjure the spectral horse in the following locations:
- Skyrim Exterior
- Soul Cairn
- Blackreach
- Dayspring Canyon
- Forgotten Vale Exterior
- Solstheim
Dark Conjurations*
Summoning Men of Bone, Mist, and Wrath
Within the Soul Cairn, three special Spell Tomes have been left by unknown hands. They provide conjuration practitioners with everything they need to summon their own Bonemen, Mistmen, and Wrathmen to aid them in battle. These spell books can be found at the following locations:
Spell Tome: Conjure Boneman
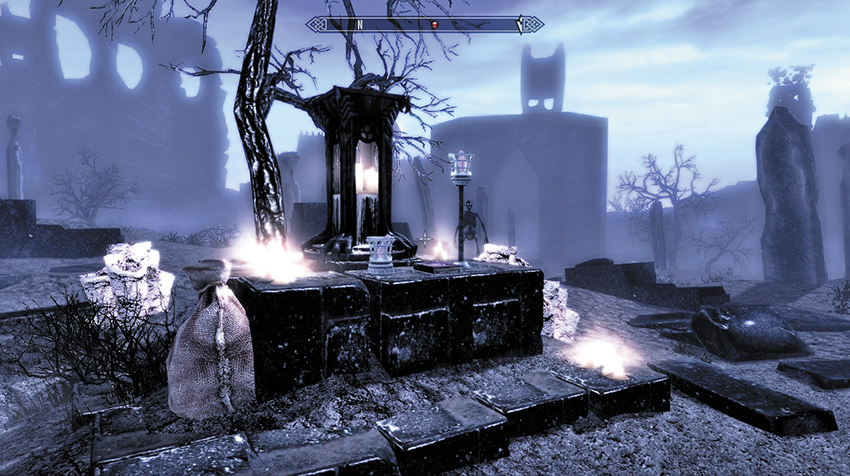
Soul Graveyard: Once you’ve moved across the barrier wall, head northwest toward the cluster of larger and imposing buildings in the northeast corner of the Soul Cairn. Look for the Black Minster (the long building on the north horizon with a floating crystal above it). To the left (west) of that, close to where Keeper 1 rests, is a Soul Graveyard. In the middle is an altar. The Spell Tome rests on the obsidian plinth below it. Prepare for a Boneman ambush after you grab the book.
- Spell Tome: Conjure Boneman
Spell Tome: Conjure Wrathman
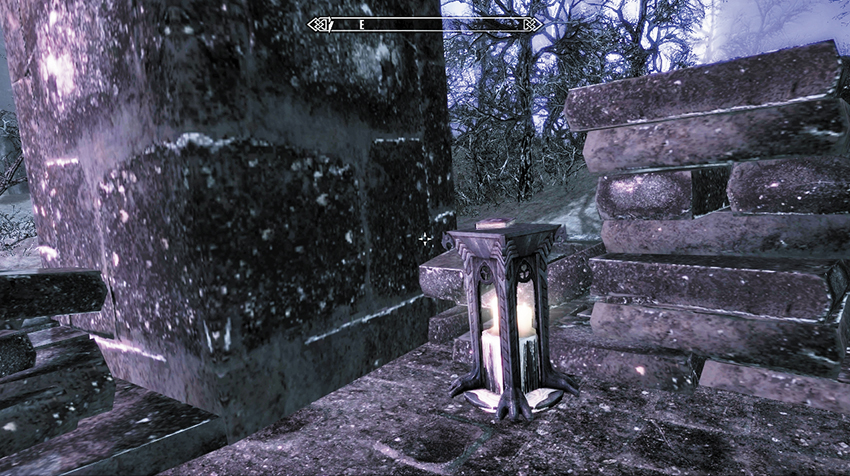
Keeper’s Altar: This is located in the southeast corner of the Soul Cairn, along the eastern path just past the tower where the second Keeper resides, between the Keeper’s tower and the Reaper’s Lair. Enter this small, arched structure, and claim the Spell Tome from atop the altar. Beware of a Wrathman ambush once you take the tome.
- Spell Tome: Conjure Wrathman
Spell Tome: Conjure Mistman
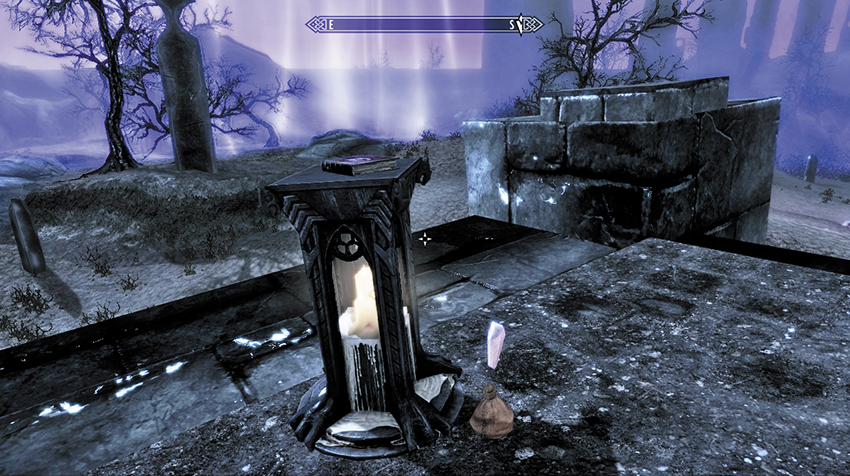
Foundation Altar: Southeast of the Boneyard Citadel and northeast of Arvak’s Skull is a stepped area leading to an open altar, close to the perimeter barrier (to the east) and just east of the teleport to Keeper 3. Beware of Bonemen guarding this altar, which has the Spell Tome: Conjure Mistman on it. Below it is Jiub’s Opus, next to a coin purse and Soul Gem. Watch for a Mistman ambush after the book has been swiped.
- Spell Tome: Conjure Mistman
Postquest Activities
You can read all three books regardless of your Conjuration Skill level. If you have enough skill or Magicka to cast these spells, you can summon the denizens of the Soul Cairn to fight for you as your adventure continues.
(Don’t Fear) The Reaper*
Initial Preparations
During your exploration of the Soul Cairn, you may chance upon a Reaper Gem Fragment. This is the only clue you have to the existence of something strangely terrifying that you can conjure to face in this realm (aside from the other oddities and foes to encounter).
Reaper Gem Gathering: Three Fragments of Power
What follows is a description of where each of the three Reaper Gem Fragments are located. They are listed from one to three, although you don’t need to find them in that order. In each case, three pictures are shown: They reveal the location from a distance, as you close in on the location, and finally at the location itself. Each location is also named. The names are references to the Atlas section only (they don’t appear on your local map). Check the compass direction on each picture so you know from which direction to approach.
Reaper Fragments: First Location
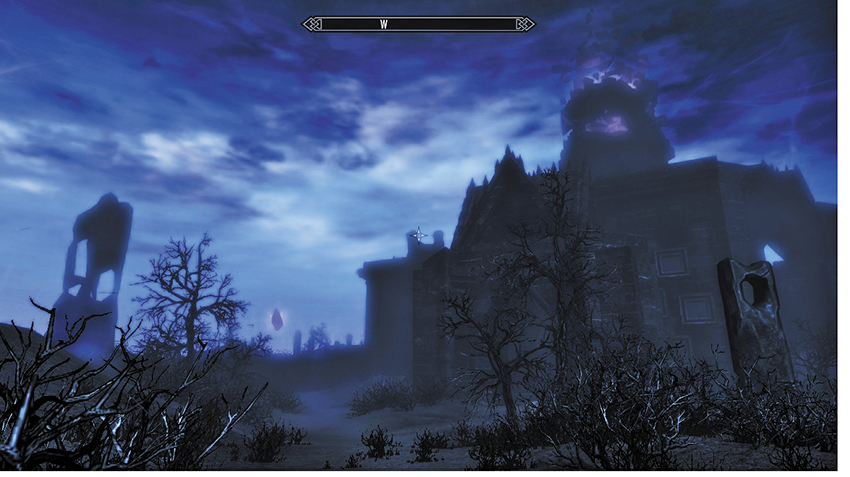
The Keeper’s Castle: If you’re completing Dawnguard Main Quest: Beyond Death, cross the barrier wall and turn left (northwest). Cross the undulating ground until you reach the fortification where the first Keeper resides. Or, if you’ve met Valerica and are starting your search for Keepers to fight, simply trek from the Boneyard to the first Keeper (as detailed in the quest). After fighting the Keeper in the courtyard, turn left (southwest). Fire an arrow or bolt through each of the turquoise orbs to release the gate ahead of you. This leads to an outer courtyard of standing stones, an Ideal Master Crystal that burns away at you, and a chest. Retrieve the Fragment from the chest.
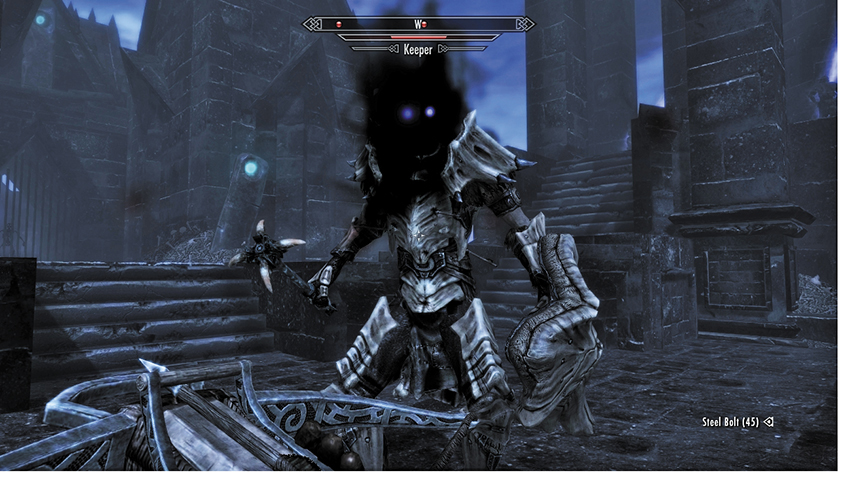
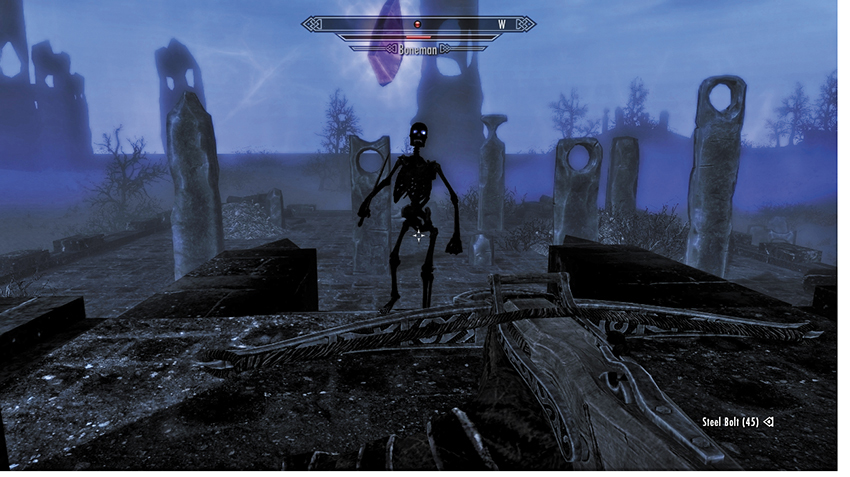
- Reaper Gem Fragment (1/3)
Reaper Fragments: Second Location
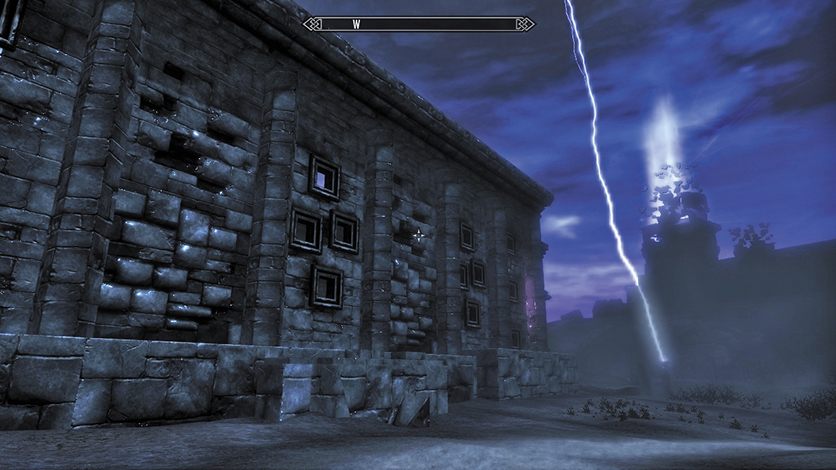
The Obsidian Hall: South of the Boneyard is a very large ruin, with huge walled sides. It is directly north of the second Keeper location. Head around to the large opening and face north, wander inside (defeating any foes that appear), and locate the small, circular teleport in the smaller courtyard. You’re transported to the upper roof (rather than the roof section you can reach via the nearby steps), where an Ideal Master Crystal hovers over a chest to the south. Grab the Fragments from the chest. Then carefully drop to the lower rooftop and escape.
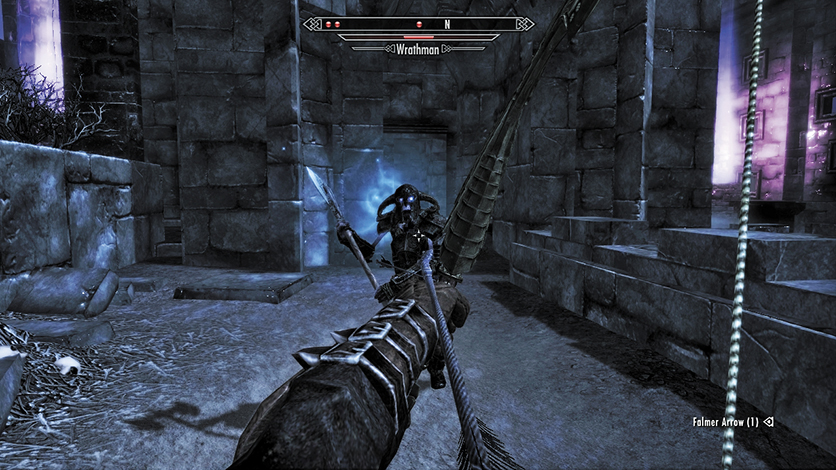
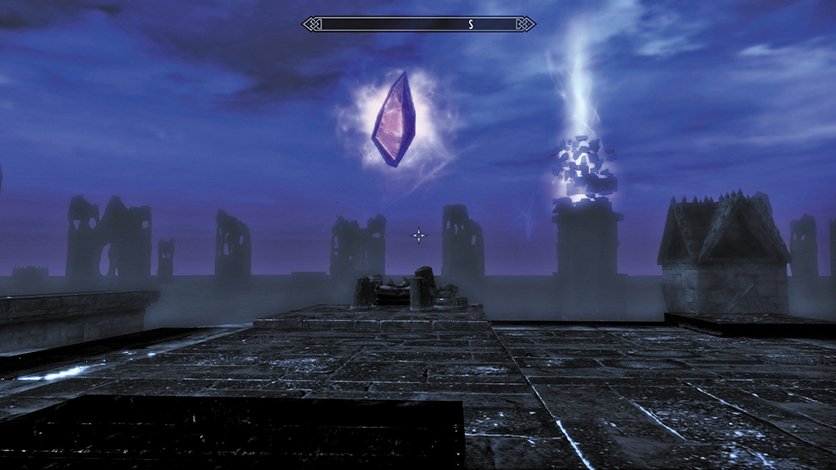
- Reaper Gem Fragment (2/3)
Reaper Fragments: Third Location
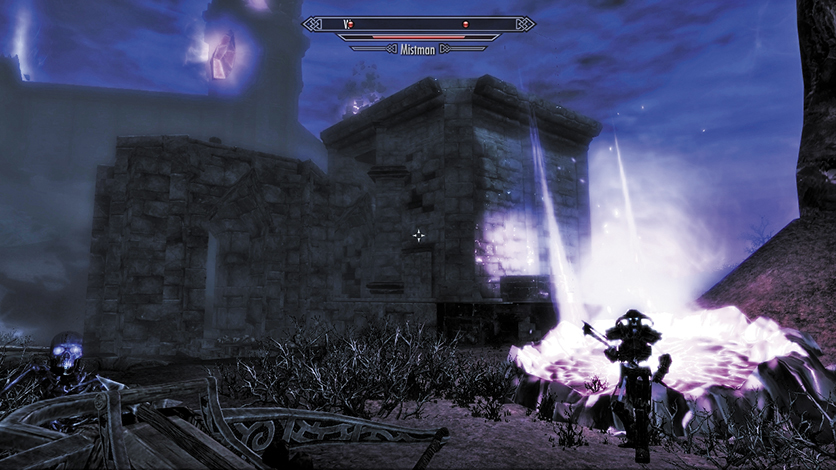
The Black Temple: North of Arvak’s Skull and just west of the floating citadel where the third Keeper is stationed is a medium-sized blocklike temple structure with an Ideal Master Crystal hovering above the roof. The structure is at the base of the hill on which the Boneyard is located. Enter the building, look for the open doorway to the right (north), and climb the steps to the roof. An Ideal Master Crystal hovers over a chest to the south. Take the Fragments from the chest and retrace your steps.
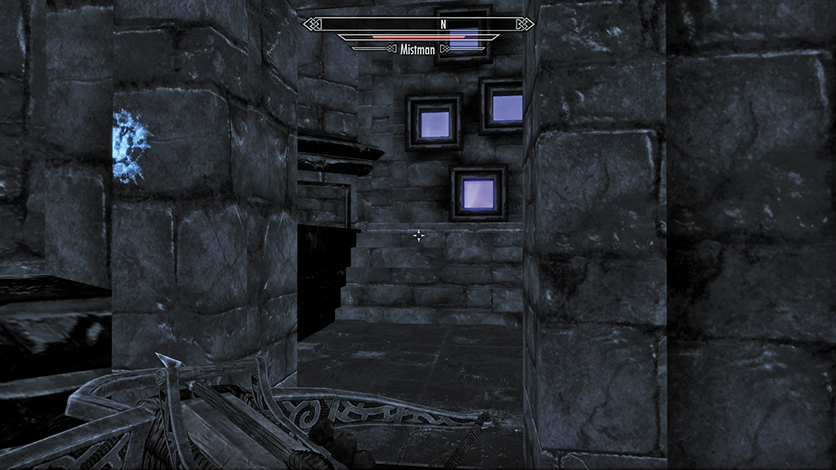
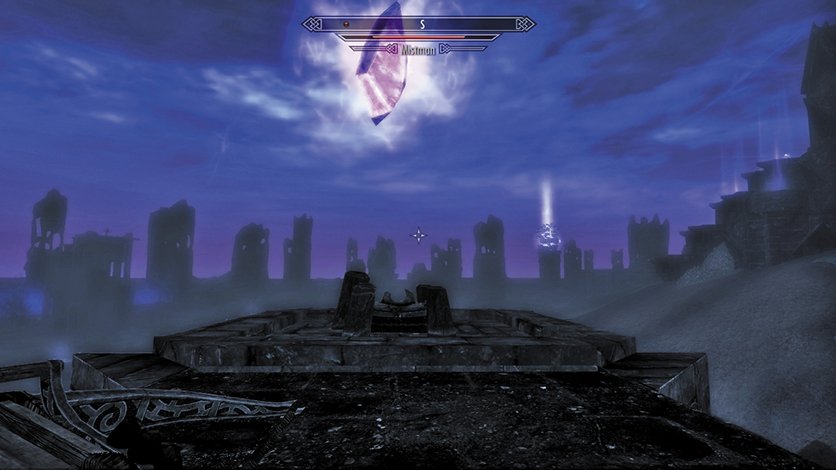
- Reaper Gem Fragment (3/3)
Quest Conclusion
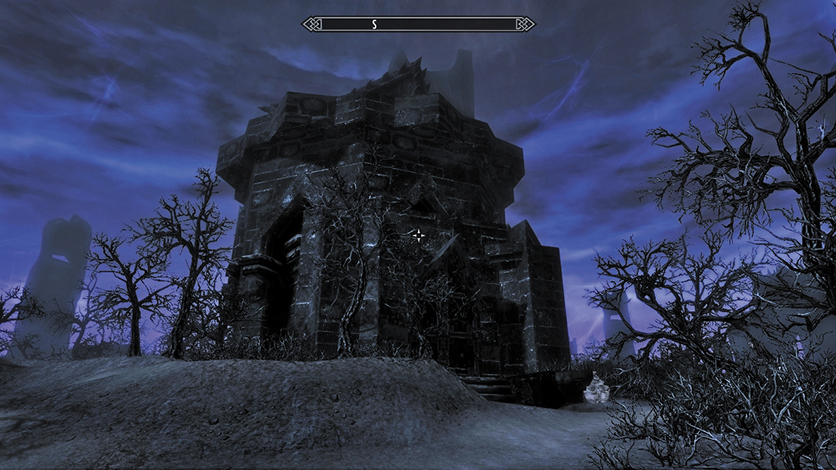
Reaper’s Lair: Journey to the Soul Cairn’s southeast corner, east of the second Keeper’s residence, and inspect the black structure. Look south for the imposing doors and enter the building. Step forward to the Reaper Shard Receptacle; insert the Soul Fragments you’ve collected into this altar. With all of the Fragments placed, a Reaper Gem is fused together. Moments later, the Reaper is summoned!
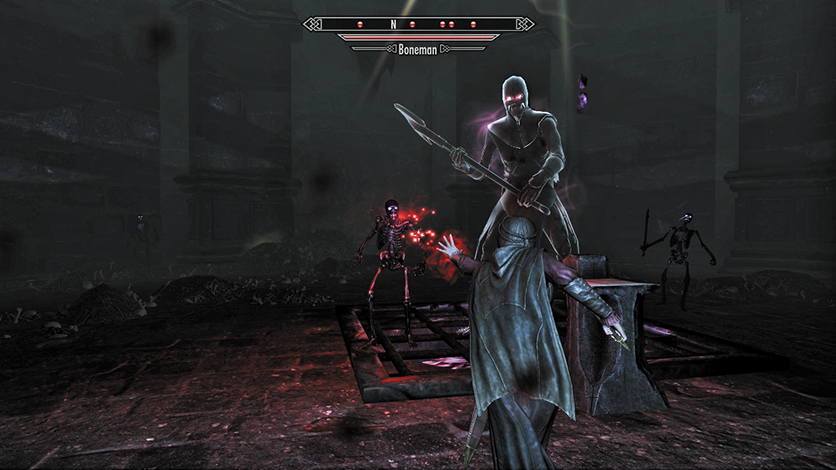
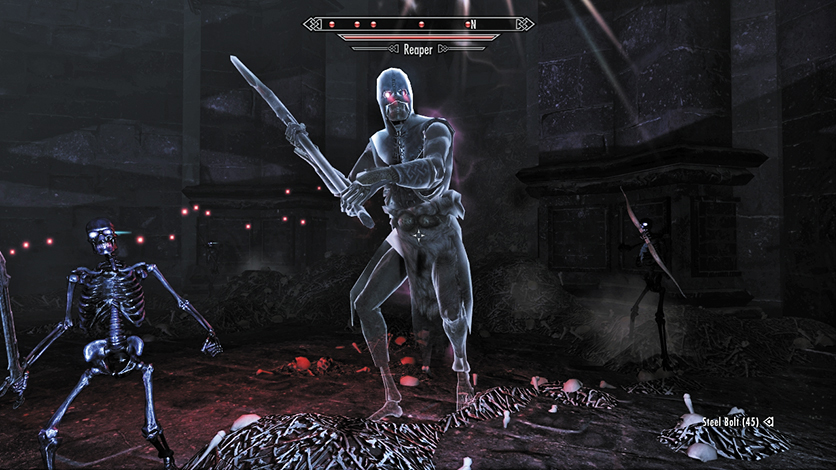
This ghostly stuff of nightmares is a hooded shadow armed with a massive axe. His glowing red eyes stare through you, and he’s immediately hostile, as are the Bonemen minions that also appear. The first part of combat must include dodging the disgusting vomit he sprays across the chamber. Failure to step out of the flying acid results in some nasty damage.
Hopefully the Reaper will become preoccupied with slaying Serana, allowing you to attack from a different direction. Dodge or block those heavy axe swipes, and whittle down the Reaper’s health until he falters and finally falls. Search his Ghastly Remains for your reward.
- Black Soul Gem (3)
Postquest Activities
Don’t let the Reaper haunt your nightmares.
The Soul Husk Merchant*
Husk Hunting for Morven
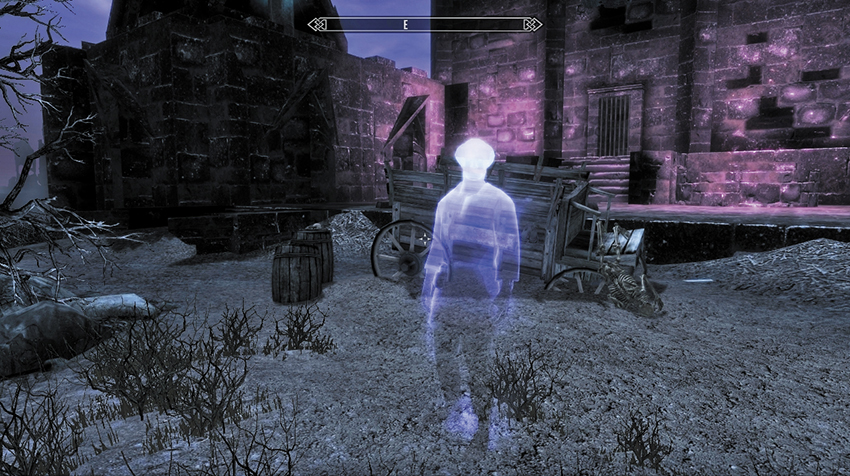
Located to the east of the main path through the Soul Cairn, just after you’ve stepped across the barrier wall, is the soul of a merchant named Morven Stroud. He’s one of the few souls who can hold a conversation with you. Begin to talk, and you’ll discover Morven wound up here after he sold an item with suspect ingredients to a necromancer coven. Morven was once a highly respected trader in High Rock (at least, according to Morven, he was), but now he waits here. Eternally. Offer to pass the time by collecting the only item he wants: Soul Husks. Return with 25 of them, and you can rummage through what he has left on his cart.
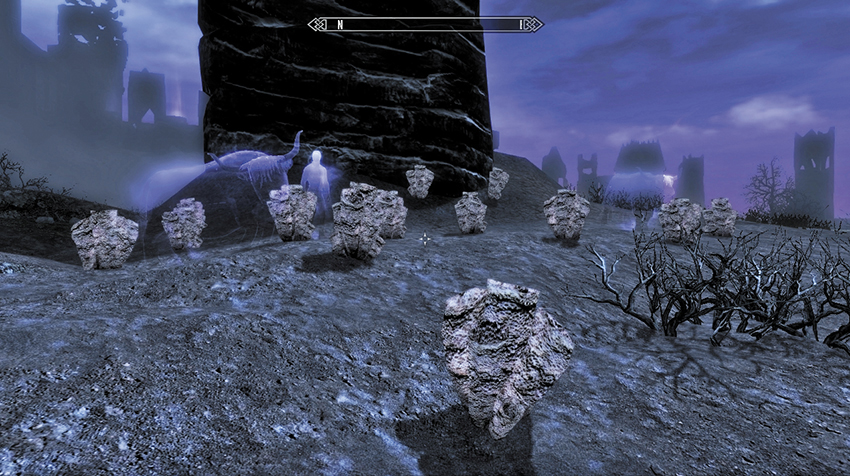
You may now begin collecting Soul Husks throughout the Soul Cairn (as this is the only place where they grow). You can find them in chests or growing in clusters. The largest concentration of them is in the Husk Pasture (shown). When you have 25, return to Morven, and you’re able to “purchase” one of the following (which is a random leveled item of the type you select):
- A sword (25 Husks)
- A battle-axe (25 Husks)
- Light armor (25 Husks)
- Heavy armor (25 Husks)
- A Spell Tome (25 Husks)
Or you can keep your Soul Husks, as Valerica also makes use of them (see Regional Activity: Valerica’s Concoction).
Postquest Activities
You can continue to collect Soul Husks and exchange them for goods.
Valerica’s Concoction*
Hunting Husks for Valerica
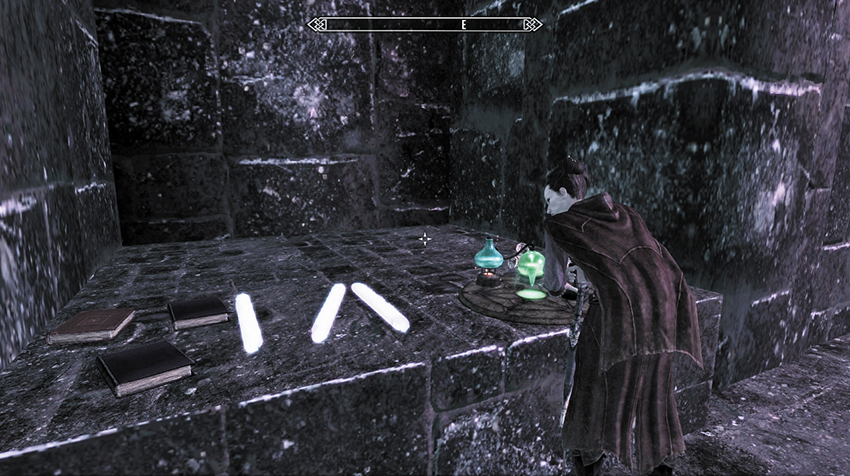
Once you’ve helped Valerica, claimed the Elder Scroll, and have no further critical objectives to accomplish, you can speak to her again. Among the topics of conversation, you can request her help in dealing with the crystals around these parts. The crystals in question greatly drain you and can make life difficult when you’re exploring. Valerica has spent decades perfecting an extract that increases the potency of Soul Husks. If you bring five of these Husks to her, she’d be happy to provide you with some.
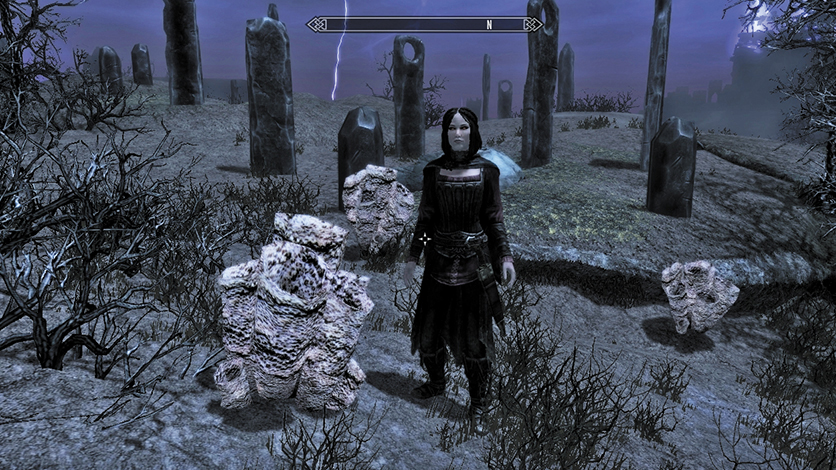
You may now begin collecting Soul Husks throughout the Soul Cairn (as this is the only place where they grow). You can find them in chests or growing in clusters (shown). The largest concentration of them is in the Husk Pasture. When you have five, return to Valerica, who prepares and hands you the concoction.
- Soul Husk Extract
Postquest Activities
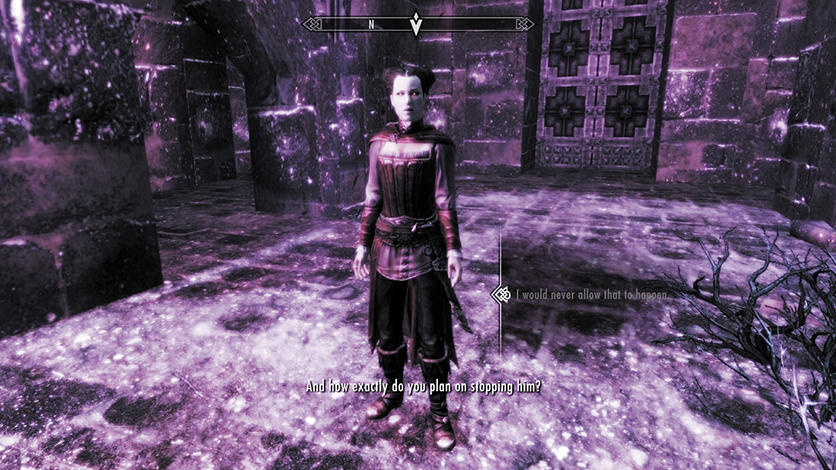
Valerica continues to make Soul Husk Extract for as long as you return with Soul Husks. Once she leaves the Soul Cairn (as part of Postquest Activity: Valerica’s Return*), this option is no longer available.
The Whole Soul*
Souled Out
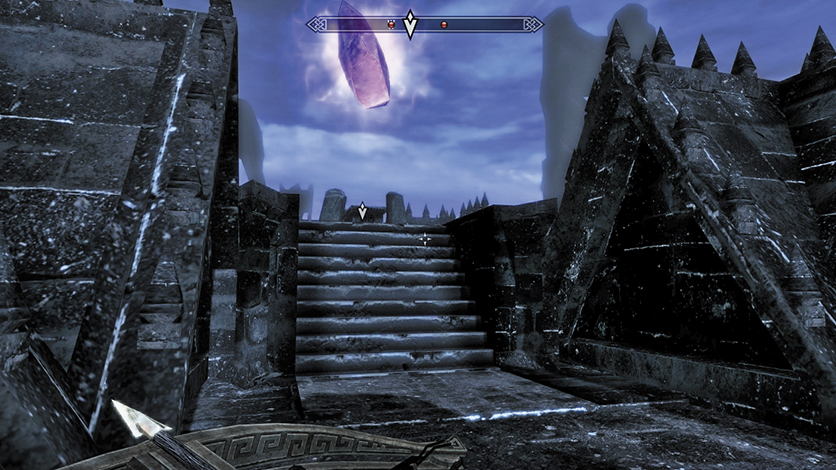
Once you’ve met (and freed) Valerica, you can speak with her about your current condition. Valerica informs you that part of your soul is trapped here, and she’s already found out where it is. She points this out to you, and your (Miscellaneous) quest updates:
Flag the Miscellaneous Objective so that the location of the Soul Essence Gem appears on your compass, then follow it to the location shown. This is likely to be a chest under one of the Ideal Master Crystals, but the exact location varies. Open the chest in question, and quickly remove the Soul Essence Gem (Full). Your statistics now recover to their pre-soul-trapped levels.
- Soul Essence Gem (Full)