Elder Scrolls V: Skyrim Guide Quests Dragonborn Quests
Solstheim Side Quests
Overview
Optimal Quest Start
Most Side Quests are available from the moment you begin your adventure on Solstheim, although it is wise to learn if there are prerequisites to complete first. As Side Quests aren’t usually linked to one another (with a couple of exceptions), you can start them at your leisure.
Available Quests
There are 27 Solstheim Side Quests, which originate on the isle. There are also several Solstheim Regional Activities, which are detailed in the next chapter. Aside from the exceptions detailed below, most of these quests are independent of one another and can be completed whenever you encounter them.
| Quest Name | Related Settlement or Dungeon | Prerequisites / Notes |
|---|---|---|
| Solstheim Side Quest: Azra’s Staffs† | Tel Mithryn | Repeatable |
| Solstheim Side Quest: Black Book: Filament and Filagree | Kolbjorn Barrow | None |
| Solstheim Side Quest: Black Book: The Hidden Twilight | Tel Mithryn | None |
| Solstheim Side Quest: Black Book: The Sallow Regent | White Ridge Barrow | None |
| Solstheim Side Quest: Black Book: The Winds of Change | Raven Rock Mine (Bloodskal Barrow) | None |
| Solstheim Side Quest: Black Book: Untold Legends | Benkongerike | None |
| Solstheim Side Quest: Briarheart Necropsy† | Tel Mithryn | None |
| Solstheim Side Quest: The Chief of Thirsk Hall | Thirsk Mead Hall | You must not complete Solstheim Side Quest: Retaking Thirsk |
| Solstheim Side Quest: Deathbrand | Haknir’s Shoal | You must be Level 36 or higher |
| Solstheim Side Quest: Experimental Subject† | Tel Mithryn | None |
| Solstheim Side Quest: Filial Bonds | Skaal Village | Complete Dragonborn Main Quest: The Fate of the Skaal |
| Solstheim Side Quest: The Final Descent | Raven Rock Mine | None |
| Solstheim Side Quest: From the Ashes | Tel Mithryn | None |
| Solstheim Side Quest: Healing a House | Tel Mithryn | None |
| Solstheim Side Quest: Heart Stones† | Tel Mithryn | Repeatable |
| Solstheim Side Quest: Lost Knowledge† | Tel Mithryn | Repeatable, Complete Dragonborn Main Quest: The Gardener of Men |
| Solstheim Side Quest: Lost Legacy | Skaal Village | Complete Solstheim Side Quest: A New Source of Stalhrim |
| Solstheim Side Quest: March of the Dead | Old Attius Farm | None |
| Solstheim Side Quest: A New Source of Stalhrim | Skaal Village | Complete Dragonborn Main Quest: The Fate of the Skaal |
| Solstheim Side Quest: Old Friends† | Tel Mithryn | None |
| Solstheim Side Quest: Reluctant Steward† | Tel Mithryn | None |
| Solstheim Side Quest: A New Debt† | Raven Rock | Complete Solstheim Side Quest: Reluctant Steward |
| Solstheim Side Quest: Retaking Thirsk | Thirsk Mead Hall | You must not complete Solstheim Side Quest: The Chief of Thirsk Hall |
| Solstheim Side Quest: Served Cold | Raven Rock | Complete Solstheim Side Quests: The Final Descent and March of the Dead |
| Solstheim Side Quest: Telvanni Research† | Tel Mithryn | None |
| Solstheim Side Quest: Unearthed | Kolbjorn Barrow | None |
| Solstheim Side Quest: Wind and Sand† | Tel Mithryn | None |
| Solstheim Side Quest: The Challenges of Kagrumez* | Kagrumez | None |
| Solstheim Side Quest: The Great Solstheim Strongbox Hunt* | Raven Rock | None |
| Solstheim Side Quest: Karstaag’s Resurrection* | Castle Karstaag | Level 50 (Recommended) |
| Solstheim Side Quest: Masks of the Acolyte Priests* | Various | None |
| Solstheim Side Quest: Rings of the Werewolves* | Frostmoon Crag | You must be a werewolf |
| Solstheim Side Quest: Spider Crafting* | White Ridge Barrow | None |
Azra’s Staffs
You Just Can’t Get the Staff These Days
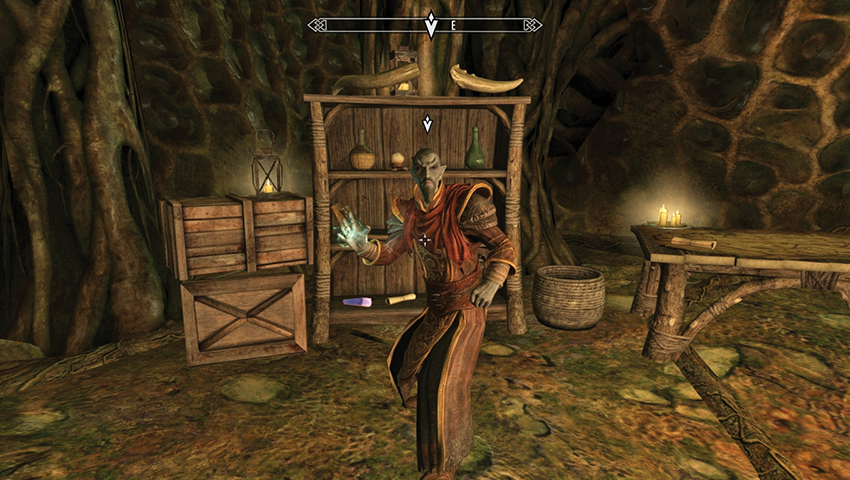
When you speak to Neloth—the Dark Elf magic practitioner you partnered with during Dragonborn Main Quest: The Path of Knowledge—he may mention he’s something of a collector of magical staffs. Especially the ones made by the legendary Azra Nightwielder. If you can retrieve one of these staffs, which Neloth’s scrying has uncovered, he’ll reward you with one of his own making.
- Objective: Get the staff
- Target: Azra’s Staff [random], from [a random dungeon]
Most Enchanting
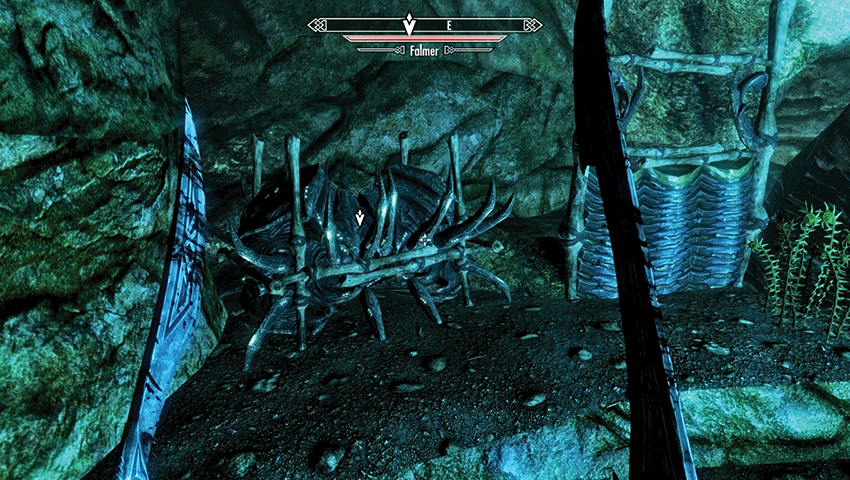
Onward! Neloth pinpoints the location of the staff, and it’s up to you to find it. Unlike many of the other quests that take place on Solstheim, Azra’s Staff may be located in any dungeon, either here or in Skyrim. In this example, in order to find Azra’s Staff of Turning, we traveled all the way from Tel Mithryn to the Reach and explored deep into the Falmer cave system known as Gloomreach. Once the (random) staff has been secured, your quest updates.
- Azra’s Staff [random]
- Objective: Talk to Neloth
- Target: Neloth, Tel Mithryn
Quest Conclusion
Journey back to Tel Mithryn and find Neloth in his epic fungal growth. Present the staff to him and he’s most enchanted with it. To show his appreciation, he requests you take one of his staffs from his personal collection, and the quest concludes.
- Staff [random]
Postquest Activities
You can repeat this quest numerous times, assuming Neloth requests your help. Remember that Neloth is particularly taken with staffs and has constructed a Staff Enchanter to further augment these items.
Black Book: Filament and Filigree
The Big Dig
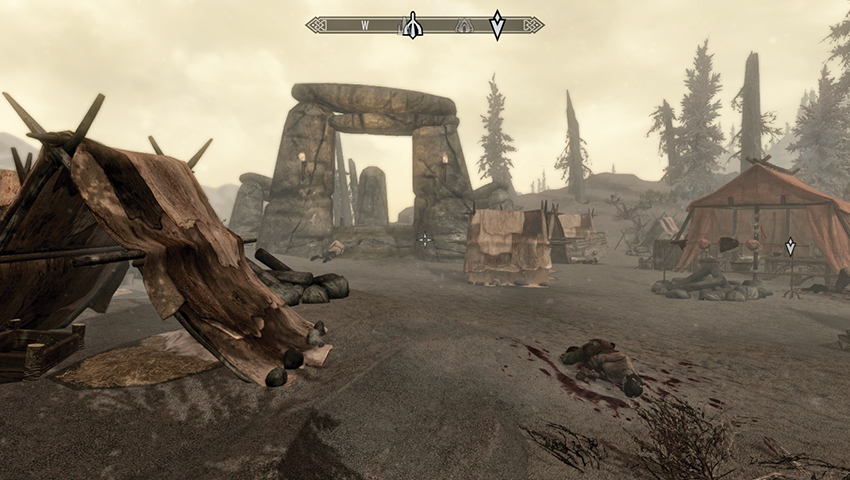
In the five Black Book quests, you must locate and read one of five archaic tomes that transport you to Hermaeus Mora’s realm of Apocrypha. This particular book is hidden deep within Kolbjorn Barrow.
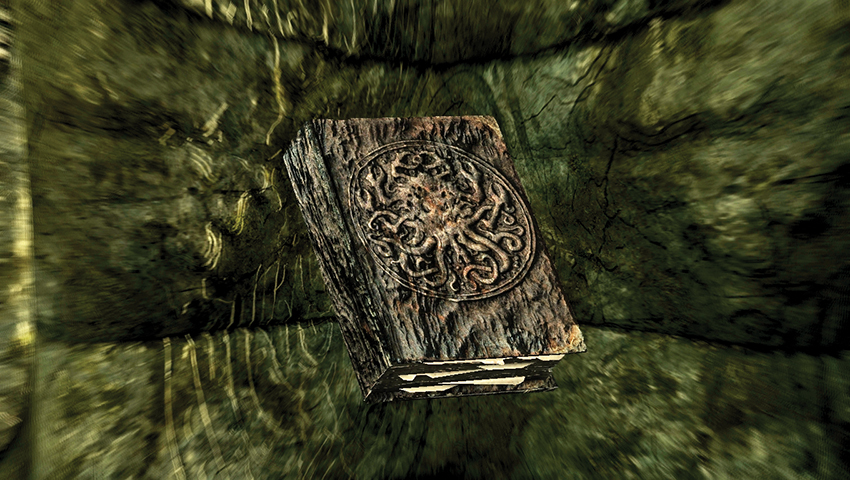
To reach this Black Book chamber, you must complete Solstheim Side Quest: Unearthed. This involves the following tasks:
- Fund all the phases of Ralis Sedarys’s excavation (at a cost of 11,000 gold).
- Slay all of the Draugr and uncover all the main chambers within Kolbjorn Barrow.
- Face off against and defeat the Dragon Acolyte Priest Ahzidal.
- Exit the chamber where you fought Ahzidal via the open sarcophagus in the southwest wall.
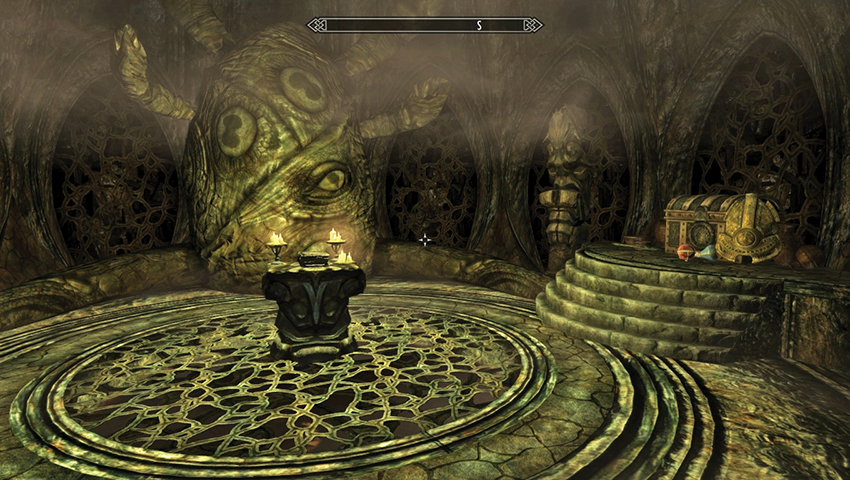
- The chamber you must reach is a circular room with an effigy of Hermaeus Mora.
- Reach the pedestal containing the Black Book, and read it. You are transported to Apocrypha.
- Black Book: Filament and Filigree
Terrible Secrets
- Objective: Learn the Black Book’s hidden knowledge
You are transported into a partial void, where the floating living lanterns hover and cast their light. They are important here, as the shadows are harmful to you. So head toward the steps and Magicka font when the light shines on your path. Climb the steps, search the pod, and activate the Scrye to open the door south.
The route ahead features a sheer drop on both sides, limited movement, and harmful shadows. Run across as the light shines, pausing to slay two Seekers and a Lurker. Watch for tentacle ponds along the way. Some may wish to stand and fight. Others find it more prudent to run!
Quest Conclusion
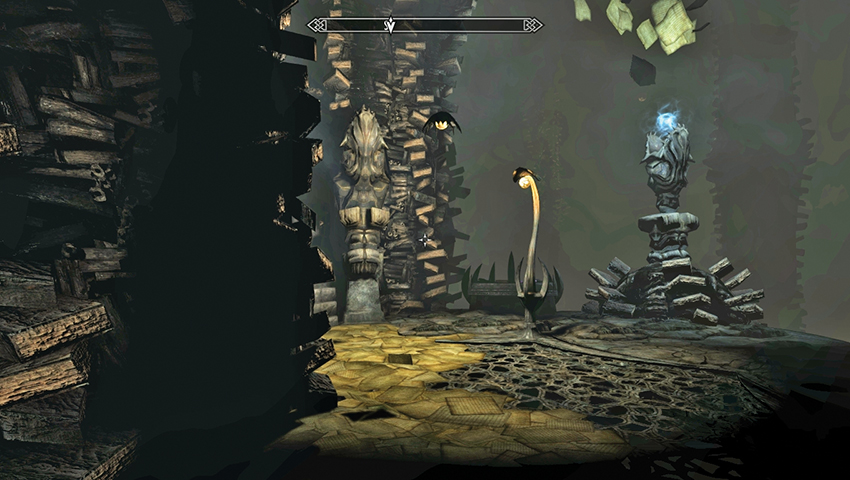
Dash up the steps to a larger black pool, out of which a Lurker strides. Slay it if you wish, or dodge past, racing up to the pedestal containing the tome. There’s also an adjacent vessel to ransack. Open the book, and you can select from among the following powers:
- Secret of Strength (Power attacks cost no stamina for 30 seconds)
- Secret of Arcana (Spells cost no Magicka for 30 seconds)
- Secret of Protection (You take half damage for 30 seconds)
Postquest Activities
Choose your power, then access the book to transport back to Solstheim.
Black Book: The Hidden Twilight
Twilight at Tel Mithryn
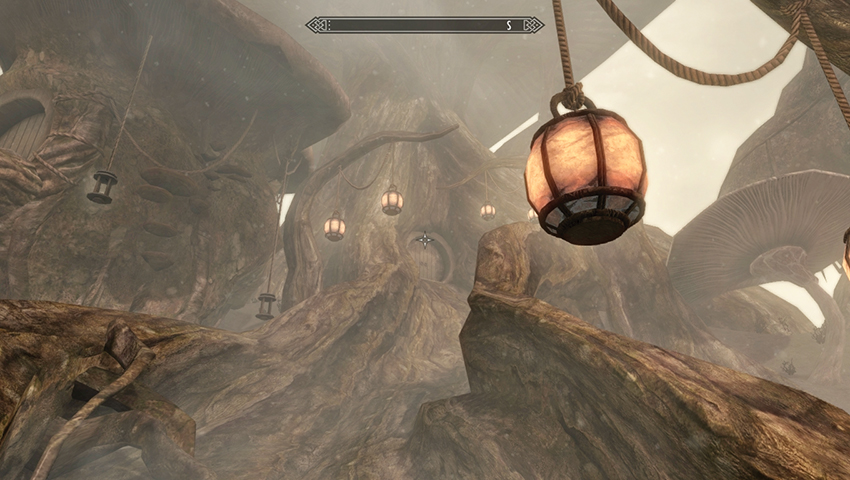
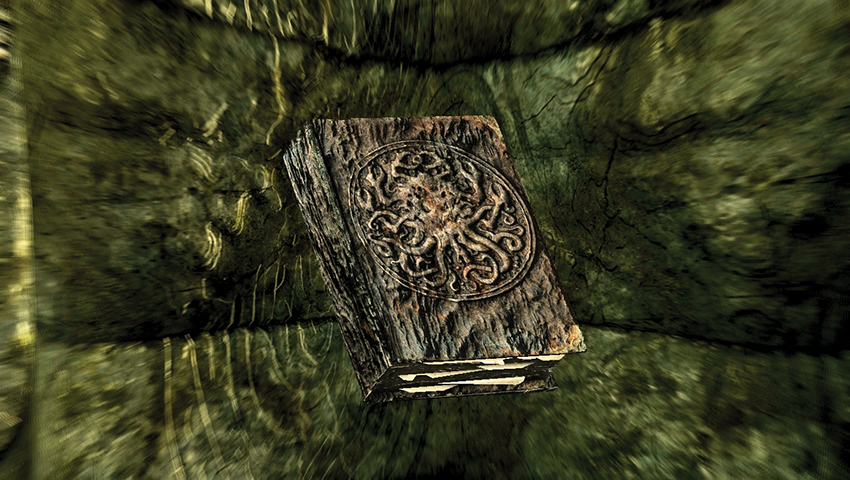
In the five Black Book quests, you must locate and read one of five archaic tomes that propel you into Hermaeus Mora’s realm of Apocrypha. This Black Book is part of Neloth’s collection within his fungal tower at Tel Mithryn.
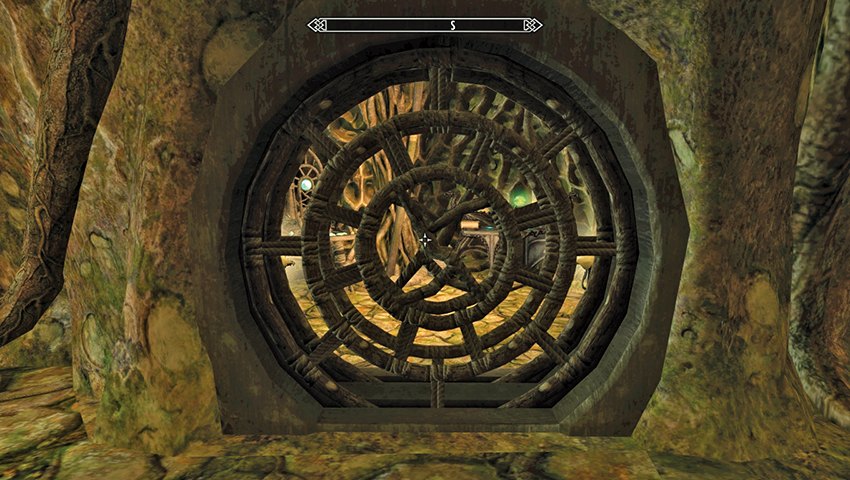
This Black Book is located within the Staff Enchanter room in the central tower. Neloth gives you the key to this room as your reward for completing Side Quest: Reluctant Steward.
Unlock the room, reach for the Black Book on the Arcane Enchanter, and read it. You are transported to Apocrypha.
- Black Book: The Hidden Twilight
In the Name of Mora
- Objective: Learn the Black Book’s hidden knowledge
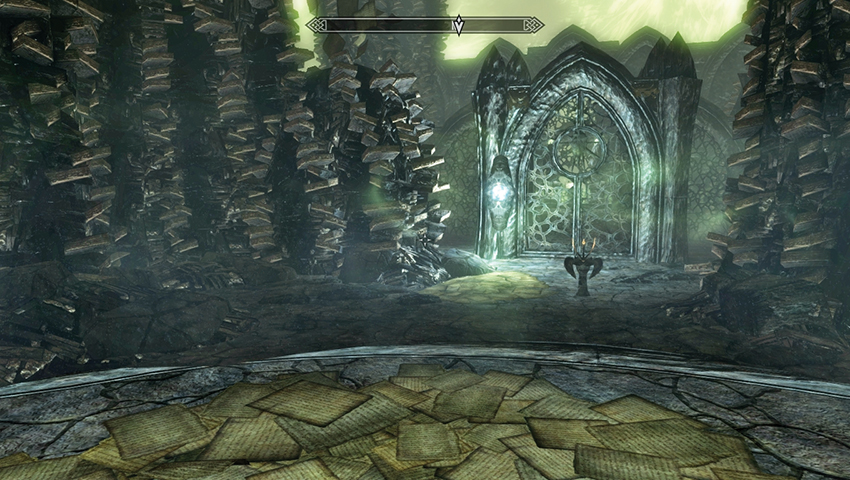
You begin near a raised stepped platform with two Magicka fonts. Head across to the north gate with another Magicka font and activate the Scrye. The gate swings open, enabling you to reach a second chamber with two Stamina fonts and a book to open Chapter II.
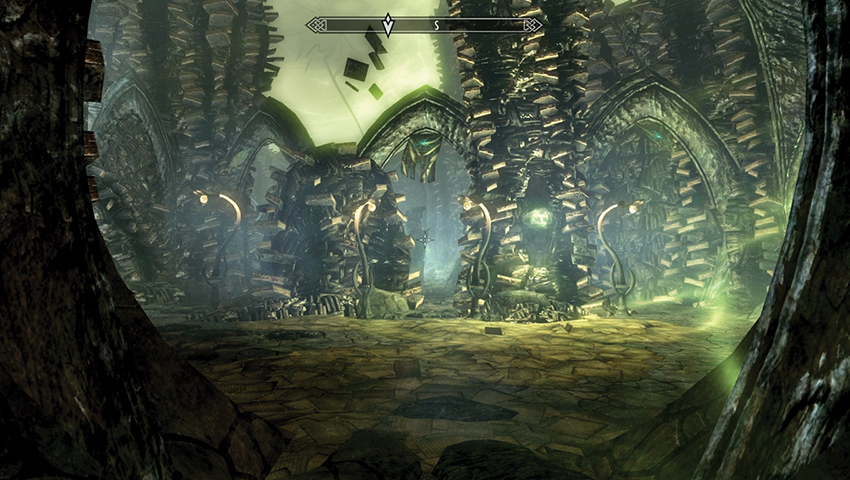
Enter the short corridor with a Magicka font at both ends, turn left (east) and then right (south). Pass another Magicka font, then turn left again to a wall. Follow the corridor around, passing another Magicka font, until you reach the large chamber of arches between book stacks, dimly illuminated by curled lights and a Stamina font.
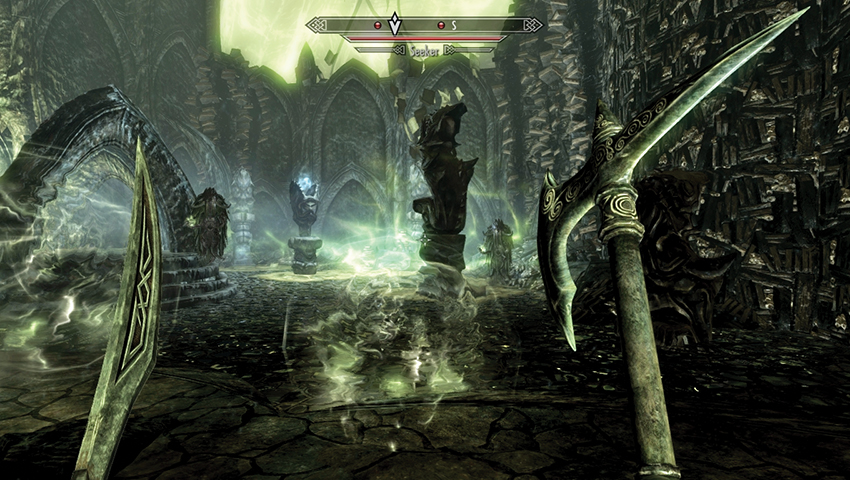
Behind (southeast) the arches is a platform with liquid frothing underneath. However, it is safe to move across as you battle two or three Seekers. Eventually you reach a black table, a Magicka font, and a stepped platform with a Stamina font and a ramped tunnel that leads up (north) to a Magicka font.
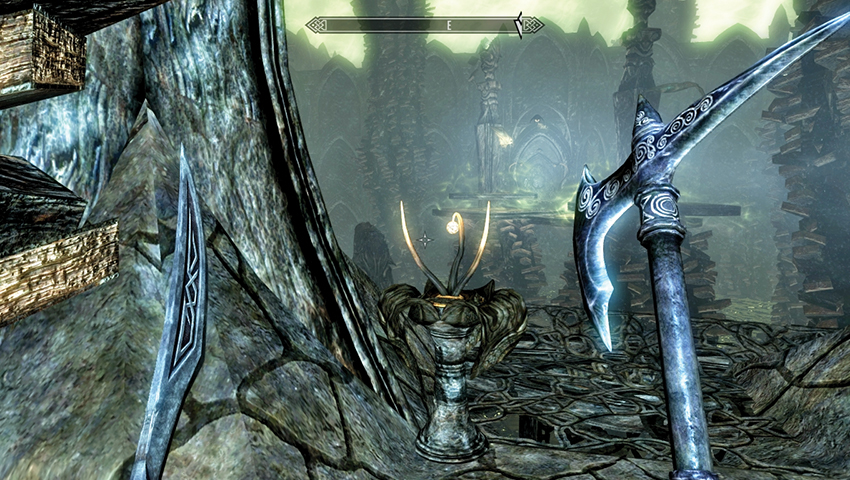
Turn right (east) at the font, peering across a sea of black ooze, and activate the Scrye. This moves two flapping bridge platforms up and down. Time your run so you leap and land on the platform when the ramp is up so you don’t fall short. Jump across to the second ramp as it rises, and exit to a junction tunnel.
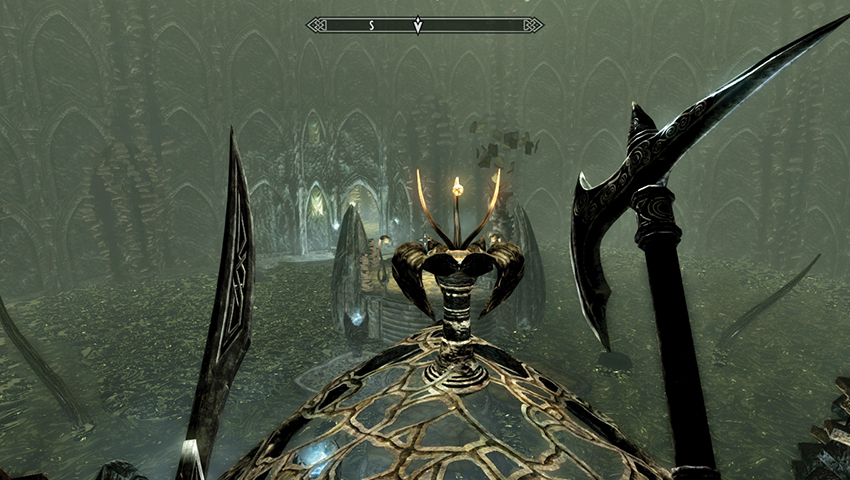
Head left (north) to reach a Magicka font, pod, black table, and dead end. Head right (south) to reach a Magicka font and open Chapter III. You appear in a confined book-clad area with Magicka and Stamina fonts. Head south into the large open area and take the ramp right (northwest) to the roof and a Scrye.
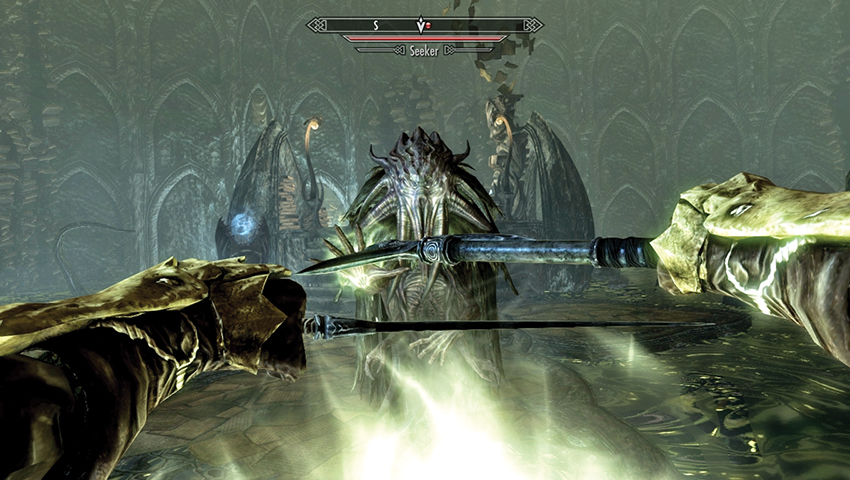
This elongates the steps back on the ground, allowing you to cross to the island, a Magicka font, and a battle with one or two Seekers. Go by the black tables and continue toward the opposite entrance, passing two Magicka fonts. Head into a courtyard with a central gated area and a lumbering Lurker to deal with.
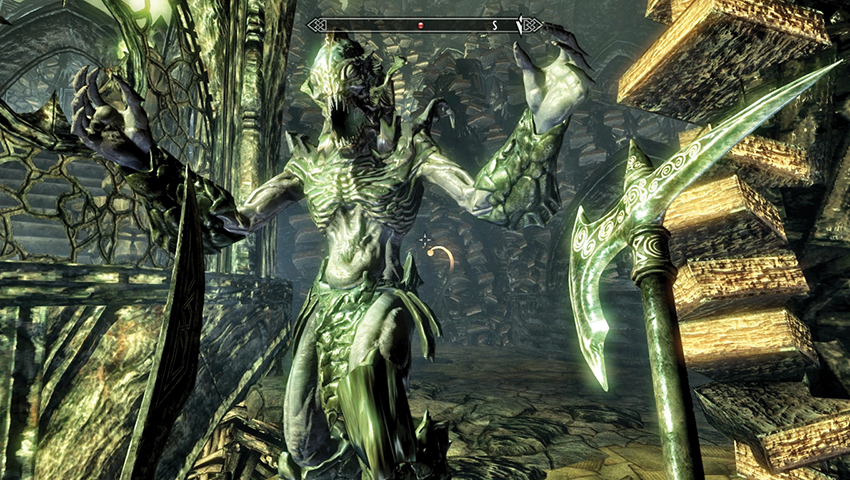
Tackle the foe, grabbing Stamina from the nearby font if necessary. Back up into the previous chamber if you need to; then search the mazelike ground area. To the south through some narrow, book-stacked areas is a Stamina font and the book to open Chapter IV. This is optional but well worth exploring.
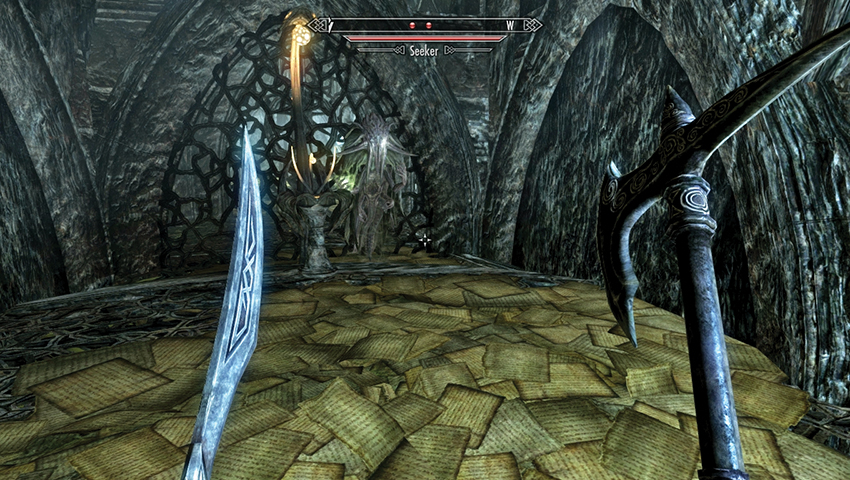
(Optional) Chapter IV is a simple cell-like chamber with one or two Seekers and a Magicka font. There is also a Scrye to activate, which opens a gate beyond the cell, in a corridor to the west. This corridor is accessible only if you reach Chapter V (below). Return to Chapter III.
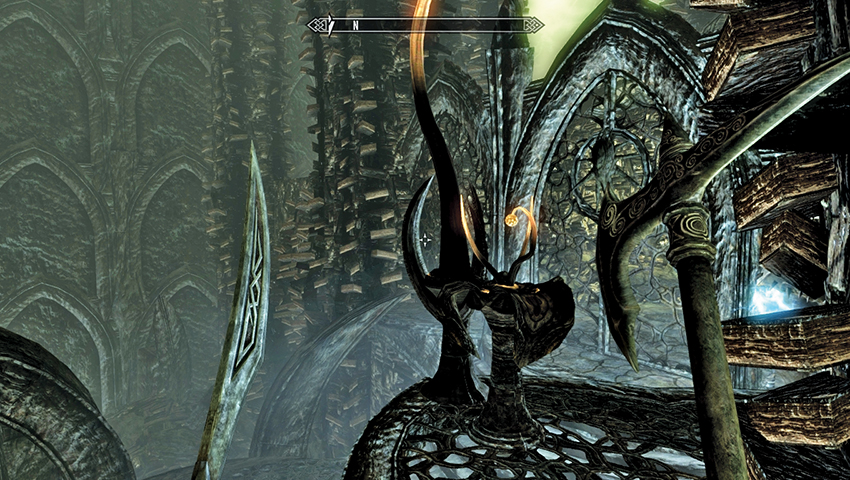
Move up the ramped area, passing a Magicka font to an upper balcony with a Scrye that unlocks the gate room below. Head through to a Stamina font and steps up to a secondary platform ramp and second Scrye; this opens the main gate with the Magicka font just below you. Head past a Stamina font.
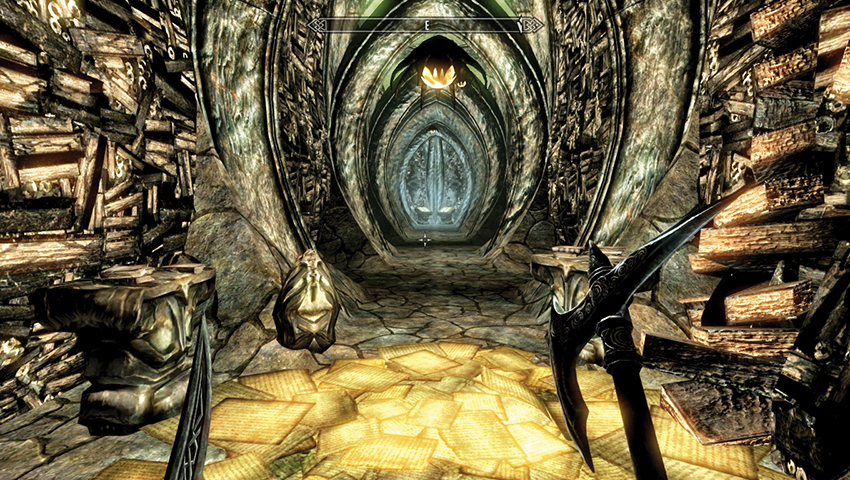
You enter a square-shaped tunnel area with a Seeker to slay. Simply continue east to a pod and the corridor elongates considerably, offering you Chapters V and VI to read. Head into Chapter V only if you’ve investigated Chapter IV. Otherwise, read Chapter VI and you’re poised to finish this quest.
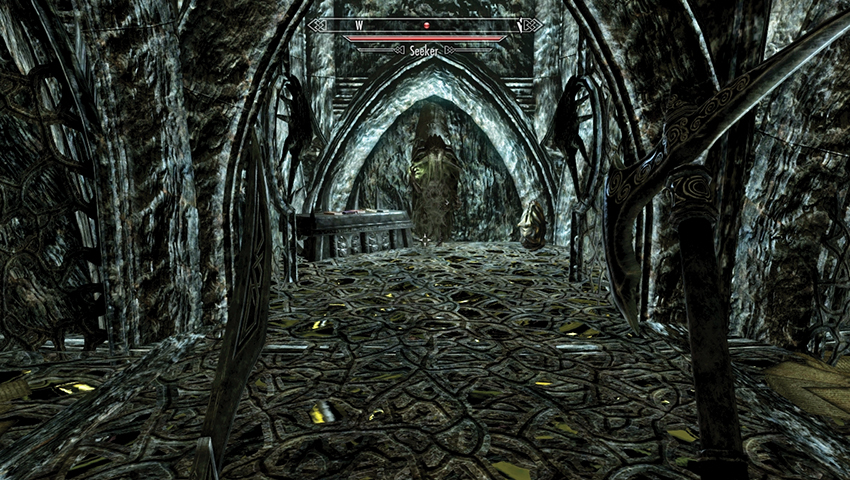
(Optional) Chapter V is a single-cell room across from the one in Chapter IV. Pass the Magicka font, use the Scrye to open the door, and head left (west). There should be an open gate and Seeker here (if the gate is shut, backtrack to Chapter IV to open it). Slay the foe and inspect the pod and black table, which holds one of the best collections of Skill Books in the game. Then head back to Chapter III and open Chapter VI.
- Before the Ages of Man (Illusion Skill Book)
- 2920, Hearth Fire, v9 (Conjuration Skill Book)
- Breathing Water (Alteration Skill Book)
- Racial Phylogeny (Restoration Skill Book)
- A Hypothetical Treachery (Destruction Skill Book)
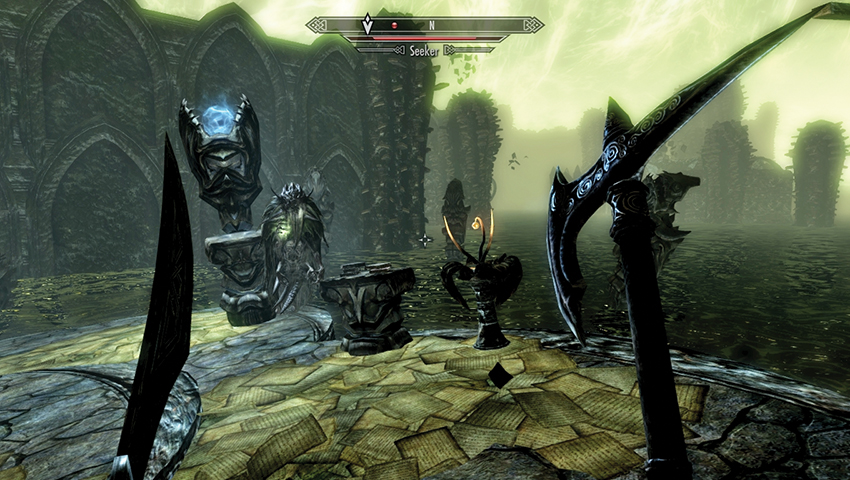
Aside from the Magicka font under the book, this is a straightforward path west to two more books marked Chapter VII and Chapter VIII. The former leads you to a sloping island with a couple of Seekers to finish, a Magicka font, and a Scrye to activate. This opens a gate platform in Chapter VIII. Head back to the book and open Chapter VIII.
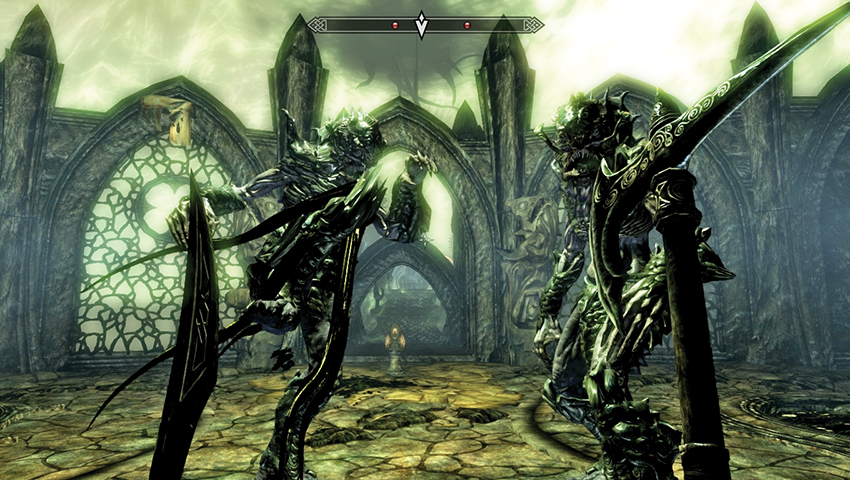
A Seeker meets you in a cramped corridor. There’s a Stamina font above the book and black table. Next, head out to a ramped platform and a large platform area with two Stamina fonts and two Lurkers to face. A Scrye opens the gate ahead (west) of you, and the bridge extends to the pedestal containing the Black Book and an adjacent vessel to ransack. Open the book, and you can select from among the following powers:
- Mora’s Agony (Summons a field of writhing tentacles that poison foes)
- Mora’s Grasp (Freezes the target between Oblivion and Tamriel for 30 seconds, making them immune to all damage)
- Mora’s Boon (Fully restores your Health, Magicka, and Stamina)
Postquest Activities
Choose your power, then access the book to transport back to Solstheim.
Black Book: The Sallow Regent
Dukaan’s Dark Secret
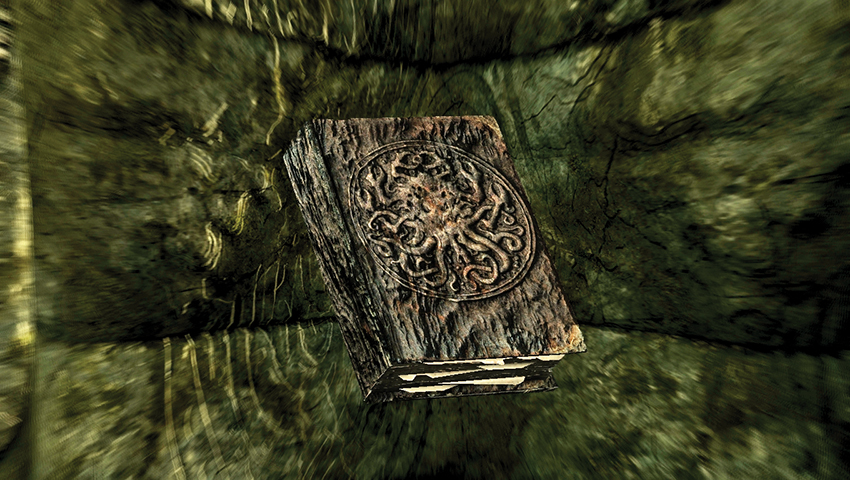
In the five Black Book quests, you must check out one of five ancient books that teleport you to Hermaeus Mora’s realm of Apocrypha. This specific book is hidden deep within White Ridge Barrow.
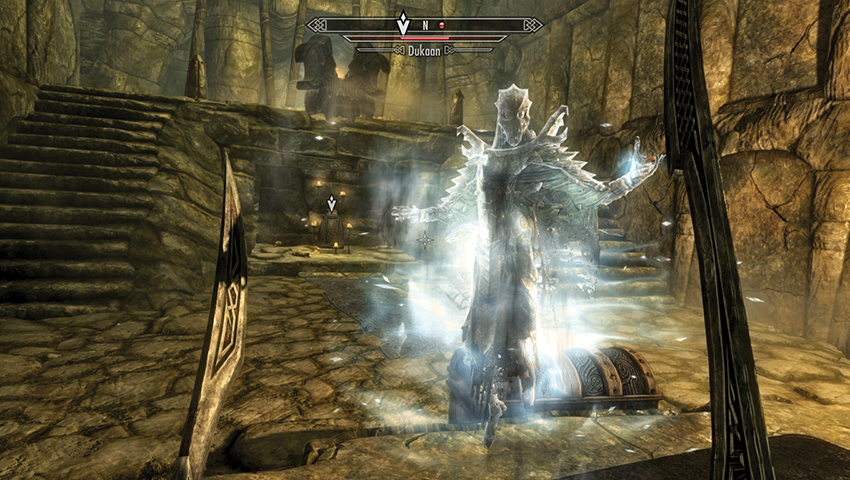
Reach the Black Book chamber by navigating through White Ridge Barrow. If you require a walkthrough, consult Solstheim Side Quest: Spider Crafting*. You do not need to finish that quest, but you must complete the following tasks:
- Enter the spider-filled entrance passage, and descend the spiral steps. Move through the grand hall and defeat more spiders and parasitical arachnids with their Bandit victims.
- Head roughly south, maneuvering toward the White Ridge Sanctum entrance. Activate the door bar, enter another huge hall, and engage (or avoid) Merilar Rendas and his spider friends.
- Continue south to an iron door, which leads to a grand crypt with a Word Wall and a Dragon Acolyte Priest named Dukaan. Defeat or avoid this foe, then claim the Word of Power for the Cyclone Shout.
- The Black Book is on a pedestal on the chamber’s opposite side (below where you entered).
- Reach the pedestal containing the Black Book, and read it. You are transported to Apocrypha.
- Word of Power: Cyclone
- Black Book: The Sallow Regent
Seeker of Knowledge
- Objective: Learn the Black Book’s hidden knowledge
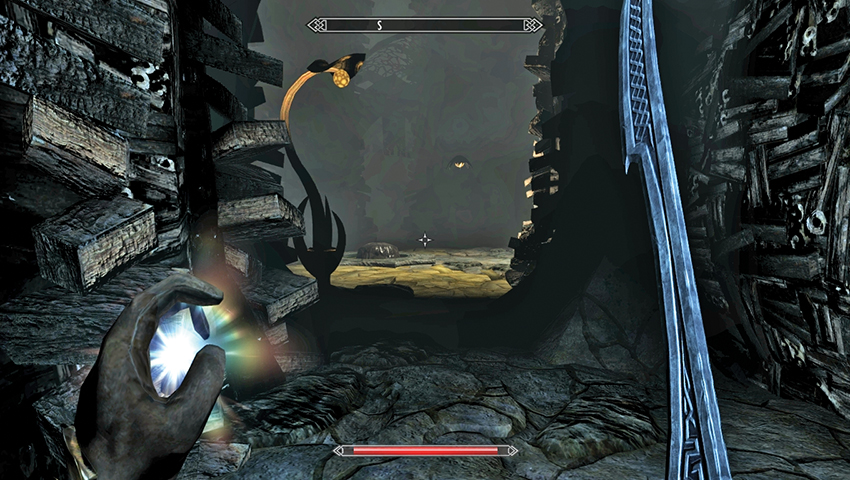
You are transported into the partial void, where strange hovering lanterns flit across a long and dark corridor. They are important, as they provide light in this forsaken place, and the darkness harms you. Watch out for the tentacles in the small pond near the pod, then set off down the dark and blackened path heading roughly south.
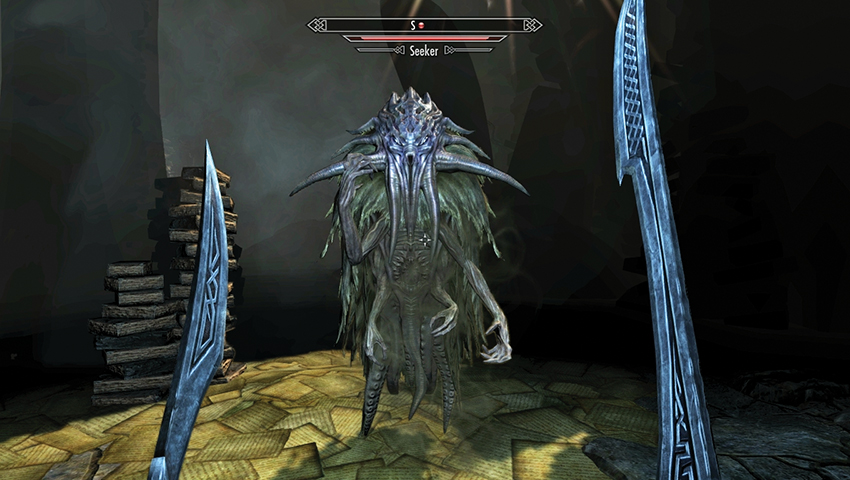
Continue south to a second tentacle pond, and a pod, then turn west and walk up the sloping tunnel to a larger, partially lit chamber with stacks of books and a possible Spell Tome. There are also a few gems and scrolls to search for. A Seeker appears to block your path, after which you must move to a second tunnel (south) and ascend it.
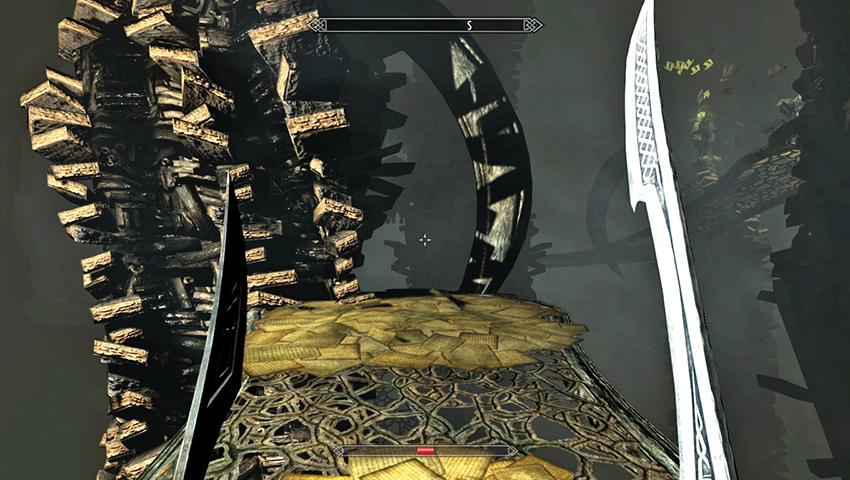
This seems to lead to a dead end, but continue south and a platform uncurls, linking to a well-lit area with a black table and a possible Spell Tome. When the lights go out, head up the steps to the south, attacking (or running past) a Lurker and winding your way up to the highest platform.
Quest Conclusion
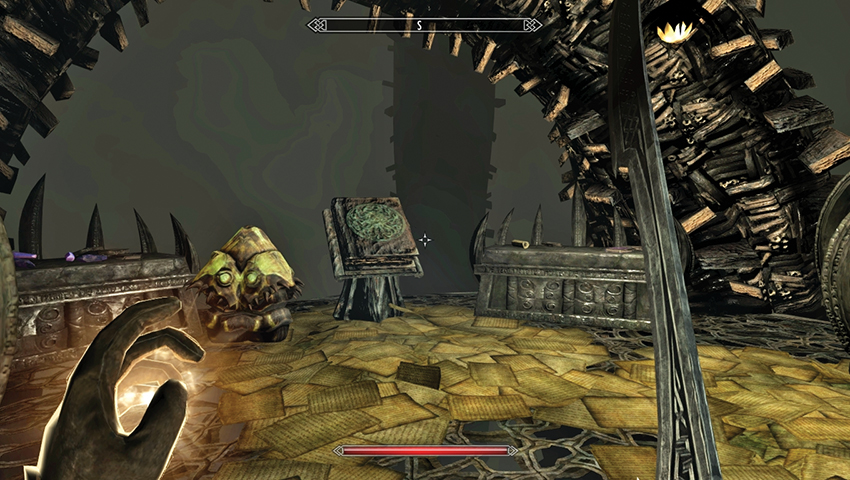
This splits into two platforms before merging again. These narrow bridges have Lurkers to attack or avoid (there are a total of three), before you head south and up to the final platform. Here you find a vessel and two black tables with assorted items (including another possible Spell Tome). But you’re here for this Black Book: open it, and you can select from among the following powers:
- Seeker of Might (Combat skills are all 10% more effective)
- Seeker of Sorcery (All spells cost 10% less Magicka)
- Seeker of Shadows (Stealth skills are all 10% more effective)
Postquest Activities
Choose your power, then open the book to return to Solstheim.
Black Book: The Winds of Change
Buried Beneath Bloodskal Barrow
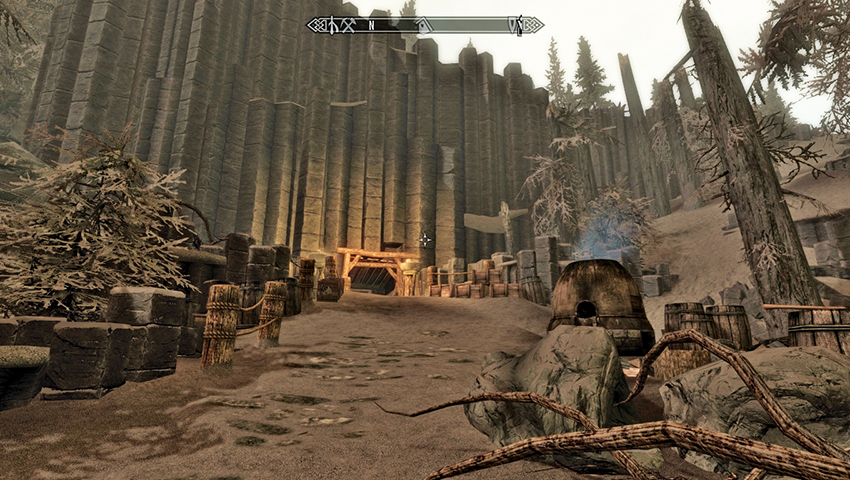
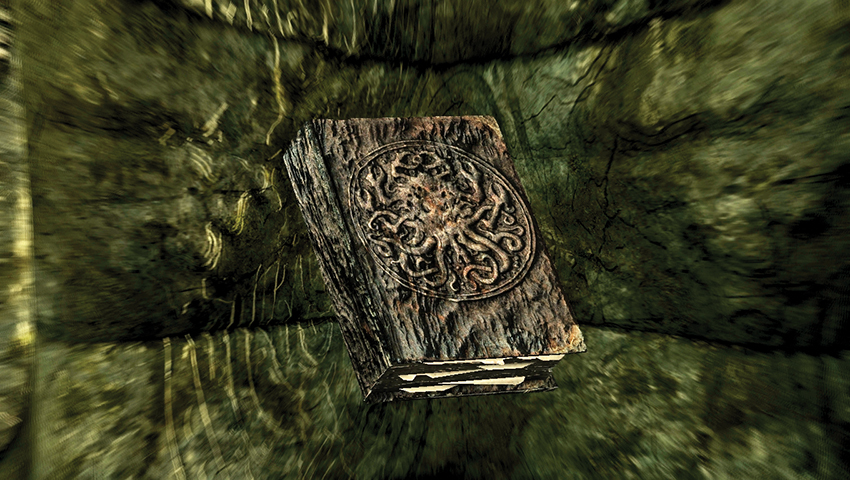
In the five Black Book quests, you must find and leaf through one of five archaic tomes that transport you to Hermaeus Mora’s realm of Apocrypha. This particular book is nestled deep within Bloodskal Barrow, which you access from Raven Rock Mine.
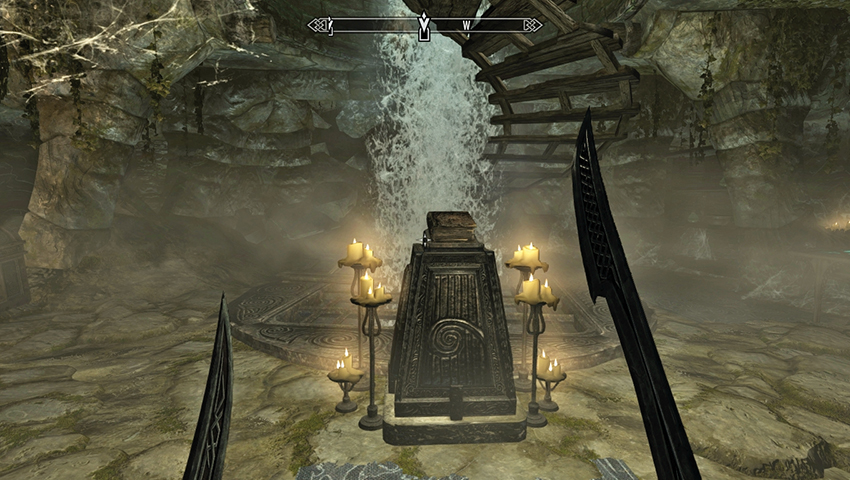
Reach the Black Book chamber by completing Solstheim Side Quest: The Final Descent. You need to finish some of this quest by completing the following tasks:
- Locate Raven Rock Mine and agree to help Crescius search for the secrets of his ancestors.
- Descend to the bottom of the mine, and make your way through the long Draugr crypt.
- This is Bloodskal Barrow; the Draugr-killing continues until you reach a grand basalt chasm.
- Approach the sealed door, and use the power attacks of the Bloodskal Blade to open it.
- Avoid the blade traps, then face off against and defeat the Dragon Acolyte Priest Zahkriisos.
- Learn the Word of Power from the Dragon Aspect Shout at the Word Wall before leaving.
- The chamber you must reach is a circular spiral stepped area with a small waterfall.
- Reach the pedestal containing the Black Book and read it. You are transported to Apocrypha.
- Word of Power: Dragon Aspect
- Black Book: The Winds of Change
Adventurer’s Insight
- Objective: Learn the Black Book’s hidden knowledge
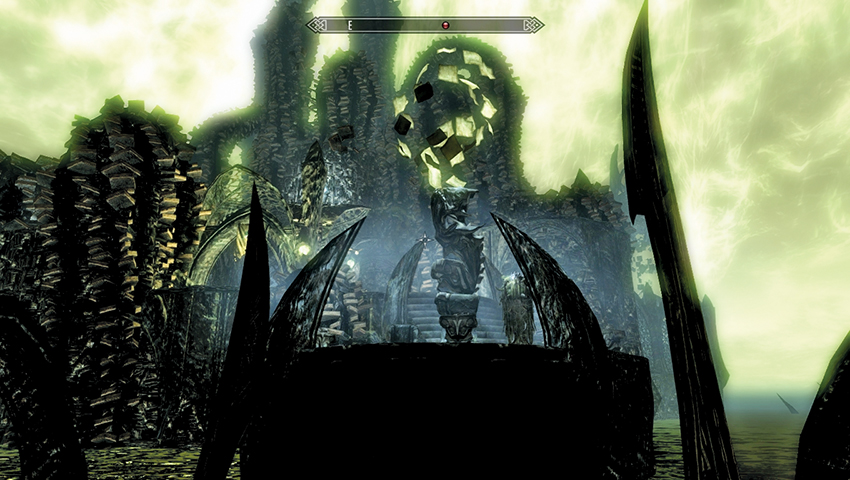
The great fetid seas of Apocrypha greet you. Focus on the path and head southeast, climbing the stepped platforms to your left as you turn east. Fight two or three Seekers as you go. Avoid the tentacle from the black pond as you reach a Scrye that opens a gate ahead (northeast) of you.
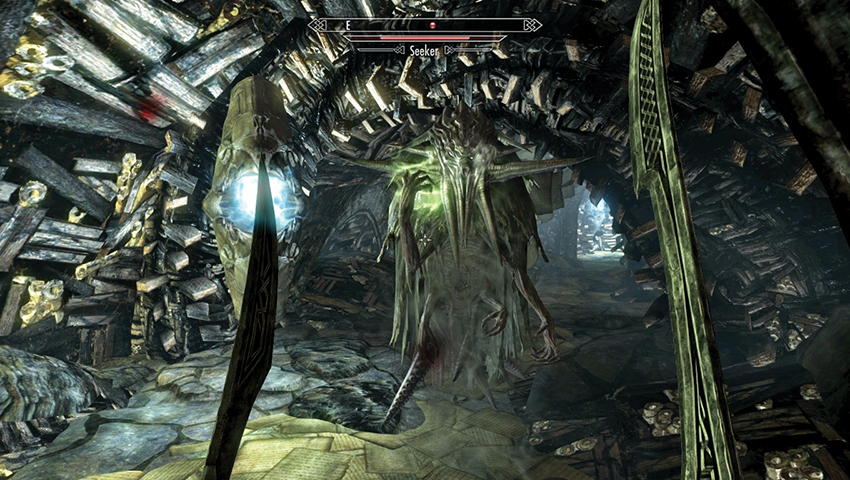
Head past a black table and a Magicka font, moving to a Stamina font, a black table, and a Scrye crammed together. The Scrye opens a second gate. Head southwest, engaging two more Seekers in the corridor beyond. Gather Magicka from a font as you continue south to a Scrye.
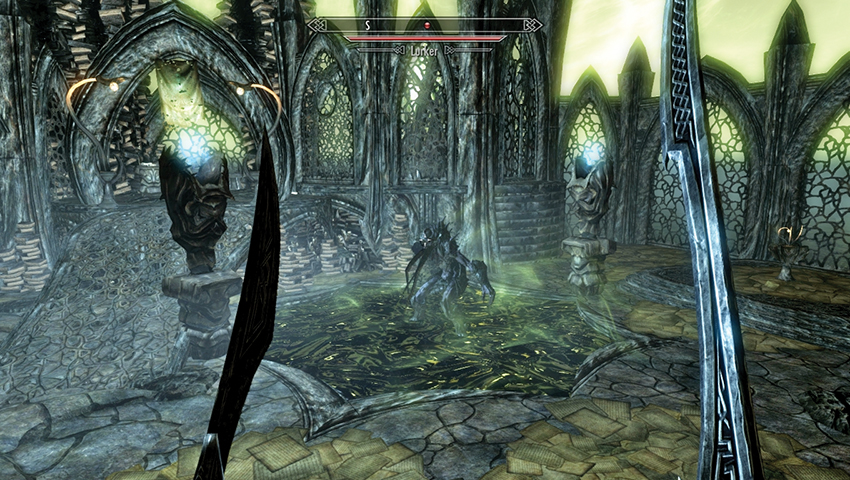
This opens a gate to the south, leading to a larger, open chamber with a ramp and a forming Lurker. Slay this atrocity, before or after you activate the Scrye to the west. There are two Magicka fonts to siphon here too. The Scrye on the ground elongates the steps. The Scrye atop the ramp opens the gate atop these steps.
Quest Conclusion
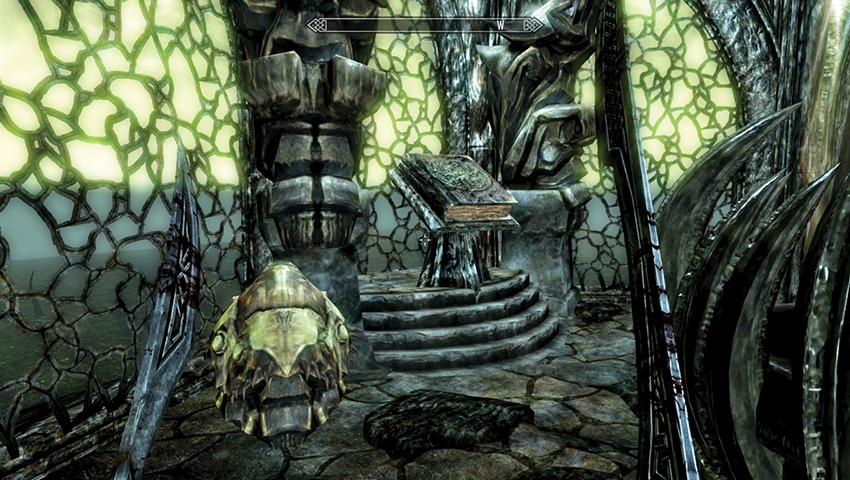
The gate allows access to the pedestal containing the tome and an adjacent vessel to ransack. Open the book and you can select from among the following powers:
- Scholar’s Insight (Reading Skill Books gives you an extra Skill Point)
- Companion’s Insight (Your attacks, Shouts, and destruction spells do no damage to your Followers)
- Lover’s Insight (Do 10% more damage and get 10% better prices from people of the opposite sex)
Postquest Activities
Choose your power, then access the book to transport back to Solstheim.
Black Book: Untold Legends
Buried in Benkongerike
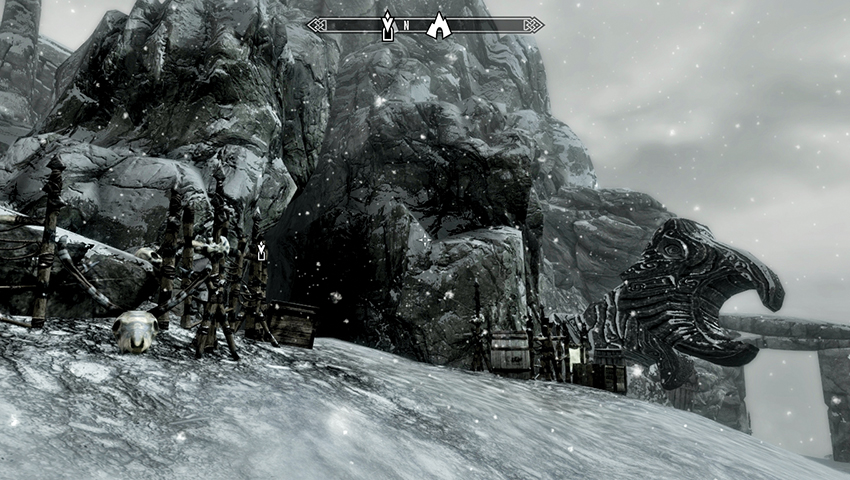
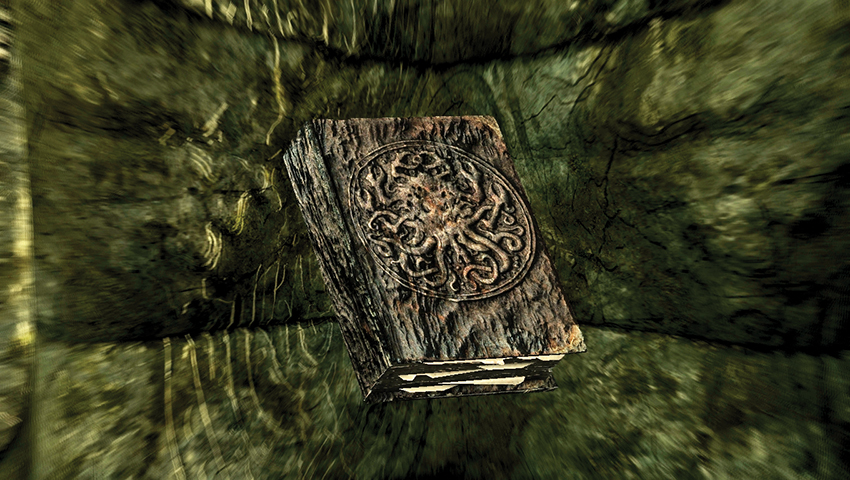
In the five Black Book quests, you must locate and pore over one of the strange books that whisk you into Hermaeus Mora’s realm of Apocrypha. This specific book is hidden deep within Benkongerike.
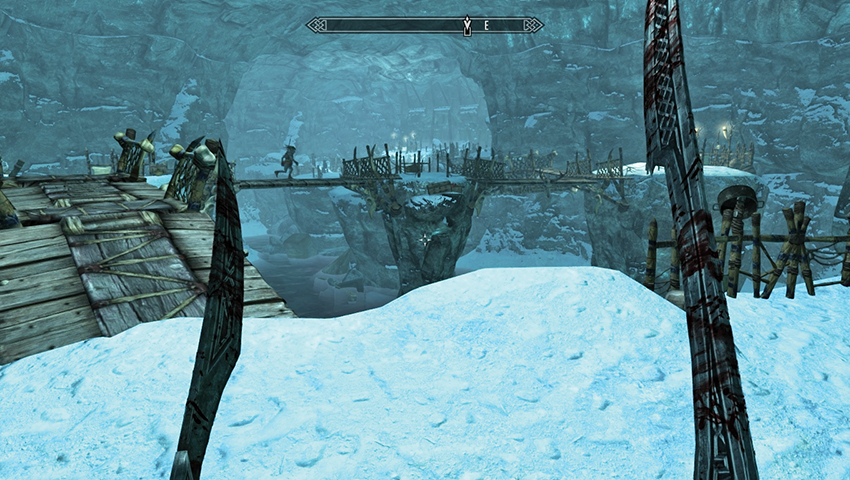
Reach the Black Book chamber by weaving your way through Benkongerike. If you require a walkthrough, consult the Atlas entry for this cave complex and Draugr dungeon. Here is a brief summary:
- Enter the large snowbound cave chamber and slay Rieklings that await you. Then head west and north through the icy passages, avoiding Riekling traps and foes leaping out from their strewn items.
- Maneuver east into the large cavern of rickety bridges, tearing through more Rieklings and leaving by the exit to the east. Watch for a final Riekling ambush before heading into Benkongerike Great Hall.
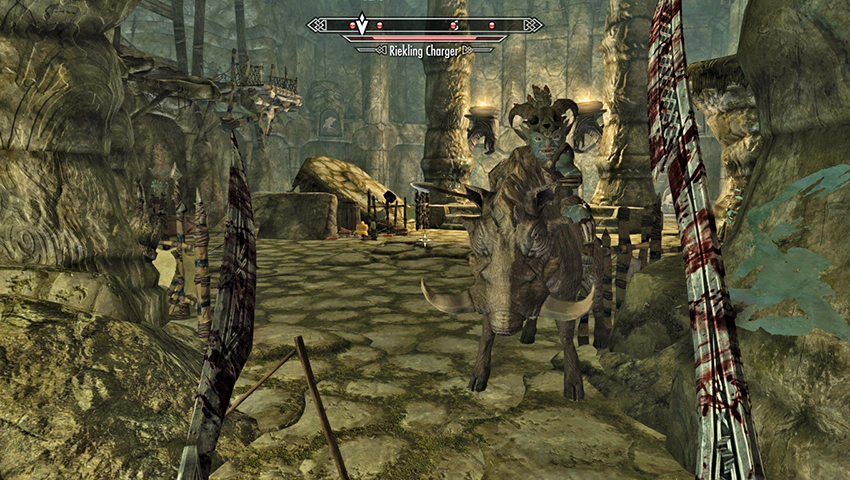
Move through the connecting passages and into the great hall, where a Bristleback-mounted Riekling Charger and a half-dozen infantry foes present a temporary problem. After you slay anything blue-skinned, head south to inspect the Nordic Puzzle.
Puzzle Solution: Ignore the pedestal with the handle (as you don’t want to be struck by darts), and instead search the walls for petroglyphs corresponding to the pedestals below. The correct order, from left to right, is Hawk, Whale, Whale, and Serpent. The second petroglyph clue is missing; find it in a tent on the eastern upper ledge of this chamber.
Check the chest by the Word Wall, absorb the Cyclone Word of Power, then head east down a narrow tunnel and into a circular chamber where the Black Book awaits.
Reach the pedestal containing the Black Book, and read it. You are transported to Apocrypha.
- Word of Power: Cyclone
- Black Book: Untold Legends
Chapter and Perverse
- Objective: Learn the Black Book’s hidden knowledge
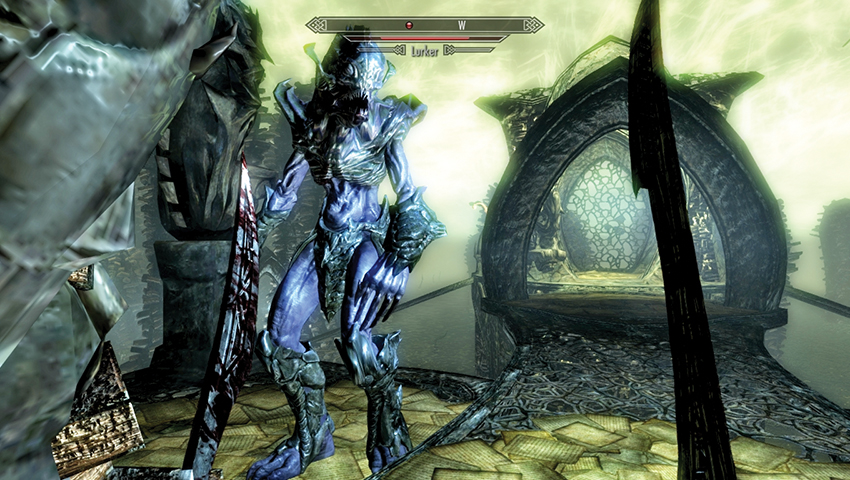
Pass the two Magicka fonts, heading north to a Stamina font, east to another Magicka font and black table, and north to Chapter II. You appear facing a stepped platform. Head onto it, turn left (west), cross the bridge, and face off against a Lurker just beyond two more Magicka fonts, on the far part of the bridge.
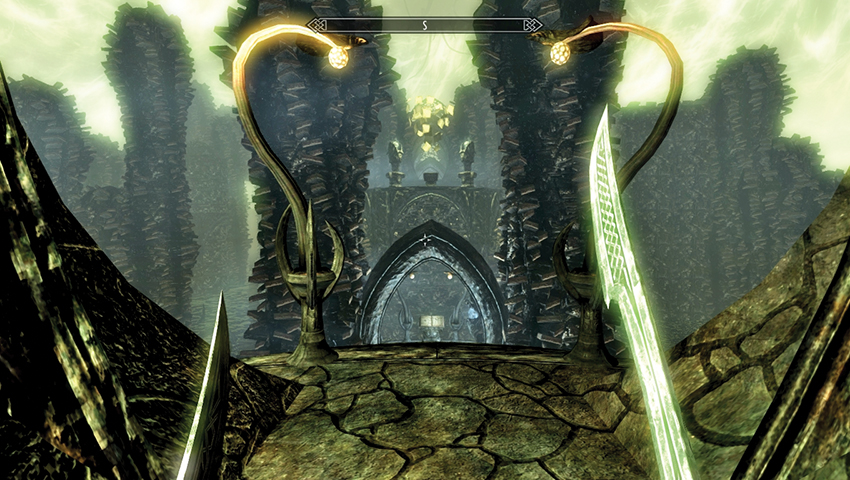
Continue west to the double exit; there is a ramp on either side. Head north, passing two Magicka fonts, and open Chapter III first. You appear in a cagelike chamber. Slay the Seeker, inspect the pod on the black table and a possible Spell Tome before opening Chapter II again. Head south, to the Magicka font and Chapter IV.
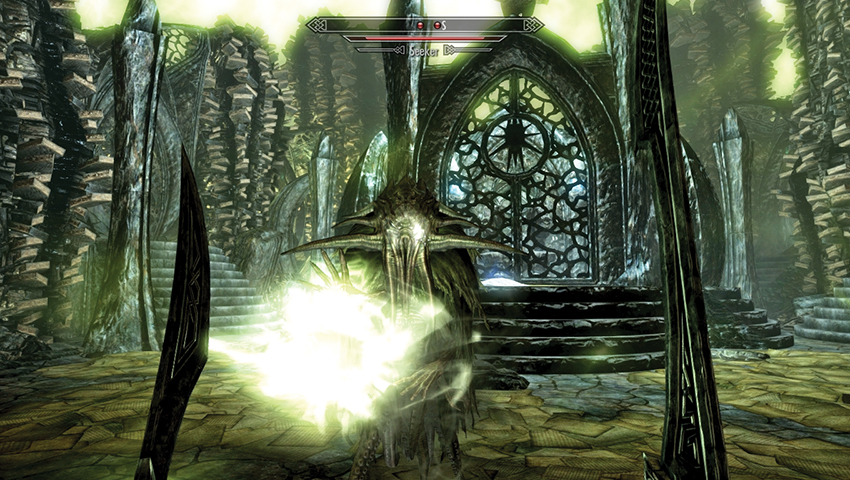
Head north, through a stepped tunnel with a Magicka font, and pass two Stamina fonts as the tunnel opens to a stepped cathedral chamber without a roof. Beware of two Seekers as you solve the way to open the exit.
Puzzle Solution: In the center is a locked area with a Scrye. Surrounding this are six raised antechambers and the exit:
- Antechamber 1 (northeast): Stamina font and a Skill Book, Beggar (Pickpocket Skill Book).
- Antechamber 2 (east): Locked gate and Scrye, accessed from Antechamber 5.
- Antechamber 3 (southeast): Stamina font.
- Antechamber 4 (southwest): Magicka font.
- Antechamber 5 (west): Scrye outside, which opens the gate leading to a Magicka font and Scrye inside, which opens the gate to Antechamber 2.
- Antechamber 6 (northwest): Magicka font.
Simply head to Antechamber 5, activate the outside Scrye to open the adjacent door, and go inside this antechamber to a second Scrye; this opens Antechamber 2. Head there to the next Scrye and activate that. The north gate of the central locked area opens. Enter here, with its four Magicka fonts, and activate the final Scrye. The steps to the south extend, allowing access past two more Magicka fonts to a vessel and Chapter V.
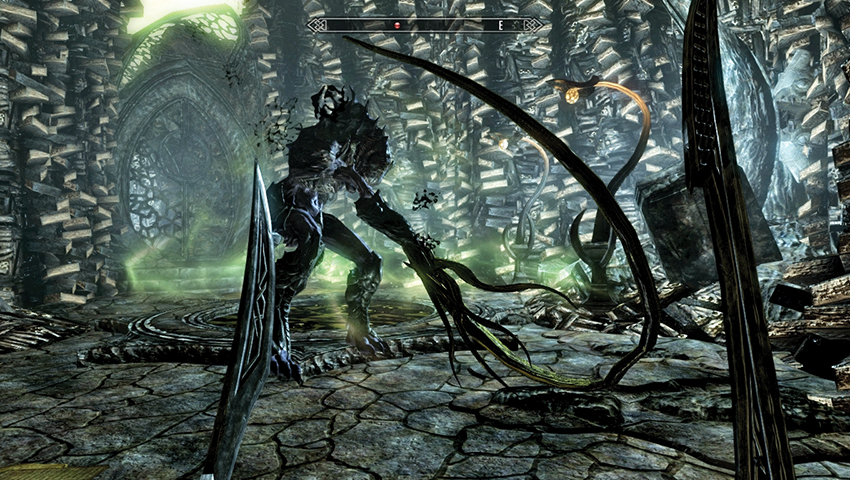
Enter Chapter V, and head down the main corridor, peering ahead at what seems to be the Black Book at the end of this long tunnel. However, when you reach the middle, near the two Stamina fonts, the tunnel ahead grinds to the left, forcing you east to a black pond and a Lurker fight!
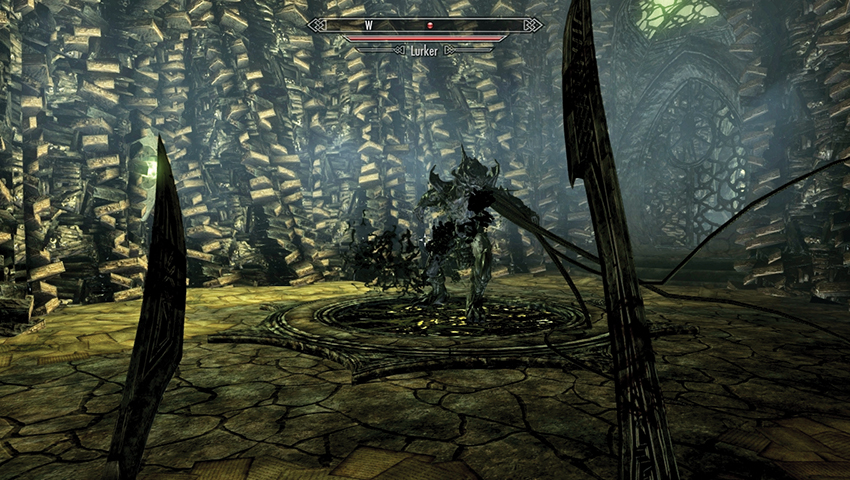
After the battle, follow the exit corridor north and west, activating a Scrye and opening a gate that leads back into the main tunnel. Dash south again, and the same trick is performed; the tunnel grinds right this time, forcing you west to a chamber with a Stamina font and a second Lurker to battle.
Quest Conclusion
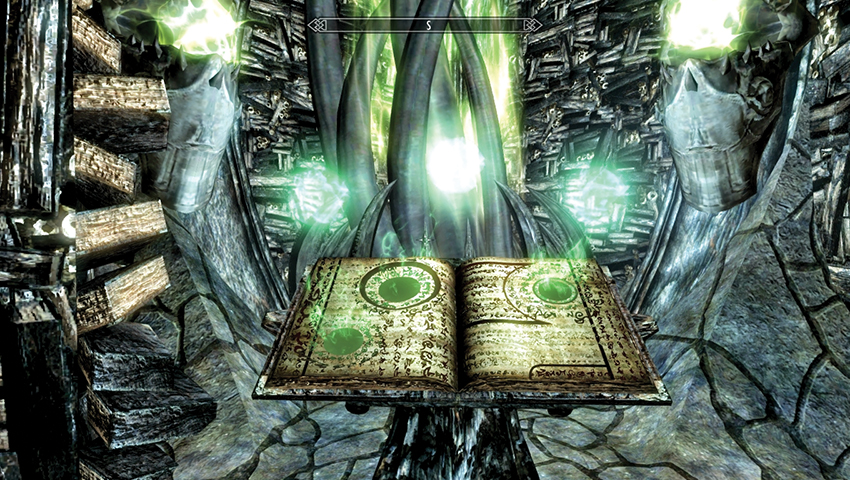
Follow the exit corridor north (passing a Stamina font) and east, back once more into the main tunnel. Trek south one last time, and the corridor allows you access to two Stamina fonts and the Black Book. Open the book, and you can select from among the following powers:
- Black Market (Summons a Dremora merchant to trade with you)
- Secret Servant (Summons a Dremora butler to carry your excess items)
- Bardic Knowledge (Summons a spectral drum that plays for you, increasing Stamina Regeneration for you and nearby allies)
Postquest Activities
Choose your power, then open the book to return to Solstheim.
Briarheart Necropsy
A Briarheart out of Reach
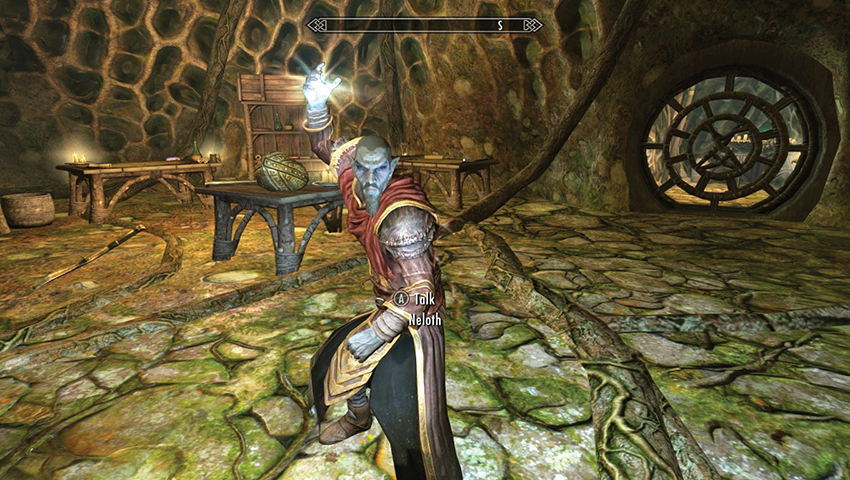
That Dunmeri wizard all the folks in Raven Rock think of as an uptight loony has a problem. You’ll know this if you visit him once you finish Dragonborn Main Quest: The Path of Knowledge. Return to his tower in Tel Mithryn, and he exclaims, “Curse these heart stones!” Ask if there’s a problem, and he asks if you’re familiar with the Briarhearts. Neloth seems keen on furthering his knowledge regarding the briar seeds they use in place of their hearts. You’re to examine one of these fierce warriors of the Forsworn. Neloth casts a memory trace spell on you so he doesn’t have to rely on your puny descriptive verbiage; therefore, there’s no need to take notes. You can:
- Set off immediately.
- Or ask where Briarhearts can be found. His description points you in the direction of the Reach.
- Or ask what Briarhearts have to do with Heart Stones. His explanations don’t help this quest.
- Objective: Examine a Briarheart warrior
- Target: Briarheart, [any Forsworn redoubt], the Reach
Harvesting the Heart
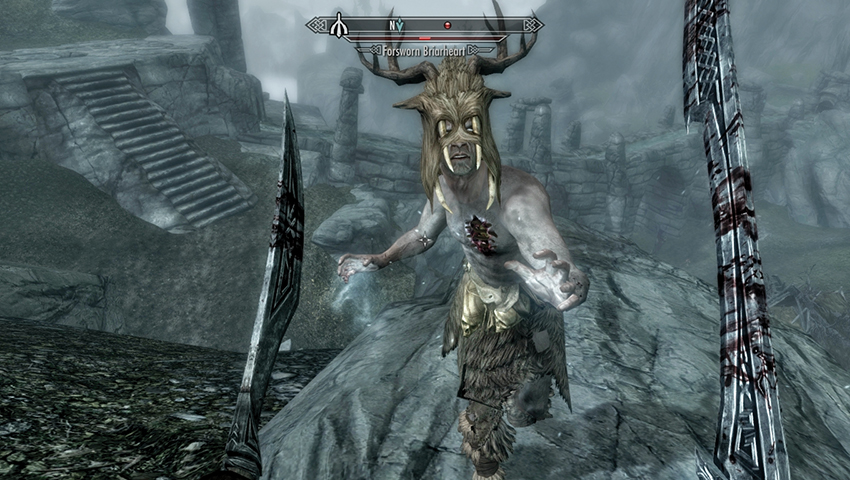
There are no Forsworn on the isle of Solstheim. This means you need to travel back to Skyrim and trek west to the mountainous Hold known as the Reach (Markarth is the capital). At this point, you need to find a Primary Location where Forsworn are active. The easiest way to do this is:
- Locate the Reach section of the Atlas in this guide. Then scour each of the Primary Locations, noting the dungeon type in the statistics: You’re looking for areas that are referred to as “Forsworn Redoubts” or those with “Forsworn” listed as enemies. These are known locations where Forsworn are active. There are well over a dozen such settlements.
- Or, you can simply travel to Bard’s Leap Summit, Druadach Redoubt, Lost Valley Redoubt, or Red Eagle Redoubt. Any of those locations should have a Briarheart (and many other troublesome foes) ready to face you in combat. Kill one of these primitive abominations and examine the corpse. Choose to Harvest Briarheart, optionally picking up the Briar Heart.
- Objective: Talk to Neloth
- Target: Neloth, Tel Mithryn
Quest Conclusion
Return to Neloth and tell him you’ve examined the Briarheart warrior. He extracts the memories from your mind and offers up a coin reward for your lengthy trek.
- [Leveled] Gold
Postquest Activities
Further quests and sarcastic put-downs are available from Neloth.
The Chief of Thirsk Hall
You. Fol. Low. Me.
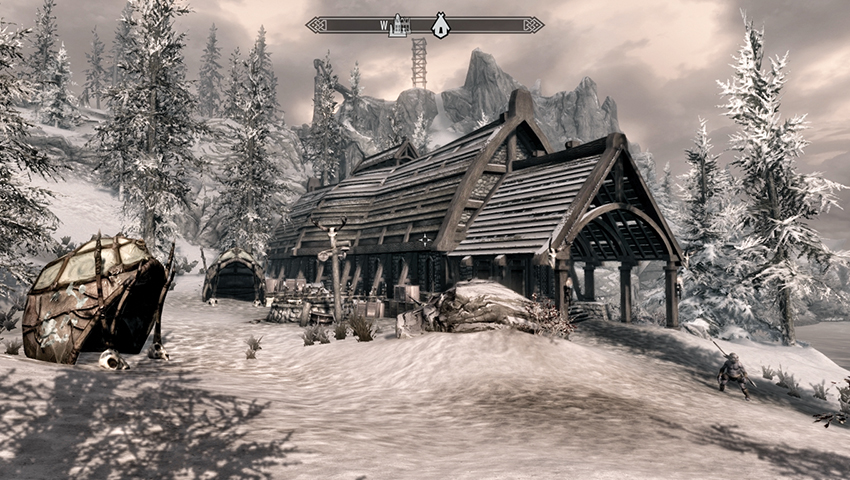
Thirsk Mead Hall is an ancient and venerable structure built by the Nords and nestled in the snowy foothills to the east of the Temple of Miraak and the Beast Stone. Even if you’ve had previous (violent) dealings with Rieklings, providing you don’t storm in with your weapons flailing, the scout on guard duty stops to beckon you inside. Converse with it (receiving the same message again). Open the door to Thirsk Mead Hall and enter.
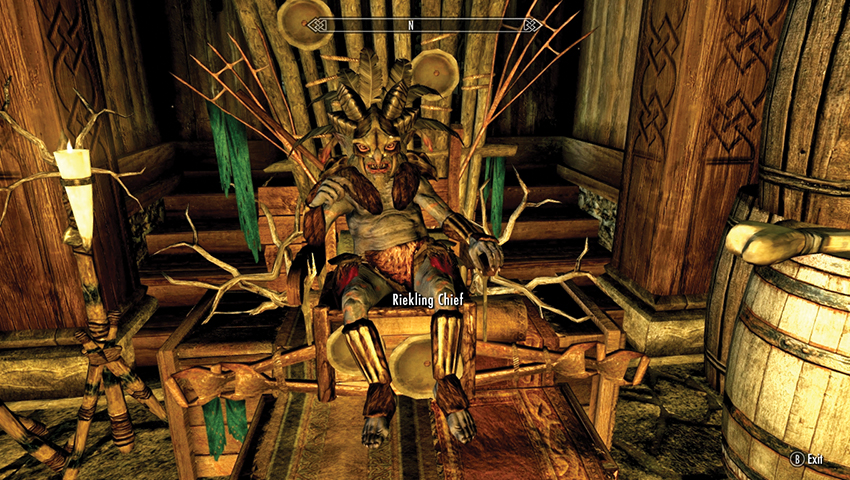
The Mead Hall is overrun by Rieklings. However, unlike the more feral foes you may have encountered elsewhere on this island, they aren’t immediately hostile. Don’t attack; instead, follow the scout to the opposite (north) end of the hall. The Rieklings seem to have appropriated much of their basic, primitive lanterns and furniture, and on a makeshift throne sits a Riekling Chief. It is impressive that he’s learned the common tongue of this province. He asks for your help. You can:
- Ask who he is.
- Inquire where they lived before moving here.
- And wonder why they took over Thirsk.
You get mostly nonsense, but keep asking about the chief’s talking habits, and the “conversation” meanders to the topic of “Bilgemuck.” You figure out he’s talking about an animal of his you need to coax back with some kind of meat. The quest and your first objective now begin.
- Objective: Give Bilgemuck some meat
- Target: Bilgemuck
Bilgemuck Prize Beast: Belifakathoooookawa
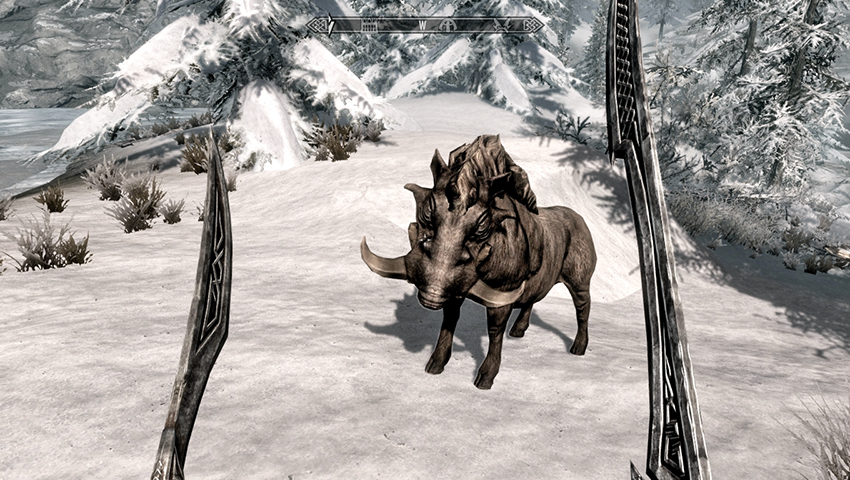
Exit the Mead Hall and turn left (north), wandering around the icy lake. On the edge of the snowy foothills, you’ll encounter a bristleback named Bilgemuck. It’s important not to launch an attack on this beast! Instead, speak to the animal and coax it to follow you with a piece of meat.
This can be any type of meat in the “Food”. For example, chicken breast, mammoth meat, or raw beef are all fine to give Bilgemuck. If you’re without meat, simply head to the northeastern shores of Solstheim, slay a Horker or two, and use Horker meat.
- Objective: Return Bilgemuck to Thirsk
- Objective: Talk to the Chief
- Target: Thirsk Mead Hall
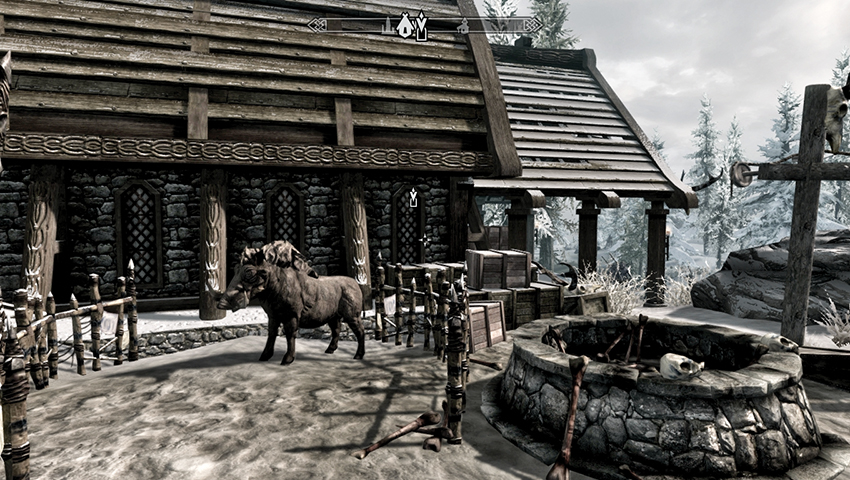
It takes only a single helping of meat to get Bilgemuck interested in you. He follows you back across the edge of the icy lake, to Thirsk Mead Hall. Ignore the congregation of Rieklings at the front door, and move around to the left (west) side of the structure and the remains of a forge that the Rieklings have reclaimed as an animal pen. Walk Bilgemuck into the pen and then head back inside the hall to chat to the chief again.
Tell the chief you brought back his animal, and he’s pleased. Probably. It’s difficult to decipher his words, although he does immediately request you bring him “two hands of redgrass” for a “dance” they have planned. He hands over a sample to encourage you (and so you know what you’re looking for).
- Scathecraw
- Objective: Bring 10 Scathecraw to the Chief
- Target: Scathecraw, along the eastern coast
Karoo Taray Pelfrik?
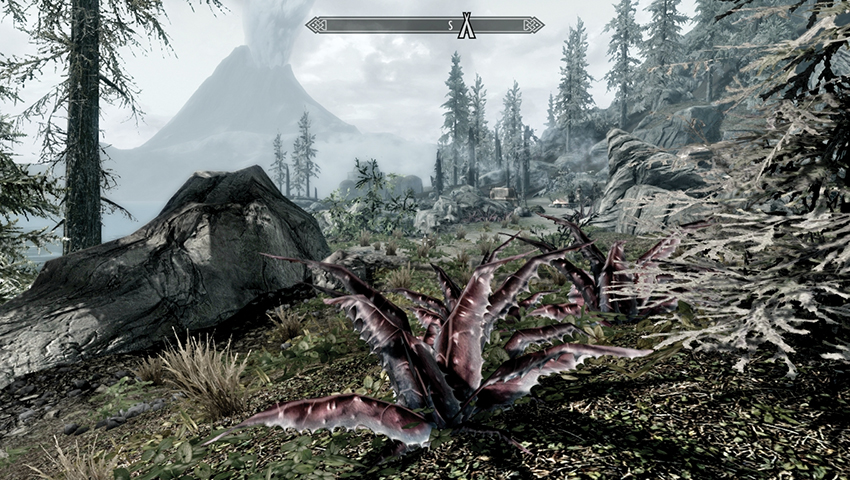
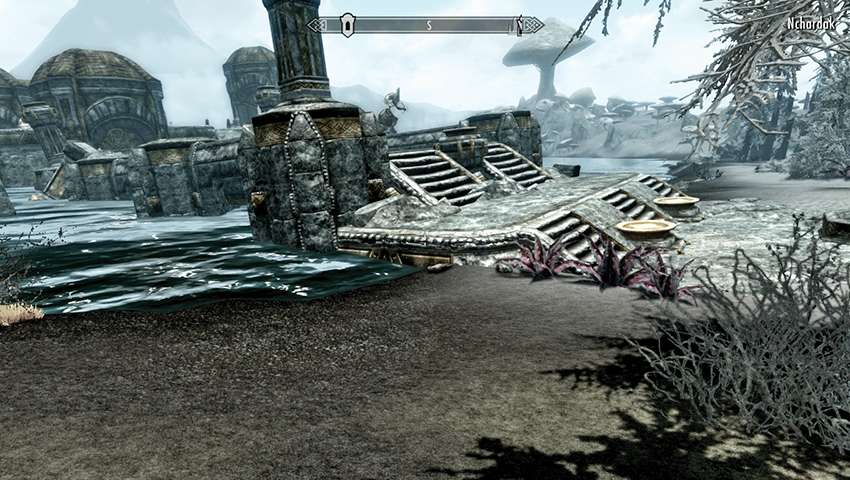
Your hunt for Scathecraw is relatively straightforward: Head east toward the coast, moving to Bujold’s Retreat. There are a couple of plants at the base of the rocky path. Turn south (as the northern coast is bereft of these plants), and wander into the Retreat. Ignore the moaning Nords and harvest any Scathecraw you see, slowly scanning the coastal path from here, toward the half-sunken ruins of Nchardak. There are more than ten plants to find in this particular stretch of coastline.
Check your Items > Ingredients menu to keep count of the Scathecraw plants you’ve gathered, as the quest doesn’t update when ten are found. However, once you’ve plucked enough, return to Thirsk Mead Hall, passing the gathering of Rieklings ranting in their own strange tongue, and revisit the chief once more. Inform him that you’ve been successful, and he animatedly claims you will soon be “tribe-kin.” But there’s one more task to complete first: the killing of “bad Nords.”
The “bad Nords” in question are the moping folk down at Bujold’s Retreat, who were unceremoniously kicked out of this very hall by the Rieklings you serve. It is time to add injury to insult and wipe them off the face of Soltheim. Are you game? You simply need to answer “Let’s go!” to begin.
- Objective: Kill the Nords (7)
- Target: All Nords in Bujold’s Retreat
No More Bad Nords. Then Tribe-Kin.
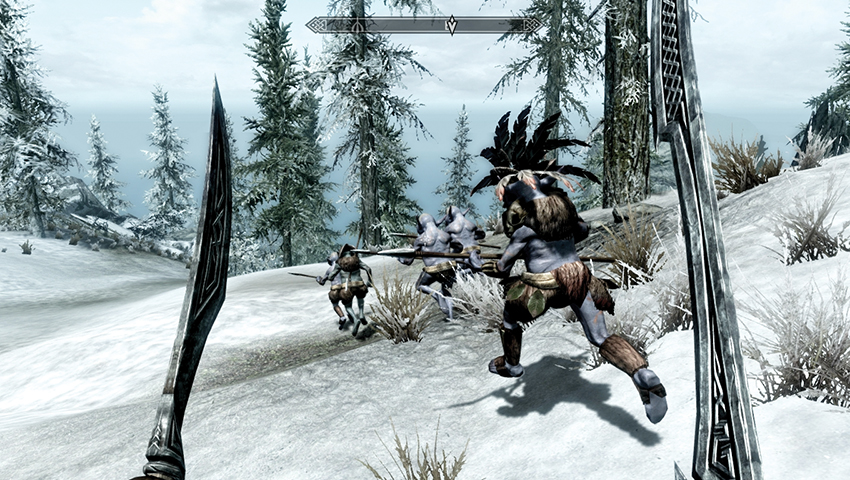
The chief waddles out of the hall with purpose. Follow him and watch as he riles up his tiny troops for the forthcoming massacre. After his battle planning, your objective updates, and you’re free to join in the mayhem. Follow the Rieklings as they trot east down the rough path to the water, and turn right (south).
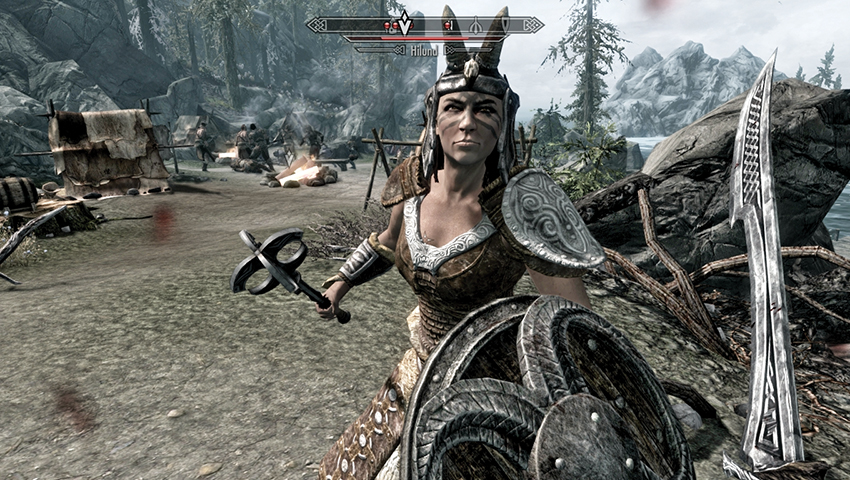
Attack! Or, if you wish, stay away! You can view the battle and get your hands as bloody as you wish, although every Nord in the camp is hostile. Their leader is Bujold, but anyone bearded or carrying rudimentary armor is fair game. Obviously, you can tackle each Nord in any way you wish, but defeating them when they’re already engaged with a Riekling friend keeps you from harm. The fight shouldn’t be too demanding, and any Nords the Rieklings slay are also added to your death total.
- Objective: Speak to the Chief
- Target: Thirsk Mead Hall
Quest Conclusion: Ah baa faroo!
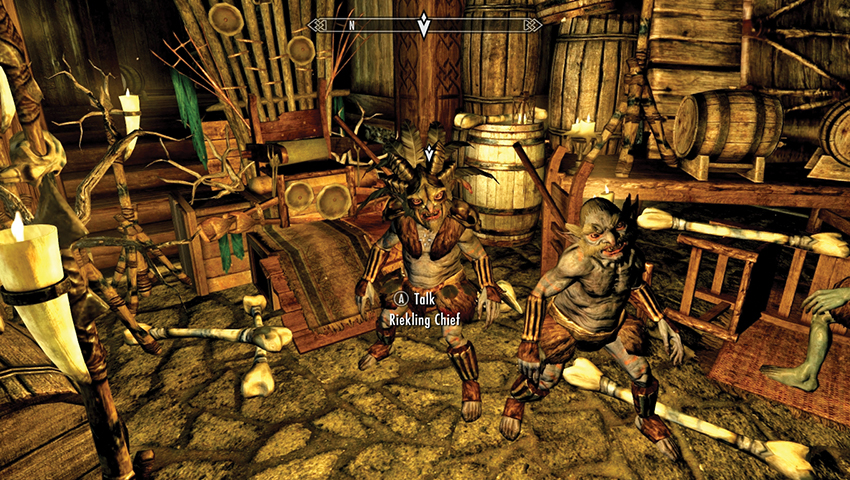
Run back to Thirsk Mead Hall where the chief remains on his makeshift throne. As you approach, you can see he’s worried. After explaining your victory, the chief seems even more agitated, and paranoia sets in. He reckons you want to be chief, and no matter what your response, he stands up to fight you.
- Objective: Defeat the Chief
After a reasonably one-sided slaughter, you should emerge victorious. Whether you wanted this title or not, you’re now the new chief of Thirsk Mead Hall and this particular band of Rieklings!
Postquest Activities: Muwafathoo
Leadership of this motley band of degenerates has its privileges. You can speak with any of the remaining Rieklings and request they act as a Follower. Also, during combat when you’re on Solstheim, up to three Rieklings may appear to assist you. These blue homunculi are brave but weak and stupid, so don’t expect them to stand up to a difficult foe.
- Follower: Riekling
Deathbrand
Before the Hunt
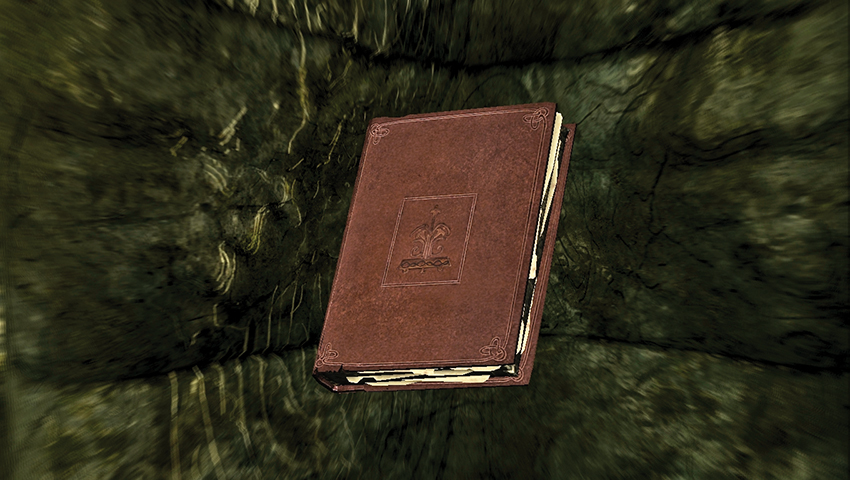
On your hikes across Solstheim, you may hear about a fanciful treasure thought to be buried by pirates. There are several ways to begin this quest:
Read the book Deathbrand. There are many copies scattered around Solstheim: For example, in Tel Mithryn, there are two copies on shelves in Neloth’s tower quarters; in Raven Rock, in The Retching Netch, there is a copy on a shelf in one of the north bedrooms.
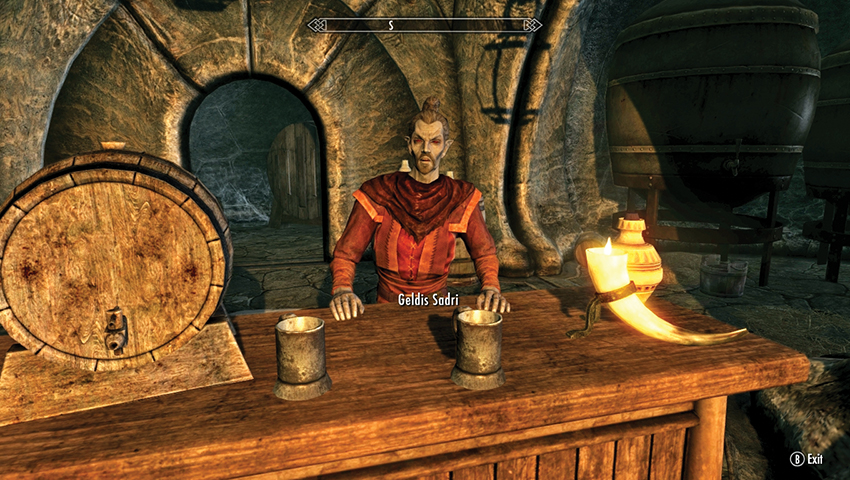
Visit The Retching Netch in Raven Rock, and speak to Geldis the innkeeper about rumors. He mentions the coast is especially dangerous—there are a lot of Reavers about. He’s heard they’re searching for the treasure of Haknir Death-Brand, the pirate king.
Or, you can simply stumble upon Haknir’s Shoal directly, just north of the Wind Stone, on the island’s northeast shore.
- Book: Deathbrand
- Objective: Search for the treasure of Haknir Death-Brand
“X” Marks the Spots
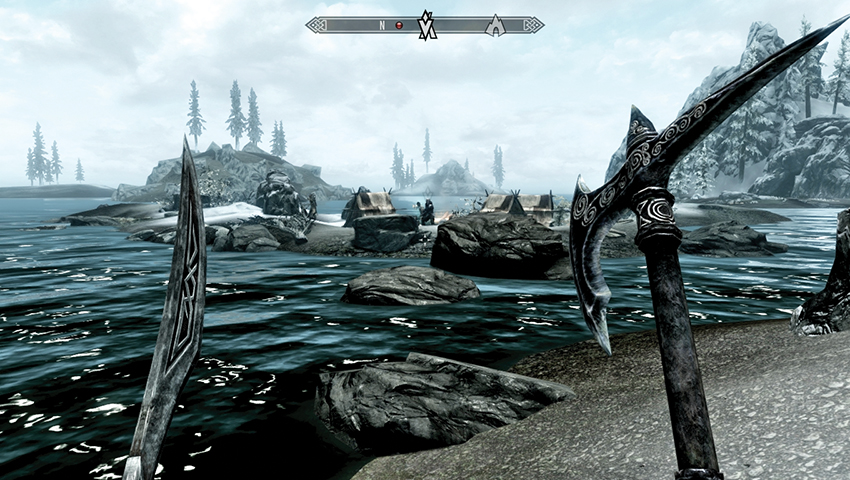
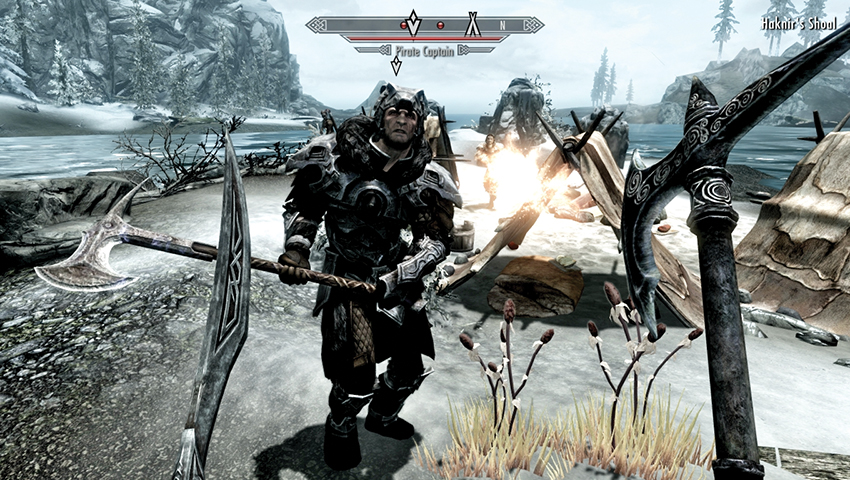
The first inkling that you’ve accidentally wandered into a Reaver treasure hunt occurs when you reach Haknir’s Shoal. If you’re quiet, you may hear a small group of Reaver Pirates speaking about the loot they’ve uncovered. They aren’t willing to share it, though. Begin by engaging these four foes, ideally removing any long-range bowman threats first. Your main target is the Pirate Captain. Once the pirates are bleeding into the snow, you can claim their treasure chest. This prompts the following objective:
- Objective: Learn more about the buried treasure
- Target: Pirate Captain, Haknir’s Shoal
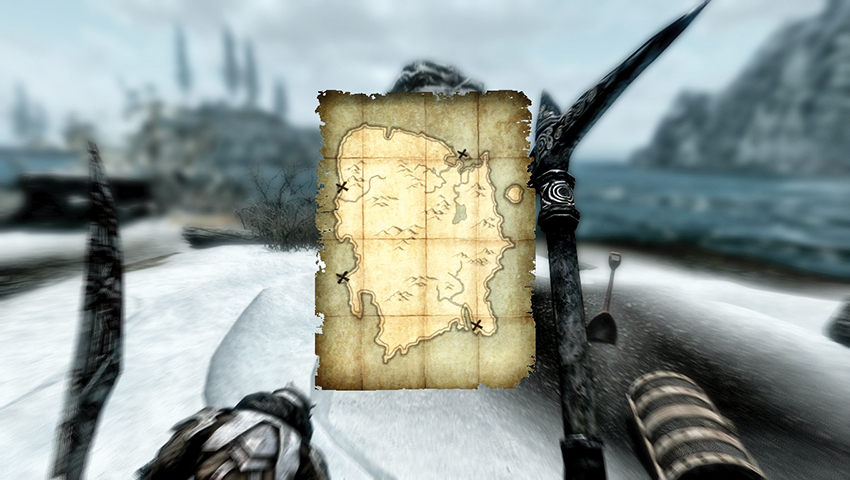
To really begin the quest, you need to inspect the captain’s corpse and retrieve the Deathbrand Treasure Map, which you can view in the Items > Misc Menu. Now the search for valuables can really begin. Inspect the map and you’ll notice four “X” markings indicating possible locations for treasure chests. Fortunately, one is right where you are (and you may have already found it).
- Deathbrand Treasure Map
- Objective: Use the Deathbrand Treasure Map to find the treasure
- Target: Haknir’s Shoal and three Ancient Chest Secondary Locations
Treasure Chest: Haknir’s Shoal
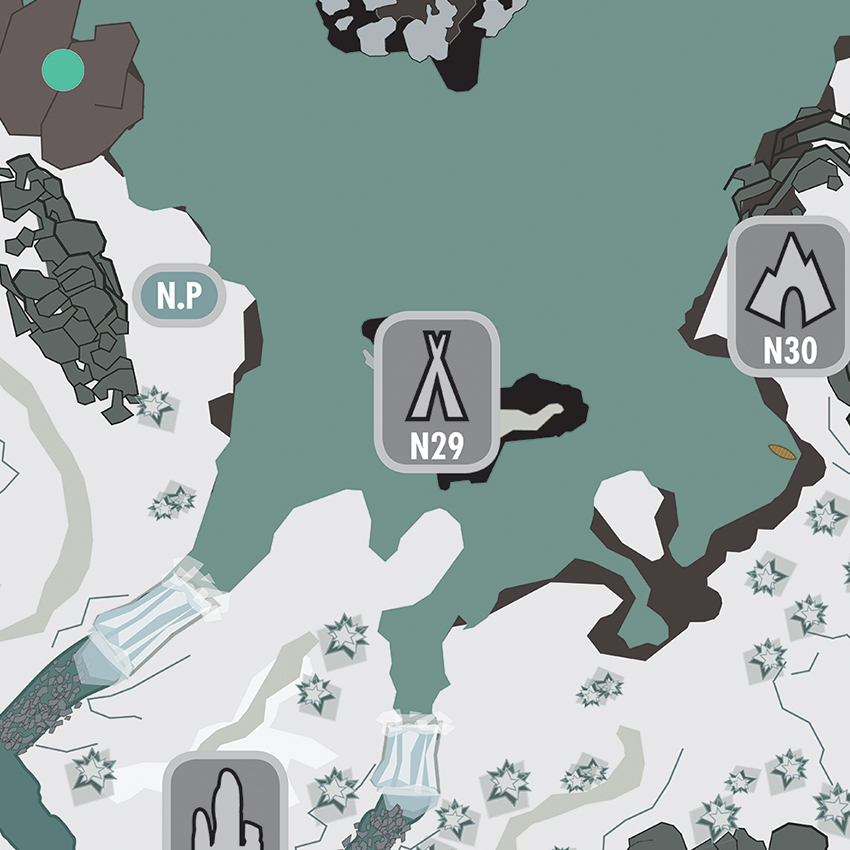
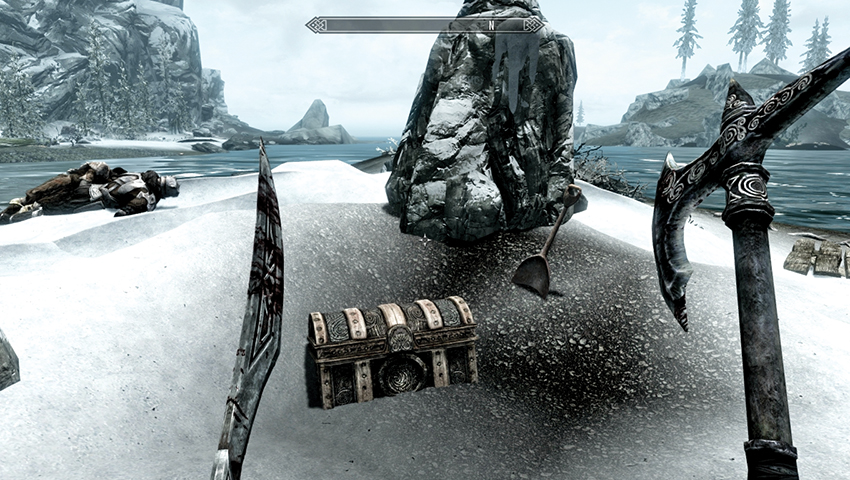
The first treasure chest has been dug out of the snow of Haknir’s Shoal, not far from where you’re currently standing. Locate the Ancient Chest [Expert], and pick the lock. Inside is a particularly fine helm:
- Deathbrand Helm
Treasure Chest: Mudcrab Tidal Pools
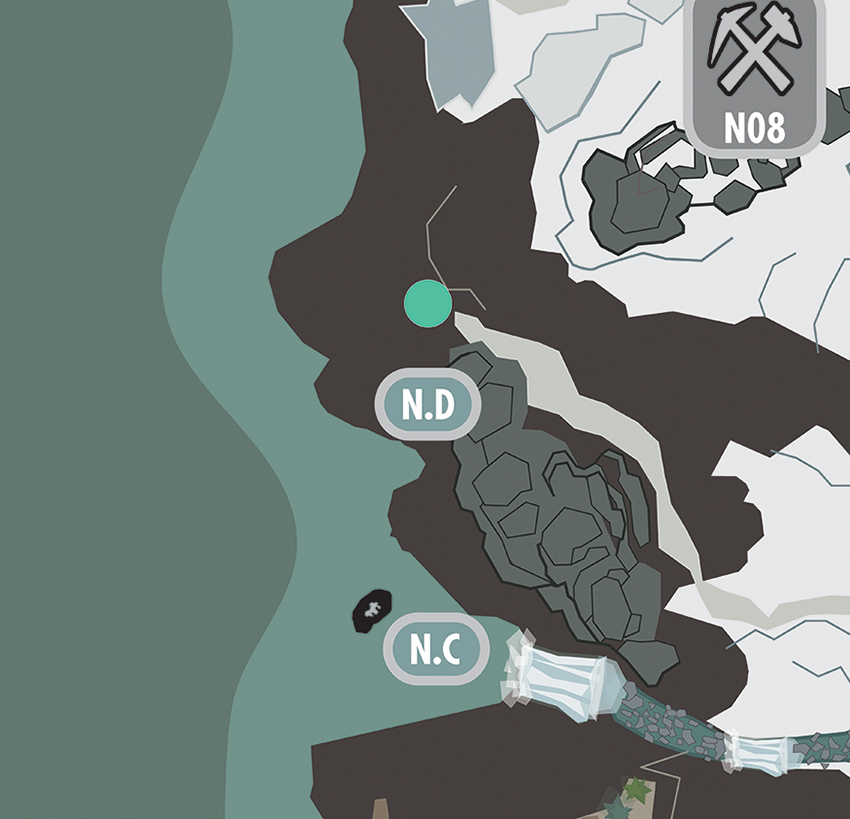
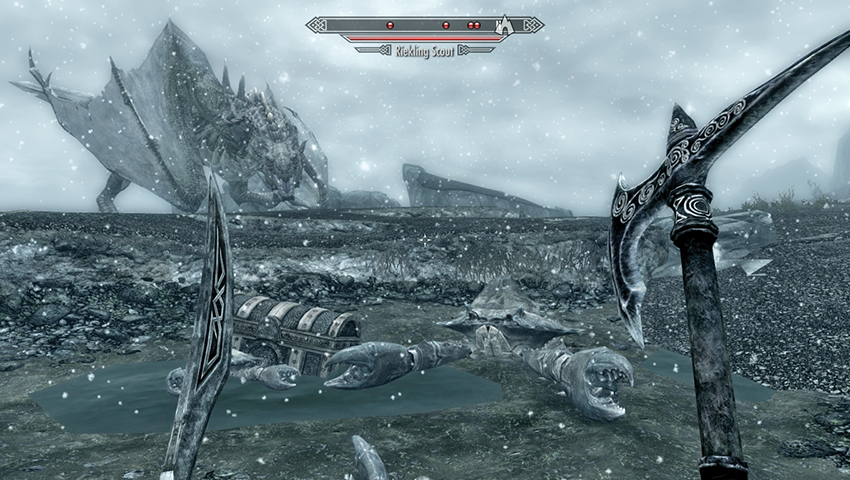
North of the Water Stone and south of Bristleback Cave is a windswept stretch of the coast. Among the tidal pools and Mudcrabs is a half-submerged ancient chest ([S.ND] Mudcrab Tidal Pools). Expect Rieklings to swarm the Mudcrabs as you reach this frigid shoreline. Kill them all, join either side, and mop up survivors, or watch and slay the stragglers. Inside the chest are some gauntlets.
- Deathbrand Gauntlets
Treasure Chest: Bloodskal Copse
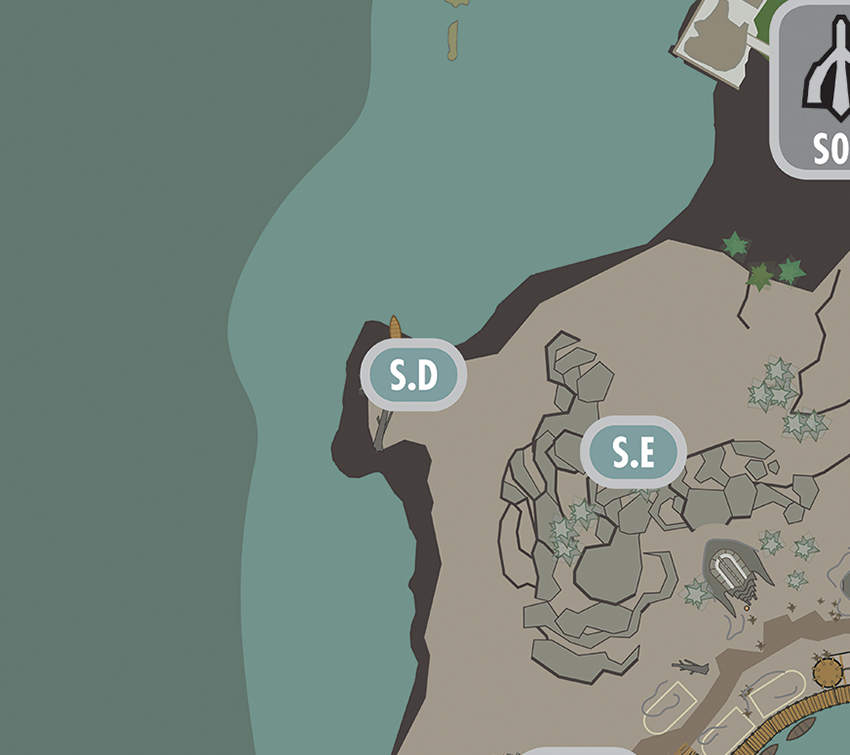
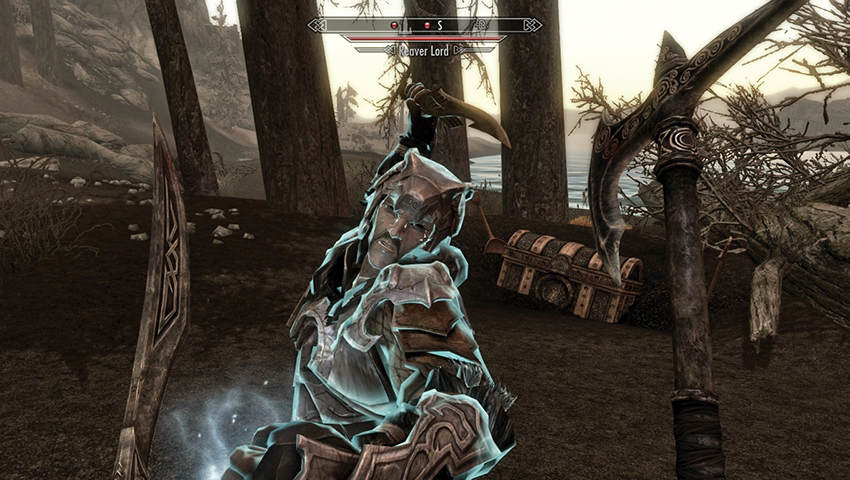
This is in a small natural harbor southwest of Bloodskal Barrow, northwest of Raven Rock. A small Reaver rowboat is moored near this copse of trees ([SS.D] Bloodskal Copse). Defeat the three Reaver foes before prying the ancient chest [Adept] open with your lockpicks.
- Deathbrand Armor
Treasure Chest: Basalt Causeway
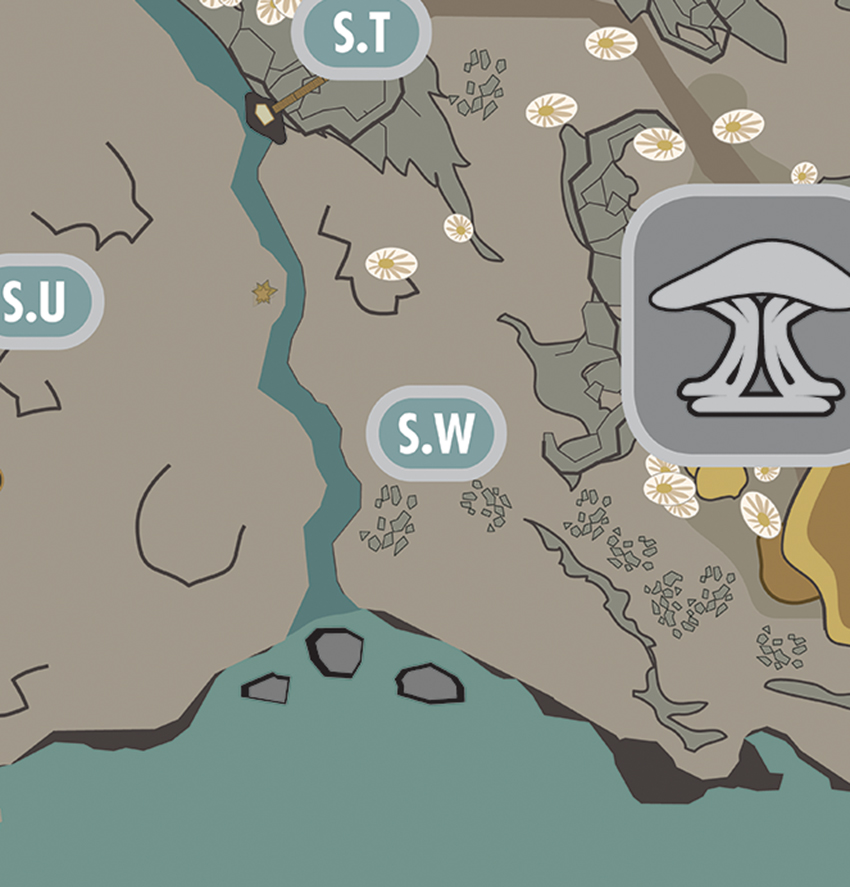
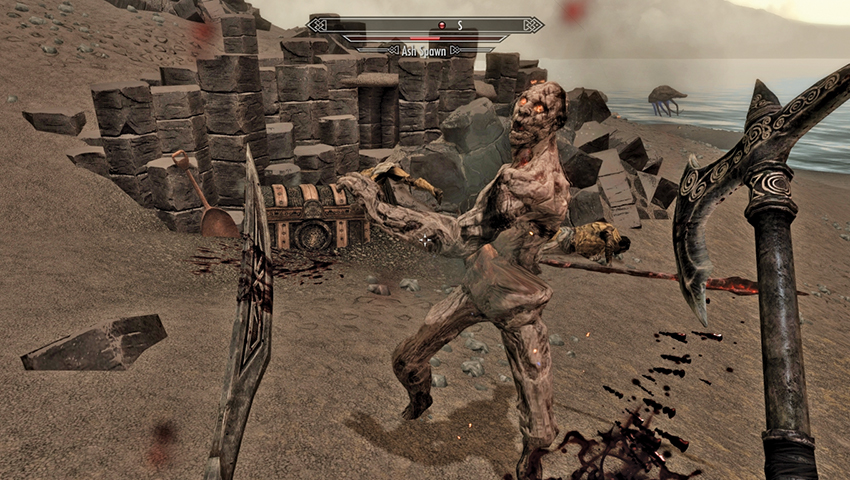
This is a tiny outcrop of basalt columns due west of Tel Mithryn, east of the mouth of the Harstrad River ([SS.W] Basalt Causeway). Four or five Ash Spawn have already slain the two treasure hunters who uncovered the haul, and you may be joined in combat by a Burnt Spriggan or other wandering creatures. Fiddle with the lock of the ancient chest [Expert] and claim the boots inside.
- Deathbrand Boots
When you reach and open the fourth ancient chest, it also contains a key to open a remote barrow on the northeastern coast of Solstheim. Be sure to take the Gyldenhul Barrow Key to update the objective.
- Gyldenhul Barrow Key
- Objective: Explore Gyldenhul Barrow
- Target: Bloodscythe, in Gyldenhul Barrow
Haknir’s Hideaway
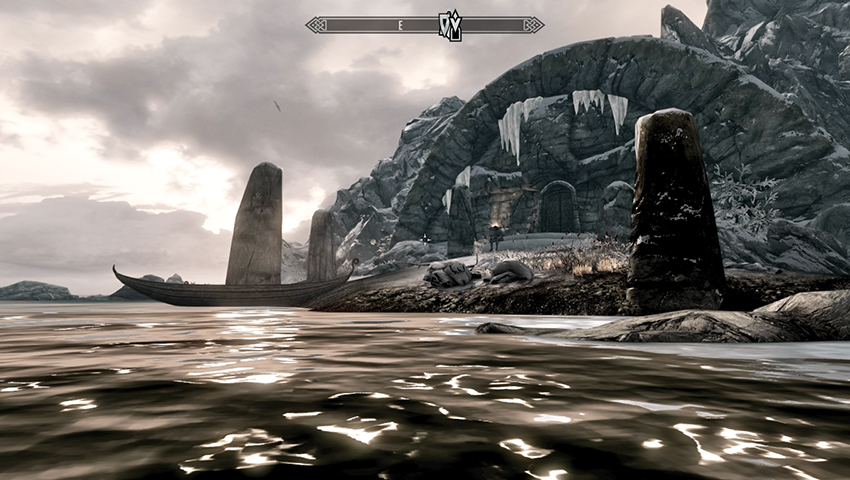
The barrow in question is on a small island just east of Skaal Village. Wade or swim across to the barrow entrance, where two Reavers are waiting for you. Show them the error of their ways, and then approach the Gyldenhul Barrow door [Master]. This is a tough lock to crack without the key you just obtained!
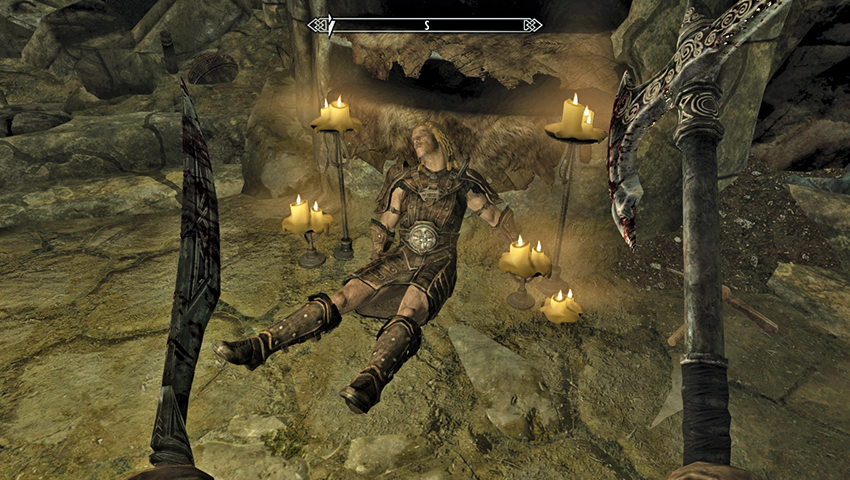
While you can pick this lock before starting the quest, you won’t get very far. You need the key to open the treasure room door inside.
This is either the smallest tomb in Solstheim, or a secret entrance requires your attention! Fortunately, it is the latter; check the corpse of the adventurer in front of you, and obtain the Torn Note. Read the note, which hints at a secret passage. The adventurer was correct; the tomb continues past the sarcophagus to the southwest, which is covered in Stalhrim deposits. Produce your Ancient Nordic Pickaxe, and chip away until you make a hole big enough to squeeze through.
- Torn Note
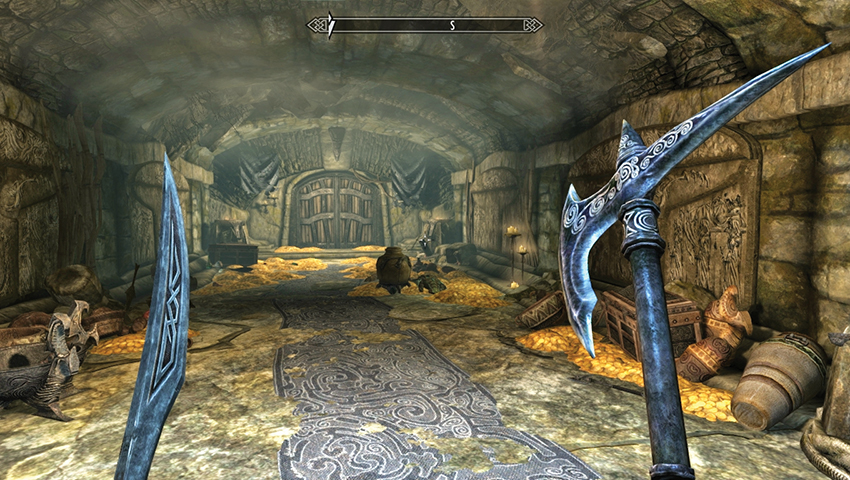
Did you feel a stale breeze wafting? Head southeast toward the door, and open the double doors, entering the barrow treasure room. What a haul! Aside from armor, two chests, potions, precious stones, and weapons, there are numerous piles of Septims that total approximately 10,000 gold!
But be warned: the moment you touch the treasure, the portcullis behind you slams shut. It appears that Haknir’s curse was no mere legend...
Open the second pair of iron doors and continue down a damp tunnel. What awaits you in the depths of this barrow?
- Gold (approx. 10,000)
Haknir Death-Brand: Leaving a Mark
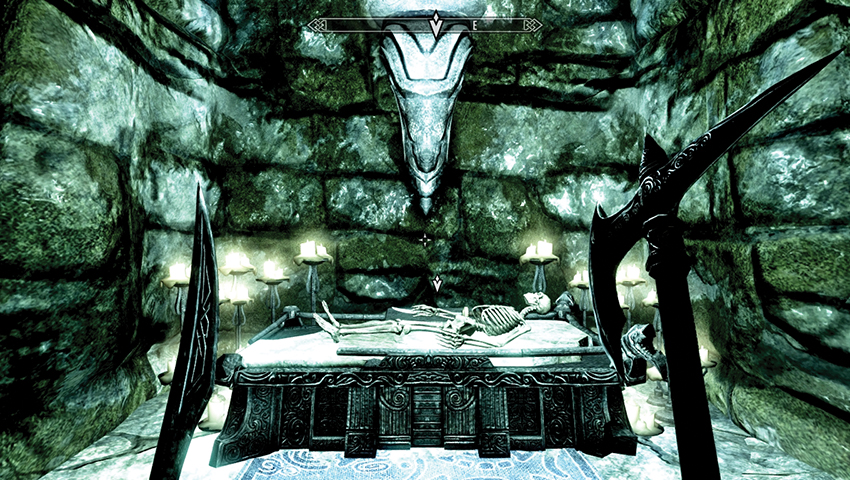
The tunnel ends in a grand and eerie tomb chamber. As you edge toward the steps, and the ceremonial bier with the skeleton lying on it, a sword should catch your eye. Steel yourself, then take Bloodscythe from the altar. The moment you do, the doors to the chamber slam shut, and Haknir Death-Brand’s ghost appears, urging you to join the dead!
- Objective: Defeat Haknir Death-Brand
- Bloodscythe
As the Battle Begins
Haknir Death-Brand is a considerable force of fury and anger. You must meet his prowess with cunning and weather this storm. His attacks come in five waves:
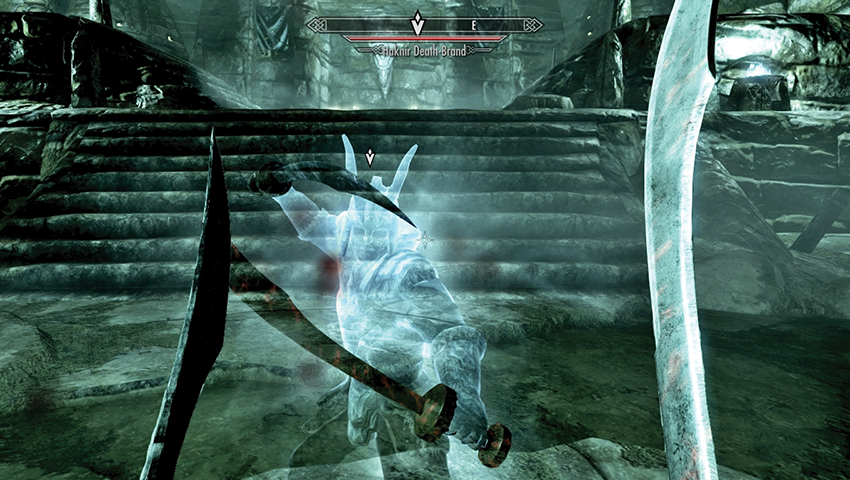
Wave 1: Haknir Attacks! First, you confront Haknir. He is tough, fast, well armed, and well armored. He wears the complete set of Deathbrand Armor and wields both Bloodscythe (which saps your health and armor) and Soulrender (which siphons your Magicka and destroys magical defenses). You do have one advantage, though—Haknir is at the opposite end of the room. Use the time it takes for him to reach you to hit with your most powerful attacks, and try to cut him down as quickly as possible.
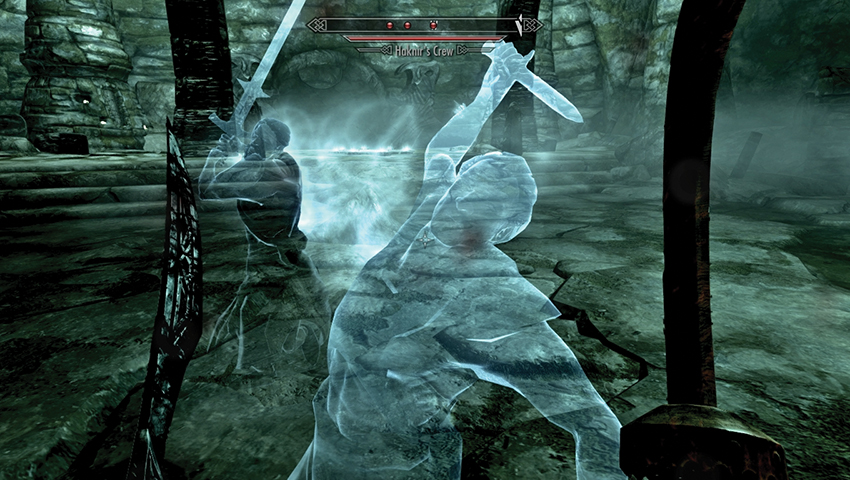
Wave 2: A Ghostly Crew. When Haknir’s health falls below 70%, he disappears, and you face a swarm of weaker ghosts. Individually, the members of Haknir’s crew are not difficult, but their sheer number can be a little overwhelming—two are generally in combat with you at all times, with a new one arising each time you cut down one of their companions.
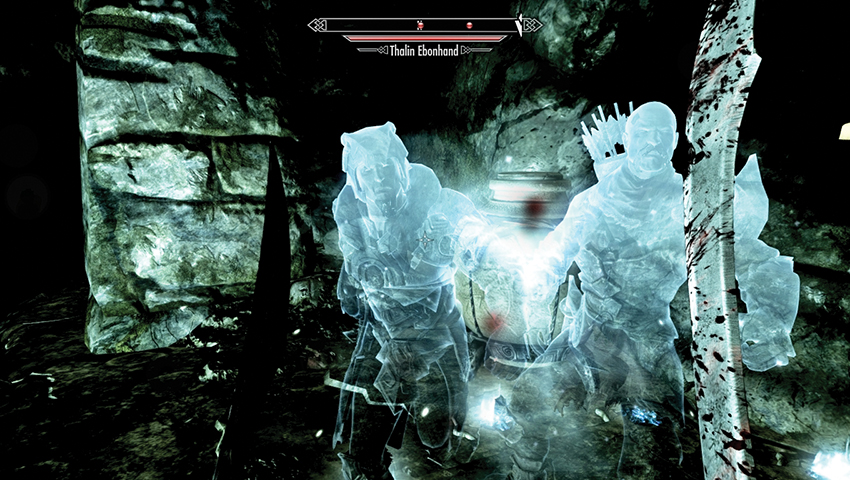
Wave 3: Lieutenants Unleashed. After you fend off his crew, Haknir reappears by the altar, accompanied by his two lieutenants, Garuk Windrime and Thalin Ebonhand. Focus your attacks on Haknir, as he warps out as soon as his health falls below 40%. Eliminate one of the lieutenants, then stop to heal and recover if you need to—this is your best opportunity to do so during the battle. Then finish off the other to continue.
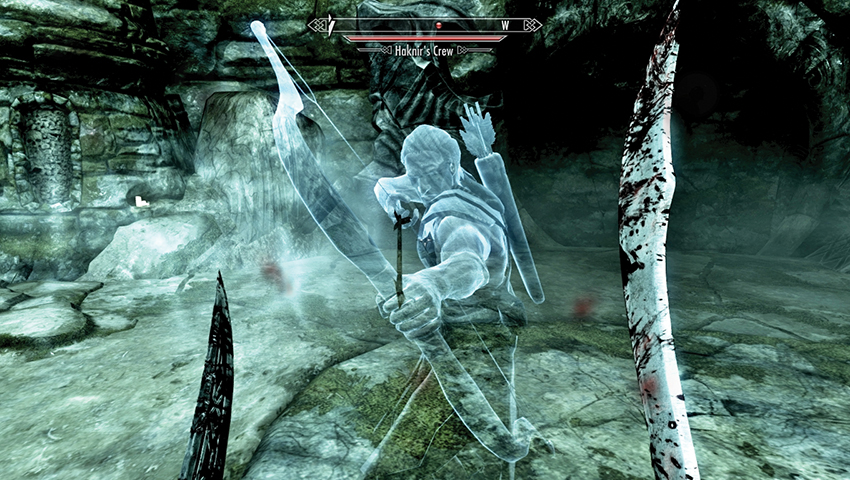
Wave 4: A Motley Crew. You then face a second wave of Haknir’s crew. They’re no more difficult than before, but you now fight three at a time instead of two. Followers or summoned allies are especially useful here to keep yourself from becoming surrounded and overwhelmed.
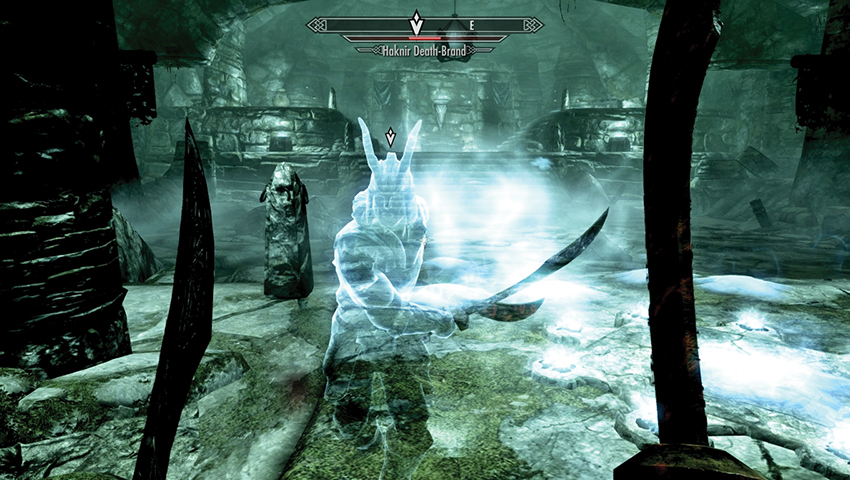
Wave 5: Haknir’s Last Stand. Finally, you face Haknir again in a fight to the death. Finish him off and claim both Soulrender and his immense hoard of treasure.
Quest Conclusion
When Haknir Death-Brand finally vanishes, be sure to claim the blade he was wielding, as it amplifies the qualities of Bloodscythe. You are now free to loot from this barrow and return to the surface the way you came.
- Soulrender
Postquest Activities: The Deathbrand Treasure
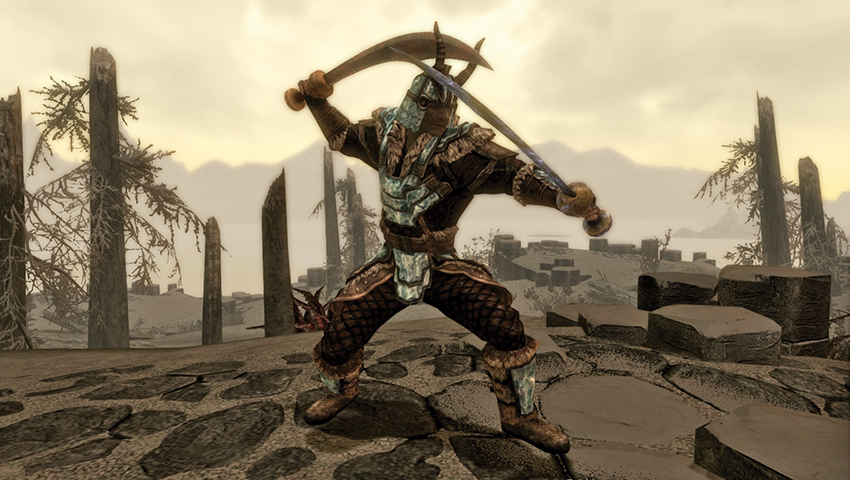
The legendary treasure of the pirate despoiler Haknir Death-Brand is a worthy prize. In addition to a vast sum of gold and valuable gems, it includes some of the best gear available, especially for a Light Armor/Dual-Wielding specialist.
| Name | Type | Description | Found |
|---|---|---|---|
| Bloodscythe | One-Handed Sword | When dual-wielded with Soulrender, Absorb Health 15, Damage Armor (25% chance, 100/15s) | Gyldenhul Barrow |
| Soulrender | One-Handed Sword | When dual-wielded with Bloodscythe, Absorb Magicka 15, Dispel Magic (25% chance) | Gyldenhul Barrow |
| Deathbrand Gauntlets | Heavy Armor | Increases your dual-wielding damage by 10% for each Deathbrand item you wear. | [S.ND] Mudcrab Tidal Pools |
| Deathbrand Boots | Heavy Armor | Increases your carry weight by 10% for each Deathbrand item you wear. | [SS.W] Basalt Causeway |
| Deathbrand Helm | Heavy Armor | Waterbreathing. While wearing the full set of Deathbrand Armor, increases your Armor by 100. | [S.N28] Haknir’s Shoal |
| Deathbrand Armor | Heavy Armor | Increases your Stamina by 15 for each Deathbrand item you wear. | [SS.D] Bloodskal Copse |
Postquest Activities
That treasure map, now used, would make a great conversation piece when displayed in your house. And if all that gold is burning a hole in your pocket, seek out Ralis Sedarys (in Solstheim Side Quest: Unearthed), who needs an investor with deep pockets in order to complete his work.
Experimental Subject
Water on the Brain
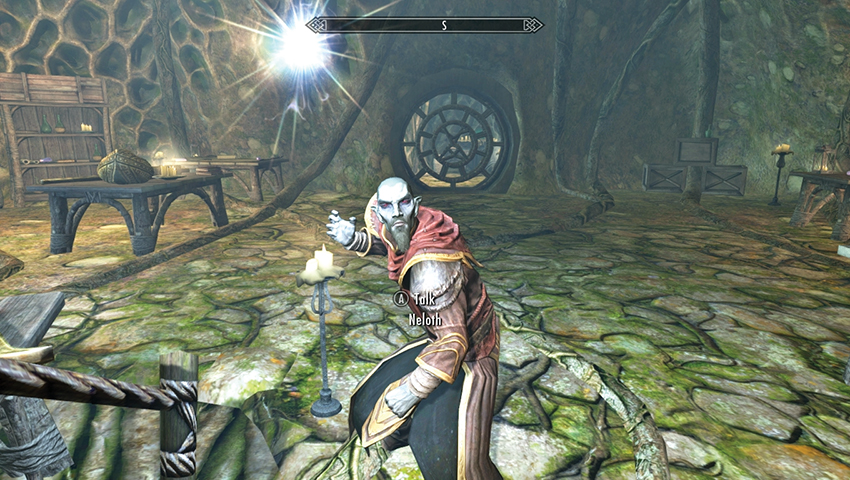
The opinionated Dark Elf conjurer you took with you during Dragonborn Main Quest: The Path of Knowledge has a new task for you, one that is randomly assigned. Float up to his Tel Mithryn tower and ask, “Do you need help with your research?” Neloth asks if you’re willing to be an experimental subject for him. Of course you are! Answer positively after requesting more information, and Neloth casts the spell on you. That’s strange; you don’t feel any stronger or more vigorous.
- Objective: Watch for side effects
- Target: A rain or snowstorm or a body of water
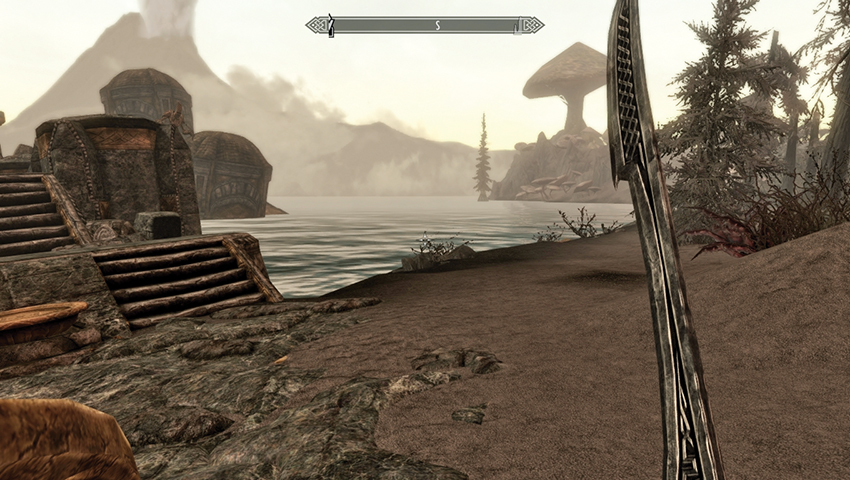
Leave Tel Mithryn and go about your business. To prevent the side effects from this spell temporarily harming you when you’re engaged in difficult combat, it’s usually worth finding out what the problem is as soon as possible. It seems the spell weakens you when you’re exposed to water. You can:
- Go swimming in any body of water.
- Or wait for it to rain.
At this point you should immediately notice the failings of this particular spell, as your health falls by around 25 points. You can continue your adventuring with this malaise affecting your water-based maneuvering, or seek out Neloth and allow him to remove this underdeveloped magical “gift.”
- Objective: Talk to Neloth
- Target: Neloth, Tel Mithryn
Quest Conclusion
Return to Neloth’s quarters atop the floating lift inside the great trunk tower, and inform the spellcaster that his spell made you weaker once you got wet. Although Neloth mentions you could simply avoid water, that would lead to a lack of bathing. So he removes his spell and grants you a bit of coin to help mitigate your inconvenience.
- Gold (250)
Postquest Activities
Neloth has a second spell that he requires a willing target for. This is listed in the Solstheim Regional Activity: Tel Mithryn.
Filial Bonds
Blood Brother
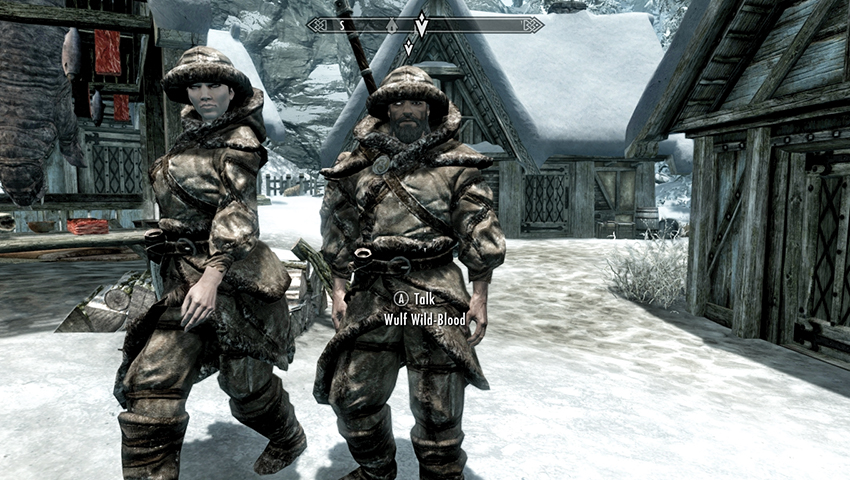
After cleansing the Wind Stone during Dragonborn Main Quest: The Fate of the Skaal, return to the Skaal Village and locate Wulf Wild-Blood. He’s usually stirring a cooking pot as the Horker meat dries on hooks around his stall, near the central well in the settlement. Oh, and he has only one eye. Wulf is First Hunter of the Skaal. You can:
- Ask if he’s able to train you to better use two-handed weapons, as he’s an impressive Trainer.
- Ask what else a First Hunter does or how long he’s been First Hunter.
- Inquire about any wisdom he can share about hunting or the type of game he hunts.
The conversation meanders to the topic of his brother Torkild, with whom Wulf used to share the hunt. But long ago, Torkild was lost, and Wulf fears he fell in among the werebears. But he doesn’t know where his brother is. If you happen to cross his path, you must be wary: He was a fierce warrior as a man; as a beast, he could be deadly! Your quest begins now.
- Objective: Look for Wulf’s brother Torkild
- Target: Torkild Wild-Blood, somewhere in Solstheim
Bear Brother
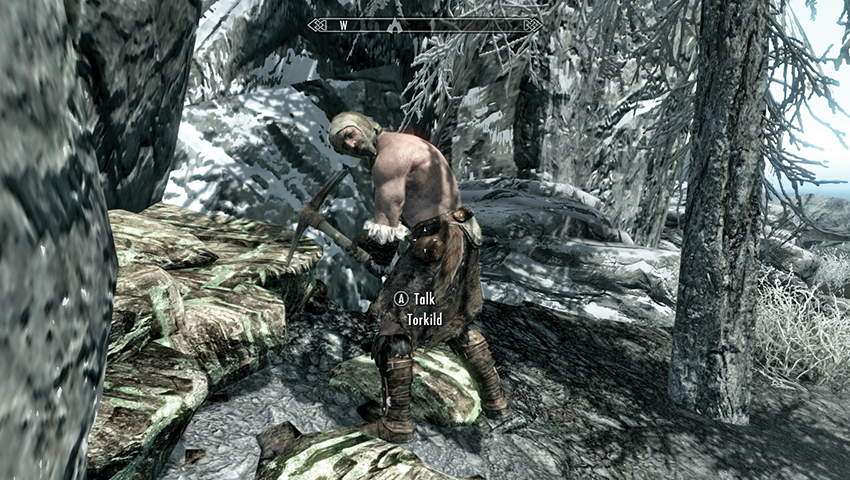
There are no compass directions to hint of Torkild’s location. The werewolves of Frostmoon Crag do not know who this fellow is. So it falls to you to scour Solstheim and seek him out. Begin by trekking down to the coast, stopping at the eastern shores and turning north. Work your way along the shoreline, facing down possible Raider and Horker threats as you go. Torkild is often found somewhere along this stretch of rugged shore. However, he could be along the north or western shores and is occasionally found dead!
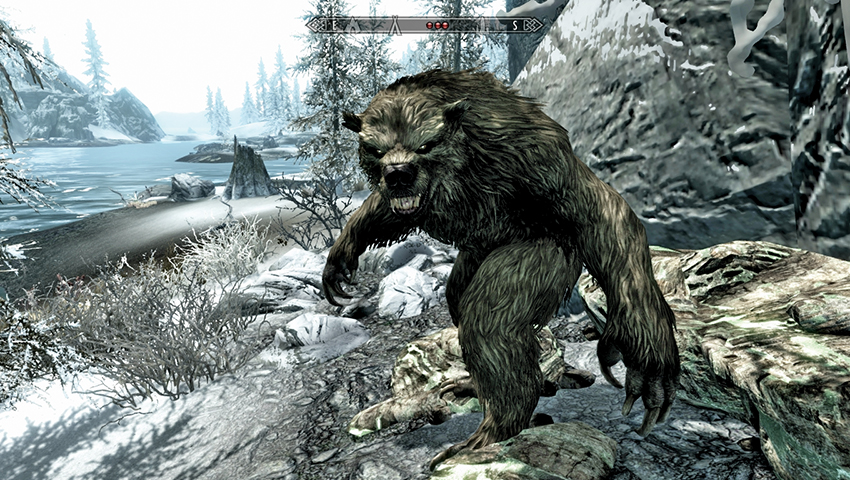
When you eventually find Torkild, he’s usually shirtless and ranting something about the All-Maker craving the night of the sun. You can:
- Attempt to start a conversation. You don’t get far, as Torkild turns large and hairy.
- Or simply start to attack Torkild the moment you spot him. It allows you to land some strikes before he can retaliate.
Either way, you’re in for a fight with a werebear. Batter the beast until it lies sprawling at your feet.
- Letter to Wulf
- Objective: Examine Torkild
- Objective: Return to Wulf
Quest Conclusion
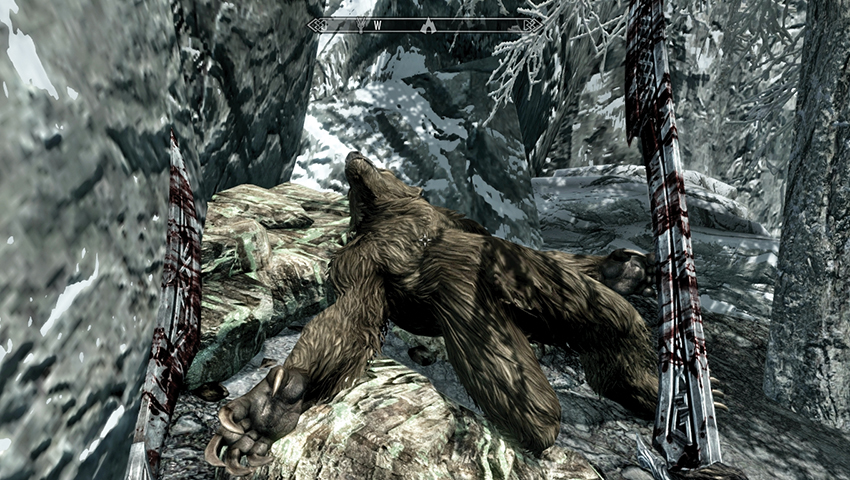
On the corpse, you’ll find a folded letter. Take it, and then examine it in the Item > Books menu. It is a sorrowful farewell to his brother, while Torkild was still mentally competent enough to write. Your objective updates, and you should return to Skaal Village and speak with Wulf again. Give him the letter from his brother, and Wulf recognizes the handwriting. He asks how Torkild died. Answer how you wish. Finally, Wulf imparts some of the wisdom of the Skaal (some skill increases), as you’ve done him a service, and the quest concludes.
- Skill: Archery +1
- Skill: Block +1
- Skill: One-Handed +1
- Skill: Heavy Armor +1
Postquest Activities
After this, providing your standing with the Skaal is favorable (it changes as you progress through the Dragonborn Main Quest), there are more Regional Activities to complete here.
The Final Descent
The Caerellius Conspiracy
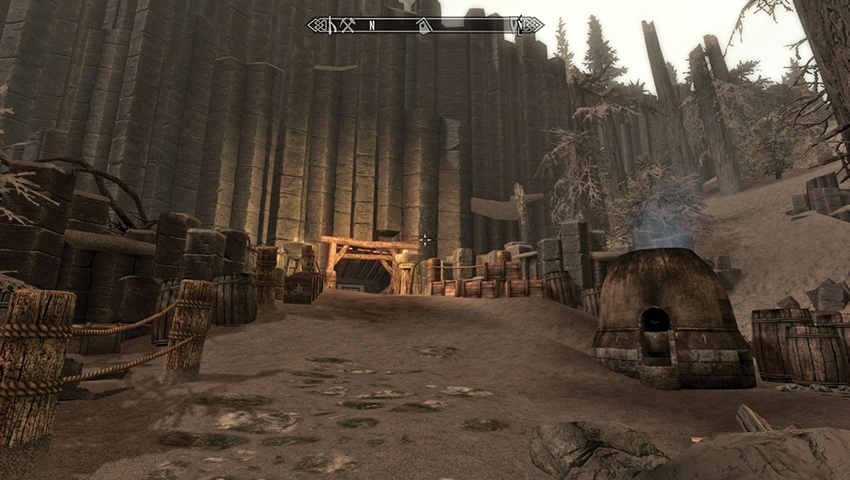
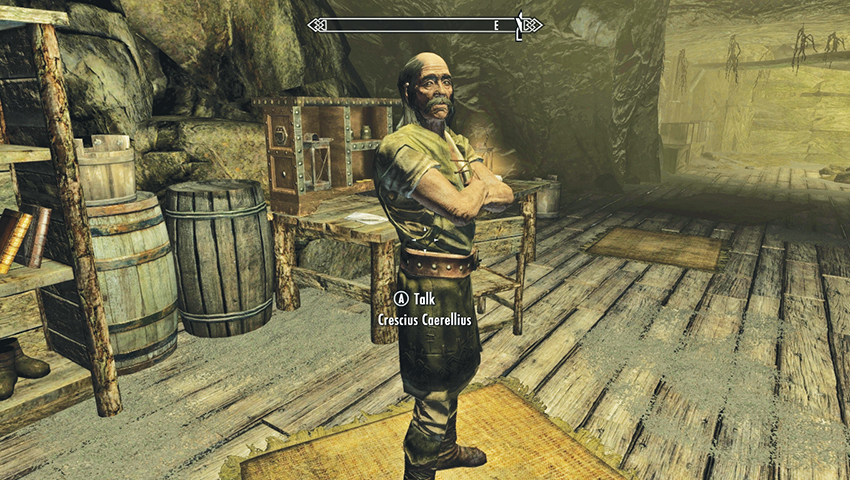
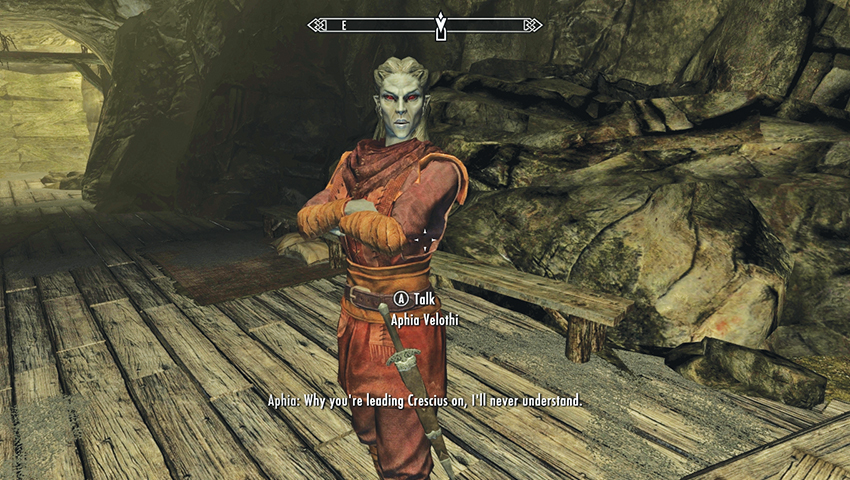
To the northwest of town, at the foot of the giant rock column formations, is the old Raven Rock Mine. Visit at any time, and once you pass the East Empire crates and boxes, there’s a makeshift balcony under which Crescius Caerellius, an elderly Imperial, is arguing with his seemingly younger wife, Aphia Velothi. After their outbursts, you can speak to Crescius and he tells you he’s busy. Inquire why, and after some suspicious verbal sparring, he tells you the mines below hold a secret that could put Raven Rock back on the map. The quest begins!
- Objective: Speak to Crescius Caerellius
- Target: Crescius Caerellius, Raven Rock Mine
Continue your questioning: It seems that his great-grandfather, Gratian Caerellius, spent his entire life exploring ruins across Tamriel and met his end here almost 200 years ago. The East Empire Company explained it away as a rockfall, but Crescius reckons there was more to it. After a tidying up in their home, an unsent letter of Gratian’s was discovered, as well as a key. Apparently, there was a great discovery—great enough for the East Empire to seal up the entrance. Unfortunately, Crescius hasn’t been able to find it.
Answer how you wish; the old coot continues, adamant that there’s something big down there that the East Empire Company doesn’t want anyone to know about. He’s telling you this because Aphia thinks him too old for such a dangerous exploration. He wants someone to find out what happened to Gratian and learn the East Empire Company’s big secret. He hands over everything he has and asks you to emerge triumphantly so he can regain the respect he’s lost.
- Gratian’s Letter
- Raven Rock Mine Key
- Objective: Retrieve Gratian Caerellius’s Journal
- Target: Bloodskal chasm chamber, Raven Rock Mine
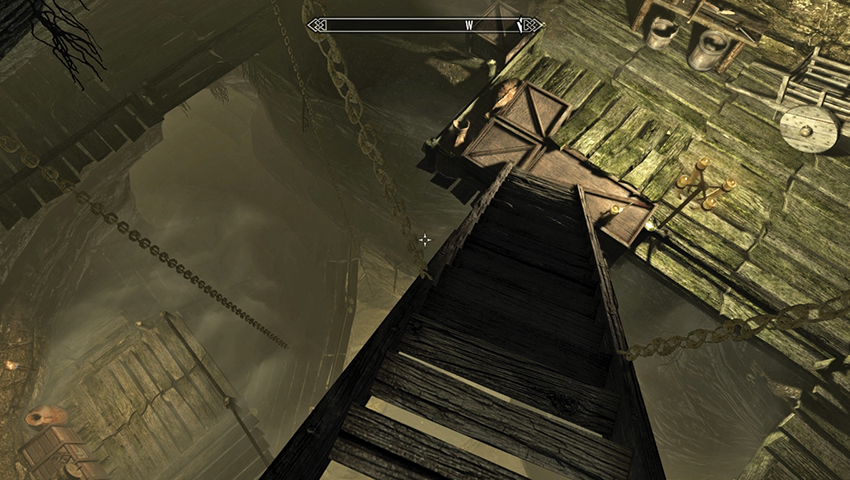
You can further delve into Crescius’s world of conspiracy by asking about Gratian’s death. You can also hear Aphia’s side of the argument, how she met Crescius, and her opinion of her husband’s story. Then, when you’re ready for a (possibly terrifying) descent, step onto the wooden floor and peer down the steps. They are hooked by chains to a gigantic mine shaft with an almost bottomless drop. Nimbly descend onto the wooden platform to the west.
The Search for Gratian Caerellius
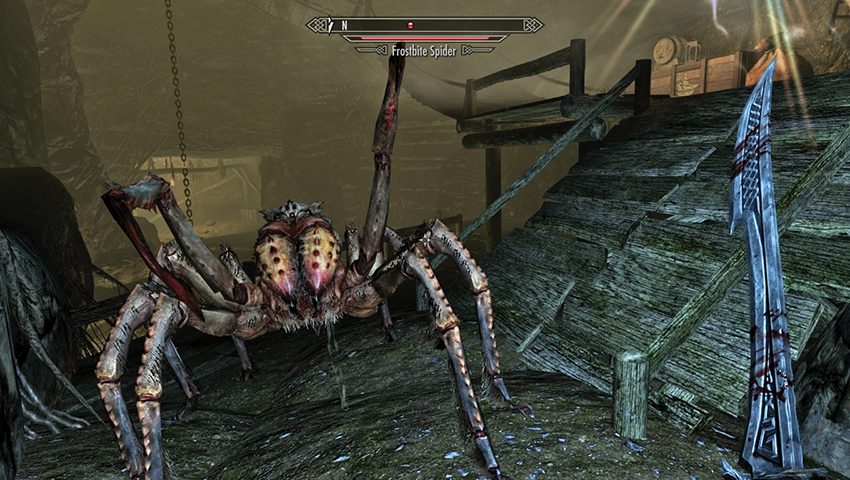
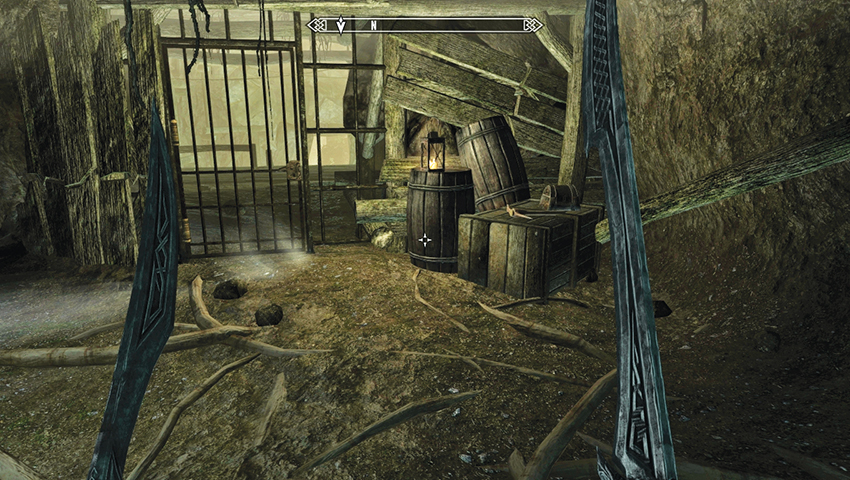
Follow the precarious floating balconies down to the opening in the south wall of this epic hole, watching for Skeever here. Continue past a Frostbite Spider and another alcove to the east, with a spider and some rickety platforms. Back in the central pit, continue north to a third alcove leading down a stepped tunnel to the west, then the south and east, with more spiders and planks and a web to cut through as you burst into a locked gate next to an East Empire strongbox. Open the gate using the key you received from Crescius.
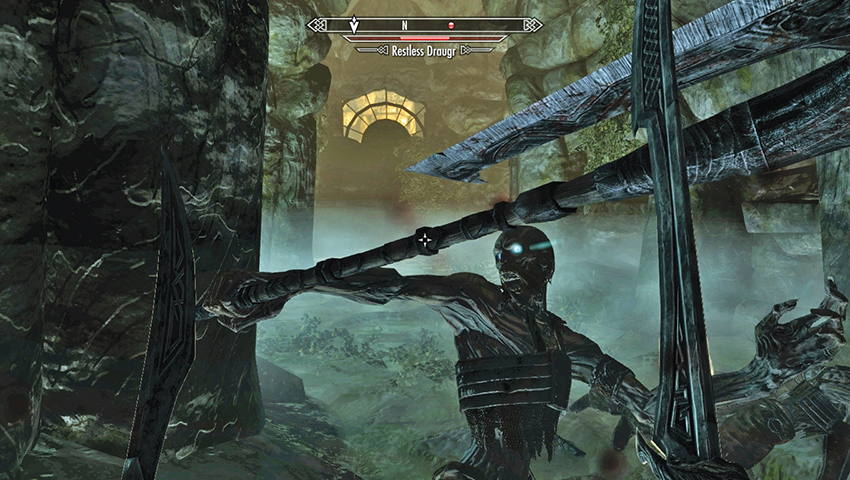
Cross into a roughly mined area, which breaks through into a Draugr tomb that is ankle-deep in water. There’s movement here. Draugr rise from their walled resting places to delay you. Fight four or five as you head through the crypt. Check the left area for a chest, then go east; avoid the floor plate and swinging gate trap. Head up the steps and around to the west.
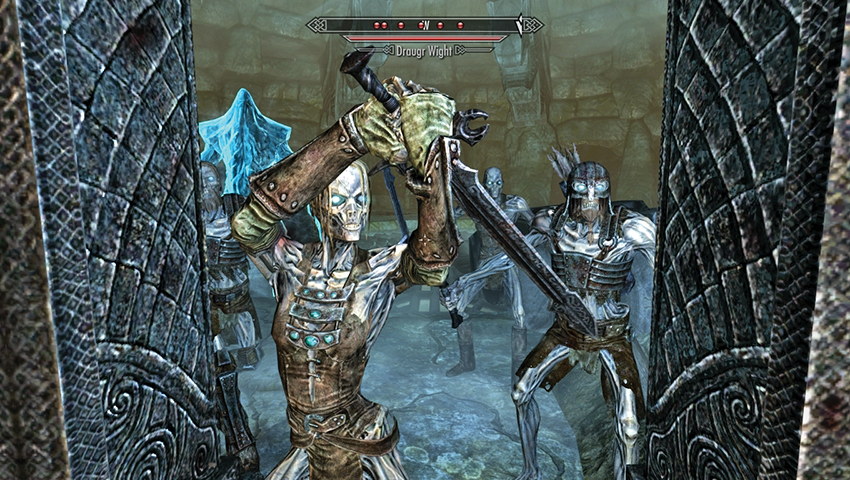
Here, four thrones are occupied by two slumbering dead (one on each side), who awaken to attack, along with a third foe farther along the hall and a locked chest [Master]. Defeat these enemies, as the circular chamber ahead features at least six Draugr of varying degrees of toughness. When the brutality is over, open the door to the west, wind your way through a narrow crypt corridor, and pass a tomb with a Stalhrim deposit embedded into it (which can only be mined if you have the Ancient Nordic Pickaxe).
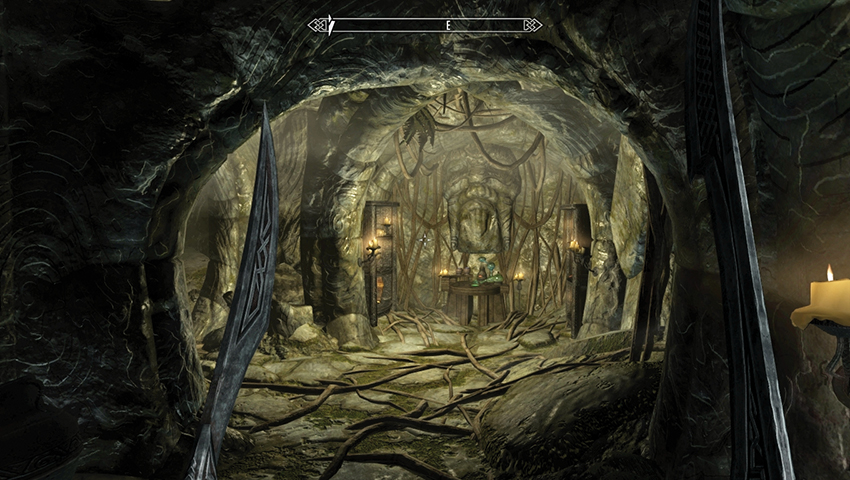
Pass the Alchemy Lab and shelves of ingredients (snag the Netch Jelly here if you’re completing the Solstheim Regional Activity for Milore Ienth), then move north along a stepped passage, watching for lightning traps in the shallow alcoves (race through or pry the Soul Gems off their pedestals). Back in the water, open the iron doors and ready yourself for combat with some particularly hardy Draugr.
- Netch Jelly (2)
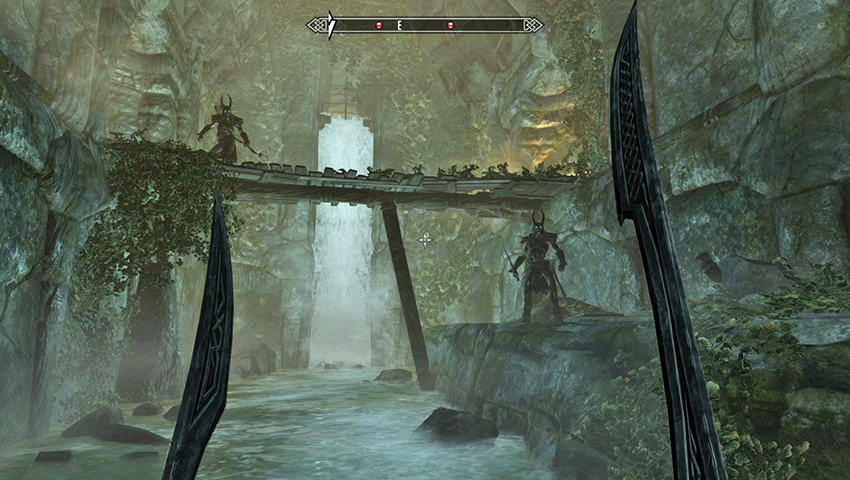
Battle the Draugr around this interior canal and on the precarious wooden bridge. Behind the waterfall is a door that leads to a small alcove with a few scattered items and another Stalhrim deposit. Return and climb up to the alcoves and cross the wooden bridge to a high alcove with a chest [Expert] and an Arcane Enchanter. Yank the handle on the nearby pedestal, which opens a door on the chamber’s eastern upper side. Move back across the bridge to reach it. Head south to a corridor junction. Left (east) is a pedestal surrounded by candles, where you find a Spell Tome for Ice Spike.
- Spell Tome: Ice Spike
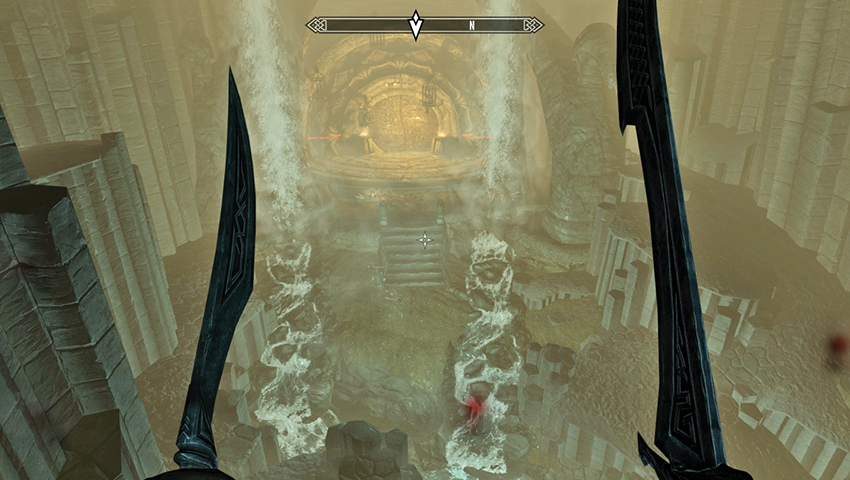
Head right (west), up the spiral steps to the balconies overlooking the Spell Tome pedestal. Dodge or remove the Soul Gem from the lightning trap, and work your way around to an open wooden door and a narrow cage bridge to the north. Carefully tread on the ground near the torch and steps, as a dart trap is easily activated. Rush through or avoid it before opening the wooden door, securing goods from a locked chest [Adept], heading back down the steps, and checking the low tunnel to the west. This brings you out onto a high chasm.
Breaking the Seal of the Bloodskal Clan
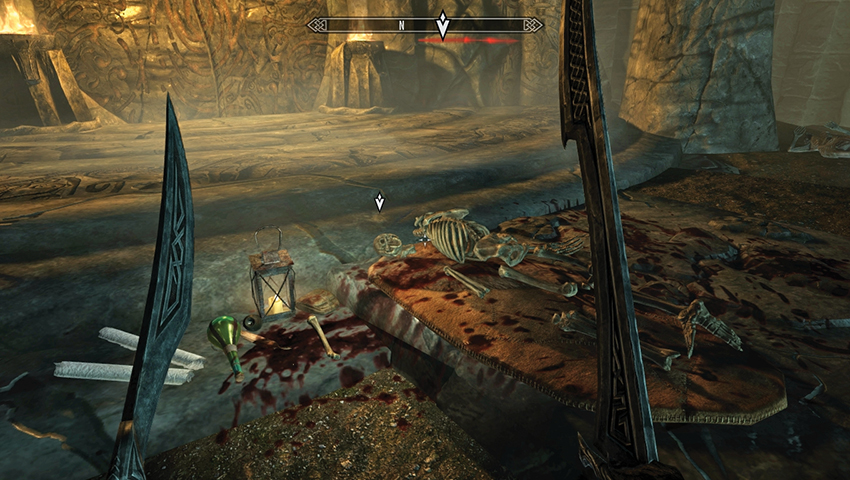
Two cave streams and numerous interlocking basalt columns offer a tremendous view of a strange and dimly lit wall of odd carvings. Could these be what Crescius was warbling about? Carefully descend to the ground and inspect the old bones of Gratian Caerellius, near the runic door. Aha! Gratian’s Journal is on the corpse, along with a strange and wondrous blade. Grab both!
- Gratian’s Journal
- Bloodskal Blade
- Objective: Escape Bloodskal Barrow
- Objective: (Optional) Read Gratian Caerellius’s Journal
- Target: Bloodskal Barrow (exterior)
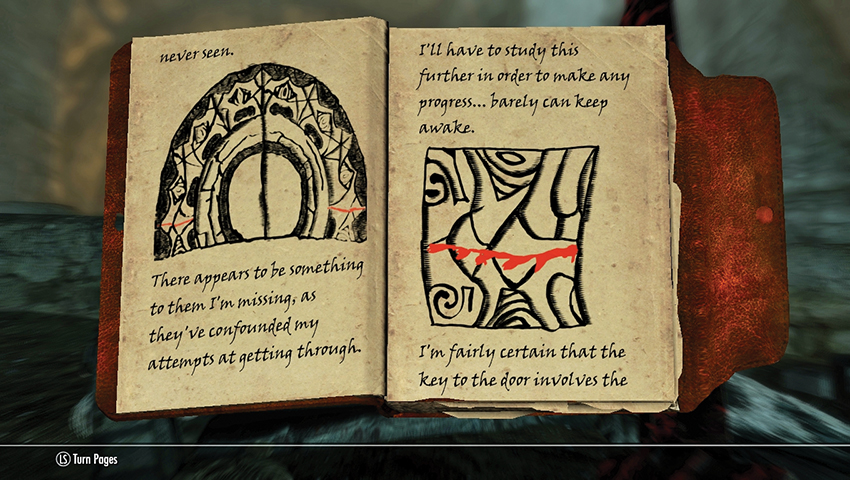
It is well worth your time to read Gratian’s Journal. It mentions that miners broke through into a barrow belonging to the “Bloodskal Clan,” the discovery of the sword, and their battles against Draugr where Gratian and his friend Millius were wounded terribly. The only survivor, Gratian became trapped and reached a strange door. In his malaise, he sketched the door and postulated that the use of the Bloodskal Blade (which emits a ribbon of mystical energy) may solve the puzzle.
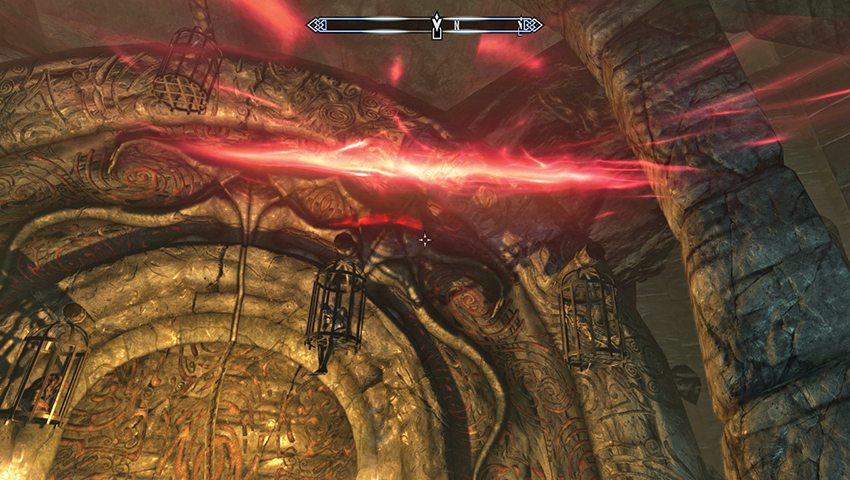
Puzzle Solution: Gratian was correct that the Bloodskal Blade is the key. Equip this two-handed weapon, stand so you’re targeting the red slit in the outer arch, and make either a horizontal power attack with the blade (sidestep, hold down your Attack button, release), or a power attack while moving backward (which makes it easier to aim, as you aren’t strafing). If you’re successful, part of the arch will move up to connect with other moving sections, and a vertical glow appears.
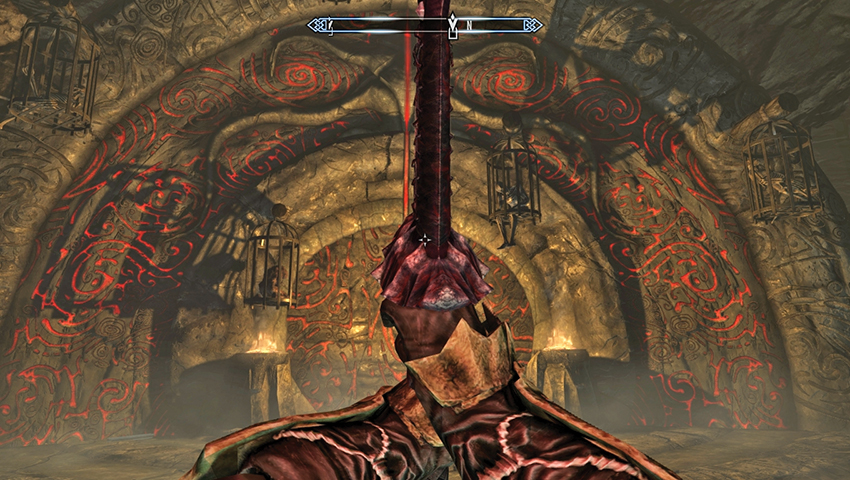
Puzzle Solution (continued): Make a vertical power attack (while holding still, hold down your Attack button, release), and be sure the ribbon of red hits close to the glow in the arch. A section indents, clicks, and the outer piece slides farther toward the apex of the arch. This time a horizontal glowing slit forms. Execute a horizontal power attack, and the entire left side of the outer arch slots into place!
Now move to view the right side of the outer arch. Perform exactly the same power attacks, and watch the sections of archway maneuver into new and unlocked positions. If you’ve correctly slashed, the entire arch glows red, and a massive vertical slit appears through the circular door. Launch a final, vertical power attack from your Bloodskal Blade, and the door opens!
Zahkriisos Rising
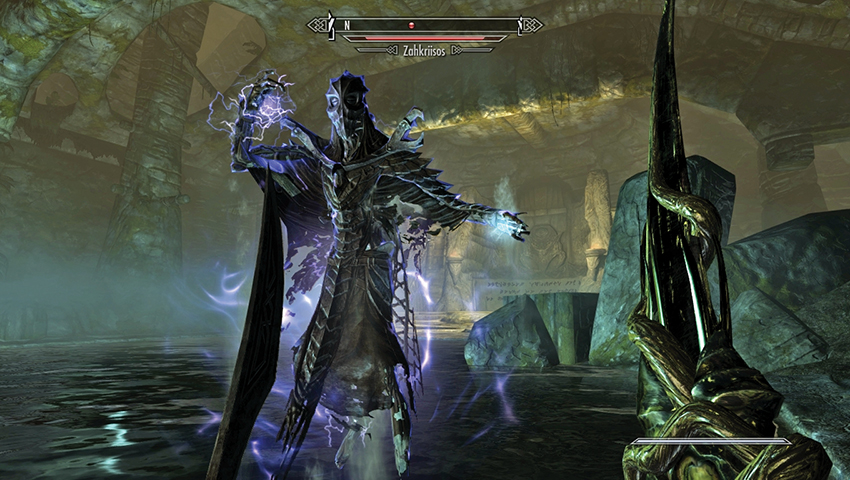
Head through the long Nord hall with the swinging blade traps and activate the lever at the far end to open the heavy gate. This grants you access into the lair of Zahkriisos, one of Miraak’s Acolyte Priests. Check the large chest for him to appear. This fiend is able to summon Seekers and damage you with a powerful blast of lightning. Swap to your preferred weapons and engage this troublesome foe. If you’re currently completing Solstheim Side Quest: Masks of the Acolyte Priests*, he holds one of the masks you’re looking for. Grab it from the ash pile you’ve reduced Zahkriisos to, and learn a Word of the powerful Dragon Aspect Shout.
- Zahkriisos
- Word of Power: Dragon Aspect
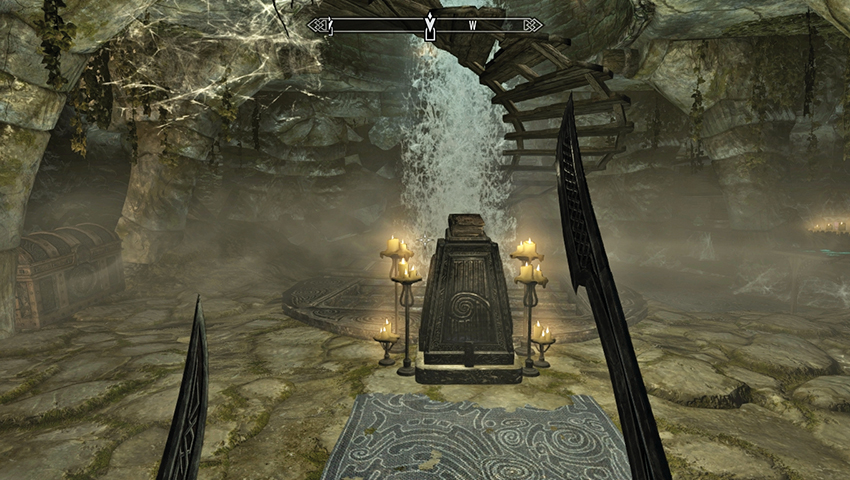
Move west, through the arch you didn’t come in from, and you’ll notice a pedestal at the bottom of some spiral steps and small waterfall. Check the alcoves for a chest and Arcane Enchanter. On this plinth is a legendary Black Book! Pick this up, and you’re transported into Apocrypha. You can:
- Reread the book in your inventory to return to Tamriel.
- Or complete your trek into this part of Apocrypha. This means finishing Solstheim Side Quest: Black Book: The Winds of Change. Consult that quest for the walkthrough of this realm.
- Black Book: The Winds of Change
Vindication and Celebration
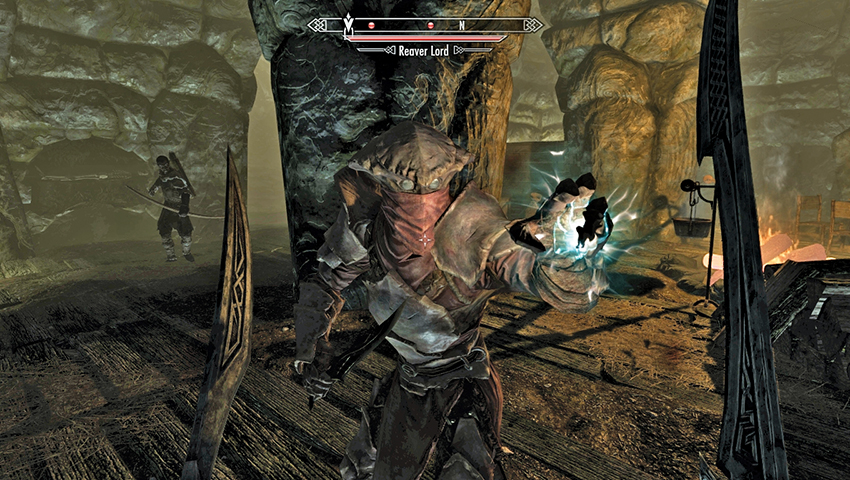
Back in Raven Rock Mine, ascend the spiral steps to the door and enter Bloodskal Barrow. Move along the rough tunnel to the handle that reveals a secret rock door. Enter the subsequent Draugr tomb and engage a motley collection of Reavers. Slay them and pass an Alchemy Lab as you ascend past more plunderers and a couple of Altmer corpses. Exit through the door back into Solstheim, and the Bloodskal Barrow exterior.
- Objective: Return to Crescius Caerellius
- Target: Caerellius House, Raven Rock
Quest Conclusion
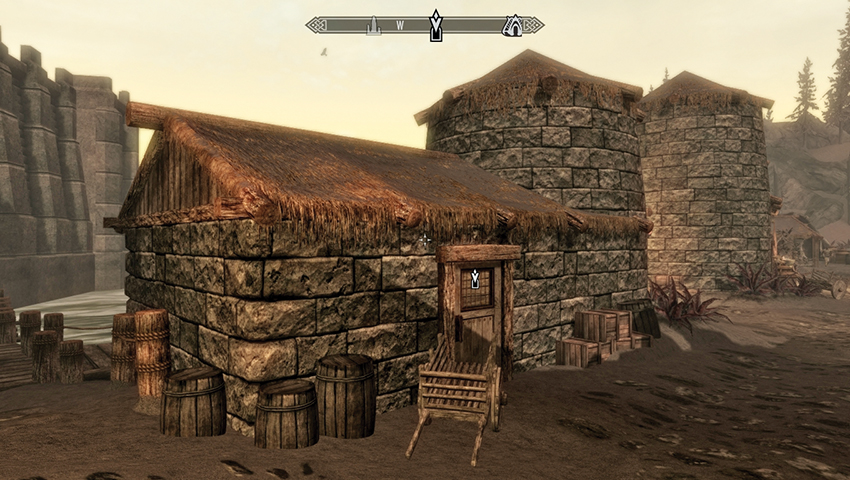
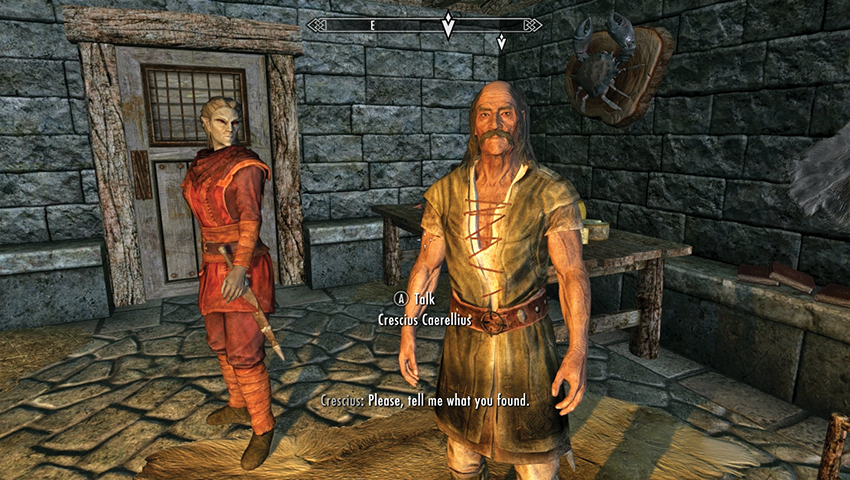
Descend the two towers of Bloodskal, facing off against Reaver foes as you go and rummaging around for a chest [Adept] atop the second tower you reach. Once at the base of the towers, make a quick trip back to Raven Rock and search for the Caerellius House, close to the docks. Find Crescius and hand over the journal, vindicating his stories. He offers you a small gold reward for your troubles and can speak about the few Imperials in this town and his family.
- [Leveled] Gold
Postquest Activities
If you leave Raven Rock for a few days and then return to Crescius and Raven Rock Mine, the old man has convinced other miners that the area is safe to return, and the mine reopens. You can gather ebony ore from up to nine veins that are newly excavated.
- Ebony Ore Vein (9)
From the Ashes
A Pain in the Ash
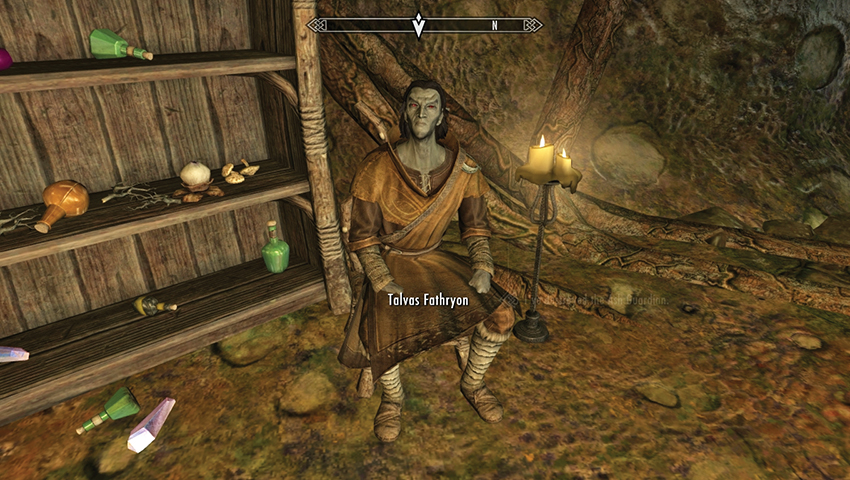
Usually on your third or fourth trip into Tel Mithryn, you may see Neloth’s apprentice, Talvas Fathryon, approach you. He’s more than a little flustered, telling you that he conjured an Ash Guardian, and now it’s running amok. You can:
- Ignore him, which doesn’t go down well.
- Offer to destroy it for him.
- Ask how this occurred.
- Or tell him this is his mess to clean up.
Any of those responses is fine, as you’re able to complete this quest with or without Talvas’s approval. You can also report the matter to Neloth. He isn’t happy about his foolish pupil’s lack of conjuring skill but leaves the combat options up to you.
- Objective: Destroy the Ash Guardian
- Target: Ash Guardian, Tel Mithryn
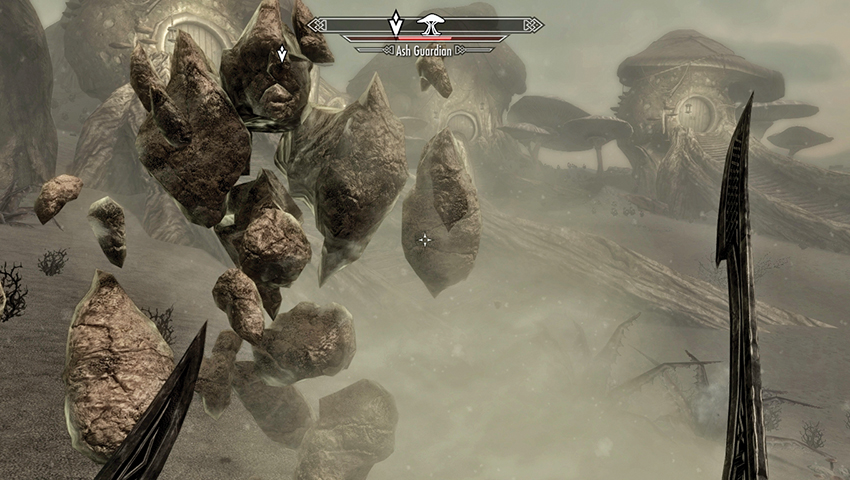
Search the settlement outside for signs of a ruckus, and then approach and defeat the whirling dust storm of rock and magic. The Ash Guardian fights with melee strikes, blasts of choking dust, and (more rarely) a powerful but short-range Fire Storm. Slay the boulder-beast while avoiding its more potent strikes.
- Objective: Talk to Talvas
Quest Conclusion
Return to Talvas, who is usually in Neloth’s tower, worrying about his master’s wrath. Tell him of your success, and he rewards you with the Ash Guardian spell, if you have the skill to cast it, or a staff if you don’t. He also realizes his summoning spell went awry because he cast it without a heart stone; to conjure an Ash Guardian and bind it to fight for you, a heart stone must be present or the creature runs amok.
- Staff of Conjure Ash Guardian OR
- Tome of Conjure Ash Guardian
Postquest Activities
Talvas Fathryon will now join you as a Follower. Talvas will also sell you a Tome of Conjure Ash Guardian, if he has one in stock.
- Follower: Talvas Fathryon
Healing a House
Getting to the Root of the Trouble
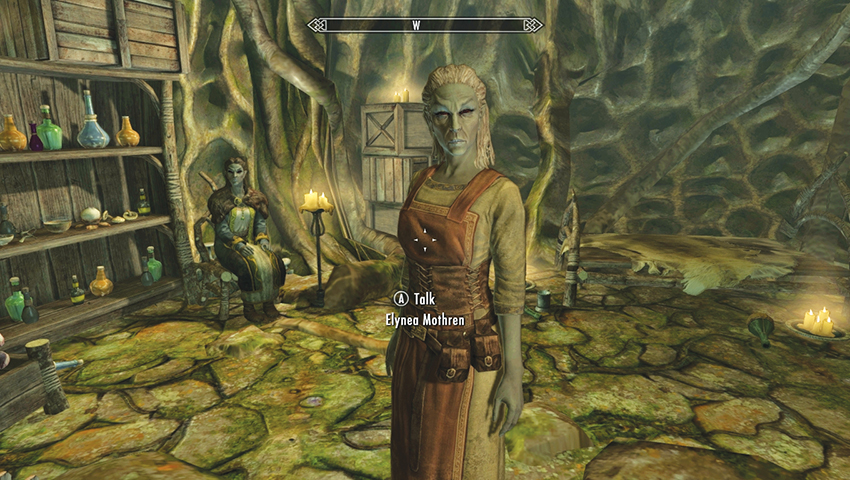
While you’re visiting the Telvanni settlement of Tel Mithryn, you might wish to investigate the outbuildings in addition to Neloth’s tower. Head up to the Tel Mithryn Apothecary, and you’ll meet Elynea Mothren, the caretaker of the tower; she is also an apothecary and a mycologist. She isn’t happy with her master Neloth. Inquire as to her perturbed nature. Neloth’s tower is in need of repair, and Elynea needs three taproots soaked in the Headwaters of the Harstrad River to fix it. Perhaps you might be of service?
- Objective: Get three taproots (3)
- Target: Taproots, from fallen Spriggan
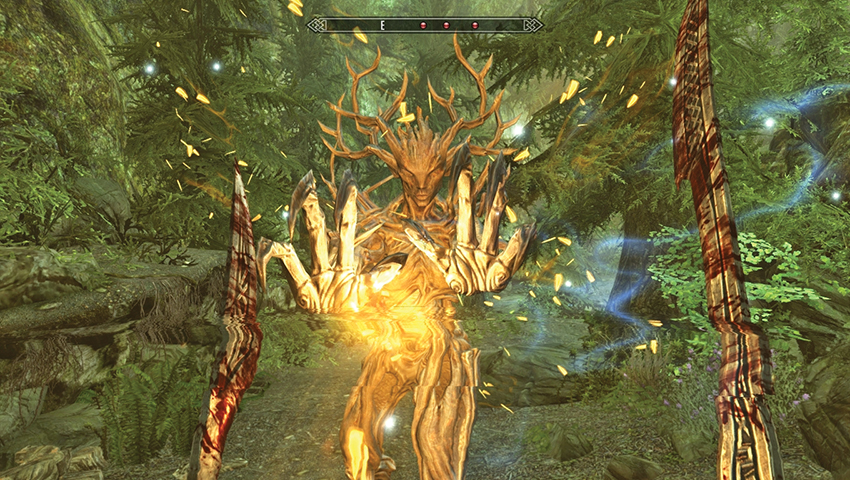
You can complete this objective in several ways:
- Locate any apothecary merchant and hope they have taproot to sell.
- Scavenge in town or in a dungeon on the off-chance you find some. For example, your home in Riften, Honeyside, contains two specimens.
- But by far the best plan is to hunt down Spriggan, slay them, and then search them for taproot. You’ll usually find one on each corpse. That means facing three of them. In this example, we journeyed back to Skyrim, trekked to Haafingar Hold, and entered Shadowgreen Cavern, where a trio of Spriggan are known to reside. After slaying them, we Fast-Traveled back to Solstheim.
- Or, if you wish to stay in Solstheim, you can wander the northern parts of the area, searching for Spriggan on a small island (Secondary Location: [S.NO] Giant Nirnroot Island) to the north and slightly northwest of Frossel. There are Spriggans there as well.
- Taproot (3)
Once you’ve secured three taproot, your objective updates:
- Objective: Soak the taproots
- Target: Harstrad Cave, at the Headwaters of Harstrad
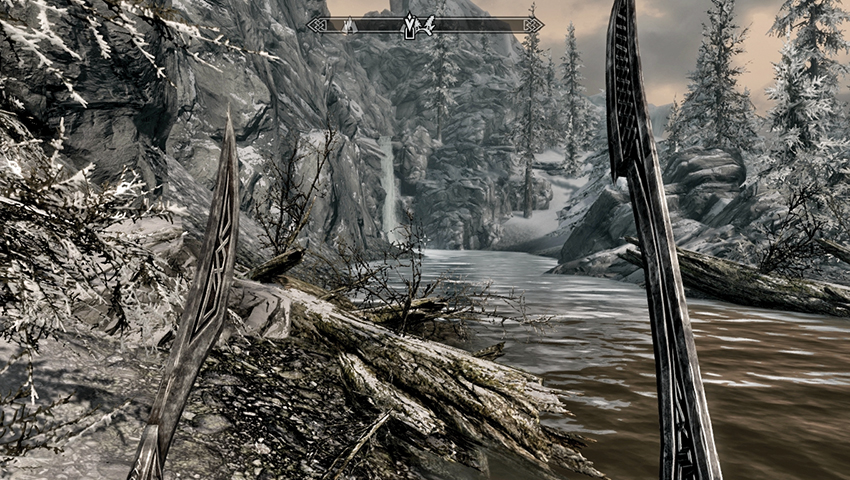
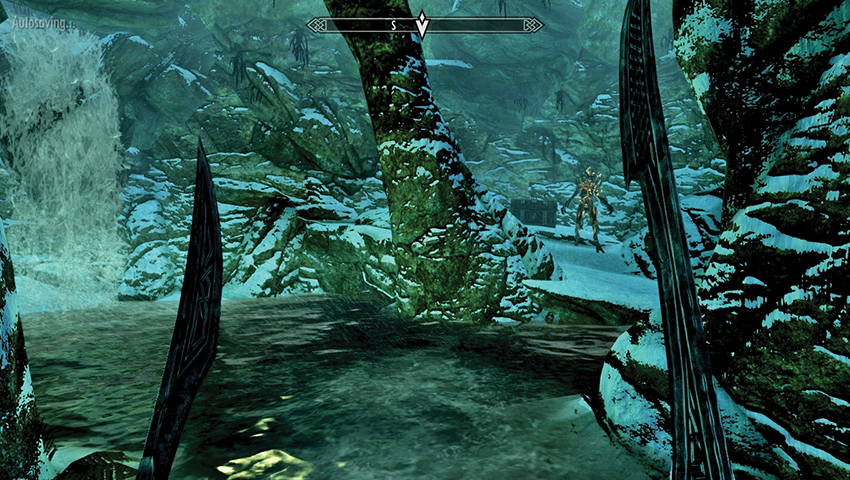
The Headwaters of Harstrad is in the northern climbs of Solstheim, north of the Temple of Miraak and west of the Wind Stone. Locate this body of water and head west toward the waterfall and into Harstrad Cave through the cascading ice water. Once inside this grotto, prepare for another Spriggan attack. Slay it, optionally checking the crumpled skeleton and large chest it was guarding; then stand in the middle of the water and activate the headwaters. The taproots should now be soaked to Elynea’s satisfaction.
- Objective: Talk to Elynea
- Target: Elynea, Tel Mithryn Apothecary
Quest Conclusion
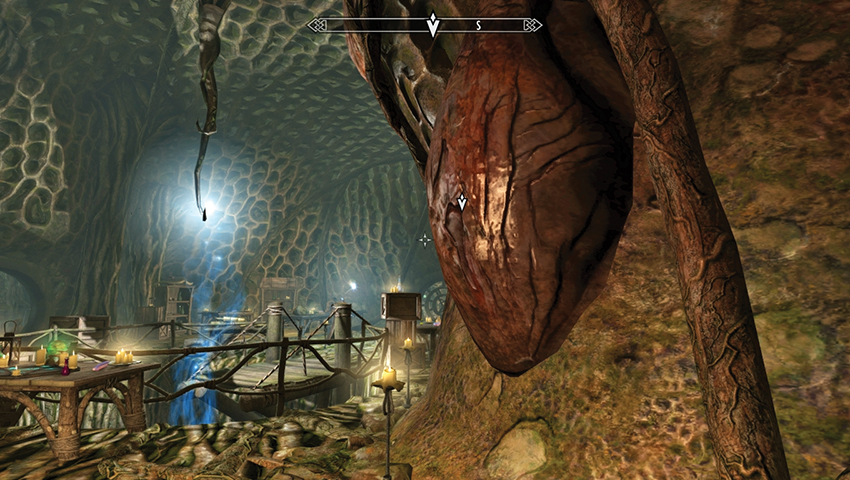
Back in Tel Mithryn, visit Elynea’s Apothecary once more, and inform her of your soggy taproot status. She’ll take two, but you must take the third taproot and plant it into the wall of the withered house.
- Objective: Plant the taproot
- Target: Withered wall, Tel Mithryn tower
Traipse over to the Tel Mithryn tower, float up to Neloth’s quarters, and survey the chamber. A bulbous and shiny protuberance on a wall to the northwest requires your taproot-planting skills. Once the taproot is inserted, your objective updates.
- Objective: Talk to Elynea
- Target: Elynea, Tel Mithryn Apothecary
Back at the apothecary, tell Elynea her soaked taproot is planted, and you receive a curt thanks and a couple of potions for your troubles. The quest concludes.
- [Leveled] Potion of Well-Being (2)
Postquest Activities
If you return after a few days, Elynea is happy to sell you more potions of Well-Being, in addition to the usual alchemy supplies. If you look closely, you will see that the exterior of Neloth’s home is looking better. Inside, Neloth has a new chamber and a few new test subjects.
Heart Stones
Rocks from Red Mountain
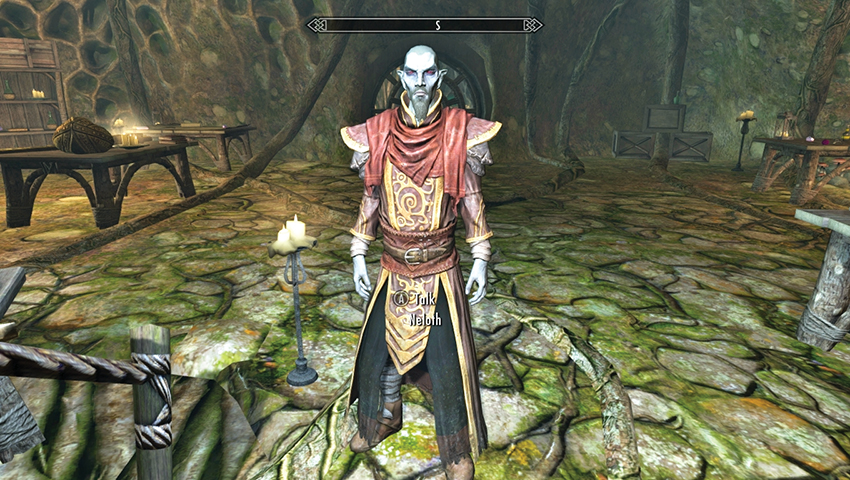
The aloof Dunmeri mage has another task for you to complete. Float up to his tower lair in Tel Mithryn and ask him, “Can I help with your research?” One (random) request Neloth has for you involves heart stones. He is running low on this precious resource and tells you:
- If you have one on your person, he’ll purchase it from you.
- Otherwise, he can tell you where you might find one. Ask where, and he explains that every time Red Mountain belches, more land in the vicinity of Tel Mithryn. You should look for impact craters or exposed rock.
- Objective: Get a Heart Stone
- Target: Heart Stone [a random location]
To the Heart of the Matter
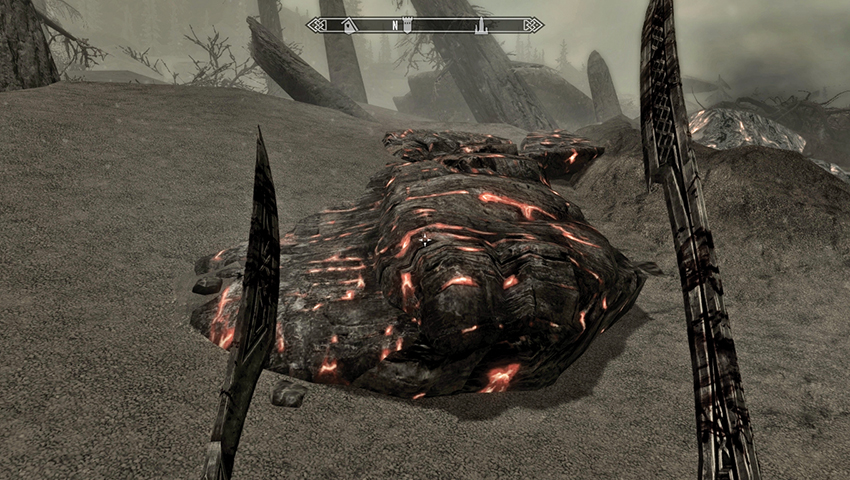
Leave Neloth’s tower and trudge through the silt and blowing ash heading left (south and west) out of town. Among the blasted tree stumps close to the beach are a few craters, as Neloth predicted. Or you can search for deposits around the upper edge of the town’s exterior.
There are a few other places on the surface of Solstheim to find these deposits, but mainly look within the fallen ash of Red Mountain, in the southeastern part of the island. When you find a deposit, use a pickaxe to mine it until the vein is depleted.
- Heart Stone
- Objective: Talk to Neloth
- Target: Neloth, Tel Mithryn
Quest Conclusion
Head back to Neloth, and the mage is relatively impressed by your locating and chipping skills, rewarding you with some septims for your troubles.
- Gold (250)
Postquest Activities
This quest is repeatable, although it occurs randomly. The Heart Stone is an expensive gemlike substance. It is useful to mine and is used when conjuring Ash Guardians or enchanting a staff.
Lost Knowledge
Unspeakable Tomes
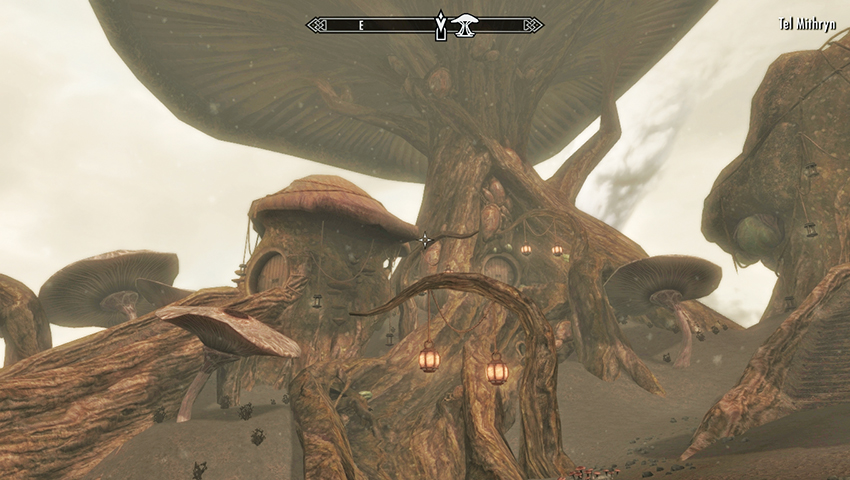
The haughty Dark Elf wizard you befriended during Dragonborn Main Quest: The Path of Knowledge is waiting to use you in his fungal tower—the largest structure in Tel Mithryn.
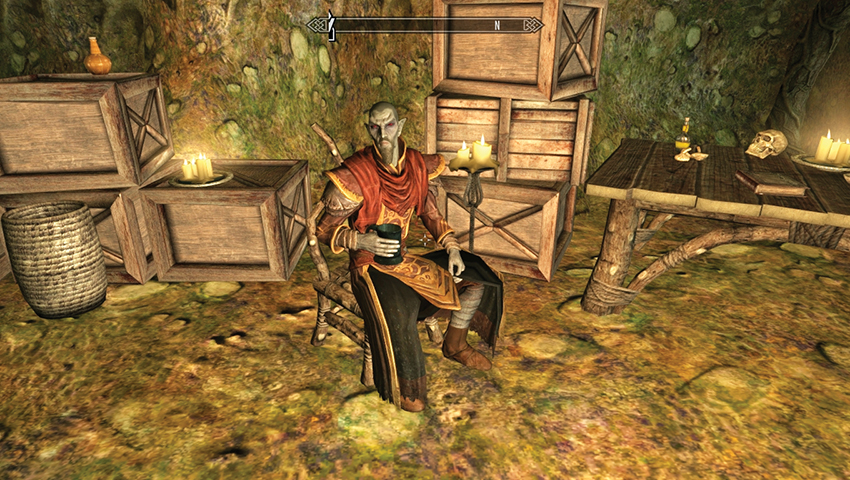
Float up to his quarters, and after some chatting about your heroics, Neloth brings up the Black Books. It seems Neloth has located another of them. He points out the location on your map and requests you obtain it for further study.
- Objective: Retrieve the Black Book
- Target: [Random] Black Book, in [a random dungeon]
Forbidden Knowledge
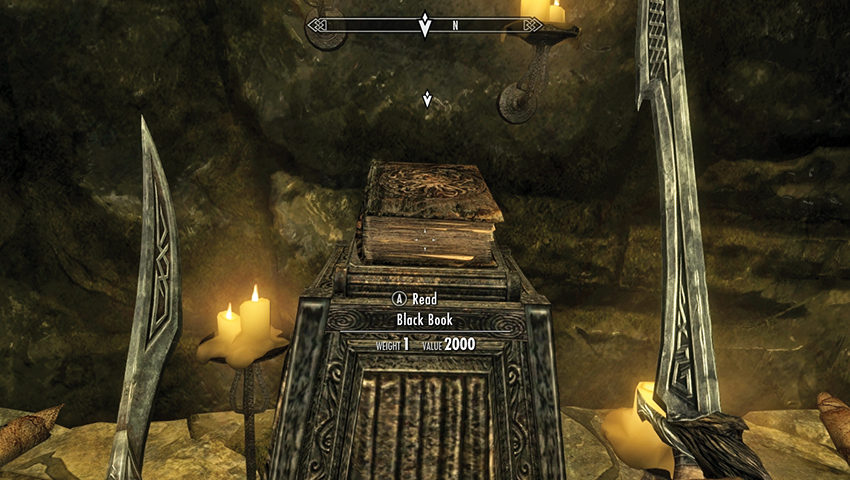
The plan now is to head to the dungeon Neloth has indicated, battle your way through the many denizens in there, snag the tome, and then locate the dungeon’s exit. However, there’s just one issue, aside from the dangerous guardian each Black Book usually has protecting it: When you take the book, you automatically read it and you’re transported to Apocrypha to begin one of the Black Book Side Quests. So prepare yourself for the journey (or open the book in your inventory and reread it to return to Tamriel). When you take the Black Book, this Side Quest objective updates too.
- Objective: Talk to Neloth
- Target: Neloth, Tel Mithryn
There are seven Black Books. Four of these are not related to this quest:
- Two you retrieve during the Dragonborn Main Quest.
- One is already in Neloth’s possession—it’s in Tel Mithryn’s Staff Enchanter room, which is locked until you complete Solstheim Side Quest: The Reluctant Steward.
- One is buried in the depths of Kolbjorn Barrow, so deep that even Neloth cannot locate it. To retrieve it, you must complete Solstheim Side Quest: Unearthed.
Neloth will send you to find the other three Black Books if you have not already found them.
- Black Book: The Hidden Twilight
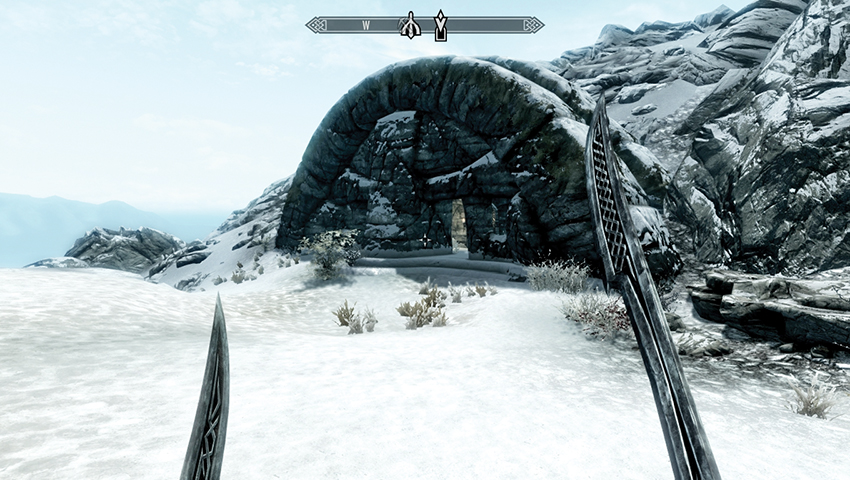
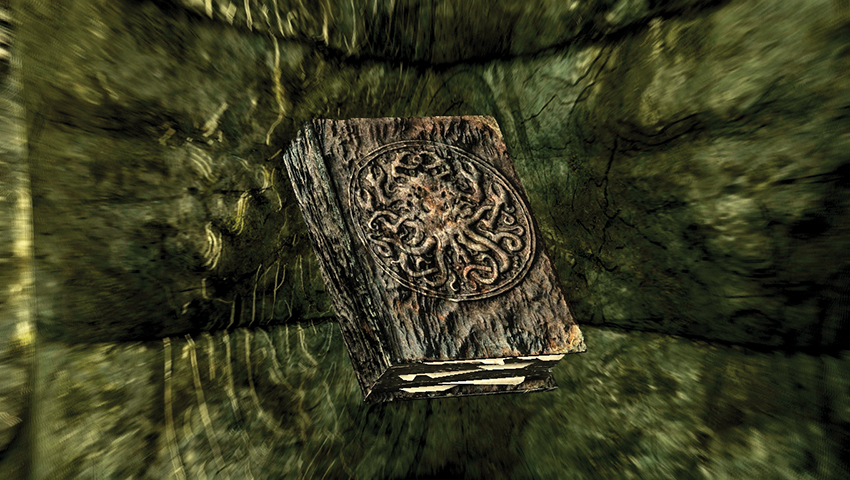
- Location: [S.N16] White Ridge Barrow
- Black Book: The Sallow Regent
- Solstheim Side Quest
- Related Solstheim Side Quest: Spider Crafting
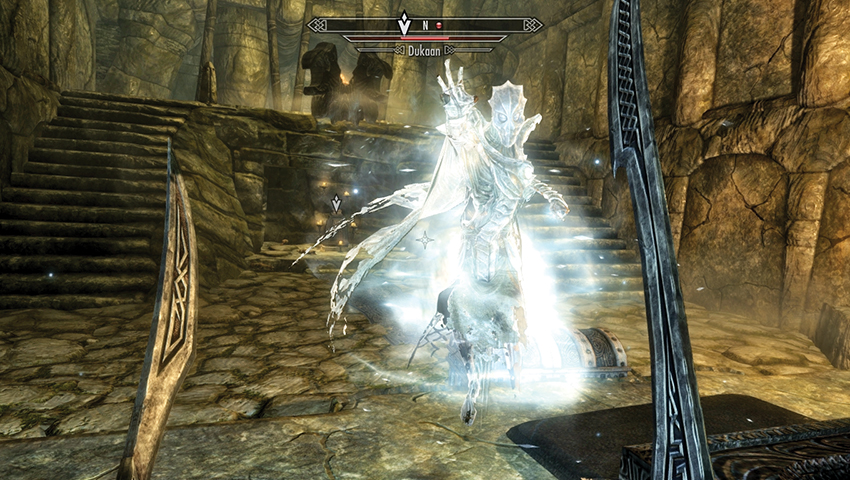
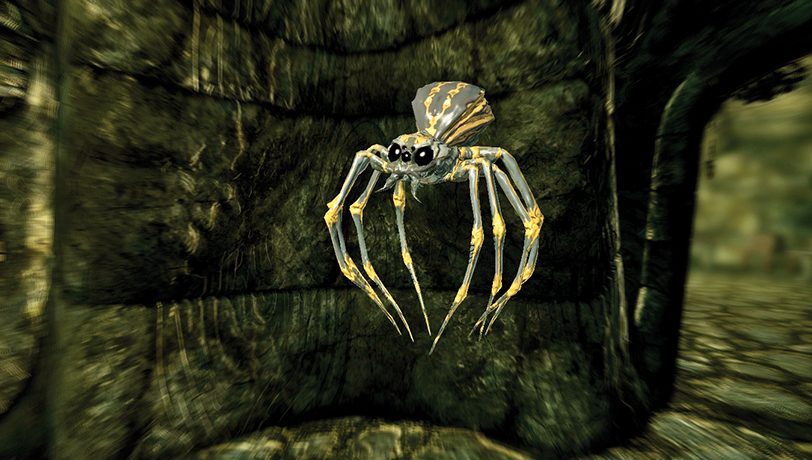
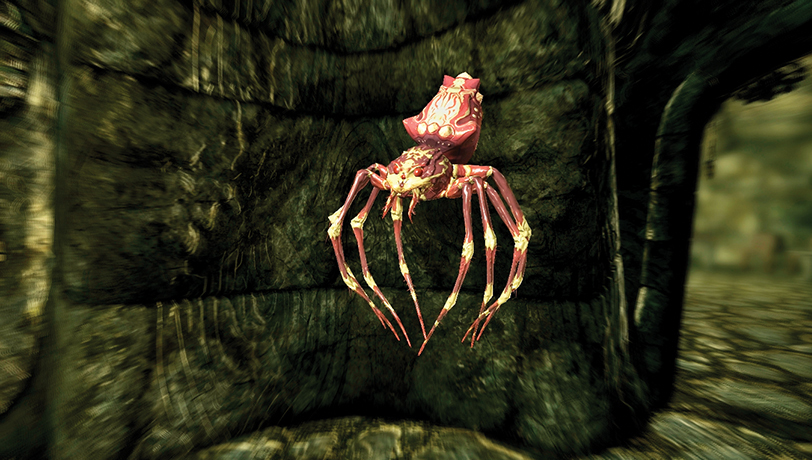
Winding Draugr catacombs, with dangerous (and sometimes explosive and poisonous) Albino and Flame Cloaked Spiders await you. The bandits here have succumbed to the spiders’ bites and are little more than puppets. The mage Merilar Rendas has been conducting experiments in White Ridge Sanctum. In its innermost chamber, you can also find the legendary Acolyte Priest Dukaan, who guards a Word Wall and the pedestal the Black Book rests on.
- Black Book: The Sallow Regent
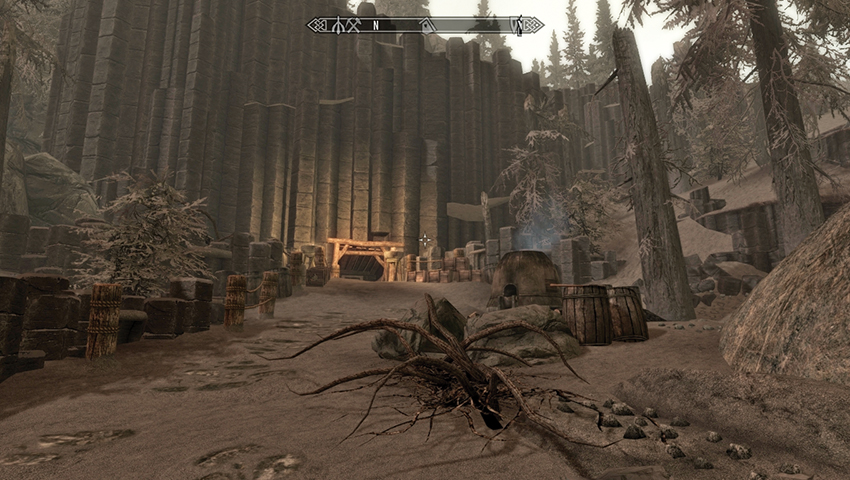
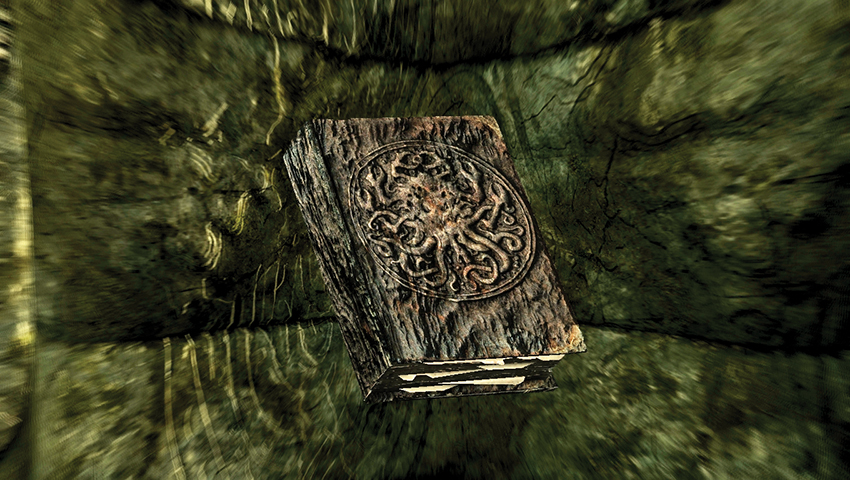
- Location: Raven Rock Mine (exit out to [S.S02] Bloodskal Barrow)
- Black Book: The Winds of Change
- Solstheim Side Quest
- Related Solstheim Side Quest: The Final Descent
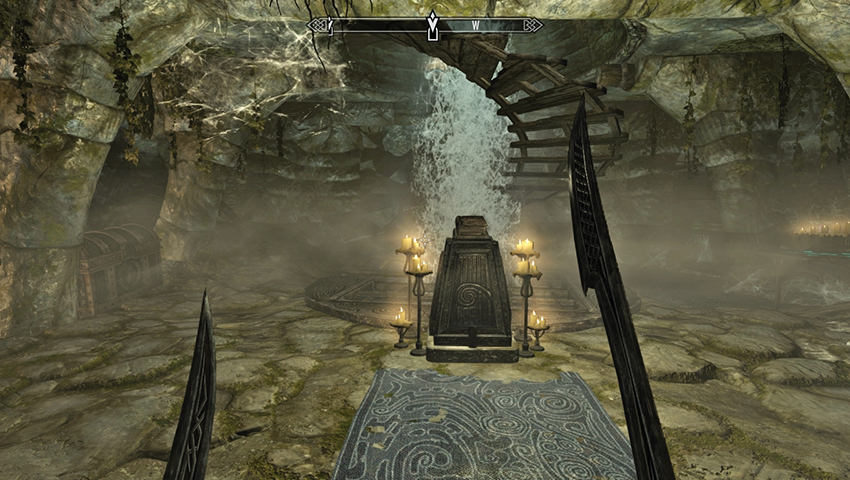
You must be on Solstheim Side Quest: The Final Descent to explore most of this area. A long descent down a treacherous mine shaft leads to spiders, Draugr, and a conspiracy to solve. You must then wade through a waterlogged crypt, enter a grand basalt chasm, use the Bloodskal Blade to open a sealed door, slay the terrifying Acolyte Priest Zahkriisos, and finally enter a small chamber with a tumbling waterfall and spiral staircase, where the book is located.
- Black Book: The Winds of Change
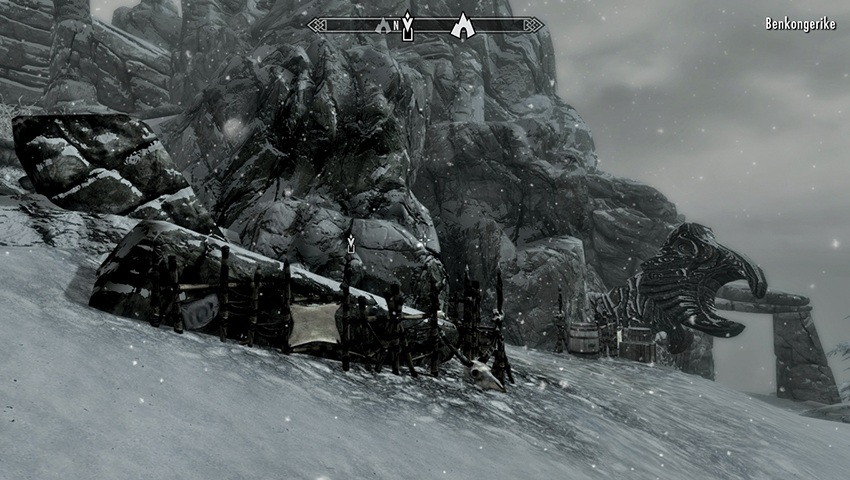
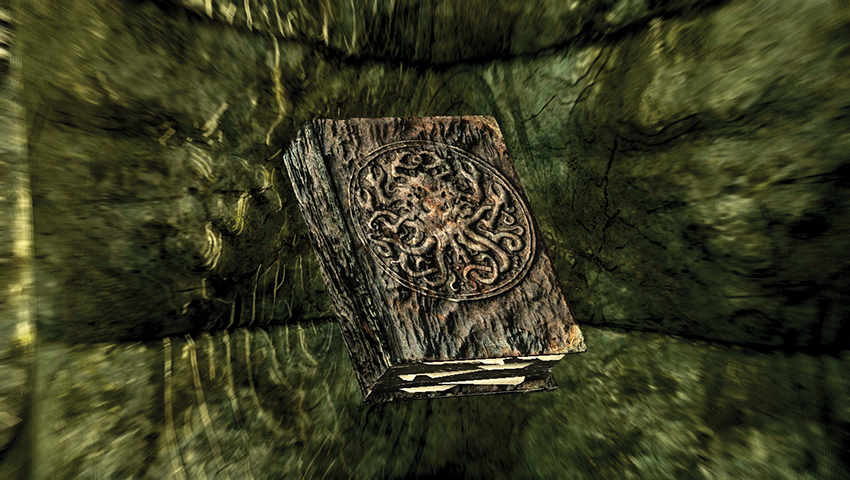
- Location: [S.N15] Benkongerike
- Black Book: Untold Legends
- Solstheim Side Quest
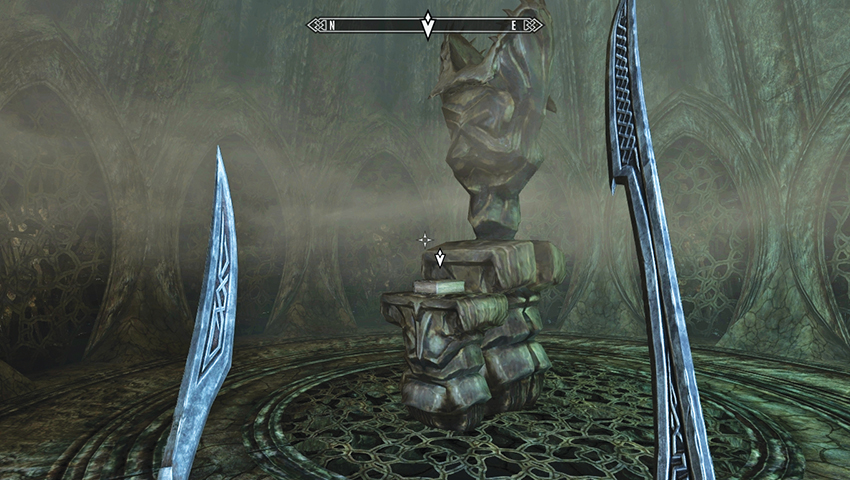
Benkongerike begins as a glacial cave system filled with multiple Riekling camps and traps and intermittent Riekling ambushes from their clusters of collected detritus. This changes to a Draugr dungeon as you reach the Great Hall. The place is teeming with Rieklings. Solve the Nordic puzzle, claim a Word of Power, and then read the Black Book in an adjacent chamber.
- Black Book: Untold Legends
Quest Conclusion
Trek back to Neloth, who is usually shouting at his apprentice Talvas or tinkering with his latest spells and other conjurings. Float up and mention that you have a Black Book in your possession. He eagerly takes it to make a copy before returning it. He also has a sizable gift for your efforts.
- Gold (1,000)
Postquest Activities
You can repeat this quest until you’ve found and showed Neloth all three Black Books. Simply look for “Can I help with your research?” in the conversation choices and this Side Quest may occur again.
Lost Legacy
A Sacrifice Will Bring You Closer to That Which You Seek
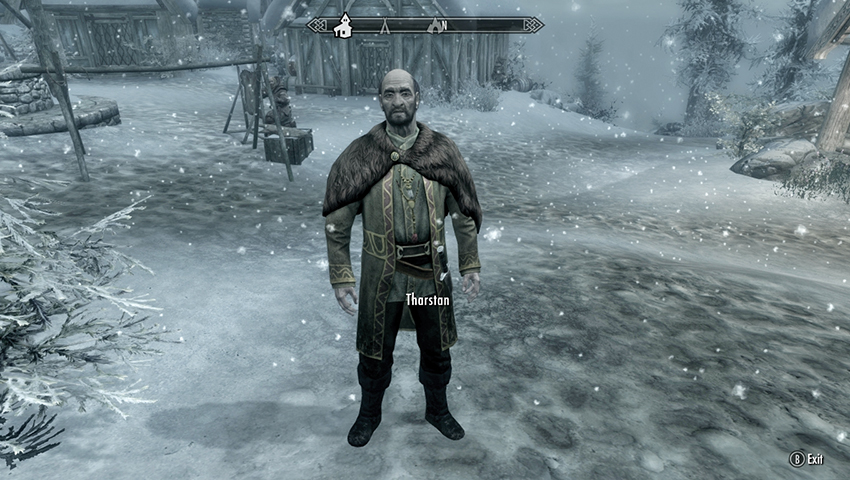
A historian named Tharstan stops to speak with you, noting your bravery when you looked for Baldor. It is this very courage he seeks in a partner to aid his forays into the many ancient ruins that cover the island. Tharstan has recently discovered a new passage, opened by an earthquake after one of Red Mountain’s eruptions. But the place may be dangerous, so he’ll pay you to watch his back down there. The quest starts and continues when you decide to meet Tharstan at the ruins. Before then, you can question him about his background and his studies.
- Objective: Travel to Vahlok’s Tomb
- Target: Tharstan, Vahlok’s Tomb (exterior)
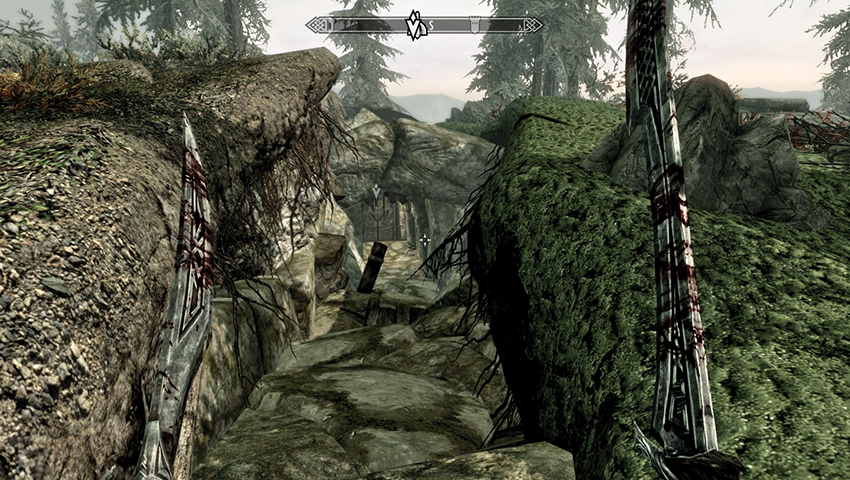
Vahlok’s Tomb is southeast of Thirsk Mead Hall and is reasonably difficult to spot; it’s a crack in the earth that’s wide enough to slip into and reach a previously hidden door to Vahlok’s Tomb. Open it, and head down the initial (south) tunnel to reach your new historian friend.
- Objective: Talk to Tharstan
- Objective: Explore Vahlok’s Tomb
- Target: Amethyst Claw, Vahlok’s Tomb
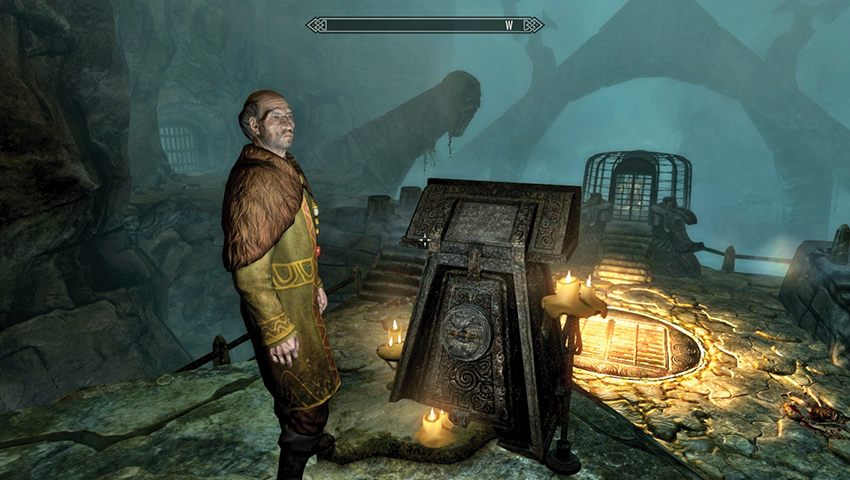
Tharstan is positively giddy about this newly uncovered crypt, and he’s already had a look around. Up until your arrival, the only area of interest is an inscription and a switch in the grand main chamber. Move to the pedestal (pictured), where Tharstan reads off a cryptic riddle written in the dragon language. It translates as, “A sacrifice will bring you closer to that which you seek.” Curious.
Tharstan descends to a glowing grate on the lower stone plateau, telling you to watch your step, as there are corpses strewn about the floor here. Tharstan wonders whether the fire beneath the grating has something to do with the inscription. Indeed it does:
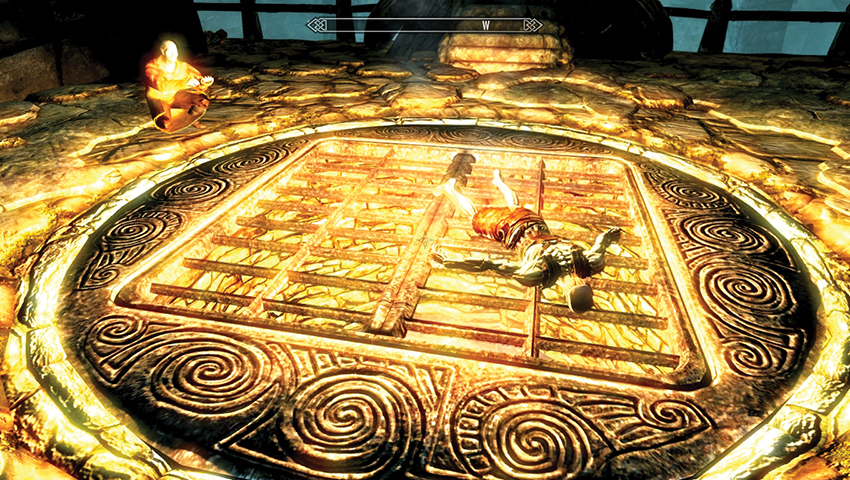
Puzzle Solution: Locate one of the dead Draugr and pick it up (press and hold down the appropriate button or key), and drag it onto the glowing grating. Then move to the pedestal with the inscription and pull the switch. The grating opens, and the corpse tumbles into the fire below. Well done! Ceremonial torches flicker into life on either side of the stone plateau, and portcullises to the left (south) and right (north) open. You’re able to head in either direction. Which way you go is up to you. Head left or right; you must solve puzzles on either side eventually.
All Men Must Die, Often by Their Own Means
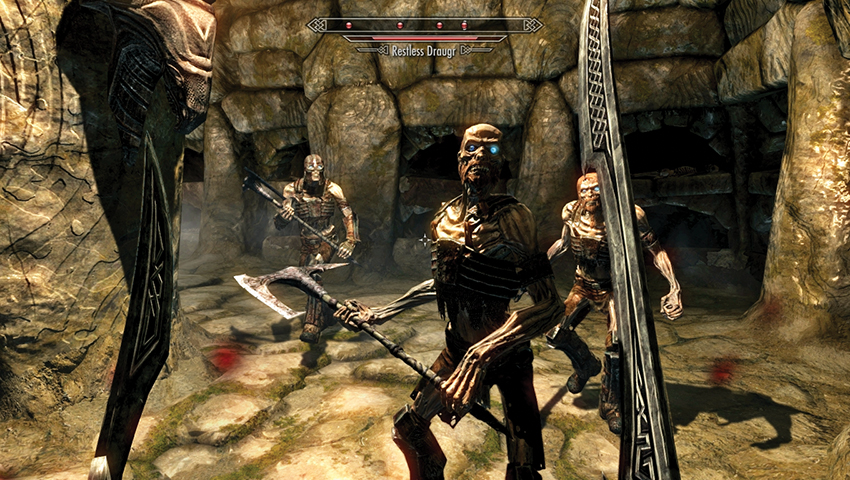
Head up the steps, passing the torches and under the open portcullis into a tunnel heading south. Turn left (east), opening the iron door and moving down into a Draugr crypt. As expected, you have company. Tharstan is a historian, not a fighter, so tackle the four or five Draugr by yourself; then climb the steps to the east, encountering one or two more Draugr before reaching a pull chain and barred archway. Pull the chain and enter a rather puzzling chamber.
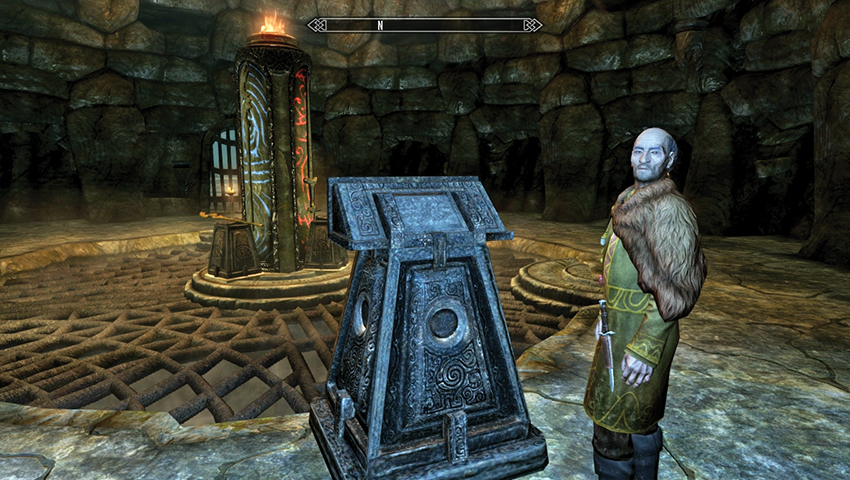
The exit arch opposite is currently sealed with a portcullis. Inside the chamber are three pillars around a central cylinder with odd, colored runes that glow with unnatural light. Tharstan inspects the pedestal plaque: “All men must die, often by their own means.” Sounds rather grim to him.
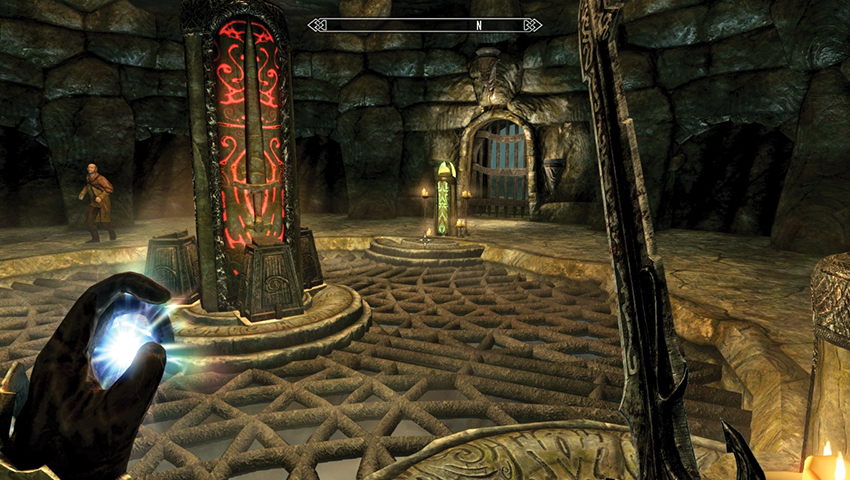
Puzzle Solution: The central pillar has three sides, all differently colored and each with a different weapon resting on or nearby their own pedestal:
- There is a green side with an Ancient Nord Bow.
- There is a blue side with a Staff of Flames.
- There is a red side with an Ancient Nord Sword.
The three smaller pillars have “impact stones” encased into them. These activate (glowing and changing color to match the part of the central pillar opposite) when a particular weapon is used to strike any part of the smaller pillar. However, the type of weapon is important:
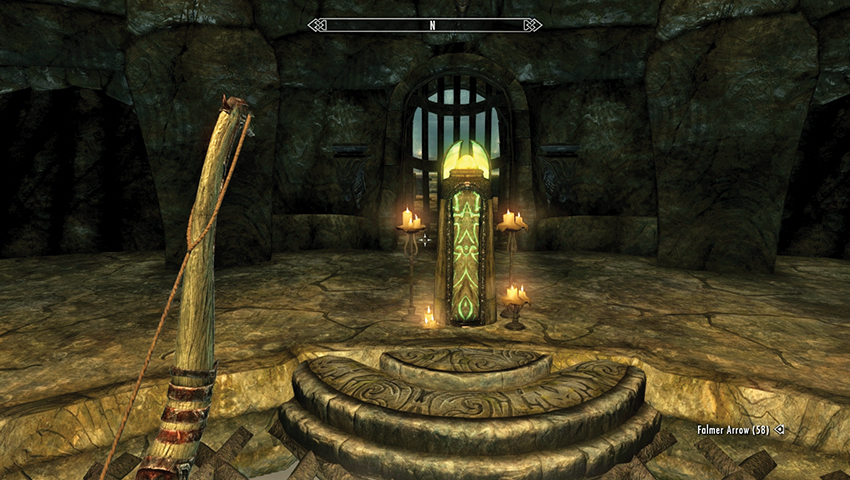
- Use the Ancient Nord Bow (or any other bow) and fire an arrow at the small pillar opposite the green side, so it lights up green.
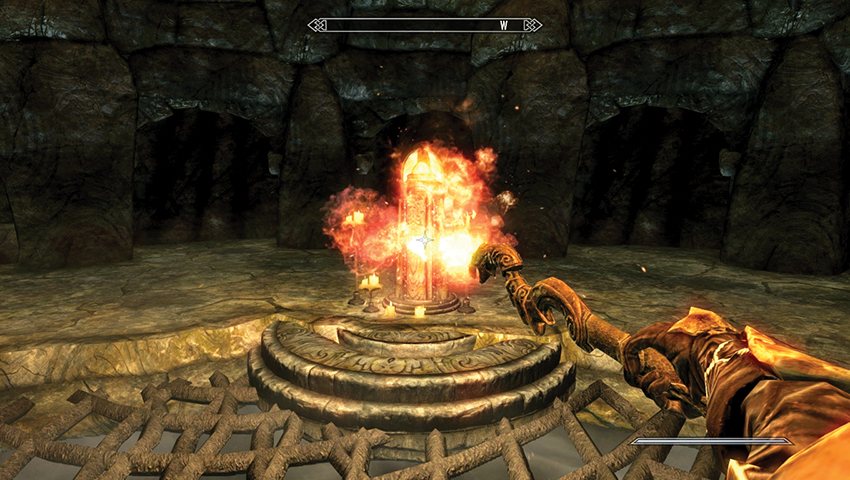
- Use the Staff of Flames (or any other staff) and unleash it at the small pillar opposite the blue side, so it lights up blue.
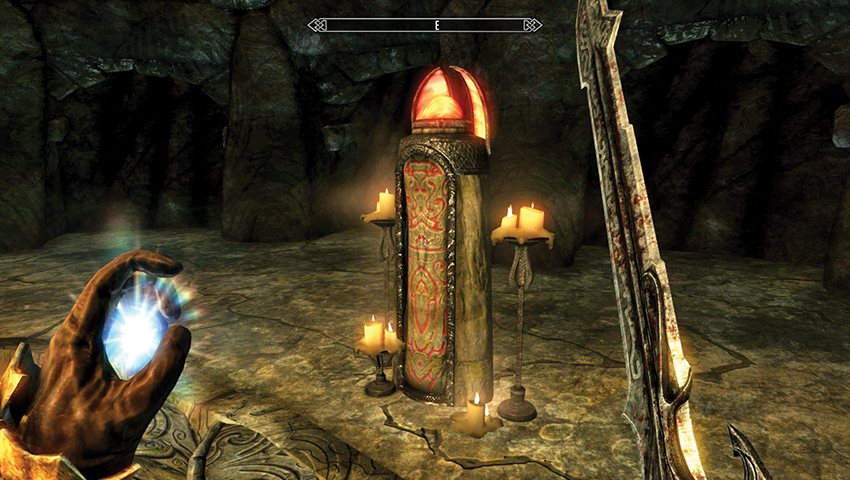
- Use the Ancient Nord Sword (or any other blade) and slash at the small pillar opposite the red side, so it lights up red.
The portcullis rises, and Tharstan is ecstatic. What lies beyond in the next chamber?
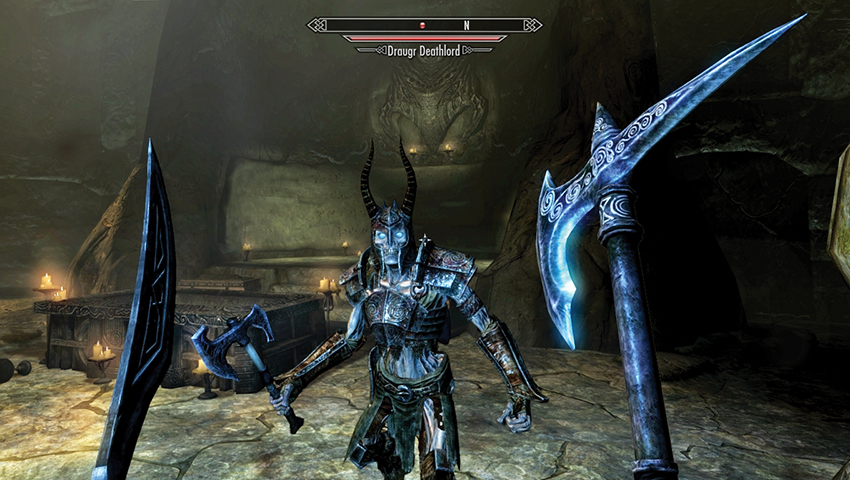
A particularly nasty Draugr rises from his central coffin, flanked by two lesser Draugr who break free of their nearer tombs. After a protracted fight (on your own, as Tharstan isn’t getting involved in this battle), inspect the Draugr corpses, the most troublesome of which is carrying the left half of an Amethyst Claw. Pry open two chests and gain a Word of Power. Meanwhile, Tharstan translates the runes on the wall, which describe a guardian who defeated someone named Miraak. Apparently this “Miraak” was a traitor. When you’re ready to go, leave through the gap in one of the western sarcophagi. Pull the chain at the tunnel’s end and step back into the initial grand chamber.
- Amethyst Claw (left half)
- Word of Power: Battle Fury
Continue Along the Path, Don’t Tread Where You’ve Been
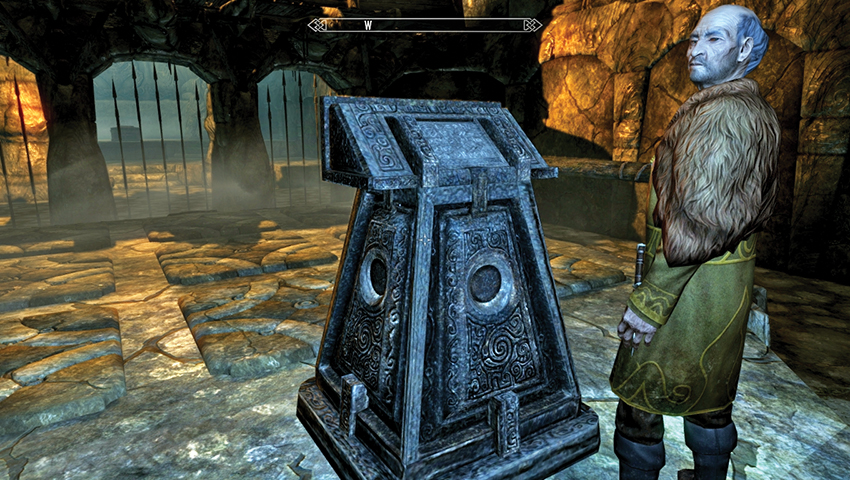
Head up the steps, passing the torches and through the open portcullis into a short tunnel heading north. Turn left (west) as the tunnel winds down, past a chest and into a rather puzzling chamber. Ahead are three archways, each with spears preventing your progress. Tharstan inspects the description on the raised pedestal near a group of nine pressure plates: “Continue along the path, don’t tread where you’ve been.” Interesting.
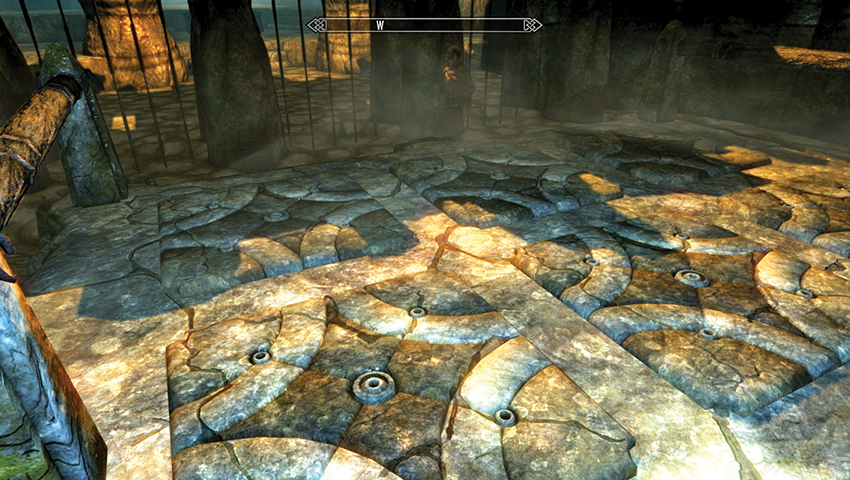
Puzzle Solution: Simply step onto the first plate in the near-right corner and sidestep left, zigzagging so you tread on each of the nine pressure plates only once. This is deceptively simple; as long as you don’t step on any plate more than once, and you don’t miss any plates, once you step on the ninth and last plate, the spears retract and progress is possible. Tharstan is excited. What lies beyond in the next chamber?
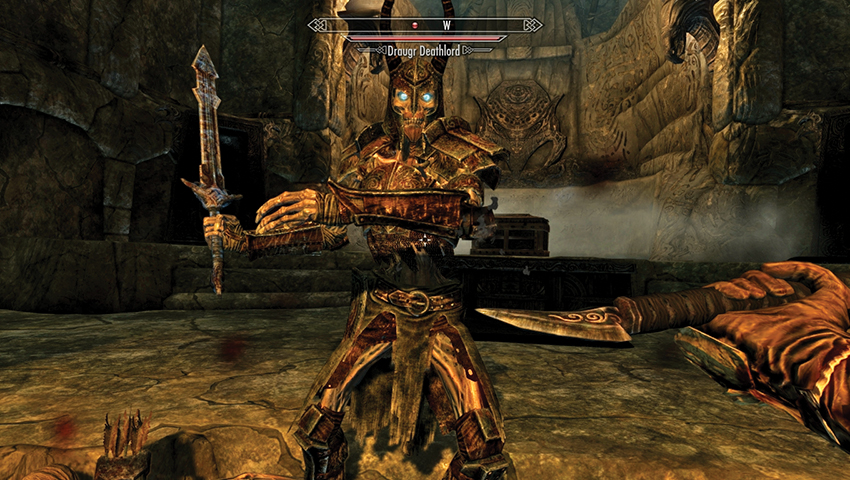
A powerful and troublesome Draugr clambers from his central coffin, and two lesser Draugr smash out of their nearer tombs. After a lengthy battle (by yourself, as Tharstan is paying you to remove all threats on his behalf), inspect the Draugr corpses, the most dangerous of which is holding the right half of an Amethyst Claw. Wrench open the chest and obtain a Word of Power. In the meantime, Tharstan ruminates on the wall runes, which refer to a guardian who inspired both men and dragons. He wonders if the guardian was himself a man or a dragon? When you’re ready to proceed, leave through the gap in one of the southern sarcophagi. Pull the chain at the tunnel’s end and step back into the initial grand chamber.
- Amethyst Claw (right half)
- Word of Power: Battle Fury
- Objective: Find the main burial chamber
- Target: Vahlok’s Tomb
Ethereal Above, Corruption Below
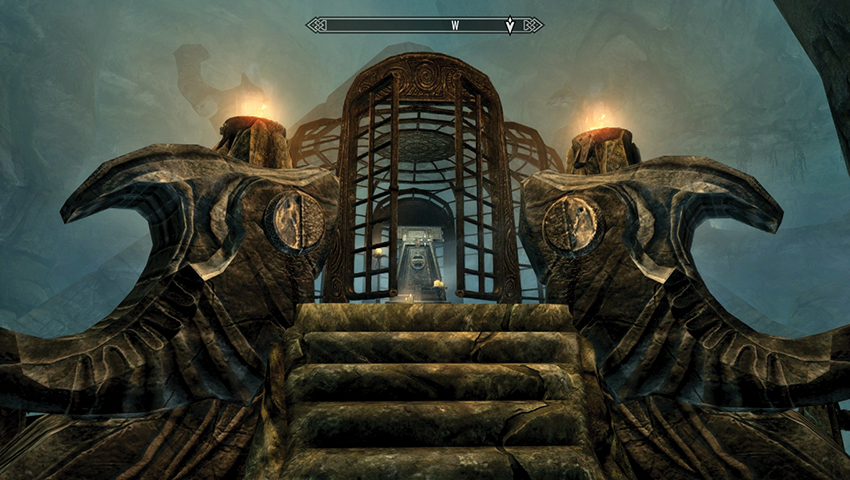
Move to the cage on the western side of the fiery stone plateau and inspect the indentations. These circular keyholes require you to place each of the Amethyst Claws into them, unlocking the cage in front of you. Pull the handle on the cage’s pedestal, and a series of ethereal blue platforms appears, linking a path to the ledge and door on the opposite wall. Tharstan is suitably impressed.
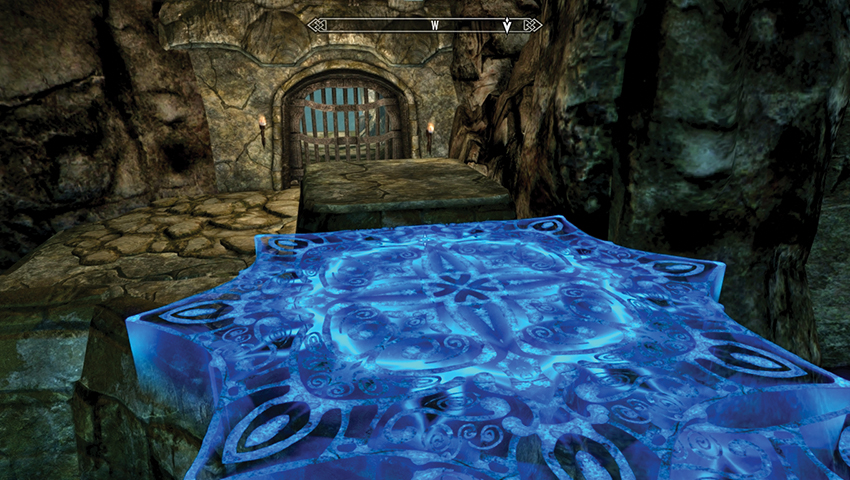
You may wish to trigger the platforms and watch how they appear (and disappear), and then activate the pedestal handle again. Follow the snaking path to the far ledge, drop down onto the dungeon passage heading west, and pass a barred door.
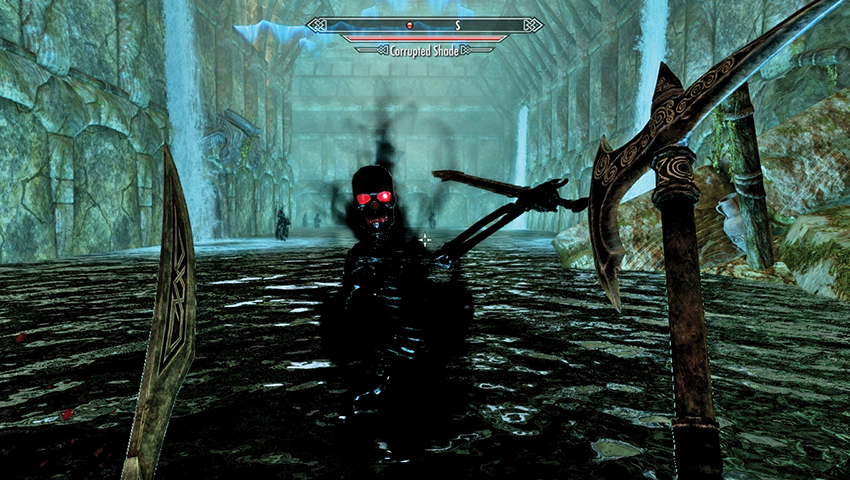
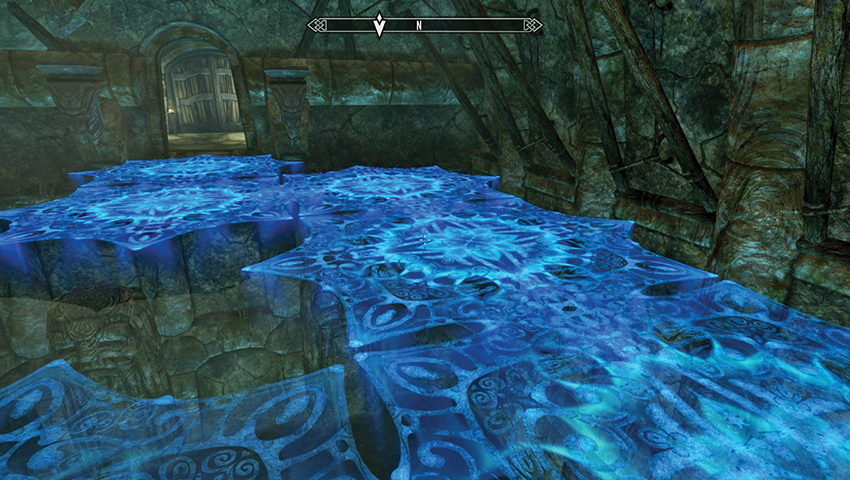
At the far end of the short tunnel is another pedestal and a handle. As expected, this releases another set of platforms, so quickly stand and follow each of them across the large waterlogged chamber to the upper tunnel across from you. This leads to another set of platforms, each time moving a little faster than before. Next comes a final set, moving so quickly you really need to run most of the time to reach the final ledge and double wooden doors.
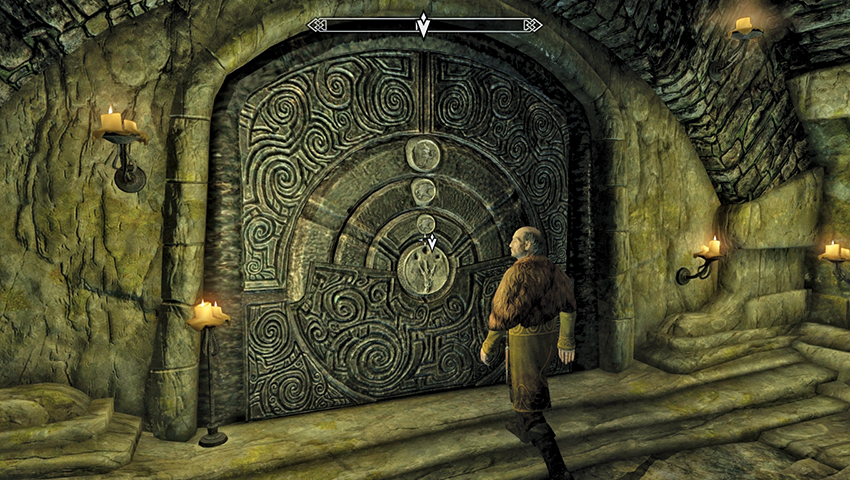
Through the doors is a Hall of Stories and a Nordic Puzzle Door at the far end.
Puzzle Solution: Those adventurers familiar with such a puzzle will know that the rings on this door correspond to a key on the palm of the claw the door opens. Not so this time! The palm of the Amethyst Claw is blank! While you’re scratching your head, Tharstan arrives and studies the door, then heads to the wall carvings to ascertain a combination. Among the etchings are the following clues:
- “A breeze, or maybe it’s wind.” This refers to the hawk, to be moved on the outer ring.
- “The night sky, and the moon.” This refers to the wolf, to be moved on the middle ring.
- “Something to do with fire, and scales.” This refers to the dragon, to be moved on the inner ring.
Vahlok Awakens
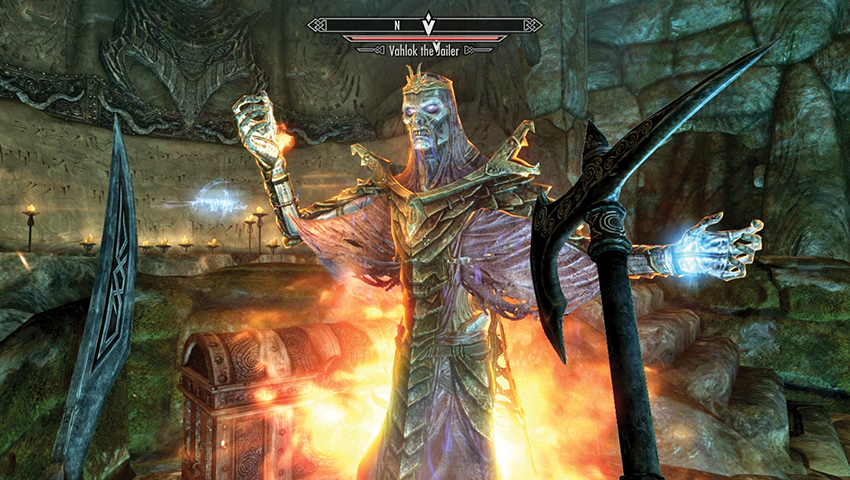
The door rumbles open. Pull the chain at the top of the steps to open a portcullis; this leads you out and into a high-status ceremonial tomb. As you edge forward, the stone sarcophagus ahead of you, near a large chest and Word Wall, cracks open as the Dragon Priest Vahlok the Jailer frees himself to face you!
The battle is frantic, and all the more tricky if you don’t combat Vahlok’s mainly fire-based attacks. Expect him to use Firebolt, Flame Cloak, Flames, and Incinerate, and he summons a Flame Atronach. Also watch for fire damage from the pressure plates dotted around the tomb; stay on the edges of the walkways or in the water, moving to the Word Wall to keep them from triggering.
- Objective: Talk to Tharstan
Quest Conclusion
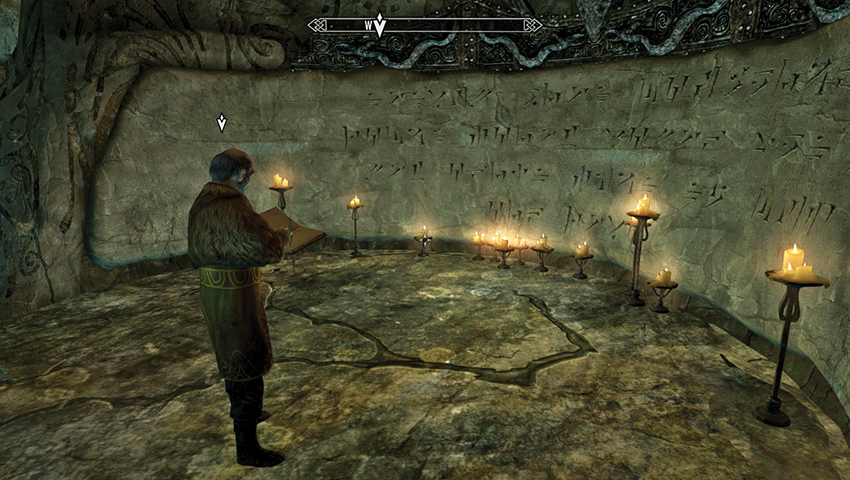
Tharstan is incredulous at seeing an actual Dragon Priest and believes there are numerous volumes to write based on this discovery alone! You’re paid for your help and can additionally learn the final Word of the Battle Fury Shout before leaving the way you came.
- Gold (1,000)
- Word of Power: Battle Fury
Postquest Activities
Vahlok was a Dragon Priest but did not wear a mask. You can revisit Tharstan and ask him more about the details of Vahlok’s life and his relationship with Miraak.
March of the Dead
Spawn on the Farm
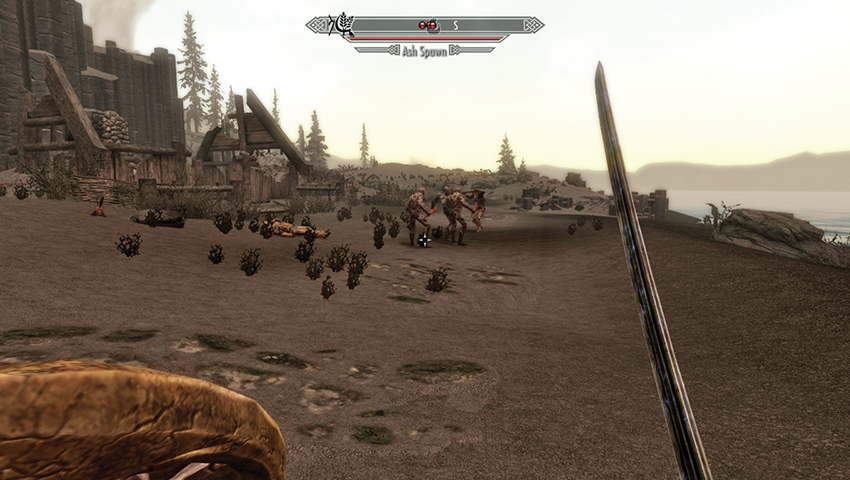
The first time you leave Raven Rock through the southeastern gate under the Bulwark, be on the lookout for a group of lumpy, grotesque, human-sized monsters attacking a Dark Elf soldier outside of an abandoned farmhouse (Old Attius Farm). As you close, you’ll discover Captain Veleth is valiantly defending himself against a trio of these misshapen Ash Spawn. The quest automatically starts now.
- Objective: Kill the Ash Spawn attacking Captain Veleth
- Objective: Speak to Captain Veleth
- Target: Ash Spawn outside Old Attius Farm
DLC2RR01-002.jpg
Charge in or attack from range, keep your strikes focused on the Ash Spawn, and try to avoid hitting Captain Veleth. Once all the foes lie in piles at your feet, head on over for a chat with the veteran guard. He laments his dead colleague and knows these Ash Spawn need to be stopped. You can:
- Tell him you’d be glad to lend him a hand.
- Tell him you’d be glad to accept payment for lending him a hand.
- Or ignore him and the quest stalls. Either of the previous conversations allows you to progress.
Veleth tells you to look around and see if you can spot anything useful in the vicinity of the farm. The objective updates, and you can quiz Veleth further regarding these foul creatures.
- Objective: Search the Attius Farm for clues
- Target: Old Attius Farm
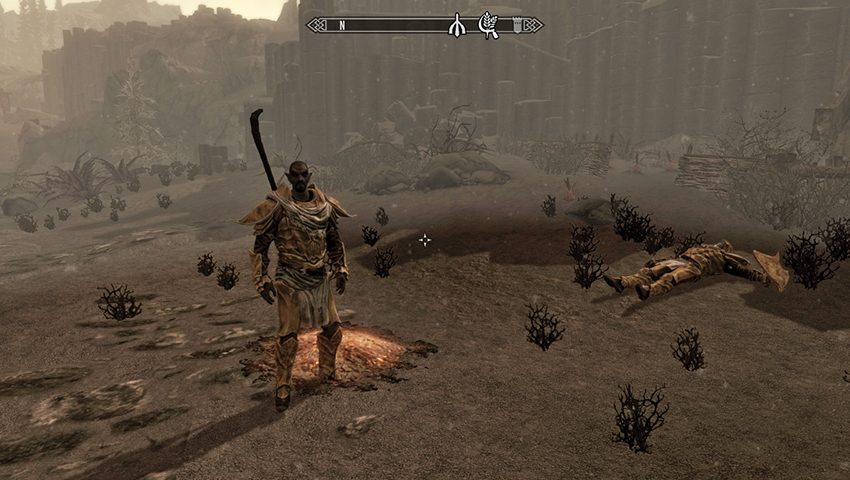
One of the Ash Spawn that you or Veleth reduced to a pile of sand-colored ash is carrying something of interest: a Declaration of War! This couldn’t have been written by these golems. Read the letter, which demands the unconditional surrender of Raven Rock! The writer is General Falx Carius, an Imperial who may have lost his mind. Veleth only confuses matters when you show him the letter; Carius was the garrison commander at Fort Frostmoth, but he died over 200 years ago during the eruption of Red Mountain.
- Declaration of War
Ask Veleth for further instructions, and he recommends you visit the fortress to see if Falx Carius is really dead, while Veleth returns to Raven Rock to prepare his men for more assaults.
- Objective: Kill General Falx Carius
- Target: General Falx Carius, Fort Frostmoth interior
Fortress of the Mad General
Climb up the sandy promontory heading roughly east. You soon reach the perimeter of the fortress, now in a terrible state of disrepair. However, this hasn’t fazed the current occupant, as you can hear General Falx Carius yell that an intruder has entered the fort, alerting the Ash Spawn guarding the battlements. Your fight into the fortress begins now!
Scrambling over the broken corner section in the fort’s northwestern part is a good way to enter the area, as you have a height advantage and an easy way to escape. Use this route if you’re focusing on long-range magic or arrow attacks.
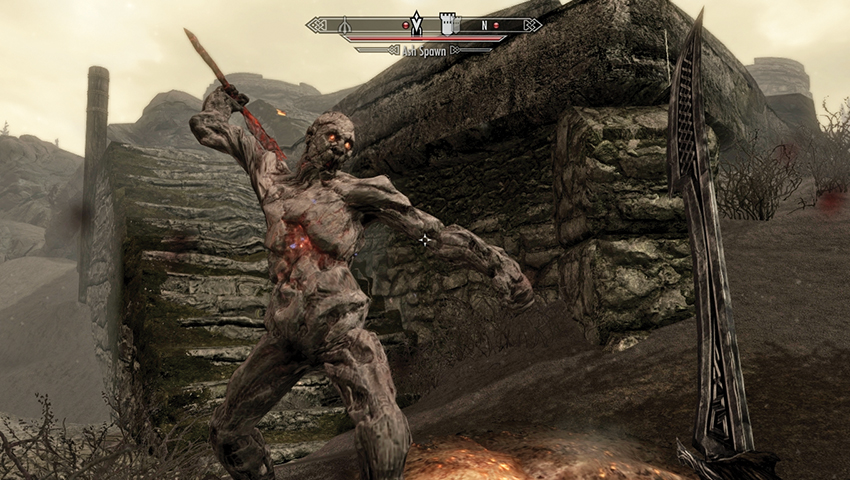
Heading up the hill from the south isn’t wise, as there are Ash Spawn with swords and ranged fireballs across the crenellations forcing you to hide or battle and shrug off numerous attacks.
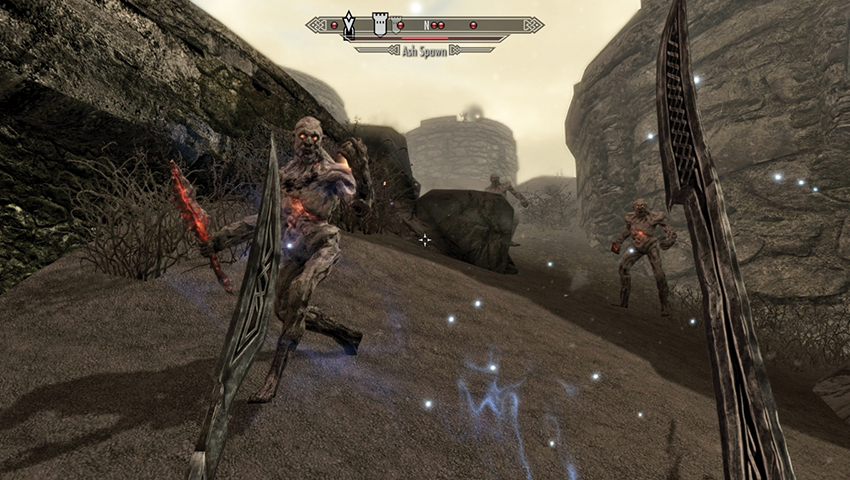
Sneaking around to the lone southeast tower and slaying the Ash Spawn there is a possible plan. Then maneuver up onto the southern battlements or into the main ash-filled central area.
Deal with the Ash Spawn outside so they don’t rush in behind you as you enter the fortress. There is a single access point—the door near the tattered banner along the western wall. Expect to fight around five or six Ash Spawn before you reach it.
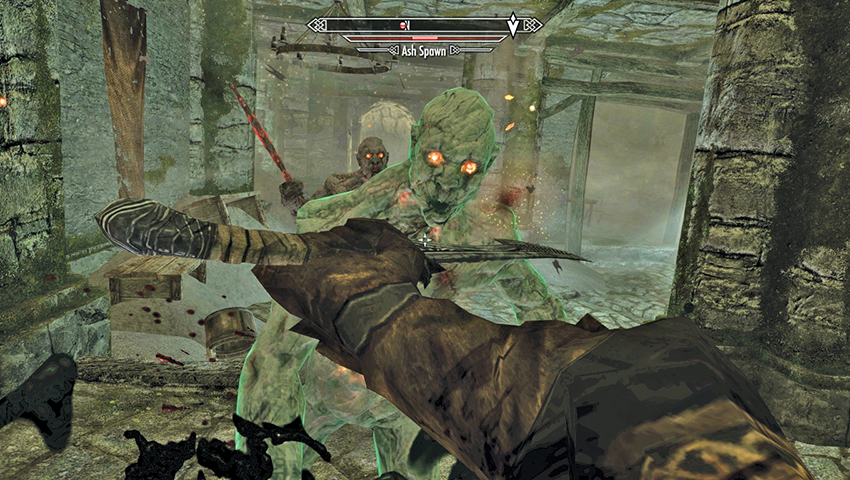
The initial passageway heads north-south with three Ash Spawn to battle as you head east to join the passage. Remove all the threats, optionally checking the side chamber and ladder up to an exterior tower before turning and moving down the steps along the north tunnel.
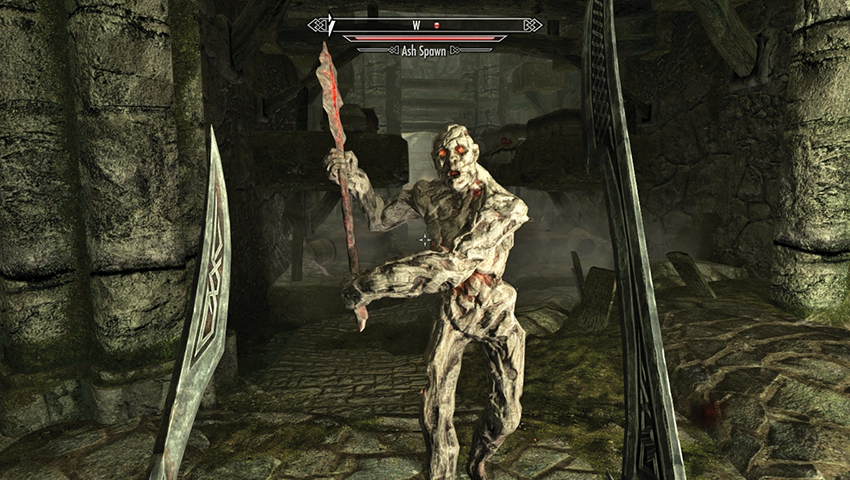
Another two tough Ash Spawn appear in this lower training area. To the east is a sealed wooden door requiring a key, so locate the opening in the north wall and head down into the main crypt area. Expect another two Ash Spawn to waylay you before your exploration takes you west to a central tomb surrounded by coffin ledges. Atop and at the foot of the coffin are two items of great interest: Ildari’s Journal (which details a sorcerer’s ill-fated attempts to resurrect and control Falx) and a knapsack containing the Fort Frostmoth Key.
- Ildari’s Journal
- Fort Frostmoth Key
Reduced to Ash
This key allows you to open the wooden door upstairs that you couldn’t breach a moment ago. Ascend the steps heading east into an ash-filled hall where the resurrected but uncontrollable remains of General Falx Carius are waiting for you. Armed with a crushing Champion’s Cudgel, Carius attacks immediately, prompting you into a fight with him and the four or five Ash Spawn that soon arrive to hamper your progress.
- Fort Frostmoth Key
- Champion’s Cudgel
- Objective: Return to Captain Veleth
- Target: Captain Veleth, Raven Rock
Quest Conclusion
With Carius dead (again), search his remains, loot the large treasure chest, and grab any other items you wish before leaving via the door in the south wall (unlocked using either of the Fort Frostmoth keys) and returning to Raven Rock. Captain Veleth is usually patrolling the battlements or central market area. Let him know you’ve dispatched General Carius, and he expresses regret, as the general helped found Raven Rock...before he was raised from the dead and went mad, obviously. Veleth mentions Councilor Morvayn has offered a gold reward for your help, and the quest concludes.
- Gold [leveled]
Postquest Activities
Captain Veleth has a Favor to offer now that you’ve finished this quest, as do many of Raven Rock’s inhabitants.
A New Source of Stalhrim
Hard as Iron and Cold as Death
This quest is accessible only after you complete Dragonborn Main Quest: The Fate of the Skaal and you’ve visited the Skaal Village. When you’re there (or you leave and return one or two times), you’ll overhear the village chief Fanari Strong-Voice discussing the disappearance of the village’s blacksmith, Baldor Iron-Shaper. Deor is certain he saw two elves maneuvering something suspicious in the nearby woods. The following Miscellaneous Objective is now active:
- Objective: Ask Deor about Baldor’s disappearance
- Target: Deor Woodcutter, Skaal Village
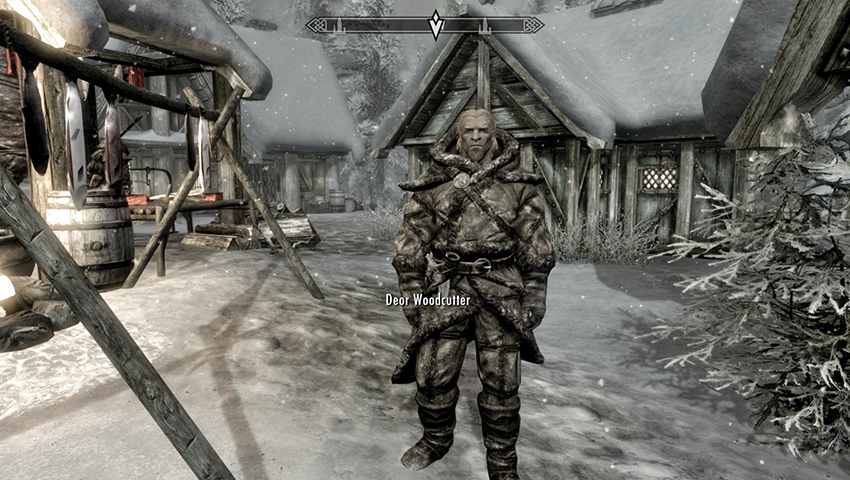
You can now stop and speak with the gruff and curt Deor Woodcutter. He tells you Baldor forges Stalhrim, an art sacred to the Skaal. To make such weapons, others would need to learn that knowledge from Baldor. He reiterates the story of the two elves dragging something behind them in the forest. They were headed south and west. You’re to search for any sign of Baldor; the Skaal would be grateful.
- Objective: Search for Baldor Iron-Shaper
- Target: Baldor Iron-Shaper, Abandoned Lodge
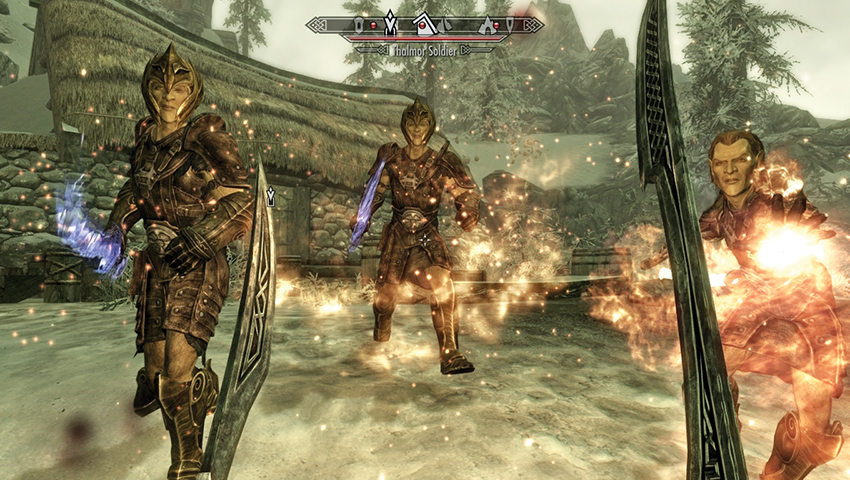
Baldor’s last known whereabouts were centered around an abandoned lodge to the southwest, close to Frostmoon Crag. When you finally reach this lodge, a group of four Thalmor impolitely dissuade you from any further progress. Engage them in combat, and loot each corpse after you defeat them. One of them is carrying the key to the lodge and a handwritten note. Curious...
- Key to Abandoned Lodge
- Handwritten Note
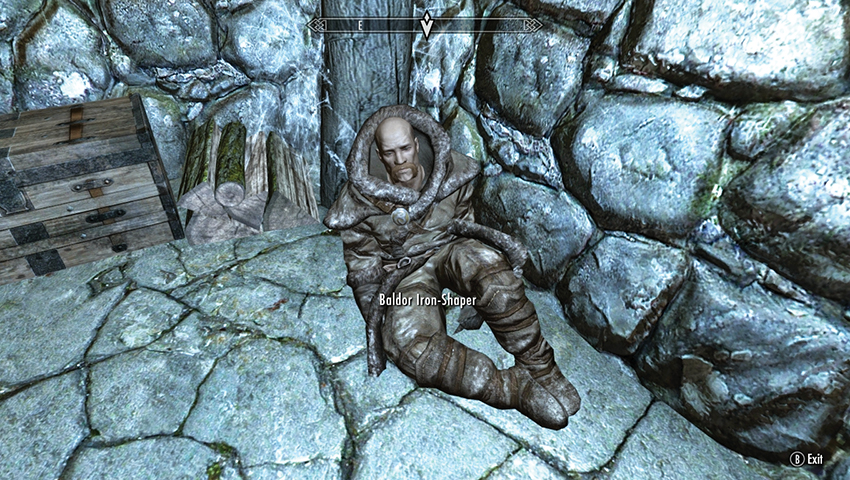
The note is a stern message from “A,” regarding a severe displeasure at the lack of successful interrogation. The key opens up the lodge, which is otherwise sealed. Head inside, surveying an untidy huntsman’s refuge, but don’t forget to head down into the cellar; the missing smithy is trussed up in a corner yelling for help! Baldor remembers you and your help to the Skaal. Now these elves have taken him from his home and are interrogating him. Their leader Ancarion has a map, supposedly showing a hidden source of Stalhrim. The map belongs to the Skaal; Ancarion’s fate is in your hands!
- Objective: Retrieve the Stalhrim Source Map
- Target: Ancarion, Northshore Landing
Ancarion’s Actions—Threatening the Thalmor
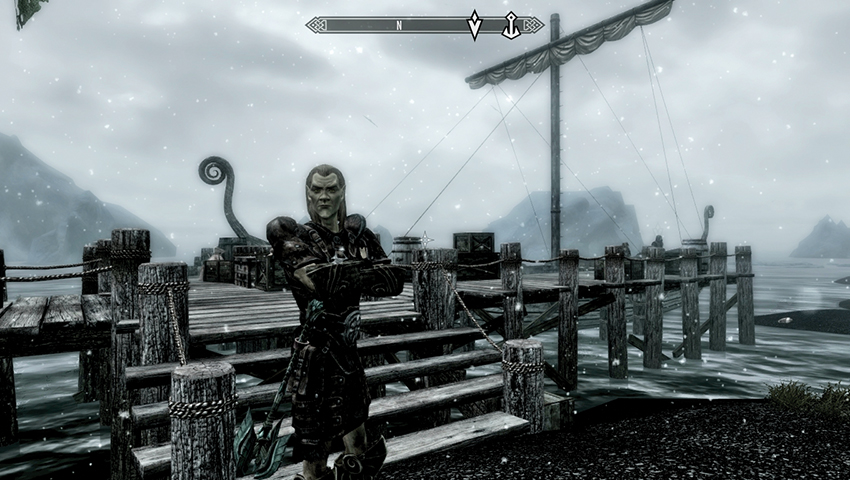
Along the rugged northwestern coast near the glacial caves and snowy mountains is a little-known windswept pier. Head to Northshore Landing, sheathing your weapons as you close in on an Altmer boat with three Thalmor soldiers guarding it. You’re told to move along, as you’re apparently trespassing. You can:
- Tell the upstart that you have business to discuss with his leader. This affords you a conversation with Ancarion.
- Tell the soon-dead High Elf to taste your blades and begin combat. End it after all three soldiers and Ancarion are bleeding into the water.
Assuming you didn’t wade in thirsting for blood, board the vessel and speak with Ancarion. As expected, he is a haughty and objectionable High Elf. He doesn’t seem interested in your request for the map and asks why he shouldn’t kill you where you stand. You can:
- Tell him the blacksmith won’t talk. If successful, the Thalmor depart after handing you the map.
- (Intimidate) Tell him his life is forfeit and to leave the island. If you’re successful, the Thalmor give you the map and make preparations to flee.
- (Persuade) Tell him that he wants Stalhrim weapons, and you can help him obtain some. You let him know Baldor told you he’d help teach you to make the weapons, which you can sell on to Ancarion. (Persuade) However, he’ll need the map; otherwise Baldor won’t divulge anything.
- Or you can pickpocket the map if you’re suitably and sneakily inclined.
- Or you can stop this conversation and lay waste to these High Elves, positioning yourself a little better to land the first blow into Ancarion before combat becomes too messy.
There are three possible outcomes to this confrontation:
- Ancarion and his men give the map over to you and flee.
- Ancarion believes you’ll sell him Stalhrim equipment, starting the Miscellaneous Objective: Sell Stalhrim Armor and Weapons to Ancarion. He buys only Stalhrim-based items, paying you for them (whether you’ve made them or not).
- You slay Ancarion and his men and take the map. He has it on his person.
- Objective: Talk to Baldor Iron-Shaper
- Target: Baldor Iron-Shaper, Skaal Village
Quest Conclusion
Return to Skaal Village and locate the forge, which is working again now that Baldor is back in the village. Hand him the map (making sure you look at it first to see the location of the deposit). He’s extremely grateful and tells you that if you bring Stalhrim to this forge (and only this forge), you can use his tools to craft any armor or weapons you wish—that is, providing you have the Ebony Smithing perk.
Postquest Activities
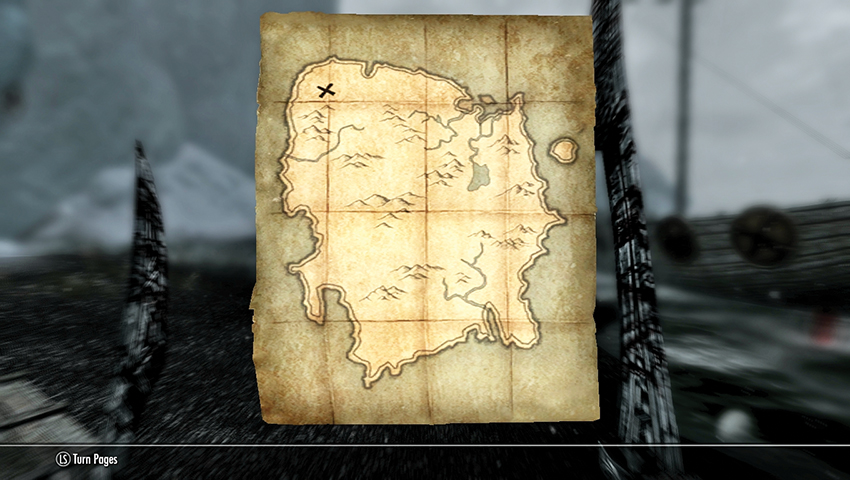
- Stalhrim Source Map
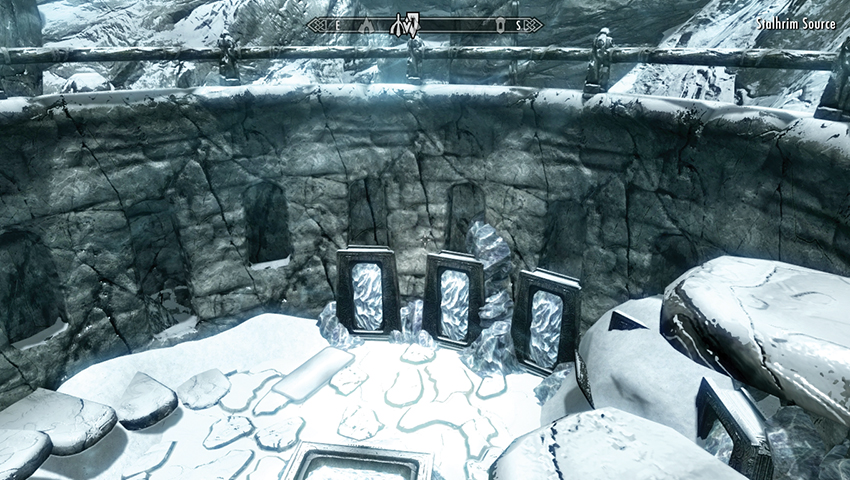
As you can see from the map, the source isn’t that far away from Northshore Landing, and once you read it, the marker for the Stalhrim Source appears on your world map. Visit this Draugr barrow entrance (before or after finishing the quest), which is filled with deposits to chip away at, provided you have the Ancient Nordic Pickaxe. There is a considerable haul here, as well as smaller deposits all over Solstheim (including Secondary Location: Horker Iceberg, northeast of Northshore Landing).
- Stalhrim Ore (30)
Old Friends
Enemy Revealed
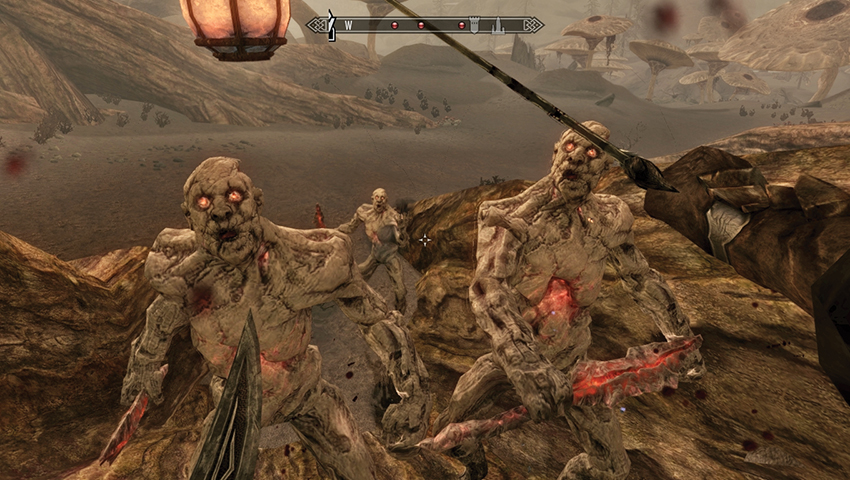
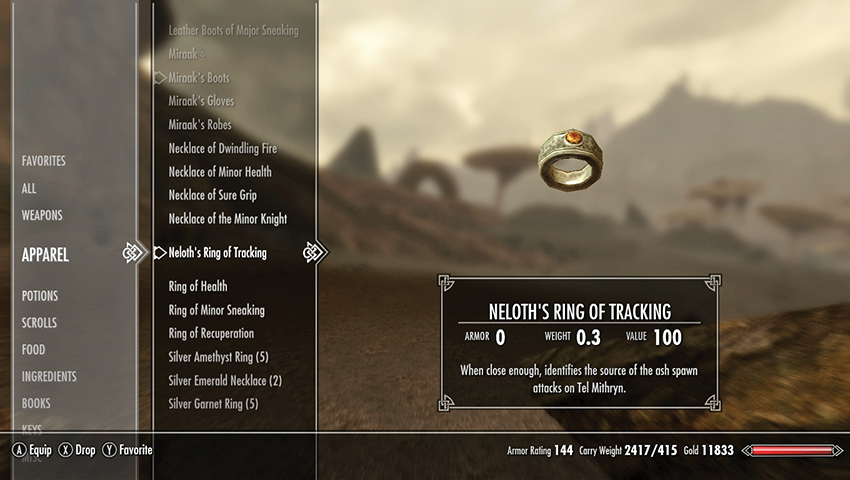
As you continue to perform Side Quests for Neloth in his fungal hideaway in Tel Mithryn, he may refer to attackers trying to thwart him. You may have disregarded this as paranoia, and he mentions it only infrequently as he orders you to finish different tasks. However, when you return to Tel Mithryn, you find a group of three or four Ash Spawn waiting to defeat you. Slay them and head in to speak with Neloth. Something more troubling is afoot!
Not surprisingly, Neloth says that he has legions of enemies back in Morrowind, but in this case, somebody in Solstheim is to blame. You can ask what needs doing (or if there’s a bounty reward), and Neloth hands you a special ring. Wear it, walk around Tel Mithryn, and follow any strange clues it may impart. You may wish to ask Neloth about how the ring works (it follows a link back to the summoner of the Ash Spawn and provides a visual clue of their location). You can also ask about the threats he’s received.
- Neloth’s Ring of Tracking
- Objective: Find the source of the attacks
- Target: Ildari’s Sarcophagus, Tel Mithryn graveyard
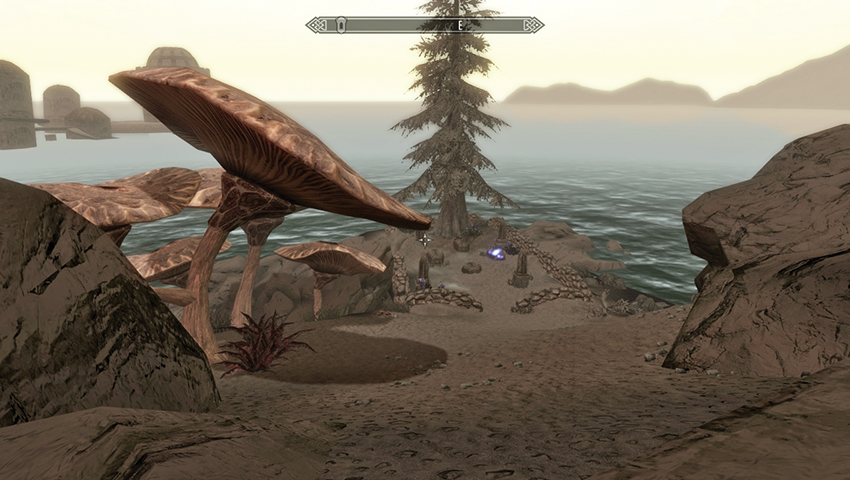
Place Neloth’s Ring of Tracking on your finger, step outside, head down to the ash grounds at the foot of the fungal root structures, and then look to your right (northeast). Head through the gaps in the rocky outcrops, and peer down toward the coast, with Nchardak in the distance. Something odd catches your eye in the small walled graveyard with the single pine tree. A strange purple glow emanates from one of the grave sites. Head closer and activate Ildari’s Sarcophagus. After heaving back the lid, you’ll find a staff and (more importantly) a Heart Stone inside. But no skeleton!
- Heart Stone
- Objective: Talk to Neloth
- Target: Neloth, Tel Mithryn
Low-Life at Highpoint
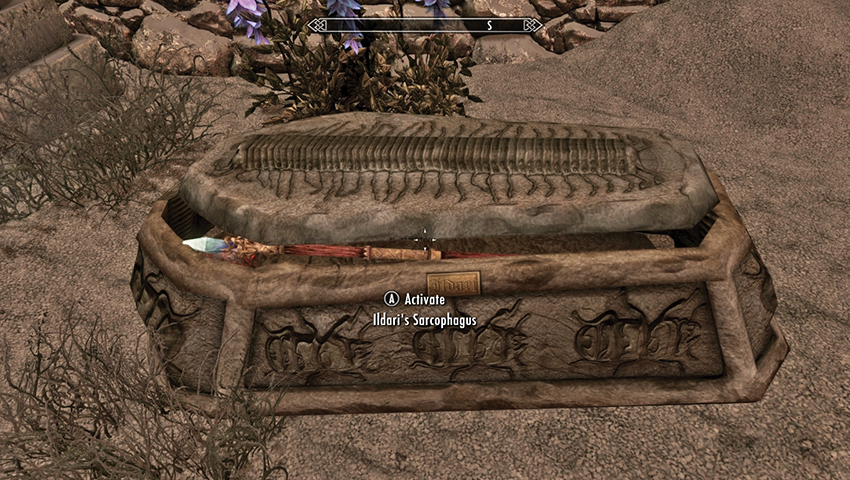
Back at Neloth’s tower, explain that the Heart Stone is the source of the attacks. You explain where you found it, and Neloth blames himself. The grave belongs to Ildari, his apprentice before Talvas. He found it annoying when she died. Reply regarding the lack of body in the grave. This continues the conversation.
Or ask more about the experiments he inflicted on her. He lets you know how he tried to emulate the Briarheart and implant a Heart Stone into Ildari’s chest. It didn’t take.
It seems Ildari may still live! He casts a divination, takes both the Heart Stone and his ring, and commands Ildari to reveal herself. A few moments later, he has her location. You’ll find her in Highpoint Tower. The time for friendship seems to have passed; Neloth wants that thrice-cursed Heart Stone ripped from her chest.
- Objective: Kill Ildari
- Target: Ildari Sarothril, Highpoint Tower
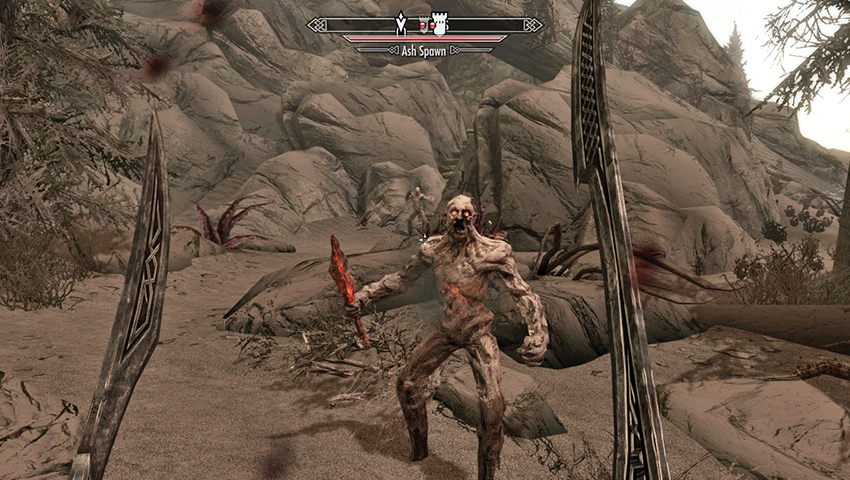
Head northwest from Tel Mithryn, until you find the cascading stream that used to be the Harstrad River before the choking ash falls from Red Mountain blocked much of the drainage. Move up the stream in the direction of Highpoint Tower, but don’t continue to clamber up to the remains of the tower; the entrance is partially hidden. Instead, stay below the rocky area around the tower, and move clockwise around until you’re slightly north of the location, facing south. A group of Ash Spawn are lurking near the dying pine trees and trama roots. Defeat the foes, locate the roughly hewn steps in the rocks that wind up to the southeast, and the stone tunnel entrance to the tower.
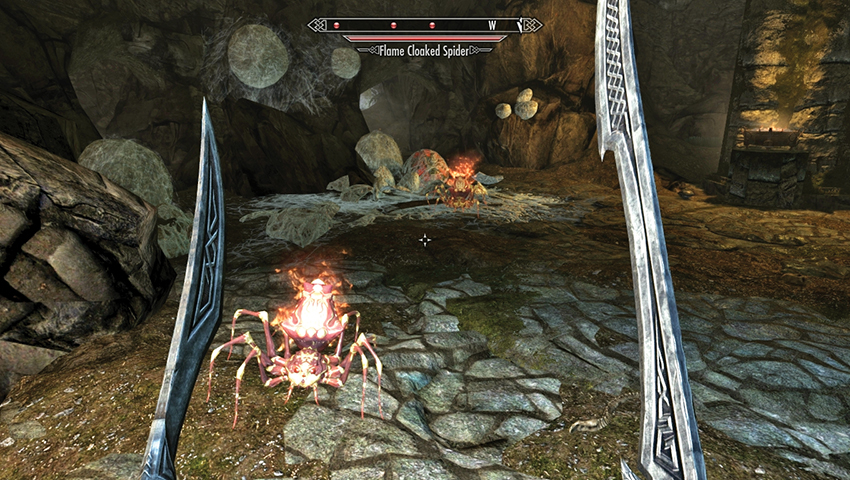
Head down three levels of spiral steps (pausing at the table two floors down to secure the first of Ildari’s Journals) to a curved stone tunnel that leads into a rocky cave attached to the base of the tower structure with numerous revolting egg sacs to your left (southwest). These burst as you head toward them, so slay any Flame Cloaked or Albino Spiders you find here or in the small cavern with the ruby geode deposits and the low caverns with sapphire and amethyst geodes and scattered bones.
- Ildari’s Journal, vol. I
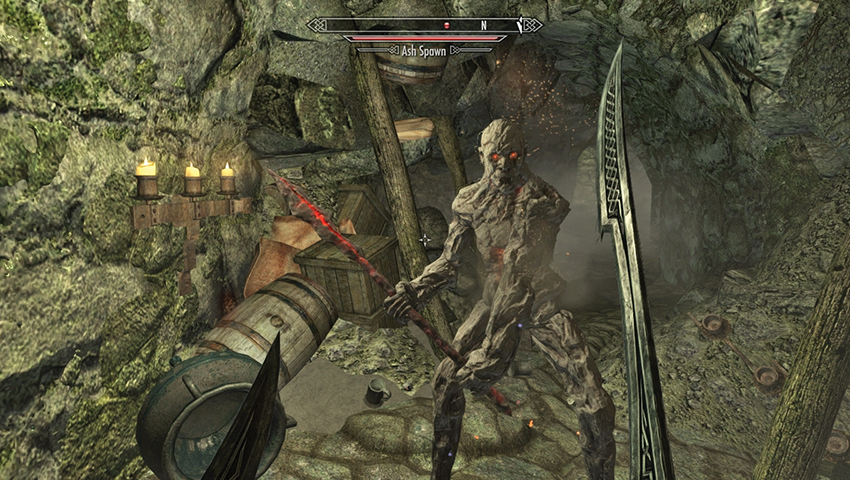
Back at the tower tunnel, move north into the next section of tunnel, plucking the Soul Gem from the magic caster trap so it doesn’t spit shock bolts at you. Head past the Ash Spawn waiting to repel you, checking a circular side chamber for more foes. Back in the curved tunnel, rush the next caster trap and halt the electrical damage before continuing east to the tunnel exit.
A Sorcerer Scorned
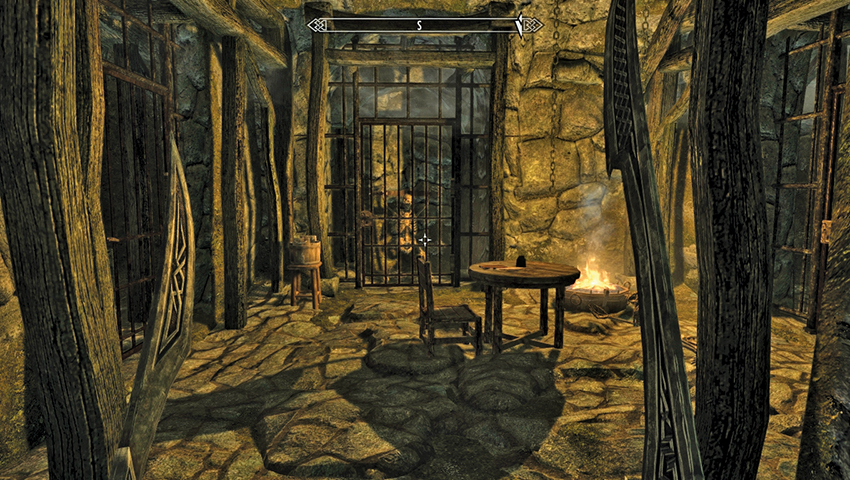
Watch the explosive rune on the ground in the roughly circular chamber with the Arcane Enchanter. Head east down the large dungeon passage, watching for a wall rune at the far end. To the right (south) is a small dead-end passage with cells. One still has a prisoner inside—Niyya. If you unlock her door [Adept], she tells you Ildari sealed her and other miners into these cells and used them in her experiments. Ildari seems quite deranged. Just how deranged is detailed in the second of her journals, found on the table in the jail area.
- Ildari’s Journal, vol. II
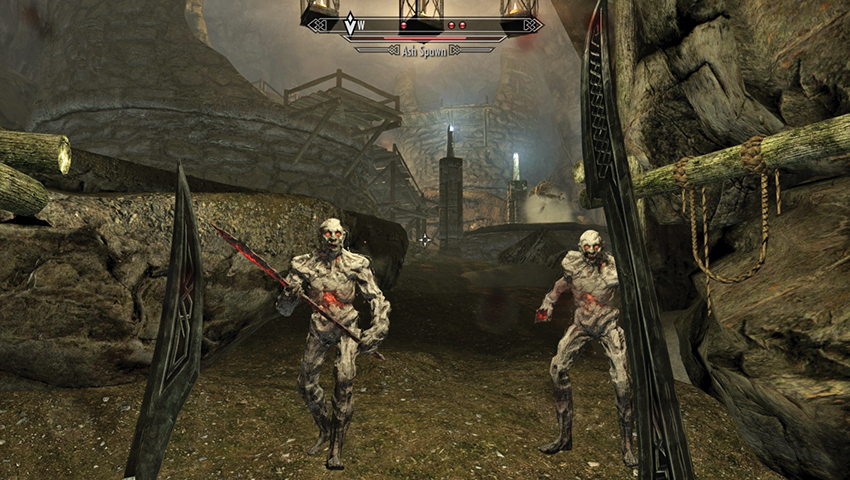
Backtrack to the wall rune and head north toward the bowl torch. Turn right (east) and follow the passage into a mine area. Drop down into the mine where veins of gold and sapphire ore can be depleted. Then head northwest, under the three hanging lanterns, and prepare for fraught combat as you reach a small fortification built within a large cave. Ildari Sarothril appears atop the battlements, telling you Neloth was a fool to send someone like you to finish her off. She’s not the friendly sort, as indicated by the minions she summons before fleeing.
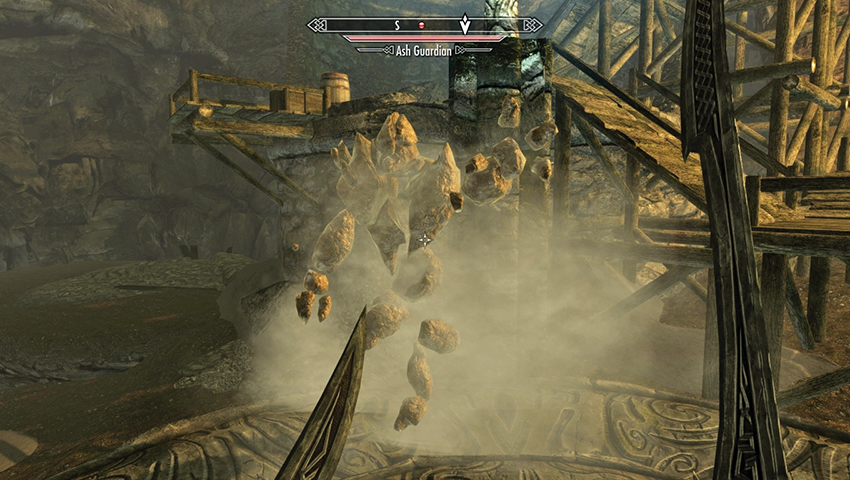
With a crackle from the gems surrounding her summoning plateau, she conjures an Ash Guardian, and three or four Ash Spawn also join in the throng. Back into the mine so you aren’t swamped, and set about removing these initial threats. Then head toward the fortification, move up and around to the left onto the earthen walkways, and face four more Ash Spawn. There’s a dead-end mine shaft nearby. Check it before climbing the wooden scaffold steps surrounding the old fort, passing the summoning circle and heading across to the interior of a partially ruined tower where Ildari yelled at you from.
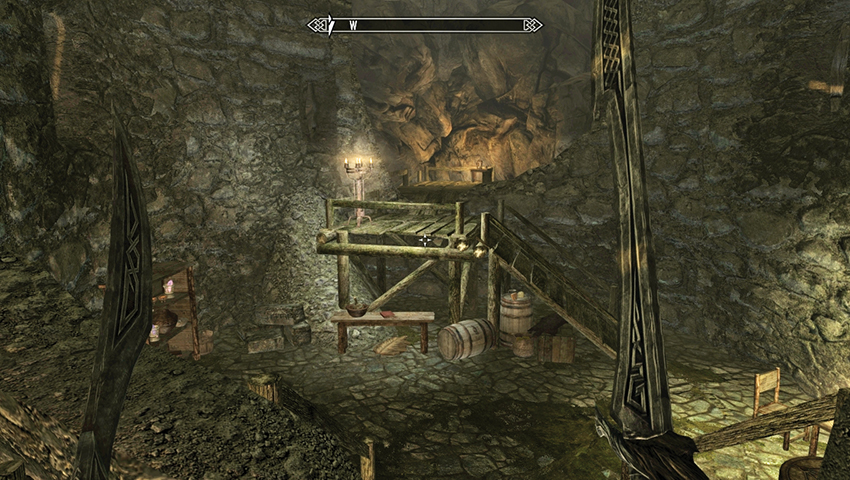
Drop down and inspect the shelves and room, grabbing any items you wish. There are potions and ingredients, a book called Deathbrand (which launches the Solstheim Side Quest of the same name), Ildari’s third journal, and a strongbox (not made by the East Empire Company).
- Deathbrand
- Ildari’s Journal, vol. III
Exit the room via a southwest tunnel that winds up and turns into a fissure with Ash Spawn appearing as you progress. Deal with four or five of them before venturing down the fissure or climbing up the natural rock bridges if you wish to sneak past your foes. This leads to a castle corridor. The only way is to the right (southwest), over a bridge (which is actually above the initial chamber with the floor rune and Arcane Enchanter). This ends in a grand, two-story hall at the western end, where Ildari resides.
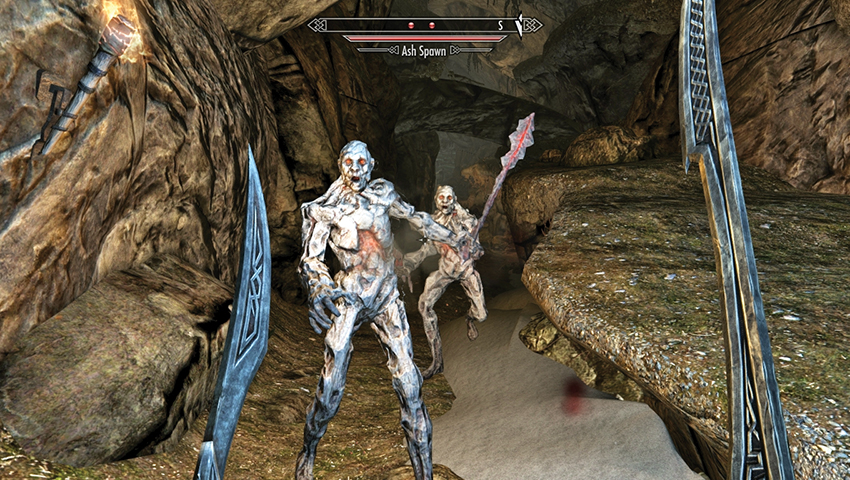
The Dunmeri apprentice has grown in competence (and insanity) since her time with Neloth. Face her ice storms and thunderbolts in an epic battle, disrupting her fast healing and other attempts to protect herself if you can. Long-range attacks may be more effective, as fighting on the narrow bridge to her balcony bedroom is tricky. When she finally drops to her knees, race in and rip her heart out, finally ending her malicious ways for good. Search her corpse for robes and a staff.
- Heart Stone
- Telvanni Robes
- Objective: Talk to Neloth
- Target: Neloth, Tel Mithryn
Quest Conclusion
Activate the lever near the small bridge to her balcony, and a barred archway opens, allowing you to exit via a long path that ends at a pull chain that opens a section of wall leading back to the initial tower chamber. Exit, and return to Tel Mithryn. Tell Neloth of your victory, and he seems actually impressed by your prowess. He gives you a staff and makes you a member of House Telvanni.
- [Random] Staff
- Bed and Chest
Postquest Activities
Additional quests are available from Neloth. Ask what it means to be a member of his house, and Neloth mentions that when he returns to Vvardenfell in a few decades, you would be seen as nobility. In the meantime, you have your own bed and chest here to use as you please.
Reluctant Steward
Haughty, Sardonic, and in Need of Sustenance
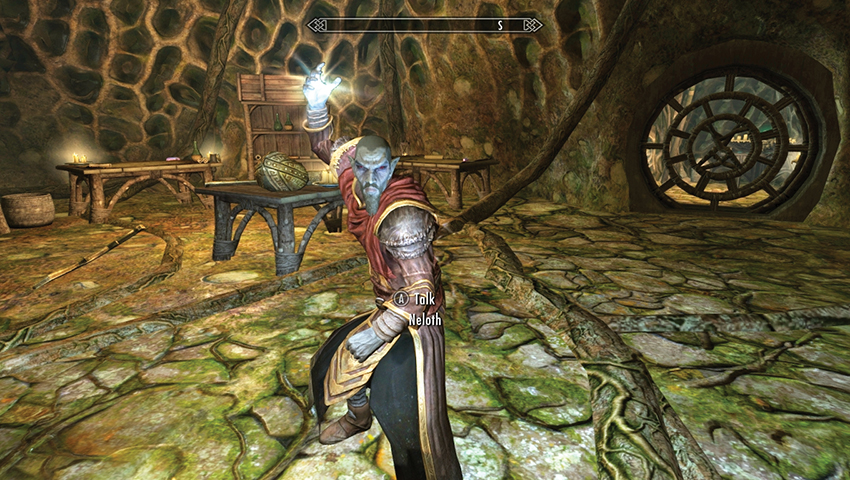
While speaking with Neloth—sometimes after completing three or four previous Side Quests or minor tasks for the haughty Dunmer—he suddenly demands to know if you’ve seen Varona, as he’s feeling peckish. Answer that you haven’t seen his steward, and he demands you find her. You can answer Neloth regarding his attitude and receive put-downs in varying degrees of savage sarcasm, but the fact still remains: Varona is missing.
- Objective: Find Varona
- Target: Rocky foothills of southern Solstheim
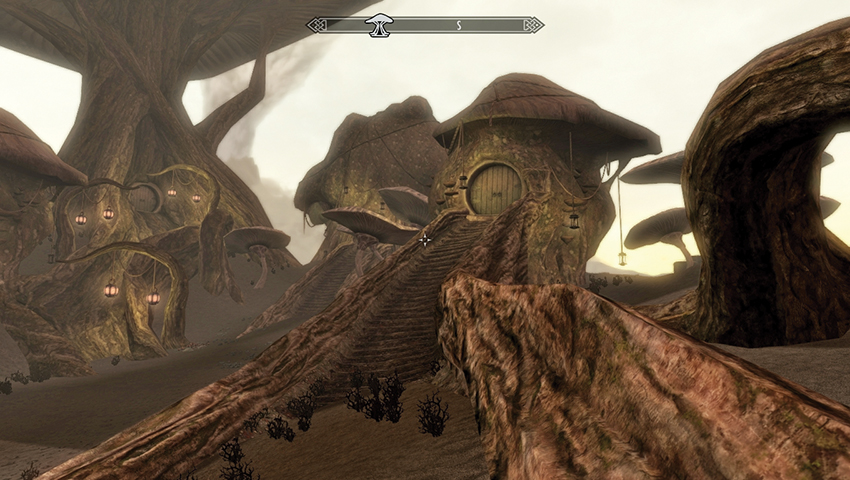
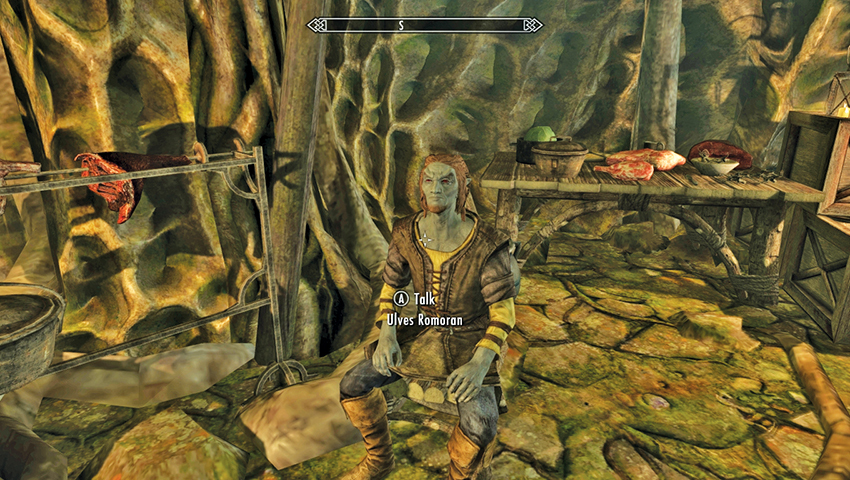
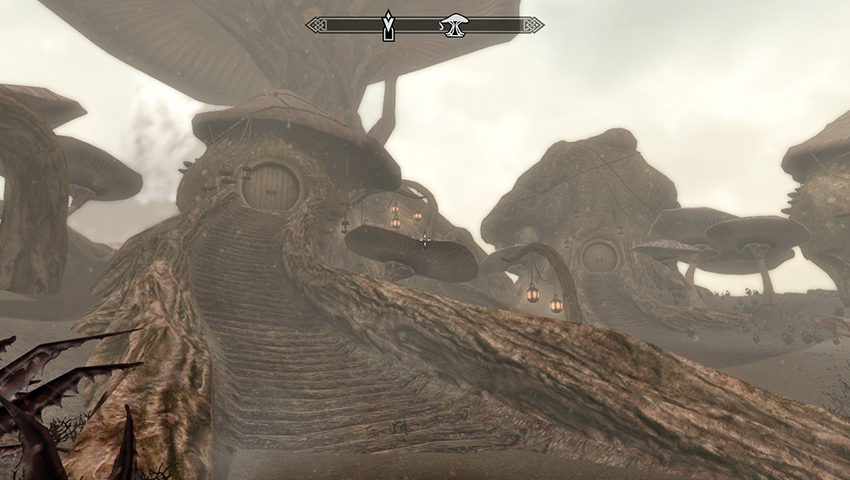
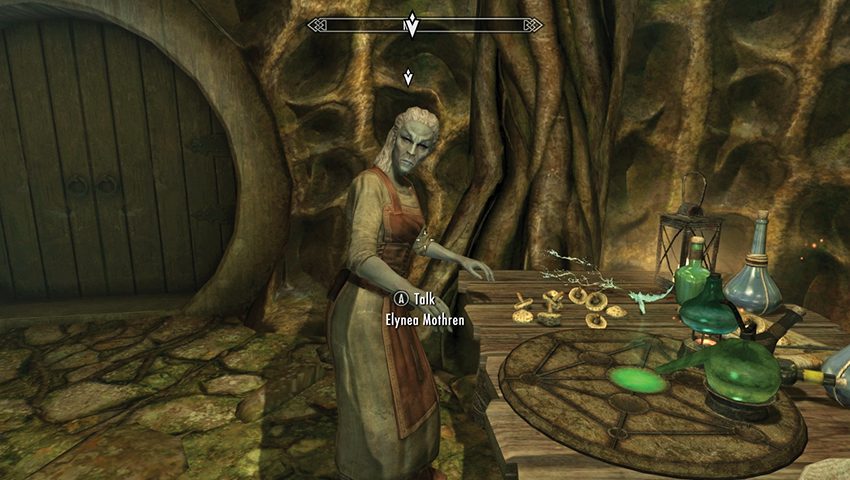
Exit Neloth’s tower and make a few inquires among the other servants. The best places to engage in scuttlebutt are the two side structures. Enter either Tel Mithryn Kitchen or Tel Mithryn Apothecary, and speak to Ulves Romoran or Elynea Mothren. Both mention that Varona went to Raven Rock to arrange for more supplies. This brings up a compass point to the northwest of your current location.
Brilliant, Robust, and Blindingly Obedient
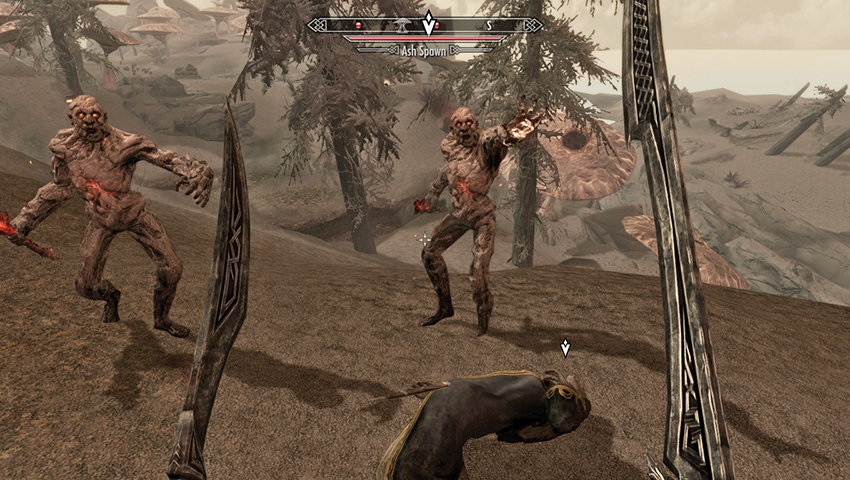
Varona’s trip to Raven Rock was waylaid rather badly. She unfortunately didn’t make it; she was attacked by the hated Ash Spawn who roam the southern foothills. Trek northwest from Tel Mithryn, passing the giant fungal growths until you find Varona’s corpse and three or four Ash Spawn gathered around it, in the wilderness just east of the Harstrad River.
Deal out revenge to these Ash Spawn and then examine the still-fresh corpse of Varona Nelas. When you do, your quest updates. This might be a good opportunity to take the key she was carrying, too. It opens the modest dwelling in Tel Mithryn, which you can inspect at your leisure.
- Objective: Tell Neloth that Varona is dead
- Target: Neloth, Tel Mithryn
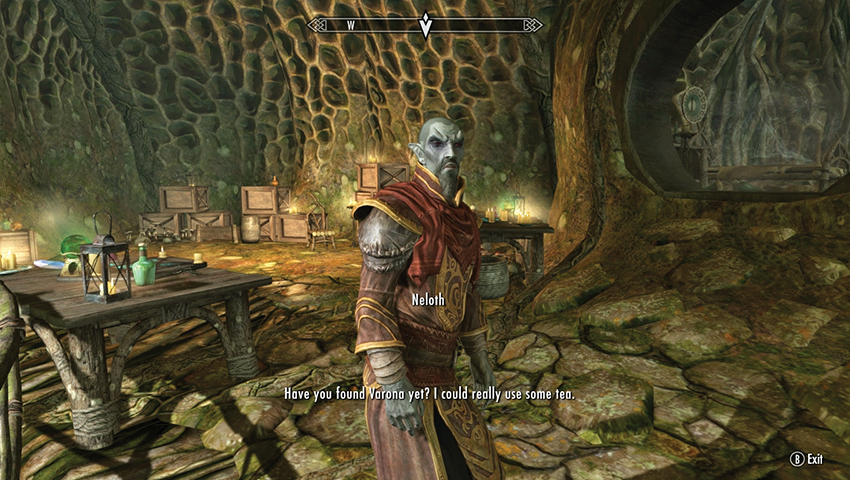
As expected, when you return to Neloth in his high tower, he expresses breathtaking insensitivity toward the death of his steward. You also inform him that Ash Spawn were responsible. But there are more pressing matters, such as the brewing of tea—Neloth requires a new steward immediately, if not sooner! He believes that Raven Rock would be a great place to find a new servant, as “they are in awe” of him there. His requirements for a steward? Someone with a brilliant mind, robust physique, and blinding obedience. He seems to be describing a thrall, rather than a servant.
- Objective: Find a new steward
- Target: Citizens of Raven Rock
Weak-Willed, Emaciated, and Exceptionally Insolent
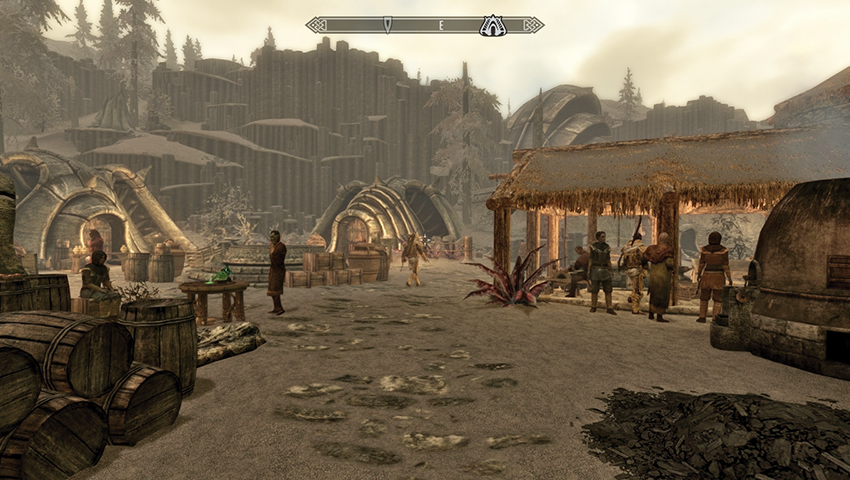
Head over to Raven Rock and stroll the main thoroughfare, searching for a suitable replacement steward. Amazingly, Neloth’s opinion of himself isn’t shared by the citizens of this town. A few examples are listed:
- Dreyla Alor isn’t interested, as Neloth is as loony as a Skooma addict. He once wanted her father to import a live white mammoth. She may point you toward a fellow named Drovas.
- Grover Mallory collapses in a fit of hysterics at the mention of such an idea. If you’re a member of the Thieves Guild back in Skyrim, and you’ve completed Thieves Guild Quest: Taking Care of Business , he points you toward a fellow named Drovas.
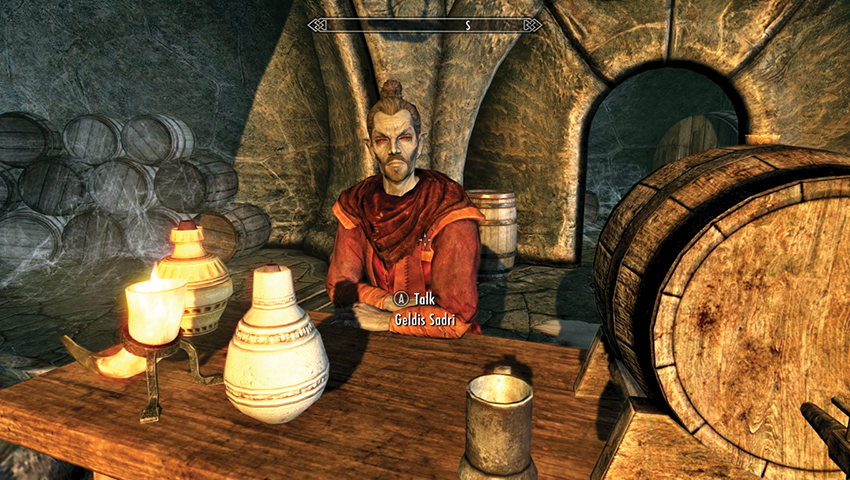
- Geldis Sadri, the innkeeper in The Retching Netch believes Neloth to be soft in the head; apparently the lunatic wizard talks to Mudcrabs! However, Geldis has an apprentice who’s hard up for coin: Try Drovas.
Desperate times call for desperate measures; locate Drovas Relvi, a shifty-looking character located in The Retching Netch, and ask him if he’s interested in the job. After pondering employment with a crazed Telvanni wizard, he’s happy to leave Raven Rock. Perhaps a little too happy? He’ll gather his belongings and head there immediately. You don’t need to chaperone him.
- Objective: Report back to Neloth
- Target: Neloth, Tel Mithryn
Quest Conclusion
Back at Neloth’s tower, inform Neloth you’ve found a new steward. Neloth is rarely impressed, and this isn’t one of those occasions; Drovas makes dreadful canis root tea, but he’ll do for now. As a reward, Neloth offers you the use of his staff enchanter, located in this chamber. You receive a reward of coin, too.
- Staff Enchanter Key
- [Leveled] Gold
Postquest Activities
Neloth is particularly taken with staffs, and has constructed a Staff Enchanter to allow him to create them without the usual hassle.
The Staff Enchanter room also contains an Arcane Enchanter, useful for enchanting your own items in between quests at Tel Mithryn. On top of it, you may find the Black Book known as “The Hidden Twilight.” Reading it will transport you to Hermaeus Mora’s realm of Apocrypha, beginning Solstheim Side Quest: Black Book: The Hidden Twilight.
You may also wish to inquire how Drovas is working out; it seems the new steward brought more than a few belongings with him from Raven Rock...Consult Solstheim Side Quest: A New Debt for further information.
A New Debt
Incompetent, in Over His Head, in Debt
Once Drovas is firmly ensconced as Neloth’s steward, making an almost undrinkable canis root tea for his new master, you may hear grumbling about your hire’s previous standing:
- A courier may stop you when you’re in a settlement and request you meet with an Orc named Mogrul.
- Or you may approach Mogrul at any time, within the town of Raven Rock (he’s usually inside or near The Retching Netch). He’ll stop you, forcing you into a conversation. He’s backed up by his Dunmeri lackey with the worrying name of Slitter.
As soon as you begin the conversation with Mogrul, you realize Drovas has more than a few loose ends to tie up.
Ask Mogrul about the situation, and Mogrul states that Drovas Revli left town owing the Orc 1,000 septims. This is a debt Mogrul intends to collect. However, now that Drovas is set up with Neloth, he’s untouchable. But you, it seems, are not. The debt has shifted to an obligation you must sort out. This falls into three possible plans, detailed below.
- Objective: Pay Mogrul
- Target: Mogrul, in Raven Rock
Plan A: Apologetic Paying
There are three possible ways to complete this plan:
- Tell him you’re so sorry and to take the money. This removes 1,000 coins from your person. If you don’t have this much gold, Plans B or C are your only options.
- Ask him to be patient, telling him you’ll get him the money. This begins Plan B, but it also allows you to return to Tel Mithryn, corner Drovas, and press him for the gold. He can only come up with 250. Use it to help pay off the debt. Or better yet, gather Drovas’s gold, then execute Plan C and come out a winner on this deal!
- (Intimidate) Reply that you’re willing to hand over half (before or after you visit Drovas). If Mogrul is suitably frightened, you’re able to pay the debt for half the original amount (500 gold).
Plan B: Apathetic Waylaying
You can simply choose to ignore the matter: Ask Mogrul to be patient, telling him you’ll get him his money. Then forget all about him, ignoring his comments when you return to Raven Rock and killing the thugs he sends to waylay you in the wilderness. These thugs continue to pester you until you complete Plans A or C.
Plan C: Apoplectic Slaying
As you might have guessed, you can also:
- Reply that you could just kill Mogrul, and then draw your weapon and attack.
- Or you can simply start fighting with Mogrul before he even presses you for coin (before this quest starts, in fact!). It’s almost impossible to assassinate Mogrul without being detected, as he sits in a busy room with his back to the wall, and Slitter keeps constant watch over him. Prepare to deal with both of them; this will be a stand-up bloodbath.
After the fight, if your assault was detected, a Redoran Guard stops and asks you to account for yourself. Assuming you don’t want to start a battle with the entire town, pay off your bounty (only 40 gold), and conclude this quest by the bloodiest and cheapest possible method.
Quest Conclusion
Once Drovas Relvi’s debt has been satisfied, either by payment or by defeating Mogrul, this quest concludes.
Retaking Thirsk
The Bewildered Bujold
Thirsk Mead Hall is an ancient and venerable structure built by the Nords and nestled in the snowy foothills to the east of the Temple of Miraak, just east of the Beast Stone. East of it, on the coast, is the small camp known as Bujold’s Retreat. Approach this encampment, and you’ll overhear a group of Nords moaning about a recent routing they suffered. You can stand back and listen to the conversation or speak to any of the Nords. The situation is tense, and any of the Nords you speak with refer you to their leader, who goes by the unfortunate title of Bujold the Unworthy.
Talk to her, asking any questions you wish, and she explains her members fled from the Mead Hall after a cunning Riekling attack. As the words “cunning” and “Riekling” aren’t usually used in the same sentence, Bujold explains a combination of too much mead and too few battles had made her tribe complacent. Now they wait and regroup in this coastal camp. Ask if she’s interested in one more warrior (you), and confirm you’re happy to help her. She convenes a tactical talk around the fire. Goading her party not to have their spirit outstripped by some wanderer, she whips everyone up into a bloodthirsty frenzy. The assault (and this quest) begins now!
- Objective: Approach Thirsk Mead Hall
- Objective: Kill the Rieklings (18)
- Target: Rieklings, Thirsk Mead Hall
Bludgeoning the Blueskins
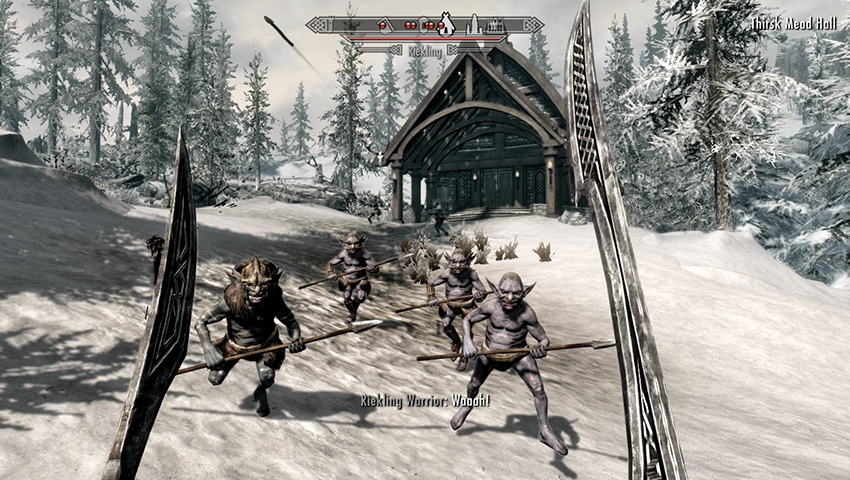
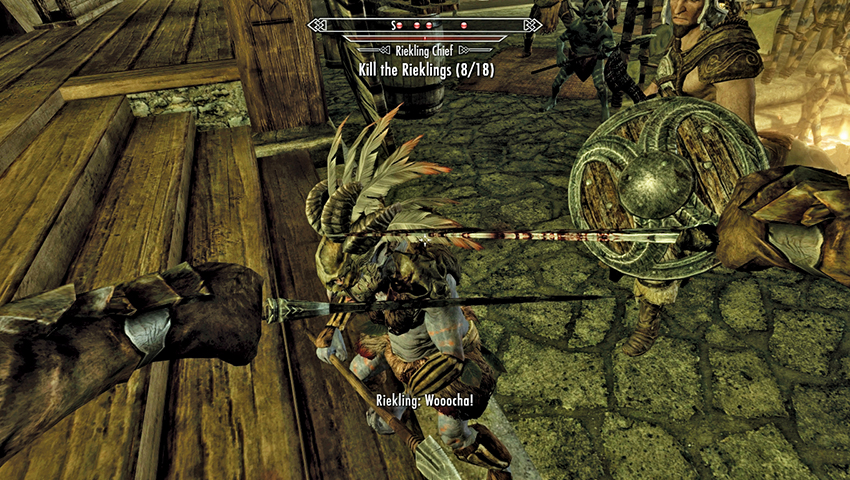
Head north and west, up the rough path in the rocky embankment that leads through the snow and toward the Mead Hall. As the spears come flying toward you, concentrate on the foes around the front door of the place, then around the sides. Then move into the hall and look for the chief, who can cause problems for your Nord friends; step in to prevent your fellows from falling to his attacks.
Obviously, you can tackle each Riekling in any way you wish, but defeating them when they’re already engaged with an ally will keep you from harm. Be wary of using spells with a wide radius of effect, or you may catch your friends in the blast. This fight shouldn’t be too demanding; any Rieklings slain by Nords are also added to your death total.
- Objective: Speak to Bujold
- Target: Bujold the Unworthy, Thirsk Mead Hall
With Riekling blood fresh on your blades, locate Bujold (who’s usually inside the mead hall surveying the damage the Rieklings inflicted on her clan and home). She asks you to serve as her second as she proves her worthiness to lead once more. Inquire about where you’re both headed, and she tells you that to take up residence here, she needs to receive the blessings of Hrothmund, the ancient leader of her tribe.
- Objective: Meet Bujold at Hrothmund’s Barrow
Hrothmund’s Disgust
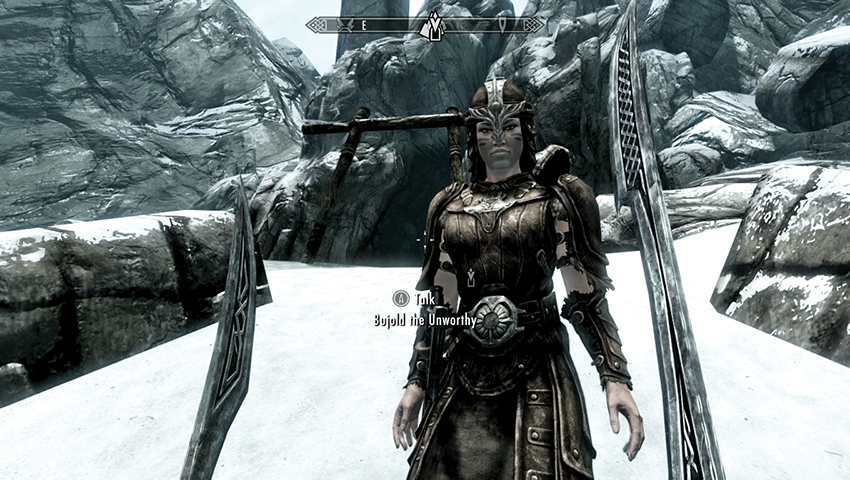
Just east of White Ridge Barrow in the northern climes of Solstheim, among the wild animals and fallen henges, is a makeshift cave entrance below a towering totem stone. Bujold is already waiting for you here when you arrive. Speak with her, and she explains she needs to prove her mettle by taking hold of Hrothmund’s axe, which is embedded somewhere inside this tomb. Then she will be judged by Hrothmund’s spirit. Enter the barrow.
- Objective: Commune with Hrothmund’s Spirit
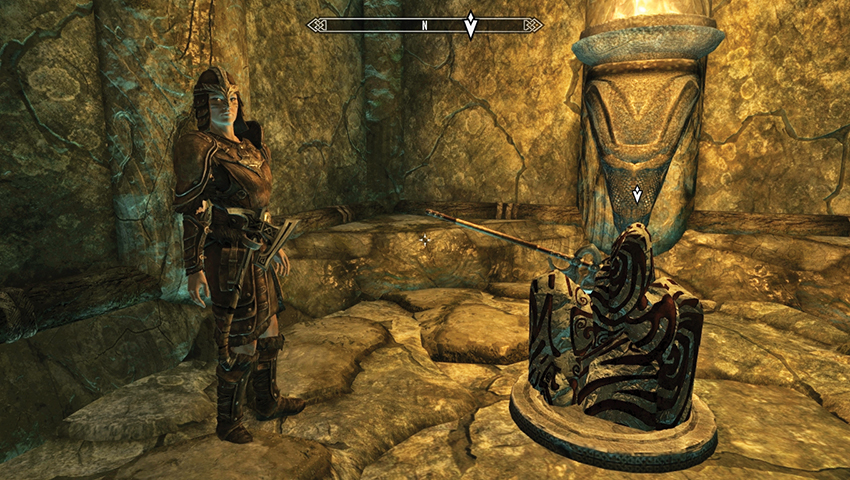
Climb the stone steps, push open the iron door, and enter the ceremonial (and waterlogged) long chamber, which drains as you descend and head north-northeast. Follow the path and lit torches to the far end, where an ancient two-handed axe lies embedded into petroglyph stone. Loot either of the two chests whenever you wish, then let Bujold approach the axe and get a good grip, ready for the heave....
Quest Conclusion
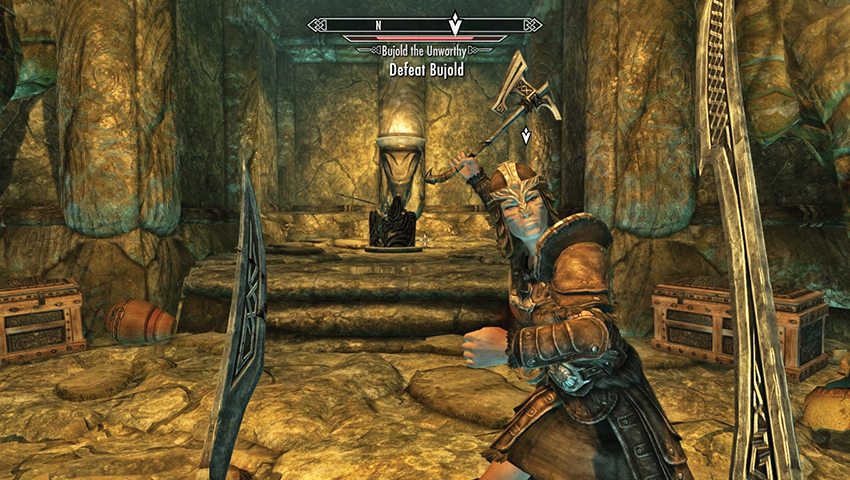
Oh dear. It appears Hrothmund’s Spirit is extremely unhappy with the way Bujold has been leading her warriors. His words echo through the chamber, sternly calling her soft. Furthermore, no one among her crew is fit to serve, either! For a band in the wilderness, Hrothmund tells her it is better to have no leader than a poor one. Bujold is left wondering what to do next. Speak to Bujold, choosing either conversation option. Bujold thinks it is better that the tribe has her for a leader and to go against Hrothmund’s wishes. This leads to one of two choices you can make:
- Agree with Bujold, keep this embarrassment quiet, and return to Thirsk Mead Hall. The quest concludes.
- Disagree with Bujold, forcing you both into combat with each other, and the objective “Defeat Bujold” appears. Once she is slain, the quest concludes.
Postquest Activities
Return to Thirsk Mead Hall at any time to tie up a few loose ends. The Mead Hall is now tidied up, with a working forge and beds you can sleep on. As you enter, Bujold’s husband, Kuvar, steps forward to greet you. If you kept Bujold alive, he mentions that Bujold said you served her well. You can:
- Lie and tell him it was an honor to stand with her. You are free to speak to all the tribe.
- Tell the truth and speak of her rejection. Kuvar is disgusted, speaks to Bujold about it, and then banishes her from the hall. Kuvar isn’t happy with you, but you can speak with the rest of the tribe.
If you killed Bujold, he asks of his wife’s whereabouts. You explain the situation, and Kuvar banishes you from the Mead Hall, only forgiving you because you acted on Hrothmund’s wishes. Kuvar isn’t happy with you, but you can speak with the rest of the tribe.
After this, more Thirsk Mead Hall Favors are available if you speak with Elmus, Halban, or Hilund. You can sleep in the beds here, too.
Served Cold
Those Slippery Slaughterfish
During your wanderings around town, after completing the two previously indicated Side Quests for residents of Raven Rock, you’re tracked down by Captain Veleth, who comes with a message from Second Councilor Arano. Apparently, you’re to meet with him at once, and this seems more urgent than the Ash Spawn eradication. Head over to the council chambers or check the main thoroughfare when you get a moment.
- Objective: Speak to Adril Arano
- Target: Adril Arano, Raven Rock
You usually find Adril walking the main street of Raven Rock. He’s under the impression that Councilor Morvayn might be murdered by a rival Dunmeri Great House—the Ulen Family of House Hlaalu—who have placed a deathmark on the councilor’s head. Whether you think this justified or paranoia, answer Adril how you wish, and he informs you that elements of Ulen’s house may already be in Raven Rock. Assuming you agree to help, Adril wants you to eavesdrop on suspicious activity in town and report back to him. The best place to start is an obvious one—that den of iniquity known as The Retching Netch. Pry Adril for further information (on House Hlaalu, the mine’s reopening, and his sources) before you leave his company.
- Objective: Speak to Geldis Sadri
- Target: Retching Netch, Raven Rock
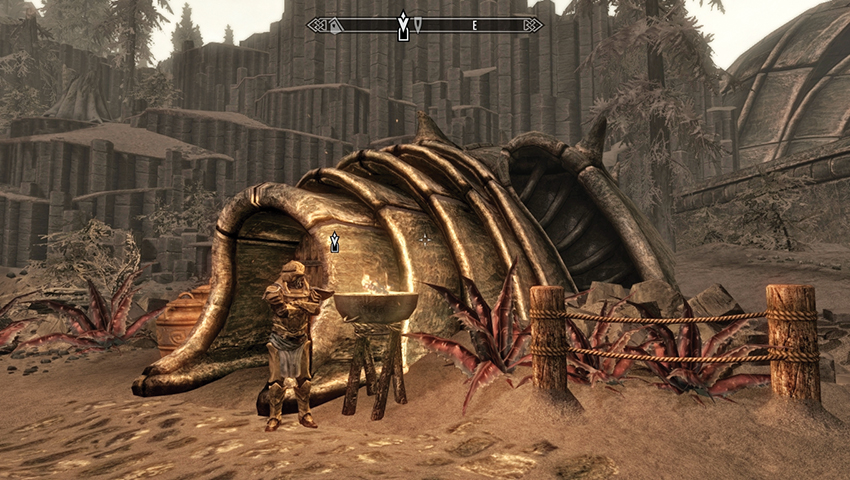
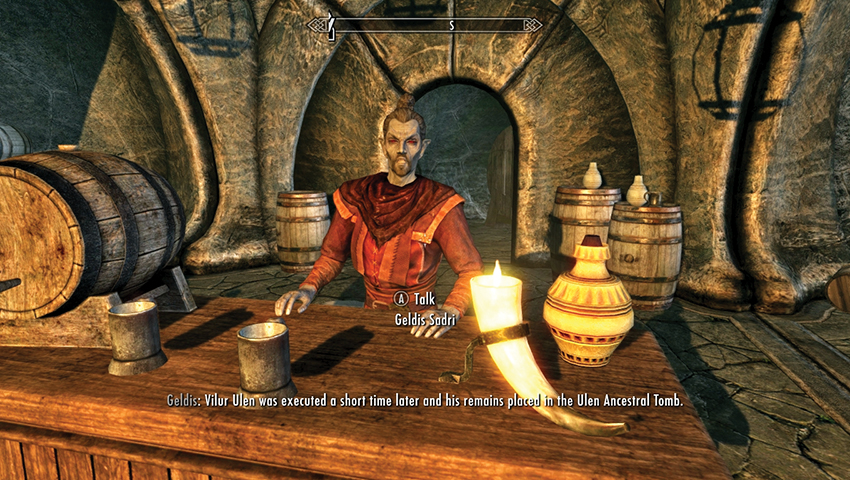
Locate The Retching Netch, enter, and head down the stairs to where Geldis Sadri serves the drinks. Aside from the usual rumors he can impart, if you mention Adril Arano, Geldis tells you the Dunmer has been chasing these Ulens for years. Instead, Geldis reckons you need to let those slippery Slaughterfish come to you. There’s an ancestral tomb near the temple, and someone has been leaving offerings there. Perhaps they might be able to answer your questions?
- Objective: Wait inside Ulen Ancestral Tomb
- Target: Ulen Ancestral Tomb, Raven Rock
Those Suspicious Severins
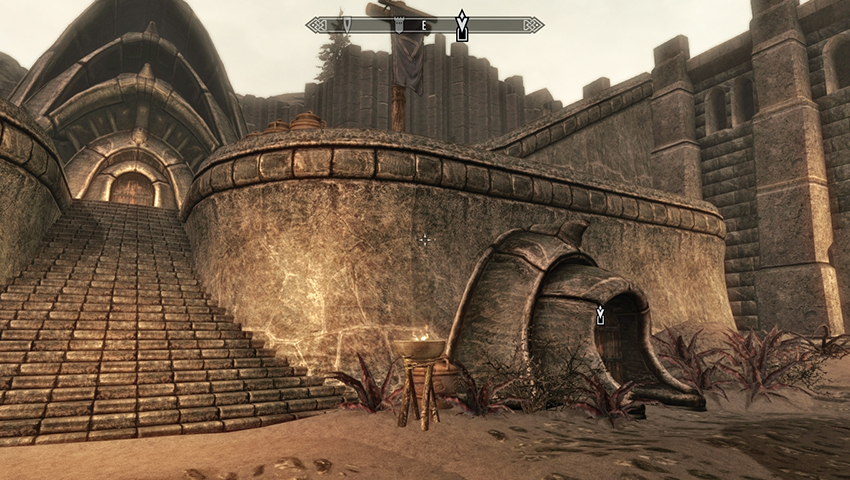
You can continue to question Geldis about the reasons behind Councilor Morvayn executing an Ulen before returning to the main thoroughfare and heading southeast. Just before the bulwark, there are several ancestral tombs. Enter the Ulens’ and inspect the first chamber. There are many lit candles around a crematorium and bone pile in the center of the room. Find a spot to hide, then wait here for an hour. The Ulen clanswoman responsible for these gifts eventually shows herself.
- Objective: Discover the identity of the tomb’s visitor
You can confront the woman immediately or let events take their course. Tilisu Severin excuses herself for intruding on you, and when you ask what she’s here for, she answers evasively, saying she’s leaving an offering for the departed. You can leave her to it or press her for a real answer. Even if you choose the latter conversation, she sticks with her story and does not reveal whether she’s part of the Ulen family. Time to update the Second Councilor.
- Objective: Report back to Adril Arano
- Target: Adril Arano, Raven Rock
Adril is usually waiting for your update in the Morvayn Manor, although he may be walking the streets of Raven Rock or be hanging out inside The Retching Netch. Let him know that you suspect Tilisu Severin is the culprit. Adril believes this, too, although it’s going to take more than hearsay to prove this plot. After you recommend searching the Severin house, he agrees but wants you to head there so he isn’t tied to an illegal search if Tilisu is, in fact, an innocent party. To help gain access, you’re given a key. You can gain further insight into the Severin family, and the Ulens’ tomb, if you speak to Adril again.
- Severin Manor Key
- Objective: Recover evidence from Severin Manor
- Target: Severin Manor, Raven Rock
The Ulen Matter
Head to the northwest of town, near the entrance to Raven Rock Mine, and use the key to enter Severin Manor. Unless you’re particularly adept at sneaking, you’re immediately attacked by Mirri and Tilisu Severin, who already know you’re part of Morvayn’s lot. The only option here (unless you’re sneaking) is to slay both Dunmer. Search (or pickpocket) both corpses to discover another Severin Manor Key, among other fineries. However, Mirri Severin is carrying a more helpful item—the key to a safe!
- Severin Safe Key
Make a thorough sweep of the dwelling, heading downstairs. Follow the corridor to the double wooden doors at the (west) end, and enter the main bedroom with a large number of empty mannequins and display cases. Search the chamber thoroughly; next to a wooden bookcase to the left of the bed is the Severin Family Safe [Expert], which you can pick or use the key you looted. Among the gold and other goods is a note called “The Ulen Matter.” It makes illuminating reading. Take it and the quest updates. Read the note if you wish.
- Objective: Bring the evidence to Adril Arano
- Target: Adril Arano, Raven Rock
Adril is usually drumming his fingers impatiently in The Retching Netch, although he may be walking the streets of Raven Rock or hanging out inside Morvayn Manor. Tell him you’ve found evidence providing the Severin family’s guilt and that those seeking to usurp Morvayn are holed up in the Ashfallow Citadel. You can whine or tell Adril you’ll head there immediately. Adril is sending two of his best Redoran Guard and you’re to assist them. You’ll meet them there. Be careful: you can’t let these traitors slip away!
- Objective: Meet up with the Redoran Guard
- Target: Ashfallow Citadel (exterior)
- Objective: End the threat to Councilor Morvayn
- Target: Vendil Severin, Ashfallow Citadel (interior)
Murder and the Morag Tong
Gather your best Dunmeri-killing equipment, and hike to the Ashfallow Citadel, northwest of the Sun Stone. Adril’s best guards were no match for the infamous Morag Tong, a feared group of Dunmeri assassins that have shown themselves and already murdered the Redoran duo. Face two assassins by the door to the citadel, slaying them as soon as you can before moving inside the structure.
- Morag Tong Armor
- Morag Tong Boots Morag Tong Bracers
- Morag Tong Hood
Locate the steps down from the top of this tower, and prepare for further combat as you descend. Slay a Morag Tong and head to the base of the structure, passing a chest and heading through a narrow rock wall opening and a connecting passage to the south. This leads to a main dungeon corridor. Ahead is an open door to your right (west); clear this dormitory of assassins and any other incoming foes, then head back to the main corridor and locate a small chamber with an Arcane Enchanter and a pull chain by the entrance. Yank the chain to remove the bars.
Continue into the next section of corridor, noting the three Morag Tong Assassins that must be brought down. Don’t pull chain on the left wall (it raises the bars behind you). Now check the passageway to the right (west), watching out for three bear traps before you reach another chain. Pull that and the first set of bars is removed. Now continue down to the training room on your left (east). Outside that door is a third chain, opening up the next part of the corridor.
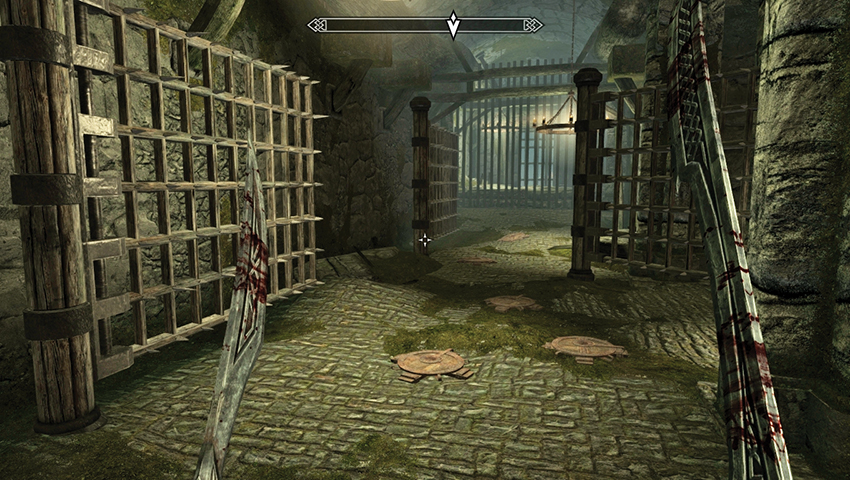
In the next part of the corridor are eight pressure plates linked to three separate blade traps and two spear traps, so take extreme care as you tread forward. The safest way to reach the two pull chains in the alcove to your right (west) is to look down and avoid all pressure plates, then maneuver past the alcove. Turn right and edge between the left wall of the alcove and a swinging trap. Watch for more plates as you look for two pull chains, both on the pillars in this alcove. They open the two remaining bars.
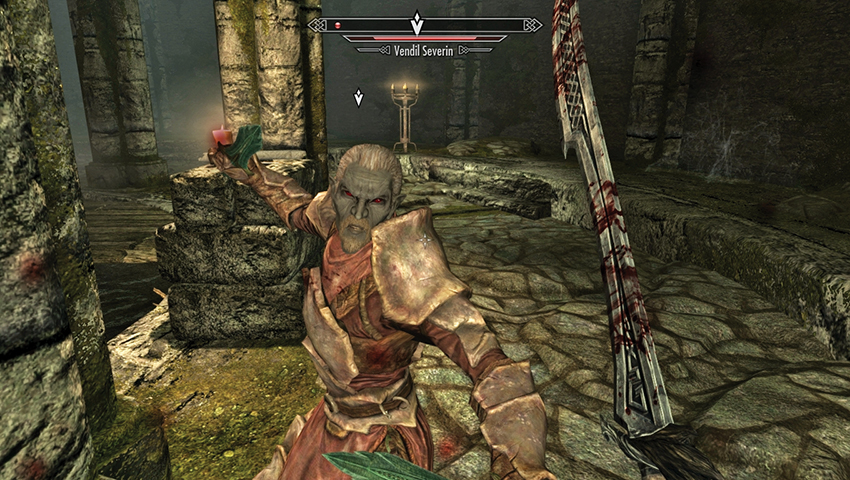
This allows you to reach the far chamber. Ignore the pull chain to your right, just before the final arched entrance, as this simply raises the bars directly behind you, cutting off your only exit. The chief instigator of this clandestine war against Chancellor Morvayn is Vendil Severin. You must slay him, along with his fellow assassins. When Vendil finally yields, check his corpse for the key to his chest (the exact location is in the nearby bedroom, as shown in this guide’s Atlas.
- Vendil Ulen’s Chest Key
- Objective: Return to Adril Arano
- Objective: Follow Adril Arano
- Objective: Speak to Councilor Morvayn
- Target: Adril Arano, Raven Rock
Quest Conclusion
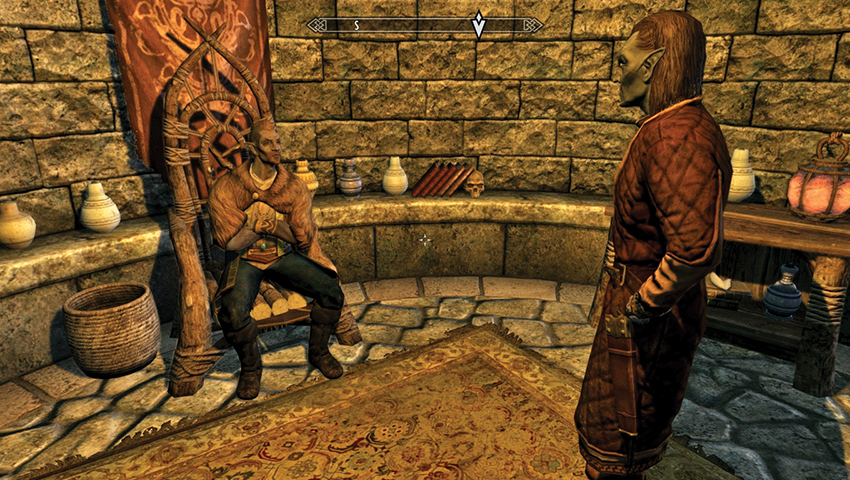
Head back and search Adril Arano’s usual haunts to find him. After explaining that the threat is over, and his Redoran Guards were victims of the Morag Tong, Adril beckons you to follow him to Morvayn Manor and meet with Councilor Lleril Morvayn. Follow Adril to an audience with Lleril, who is told that Vendil, Tilisu, and Mirri Severin were, in fact, here to avenge Vilur Ulen’s death. Morvayn wants to speak to you personally. He offers his thanks, and as a bit of coin hardly seems like enough, you’re given the deeds and keys to Severin Manor! Welcome, citizen of Raven Rock!
- [Leveled] Gold
- House: Severin Manor
Postquest Activities
This is the only house you can own on Solstheim. It comes fully furnished (there are no decorations to purchase), and although it makes a nice vacation home, your spouse and children will not move here.
Telvanni Research
Dirty Deeds
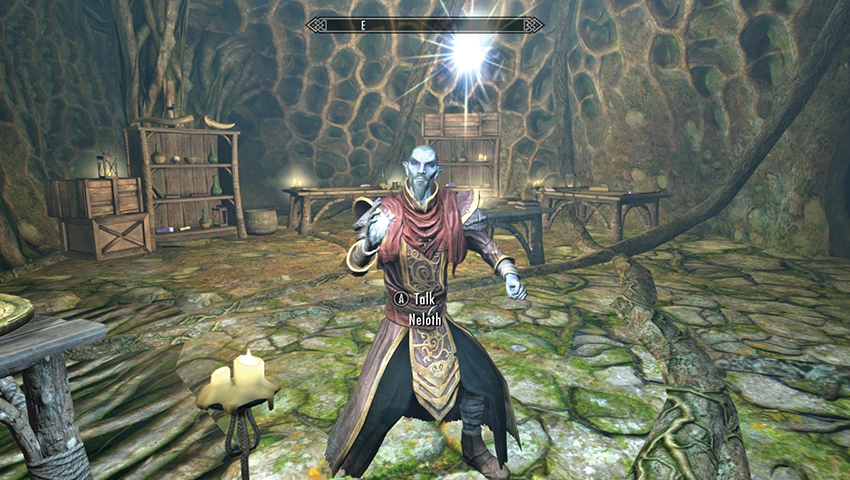
That haughty Neloth, the mage with whom you explored Dragonborn Main Quest: The Path of Knowledge, has a task for you to complete. Ascend to his tower lair in Tel Mithryn and ask him, “Can I help with your research?” One (random) request Neloth has for you involves Ash Spawn. Neloth is doing research on them, and he asks you to bring him a sample of the ash from one using a special extraction tool.
- Ash Extractor
- Objective: Collect ash from an Ash Spawn
- Target: Ash Spawn [a random location]
Ash for Cash
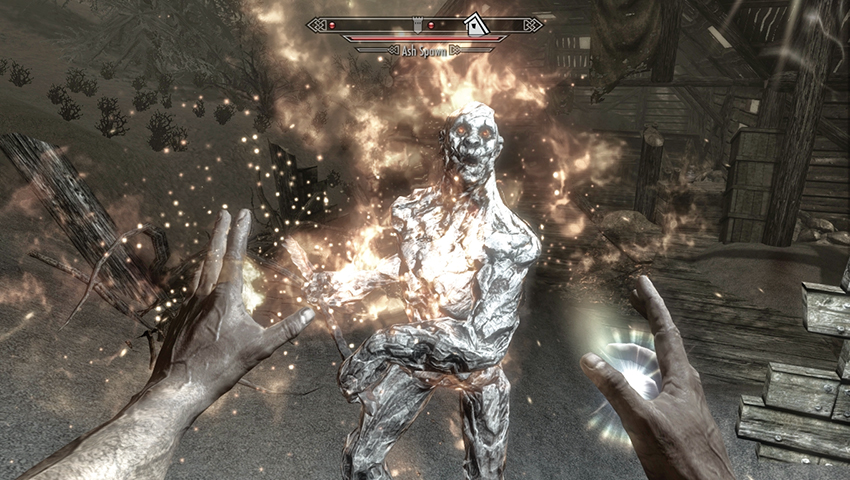
Head away from Tel Mithryn and locate Ash Spawn. These foes are hardy and numerous. You find them easily, especially along the southern part of the island, where Red Mountain’s deposits have landed. Or you can find them:
- In Raven Rock Temple, after speaking to Elder Othreloth and agreeing to his Favor and cleaning out his ancestral tomb.
- At Old Attius Farm, Raven Rock, or Fort Frostmoth as you progress through Solstheim Side Quest: March of the Dead.
Inspect the ash pile one of these fiends leaves behind, and extract it using the tool you were provided.
- Ash
- Objective: Talk to Neloth
- Target: Neloth, Tel Mithryn
Quest Conclusion
Head back to Neloth, and the mage is relatively impressed by your locating and extraction skills, rewarding you with some gold for your troubles.
- Gold (250)
Postquest Activities
This quest occurs randomly but isn’t repeated.
Unearthed
Uncovering Kolbjorn Barrow
During your travels through Solstheim, you can learn about Kolbjorn Barrow from a variety of sources. There are several ways to begin this quest:
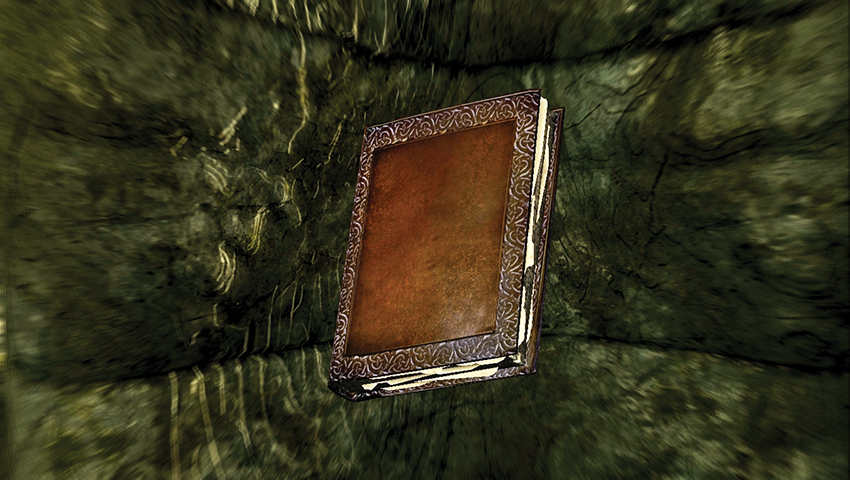
- Read the book Ahzidal’s Descent. There are a number of copies scattered around Solstheim. For example, in Tel Mithryn, on a table close to the floating lift in Neloth’s chamber, or in Raven Rock, on Glover Mallory’s bedroom shelf, on the second floor of his house.
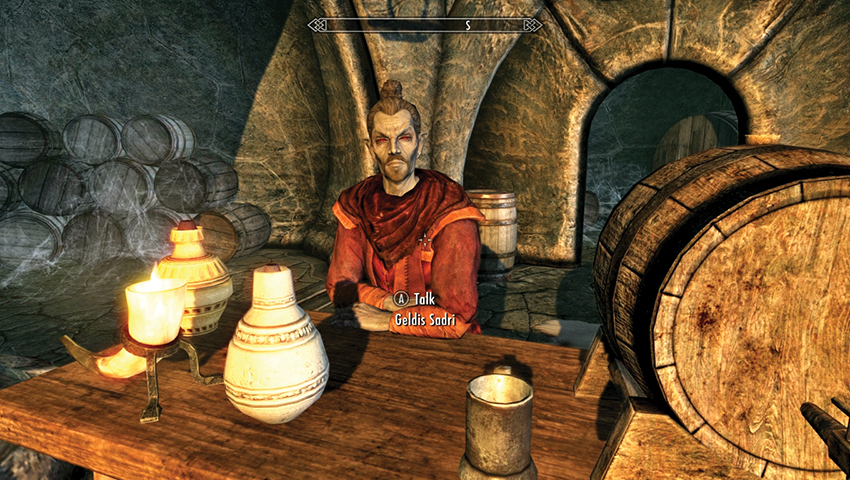
- Visit The Retching Netch in Raven Rock and speak to Geldis the innkeeper about rumors. He mentions a Dunmer named Ralis is up at the Barrow.
- Or, you can simply stumble upon the Barrow, just southeast of Raven Rock, on the upper plateau overlooking the sea.
- Book: Ahzidal’s Descent
- Objective: Investigate Kolbjorn Barrow
Digging with a Dark Elf
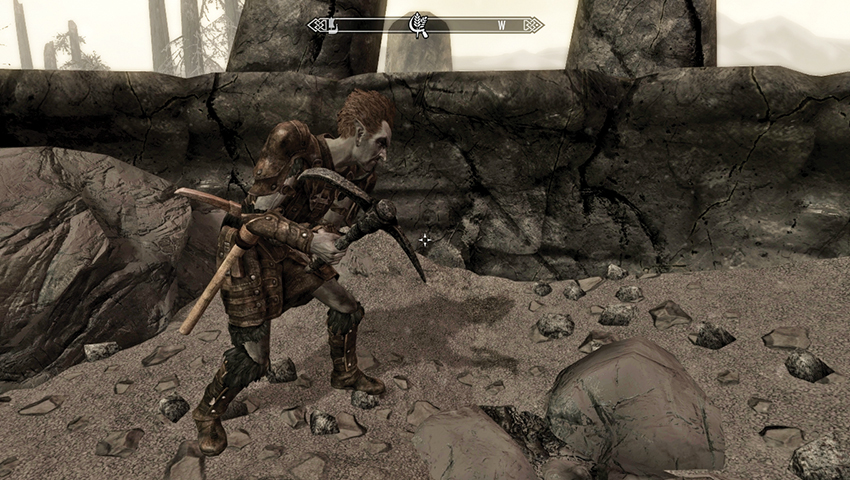
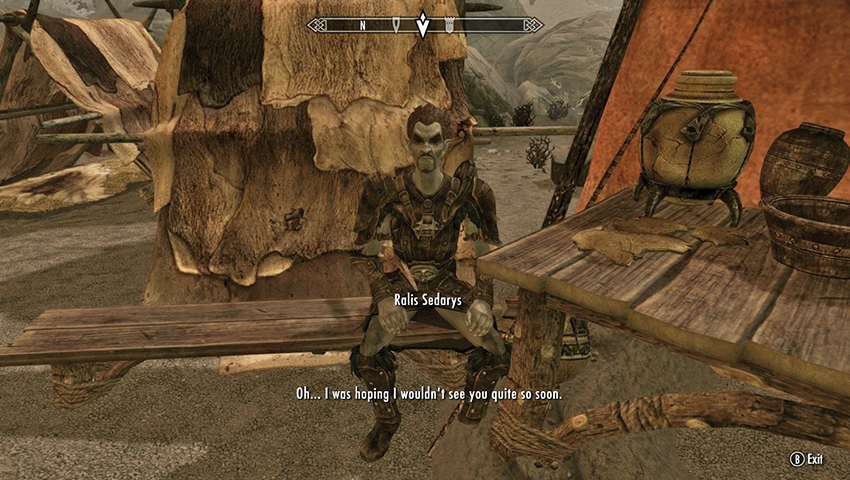
As you approach Kolbjorn Barrow, buried by the ash from Red Mountain, you’ll spot a Dunmer named Ralis Sedarys (and his nearby journal on a bed of hay). Ralis is an explorer from Mournhold who came to Solstheim in search of the Relics of Ahzidal, a set of powerful enchanted items said to have been entombed below.
As you progress with the conversation, asking why he toils with a pickaxe instead of hiring miners, he mentions his lack of funds to secure such workers. This is where a wealthy financier might come in handy. After asking more about the treasure, the quest starts and the objective updates:
- The Journal of Ralis Sedarys, vol. 19
- Objective: Fund the excavation of Kolbjorn Barrow (1,000 gold)
- Target: Ralis Sedarys, Kolbjorn Barrow
Once you have the money, return to Ralis, and ask if he’s looking for a partner. He’s agreeable, as long as you manage the coin and he manages the dig. Offer him the 1,000 gold, giving him enough to hire a few lackeys and dig down deeper. But that will take time, so he’ll send word when the tomb entrance is found.
- Objective: Wait for a message from Ralis
- Target: Courier, any settlement
Journey away from the Barrow, to any main settlement on the island (such as Tel Mithryn or Raven Rock), and wait three days. Occupy yourself with other quests or simply sleep until the time has passed. Then Fast-Travel to a different settlement. A courier approaches with a parchment for your eyes only. Ralis seemed excited when he handed the message to the courier.
- Letter from Ralis Sedarys 1
- Objective: Visit the Kolbjorn Barrow Excavation
- Target: Ralis Sedarys, Kolbjorn Barrow
Phase 1: Disturbing the Draugr Dead
Upon your return, it appears your money has been spent; there are miner tents and Ralis is on-site, moaning that something managed to wake the Draugr within the crypt. All the miners are dead, and only Ralis escaped. Unless you’re prepared to deal with the draugr, the whole venture is over.
- Objective: Clear the Draugr from Kolbjorn Barrow
- Objective: Find a way deeper into the Barrow
- Target: Kolbjorn Barrow
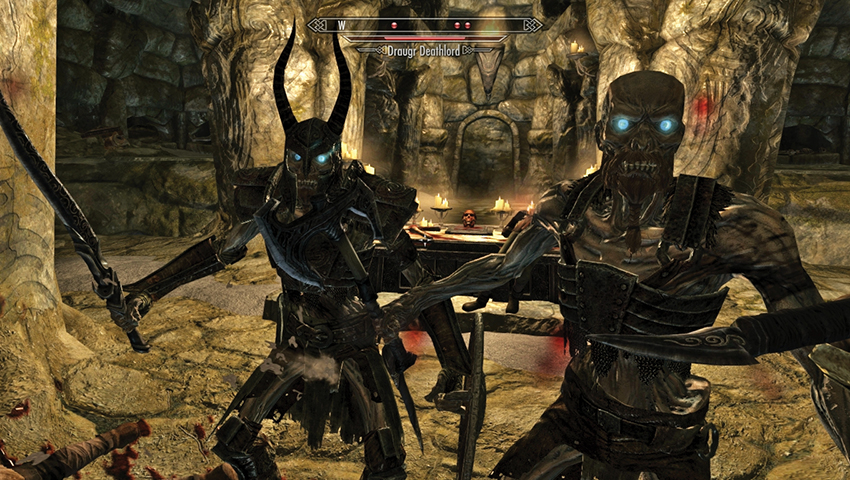
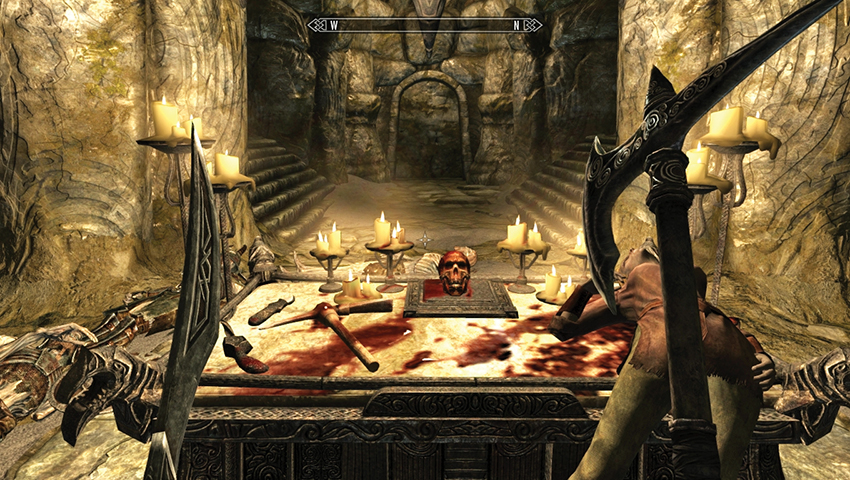
The miners dug out the entrance, allowing you access down past their bloodied corpses and into an initial burial chamber, where they apparently hit a dead end. Expect at least six Draugr to contend with, both in the main path and from the four raised crypt corners. Once you’ve embedded your preferred weapons into their rotted hides, one of your objectives completes. But you still need to find a way onward.
Locate the main altar in the center of the burial chamber, and study the strange red skull. Lift it from its pressure plate, and a rotating wall arch ahead of you grinds open. Your objective updates, but don’t leave just yet. Head into the newly opened chamber, and you’ll see that a lot more digging is in your future. But Ralis’s information appears to have been correct—a unique pair of boots sits on the pedestal directly ahead of you.
- Skull
- Ahzidal’s Boots of Waterwalking (Waterwalking ability, +10 Enchanting if four Relics of Ahzidal are worn)
- Objective: Speak to Ralis
- Objective: Fund the next phase of the excavation (2,000 gold)
- Target: Ralis Sedarys, Kolbjorn Barrow
Head back to the surface, and inform Ralis that his barrow is Draugr-free. He’s moderately happy but needs to recruit more miners. This won’t be an easy sell, as their friends recently perished here. When you’re prepared (or able) to part with 2,000 gold, hand it to Ralis, who tells you it will take a few days to dig up more laborers. Why not swing back when you get a chance?
- Objective: Wait for a message from Ralis
- Target: Courier, any settlement
Just as you did before, you must head away from the barrow and drum your fingers for three days. After 72 hours of occupying yourself with other tasks, head to a settlement and locate a courier, who has another message from Ralis.
- Letter from Ralis Sedarys 2
- Objective: Return to Kolbjorn Barrow
- Target: Ralis Sedarys, Kolbjorn Barrow
Phase 2: Deeper with the Dead
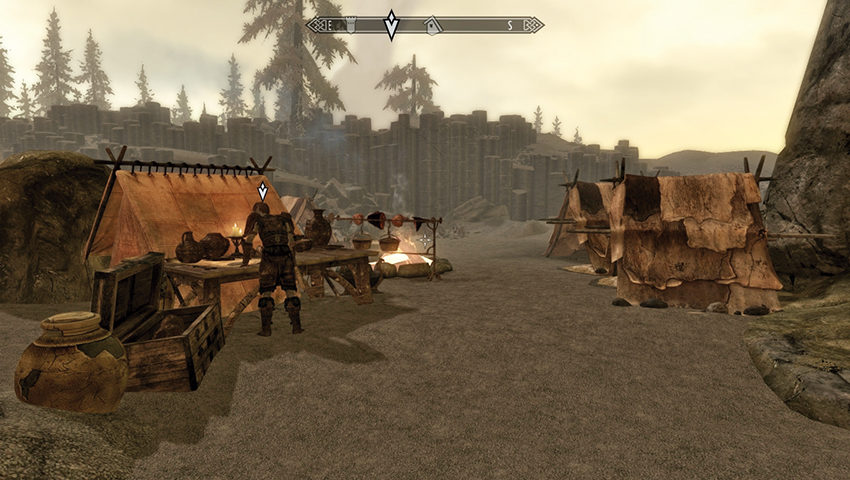
As you arrive, it seems your cash injection has been spent; there’s a cooking pot and two more tents, and the place is starting to look like an excavation site rather than a hunter’s camp. Ralis isn’t happy, though; more Draugr have emerged. At least six miners are dead, and the rest have fled. Perhaps a few are hiding or trapped down there?
- Objective: Clear the Draugr from Kolbjorn Barrow
- Objective: Search for the missing miners
- Target: Kolbjorn Barrow

Concern yourself first with eradicating the rotting Nords; head into the initial crypt area and lay waste to the foes appearing from the crypt walls and in the main corridor. Then head deeper (northwest) into the barrow. A toughened Draugr attacks from a circular platform; slay the fiend with ranged weapons or spells.
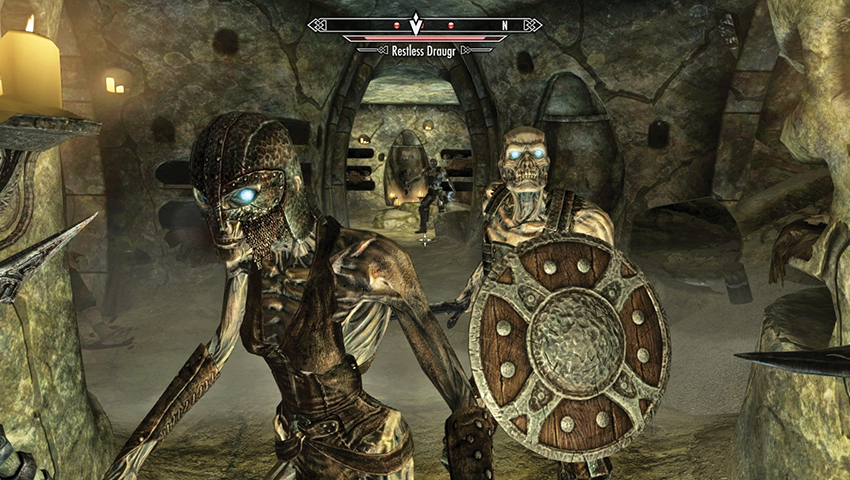
With the Draugr defeated, head under the narrow bridge to locate the two compass targets (the miners) in the crypt ahead. Bradyn is on the lower floor to your left (west). He’s quite dead. However, prepare for more Draugr combat as you reach his corpse; kill three more foes and then venture farther (northwest) into the crypt, yanking the pull chain on the candlelit alcove ahead of you.
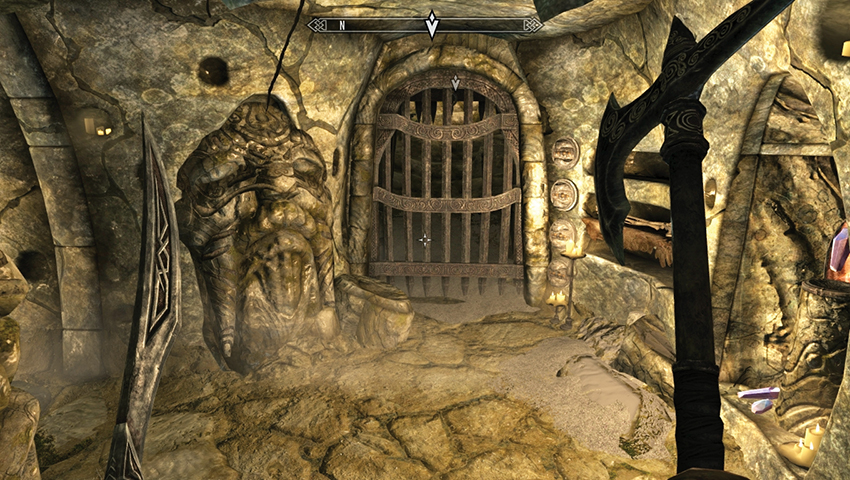
This opens a rotating door to your right (east), exposing a tough Draugr to tackle. Once he’s down, pull a second chain in this new chamber’s alcove, which opens a rotating door to the southwest, behind you. This leads to the upper crypt and another Draugr. Slay it, step around the pressure plate so the magic caster trap isn’t triggered, then move to the portcullis puzzle with four handles to the right of it.
Puzzle Solution: The top handle releases the first portcullis. The second releases darts, so ignore it. The third and fourth handles together release the remaining portcullises, so pull them and continue up.
In the upper crypt area are the splattered remains of Mireli. Take the letter on her body if you wish, then inspect the blocked passageways up here. It isn’t long before four additional Draugr show themselves. Wipe them out to complete the remaining objective. Before you leave, you might as well pocket another fabled item. Locate the seeming dead end to the northeast, hunting for a low handle on the protruding wall to your right, which slides open a secret alcove allowing you to pick up Ahzidal’s Ring!
- Mireli’s Letter to Mother
- Ahzidal’s Ring of Necromancy (whenever a creature you have reanimated takes damage, they explode for 50 points of Frost Damage and die)
- Objective: Speak to Ralis
- Objective: Fund the next phase of the excavation (3,000 gold)
- Target: Ralis Sedarys, Kolbjorn Barrow
Return to the surface and locate the dour Dunmer, informing him of the death down below. This hazard pay keeps piling up, and he now needs additional (some might say ludicrous) funds to continue this expedition. When your coffers can handle this outlay, hand it over and wait for Ralis to hire some brawny types to keep the new miners safe. Naturally, this will take a few days.
- Objective: Wait for a message from Ralis
- Target: Courier, any settlement
You know the plan by now; move away from the barrow and attempt other tasks or wait for three days. After 72 hours, saunter into a settlement and locate a courier, who has another message from Ralis. Apparently Ralis is starting to scare the letter carriers.
- Letter from Ralis Sedarys 3
- Objective: Return to Kolbjorn Barrow
- Target: Ralis Sedarys, Kolbjorn Barrow
Phase 3: Disturbing More Draugr
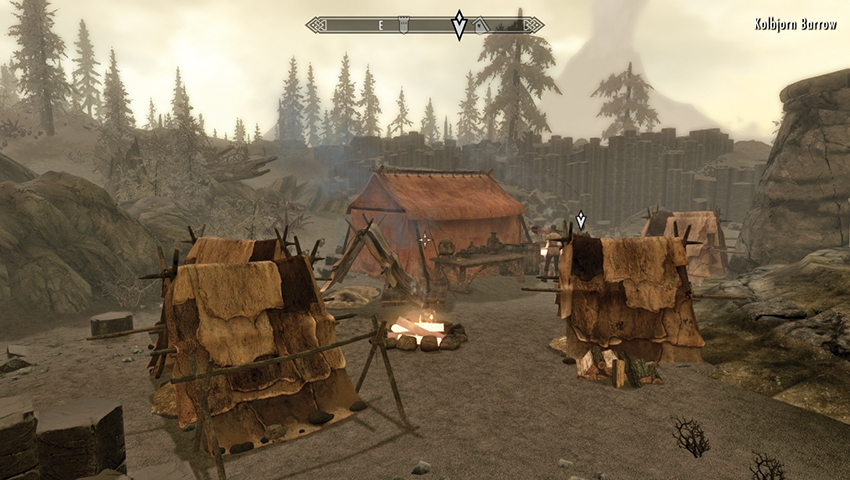
Upon your return, the barrow is almost bustling, with more tents and at least one living miner. So that’s encouraging! However, Ralis is less than thrilled as he tells you of yet another disaster: More Draugr have been uncovered! Your objective is as clear as the sunken eyes on Ralis’s face.
- Objective: Clear the Draugr from Kolbjorn Barrow
- Target: Kolbjorn Barrow
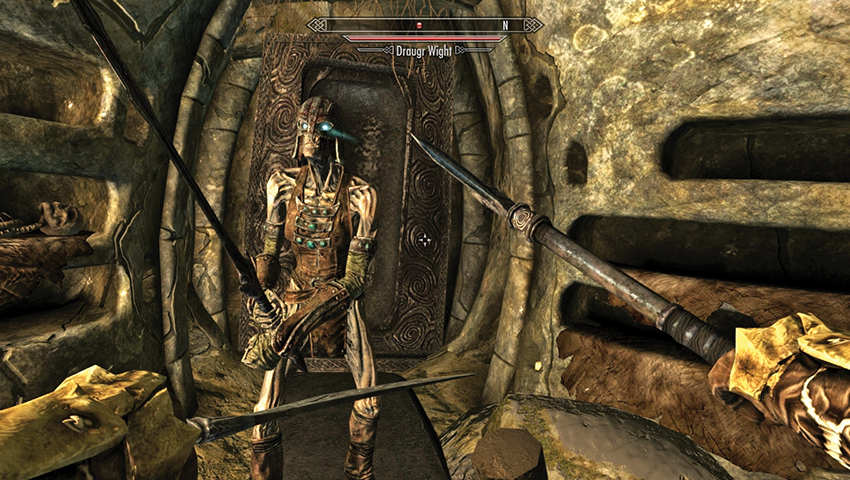
Expect two foes in the initial chamber, another in the main chamber by the pedestal, and the excavation to have cleared out much of the room. Cross the bridge and head into the two-story crypt you explored last time and bring death to the Draugr inside. Continue down the stairs to the lower level where a sarcophagus has been uncovered (a Draugr bashes its way out to meet your blades), and a locked iron door blocks your progress [Expert]. Pick this lock to reach a hidden antechamber with spiders to crush and a chest to inspect. Head down the stairs and deal with another foe, and you can see back out to the central chamber.
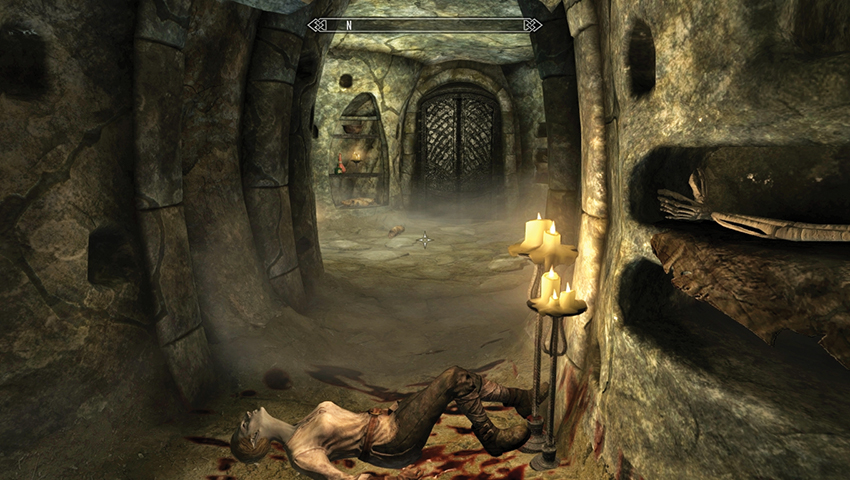
Press on to explore more of the catacombs. In the newly opened room, locate a wall chain and pull it, which opens a hidden room to the northeast, where you find Ahzidal’s Gauntlets.
- Ahzidal’s Gauntlets of Warding (your Wards are 25% less effective but absorb 50% of the Magicka from incoming spells)
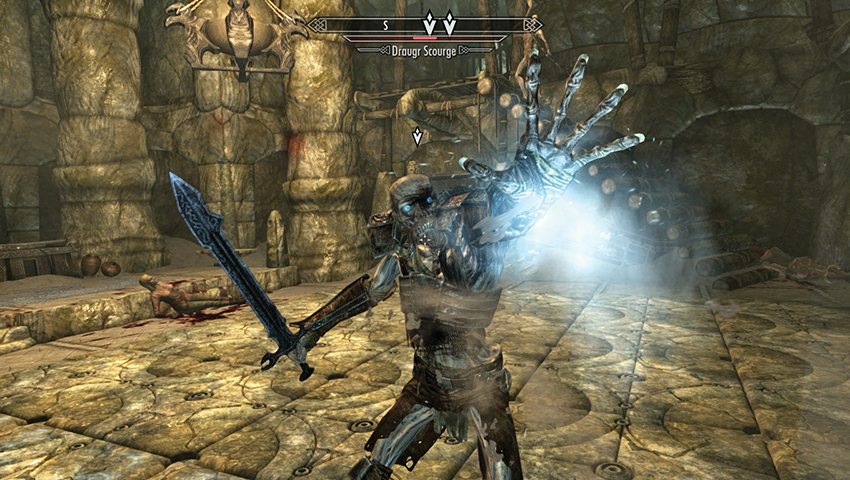
Backtrack to the room with the wall chain and open the iron door. This leads to a wide tunnel with a rockfall trap that can remove Draugr threats ahead of you. Head down the stairs, turn southeast, then go up the steps and into a large sacrificial chamber. Expect to fight two or three Draugr at first, and then another three before you clear the barrow of foes. Before you leave, check the room for dead miners and guards, then look to the left (northeast), into a small antechamber with a pedestal, upon which rests a ring. You can open the portcullis by quickly sprinting across all of the pressure plates so they activate (light up), or simply snatch the ring through the closed grate using the Telekinesis spell.
- Ahzidal’s Ring of Arcana (allows you to cast the spells Freeze and Ignite)
- Objective: Speak to Ralis
- Objective: Fund the next phase of the excavation (5,000 gold)
- Target: Ralis Sedarys, Kolbjorn Barrow
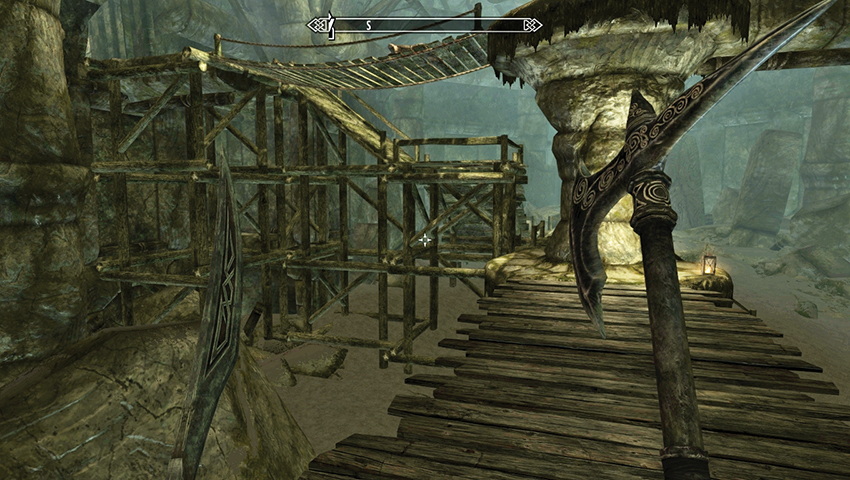
Head up the side steps in the sacrificial room and yank a chain to open the portcullis, watching for a subsequent blade trap and another chain that opens a quicker way back to the second chamber. Climb the wooden walkways and exit the barrow. Ralis is pleased at your Draugr dispatching but fears it’s going to be everything he can do to find more miners. Got any spare change? Dig into your breeches and come up with an amazing amount of gold so he can hire some experienced muscle. Stop back in a few days to see what’s been uncovered.
- Objective: Wait for a message from Ralis
- Target: Courier, any settlement
Execute the “wait around for Ralis” plan once more. After three more days, a courier appears, telling you this is the last time he’s visiting that place.
- Letter from Ralis Sedarys 4
- Objective: Return to Kolbjorn Barrow
- Target: Ralis Sedarys, Kolbjorn Barrow
Phase 4: Curse of the Dragon Acolyte
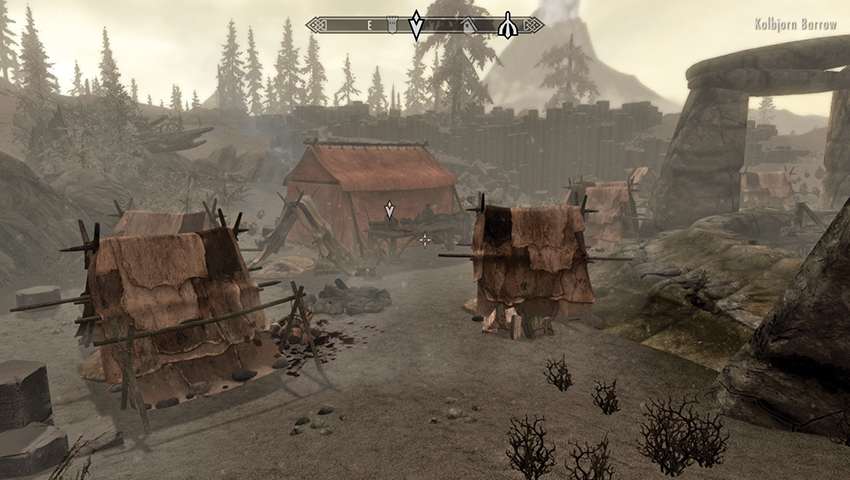
The camp is more like a small settlement now, with numerous tents but few miners. Optionally, you may want to enter Ralis’s tent and read some of his journals. Volume 23 is most illuminating, as the Dunmer appears to have been in league with (or driven mad by) Lord Ahzidal! No wonder there were so many deaths!
- The Journal of Ralis Sedarys, vol. 23
- Objective: Locate Ralis
- Target: Ralis Sedarys, Kolbjorn Barrow
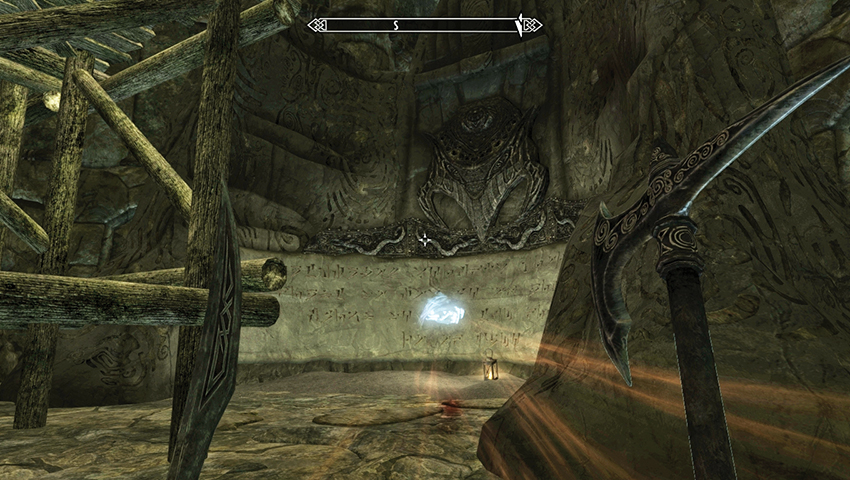
Descend into this barrow once more. This time, it isn’t necessary to remove all Draugr you encounter, but your rage at paying for Ralis’s sacrificial victims may have sent you into a fury. Gain some reward by descending the second chamber and approaching the Word Wall, learning the Word of Power before continuing and optionally taking the short route back to the sacrificial chamber. Yank the overhead pull chain to reactivate the blade traps and let them deal with some of the Draugr. Then press on and deal with the ones that await you in the sacrificial chamber.
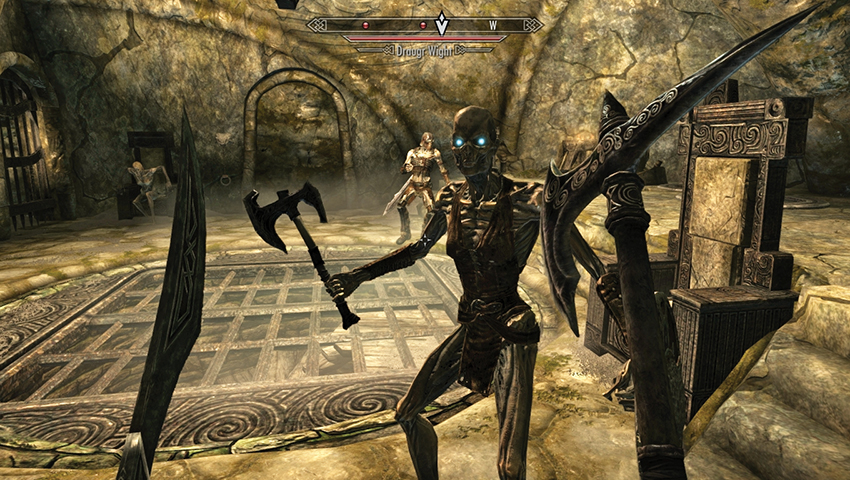
Continue down the newly opened tunnel to a throne chamber with three Draugr to slay as they rise from their seats. After that, ponder a small puzzle:
Puzzle Solution I: There’s a relic sealed in a small alcove here. Face north and south and pull each chain to rotate the wall so a whale petroglyph is exposed in opposite alcoves. Behind the two thrones are rotating pedestals. Shift both of them to the whale and pull the lever between them. The bars retract, allowing you to grab Ahzidal’s Armor.
- Ahzidal’s Armor of Retribution (enemies who strike you with a melee attack have a small chance of being paralyzed)
Puzzle Solution II: Further progress is stalled. To continue you must open the central trapdoor. Opposite the pedestals are carvings of two hawk petroglyphs. Turn the pedestals so they are both hawks, pull the lever, and the trapdoor opens.
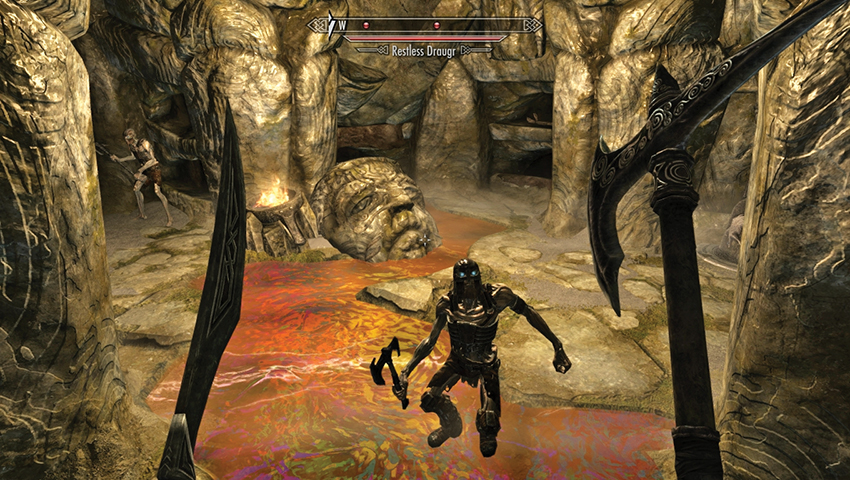
Descend the spiral steps, passing the scattered potions on the ceremonial table, then move into the lower crypts. Remove a Draugr to the right of the entrance before setting the floor ahead ablaze (via magic or a falling oil lamp shot by your bow). This helps remove the four Draugr in the main corridor and stops the forthcoming puzzle from burning you, if you’re incorrect in your choices. Turn right (northeast).
Puzzle Solution: Ahead is a portcullis with a chain and two petroglyph pedestals. If you pull the chain, a fire trap engulfs you. Instead, turn the pedestals so the serpent petroglyph points at the ground marking on each pedestal. This is the third of the puzzles, and two serpents is the only remaining pair that hasn’t been chosen. Pull the chain and claim Ahzidal’s Helm. Watch for another fire trap as you take it!
- Ahzidal’s Helm of Vision (your Conjuration and Rune spells cost 25% more but can be cast at greater range)
Pass the sarcophagus with the Stalhrim deposit (which you may want to mine if you have an Ancient Nordic Pickaxe handy), and move to the door opposite (southwest).
Into Ahzidal’s Clutches
- Objective: Defeat Ahzidal
- Objective: Confront Ralis
- Target: Ralis Sedarys, Kolbjorn Barrow
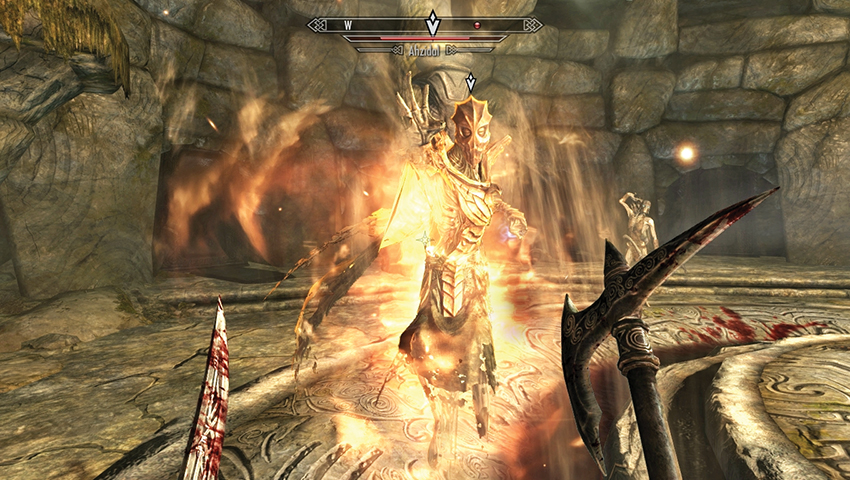
Ralis is either mad or under the influence of an ancient power; he is attempting to summon Ahzidal! Unfortunately, he’s successful! Expect waves of Draugr to crash out of wall crypts, with Ahzidal raising them to fight again when they fall. Concentrate your force on Ahzidal, countering his fire-based attacks and using the columns around the chamber to hide behind. When the fighting ends, check the ashes for his mask.
- Ahzidal (increases Fire Resistance by 50% and Fire spell damage by 25%)
Quest Conclusion
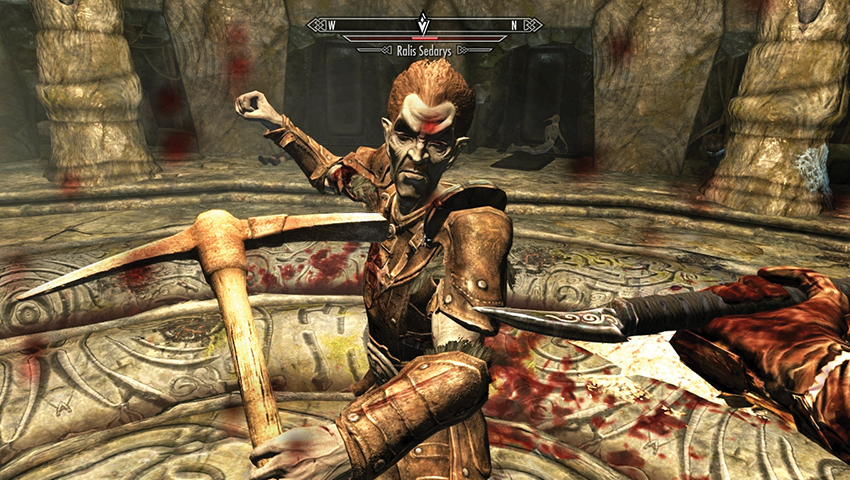
Ralis sways a little, confused over what just happened. Did he pocket your gold and take you for a fool? Or was he summoned here as a thrall? Did he kill all the miners under the influence of Ahzidal? He doesn’t know for sure. But you can determine whether he lives or not. You can:
- Believe him but tell him never to return. He agrees. The quest ends.
- Or tell him he can’t go unpunished. The objective “Kill Ralis” begins. Fight and slay him. The quest ends.
Postquest Activities: The Relics of Ahzidal
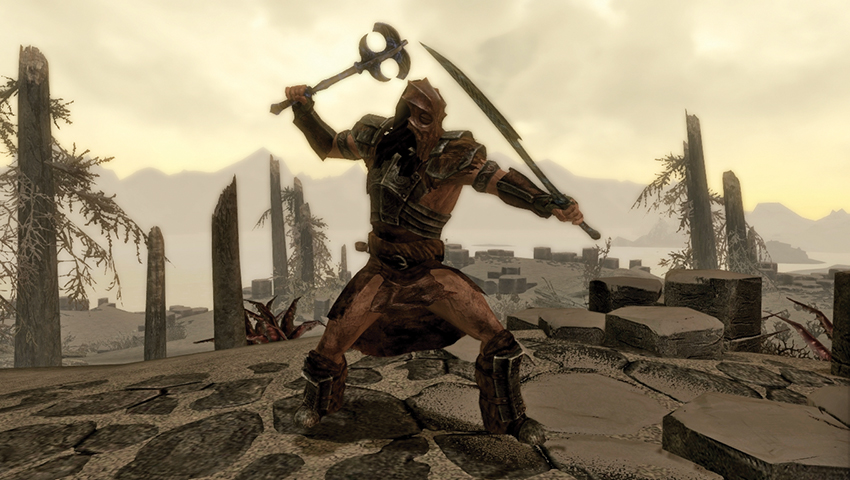
Now is the time to return to find any missing Relics of Ahzidal. These are a set of items with unique enchantments:
| Name | Type | Description | Found |
|---|---|---|---|
| Ahzidal | Mask | Increases your Fire Resistance by 50%, and your Fire Spell damage by 25%. | Phase 4. Mask worn by Ahzidal. |
| Ahzidal’s Helm of Vision | Helm | Your Conjuration and Rune spells cost 25% more but can be cast at greater range (+1 Range Increment). | Phase 4. Use the “Snake, Snake” combination in the lower catacombs. |
| Ahzidal’s Armor of Retribution | Cuirass | Enemies who strike you with a melee attack have a small chance of being paralyzed (5%). | Phase 4. Use the “Whale, Whale” combination in the puzzle chamber. |
| Ahzidal’s Gauntlets of Warding | Gauntlets | Your Wards are 25% less effective but absorb 50% of the Magicka from incoming spells. | Phase 3. Behind a secret door in the main catacombs (lower level). |
| Ahzidal’s Boots of Waterwalking | Boots | Waterwalking. If you wear any four Relics of Ahzidal, +10 Enchanting. | Phase 1. In the second (main) chamber. |
| Ahzidal’s Ring of Necromancy | Ring | Whenever a creature you have reanimated takes damage, they explode for 50 points of Frost damage and die. | Phase 2. Behind a secret door in the main crypt (upper level). |
| Ahzidal’s Ring of Arcana | Ring | Allows you to cast the spells Ignite and Freeze. | Phase 3. In the sacrificial chamber with the pressure plate puzzle. |
- Set Bonus: Ahzidal’s Genius (+10 Enchanting while wearing any four Relics of Ahzidal)
Interestingly, like the abilities on the individual items, this set bonus is also unique: no other armor confers a bonus to your Enchanting skill.
Postquest Activities: The Fate of Ralis
If you kill Ralis: You’ll find little of the 11,000 septims you’ve spent. In fact, only Hoarfrost, his unique Ancient Nordic Pickaxe, is of any real worth.
If you don’t kill Ralis: You’ll find him in The Retching Netch in Raven Rock. Speak to him and he’ll lend you his expertise as a Follower if you want him. You can pilfer his pickaxe after he joins you.
- Follower: Ralis
- Hoarfrost (targets take 15 points of Frost damage to Health and Stamina and have a small chance of being frozen solid.)
Postquest Activities: Black Books
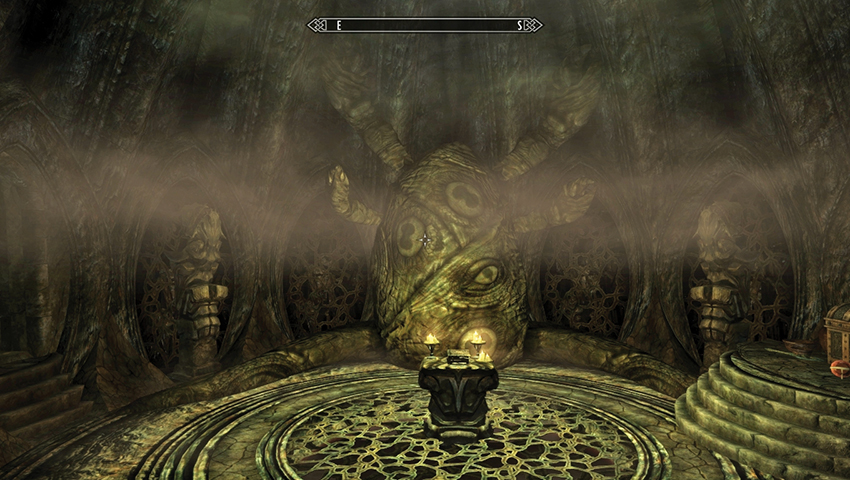
Leave Kolbjorn Barrow via the gap in the sarcophagus to the southwest, passing a large chest before reaching a pull chain and allowing access into a strange and terrible chamber. Here you find an effigy of Hermaeus Mora, another huge chest and assorted items, and a fabled Black Book. This begins Solstheim Side Quest: Black Book: Filament and Filigree.
- Black Book: Filament and Filigree
Whether you’re reading this book or not, exit to the northeast, noting the Stalhrim deposit before activating a lever to summon a rotating staircase down to your level. Ascend, and you emerge in the main chamber.
Wind and Sand
A Spot of Bookkeeping
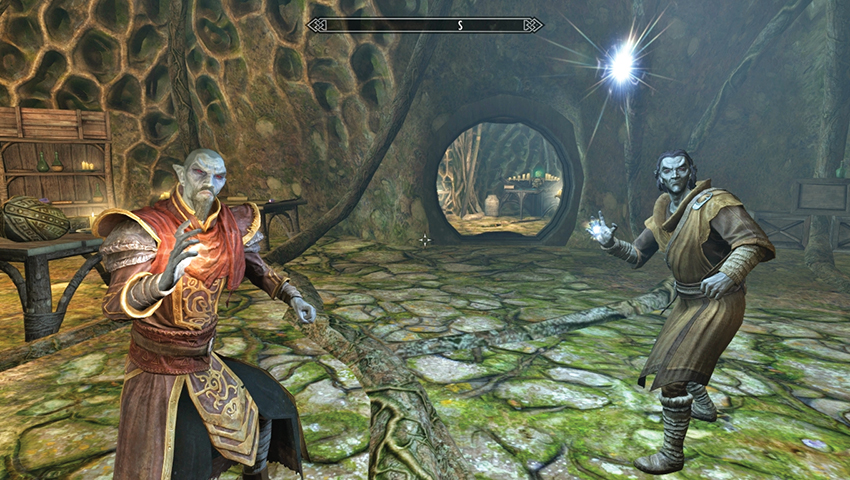
Remember Neloth, the Dunmeri mage with the high and mighty attitude? He accompanied you during Dragonborn Main Quest: The Path of Knowledge and thinks someone is threatening him. Well, he’s also engaged in some ongoing research for his spells and reckons a dusty tome named Wind and Sand—which he’s tracked down to a particular dungeon—holds the key to a breakthrough. If you ask him a variation on “can I help with your research?” he mentions this.
- Objective: Get the Wind and Sand book
- Target: Wind and Sand, from [a random dungeon]
Wind and Sand in Hand
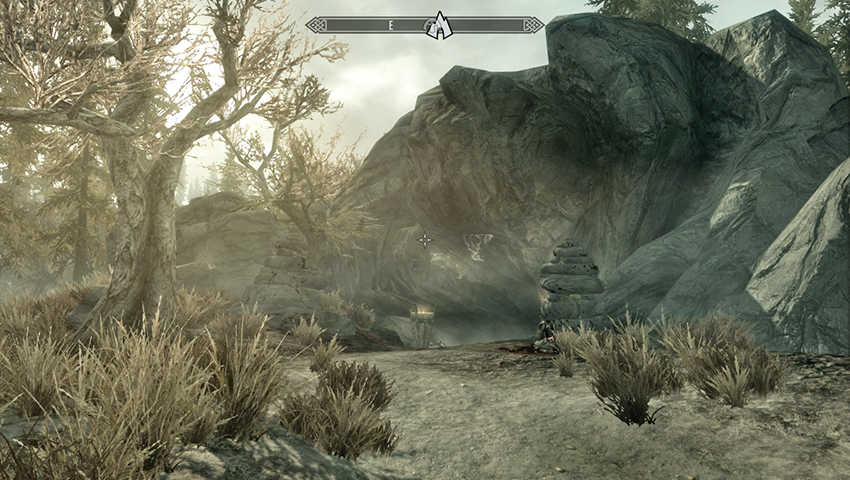
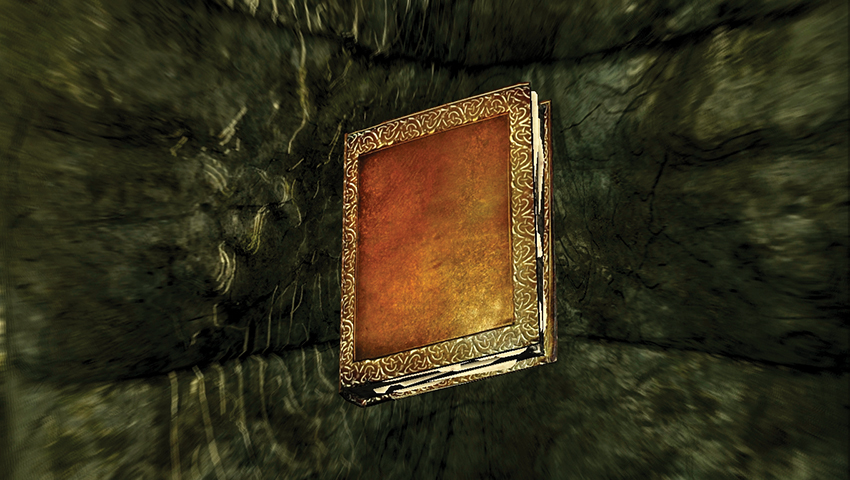
To the dungeon! Neloth pinpoints the location of the book, and it’s up to you to find it. Unlike many of the other quests that take place on Solstheim, Wind and Sand may be located in any dungeon, whether here or in Skyrim. In this example, we traveled all the way from Tel Mithryn to Hjaalmarch Hold, and battled through Movarth’s Lair, in order to find Wind and Sand. Once you grab the book, your quest updates.
- Wind and Sand
- Objective: Talk to Neloth
- Target: Neloth, Tel Mithryn
Quest Conclusion
Head back to Tel Mithryn and find Neloth in his giant fungus house. Present the book to him and he’s extremely happy with it. To show his appreciation, he’ll provide you with a new spell after he researches the tome. For now, though, take the small coin reward.
- Gold (250)
Postquest Activities
The Destruction spell can be purchased from Talvas Fathryon, Neloth’s apprentice.
- Whirlwind Cloak
The Challenges of Kagrumez*
A Gem of a Find
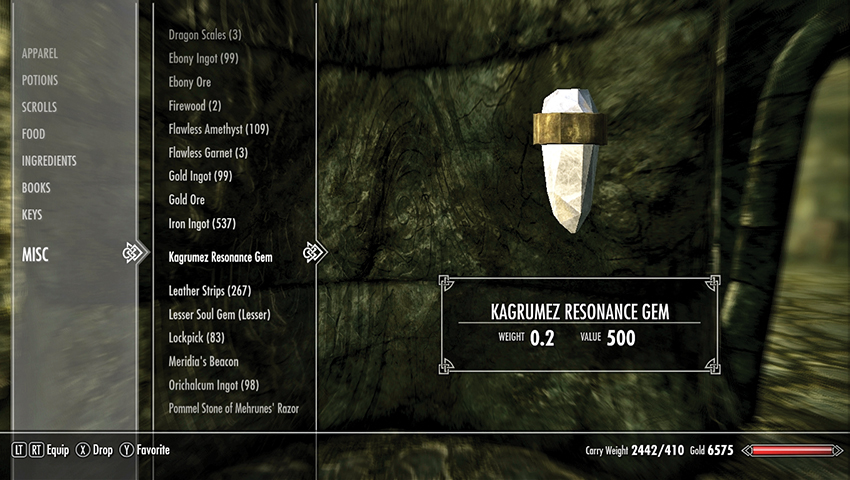
While exploring Solstheim, you may uncover an odd item or two. Among them may be a white and slightly glowing precious stone, shaped to fit into a slot. This is a Kagrumez Resonance Gem, and there are three scattered across Solstheim and two within the Dwarven ruin of Kagrumez.
- Miscellaneous Objective: Find Resonance Gems across Solstheim to complete the Kagrumez trials
Gem 1: The Expensive Trinket of Revus Sarvani
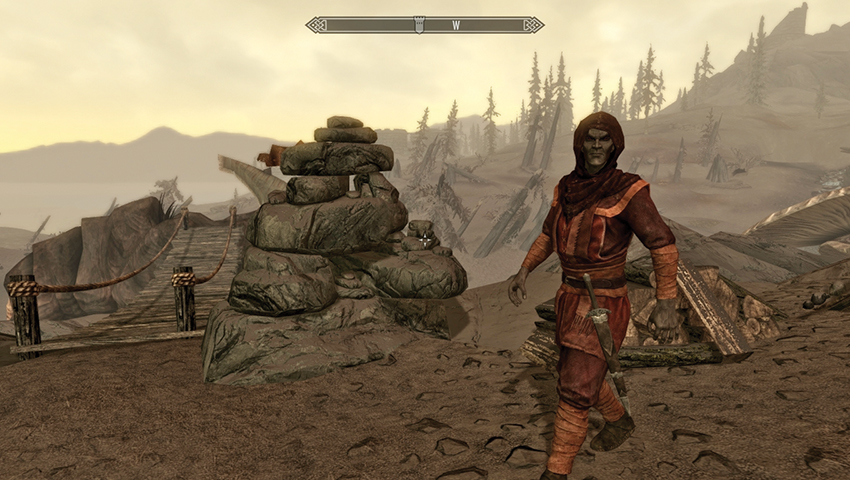
One gem can be purchased (for over 1,000 gold) from Revus Sarvani, the Silt Strider wrangler who is moored just east of Tel Mithryn.
- Kagrumez Resonance Gem
Gem 2: The Elaborate Exploration of Fahlbtharz
This gem requires far more exploring, through the high mountains to the northwest to Fahlbtharz, a dwarven ruin appropriated by Rieklings. If you wish to further your knowledge of the interior of this sprawling dwemer city, consult the nearby information.
Gem 3: The Entering of Nchardak Aqueduct
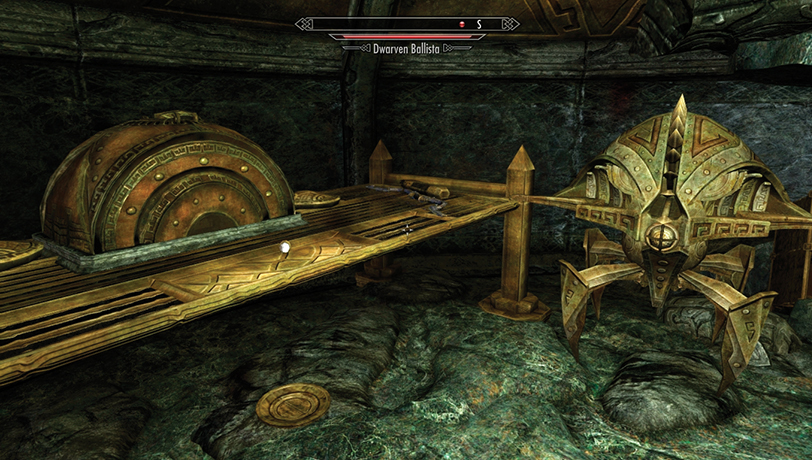
The third Kagrumez Resonance Gem is located in a treasure chamber on the upper floor of the northeast corner of Nchardak Aqueduct (past a control switch that you place a Control Cube on to open). For a complete walkthrough of this dwarven ruin, consult Dragonborn Main Quest: The Path of Knowledge. The gem is flagged in that quest.
- Kagrumez Resonance Gem
Kagrumez Trials and Tribulations
Gems 4 and 5: The Easiest—Removing from a Reaver
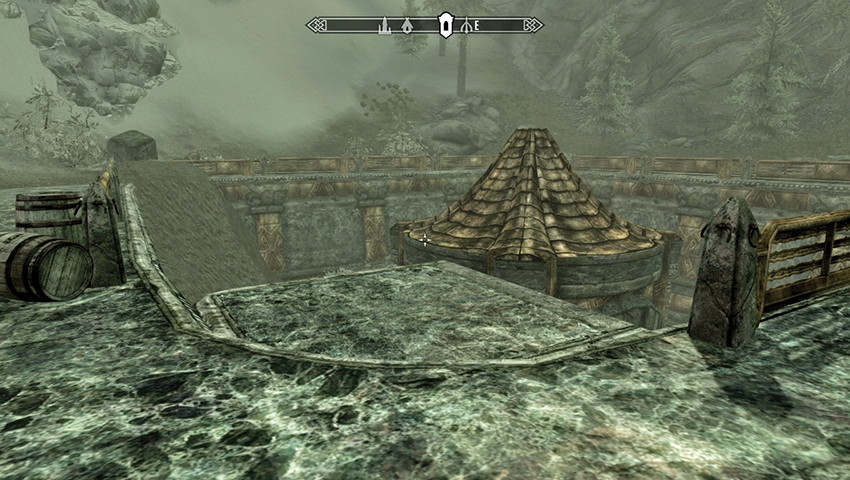
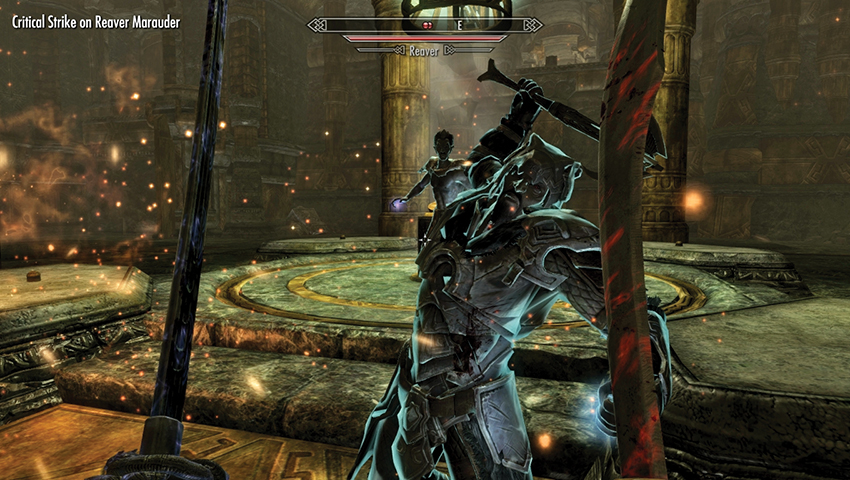
Kagrumez has an entrance sunken into the earth. Head past the small Reaver camp, and descend the steps to the dwarven elevator, opening the entrance to Kagrumez. Head east, down the corridor to a golden door, behind which you can hear voices. A Reaver is talking about entities coming out of the walls and to return with more men. Another replies they have the mettle to slay a few spiders before claiming the treasure of Kagrumez.
Open the door and announce your arrival with a well-placed ranged attack at one of the three foes, then finish them off in this huge chamber of trials. Search the leader’s corpse for two more gems. There is a small journal to read, too, offering hints at what is to come. Read it if you wish.
- Kagrumez Resonance Gem (2)
- Raleth Eldri’s Notes on Kagrumez
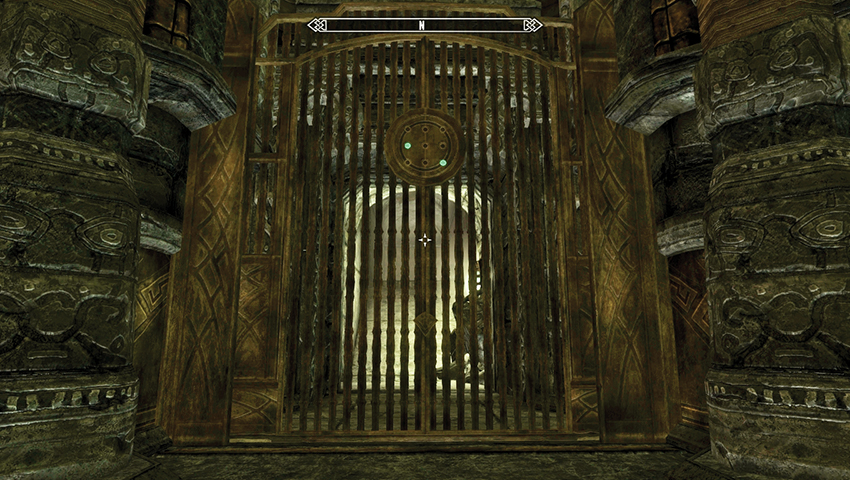
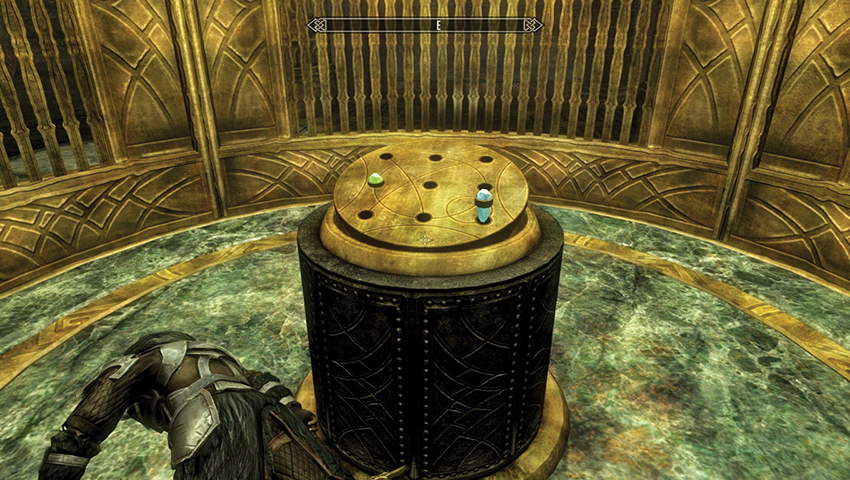
Inspect the chamber of trials. In the center is a resonance receptacle with nine holes. This receives any Kagrumez Resonance Gems you wish to insert, and you can remove them without any problems. However, the order of placement is critical. Make a quick check of your room, and look to the northern gate. Above it is a resonance marker—a golden plate with the fourth and ninth holes covered. Return to the receptacle and mimic that pattern.
Trial 1: Automaton Attack
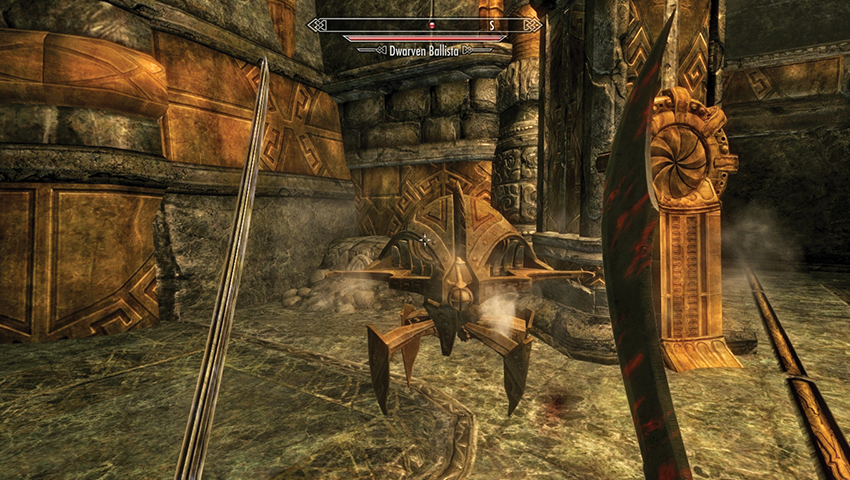
Stone walls rumble across, sealing you in, and the circular cage lifts up to reveal the incoming foes: three Dwarven Spiders and three Dwarven Ballistas.
After this fight, the walls recede, allowing you to head through the northern gate, which is now open. Head up the passage, where among shelves of ingots is a lever that opens a strange cage. Inside is an automaton that doesn’t take an instant dislike to you. In fact, it can act in the same way as an Animal Companion. It can fight alongside you or “go home” (which is here).
- Follower: Steadfast Dwarven Spider
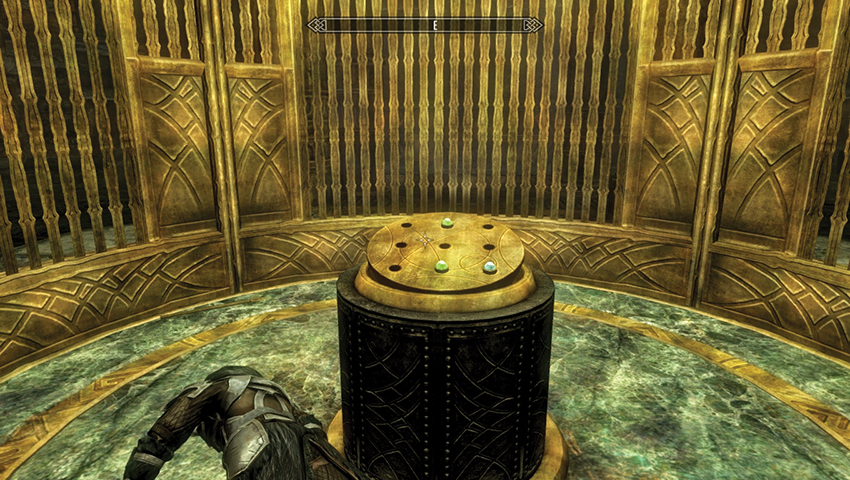
On the east wall is a gate. Above it is a resonance marker with the second, eighth, and ninth holes covered. Return back to the central receptacle in the main chamber and insert that pattern.
Trial 2: Flame and Fireproof Spheres
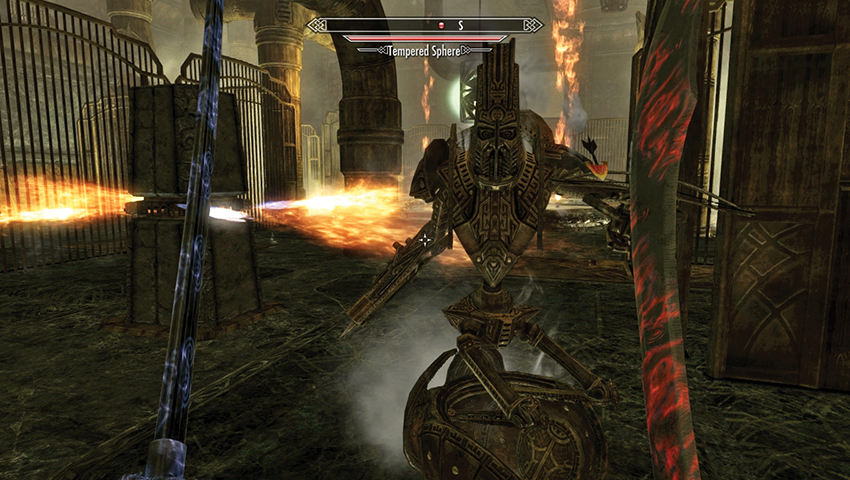
The cage walls shoot up, sealing you in, and walls clamp together around you. Two flame gouts shoot vertically, while steam blasts between the walls on the east and west sides. Toward the north and south edges of the arena are rotating fire pedestals that activate when you move near them. Stay on the outer edges or the middle of the arena when fighting. Tackle these waves as you navigate the fire: Dwarven Spiders (5) and Tempered Spheres (2), which are immune to fire damage.
After the battle, the walls recede again. Head north, then east past the second gate (now open), and south into another chamber with a lever to pull. This reveals a new automaton to control: the Steadfast Dwarven Sphere! Choose this or the Spider to aid you further, if you wish.
- Follower: Steadfast Dwarven Sphere
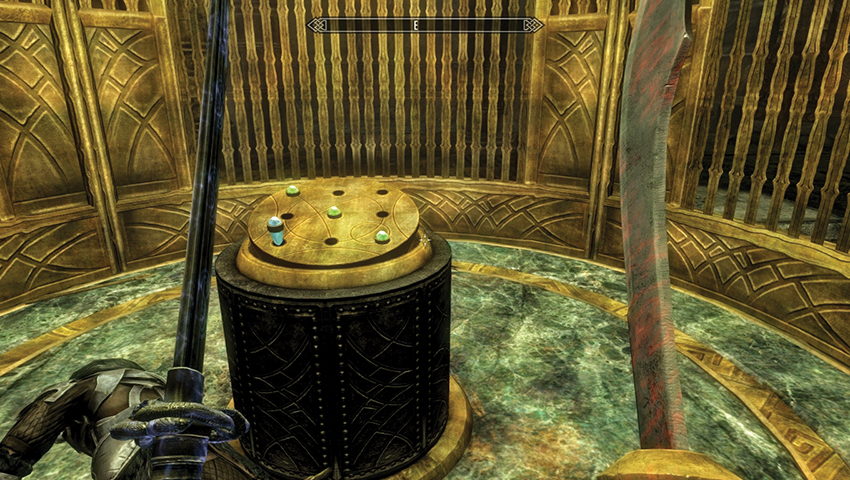
To the room’s southwest is a gate. Above it is a resonance marker with the first, fifth, seventh, and ninth holes covered. Return to the central receptacle in the main chamber and insert that pattern.
Trial 3: A Short, Sharp Shock
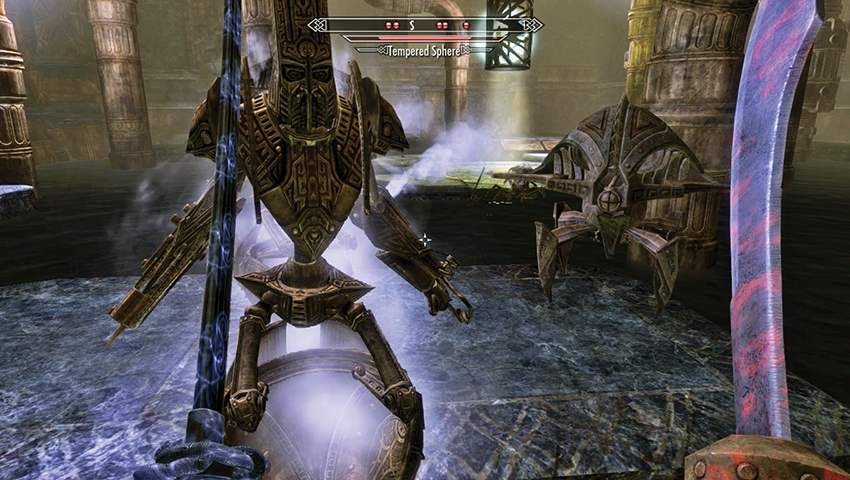
The cage walls shoot up again, and the chamber fills ankle-deep in water, with islands in the center and around the edges. Expect shock damage (which is extra-nasty if you’re in the water) from the following foes as you navigate the water: Tempered Spheres (2), Dwarven Ballistas (2), and Dwarven Spiders (3).
Quest Conclusion
After the battle, the water recedes, and you can retrace your steps all the way to the southwest gate (which is open) and head up to a long hall (where your Miscellaneous Objective ends). Among the other treasures is the Dwarven Black Bow of Fate, an impressive haul for your final prize.
- Dwarven Black Bow of Fate
Postquest Activities
You can choose one Automaton to accompany you on your travels, if you wish.
The Great Solstheim Strongbox Hunt*
Fetching for Fethis
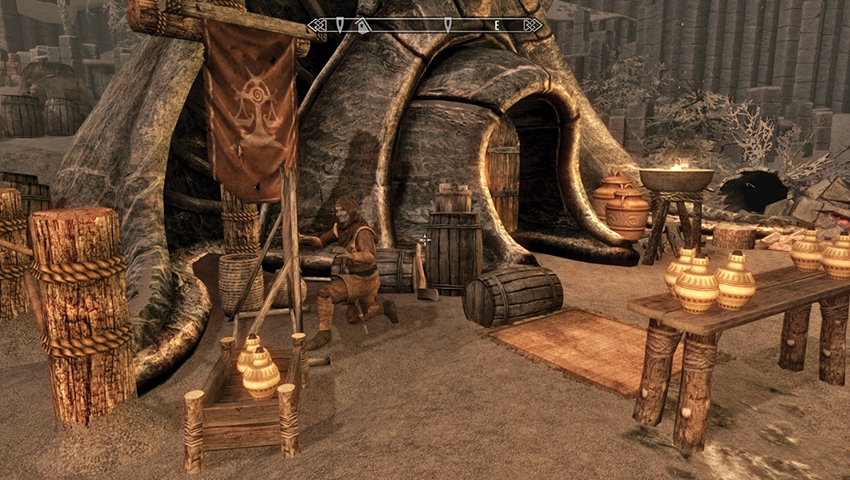
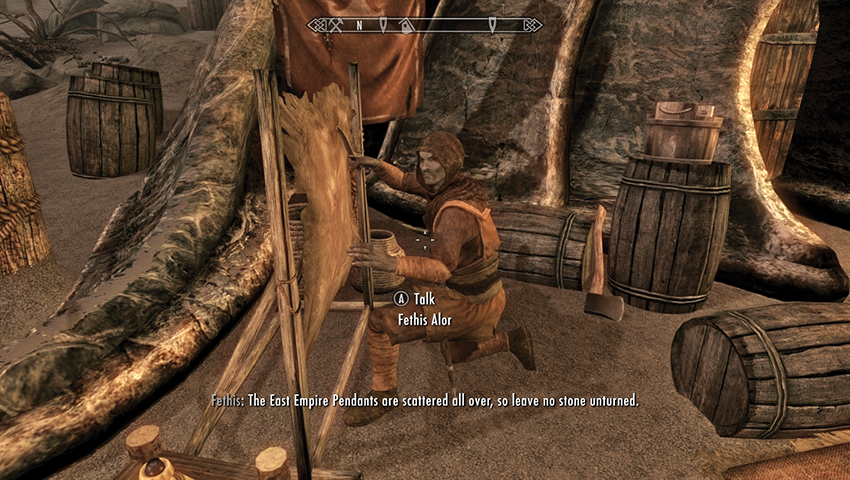

Fethis Alor is a merchant by trade and has a general goods store in Raven Rock. When he’s not squabbling with his daughter Dreyla, he’s worrying about his livelihood. You have a number of conversation choices when speaking with him:
- You can ask about how his sales are. They aren’t good: He’s thinking about contacting a friend at the East Empire Company to see if he can move to Windhelm. Then he drops the name of Vittoria Vici.
- To begin this Miscellaneous Objective, ask about the special mining gear. He doesn’t sell any but does mention East Empire Pendants. He made money from them, until he ran out. He explains the pendants were rewards given to workers for their efforts, and now they’re collectible. He wants as many as you can find.
- Miscellaneous Objective: Locate the East Empire Pendants for Fethis Alor in Raven Rock
You can now scour the island for East Empire Pendants. It is worth remembering the following:
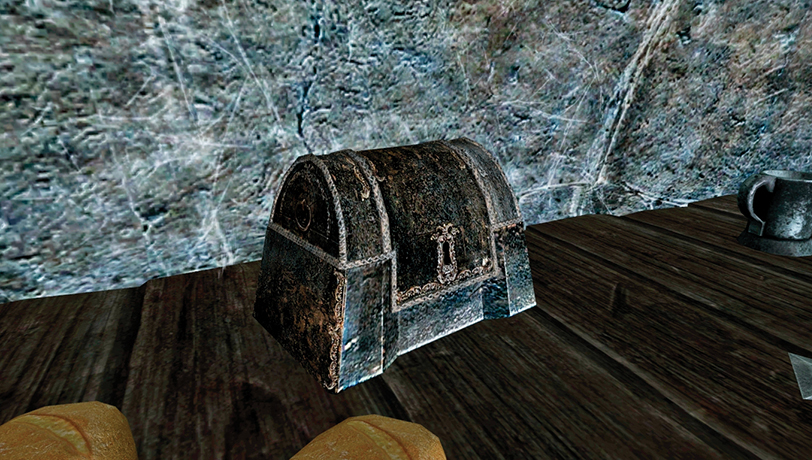
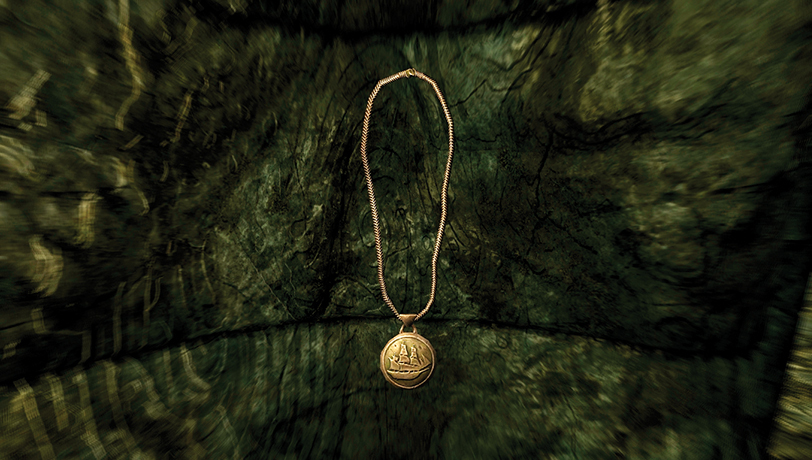
- These are always found in East Empire Strongboxes, which are always locked [Expert].
- There are other (random) valuables within the strongboxes.
- The strongboxes are located at Primary and Secondary Locations throughout Solstheim.
- There are other strongboxes, too, but these aren’t specifically marked and don’t contain Pendants.
- There are no Pendants to be found in Skyrim; they are only here, on Solstheim.
- Some of the Pendants are owned and must be stolen (although you can sometimes take them after completing an appropriate Favor for their owner). If you elect to steal them, be cautious, or you may well be caught and fined (at the very least).
- You can collect any or all of the 33 pendants, but there is no special reward for finding them all—just the gold. Simply retrieve the ones you wish.
Strongbox Search: Northern Solstheim
East Empire Pendant #1
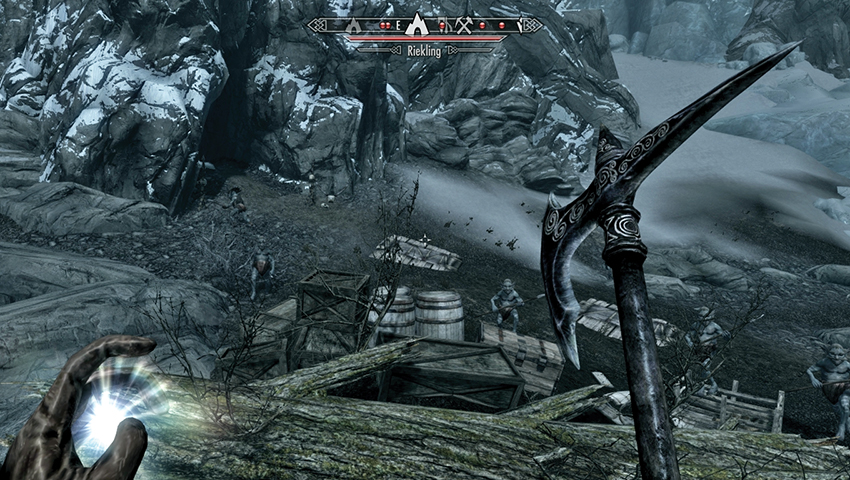
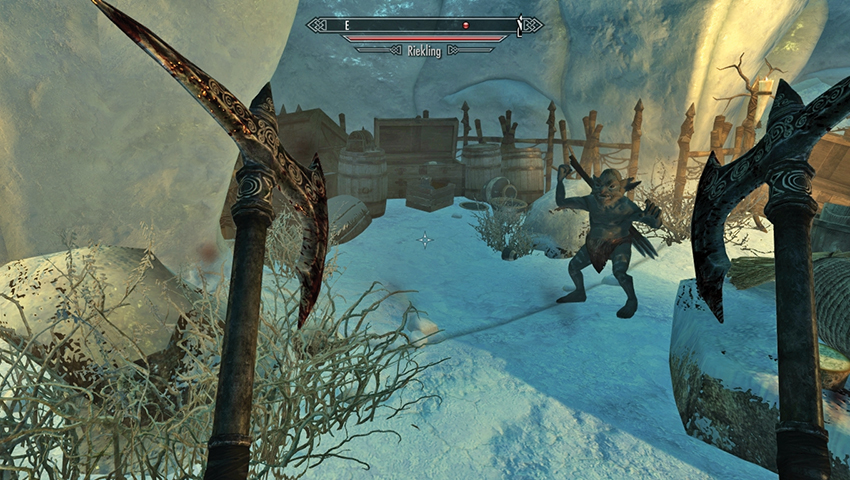
Primary Location: [S.N06] Bristleback Cave (Interior)
Slay the Rieklings that have made camp outside this shoreline cave entrance, then enter and battle through at least a dozen more Rieklings, heading to the northern, smaller cave area, then south into a secondary Riekling camp. Look for the strongbox among the scattered detritus in the southeastern area, atop a barrel.
- East Empire Pendant
East Empire Pendant #2
Primary Location: [S.N07] Northshore Landing
Watch for Mudcrabs (and potentially a group of Thalmor if Solstheim Side Quest: A New Source of Stalhrim is active), and enter the old shack on the shore. Inside, look to the right (south) at the shelf with tattered books. The strongbox is on the second shelf from the bottom.
- East Empire Pendant
East Empire Pendant #3
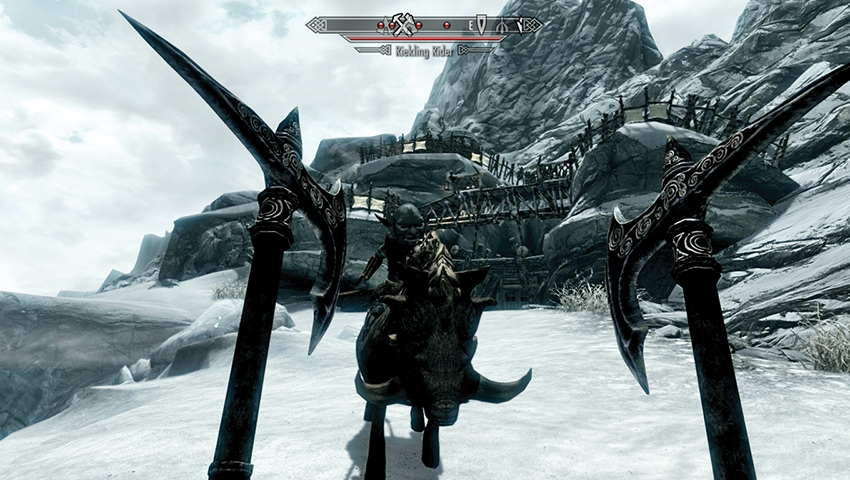
Primary Location: [S.N08] Broken Tusk Mine
Clamber up the snowy inclines to reach the exterior of this mine, and face the mounted Riekling and at least five other Riekling foes. Don’t enter the mine; climb the lookout tower above the entrance. The strongbox is on a crate near a wagon wheel, below one of the Riekling watchtowers.
- East Empire Pendant
East Empire Pendant #4
Primary Location: [S.N12] Glacial Cave
Slay any Horkers that are languishing on this windswept shoreline near to the Glacial Cave entrance. You don’t need to enter the cave. Instead, inspect the Riekling items that are scattered just left (east) of the cave mouth; the strongbox is half buried in snow between crates.
- East Empire Pendant
East Empire Pendant #5
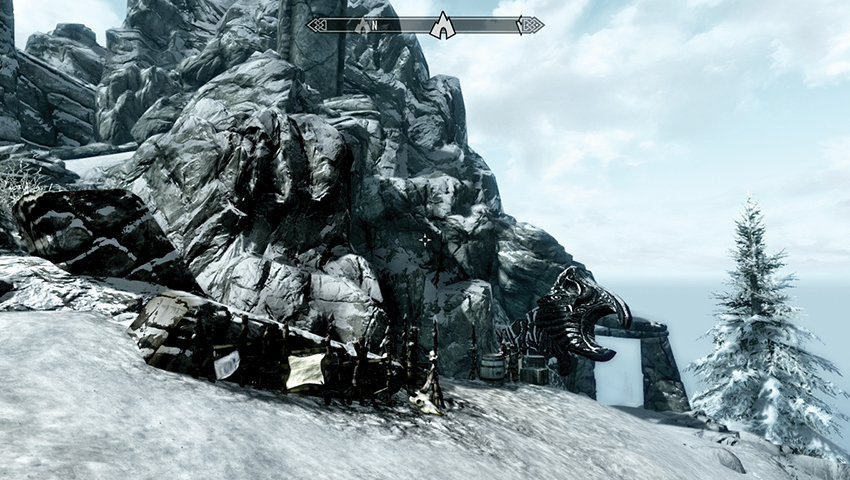
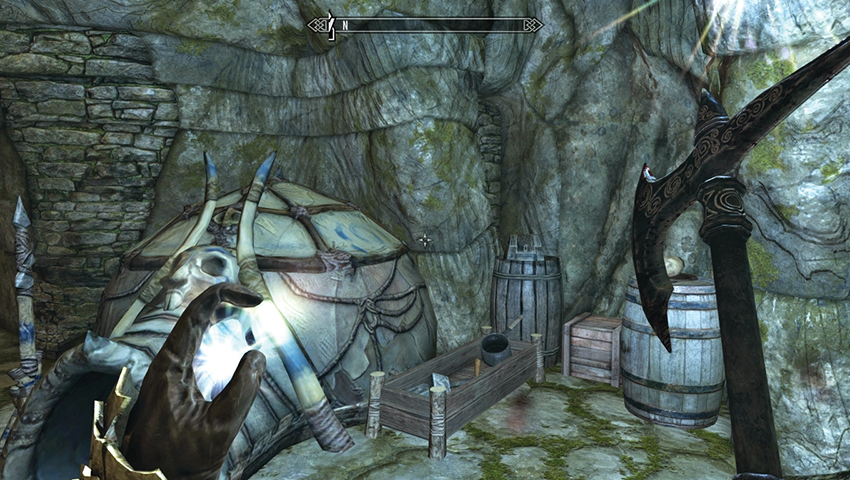
Primary Location: [S.N16] Benkongerike (Great Hall)
Battle your way through the ice tunnels and caverns, fighting Rieklings along the way, until you reach the door to Benkongerike Great Hall. Move into the main chamber where the mounted Riekling and other foes are located, and check the upper north balcony area, on a barrel near a Riekling tent.
- East Empire Pendant
East Empire Pendant #6
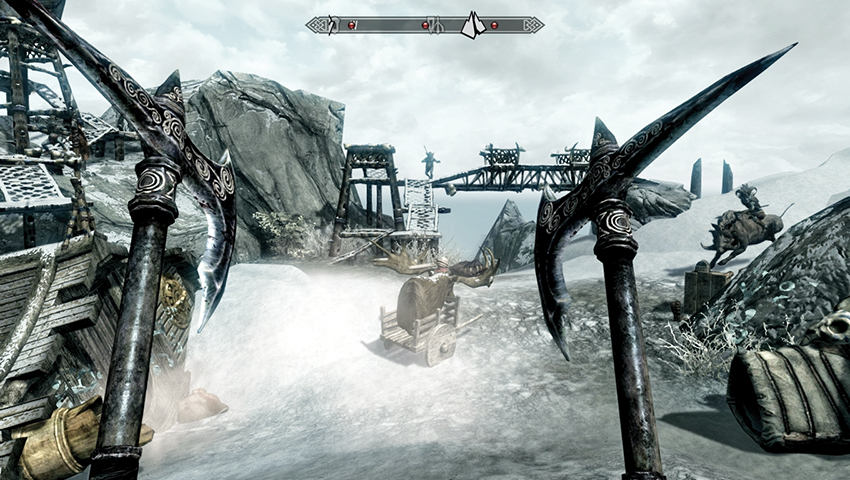
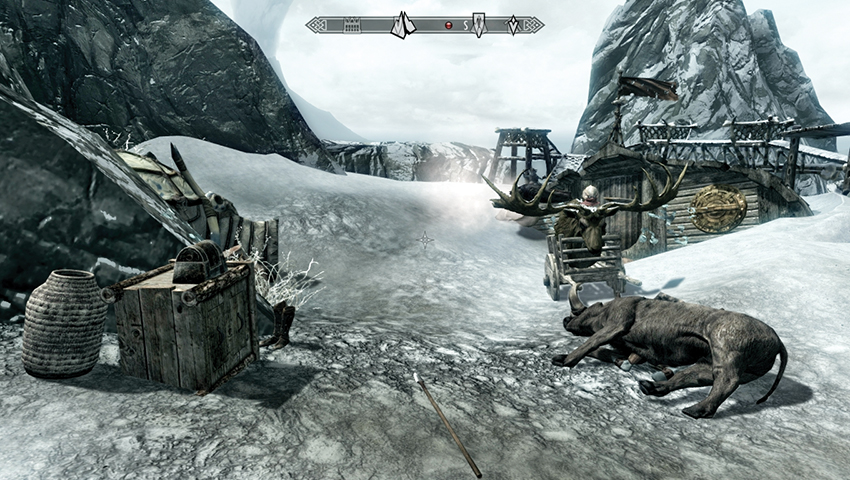
Primary Location: [S.N19] Moesring Pass
Enter the pass and clear the exterior of Rieklings, including those on the water tower parapets and the mounted Riekling. Move to the middle of the pass, where the cart with the elk antlers is, and inspect the strongbox on the crate, across from the strange vessel, near the urn and Riekling tent.
- East Empire Pendant
East Empire Pendant #7
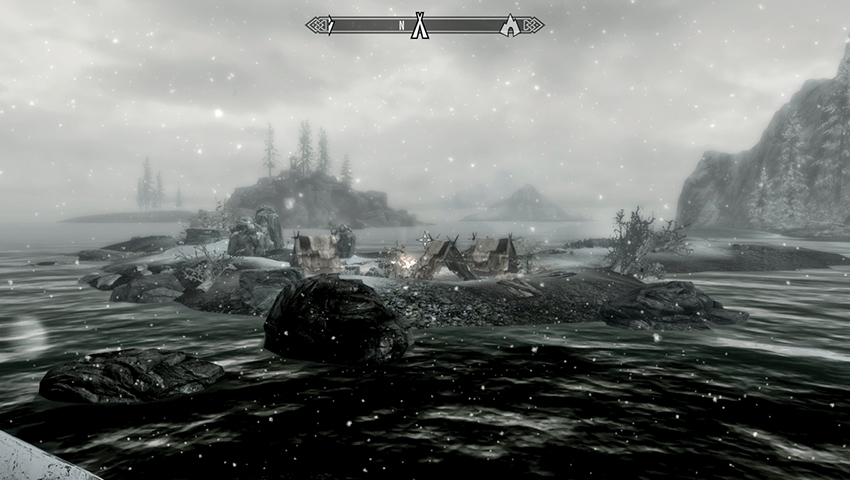
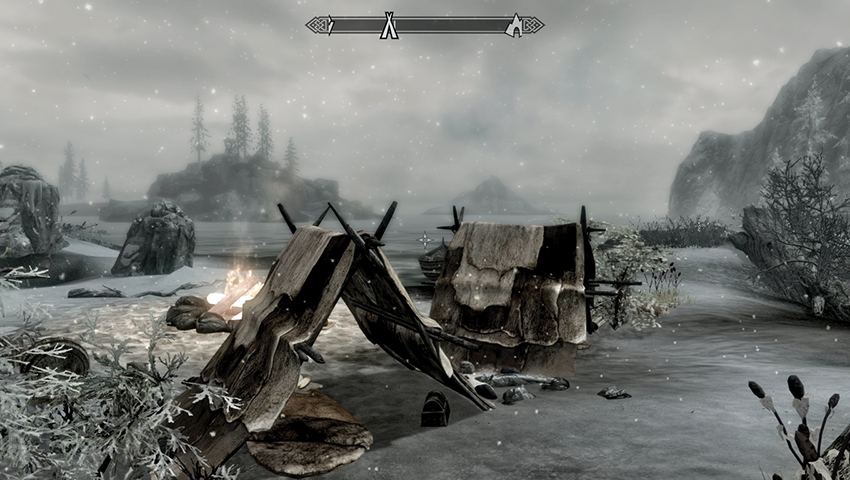
Primary Location: [S.N29] Haknir’s Shoal
Cross the rocky shore and onto this small island shoal, watching for Reaver activity as you arrive at this campsite. At the campfire, turn to face the south tent and check inside, near the sleeping mat. The strongbox is located at the back here.
- East Empire Pendant
East Empire Pendant #8
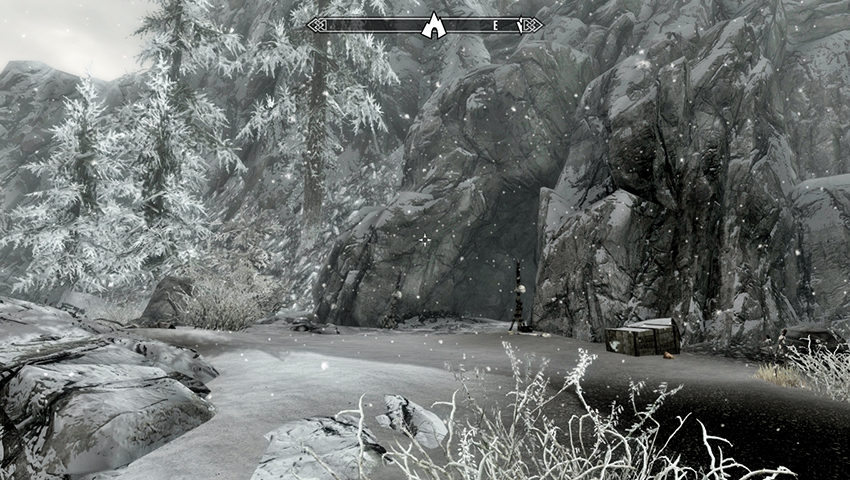
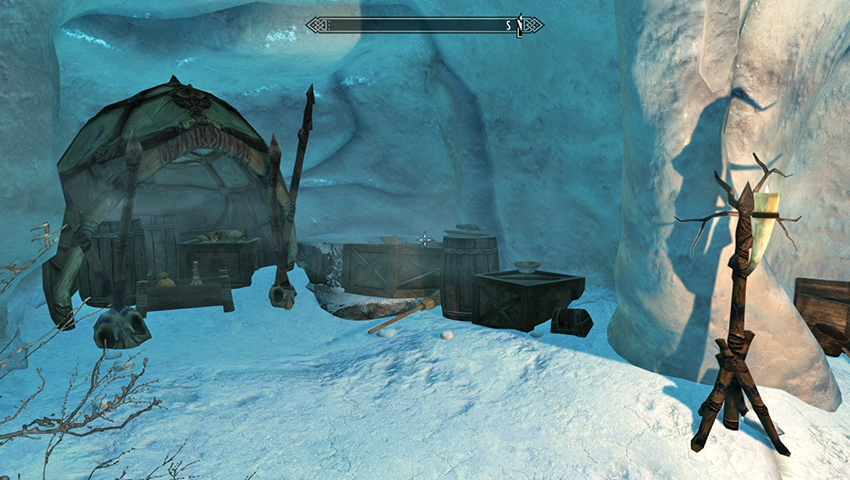
Primary Location: [S.N30] Frossel (Interior)
Enter the cave, heading east, then south into the main cavern. Battle Rieklings, heading to the southeast tunnel, then south into a smaller living area with tents and a tripwire trap. Locate the Riekling tent in the southeast corner and the strongbox in the snow near the crate and barrel adjacent to it.
- East Empire Pendant
East Empire Pendant #9
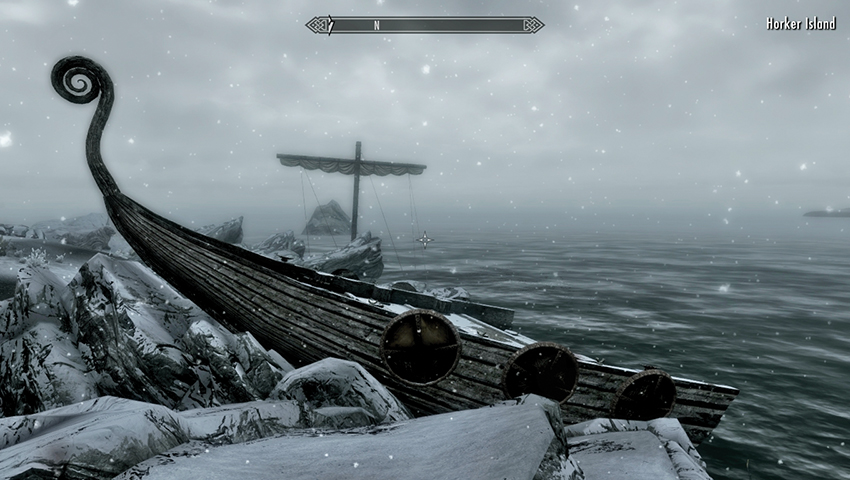
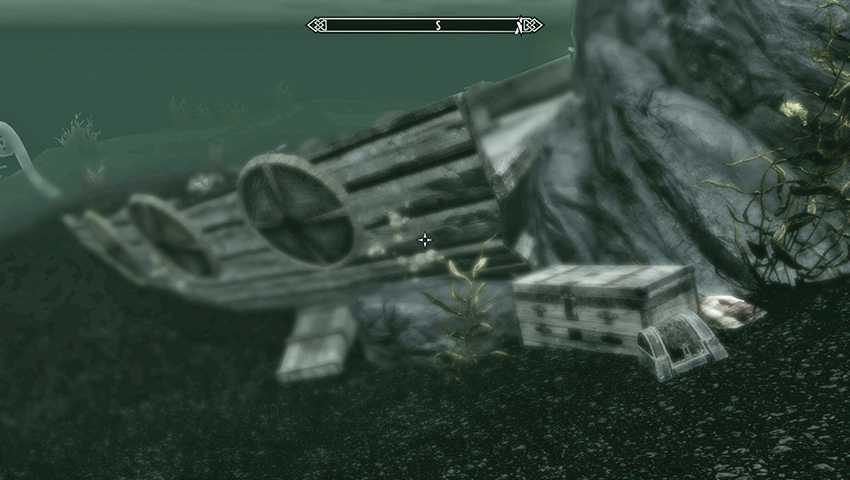
Primary Location: [S.N33] Horker Island
Head to this remote island and slay the Horkers you find there (including Lord Tusk). Then find the Reaver corpse on the rocks near a half-submerged boat. Dive down by the boat, then swim underwater to the south to find the other half of the sunken ship. A chest and strongbox are by the rocks.
- East Empire Pendant
East Empire Pendant #10
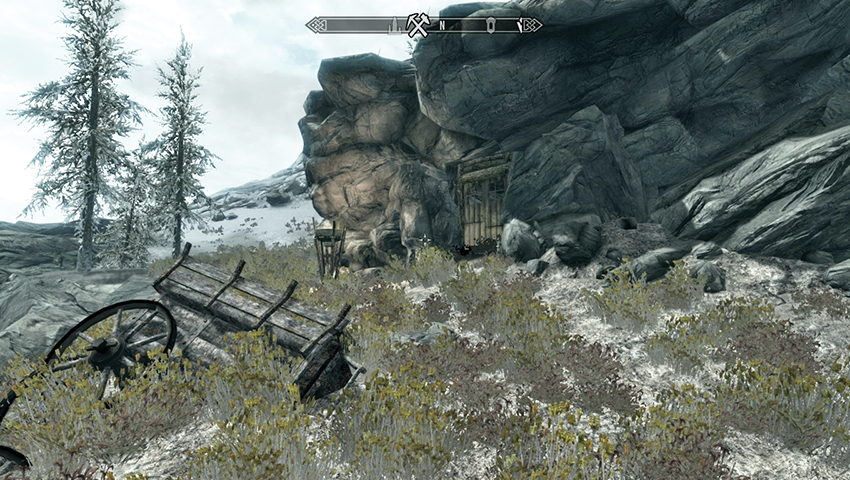
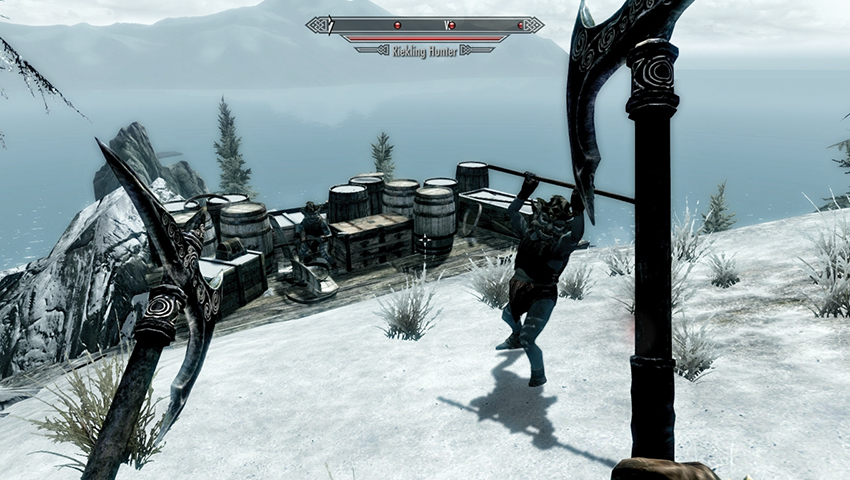
Secondary Location: [S.NG] Riekling Barrel Hoard
Locate Damphall Mine, but don’t enter. Instead, hike north up the mountain, looking for two trees, a clump of rocks, and a snowberry bush to your left. Nearby is a wooden storage and lookout platform with a view of the water and a strongbox on one of the crates. Watch for a Riekling barrel ambush!
- East Empire Pendant
East Empire Pendant #11
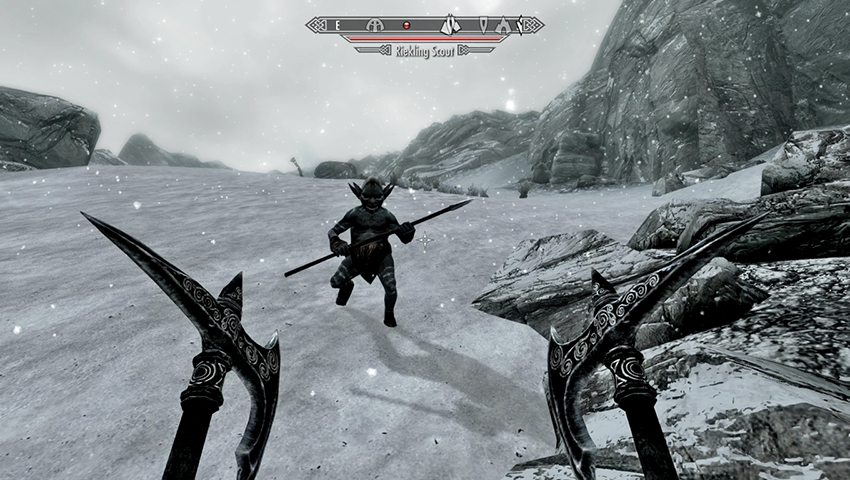
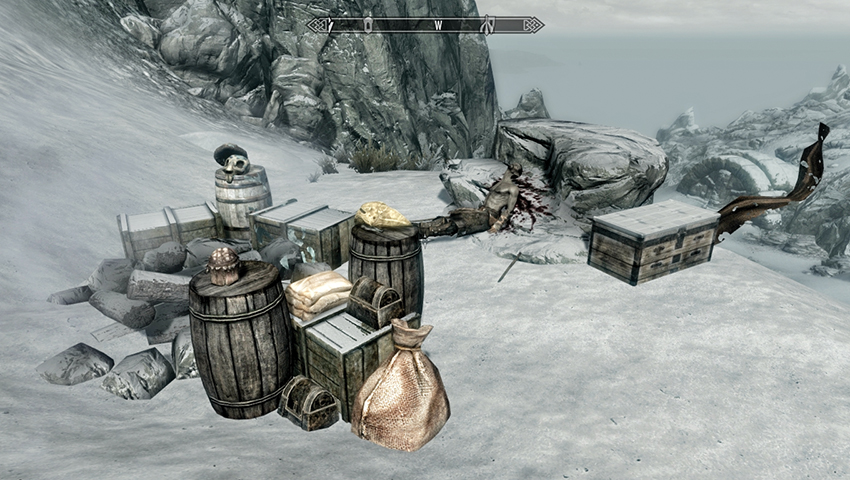
Secondary Location: [S.NK] Desolate Hunter’s Camp
Head southwest from Hrothmund’s Barrow, then southeast and up the steep snow slope, engaging a Riekling as you reach this rocky outcrop and tattered banner. Near the slain Reaver is a group of barrels and crates with a strongbox, adjacent to the extinguished campfire.
- East Empire Pendant
East Empire Pendant #12
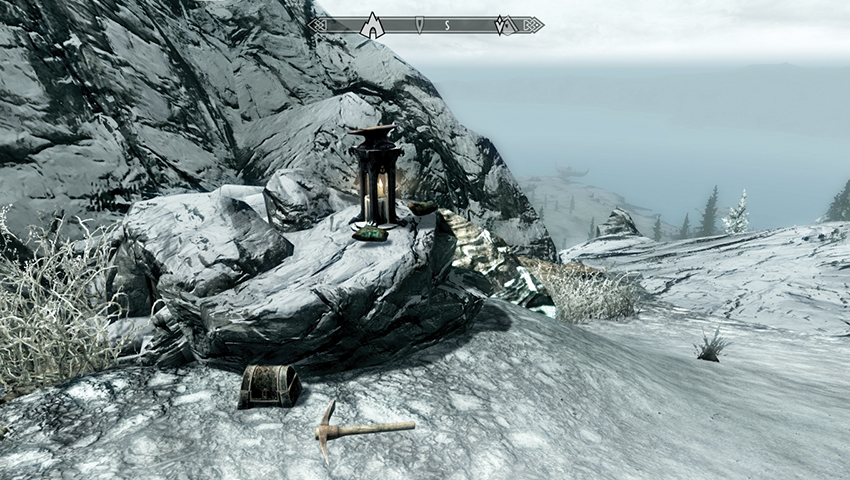
Secondary Location: [S.NL] Shrine of Zenithar
From Moesring Pass, head downhill to the southwest, following the snow. Turn left after a few moments, following the rocky outcrops on your left so you’re heading southeast with Red Mountain directly ahead of you. At the Shrine to Zenithar, find the strongbox by the boulder.
- East Empire Pendant
East Empire Pendant #13
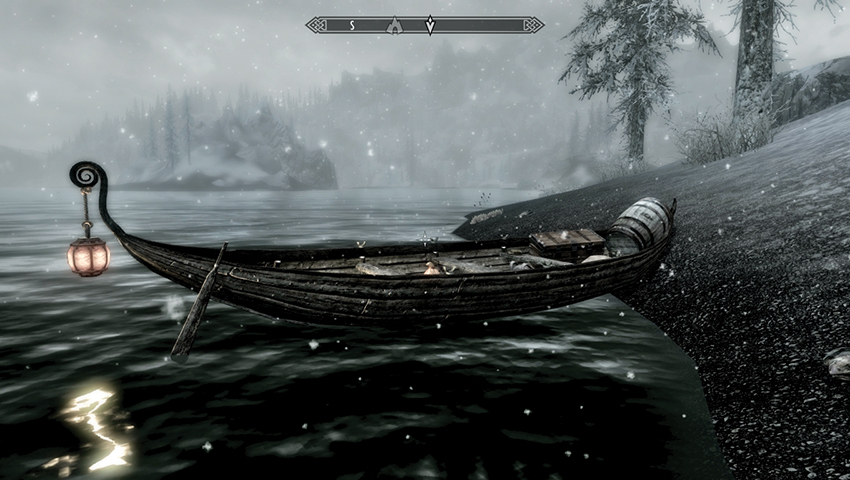
Secondary Location: [S.NN] Giant Nirnroot Island
From Frossel, swim north toward the island, watching for Spriggans prowling the shores. Turn right (northeast) slightly as you climb ashore and head toward the dimly illuminated rowboat moored by two trees and a small rock outcrop. The strongbox is between a chest and barrel on the boat.
- East Empire Pendant
East Empire Pendant #14
Secondary Location: [S.NO] Riekling Outpost Island
From Haknir’s Shoal, swim north toward this Riekling-infested island. Engage their infantry and mounted warriors as you sweep through this outpost. Climb to the highest watchtower, where the strongbox sits near a purse and satchel.
- East Empire Pendant
Strongbox Search: Southern Solstheim
East Empire Pendant #15
Primary Location: [S.S0] Raven Rock; Northern Maiden (Docks)
At the dock in Raven Rock, dive off the stern of the Northern Maiden. Turn to face northeast and swim under the dock footings in the murky water. Next to a pearl oyster is the East Empire Strongbox. As you’re underwater, be sure to periodically come up for air while searching!
- East Empire Pendant
East Empire Pendant #16
Primary Location: [S.S0] Raven Rock; Caerellius House (Interior) (owned)
Unlock the Caerellius House [Apprentice] or wait until the inhabitants are home. The house is on the main thoroughfare. Peer into the initial room, turning right (northwest) slightly to view the strongbox on the stone shelf, right of the cooking pot. Again, approach this cautiously, unless you want a bounty.
- East Empire Pendant
East Empire Pendant #17
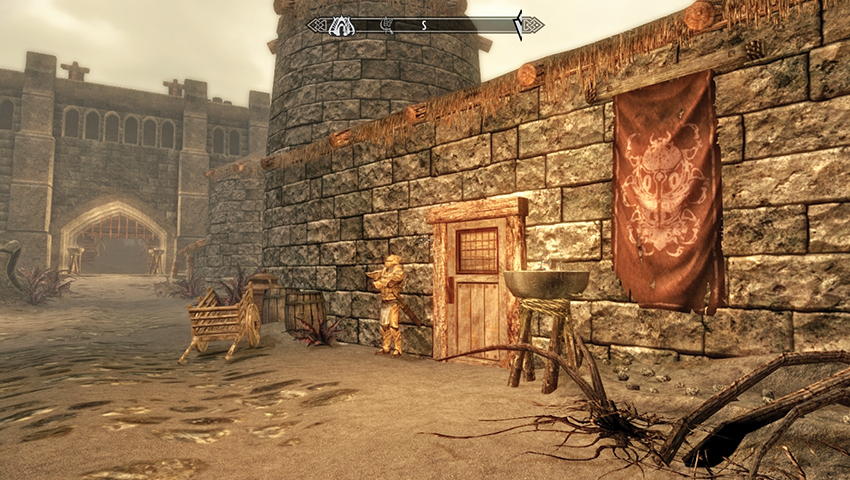
Primary Location: [S.S0] Raven Rock; Morvayn Manor (owned)
Head into Morvayn Manor, which is usually unlocked. Head right and up the stairs. Enter Morvayn Manor Chambers and look at the door straight ahead (north). The strongbox is on the stone shelf just left of the door. As usual, stealth is the key here, unless you want a bounty.
- East Empire Pendant
East Empire Pendant #18
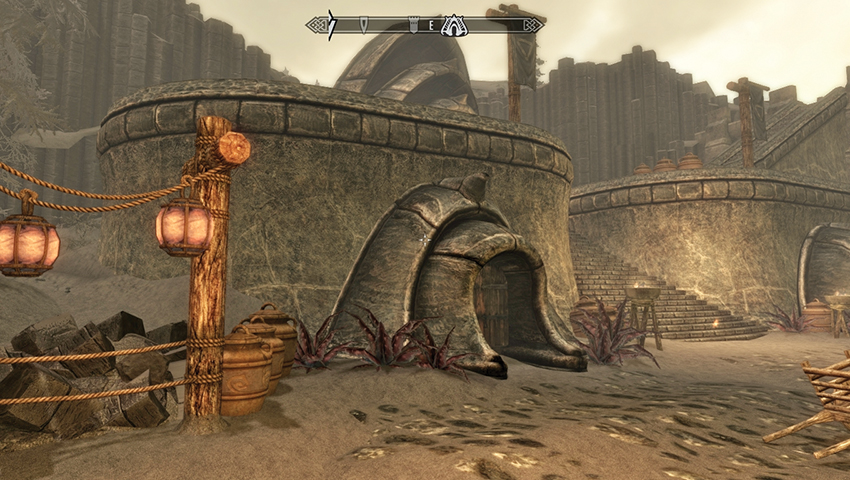
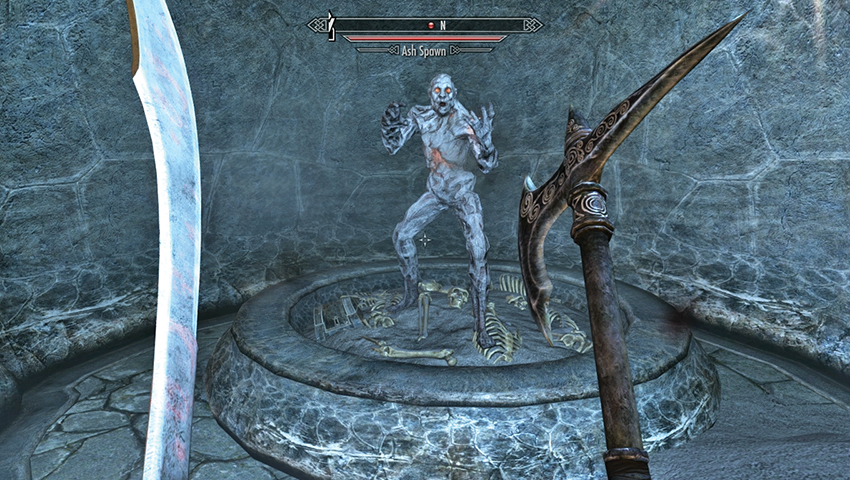
Primary Location: [S.S0] Raven Rock; Temple Ancestral Tomb
Open this tomb with the Raven Rock Tomb Key, which Elder Othreloth hands over during Solstheim Regional Activity: Tomb Eradicator*. The strongbox is in the circular burial mound with the bone pile in the northern alcove. Beware of an infestation of Ash Spawn if you venture in here.
- East Empire Pendant
East Empire Pendant #19
Primary Location: [S.S0] Raven Rock; The Bulwark (Interior) (owned)
Open the door to the Bulwark interior (heading west), and move to the end of the main hallway. Here you find shelves, a bed, and a table. The strongbox is behind a couple of vases in the back right corner of the table. If you are detected, this ups your bounty, so stealth is key here.
- East Empire Pendant
East Empire Pendant #20
Primary Location: [S.S0] Raven Rock; Glover Mallory’s House (owned)
Unlock Glover Mallory’s House [Adept], behind the forge, or wait until he is home. Peer into the initial room, turning right (northwest) slightly to view the strongbox on the table, to the right of the cooking pot. Time your theft so you won’t be detected.
- East Empire Pendant
East Empire Pendant #21
Primary Location: [S.S0] Raven Rock; Alor House (Interior) (owned)
Unlock the Alor House [Apprentice], head downstairs to the southeast bedroom, and locate the East Empire Strongbox on the wooden table, below the mounted saber cat head. Sneaking is key to obtaining this pendant—if you are detected while breaking and entering, expect the guards to be called.
- East Empire Pendant
East Empire Pendant #22
Primary Location: [S.S0] Raven Rock; The Retching Netch (owned)
Locate this tavern in the main square off the thoroughfare, enter the building, and head downstairs to the bar. The East Empire Strongbox is on the bottom shelf of the bar, right next to barkeep Geldis Sadri. Can you pick the lock and steal the pendant right out from under his nose?
- East Empire Pendant
East Empire Pendant #23
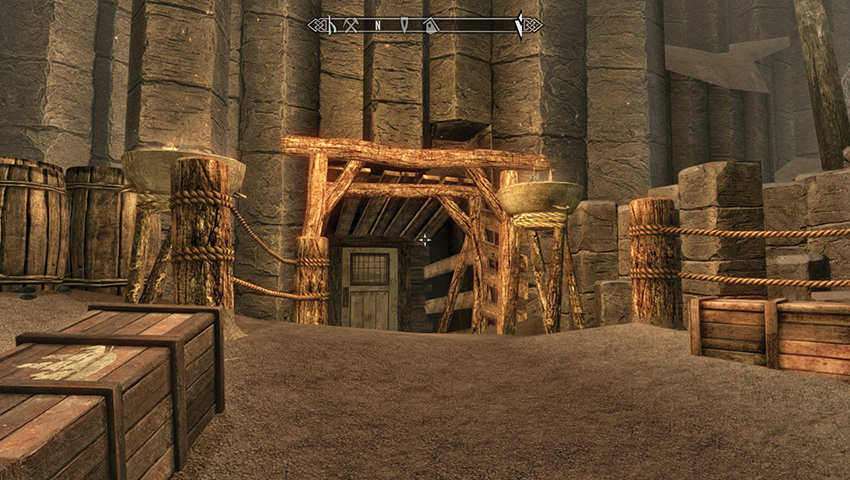
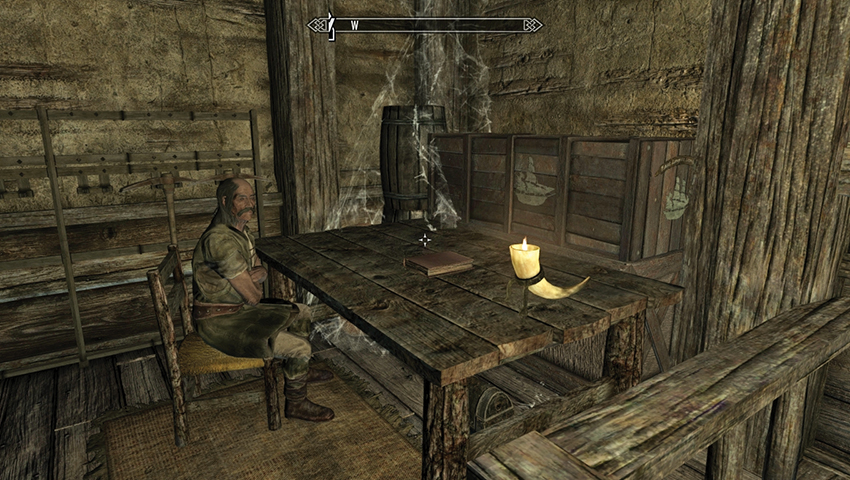
Primary Location: [S.S0] Raven Rock; Raven Rock Mine
Enter Raven Rock Mine, and head west to the initial mine quarters where Crescius Caerellius can usually be found. Climb up the wooden stairs to the balcony and winch room, and look in the northwest corner for a large table and East Empire chest. The strongbox is under the table.
- East Empire Pendant
East Empire Pendant #24
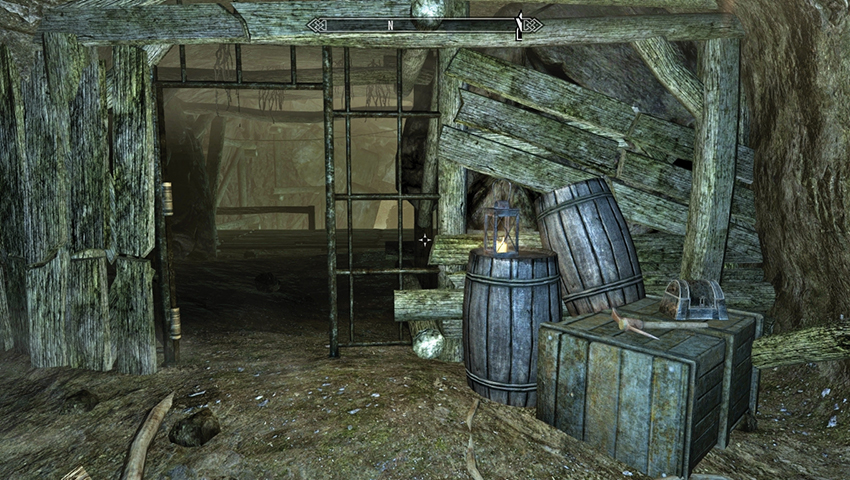
Primary Location: [S.S0] Raven Rock; Raven Rock Mine
Enter the mine via the chained steps, and descend the precarious floating balconies to a stepped tunnel to the west. Then head south and east, with spiders, planks, and a web to cut through as you approach a locked gate next to the East Empire Strongbox.
- East Empire Pendant
East Empire Pendant #25
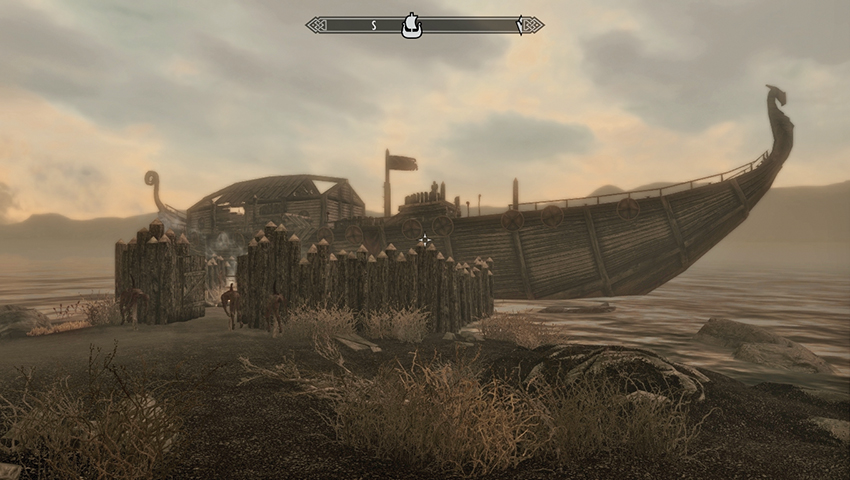
Primary Location: [S.S05] Wreck of the Strident Squall
On the far southeastern shores of Solstheim are the remains of a trading ship, now appropriated by Reavers. Slog your way through the camp and up the ramp, enter the deck, and then turn left (southeast) into the cabin and down into the hold. The strongbox is on the shelf at the bottom of the stairs.
- East Empire Pendant
East Empire Pendant #26
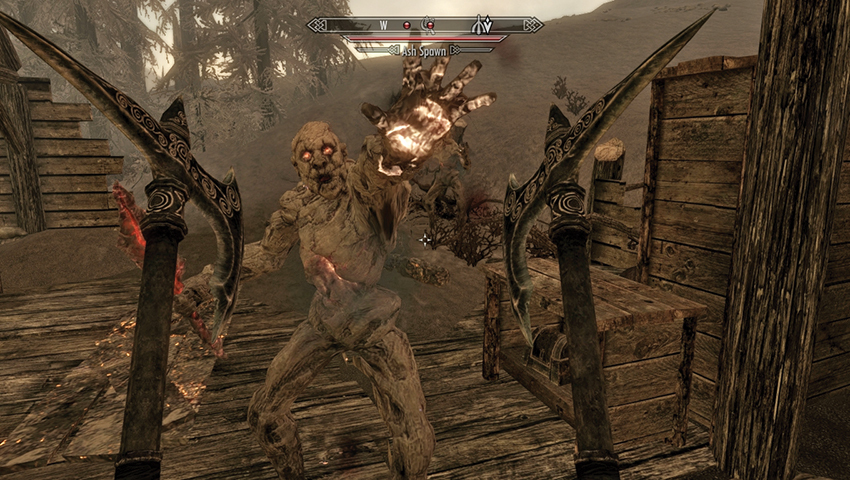
Primary Location: [S.S06] Hrodulf’s House
Find this ruined dwelling on the ash-filled southern plains, and beware of two or three Ash Spawn forming as you inspect the wrecked dwelling. On the northwest edge of the house near some burning sections of wood is a low shelf with the strongbox nestled on it.
- East Empire Pendant
East Empire Pendant #27
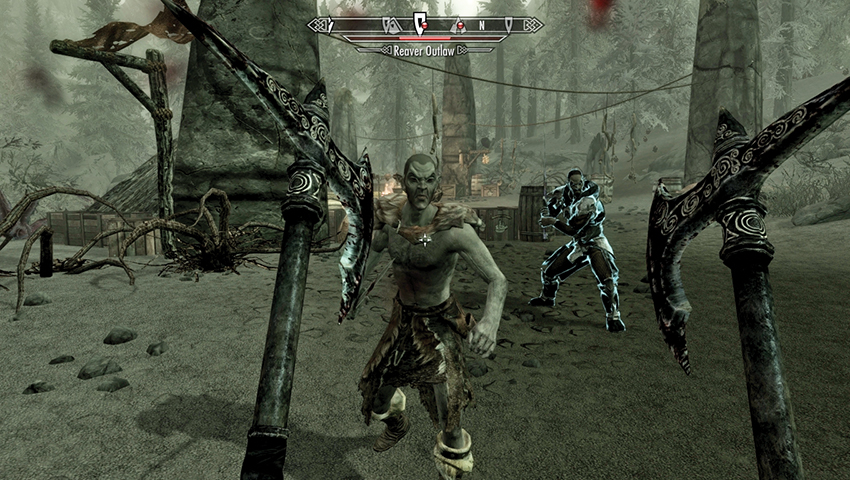
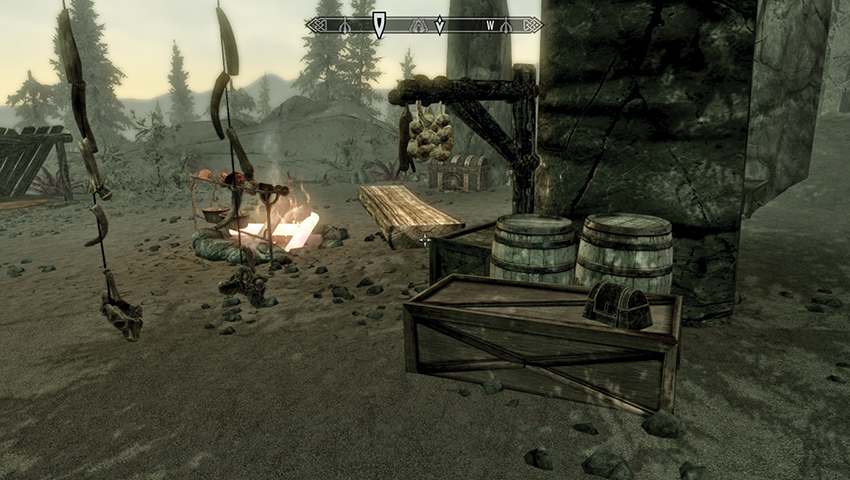
Primary Location: [S.S07] Brodir Grove
Advance into this Reaver camp, and defeat the three foes around the campfire and hanging bones. After the fracas, move into the camp and locate the central fire. Turn north and walk to the stone column, and hanging hare and garlic, and find the half-buried East Empire crate with the strongbox atop it.
- East Empire Pendant
East Empire Pendant #28
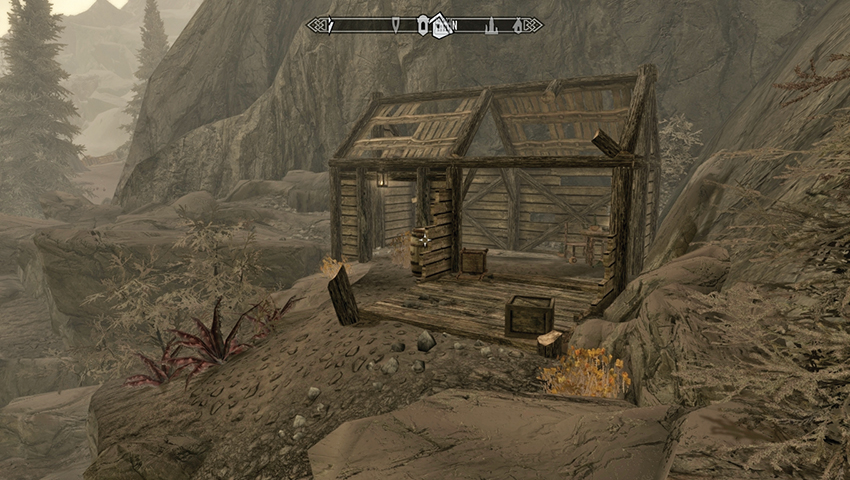
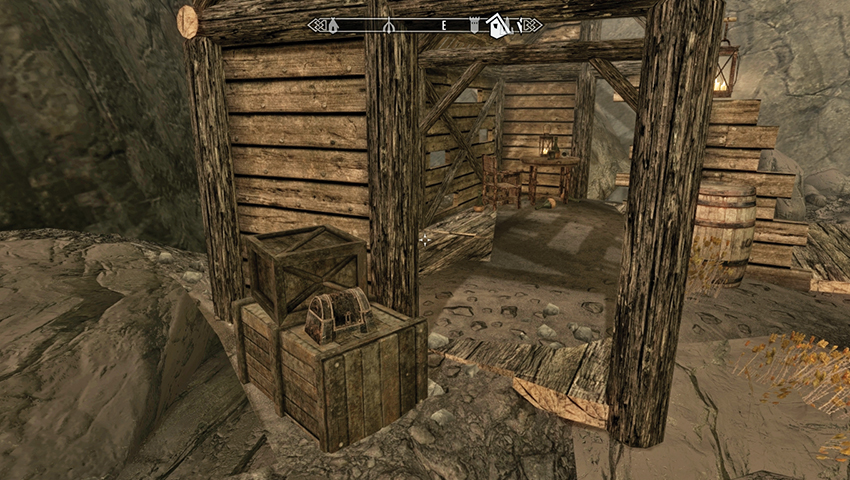
Primary Location: [S.S09] Ramshackle Trading Post
Clamber up the scree and ashy foothills to this dilapidated structure. The East Empire Strongbox holding the pendant is on a crate, nestled in front of a smaller crate, just outside the entrance on the west side of the building.
- East Empire Pendant
East Empire Pendant #29
Primary Location: [S.S11] Fort Frostmoth (Interior)
Enter the fort’s ash-filled courtyard and locate the entrance door along the western wall. Enter, head south, but turn left (east) before you reach the wooden ramp and the ladder. There is a side alcove chamber with a number of leaning cases. One of them has the strongbox. Beware of Ash Spawn!
- East Empire Pendant
East Empire Pendant #30
Primary Location: [S.S12] Ashfallow Citadel (Interior)
Head north up the steps, enter the main entrance, and look around the initial chamber. To your left (west) is a half-buried bookshelf with the East Empire Strongbox on it, to the left of the bloodstained stone pile and broken chair. Beware the Morag Tong who lurk at this location.
- East Empire Pendant
East Empire Pendant #31
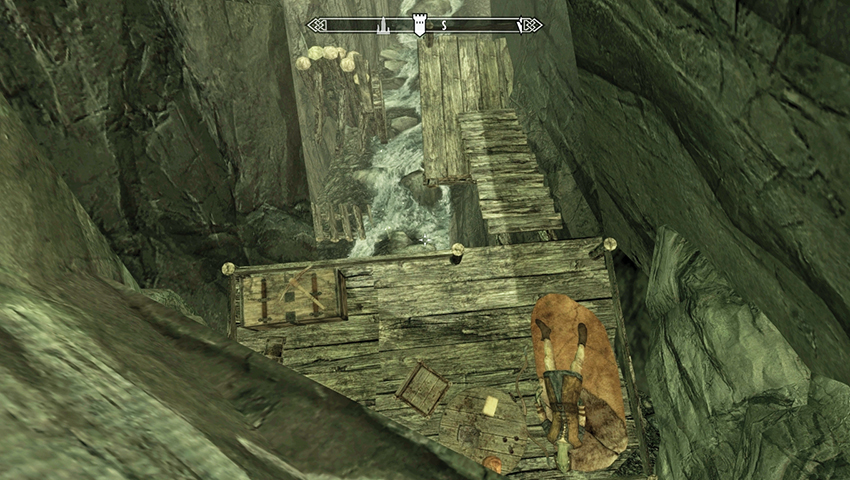
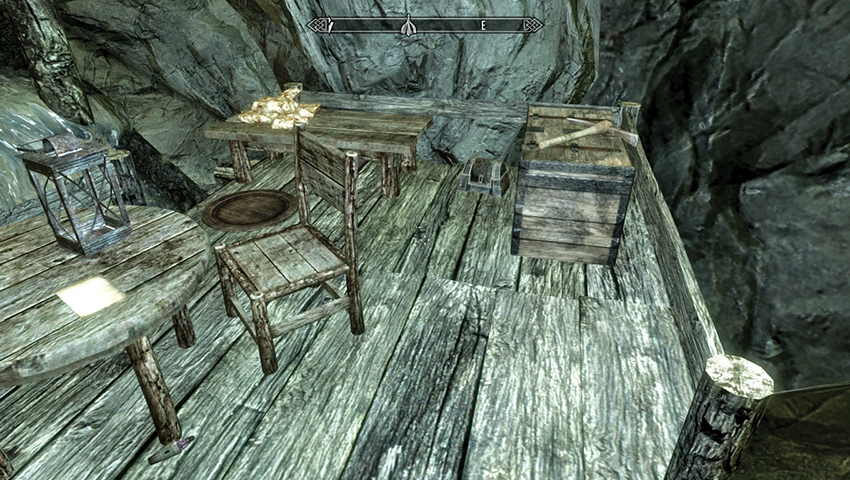
Secondary Location: [SS.L] Gold Miners’ Floodgate
Close to Ashfallow Citadel is a fast-moving stream. Follow it north to a closed gate, then clamber up the rocks and around, dropping down behind the gate to a makeshift platform where the corpse and note of an Argonian named Usha is lying. The strongbox is on the platform, to the right of the table.
- East Empire Pendant
East Empire Pendant #32
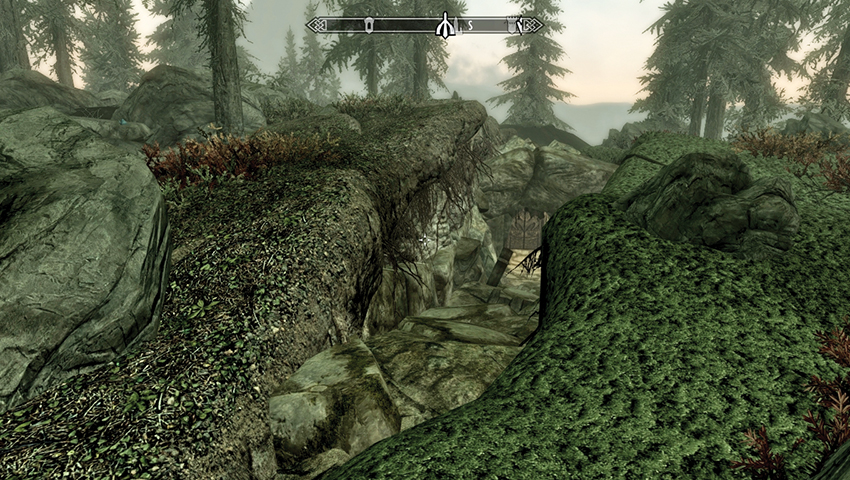
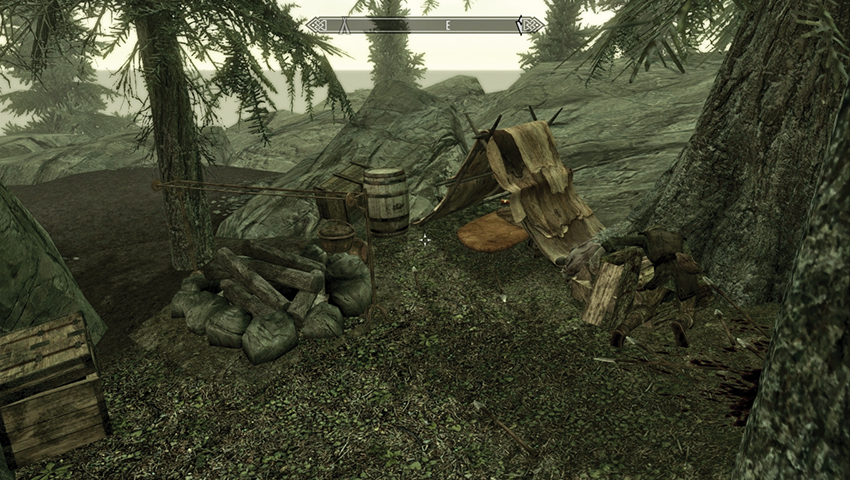
Secondary Location: [SS.M] Dunmeri Camp
Start at Vahlok’s Tomb, climbing atop the mossy fissure and looking east. Head slightly southeast to this Dunmeri camp where the two slain Dark Elves lie. Watch for a Riekling ambush as you inspect the tent, which has a sleeping mat and the strongbox you seek.
- East Empire Pendant
East Empire Pendant #33
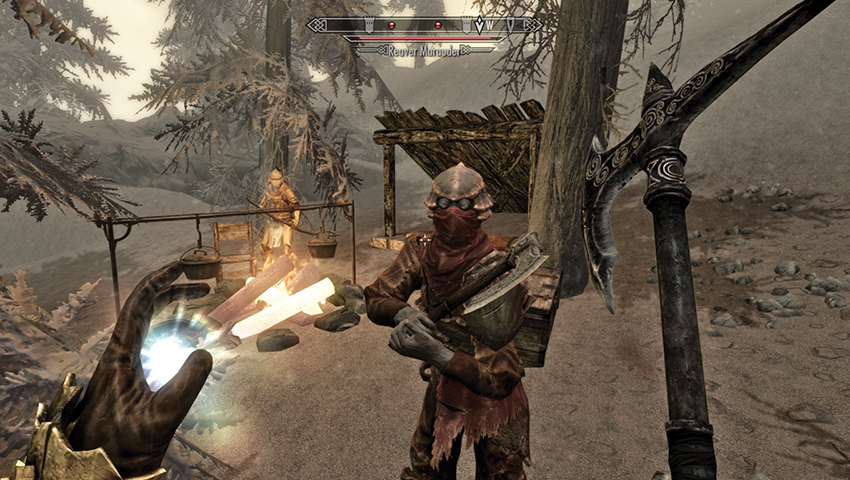
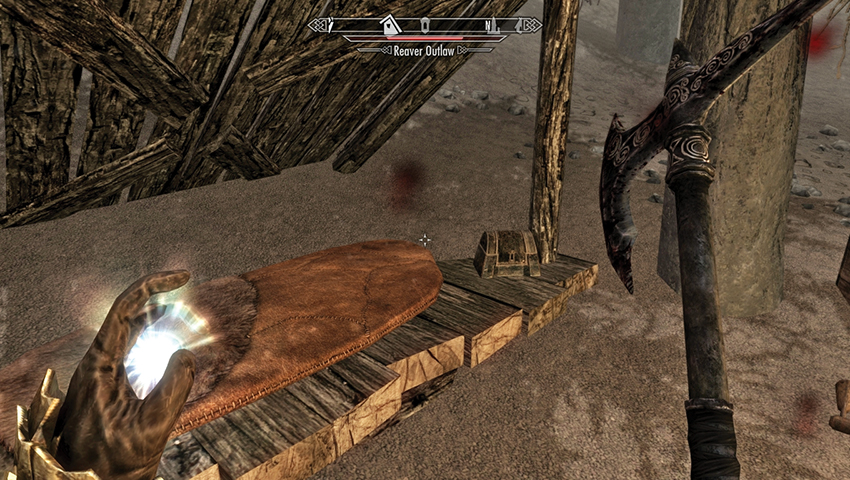
Secondary Location: [SS.O] Ashfallow Reaver Camp
From the exterior entrance to the Ashfallow Citadel, look directly west and move slightly southwest across the rocks above the river to this small camp. The East Empire Strongbox is close to the bed, under the lean-to, to the left of the chest. Beware the Reavers that are patrolling this location.
- East Empire Pendant
Quest Conclusion
Fethis Alor purchases each pendant for 500 gold. With 33 pendants to collect, that means up to 16,500 gold is available if you can find them all. Return to him with as many pendants as you wish to sell, as many times as you like.
- Gold (500 x up to 33)
Karstaag’s Resurrection*
Headless and Furious
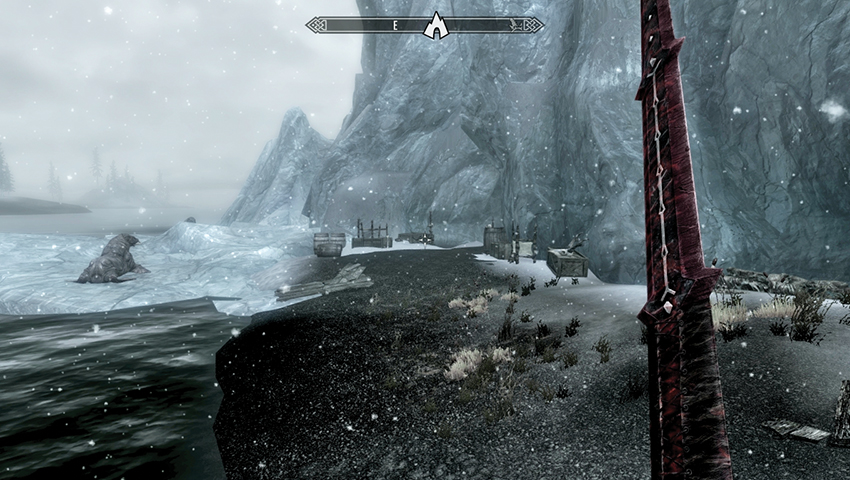
Solstheim’s ancient tales speak of a frost giant lord both frightening and furious. This brute is said to have died more than 200 years ago, during the time of the Bloodmoon. Perhaps it is time for this gargantuan terror to stalk the northern lands once more? If you’re keen on this idea, you should first visit the Glacial Cave, north of Saering’s Watch below the glaciers along the northern shores of Solstheim. Expect lounging Horkers on the ice floes as you near.
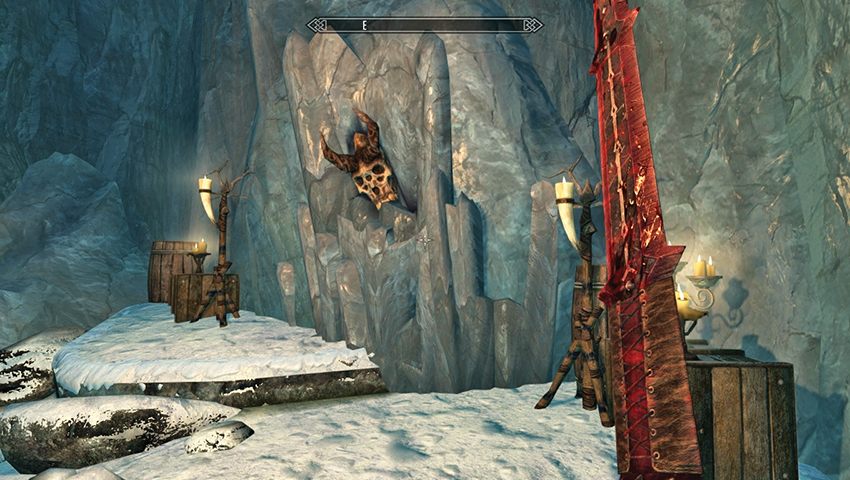
Inside, an ice tunnel winds south, flanked by the trinkets of a Riekling clan. The cave is home to three easily defeated Rieklings. Search their belongings, but the real prize is at the eastern end of the cave. Embedded in the wall, as part of what looks like a very basic shrine, is a horned skull of a frost giant. Remove it from the ice.
- Karstaag’s Skull
An Audience with Karstaag
Emerge from Glacial Cave and make your way up the steep snowy slopes toward Castle Karstaag Caverns and Castle Karstaag Ruins. These are massive mounds of ice and rock, rather than crenellations of stone, and look just like a mountain. You can enter Castle Karstaag Courtyard, where Karstaag’s remaining bones can be found, in one of two ways:
The Short Way: Master of Unlocking
Travel to the south side of Castle Karstaag Ruins and face north. The entrance is an ice door to the north, with an infernal lock to pick [Master]. If you’re able to open this door, you need not fight through the caverns.
The Long Way: Castle Cavern Slogging
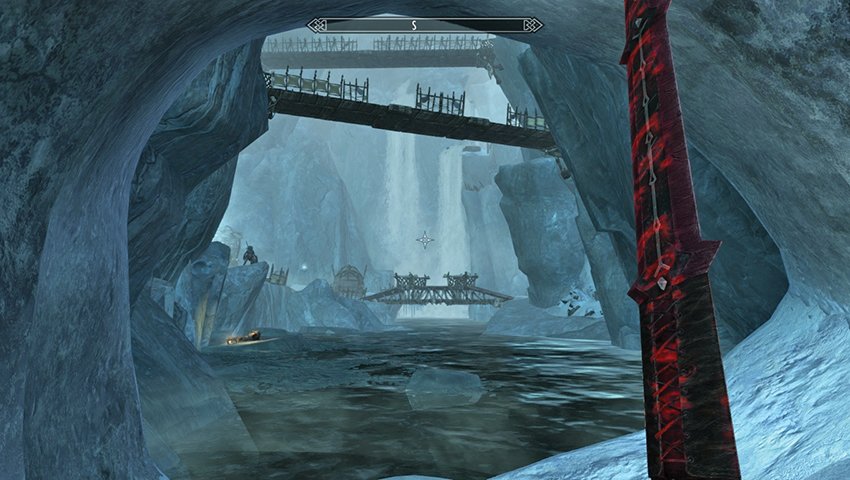
Otherwise, you’re in for a slog through the Castle Karstaag Caverns. Find the raging mountain stream and look to the west to find the cave entrance. Clamber to the top of the passage, look left (south), and venture into a massive ice cavern with at least five Rieklings. Head along the broken ice, passing the corpse of Esmond Tyne (who has an excellent formula for Bonemold Armor, part of Raven Rock Regional Activity: Thievery and the Karstaag Connection). Now climb the icy banks, fighting Rieklings before crossing a bridge heading west into a narrow vertical fissure passage.
- Bonemold Formula
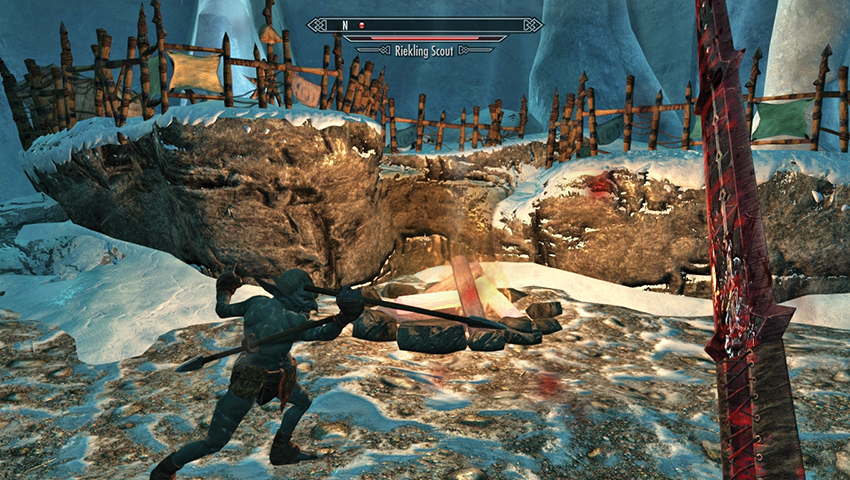
Navigate the ice chamber with the campfire and several more Rieklings. Open the ice door to the west, and unlock any of the other doors [Apprentice, Novice, and Novice] to reach small alcoves with minor items. Head east, through another ice door, up the passage to the top of the camp room, and head left (southeast) through the exit, back out onto an upper walkway of the massive ice cavern. Deal with three or four more Rieklings before crossing the long wooden bridge heading east.
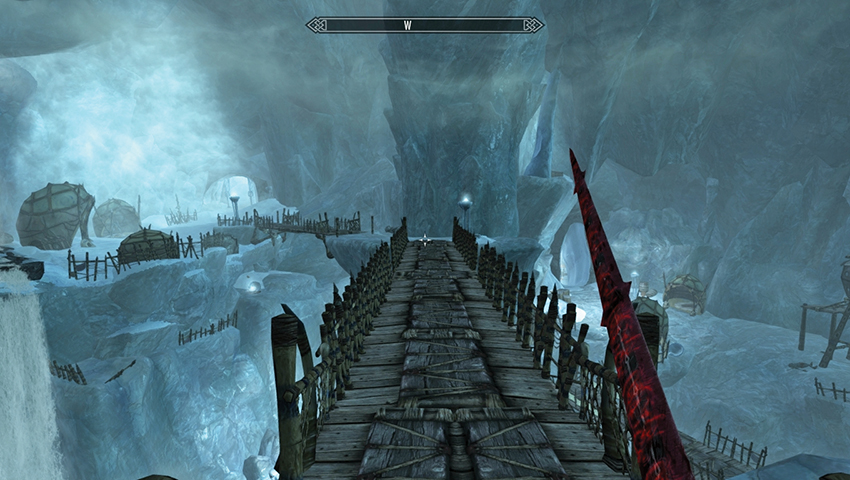
Slay two more Rieklings on the far side of the bridge, then head up the ice tunnel, peering down to a Bristleback pen with four animals and a Riekling; ignore or slay it. Check the chest under the outcropping [Novice], then move back up the path to an ice door. This leads out to the highest part of the initial ice cavern. Dispatch two foes, cross the bridges heading southwest toward a couple more foes, and claim one more chest (plus two more nearby, if you can reach them; consult the Atlas for details). Head out the open ice door to a tunnel that brings you into Castle Karstaag Courtyard.
Summoning a Mighty Terror
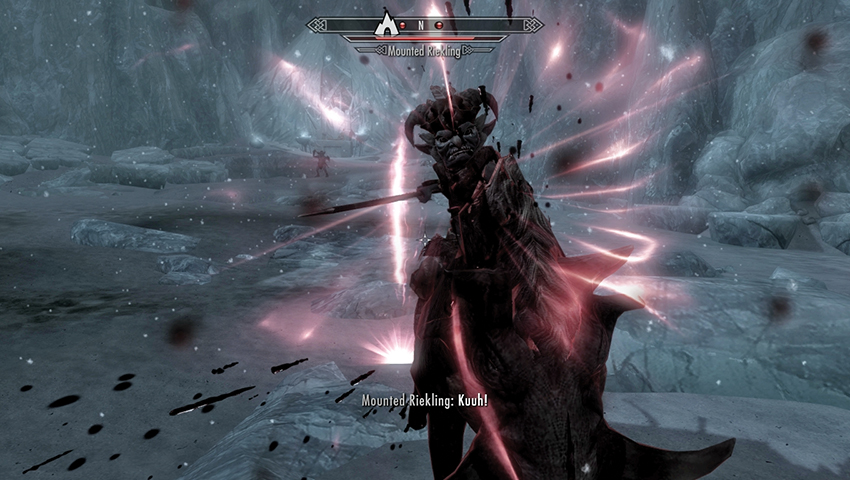
You emerge into the ruined shell of the once-great Castle Karstaag. A group of Rieklings immediately sets upon you; engage the Mounted Riekling first, then slay his two infantry lackeys. It is important to search the Mounted Riekling, as he is carrying the key allowing a swift exit through the ice door in the south wall [Master] (unless you picked that lock on your way in). Then approach the icy throne of Karstaag, where a scattering of giant bones rests between two ice torches. Are you ready to meet Karstaag? Then activate the Throne, place Karstaag’s Skull, and prepare yourself!
- Castle Karstaag Key
Karstaag: The Glacial Guardian
Know Your Enemy
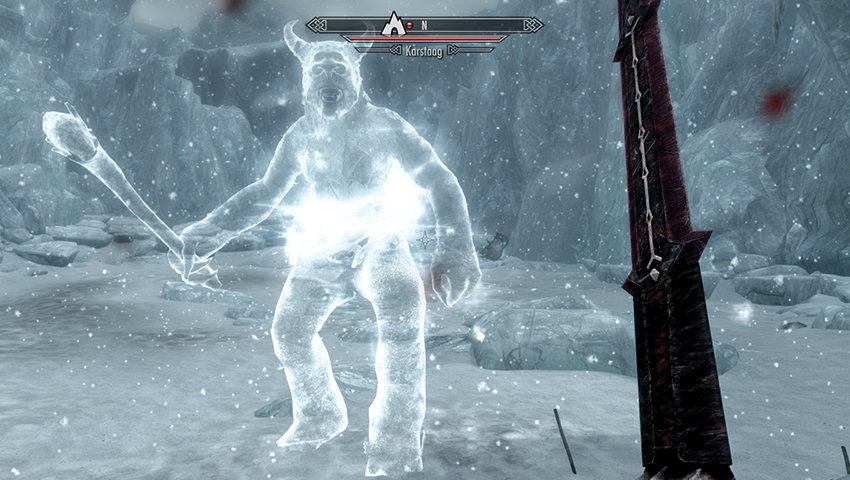
Before facing Karstaag, it’s important to know what dangers you’re up against and to have a plan for dealing with the threats this behemoth poses:
- Almost Omnipotent: Karstaag is a high-level opponent, with massive reserves of health and devastating attacks. Although there’s no “hard” level requirement, you should plan to be Level 50 or higher before you take him on.
- Fire and Ice: Karstaag has high health (4,000) and rapidly regenerates his health—fast enough that some weapons and spells may not do any meaningful damage to him at all. However, he does have one weakness—fire damage will stop his regeneration for as long as it lasts. Most flame spells inflict Burning for a few seconds, but by far the most effective at this is Ignite (available only through Ahzidal’s Ring of Arcana, found in Solstheim Side Quest: Unearthed), which deals its damage over 15 seconds. Use it, or your highest-damage fire weapons or flame spells, to wear him down. The Marked for Death Shout is also effective at weakening his defenses.
- A Frosty Reception: Most of Karstaag’s attacks and abilities inflict Frost damage—he has Frost Cloak, casts Blizzard, summons Ice Wraiths, and his club has a Frost enchantment. Armor and/or potions that increase your Frost and Magic resistance are critical.
- Stay Away: Karstaag’s attacks cause obscene damage—enough to slay a Dragon Priest in a few hits! Warriors with well-tempered Daedric Armor and high health may be able to stand up to him. Every other adventurer should plan to stay well out of his way—Karstaag is slow enough that if you keep moving and avoid backing yourself into a corner, you can generally avoid getting hit.
- No Mean Feet: When Karstaag first appears, and each time he performs a stomp attack, a powerful blizzard is triggered at his location. If you are standing nearby, you will be flung backward—leaving you defenseless for several seconds. If you decide to fight Karstaag in melee, make sure to block when he prepares to stomp; this will negate the Blizzard’s knockback, though not its damage.
- The Cold Shoulder: Karstaag is constantly surrounded by a Frost Cloak that makes melee combat even more difficult. While it is possible to dispel his cloak for a time (using Soulrender, found in Solstheim Side Quest: Deathbrand), it will be renewed when Karstaag next performs his ground stomp.
- Karstaag’s Minions: When Karstaag’s health falls below certain thresholds (80%, 40%, 15%), he will summon Ice Wraiths to harass you. Melee fighters may want to ignore them entirely—compared to Karstaag, they don’t inflict much damage. Mages and ranged combatants should take them out quickly, as their speed and harassing attacks make it significantly harder to keep away from Karstaag.
- Knocking Your Block Off: All of Karstaag’s club attacks are power attacks and will break your block. While you can block his Stomp and Grab attacks effectively, dodge his club strikes.
- Strengths and Weaknesses: Karstaag is immune to Frost and Resistant to Shock (75%). He’s weak to Fire (25%). Karstaag is also immune to Poison, Disease, Paralysis, the Wabbajack, the Aetherial Shield, and Mora’s Grasp.
Know Yourself
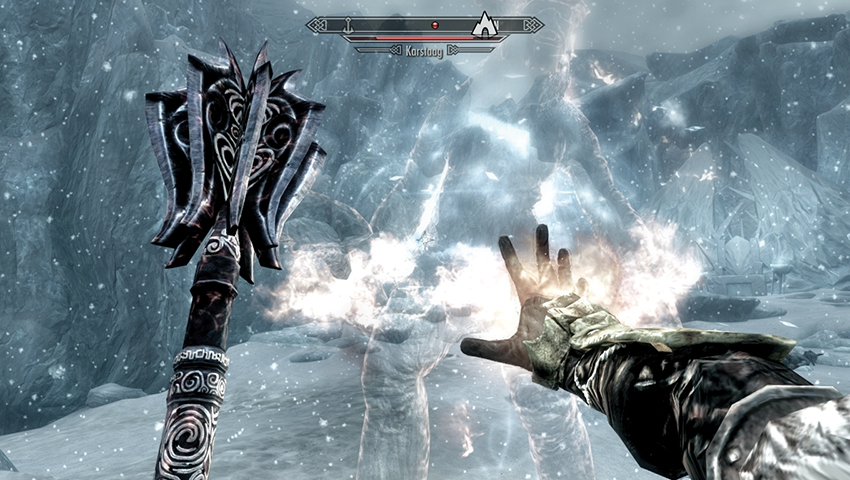
When fighting Karstaag, your tactics will depend largely on your play style:
- Close Combat Savagery: Melee fighters should come heavily armed and armored. Make sure you have the best (preferably Daedric) weapons and armor you can get, temper them well, and imbue them with enchantments to resist frost, resist magic, and increase your one- or two-handed damage. Fire damage enchantments on your weapons are a must. Bring as many health potions as you can afford, focus your attacks on Karstaag, and try to cut him down as quickly as possible.
- Stealth and Sprinting: Archers should come prepared to dodge and run. Equip armor that increases your Archery and Stamina—Frost resistance and Health are still useful but somewhat secondary, as you may not survive even a single hit. Stay mobile and try to remain as far away from Karstaag as possible, taking shots (preferably sneak attacks) whenever you can. If Karstaag’s health regeneration is swamping the damage you do, consider casting Ignite on him (from Ahzidal’s Ring of Arcana), which will allow you to shut down his regeneration for a time.
- Incantations and Conjurations: Mages should bring their best Destruction spells and abilities to enhance them. While the other schools of magic are still useful, conjured allies won’t distract Karstaag for long, and no amount of wards or armor spells will protect you from his attacks. Try to do as much damage to Karstaag as possible, as quickly as possible. One good combination is to wear the Zahkriisos Mask (increasing the potency of your Shock spells), use the Slow Time Shout, use either the Secret of Arcana Black Book Power or Root of Power Tree Stone ability, and then cast Lightning Storm for as long as you can. Despite Karstaag’s shock resistance, the sheer damage of the spell will burn through most of his health. Then quickly switch over to the Ahzidal Mask, cast Ignite (from Ahzidal’s Ring of Arcana) on Karstaag to stop his health regeneration, and finish him off with Incinerates.
Plan Ahead
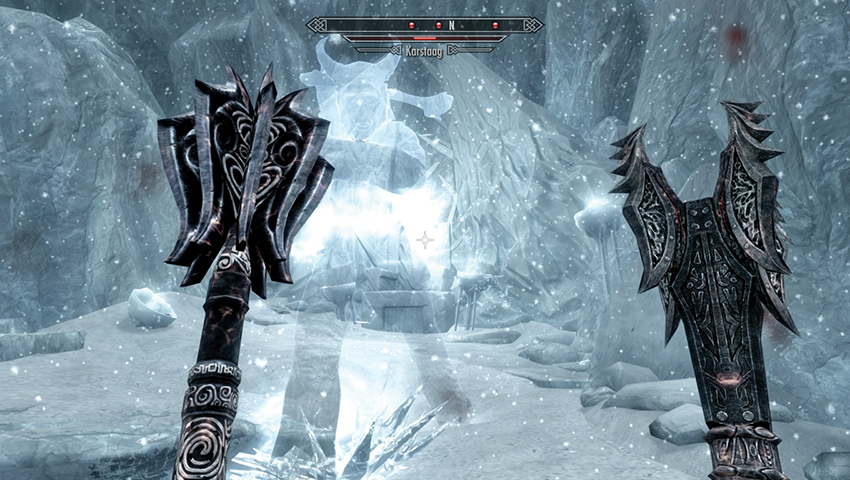
As noted above, two Solstheim Side Quests have rewards that are especially useful when challenging Karstaag.
- Deathbrand: Solstheim Side Quest: Deathbrand is a treasure hunt that begins with the search for a suit of Stalhrim Armor (good, but not ideal for this battle). However, by the end of the quest, you will have earned about 10,000 gold and found two unique swords—Bloodscythe and Soulrender. These are effective at weakening Karstaag if you plan to fight him in melee. Once Bloodscythe has reduced his armor and Soulrender has dispelled his Frost Cloak, switch over to weapons with Flame enchantments for maximum damage.
- Unearthed: In Solstheim Side Quest: Unearthed , you can use the gold from Deathbrand to cover the 11,000 gold cost of excavating Kolbjorn Barrow. The barrow contains a number of unique items, including Ahzidal’s Ring of Arcana (which allows you to cast the Ignite spell, disabling Karstaag’s health regeneration for the duration) and the Ahzidal Mask (which increases the damage done by your fire spells).
Quest Conclusion
When Karstaag is finally dispatched, you receive a mighty power: the ability to summon this ghostly (and ghastly) Frost Giant.
- Summon Karstaag (Summons Karstaag to fight for you for 120 seconds. You may use this ability only three times, and only while outdoors.)
Postquest Activities
Don’t waste these opportunities; save Karstaag’s next outing for when you’re facing a particularly powerful foe, such as the Ebony Warrior!
Masks of the Acolyte Priests*
Awakening an Ancient Evil
Miraak and his Dragon Priest Acolytes have the same furious disposition as the Dragon Priests of Skyrim, who you may have encountered in Side Quest: Masks of the Dragon Priests*.
There is a fourth Dragon Priest on Solstheim: Vahlok the Jailor, who resides in Vahlok’s Tomb. He has no mask, is not an acolyte, and has no affiliation with Miraak. Indeed, he fought against the Dragonborn Miraak, after learning of Miraak’s traitorous behavior. Solstheim Side Quest: Lost Legacy has more information on facing him.
Death to the Dragon Acolytes!
Acolyte Priest: Ahzidal (Bitter Destroyer)
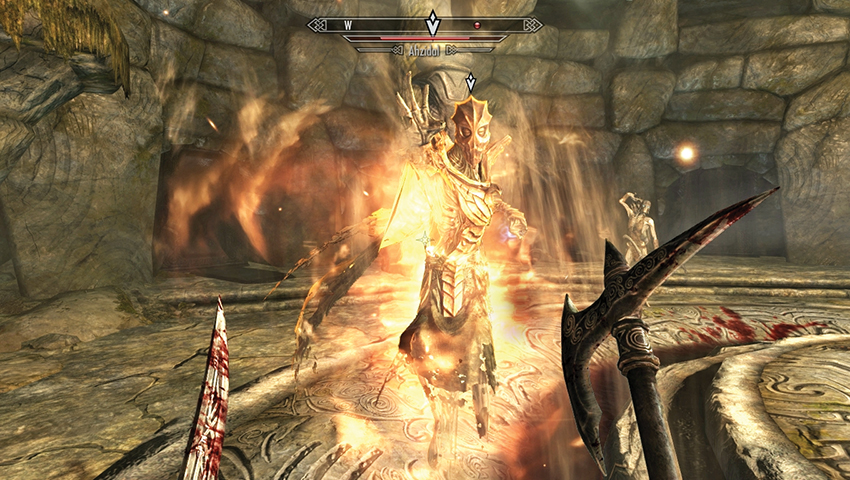
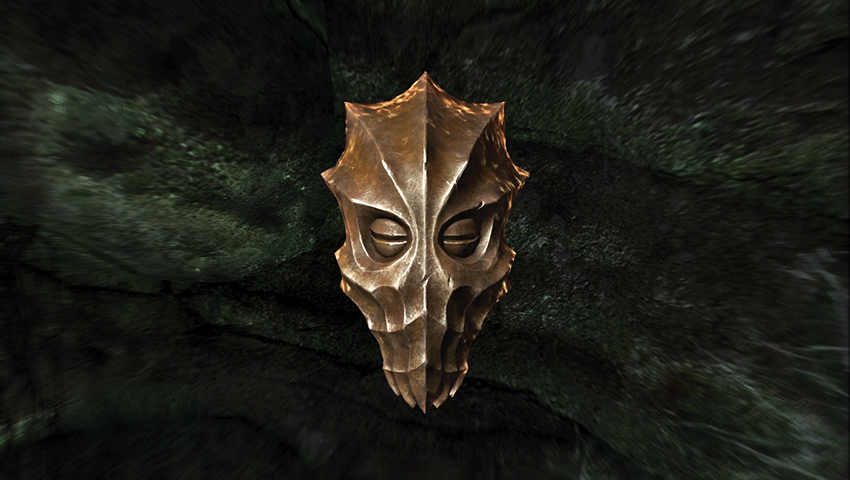
- Location: [S.S04] Kolbjorn Barrow
- Solstheim Side Quest: Unearthed
This acolyte is powerful enough to control the actions of Ralis Sedarys, feeding off the miners the Dumner send to die at the hands of his Draugr brethren. Complete the quest to face Ahzidal (finding his relics along the way), and watch for his mainly fire-based attacks.
- Ahzidal
Acolyte Priest: Dukaan (Dishonored)
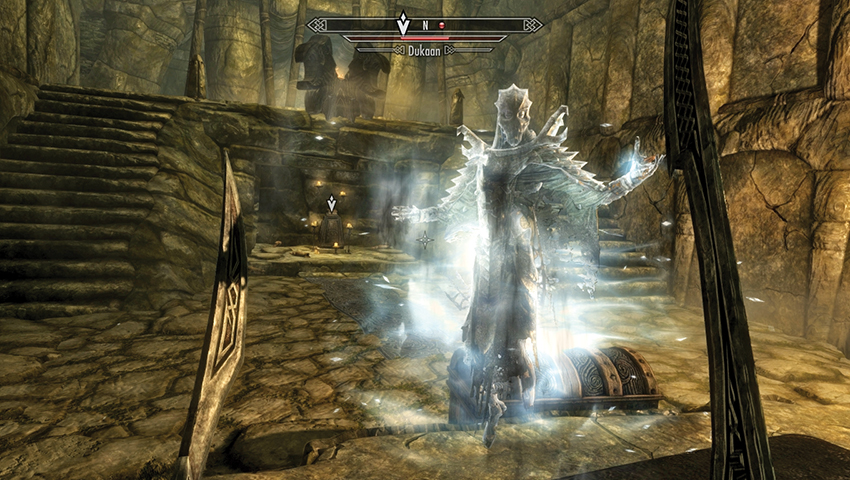
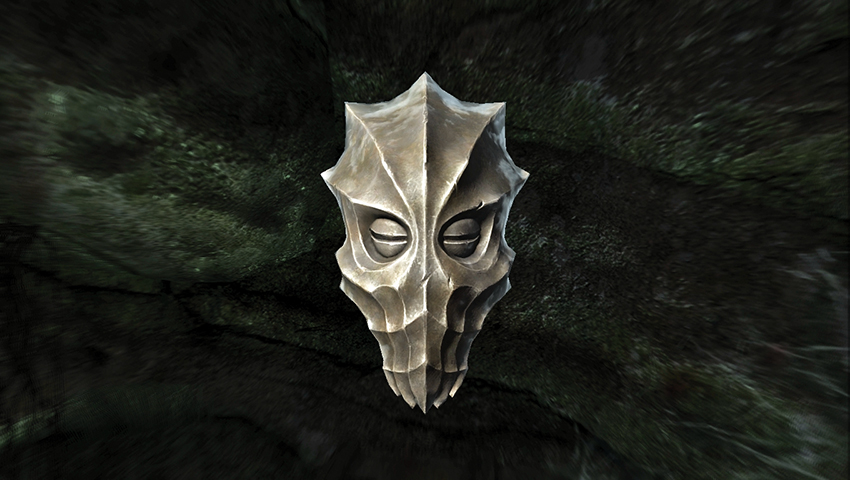
- Location: [S.N17] White Ridge Barrow
- Solstheim Side Quest: Spider Crafting*
Dukaan is guarding a special tome—Black Book: The Sallow Regent. Reach his chamber by navigating your way through White Ridge Barrow. If you require a walkthrough, consult Solstheim Side Quest: Spider Crafting*. Beware his mainly frost-based attacks.
- Dukaan
Acolyte Priest: Zahkriisos (Blood Sword)
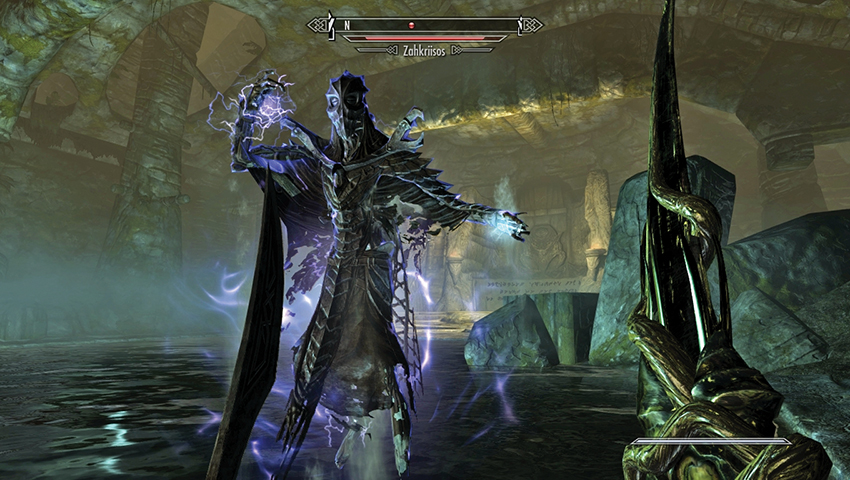
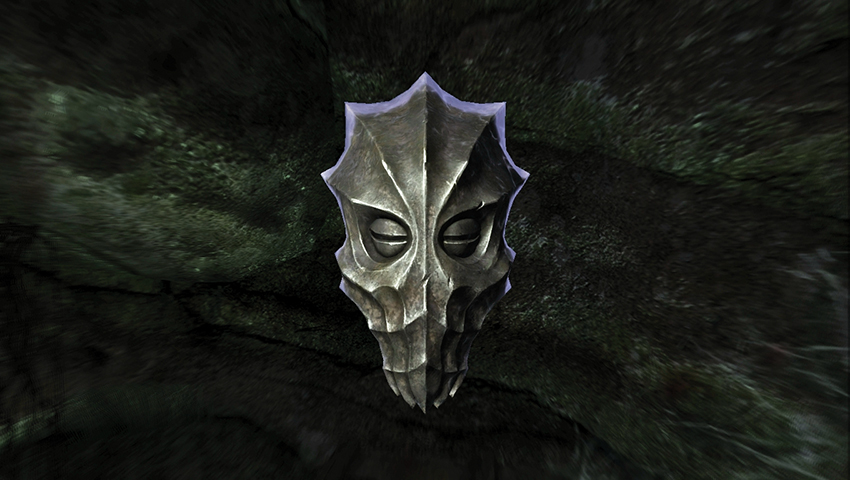
- Location: [S.S02] Bloodskal Barrow
- Solstheim Side Quest: The Final Descent
This fiend, with his ability to summon Seekers and his predilection for shock-based attacks, is holed up deep in a section of Bloodskal Barrow, which is accessible only from Raven Rock Mine. Complete the quest to face Zahkriisos before rummaging through his ash pile to secure his mask for your collection.
- Zahkriisos
Dragonborn Priest: Miraak (Alliance Guide)
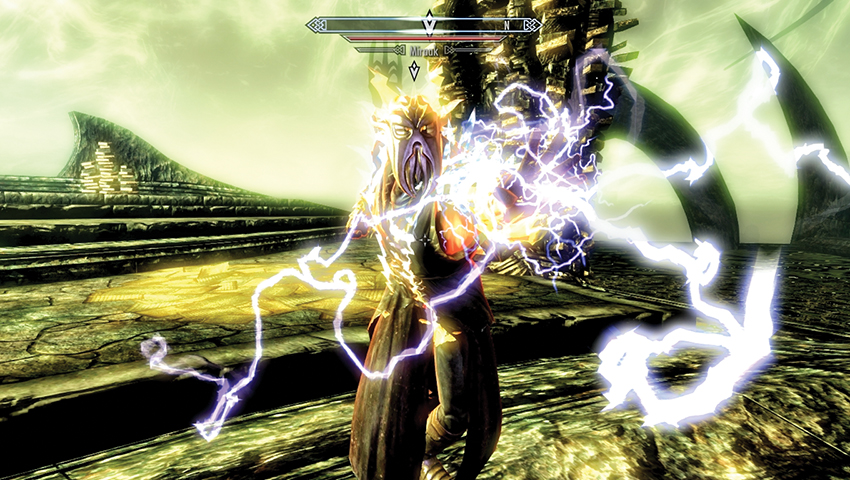
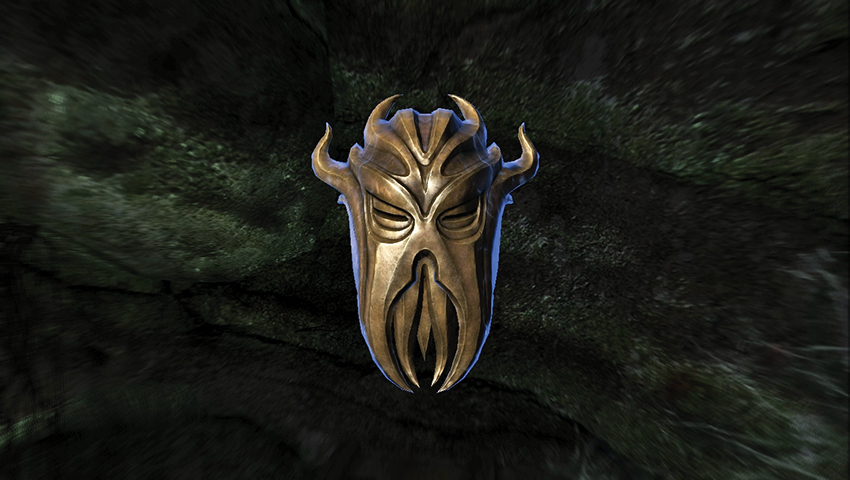
- Location: [S.A07] Apocrypha: Waking Dreams of a Starless Sky
- Dragonborn Main Quest: At the Summit of Apocrypha
The leader of these acolytes resides deep within Hermaeus Mora’s realm of Apocrypha, leaving only briefly to steal souls from your battles with the dragons. His formidable powers, and how to defeat them, are discussed in Dragonborn Main Quest: At the Summit of Apocrypha. His mask, once you obtain it, may be either light or heavy armor (the mask will be whichever skill is a higher rank). It increases your Magicka by a leveled amount.
- Miraak
Quest Conclusion
Wear the mask of your preferred priest when the situation calls for it.
| Hold | Dungeon Name | Acolyte Priest and Mask Name | Mask Ability | Associated Quest |
|---|---|---|---|---|
| Solstheim | Kolbjorn Barrow | Ahzidal | Increases Fire Resistance by 50% and Fire spell damage by 25% | Solstheim Side Quest: Unearthed |
| Solstheim | White Ridge Barrow | Dukaan | Increases Frost Resistance by 50% and Frost spell damage by 25% | Solstheim Side Quest: Spider Crafting* |
| Solstheim | Bloodskal Barrow | Zahkriisos | Increases Shock Resistance by 50% and Shock spell damage by 25% | Solstheim Side Quest: The Final Descent |
| Apocrypha | Summit of Apocrypha | Miraak | Increases your Magicka by 40–70 points, depending on your level | Dragonborn Main Quest: At the Summit of Apocrypha |
Postquest Activities
You can also display these masks proudly in your abode. They are not part of Side Quest: Masks of the Dragon Priests* and have no power in Bromjunaar Sanctuary.
Rings of the Werewolves*
Howling at the Frostmoon
During your travels through Solstheim, you may be told about the inhabitants of an icy overhang called Frostmoon Crag. You can:
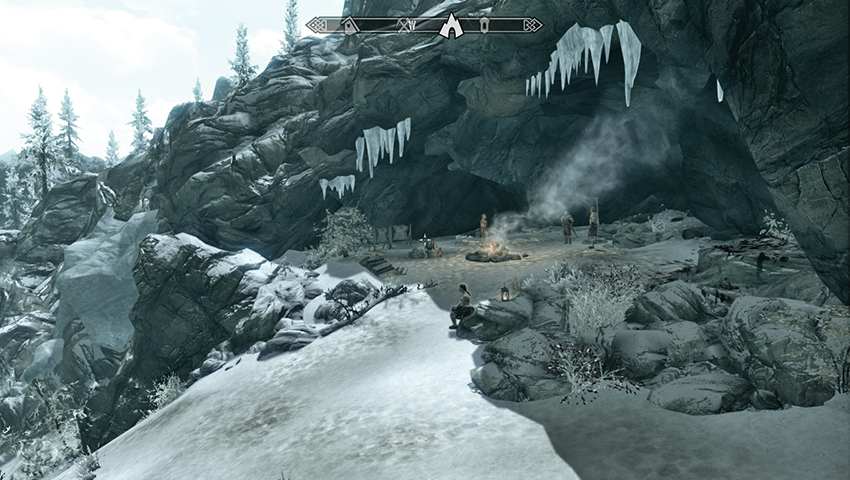
Simply visit the place, which is southwest of the Altar of Thrond, north of Brodir Grove, and northeast of the Abandoned Lodge.
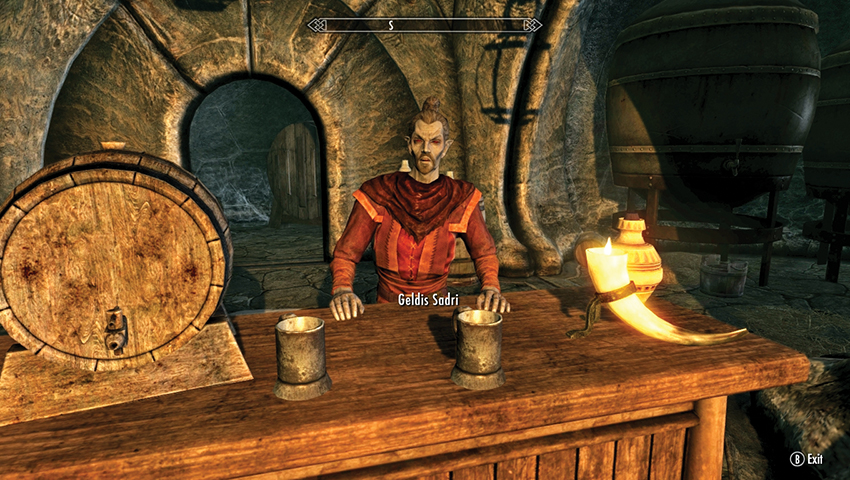
Or, visit Geldis the innkeeper in The Retching Netch in Raven Rock and ask for some rumors. One of these mentions the strange folk that make camp here. Time to pay them a visit?
Or, if you’re a werewolf (after completing The Companions Quest: The Silver Hand), you may encounter an explorer in Solstheim Wilderness Encounter: Hairy Hunter. He recognizes you as a fellow werewolf and tells you of Majni’s pack.
- Objective: Visit the [hunters or werewolves] of Frostmoon Crag
Rings and Things
The camp is a large underhang at the edge of the snowline, with views of Highpoint Tower to the southeast. Depending on your actions and attributes, the pack at this camp reacts in several different ways:
Rakel stops you as you approach the camp and speaks to you:
- If you are not a werewolf, she tells you to leave.
- If you are a werewolf but not in Beast Form, she recognizes it after a moment, and allows you to pass.
- If you are a werewolf in Beast Form, she welcomes you immediately.
At this point, if you’re not a werewolf, you can:
- Leave forthwith to avoid any unpleasantness.
- Speak to Majni, Akar, Hjordis, or Rakel. They all tell you to go away.
- If you wait around the camp long enough, steal anything, or attack anyone, the pack turns hostile.
At this point, if you are a werewolf, you can:
- Speak to Majni to be formally welcomed. After speaking to Majni, you become friends with the pack, and you’re free to sleep in the camp and take low-value items without it being considered a crime.
- Trade with Majni. In addition to some standard hunter’s food and items, he also sells a unique set of werewolf rings (listed below).
- Speak to Majni, Akar, Hjordis, and Rakel to learn more about them and their pack.
If you commit a crime or otherwise cause the camp to become hostile:
- Majni and Akar turn to their Beast Forms immediately.
- Hjordis and Rakel remain in human form but will change if you kill the others.
Once all four are dead, you can take whatever you want from the camp, including a chest [Adept]. However, you can’t get the rings this way. The only way to obtain them is to buy them from Majni.
Quest Conclusion
Werewolf adventurers may purchase the following rings from Majni:
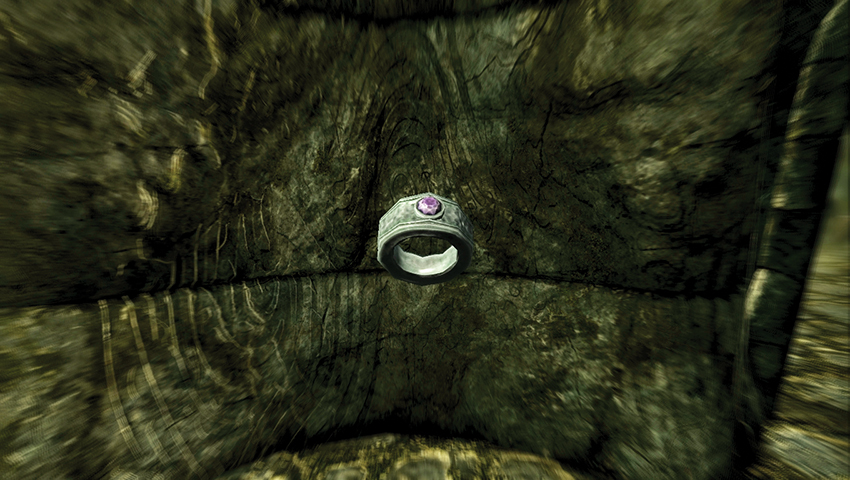
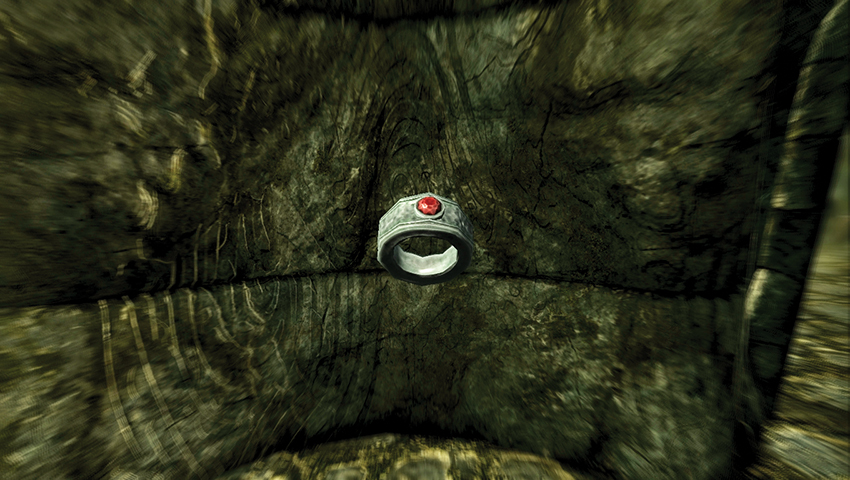

| Ring | Value | power |
|---|---|---|
| Ring of Bloodlust | 1500 | While in Beast Form, your attacks do 50% more damage, but you also take 50% more damage |
| Ring of Instinct | 3000 | When you enter Beast Form, the world around you seems to slow for 20 seconds |
| Ring of the Hunt | 3500 | While in Beast Form, your health regenerates |
| Ring of the Moon | 2250 | Increases the duration of your Howls by 25% |
Spider Crafting*
The Webs of White Ridge
While exploring Solstheim, you may have noticed the variety of spiders that inhabit the isle. The following activity has no objectives, but your exploration may give you some answers about these strange arachnids...and some interesting opportunities to control them.
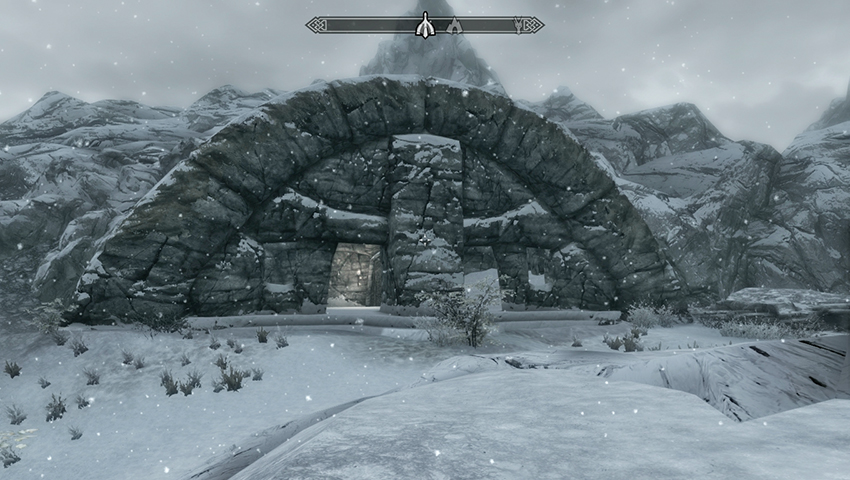
Atop the snowy mountains of Solstheim, you may stumble across White Ridge Barrow, just west of Hrothmund’s Barrow. Enter it, passing signs of violence at the entrance, where two dead Reavers have barred the wooden door shut. Remove the bar and open the door, passing two dead Albino Spiders and three dead Reavers before encountering live arachnids. Circle around the outside of spiral steps leading deeper into the tomb.
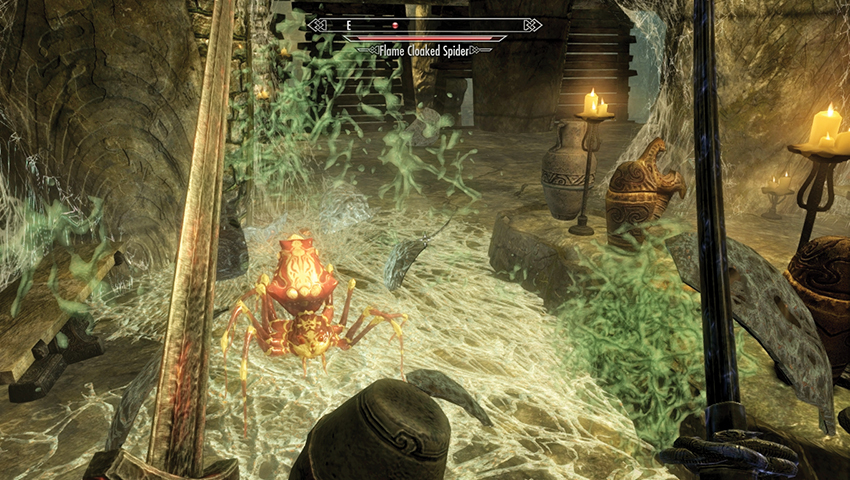
Head east down the tomb tunnel and engage more spiders (including Flame Cloaked Spiders) as the passage separates into two parallel corridors. Beware of exploding egg sacs, and mine any geodes you see; there are two Ruby Geodes to the north. Continue east down the corridors, past more egg sacs to a chain on one of the two end pillars, which releases a bridge platform ahead (east). If you have Whirlwind Sprint, use it to jump across the gap to the platform on the far side of the room, circle behind the wooden barriers, and search the area for items. Then drop down to the lower level and head toward the exit, fending off a bandit with a parasitical spider controlling it from its shoulders.
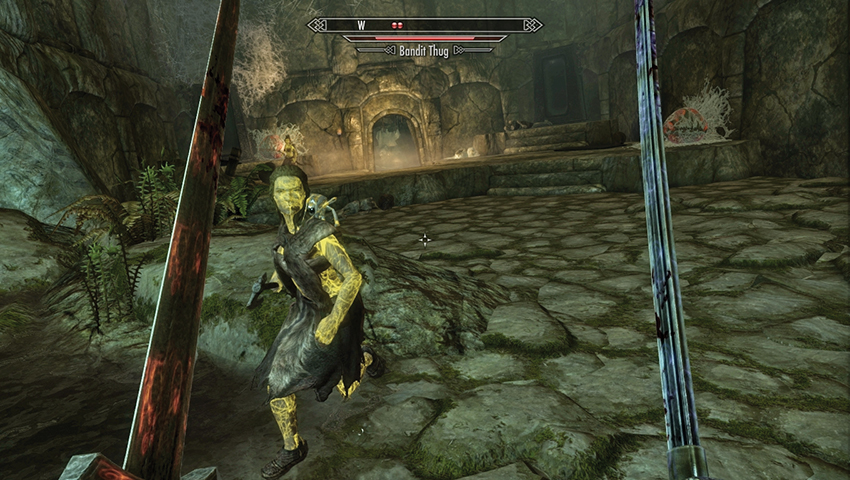
There are exits to the north and west. Head up the steps to the north first, cutting through thick cobwebs to open an iron door and a burial chamber with a nasty Draugr at the far end. There are two chests to pilfer from. Head to the sloping southeast of the room, working your way around to the west. Hack through more spiders, watching for egg sacs and possessed bandits. Continue down the corridor south, then east into a natural cavern with heart stone and ruby deposits and a door to White Ridge Sanctum.
Spider Scrolls
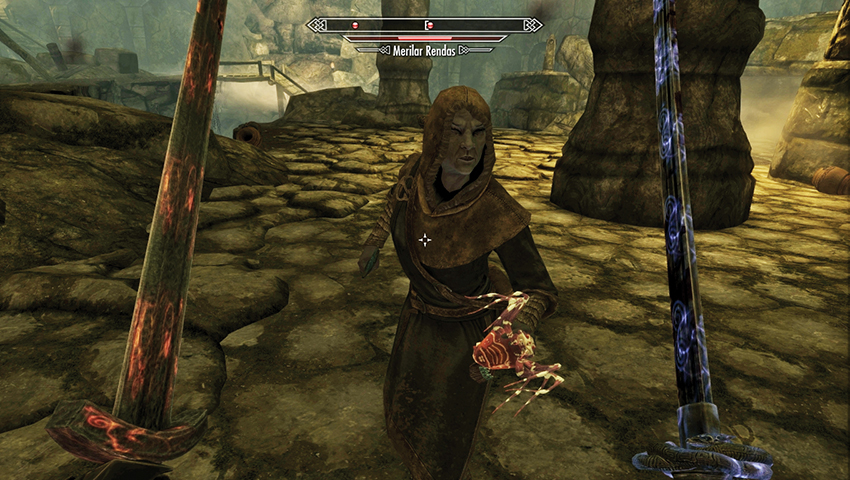
Move east and south, removing a bar from the door leading to a grand cavern where you’re set upon by bandits, Flame Spiders, and a sorcerer named Merilar Rendas, who actually throws spiders at you! Remove the key and journal (revealing a difference of opinion with another mage) from her corpse before you move on. Slay her fast enough, and you can recover her supply of Flame Cloaked Spiders and Jumping Flame Spiders, then lob them back at your foes! Continue south to a Word Wall and a crypt with a frightening Acolyte Priest named Dukaan, who guards the Black Book: The Sallow Regent. Consult the Solstheim Side Quests for more information on them.
- Merilar’s Cage Door Key
- Merilar’s Journal
- Dukaan
- Word of Power: Cyclone
- Black Book: The Sallow Regent
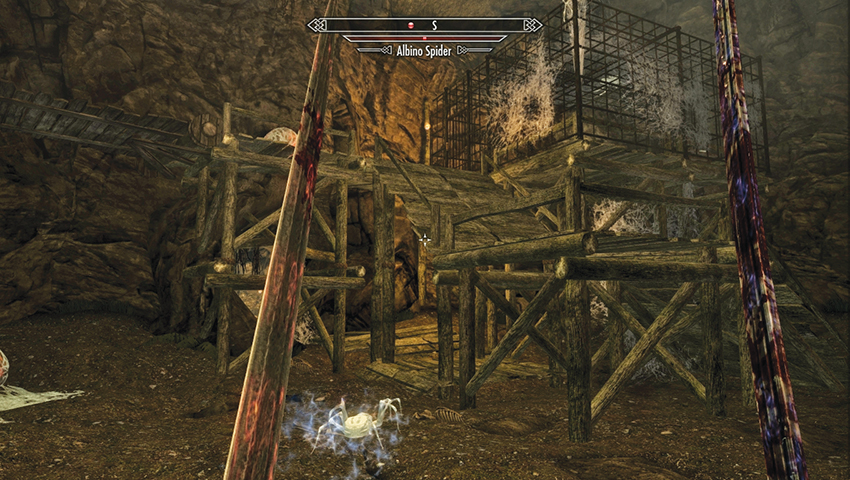
To the west is a narrow winding crypt passage leading down and eventually out to a waterlogged well directly below the graven cavern with a chest. There’s a fissure and stream running through it with more geodes to mine too. Of more interest is a wooden ramp to the northeast. Ascend it to the remains of a disused mining chamber, with further geodes, spiders, and possessed bandits to cull. In the north wall is a cell door [Adept], which Merilar’s key opens. This leads you through some webs to a dead-end corridor with a chest at the end and a barred door into a circular chamber filled with possessed bandits and spiders.
Return to the mining chamber and climb the wooden ramps, which leads to a cage [Expert] that Merilar’s key also opens. This is the place you need to reach to begin Spider Crafting. Once you have finished, you can head north to the ladder (the rest of the tunnel has some geodes to mine) and use Merilar’s Key to open it. This leads to Secondary Location: White Ridge Barrow Hut, a small hut with spiders and a sapphire geode. This is a great alternate entrance to the Imbuing device on subsequent visits.
Quest Conclusion
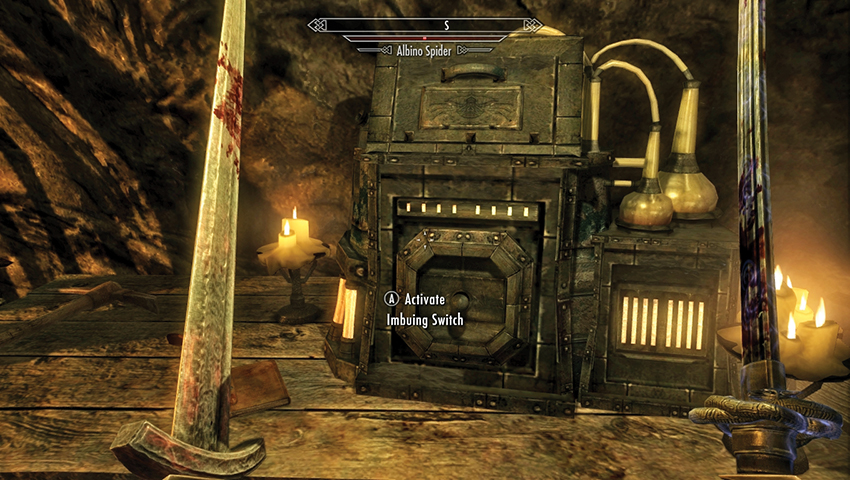
The cage holds the remains of Servos Rendas, a Dunmeri mage with a journal explaining how badly wrong his friendship with Merilar went. Of greater importance is the odd metal device and Spider Experiment Notes near it. This is the Imbuing Chamber, where the Dark Elves’ research can be put into practice!
- Servos’ Journal
- Spider Experiment Notes
As you can see from the following recipe chart, the type of gem influences the elemental damage of the spider. Amethyst is Shock, Emerald is Poison, Ruby is Flame, and Sapphire is Frost.
Spider Crafting Recipes
Here is a complete list of spiders you can create and the ingredients you need to make them.
| Ingredients | Produces |
|---|---|
| Damaged Albino Spider Pod, Ruby | Exploding Flame Spider |
| Damaged Albino Spider Pod, Flawless Ruby | Exploding Flame Spider (2) |
| Albino Spider Pod, Ruby, Salt Pile | Flame Cloaked Spider |
| Albino Spider Pod, Flawless Ruby, Salt Pile | Flame Cloaked Spider (2) |
| Albino Spider Pod, Ruby | Jumping Flame Spider |
| Albino Spider Pod, Flawless Ruby | Jumping Flame Spider (2) |
| Damaged Albino Spider Pod, Sapphire | Exploding Frost Spider |
| Damaged Albino Spider Pod, Flawless Sapphire | Exploding Frost Spider (2) |
| Albino Spider Pod, Sapphire, Salt Pile | Frost Cloaked Spider |
| Albino Spider Pod, Flawless Sapphire, Salt Pile | Frost Cloaked Spider (2) |
| Albino Spider Pod, Sapphire | Jumping Frost Spider |
| Albino Spider Pod, Flawless Sapphire | Jumping Frost Spider (2) |
| Damaged Albino Spider Pod, Emerald | Exploding Poison Spider |
| Damaged Albino Spider Pod, Flawless Emerald | Exploding Poison Spider (2) |
| Albino Spider Pod, Emerald, Salt Pile | Poison Cloaked Spider |
| Albino Spider Pod, Flawless Emerald, Salt Pile | Poison Cloaked Spider (2) |
| Albino Spider Pod, Emerald | Jumping Poison Spider |
| Albino Spider Pod, Flawless Emerald | Jumping Poison Spider (2) |
| Damaged Albino Spider Pod, Amethyst | Exploding Shock Spider |
| Damaged Albino Spider Pod, Flawless Amethyst | Exploding Shock Spider (2) |
| Albino Spider Pod, Amethyst, Salt Pile | Shock Cloaked Spider |
| Albino Spider Pod, Flawless Amethyst, Salt Pile | Shock Cloaked Spider (2) |
| Albino Spider Pod, Amethyst | Jumping Shock Spider |
| Albino Spider Pod, Flawless Amethyst | Jumping Shock Spider (2) |
| Albino Spider Pod, Dwarven Oil | Oil Spider |
| Albino Spider Pod, Soul Gem | Mind Control Spider |