Elder Scrolls V: Skyrim Guide Quests Dragonborn Quests
Dragonborn Main Quest
Dragonborn
Called to Solstheim
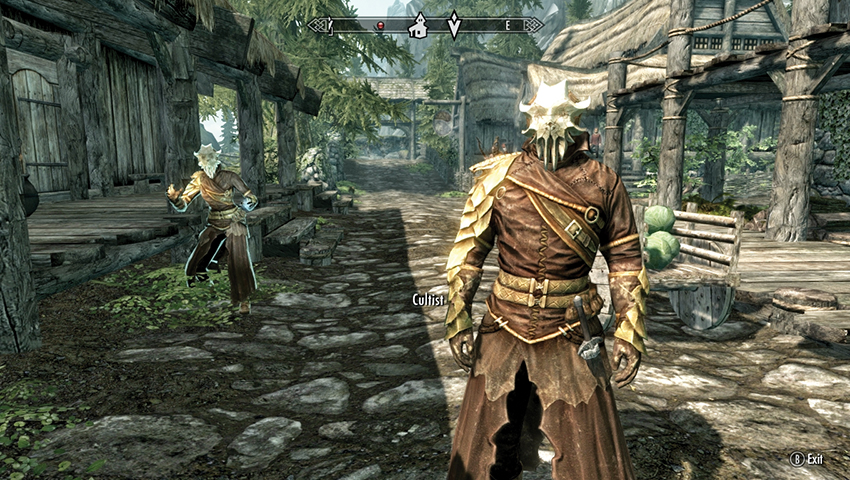
After your initial meeting with the Greybeards of High Hrothgar, unseen forces begin to conspire against you. To catch your first glimpse of your new and threatening foes, head to any town or city once Main Quest: The Horn of Jurgen Windcaller begins. In this example, your stroll through Riverwood was disrupted.
Enter any settlement and the regular jocularity with the town guards is silenced by the arrival of two strange figures wearing distinctively odd masks and clothing. One of the Cultists challenges you (head to another settlement if no challengers present themselves), mocking your supposed status as the true Dragonborn! Apparently, Lord Miraak is soon to appear, and you are but his shadow! The two Cultists then attack. Slay both of them, with or without the help of the townsfolk.
- Objective: Find out who sent the Cultists
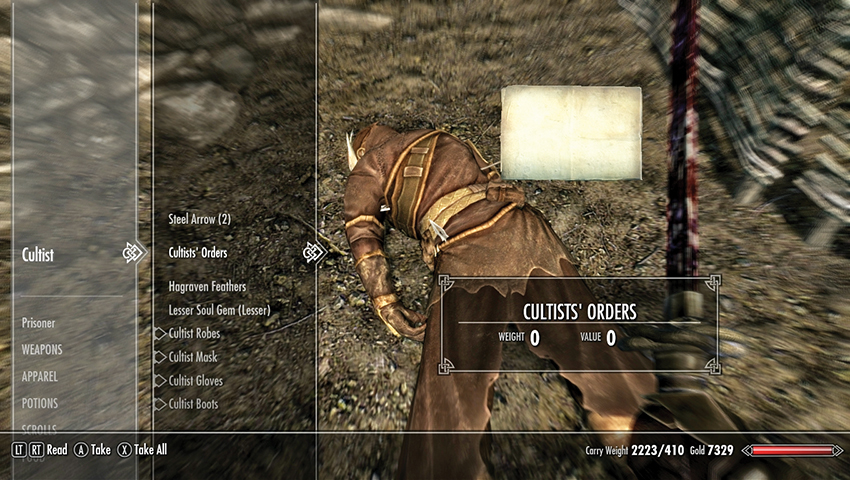
Once the fracas ends, inspect the corpses of the Cultists. Pick up the piece of paper marked “Cultists’ Orders,” which seems to be a missive from a Lord Miraak to his two minions, urging them to find and kill you. There’s also a clue to their method of travel. You must retrace their steps by seeking out the ship the Northern Maiden, docked at Windhelm.
- Cultists’ Orders
- Objective: Read Cultists’ Orders
- Objective: Travel to Solstheim
- Target: Gjalund Salt-Sage, Northern Maiden, Windhelm Docks
Aboard the Northern Maiden
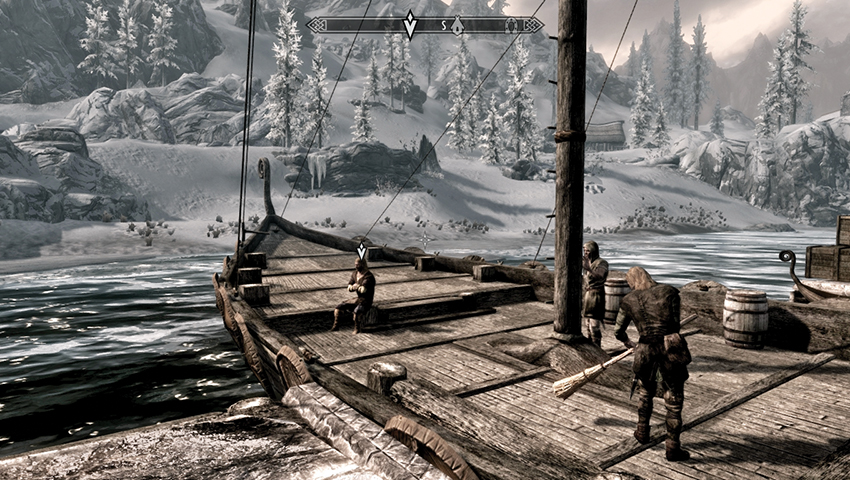
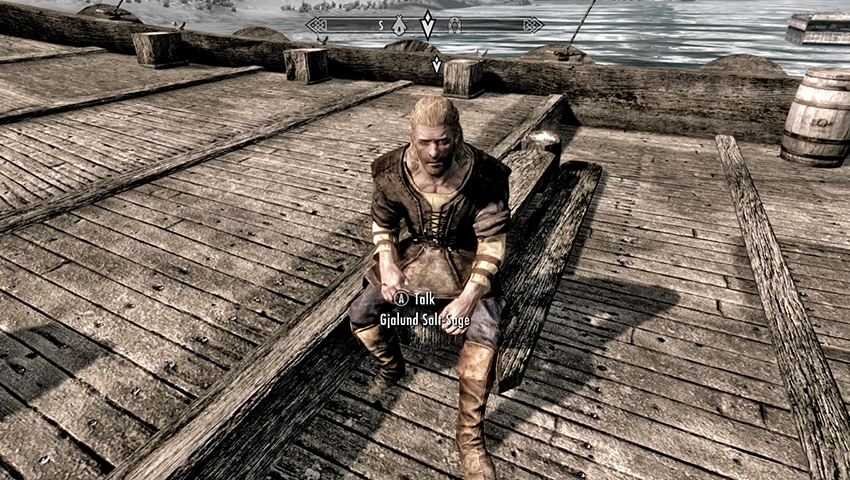
Head to Windhelm and descend to the dockside area near the East Empire warehouse. Locate the Northern Maiden and its forlorn-looking captain. Speak to Gjalund Salt-Sage, choosing your words how you like. It transpires that Gjalund was befuddled for most of the trip, losing whole days of his memory after agreeing to bring the Cultists aboard. He has little desire to return to Solstheim, though. Unless you:
- (500 gold) Agree to pay him double his usual rate, or
- (Persuade) Tell him he owes you for bringing those killers to your doorstep, or
- (Intimidate) Let him know you’re not taking no for an answer.
When you’re successful, Gjalund agrees to set sail. Ready yourself for the voyage to Solstheim. As you arrive at the port of Raven Rock, Gjalund hopes you’ll find out what’s been going on around these parts.
- Objective: Search for information about Miraak
- Target: Adril Arano, Raven Rock docks
Rumors at Raven Rock
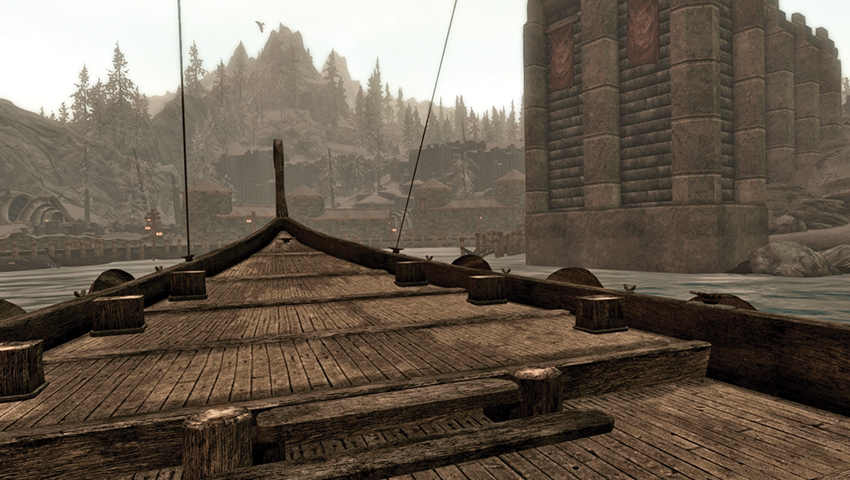
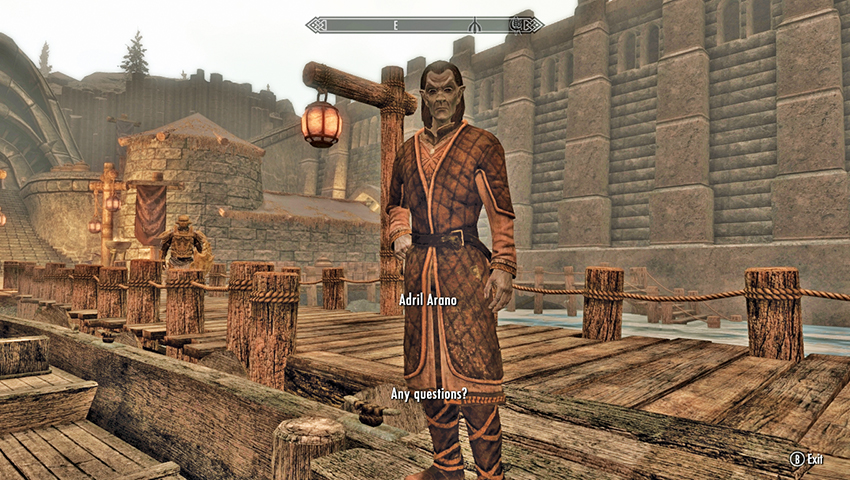
As you disembark, you’re stopped by a Dunmer named Adril Arano. Ignore him if you want, but it’s better to listen to what he has to say. He wants to know your intentions. You can:
- Be as secretive as you like and investigate by speaking to other townsfolk.
- Better yet, you can eke out some information from him; tell him you’re looking for Miraak. Initially, he shrugs off your question and makes sure you know that House Redoran of Morrowind runs this sovereign territory. Ask him about Miraak again, and he stops to think. He’s sure he doesn’t know the name but reckons it may have something to do with the Earth Stone nestled on the high ground just outside of town. After he imparts this bit of information, you can quiz him about his suspicions regarding visitors and learn more about the town of Raven Rock.
- Objective: Investigate the shrine
- Target: Neloth, at the Earth Shrine
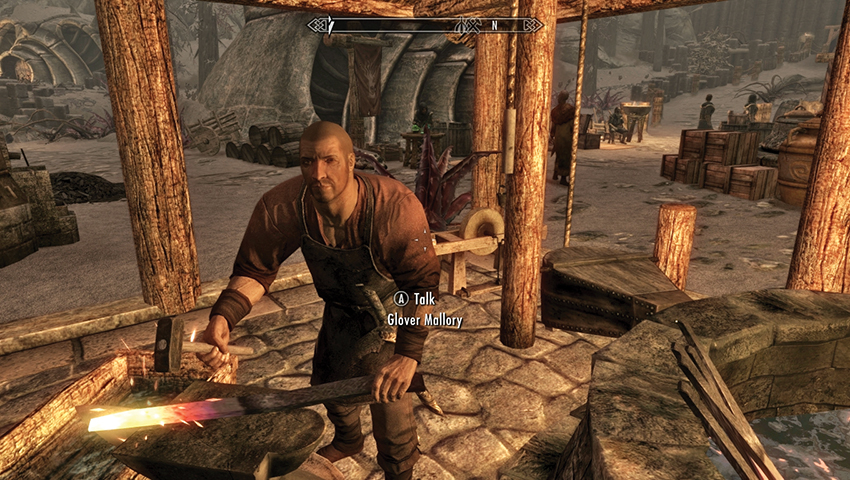
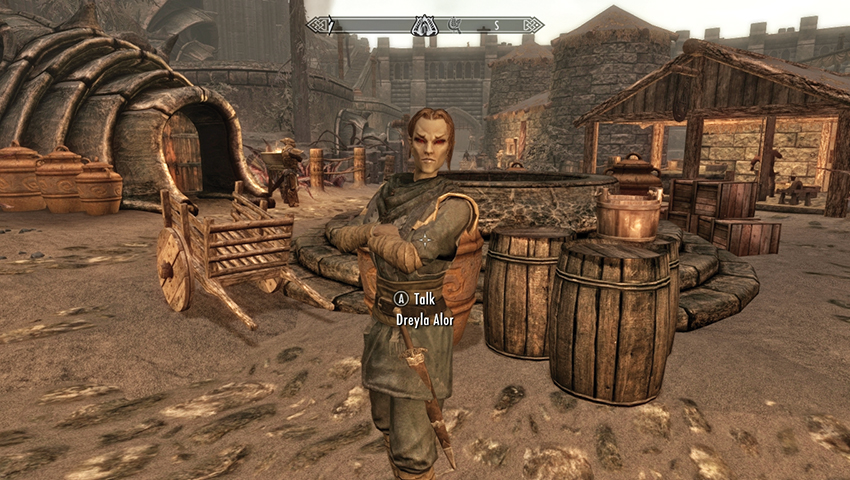
Exit the docks and turn left, heading along the main thoroughfare. There are numerous merchants and other buildings of interest to check out (the Atlas on page 1037 has all this information), but aside from extra activities, you have a few options. You can:
- Talk to the townspeople of Raven Rock. There are many to choose from, and they offer you variations on one of three pieces of information:
- That Miraak sounds familiar, but the person can’t remember why.
- That the name has some connection to the shrine at the Earth Stone.
- That this entity conjures up images of a temple near the middle of this island.
Ignore the townspeople and head directly to the Temple of Miraak if you’re feeling antisocial or haven’t the time for pleasantries.
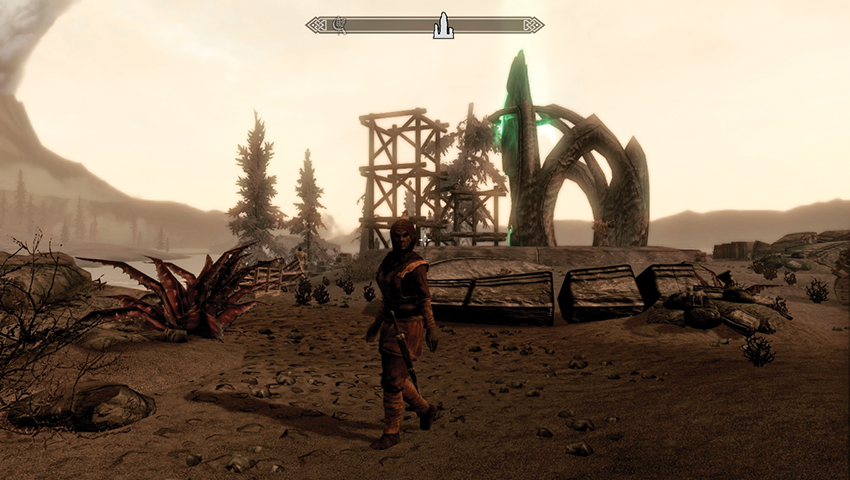
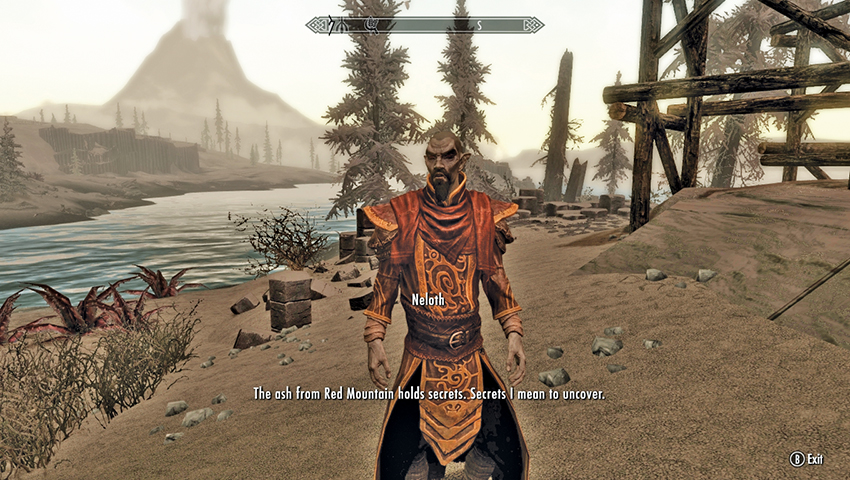
If you head west and southwest along the main thoroughfare and around to a promontory overlooking the town, you can see some villagers hard at work erecting a strange monument around an odd glowing sacred stone the size of a frost giant. The majority of the workers seem transfixed and speak in short bursts as if possessed. Seek out a dark elf named Neloth, who ponders awhile on why you aren’t in the same state as these drones. You can:
- Ask him what these people are doing: He doesn’t know but wants to leave them like this to find out.
- Inquire about Morrowind, and he tells you a little more about the place.
If someone in Raven Rock hasn’t mentioned the temple to you yet, Neloth will, and the quest updates.
- Objective: Reach the Temple of Miraak
Enthralled at the Temple
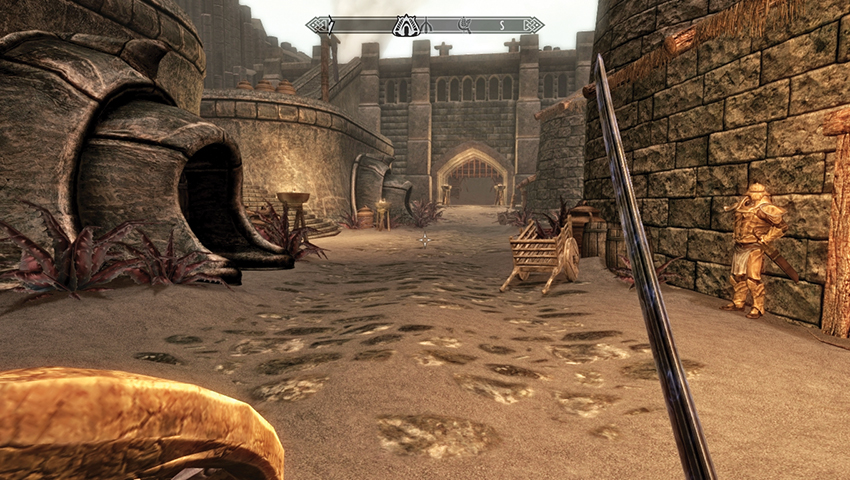
Feel free to explore the large island of Solstheim, as there are multiple ways to reach the Temple of Miraak. You can choose to do that now or after partaking in a few side quests. The optimal path to the Temple—which is reasonably direct and takes in some of the scenery so you get your bearings—involves backtracking across Raven Rock along the main thoroughfare heading east, through the gatehouse.
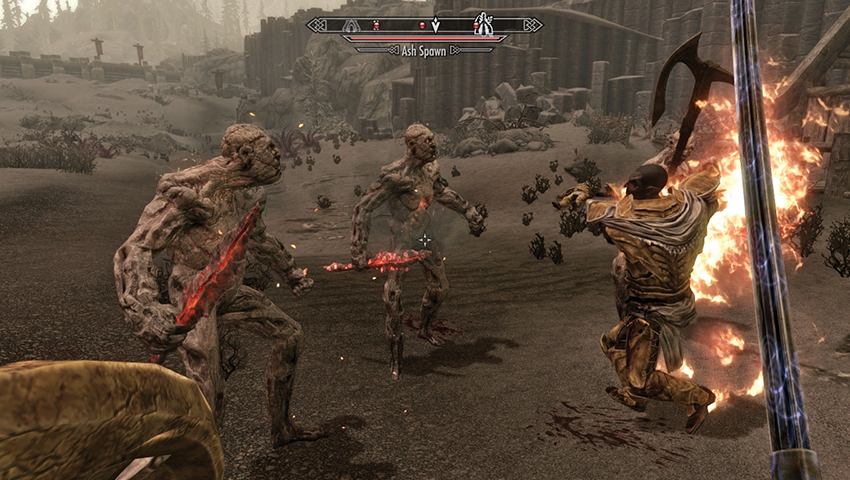
After passing through the bulwark, follow the gray beach with the strange pentagonal rock column formations. In the far distance is Red Mountain (in Vvardenfell, the main island of Morrowind), spewing great plumes of volcanic ash, which explains much of Solstheim’s ground coloration. Just up ahead is Old Attius Farm, where Captain Veleth is taking a hammering from a group of Ash Spawn. Help or avoid this fracas; find out more by starting Side Quest: March of the Dead (page 632).
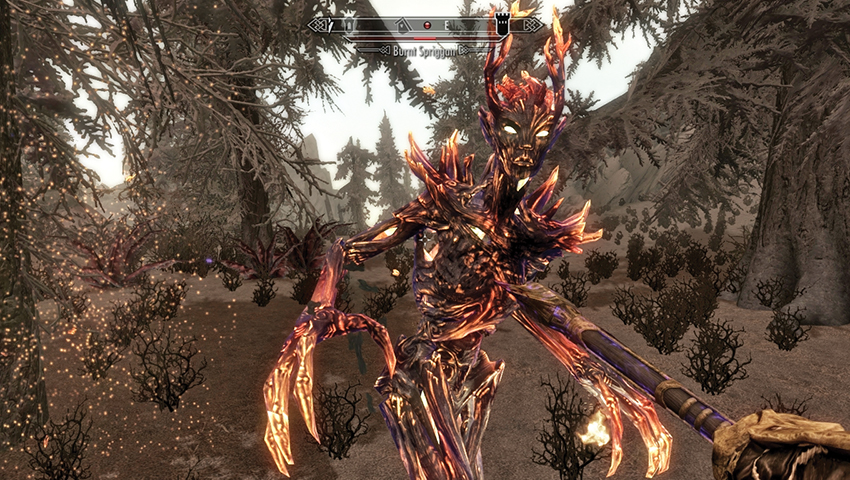
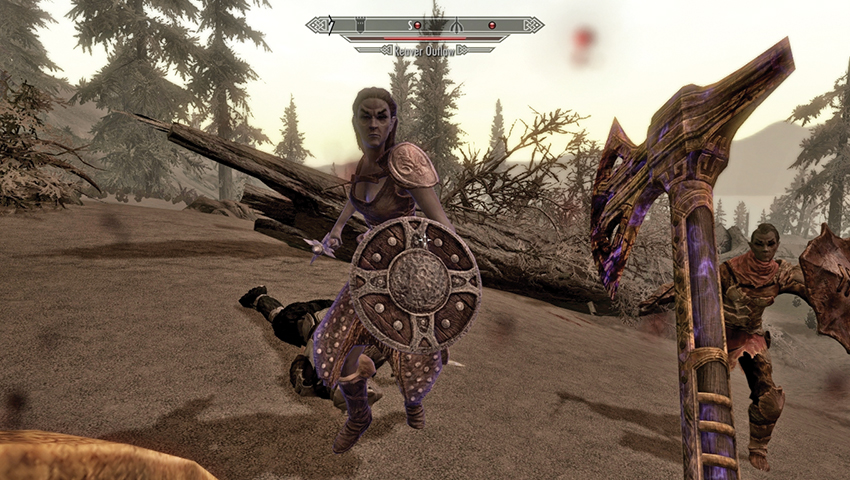
Take a long left turn up the beach to the ashen, decimated forest, watching for intermittent savaging by Ash Hoppers. Weave around the gnarled stumps, rocky outcrops, and blighted trees in a roughly northern direction. Along the way, expect to run into a few nasty surprises, such as a Burnt Spriggan and a hunting party of Reavers.
Continue north up the rocky escarpment, until the gray ash gives way to tundra. Climb northeast, through the gaps in the crags; the skeletons of slain dragons appear, half buried in the snow. Locate the steep steps and archways, continuing your ascent up and into the Temple of Miraak. There’s a splendid view from the wooden scaffolding at the top.
Quest Conclusion
Ignore the Reaver thralls chiseling new construction for their master, who have nothing to say but a monotonous chant about “his” return. As you descend into the central cloister, you should seek out Frea, a woman desperately attempting to free her friend Ysra from her mental bonds. Approach her to end this quest.
The Temple of Miraak
Down Among the Dead
- Objective: Talk to Frea
- Target: Frea, Temple of Miraak (exterior)
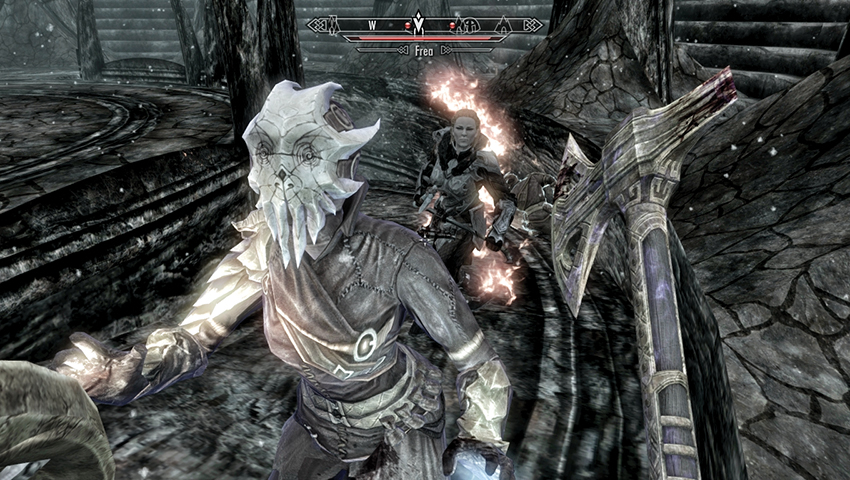
As the snow flurries dance around this circular arena, ignore Frea’s mind-addled friend and talk to her yourself. She sternly explains she is one of the Skaal, the native people of this region, and that something has taken control of the minds of her tribe. Many work on great stone shrouds that corrupt the island’s venerated and ancient standing stones. Her father is a shaman, who believes that Miraak has returned. You respond that you’ve already had a run-in with his cultists. You can ask Frea for:
- More information about Miraak. This updates your objective.
- Further knowledge of her people, the Skaal.
- Why she’s out here on her own.
- And what exactly the Tree Stone is.
- Objective: Find the source of Miraak’s power
- Target: Black Book, the Temple of Miraak Sanctum
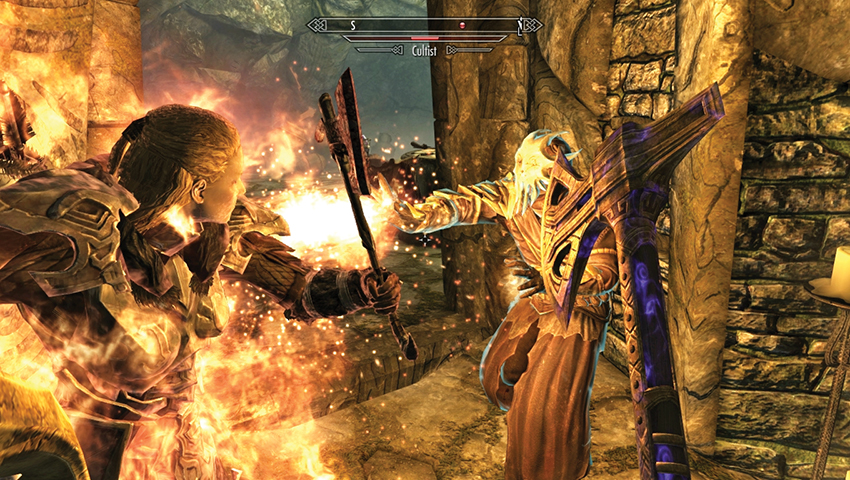
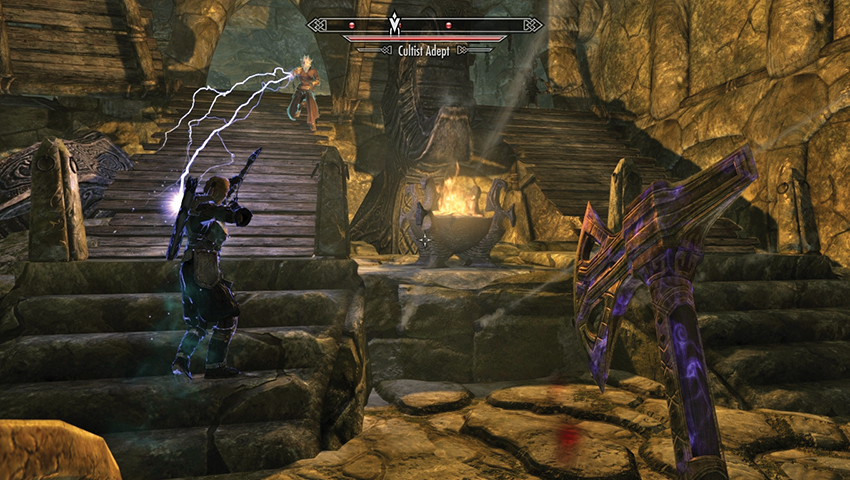
It doesn’t take Miraak’s cultists long to show themselves. Face them down with Frea’s fearsome axe-work, and descend the curved ramp they came from. Open the door and enter the temple, working your way down the stone corridor and checking the antechambers on each side for supplies, as Frea advises. Aside from the burned and caged corpses, expect potions and poisons before you descend farther. Watch for the dart trap just before the narrow stairs where two more Cultists appear. Defeat them, and any Draugr you disturb if you stumble to the sides of this room.
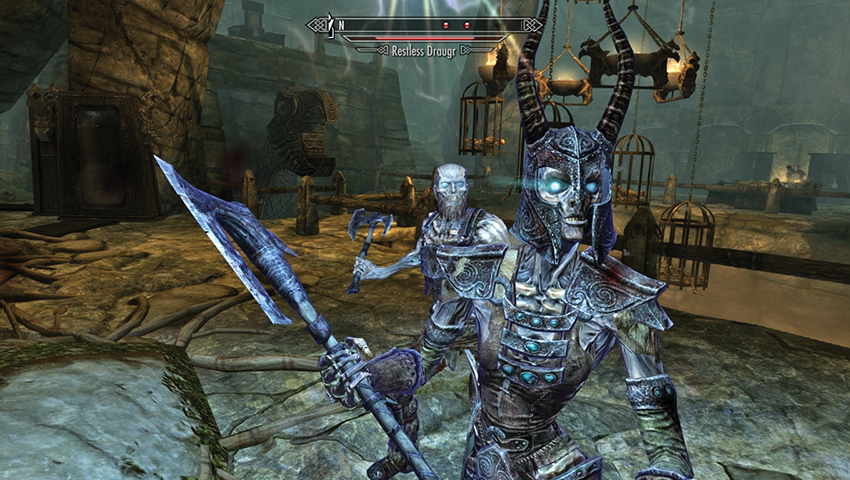
Pass through the small burial chamber where Frea warns of the many traps Miraak’s minions may have prepared for you. Sure enough, there are floor plates to avoid in the subsequent connecting chamber (unless you’re ready to receive a battering ram to the stomach), steps down to a portcullis that opens via the adjacent chain, and a vast pit chamber where Frea notices more poor souls trapped in hanging cages. She also spots a stone viewing abutment overlooking the vast steps in the chamber’s center of.
Head clockwise around the chamber’s edge, repelling Draugr threats that burst from their vertical coffins. After two or three Draugr, face three or four Cultists ascending from the pit steps. Once you and Frea cut down all foes, thoroughly inspect the chamber: As Frea predicted, there is a way to the stone abutment; maneuver up the rubble and coffins under the pillar and then clamber atop the pillar, where you find a large treasure chest. Return the way you came, and descend the pit steps into a Draugr crypt.
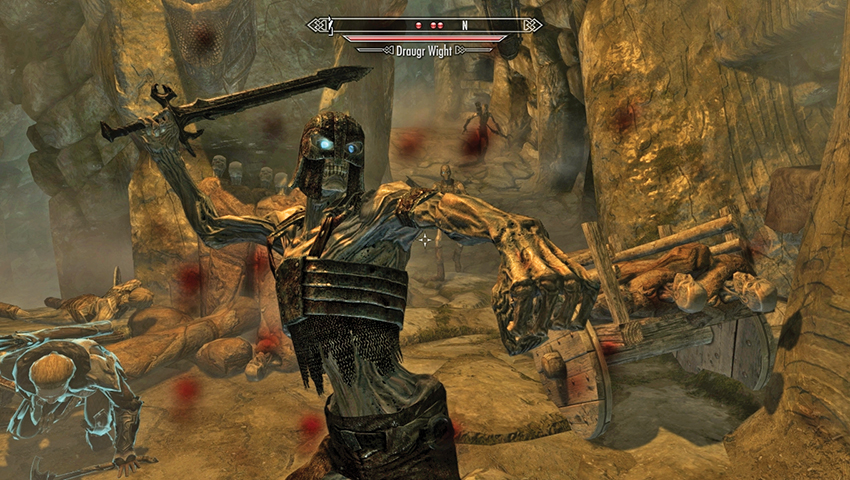
Activate the handle next to the small portcullis door and step through into a small tomb where the walled coffins contain a variety of long-dead Nords to cut down (you may wish to move around the pillars and rubble so Frea attacks from a different direction than you, splitting your enemies’ focus). After you defeat the Draugr, clamber through to a long passageway heading north. Watch for the seated Draugr behind you.
Avoid the swinging blade trap’s floor plates as the passage splits into two narrower corridors. Both meet up farther along the crypt, both have Draugr infesting them, and both have a floor plate and a battering ram to avoid as you enter. The lower chamber offers higher ground, making it slightly easier to navigate. The corridors merge at the entrance to a long hall. Beware the floor plate and fire trap as you reach the double doors.
Enter this long hall of swinging blade traps and make short, quick bursts of speed between the swings to avoid any nasty contusions. A Whirlwind Sprint Shout can see you to the hall’s end, but don’t dash too early and stop at a blade’s arcing cut. Pull the lever to remove the spear bars, step over the remains of the inactive Nordic Puzzle Door, and descend to the wooden double doors.
Bars block the way to the west, so head down the narrow passage, ignoring the dead Draugr that collapses out of its tomb. Pull the handle to remove the barrier. As the wooden bridge falls into place, step down into the three-ramped chamber, where a Cultist and two Draugr minions are waiting to repel you. Watch the floor plate and dart trap as you descend to meet them. Tackle any ranged foes, then the Cultist, and split or combine your attacks with Frea if you wish. After the battle, locate the double doors leading to the Temple of Miraak Sanctum.
Keeper of the Dragon Cult
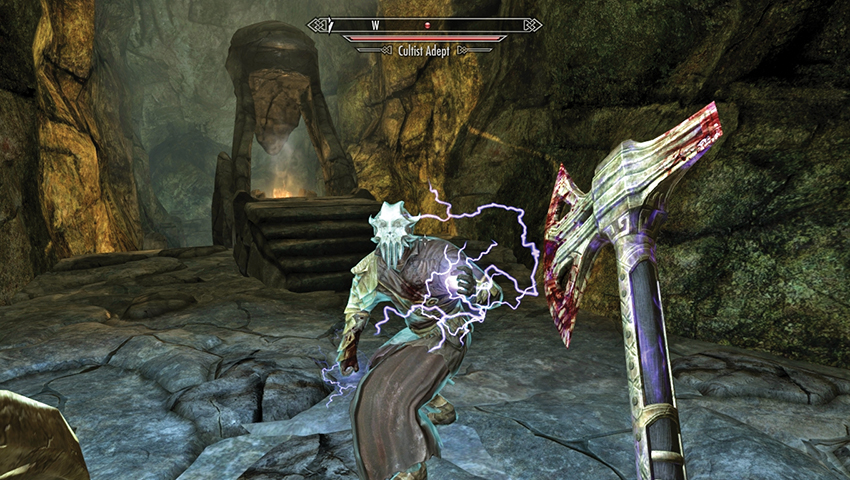
Proceed along a suspended cage bridge. Step across the scattered bones, into the connecting tunnel, and wind around, slaying four to six skeletons and a couple of Draugr who step out of their coffins and onto a floor plate that activates battering rams; attack these foes from above. Step into the cavern of the guardians, watching for active Draugr and bursting coffins as you go.
Head down the steps across the stone crypt, keeping to the cavern’s right (northeast) side so you don’t end up in a small dead-end pit. Watch for a floor plate and battering ram, and work your way around the stone ledge to face down further Cultist threats. A fiery cauldron has been lit at the top of the narrow steps down into an ancient burial site for members of a dragon cult. Frea is shocked that Miraak would display the skeletal remains of a dragon in such a disrespectful manner.
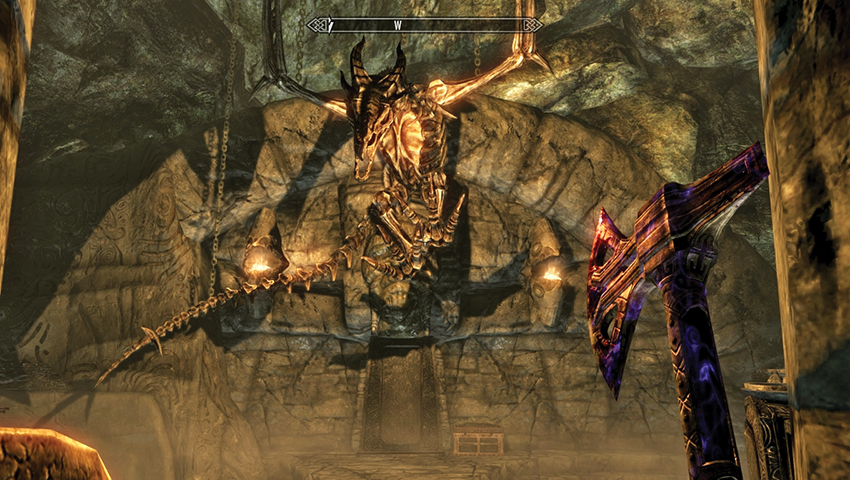
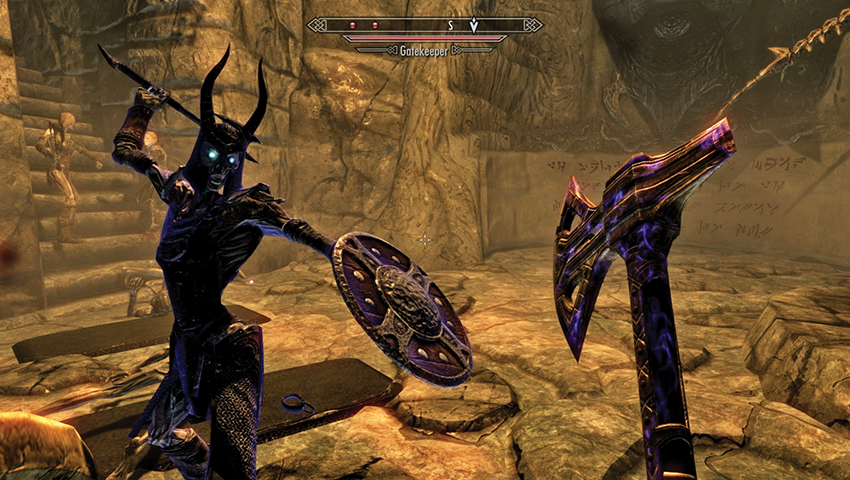
Animosity between Miraak and his dragon cult brethren is the least of your worries. Step up to the Word Wall on your left (south) and learn a word of the Dragon Aspect Shout. The transference of power from the wall triggers a Draugr ambush; expect two or three annoyances from the row of coffins and a particularly nasty foe known as the Gatekeeper to burst from the tomb below the dragon skeleton. Defeat everything that moves, and inspect the Gatekeeper’s corpse to claim the key to go farther into the temple. The door to which the key belongs is behind the Gatekeeper’s sarcophagus.
- Word of Power: Dragon Aspect
- Temple of Miraak Key
Waking Dreams of a Starless Sky
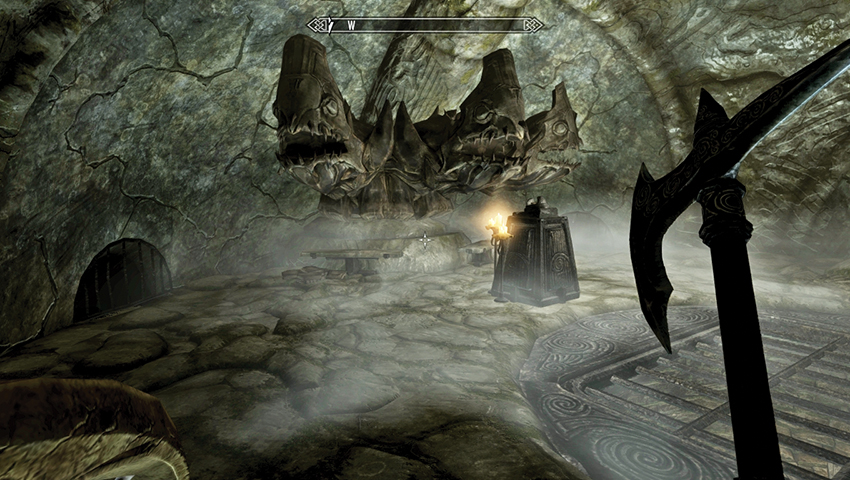
Pass the banquet table and its long-dead feasters, opening a second iron door with the key. After a connecting corridor with a window, move into another feasting hall, devoid of foes but featuring strange carved totems you haven’t seen before. Pass by these weird fishlike heads into the kitchens, which hold a few ingredients and a narrow windowed passage with a handle to pull. This opens a secret door between two sets of shelves in the feasting hall. Gather your resolve and head south, through the winding tunnel to a ruined reading nook.
This circular chamber has a large spiral staircase below, but it is currently barred. Frea points out there is nothing here but ruined books. But there’s also a secondary chamber with a square-shaped trapdoor and menacing statuary. Activate the handle in front of the fish faces to open the trapdoor. Descend the spiral steps, which connect to the ones you could see if you looked down from the reading nook.
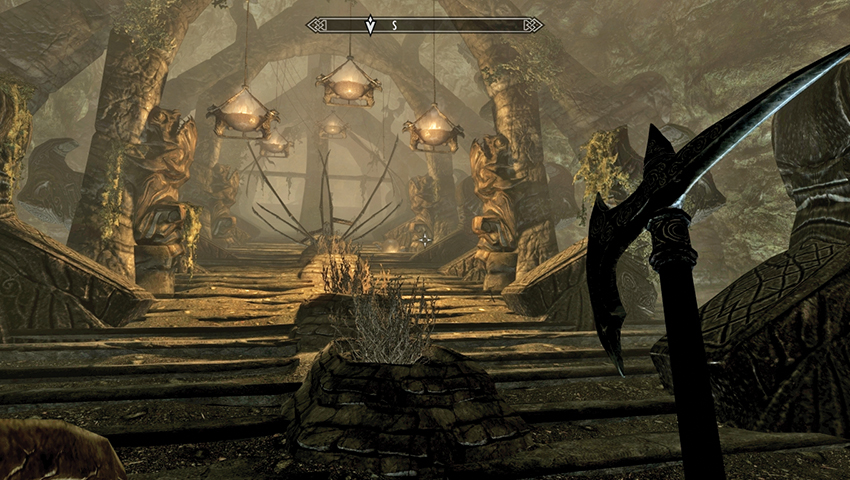
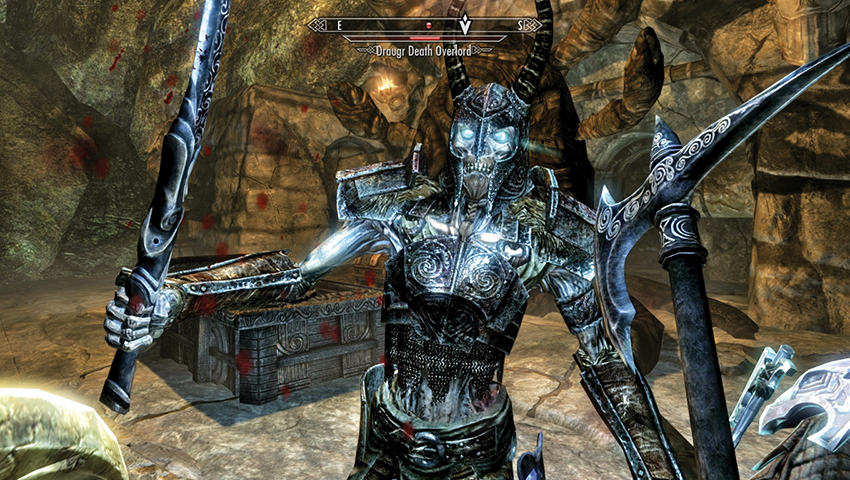
Descend to the connected circular corridors with the fiery maws lighting your path. At the end is a stone wall with a handle to pull, lowering a staircase. Go even lower, opening a wooden door. This leads to a massive and lengthy stepped chamber, adorned with dragon bones and falling boulders. Prepare to be embroiled in a fast-paced battle with some skeletons, three falling boulder traps (stay mobile and leap to the side if you trigger any), and a nasty veteran Draugr with a sharp blade. Once you bring this foe to his knees, climb the final steps to a large treasure chest near the odd, lumpy carving of the Keeper of Forbidden Knowledge, inspect it, then activate the chain in the alcove behind the chest.
- Objective: Read the Black Book
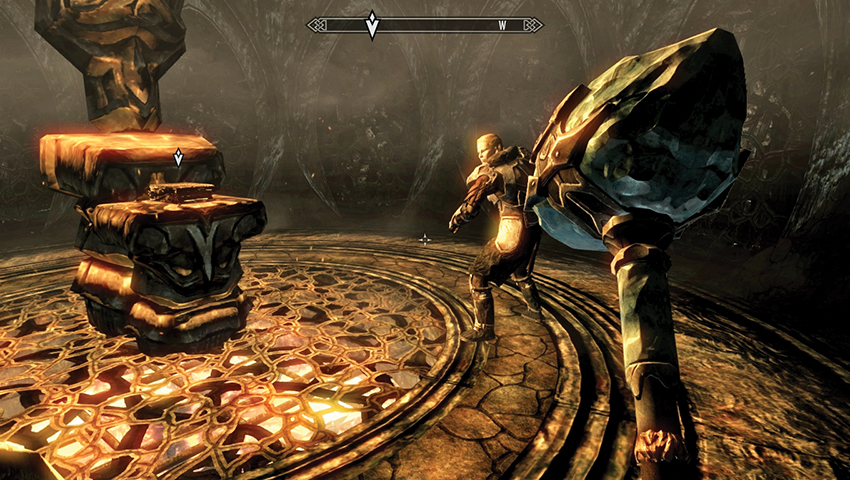
Scramble down a winding tunnel to reach a particularly ominous final chamber. This circular area is dominated by a thick stone altar, upon which rests the weighty Black Book. Frea warns you there are dark magics at work here. When you are ready, pick up the book and read it.
- Black Book: Waking Dreams
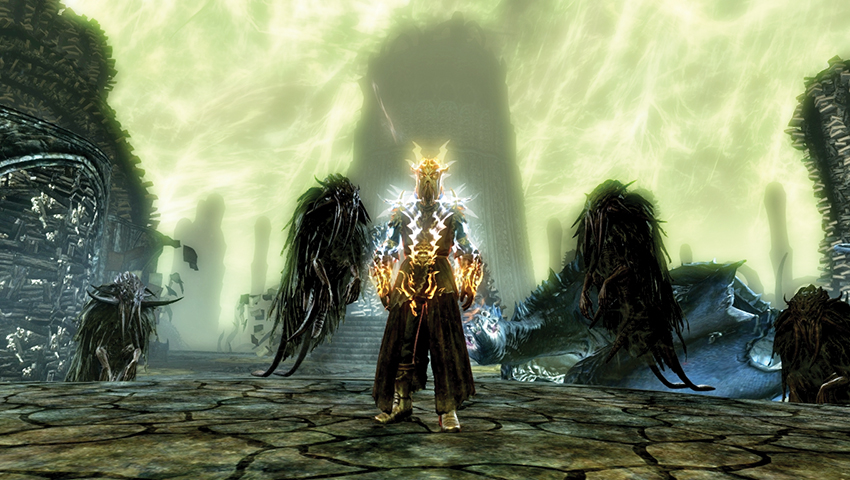
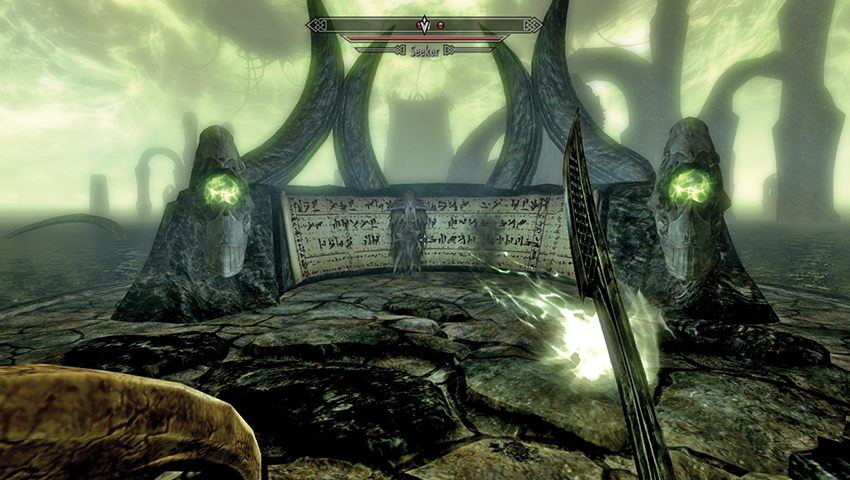
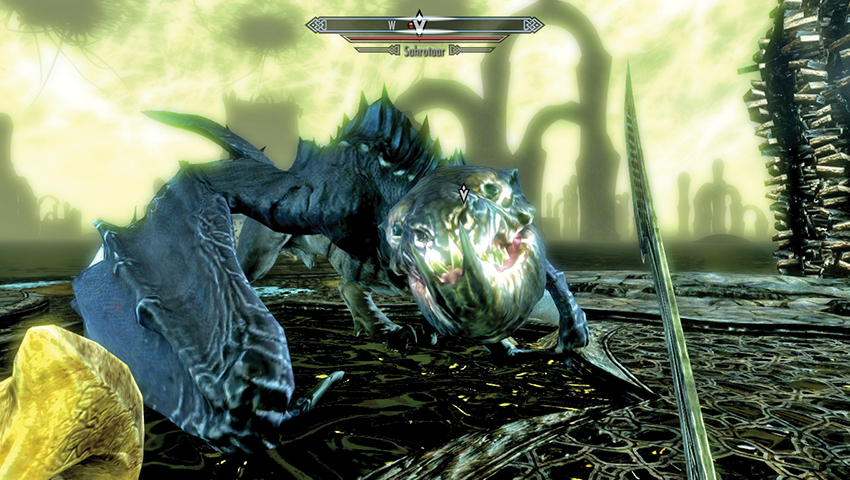
Unlike other books you may have read, this one strangles you with a dark tentacle and transports you to a strange plane of existence. This is Apocrypha, the realm of Hermaeus Mora, where the crackling towers of learning mingle with archways of despair and confusion. Forced to kneel and unable to move, your appearance interrupts Miraak. Flanked by Seekers (and his own gigantic serpent dragon, Sahrotaar), he speaks to you as a pretender to his throne as the true Dragonborn. If you’ve completed Main Quest: Dragonslayer, he comes close to commending you on your prowess but insists you have no idea of the power a true Dragonborn can wield.
Yelling the Dragon Aspect Shout, his form is imbued with power—a power that you cannot hope to achieve. After further hubris, he commands two of his Seekers to return you to the mortal plane and sets off on his dragon mount.
- Objective: Talk to Frea
Quest Conclusion
You regain consciousness at the Black Book altar. Speak with Frea and answer her questions. Miraak has proven himself to be extremely dangerous, and the book you retrieved must be shown to her father. He might be able to further your knowledge.
The Fate of the Skaal
Storn of the Skaal
- Objective: Accompany Frea to Skaal Village
- Target: Storn Crag-Strider, Skaal Village
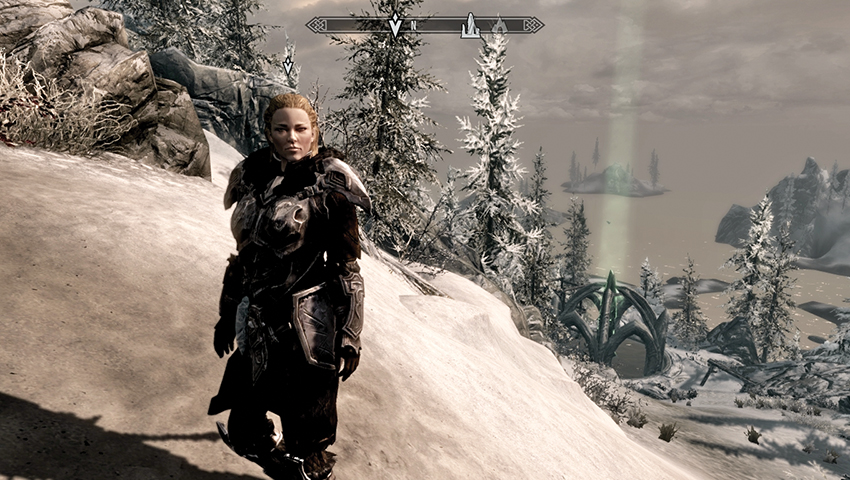
Follow Frea out of the exit tunnel, and back into the Solstheim wilderness. A few dozen footfalls farther down the snowy mountainside, Frea pauses and asks if you can see a green light down the valley. This is the Wind Stone, where her people work against their will. She beckons you on, away from that possessed place, to the village and her father, Storn.
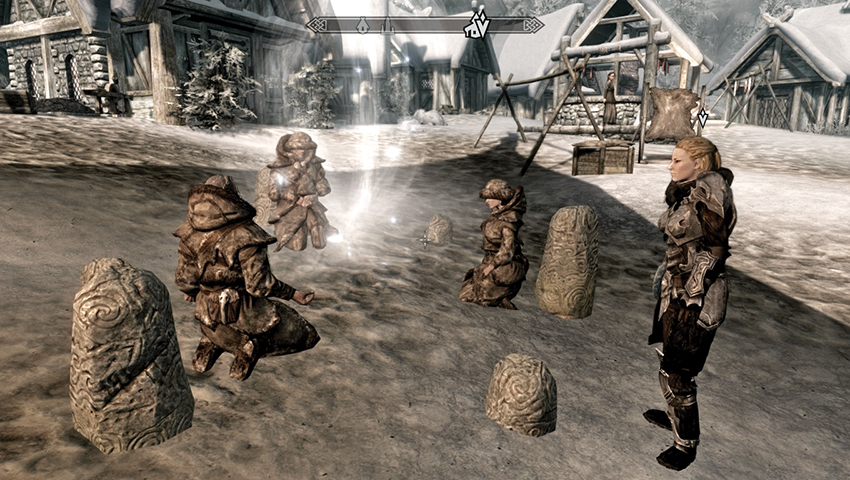
Follow her across the wooden bridge heading east. Frea stops again with her village in the middle-distance. She explains Storn used magic to raise a barrier around the settlement, protecting the few remaining Skaal from Miraak’s control. Continue to follow her into Skaal Village, where a group of elders are kneeling in prayer. She approaches them and tells them her news. It seems Storn has more stories to share.
- Objective: Talk to Storn Crag-Strider
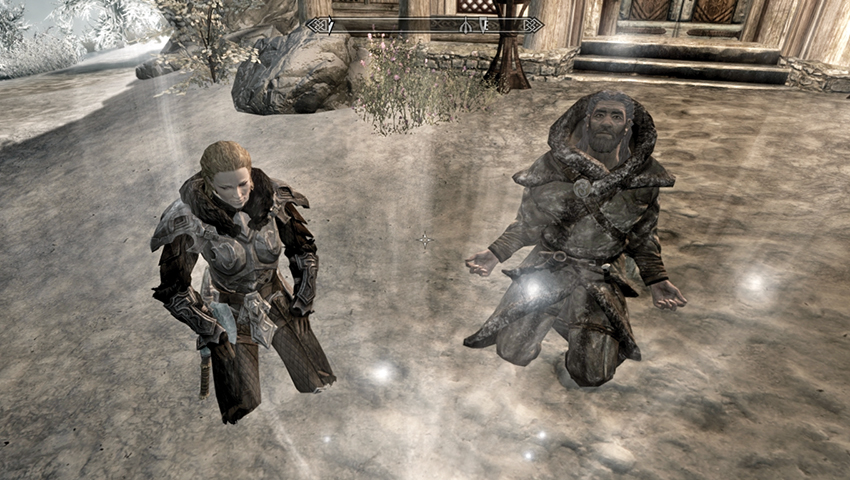
Approach Storn Crag-Strider and he asks that you speak quickly, as his powers of protection are dwindling. You mention Miraak, and Storn recalls reading about terrible battles fought at the temple. He asks if you are Dragonborn. Answer however you wish. Storn then tells you to journey to Saering’s Watch. There is a Word of Power there that Miraak has already mastered. Knowing this Thu’um may help to break the spell Miraak has over the Skaal people. Before you go, you can:
- Ask for further information about Miraak.
- Ask what he means about freeing his people from control.
- Ask why you need to learn this Word of Power.
When Storn’s answers have concluded, prepare to journey west, into the craggy, snowbound mountains of northern Solstheim.
- Objective: Learn the Word of Power
- Target: Word Wall, Saering’s Watch
Free Will
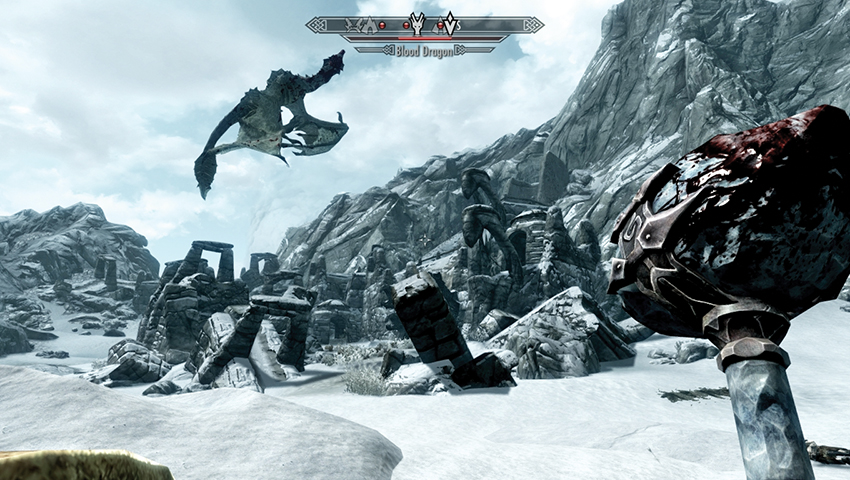
The trek to Saering’s Watch is dangerous and difficult to traverse. The optimal path is to set out in a northwest direction, crossing back over the wooden bridge and skirting the edge of the Headwaters of Harstrad. Next, maneuver north, then northwest up the steep snowy slopes to pass by the entrance to Benkongerike. Turn right (north), heading under the stone henges as you reach the outskirts of Saering’s Watch.
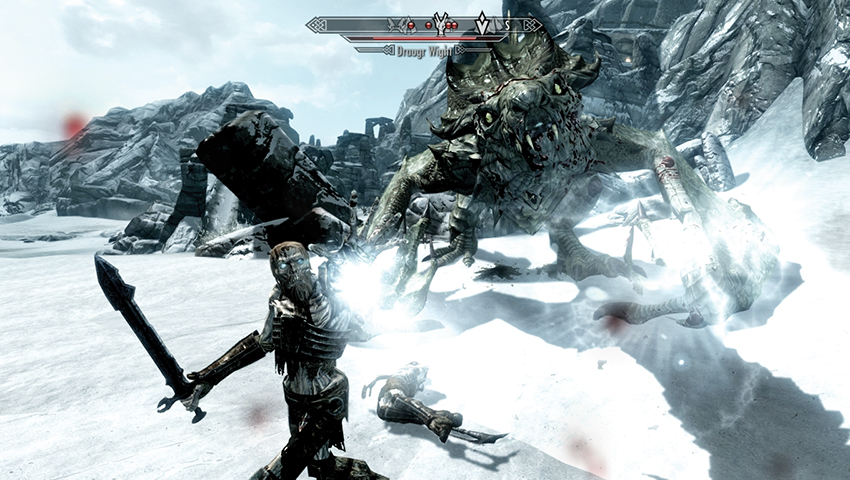
Pass under the henges (don’t head farther up the mountain, as this places you away from the Word Wall) and head to the more open snowy cliffs where a great dragon is swooping down to attack a group of Draugr, recently resurrected from their tombs inside this ancient site. Other creatures may be prowling this area too (they are usually waiting among the rocky crags on the mountaintop, near the edge overlooking the ruins). Although not imperative, it is worth engaging in the battle here. You can:
- Slay anything that moves, in no particular order. Wading in is fine. Firing down from a vantage point above these Draugr ruins is better.
- Remember that you can also watch the dragon and Draugr battle it out, and then mop up any survivors if you aren’t confident you can take them all on at the same time.
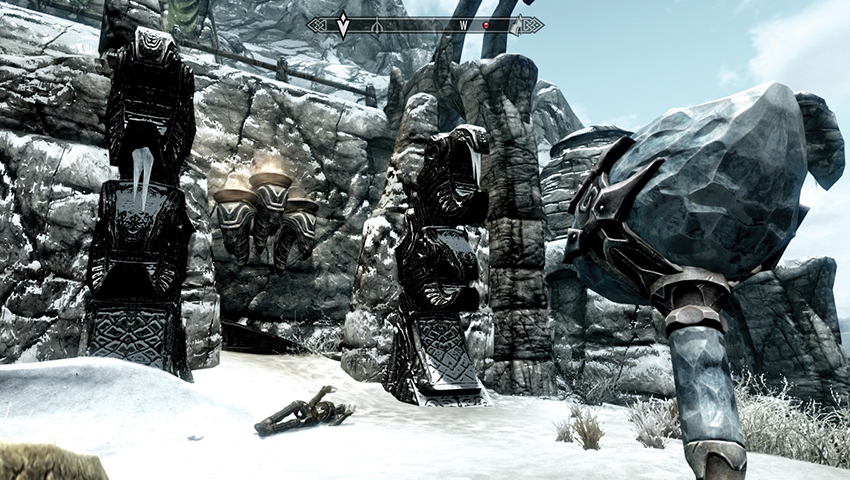
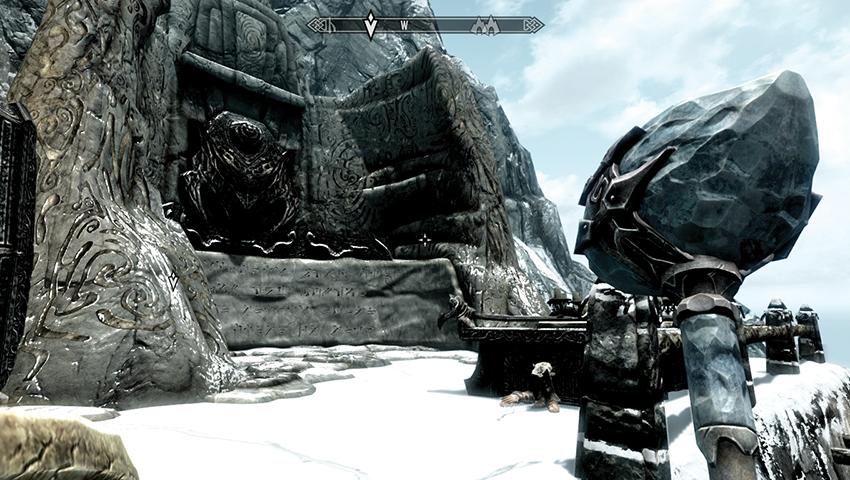
When you’ve thwarted the enemies in this vicinity, enter the ruins, looking for the three-headed stone serpent torch attached to the wall to the south. There is a set of stone steps to the left and right (heading southwest and northeast). Climb to the left to reach a secondary promontory with more steps up to the exterior Word Wall. Close by is a large treasure chest and the remains of a ritual involving candles and a long-dead skeleton. Approach the Word Wall, and learn your new Shout.
- Word of Power: Bend Will
- Objective: Use the “Bend Will” Shout on the Wind Stone
- Target: Wind Stone, in Solstheim
The Lurker at the Threshold
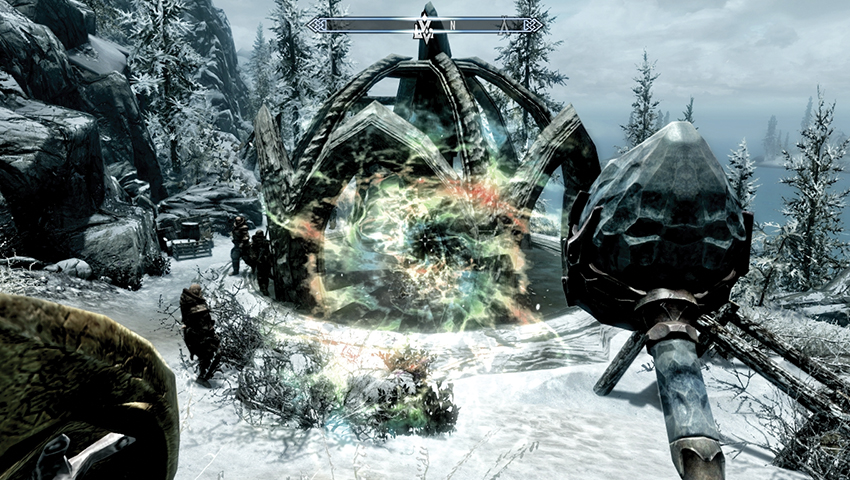
Before continuing, spend a Dragon Soul to unlock the Bend Will Shout (the dragon you just slew at the base of Saering’s Watch will do nicely). Equip and Favorite the Shout before descending back the way you came, down the mountainside heading roughly southeast. Before you step onto the wooden bridge, go down the hillside, heading north toward the All-Maker’s Wind Stone. The Skaal you speak to are beyond your ability to help and mumble praises to Miraak. Clear your throat and bellow the Bend Will Shout directly at the stone. The rock arches glow red and then explode, snapping the Skaal villagers from their malaise. As the pieces of masonry fall away, something is summoned from Hermaeus Mora’s realm!
- Objective: Defeat the Lurker
After cleansing the Wind Stone, you can commune with it. It grants you the power of the North Wind for a single day. Find out more information about the All-Maker Stones of Solstheim on page 94.
- All-Maker Power: North Wind (target takes 20 points of Frost damage for 10 seconds, plus Stamina damage)
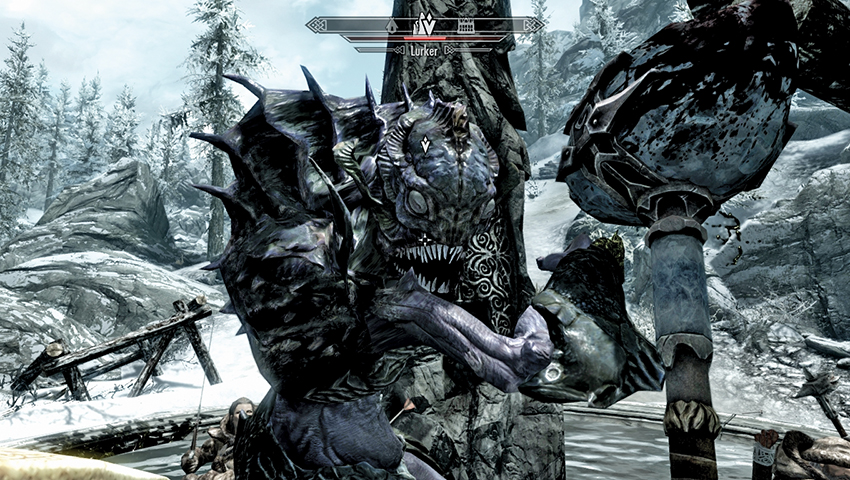
The grim fish-headed statuary at Miraak’s temple bears a resemblance to the unspeakable atrocity that appears to thwart you and the regrouping Skaal. Step forward and engage the Lurker, watching for its dark tendrils, ranged attack of black spittle, and foot-stomping splashes. This tough fellow is more easily contained if you utilize the Wind Stone to hide behind as you dodge its attacks. When the slimy beast is slain, your quest updates:
- Objective: Talk to Storn
- Target: Storn Crag-Strider, Skaal Village
Quest Conclusion
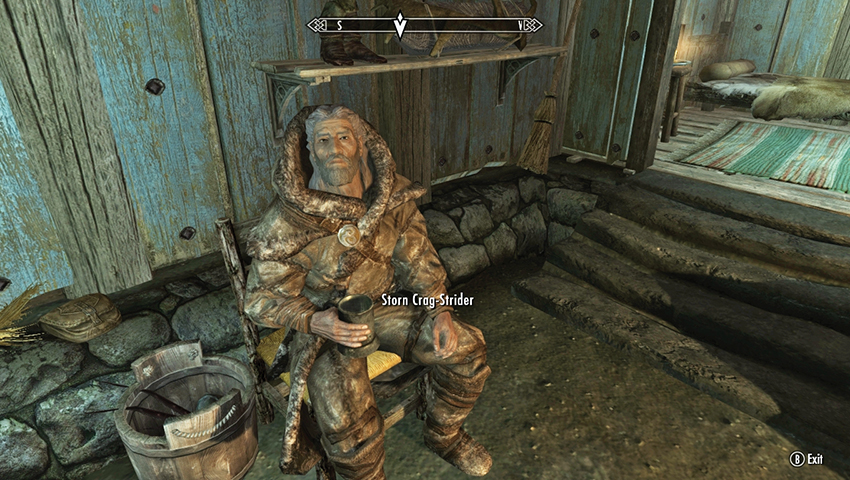
Climb the hill with the freed Skaal tribe members, and head back to Skaal Village. Enter the shaman’s hut if Storn isn’t in the village exterior, and speak with him. He already knows you’ve prevailed. You can speak to him about the following matters:
- Let him know his people are free. He mentions that you are now a friend of the Skaal. Ask him what to do next, and he asks if you might perform the same cleansing Shout on the rest of the stones of Solstheim.
- Ask him for further information about Miraak.
- Ask him what the All-Maker is.
- Ask him what his role is among the Skaal.
Postquest Activities
Continue your conversation with Storn, and he asks you to remove Miraak’s presence from the remaining All-Maker Stones. This starts Dragonborn Main Quest: Cleansing the Stones.
Tell Storn that isn’t enough and that Miraak needs to be stopped now. He tells you this is beyond his power and understanding. You must learn more about the Black Book you’re carrying. Storn won’t read such unnatural tomes, but he recommends the Dark Elf Wizard Neloth to aid you in these matters. At this point, Dragonborn Main Quest: The Path of Knowledge begins. After this, you can quiz Storn about:
- More information on the Black Books.
- Neloth and his role in finding more Black Books.
After completing this quest, you can persuade Frea to join you as a Follower.
Cleansing the Stones
Before the Cleansing
- Objective: Cleanse the Sun Stone
- Objective: Cleanse the Beast Stone
- Objective: Cleanse the Earth Stone
- Objective: Cleanse the Water Stone
The following information may prove pertinent as you reach each of the All-Maker Stones:
- The encounters at each of the Stones can be attempted in any order.
- Once you utter the Bend Will Shout, the construction around the Stone glows brightly and explodes.
- Immediately afterward, a Lurker is summoned. Slay it to complete the objective.
- Some battles may involve additional Lurkers or other foes. However, you need slay only the Lurker indicated by the objective arrow for the objective to complete.
- These can be difficult fights, so bring a Follower or summoned creature to assist you. You can also take advantage of the landscape around the Stone (and even the Stone itself) for cover opportunities.
- The enthralled workers at each site sometimes help you by engaging the Lurkers. But do your best to protect them, as they can die and may cause you to miss out on some minor Favors.
- Once the Stones are freed of Miraak’s disruptions, you can gain power from each of them. For complete details, consult page 52.
Sun Stone: Purging the Ashen and the Elvish
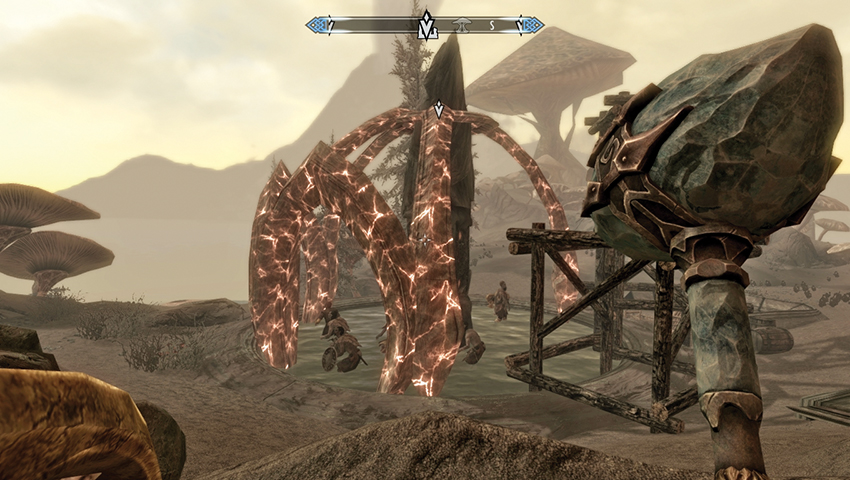
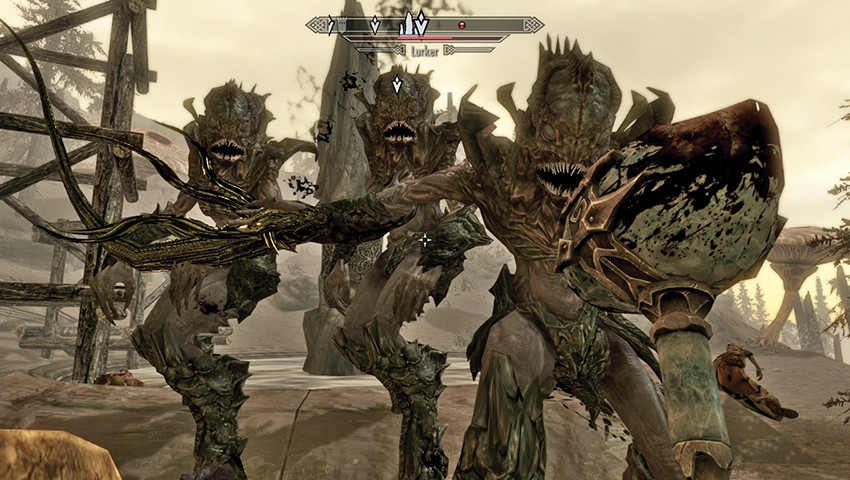
The Sun Stone is just north of Tel Mithryn. Bellow the Bend Will Shout, and prepare for combat with one (or more) Lurkers. The following information may prove helpful:
- The Dark Elf Ulves Romoran, who works in the kitchens of Tel Mithryn, is currently enslaved here. Keep him alive if you wish to speak with him afterward.
- The other stone workers are Reavers and are expendable.
- Beware of Ash Spawn and Ash Hoppers in the vicinity: remove these threats first or your chances of victory are further hindered.
- Watch your wild attacks when engaging Lurkers; accidentally slaying the Dark Elves helping your battle can increase your bounty on Solstheim.
- All-Maker Power: Sun Flare.
Beast Stone: Freeing the Weakling Rieklings
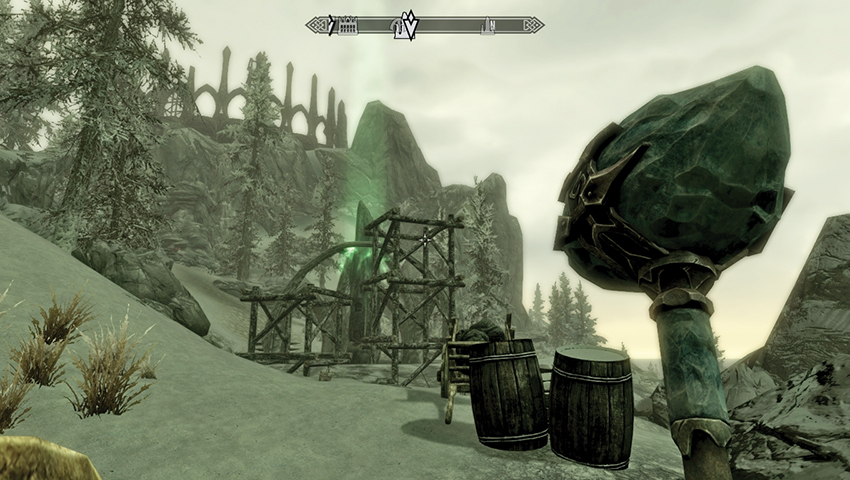
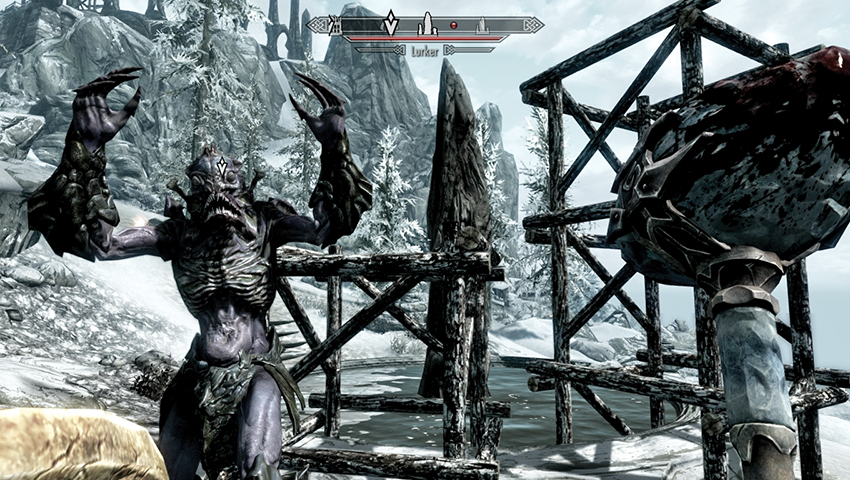
The Beast Stone is west of the Thirsk Mead Hall and southeast of the Temple of Miraak. Yell the Bend Will Shout, and ready your weapons for a Lurker incursion. Remember the following as you approach:
- There are a small number of Rieklings working at the building site. They are expendable.
- Beware of a Cultist or two in this area. They join in the battle against you, so try and place the Lurker between you and them. If you get lucky, their attacks may strike the beast, causing them to turn on each other.
- All-Maker Power: Conjure Werebear.
Earth Stone: Horror Near Raven Rock
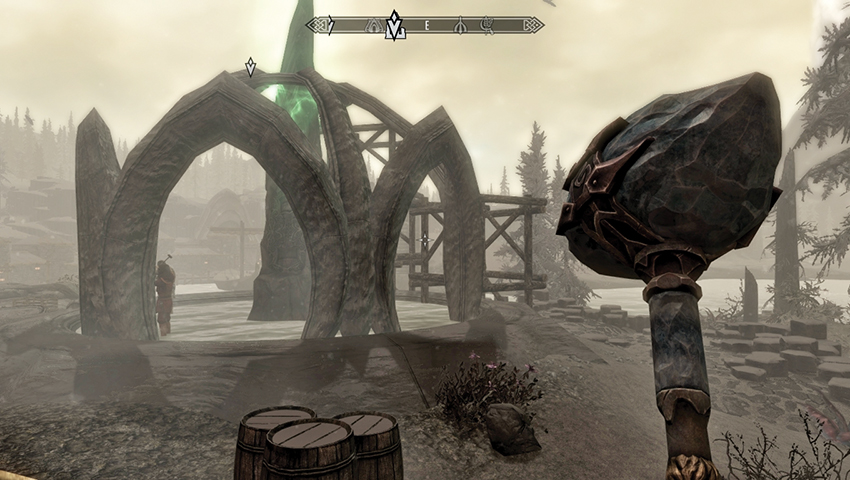
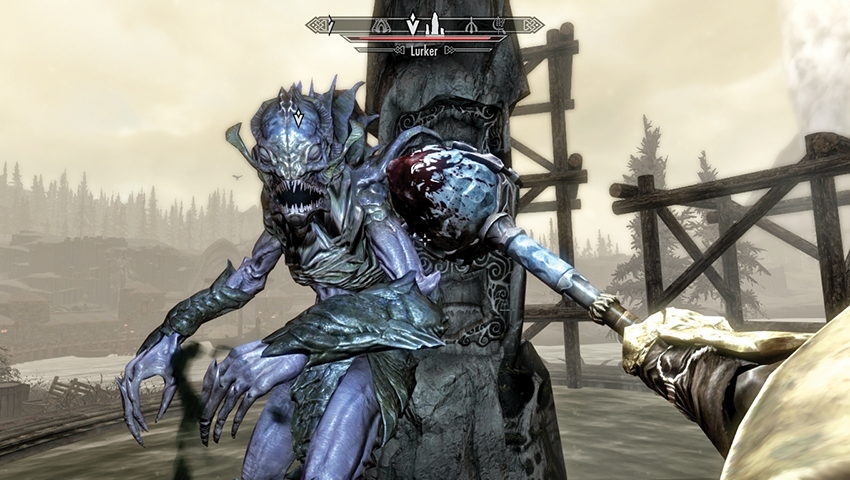
The Earth Stone is southwest of Raven Rock, on the overlook where you may have met Neloth during Dragonborn Main Quest: Dragonborn. Call upon the Bend Will Shout, then face the Lurker that emerges. Heed the following at this juncture:
- Citizens of Raven Rock are working at this Stone. During daytime hours, expect Bralsa Drel and Rirns Llervu (both incidental during Solstheim Side Quest: The Final Descent) here.
- During nighttime hours, expect to find Cindiri Arano (Raven Rock Favor), Dreyla Alor (incidental), Fethis Alor (merchant and Solstheim Side Quest: The Great Solstheim Strongbox Hunt*), Glover Mallory (merchant and Raven Rock Favors), and Milore Ienth (merchant and Raven Rock Favors). Since there is a high risk that some (or most) of these civilians will die, it’s safer to cleanse this stone during the day.
- There are two or three Redoran Guards working here during the day. They are expendable.
- Although there are many Raven Rock citizens within fleeing distance, beware of who is attacking (and being slain by) the Lurkers.
- All-Maker Power: Bones of the Earth.
Water Stone: Untangling the Final Bonds
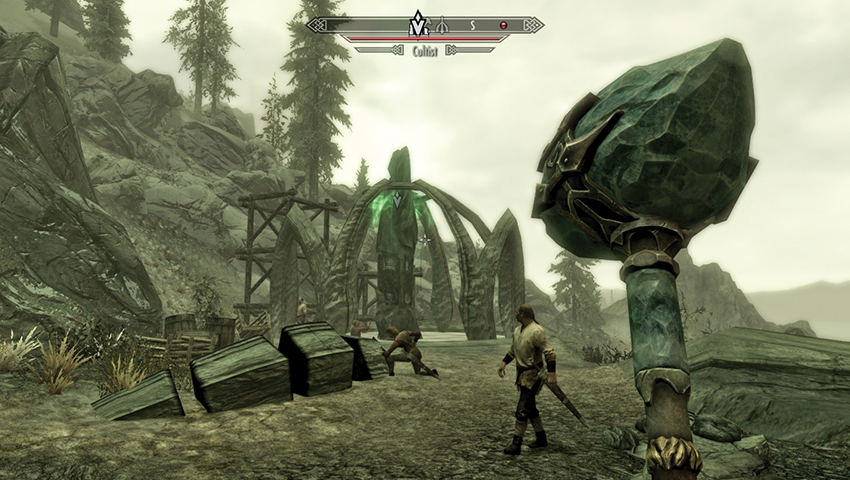
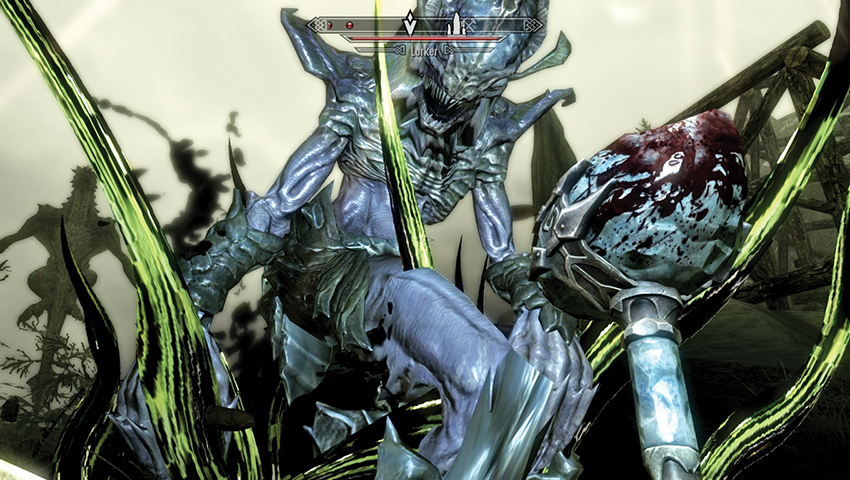
The Water Stone is north of Raven Rock and due west of Fahlbtharz, on a steep cliff path. Demolish the masonry with your Bend Will Shout, but watch for the following difficulties:
- There are four sailors—Benkum, Hjalfar, Liesl, and Palevius Lex—enslaved at this Stone. Once freed, they may help in a fight but are expendable. Should any survive, they wander to the shore to wait for a ship and their freedom. They aren’t involved in any other quests.
- Expect a Cultist or two, and a dragon will fly in from a nearby island to the west. This can hamper your progress or help out considerably (if the Lurker and dragon end up fighting each other). But beware of lengthening odds if you’re facing all three foes.
- All-Maker Power: Waters of Life.
Quest Conclusion
When all but the Tree Stone has been cleansed of Miraak’s influence, this quest concludes. You should now continue with your Dragonborn Main Quest tasks (as completing this allows you to finish that quest line).
The Path of Knowledge
An Insufferable Ally
This quest begins once you finish Dragonborn Main Quest: The Fate of the Skaal. You can complete it before, during, or after Dragonborn Main Quest: Cleansing the Stones.
- Objective: Talk to Neloth
- Target: Neloth, in Tel Mithryn
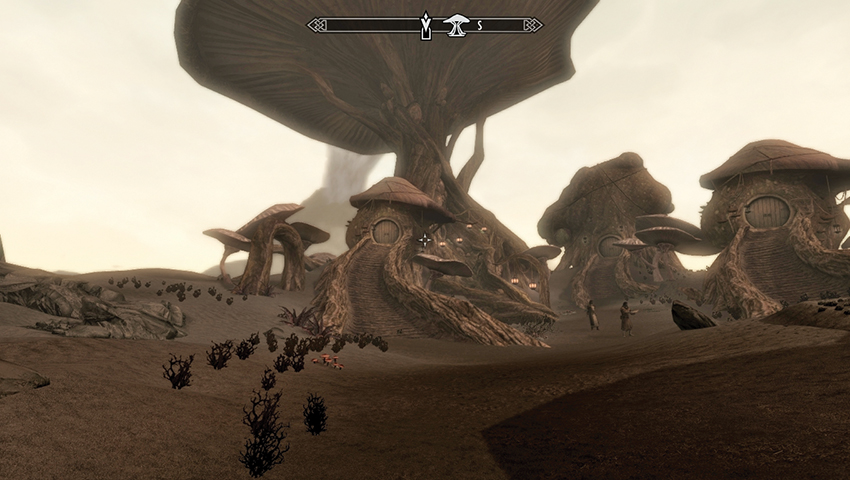
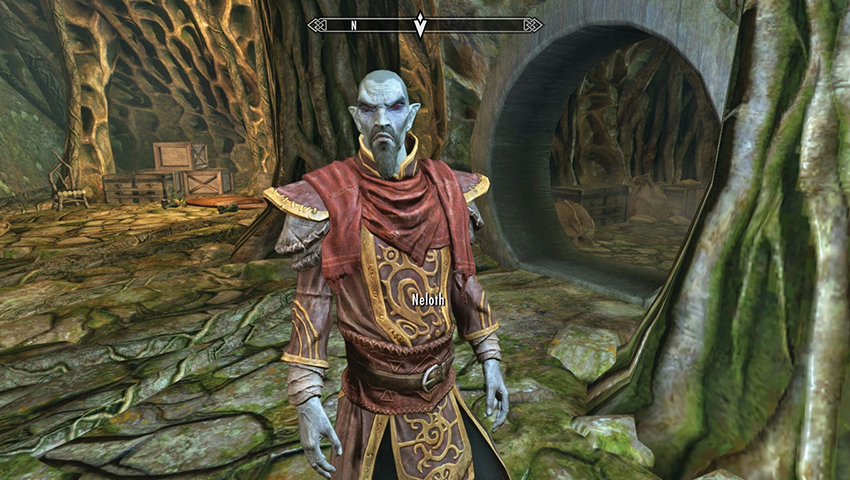
You may have already met Neloth as part of Dragonborn Main Quest: Dragonborn or by visiting his tower at Tel Mithryn on your own. He has since returned to Tel Mithryn, in the southeast of the island. Beware of ash creatures as you approach.
Look for the lantern-lit root pathway that leads up to a circular door into the main structure of Tel Mithryn. Enter the tower, and then float up the magical lift to the upper floor where Neloth is practicing his magic. He doesn’t recall inviting you here. Speak to him of the Black Book, after which you can converse on the following topics:
- Your exploration to find more of these Black Books. Continue this line of questioning, mentioning you need to know what Miraak knows if you wish to stop him. Keep talking as Neloth reveals he knows the whereabouts of a Black Book connected to Miraak.
- Questions regarding the Daedric Lord Hermaeus Mora.
- The Black Book Neloth has learned the location of is sealed within a “reading room” in the dwarven ruin of Nchardak. He agrees to accompany you to see the tome, which is visible but firmly locked away.
- Objective: Travel to Nchardak with Neloth
- Target: Nchardak Reading Room, Nchardak
City of a Hundred Towers
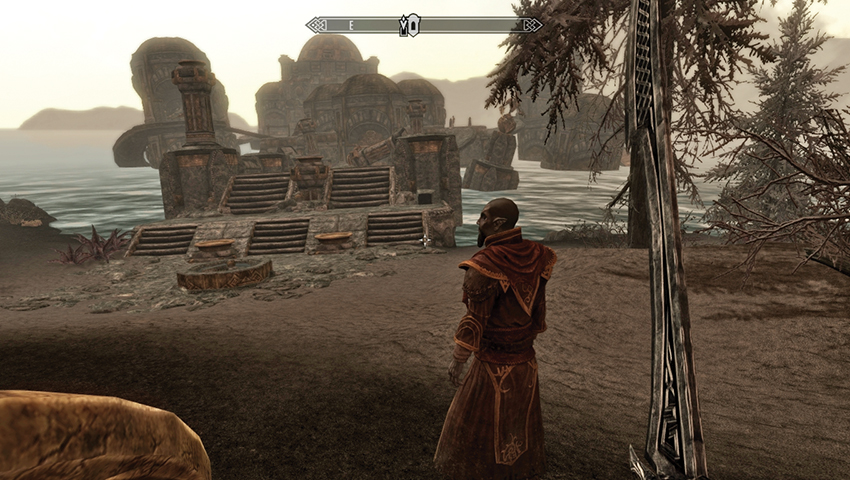
Neloth sets off at a quick pace, first due north, then northeast along the coastline. As you approach a copse of windswept trees, with the ruins of Nchardak looming from the water’s edge, Neloth remarks on the Dwemer architecture and says that the book is housed in the dome at the far end of the sprawling, half-sunken stone walkways and platforms.
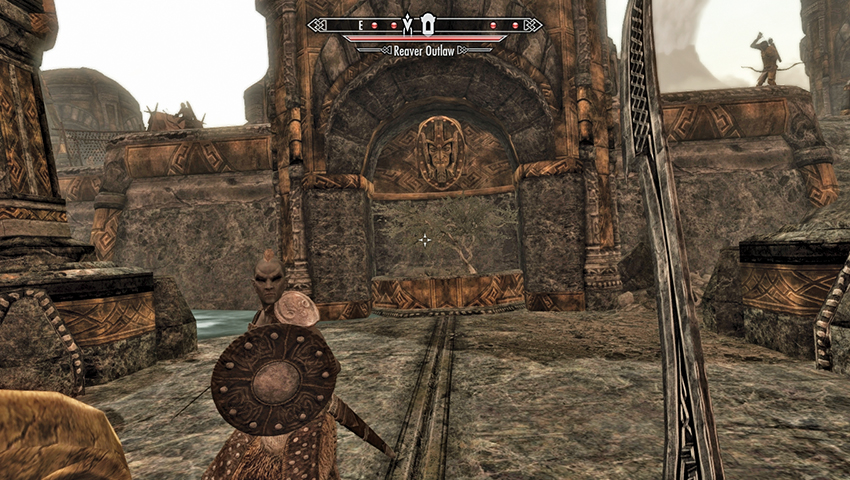
Step onto the sloping stone bridge, watching for “riffraff”—Reaver scavengers who lurk among the ruins—and tackle them one by one. Watch for long-range bowmen from upper platforms as you go. You can head across the left or right series of walkways. Although they look precarious, they both lead to the main domed platform where the Reaver leader can be found examining the door to the Reading Room. Neloth proves his mettle by backing you up. After you deal with all of the Reavers, approach the sealed door.
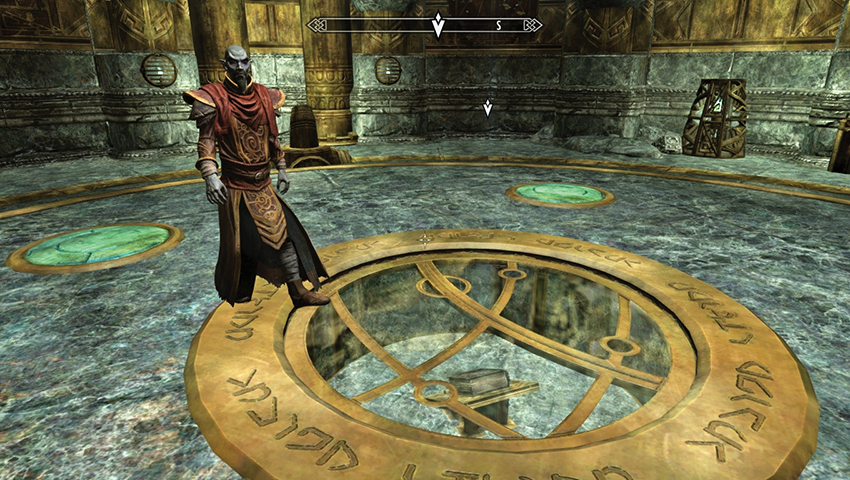
Inspect the control switch to the door’s left. Neloth explains that these pedestals are activated by special cubes. Fortunately, he secured one during his initial exploration and opens the seal, allowing you into the Nchardak Reading Room. Inside, Neloth peers down through the huge seal on the ground that houses the tome you seek. So tantalizingly close! But this calls for a laborious method of book extraction; you must restore the steam supply to this room, which will allow you to access the Black Book.
- Objective: Restore the steam supply to the Dwemer reading room
- Target: Five Control Cubes in the ruins of Nchardak
Cube Collecting
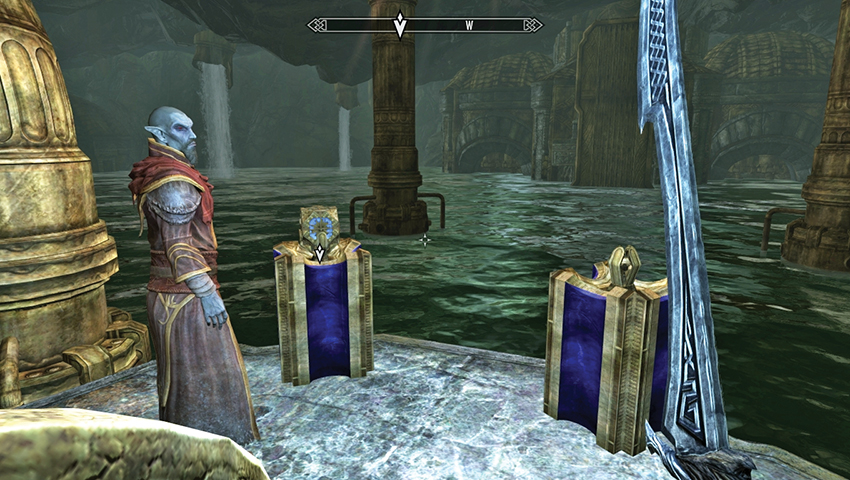
Using the cube Neloth already found, he approaches another control switch and opens the doors to an elevator that leads down to the Nchardak Great Chamber. Pull the lever to travel down, then follow Neloth as he explains the history of Nchardak, the “City of a Hundred Towers.” At the bottom of the steps is a promontory with a view of a vast, waterlogged chamber. In front of you are two blue pedestals.
Neloth explains that most of the lower levels of the city are flooded but that the old Dwemer water pumps still work. With that, he places the Control Cube into the pedestal, which lowers the water level some of the way. You will need to locate four more cubes so the boilers can restore the steam power to the room above. Take the Dwemer Control Cube from the pedestal, then follow Neloth again. The water level rises, but there’s nothing you can do about that for the moment.
- Dwemer Control Cube Total: 1
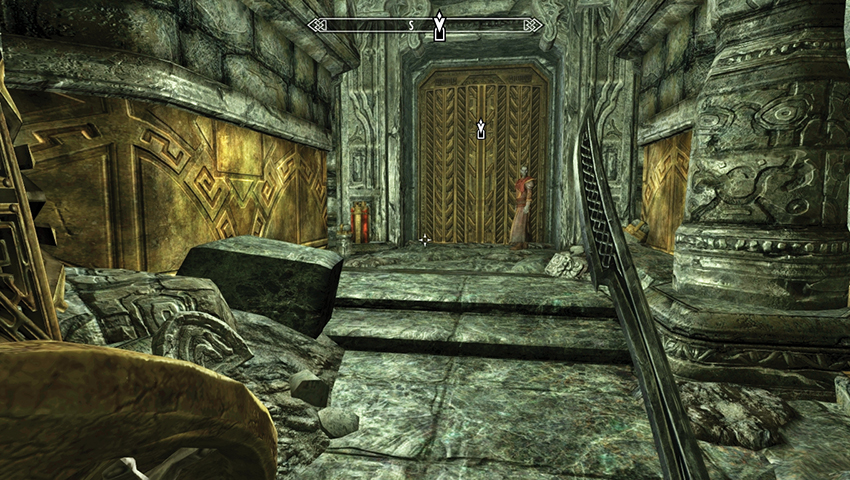
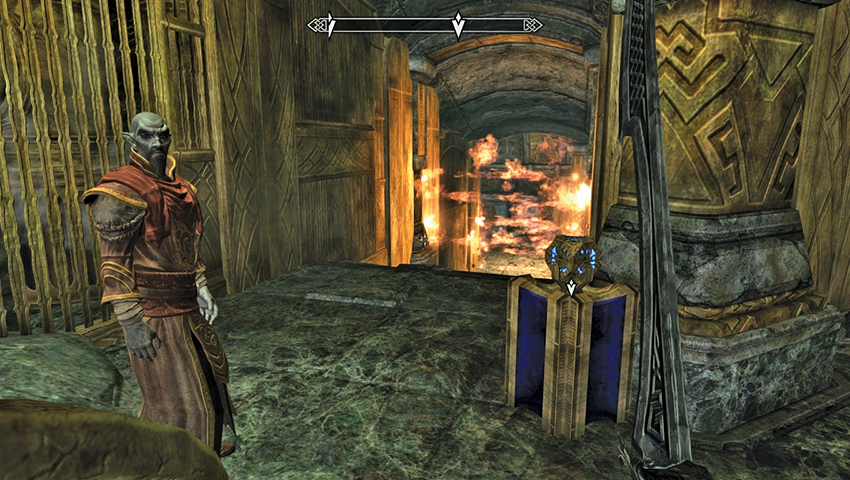
Neloth pores over a strange set of instruments that suggest where a Cube may be found. Head south to the door that leads to the Nchardak Workshop, and insert the Cube into the red pedestal to the door’s left to open it. Head inside, then take the first left, where you find a pedestal with a second Control Cube. Neloth suspects the rest won’t be so easy to obtain. Take the Cube, and the flamethrower traps ahead of you subside, but Dwarven Spiders and Spheres are released. Remove their threat and continue down the corridor.
- Dwemer Control Cube Total: 2
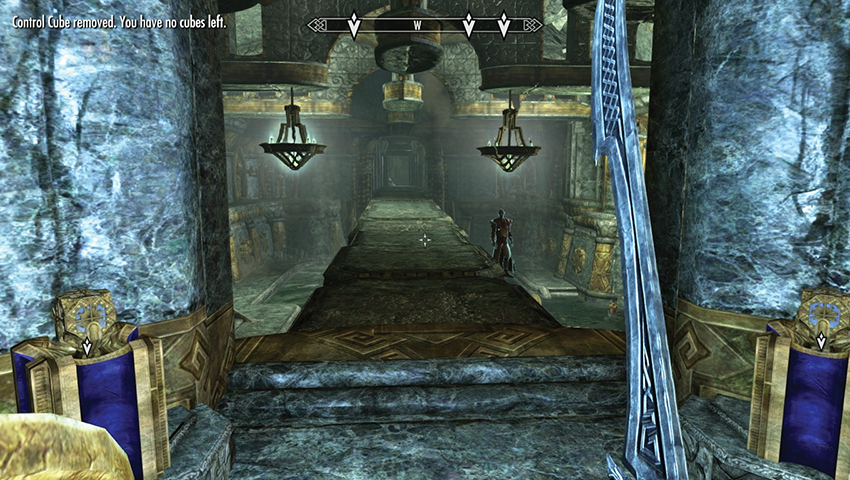
Your Dunmer friend remarks that this part of the city comprised the “Great Workshops of Nchardak.” As Neloth drones on about the manufacture of automatons, check the half-flooded chamber. To the left (north) behind a barred wall is another Cube. You can’t reach it yet, so stay on the bridge and move to the opposite (eastern) side, where there are two blue pedestals. Place one of your Cubes into either pedestal; they both lower the water level to waist level.
- Dwemer Control Cube Total: 1
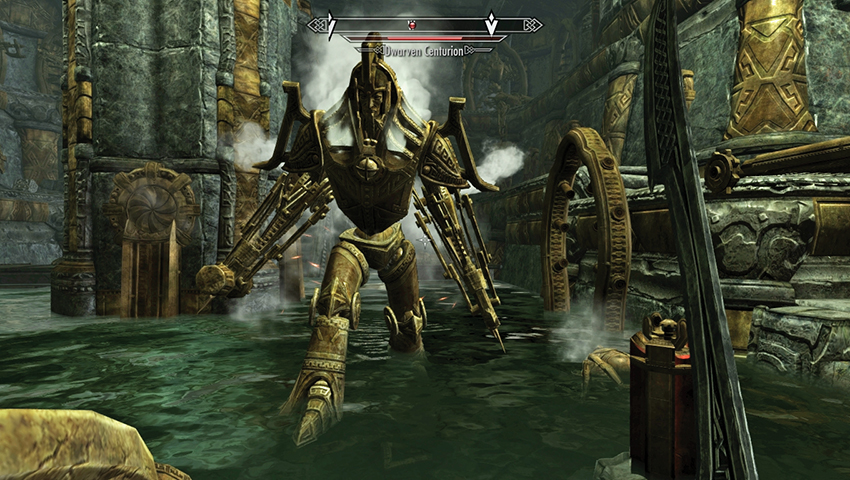
Head down to the ground floor, deal with the Dwarven Spheres and Spiders, and locate the red pedestal in the water on the northern side, below the small gold bridge. Place your only Cube into this slot (you automatically remove it again), and a set of stone steps rise behind the bridge. You need to climb the stairs, but the bridge is blocking your path. You can:
- Make your way around the midlevel perimeter of the room, proceed out onto the bridge, and drop onto the stairs from there. If you choose this path, be careful—the Centurion on the room’s west end (just beneath where you came in) will come to life if you approach him, and several piston traps threaten to push you back down to ground level.
- Attempt to jump up onto the bridge (or the platforms near it) from ground level. This is possible but difficult.
- Remove the Cube you placed in the blue pedestal earlier and simply swim over the bridge.
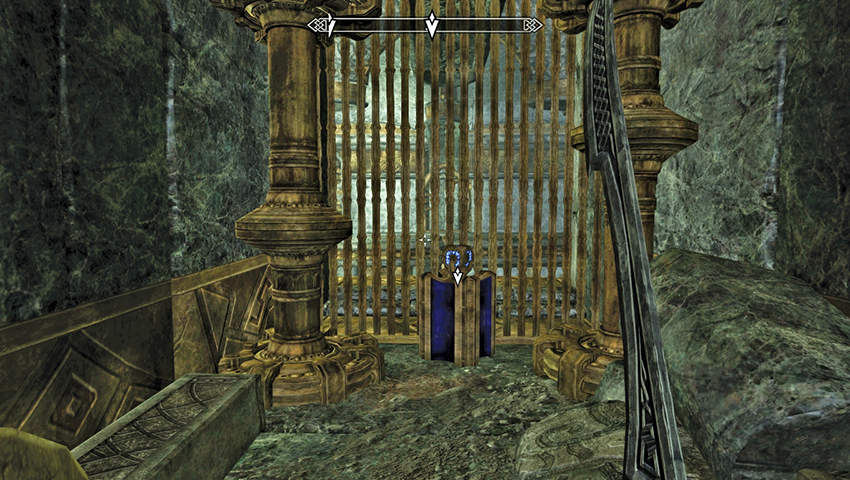
However you got there, the gold door in the north wall leads into a small, reasonably wide chamber with a secondary area around and to the left (south), leading to a new Control Cube (near the barred wall you couldn’t get to earlier). Grab this Cube (you should now have two), and Neloth tells you the water is rising; you must take care. Slay the spiders that have emerged behind you, then head back to the workshop chamber and retrieve the Control Cube you left in the blue pedestal there. This raises the water level even more, which allows you to proceed into the next chamber. Head south toward the gold door.
- Dwemer Control Cube Total: 3
DLC2MQ04-012.jpg
Once inside, turn right (west) and proceed through the collapsed passage. If you can’t reach the door on the far side, double-check to make sure you have all three Cubes—the water level will only be high enough if you have all of them. Beware of Spheres and Dwarven Ballistas in the subsequent chamber, and the waiting Centurion as you find the next Control Cube in a rubble-filled alcove to the north. Take it!
- Dwemer Control Cube Total: 4
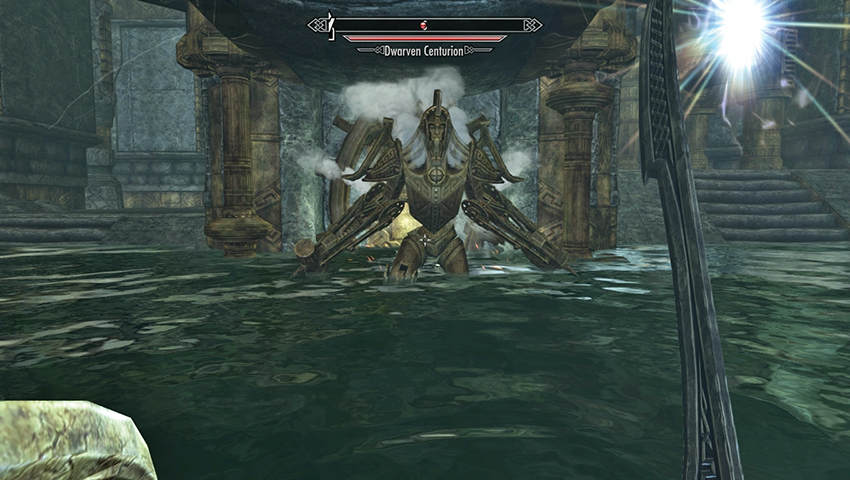
If you didn’t attack the Centurion, he emerges as soon as you take the Cube...right as the room begins to flood! Hurry up the stairs to the west, climb to the upper balcony, and finish off the Centurion and any remaining automatons. Then place a Cube in the red control switch, lowering a bridge and allowing you to escape this chamber. Head down and open the double doors leading back to the Great Chamber.
Assault on the Aqueduct
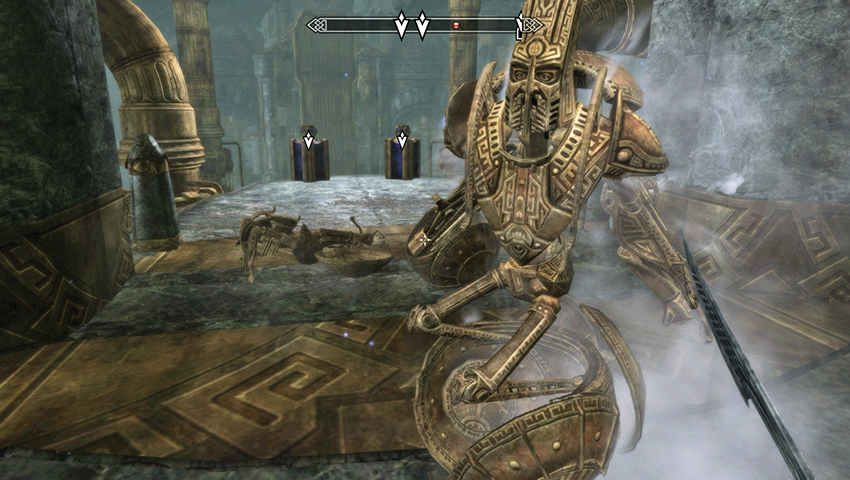
Quite a haul! The last Cube you need lies beyond a door on the Great Chamber’s north side, but to access it, you must drain the entire room. Place a Cube on each of the pedestals and leave them there. A small group of Dwarven Automata will emerge behind you; defeat them, then follow Neloth down the spiraling ramps.
- Dwemer Control Cube Total: 2
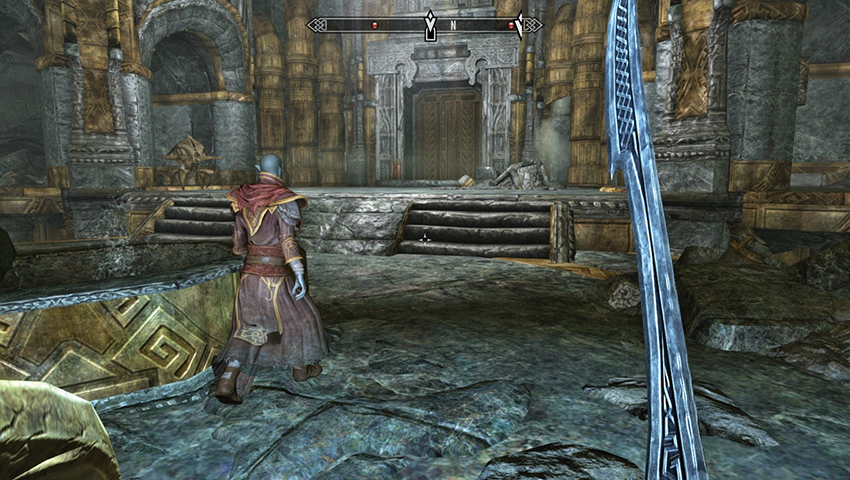
From the boiler platform, you can travel south or north. The southern ruin contains a Sphere to battle and another blue control pedestal. Insert a Cube, lowering the water level, and head down the ramp to a ground-level door with a red pedestal. Open the door with your last Cube, claim the items from a chest inside, and optionally wander the floor of the chamber for a second chest [Apprentice]. Then retrieve your Cube from the southern ruin before continuing.
On the chamber’s northern side, attack the two Ballistas with Neloth’s help. Then place a Cube into the red control switch, sliding open the gate to the Nchardak Aqueduct.
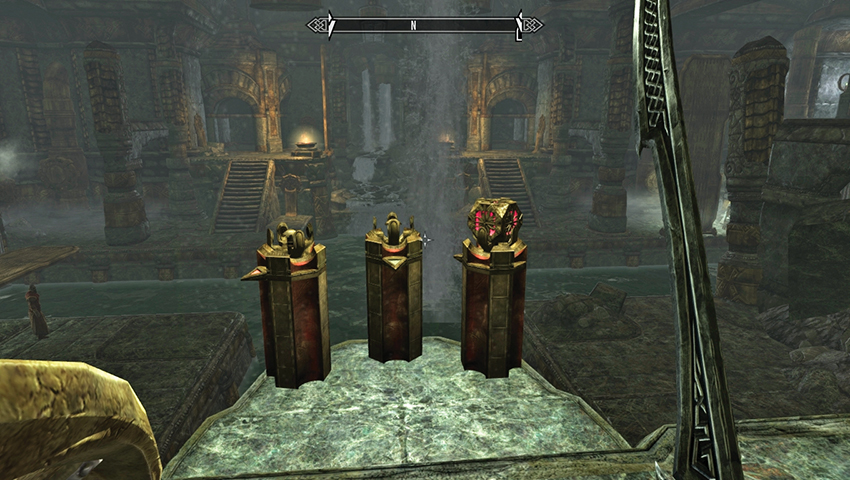
As you walk into the aqueduct chamber, Neloth remarks that he won’t be swimming around in this filth to find the last Cube. It obviously falls to you to get your feet wet. Looking to the east, Neloth says he’s spotted the pump activator in the overlook, so that’s your next target. All three gold bridges must be lowered to reach it.
This is achieved by some reasonably straightforward deduction: Locate the three red pedestals above the entrance corridor, heading up the ramp to find them. Activate the left pedestal, then the right one, to lower all three bridges. Then head back down to ground level to fight off the newly awakened Dwarven Spiders and Spheres. Follow Neloth, backing him up (or letting him take the bulk of the battering), slaying enemies as you go, until you cross all three bridges. At this point, Neloth moans again about the muck he’s been wading through.
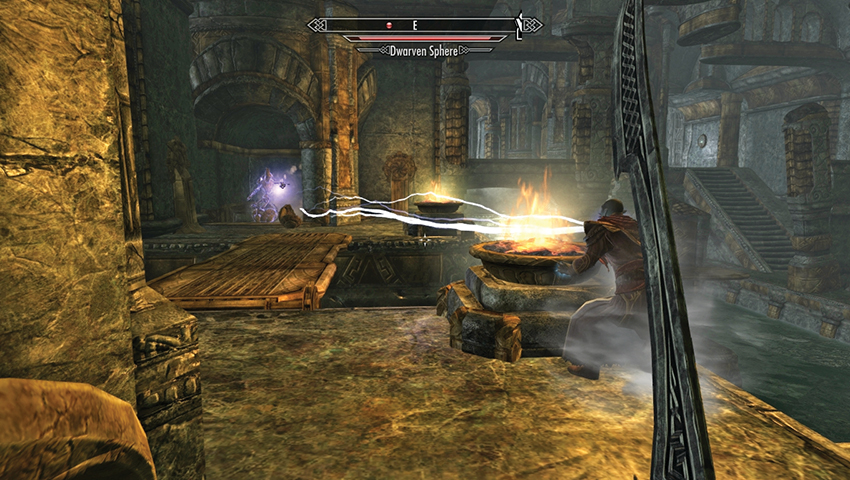
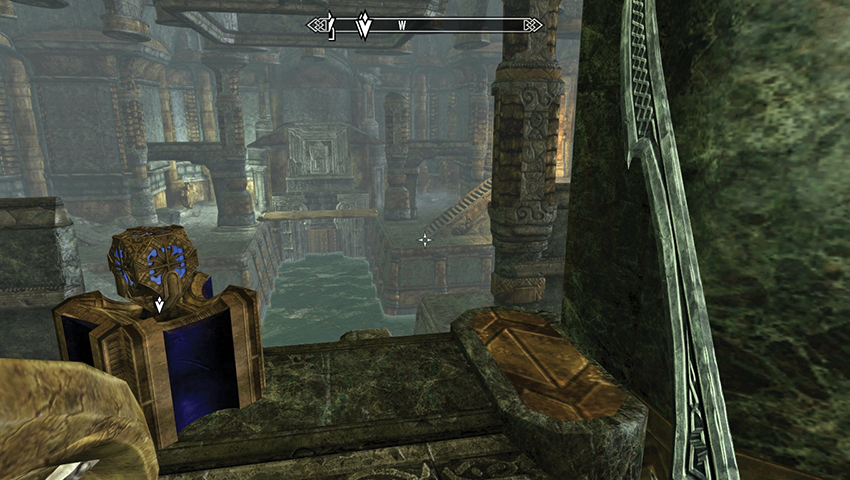
Head east up the stone steps and turn left (north), entering a balcony with a blue pedestal overlooking the entire chamber. Slot in and leave a Cube, lowering the water level below.
- Dwemer Control Cube Total: 1
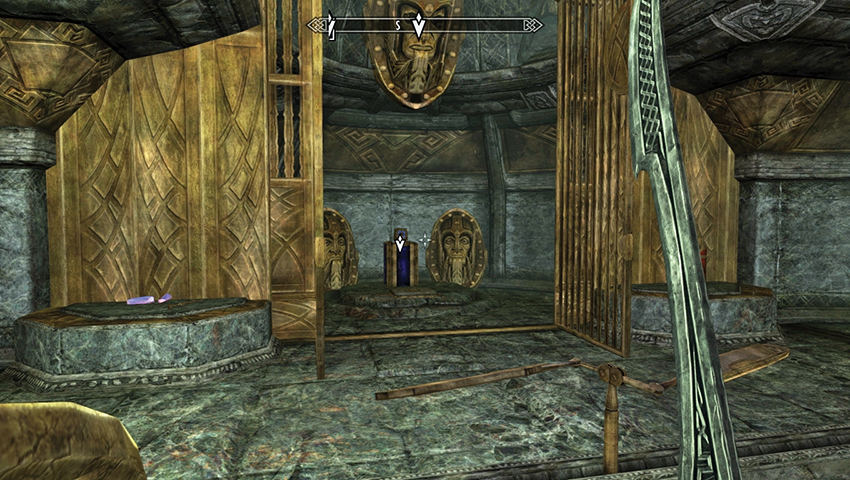
Don’t lose focus of your main goal: the gold door at the far (west) end of the chamber, accessible and visible now that the water has drained. Open it using the red control switch, and head into the short corridor beyond. Beware the floor plate that triggers a wall trap, then bypass the rotating blades by heading around the column to your left. Activate the red control switch to open the gold gate, and claim your last Cube! Stand to the side when you do, or you’ll be struck by a flurry of darts!
- Dwemer Control Cube Total: 2
Swim back out to the main aqueduct chamber, which has once again become waterlogged. Neloth is thrilled that all five Cubes have been found, but you’ll need to gather them all! Neloth has already pried the previous Cube from its pedestal to the east, so swim under the three red pedestals and head south into the Great Chamber.
- Kagrumez Resonance Gem
Retraction of the Contraption
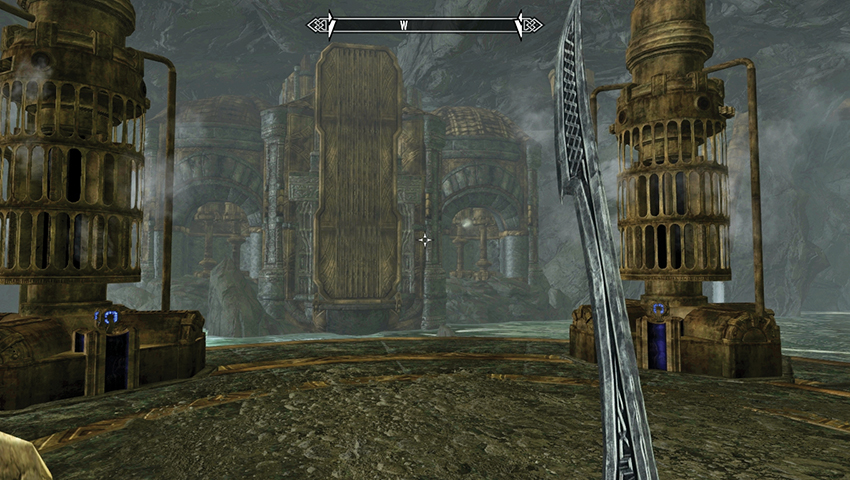
Return to the Great Chamber and climb back to the upper level where the two blue pedestals are. Take one of the two Cubes, causing the water to rise but leaving it lower than the boiler platform. Speak to Neloth, and he hands over the Cube from the aqueduct. You now have all four Cubes needed to restart the boilers.
- Dwemer Control Cube Total: 4
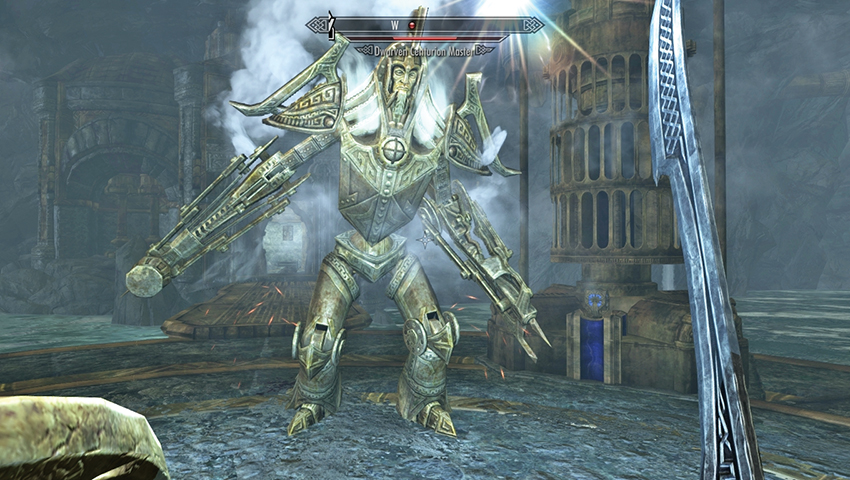
Drop to the lower platform. There are four blue boiler control pedestals here, so insert your four remaining Cubes to finally restart the boilers. Suddenly, the giant gold drawbridge lowers, and an immense steam Centurion clanks over the bridge to engage you in battle. Fight it where you stand, or take advantage of the huge chamber to drop it from afar. The Centurion was guarding a small alcove with a treasure chest.
- Objective: Release the book from the Dwemer contraption
- Target: Black Book, Nchardak Reading Room
Quest Conclusion
Make sure all four boiler pedestals are activated (you shouldn’t be carrying any Cubes), and follow Neloth up the elevator, riding it back to the Reading Room. If you’ve placed the Cubes incorrectly, Neloth will certainly tell you. If you’ve correctly placed the Cubes, Neloth tells you it worked and that steam is flowing to the room. He presses the button in the Reading Room, causing four shafts of light to illuminate the complex lock, and the contraption releases the tome! At last! Neloth deems you deserving of the first leaf through this book....
Dragonborn Main Quest: The Gardener of Men begins immediately.
The Gardener of Men
Into Apocrypha
- Objective: Read the Black Book
- Target: Black Book, Nchardak Reading Room
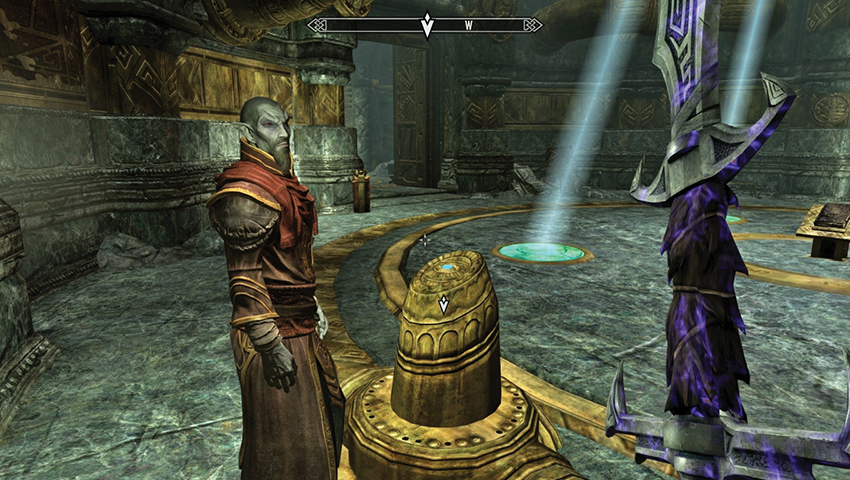
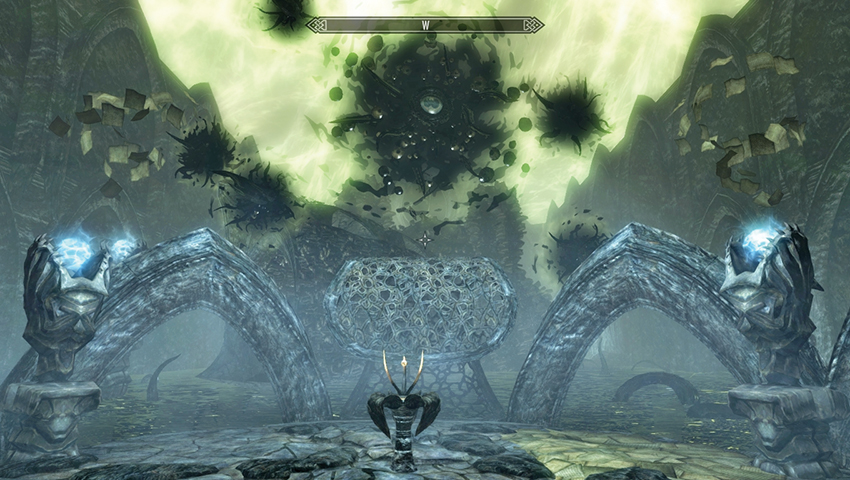
Neloth urges you to read the Black Book that has risen from its seal. Approach and take the book from its stand. As you open the cover, a tendril grabs you by the throat, and you’re transported into Hermaeus Mora’s realm of Apocrypha. The dark Daedric Prince appears to you in this other-world, manifesting as black clouds of tentacles and eyes. This is Apocrypha, a realm where all knowledge is hoarded. After wondering whether you are clever or a coward, Hermaeus Mora disappears, leaving you to explore this plane of existence.
- Black Book: Epistolary Acumen
- Objective: Learn the hidden knowledge of “Epistolary Acumen”
- Target: Black Book: Epistolary Acumen, in Chapter IV
Chapter I: The Tunnel of Lore
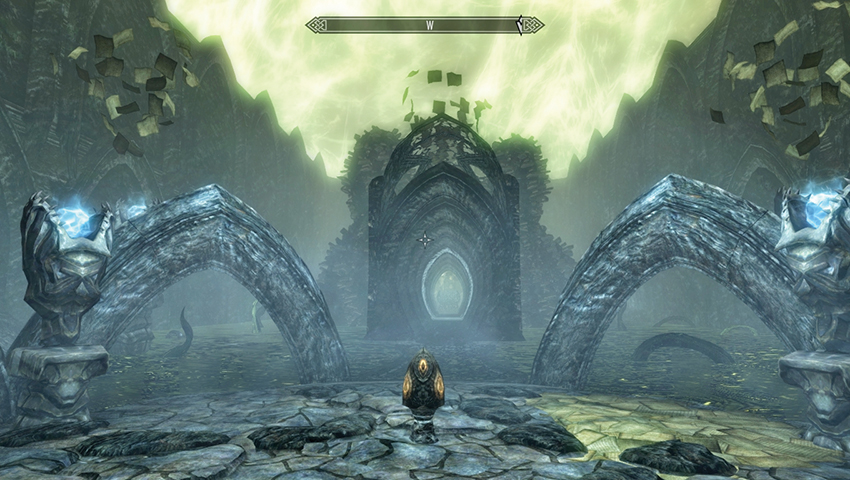
Use either or both of the Magicka fonts, then activate the Scrye to lower the walkway ahead (west) of you. Time your approach so you can enter the moving tunnel of lore. Walk to the opposite end, through the flying pages, and wait for the tunnel to move right (north). Step off the tunnel and onto a promontory.
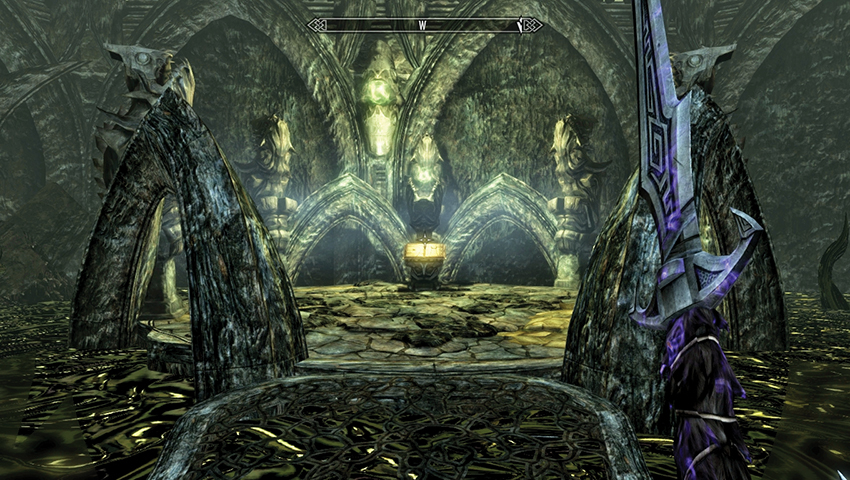
Once on the promontory, use the Stamina font, activate the Scrye, and watch a second walkway unfurl. Step back onto the moving tunnel, riding it along the edge (watching for tendrils) to the walkway. Step off, heading across (west) to an island, a Stamina font, and Chapter II.
Chapter II: Seeker and Destroy
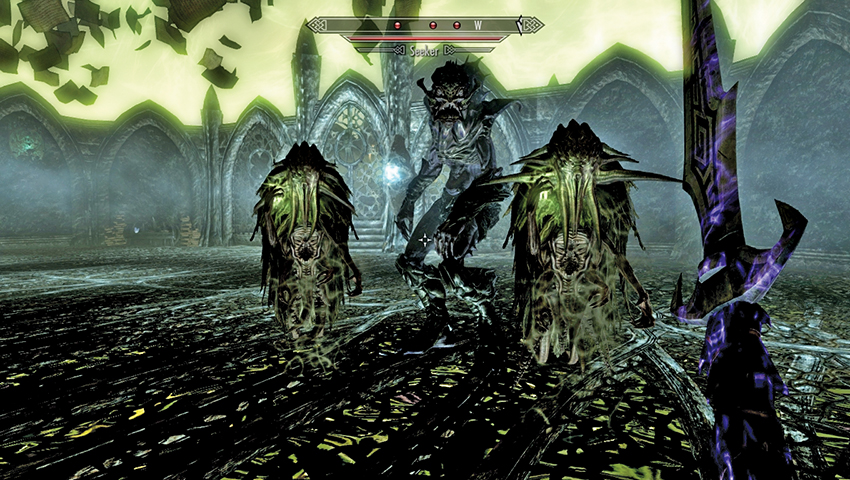
Head north down the tunnel of pages to the Scrye. Activate it, which unfurls the tunnel walls, allowing you to step out into a medium-sized arena where you must fight a Lurker and up to three Seekers. There are three Magicka fonts, which you can use during the battle to press your magical attacks; a Pod; and another Scrye.
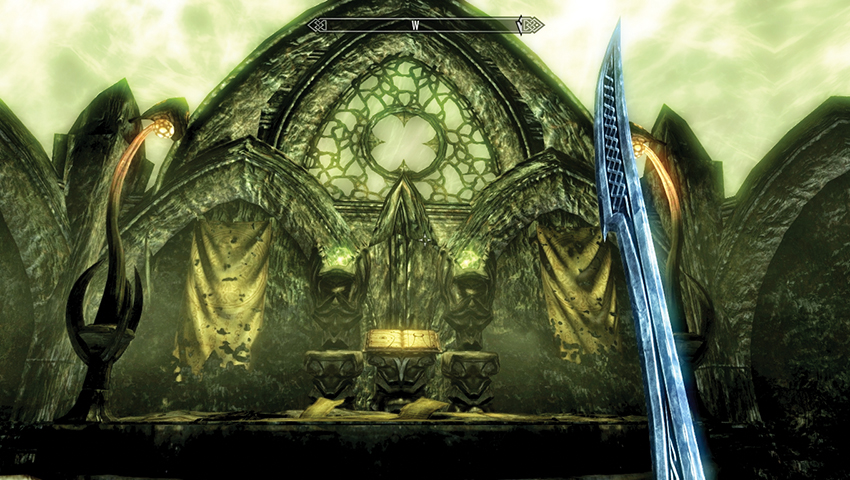
Activate the Scrye on the eastern wall below the third Magicka font, opening the gate to the west. Head up the stairs, claim the Stamina fonts, and then begin Chapter III.
Chapter III: Tunnels and Tendrils
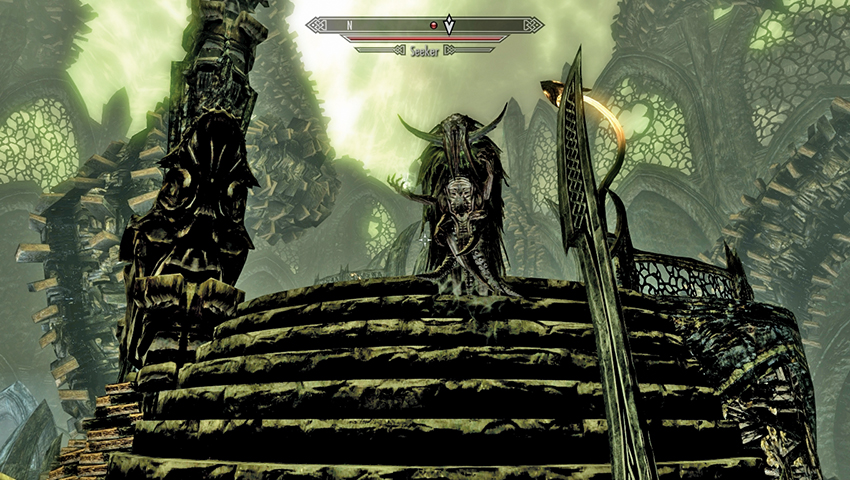
You appear in a stepped chamber with columns of books arcing into the skies. Head across either of the small parallel bridges to the steps, where Seekers appear. There is a half-submerged Magicka font in the black ooze to the northwest. Climb the steps, slaying Seekers as you go (there are two or three to thwart).
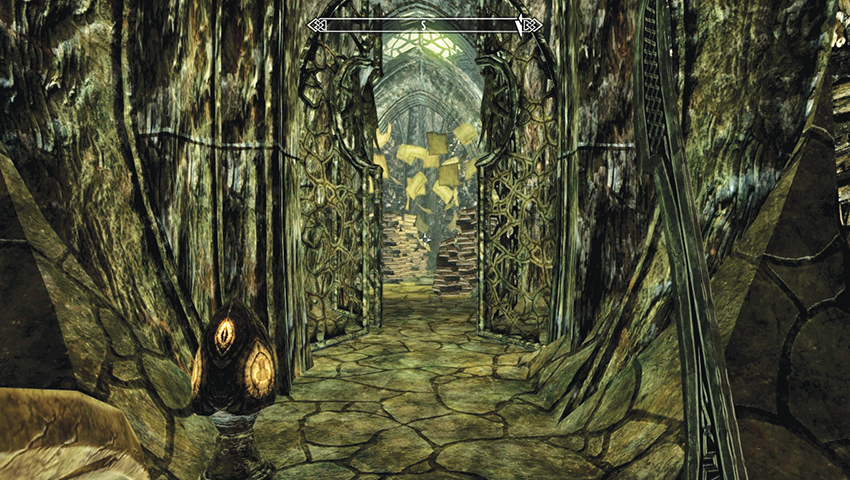
At the top of the steps is a circular black pool and another Magicka font. Slay any remaining Seekers before venturing into the second circular platform, avoiding the mire and stepping onto the moving tunnel. Head along the tunnel to a Scrye to the south, which opens the adjacent door and elongates the tunnel ahead (south) of you.
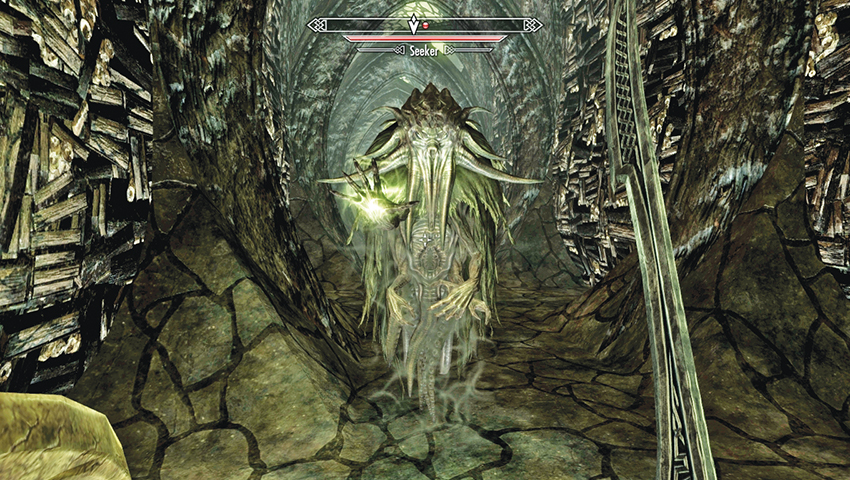
Step past the piles of books, heading down the tunnel, turning left (east) and slaughtering Seekers as you go. At least two must be dispatched. Ignore Scryes and areas you can’t access yet. As you continue east, the tunnel moves, allowing you to step north onto an unfurling platform and into another tunnel.
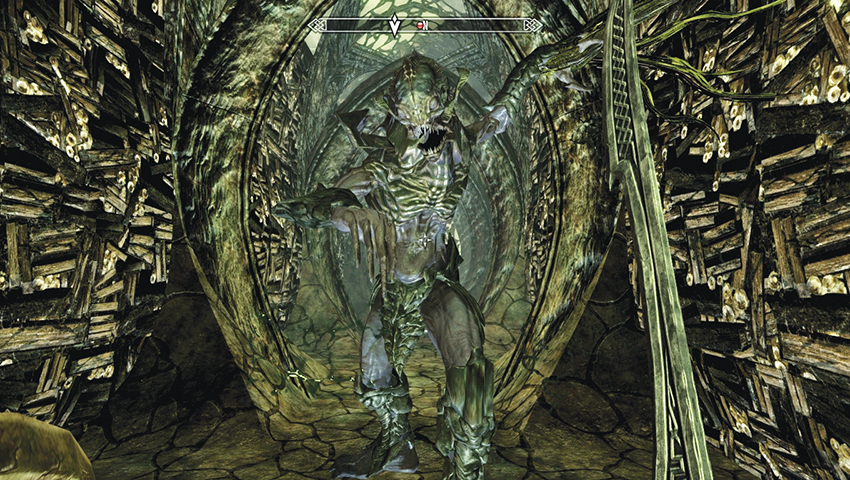
This tunnel has a Lurker to face (so you may wish to retreat a little as you battle it). Head north until the tunnel turns to the left, forcing you west to a Scrye you may have seen earlier. Activate it and a door opens, leading you through the tunnel you came from and to a Stamina font and a left (south) turn.
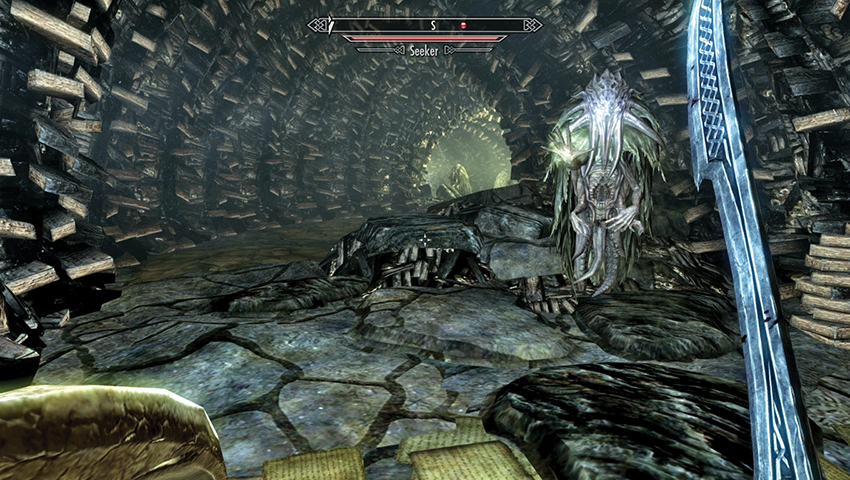
Avoid the tendril in the ruins of the reading room and continue south, passing a Magicka font and a host of Seekers. Concentrate on slaying the first ones you see to shorten the battle significantly. Pass by three more fonts—two Stamina (one above the book) and one Magicka—and open Chapter IV.
Chapter IV: Meeting Mora
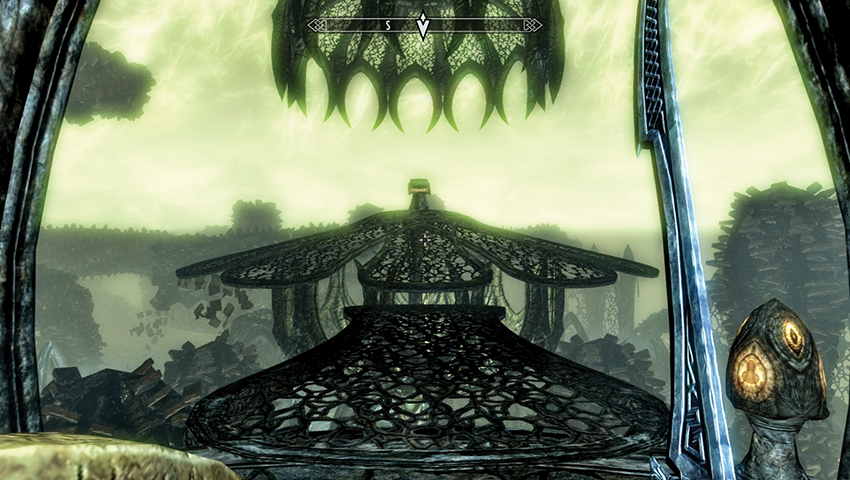
Gather any Soul Gems from the nearby table and avoid the circular pool. Activate the Scrye, watching a giant cage in the center of this realm unfurl. Head across and approach Black Book: Epistolary Acumen. This summons the Keeper of Forbidden Knowledge! Listen to his introduction, answering him how you wish.
Although your answers can differ from respect to annoyance, this Hermaeus Mora knows why you have come. To this end, you are awarded with the second Word of Power.
- Word of Power: Mind, Bend Will
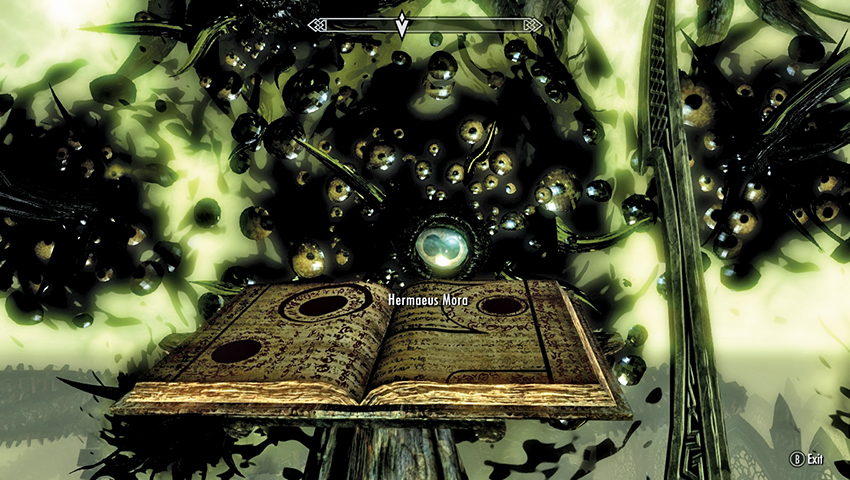
But this is not enough; you must seek the final Word of Power in order to face Miraak. Hermaeus Mora will help you, but he has a price. Answer however you wish, but your fate remains intractably linked to your new master. Miraak has served him but grows restless under his guidance. In exchange for the final Word of Power, Mora demands the secrets of the Skaal. Answer however you wish, but the task is clear: the Skaal shaman must be sent to him.
- Objective: Talk to Storn
- Target: Storn, Skaal Village
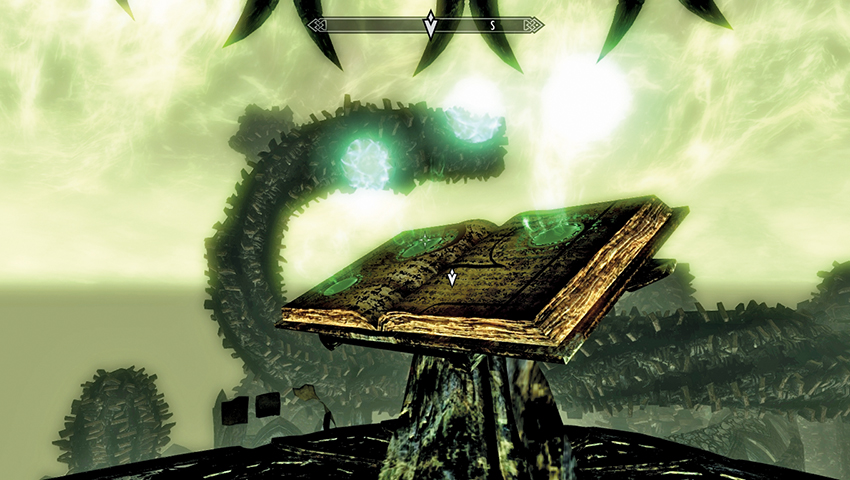
With that, Hermaeus Mora departs from your vision, and three glowing globes emanate from the open book. Each holds a special power for you to wield. Take the one you wish, then read the book (here or in your inventory) and head back to Solstheim. The powers are as follows:
- Dragonborn Force (your Unrelenting Force Shout does more damage and may disintegrate enemies)
- Dragonborn Flame (when your Fire Breath Shout kills an enemy, a fire wyrm emerges from their corpse to fight for you for 60 seconds)
- Dragonborn Frost (your Frost Breath Shout encases foes in ice)
Secrets of the Skaal
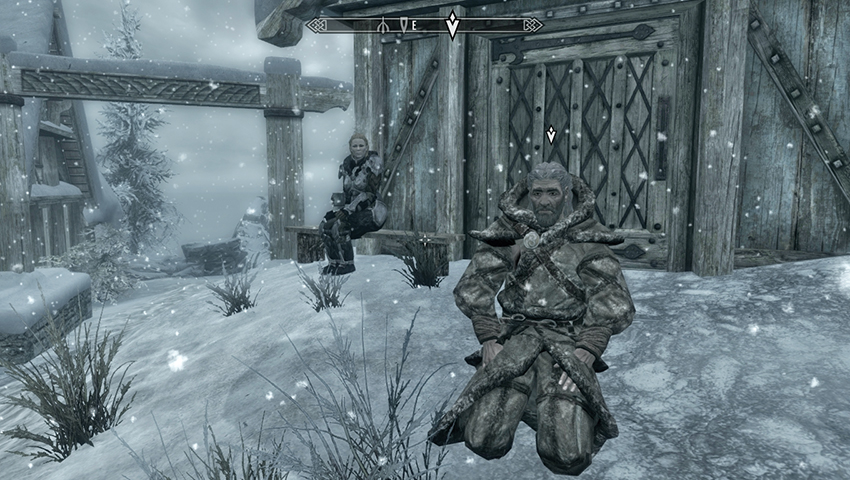
Back in the Nchardak Reading Room, Neloth is most interested in what you’ve been up to. Answer however you wish, as the Dark Elf wonders how you managed to acquire such a bargain for the Daedric Prince’s help. You can learn more lore from Neloth at this point, after which you should leave via the gold door to the northwest.
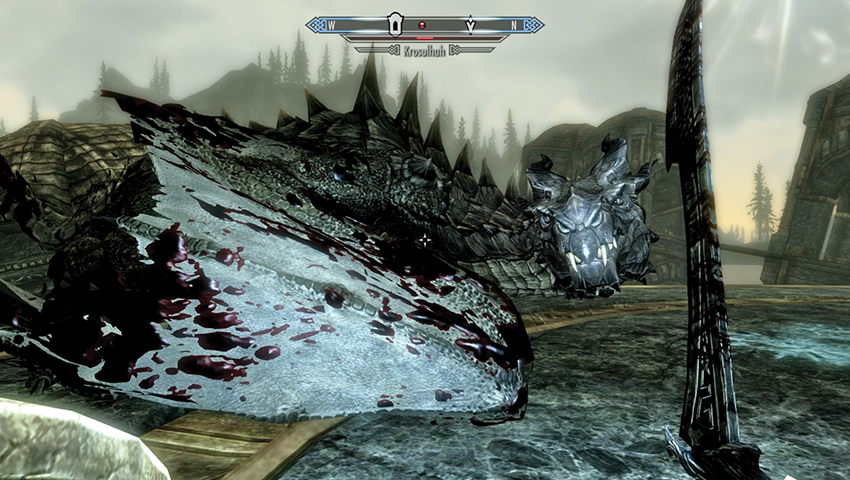
Once outside, your plans of traveling to Skaal Village are halted temporarily by the arrival of the monstrous dragon Krosulhah, sent by Miraak to devour you. With Neloth’s help, and the wide platform for the beast to land on, it shouldn’t present too much of a problem.
Make your way back to Skaal Village, where you find Storn Crag-Strider kneeling in front of his hut. Speak to him, and mention your conversation with Hermaeus Mora (or as the Skaal call him, “Herma-Mora”). You can:
- Mention the deity told you he would teach you the final word of Miraak’s Shout. This advances the quest.
- Ask what the “secrets of the Skaal” are.
- Ask why the Skaal refer to him as “Herma-Mora.”
Storn Crag-Strider doesn’t know whether he has the strength to face the Demon of Knowledge:
- If you haven’t completed Dragonborn Main Quest: Cleansing the Stones, he mentions that not all of the stones have been restored. You cannot continue until you finish that quest.
- If you have completed Dragonborn Main Quest: Cleansing the Stones, he mentions that the Tree Stone (atop the Temple of Miraak) is still corrupted, but the other five Stones have been restored. He may have the strength and asks for the Black Book. Give him this book in dialogue.
- Objective: Wait for Storn to read the book
Quest Conclusion
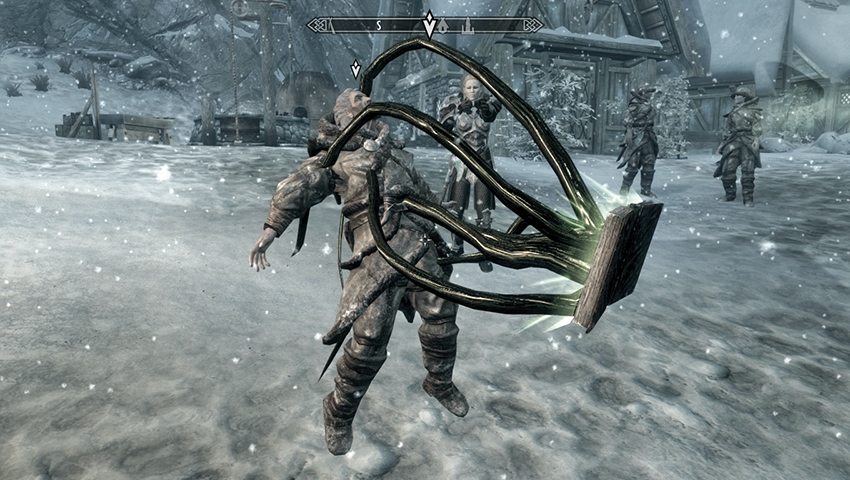
Frea calls on her father to reconsider, as she feels he isn’t strong enough, but the old man tells her not to fear for him, as the All-Maker laid this path for him to follow. You aren’t sure what to make of this, but once the book is opened, Storn is immobilized by piercing tentacles. Hermaeus Mora appears and thanks you for delivering the gift he requested. He fulfills his end of the bargain, and after tossing Storn’s corpse onto the snow, he grants you the final Word of Power!
- Word of Power: Dragon, Bend Will
Dragonborn Main Quest: At the Summit of Apocrypha begins immediately.
At the Summit of Apocrypha
Storn’s Sacrifice
- Objective: Unlock your “Bend Will” Shout
- Objective: Read “Waking Dreams”
- Target: Your inventory
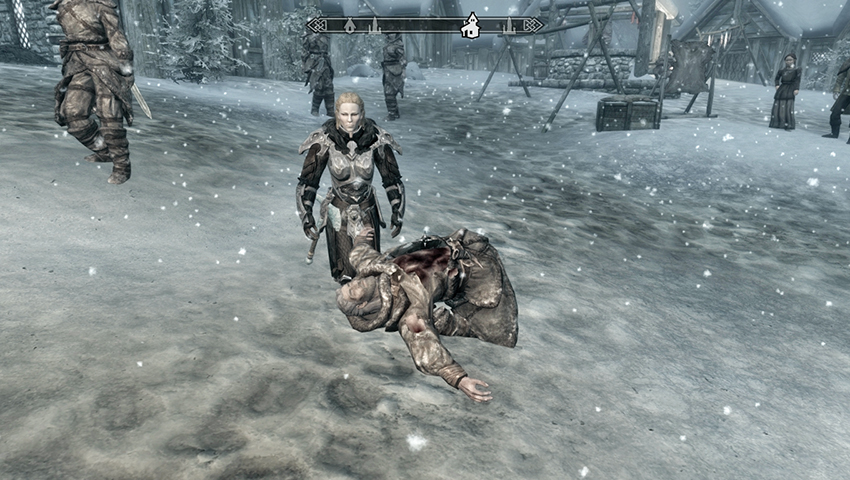
As the rest of the Skaal villagers look on incredulously, Frea kneels beside her father’s corpse. It falls to you to prove his death was not in vain. First, unlock your “Bend Will” Shout by accessing the Magic > Shouts > Bend Will menu option. Spend a Dragon Soul (or two) to fully unlock this Shout. You need not equip the Shout yet, but you do need to expend a Dragon Soul. Ready yourself for a long and dangerous journey. And then, when you’re ready to face Miraak in Hermaeus Mora’s world, read Black Book: Waking Dreams from your inventory.
- Objective: Reach Miraak’s Temple
- Target: Chapter VI, Word Wall
Chapter I: The Word of Lore
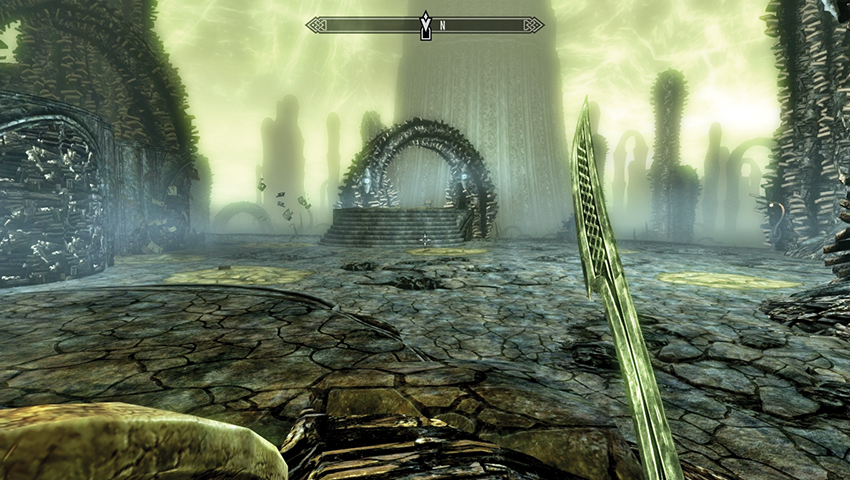
Waking Dreams returns you to an area of Apocrypha you visited once before, where you heard Miraak mock you while you knelt and could not move. Check the table to the south for a trio of books. There’s also a pod to open along the left and right (east and west) walls. Scan a second table for a Soul Gem, and then stride north, passing two Magicka fonts, and open Chapter II.
Chapter II: Preferred Reading—Boneless Limbs
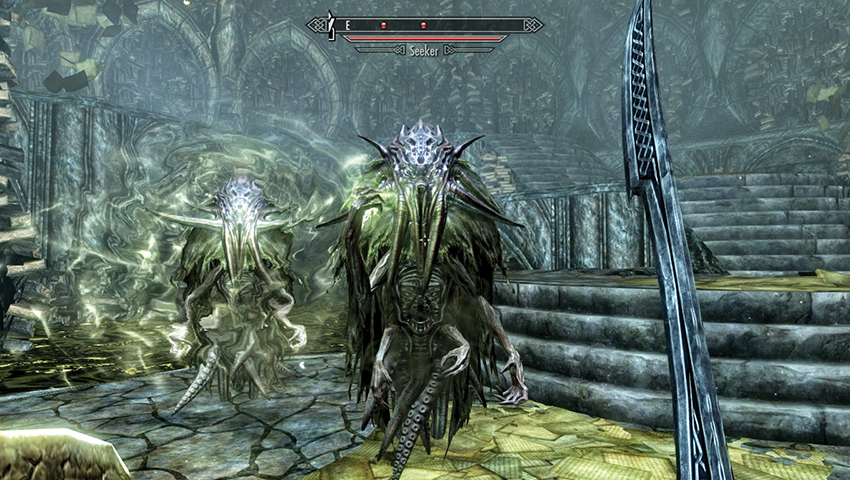
Climb the first set of stone steps, watching for a Seeker or two to materialize around or behind you. Check the nearby table for a book before ascending farther and heading left (north) around the edge of this large, cylindrical chamber—Miraak’s Tower. Pass the table with the Heavy Armor Forging Skill Book and around to a small bridge to your left (south). There are also some steps not yet elongated into a staircase position. At this point you may wish to look up: You’ve got some climbing to do!
- Heavy Armor Forging (Smithing Skill Book)
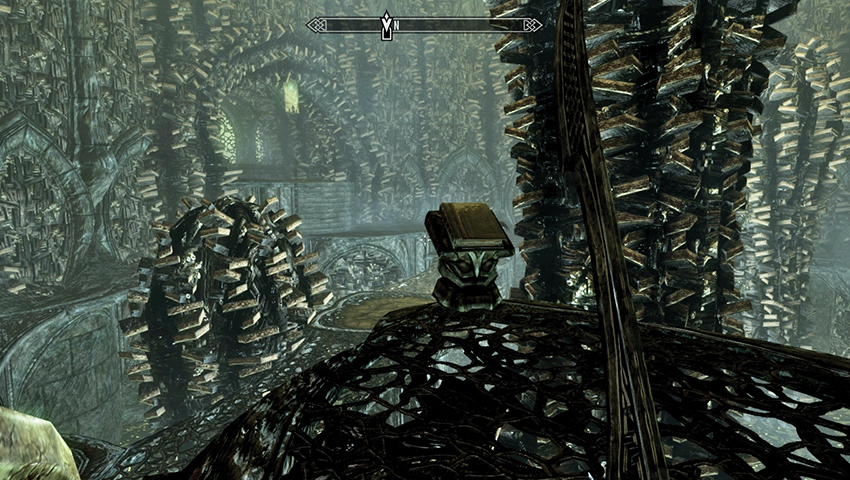
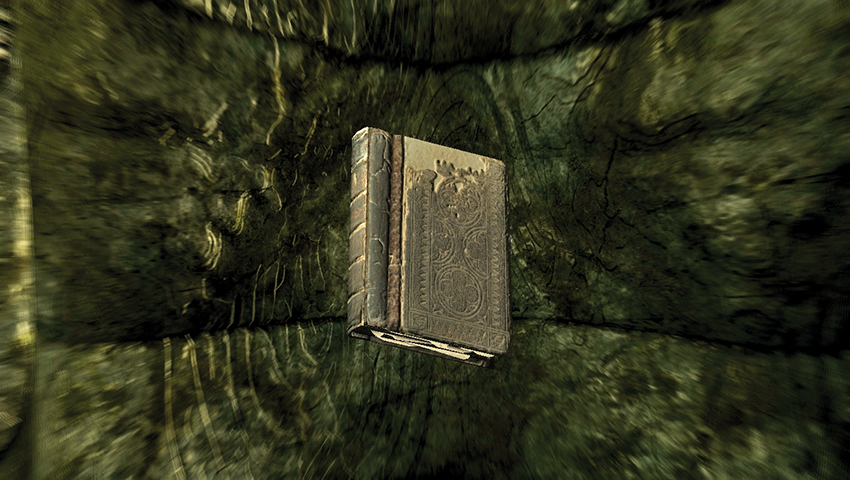
Cross the bridge and climb the stairs to the plinth that holds a cracked and ancient book called Boneless Limbs. This is vital to your progress, so take it. Optionally read the short rhyme inside:
A writhing mass of heaped appendage
Slipping grasp the squirming slick
Extend the reach to touch the face
Burn the mind, reveal the quick
Taking this book extends the steps at the initial side of the bridge, so cross over, head up the steps to the north, and out the open archway doors to view a vast ocean of filth. Turn right (northeast) and begin Chapter III.
- On Apocrypha: Boneless Limbs
Chapter III: Preferred Reading—Delving Pincers and Prying Orbs
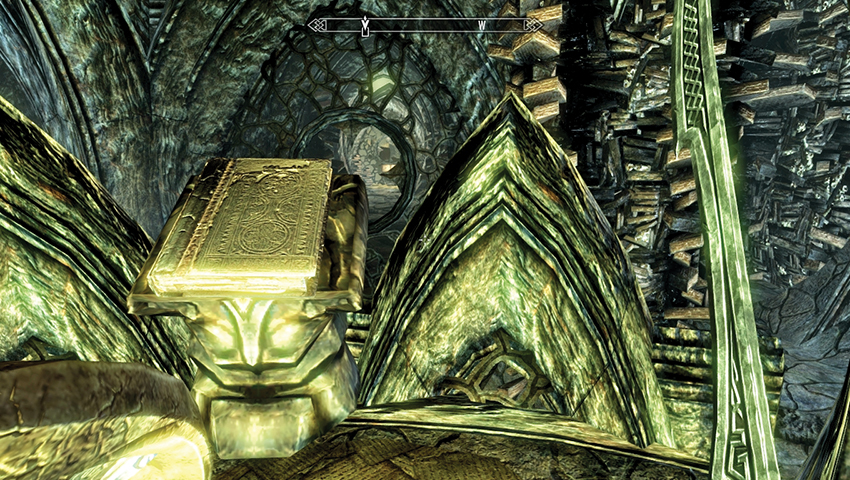
Enter the tunnel that leads roughly northeast, passing a door to your right that you can’t open yet. The corridor splits to a left and right route with two or three Seekers that appear and a couple of pools with whipping tentacles to dodge. There are two Magicka fonts if you need them, and both corridors merge at some steps up to a platform and a table with Song of the Alchemists (Alchemy Skill Book). Turn around, and on a stone plinth lies another ancient book called Delving Pincers. Inspect this book for its strange poem:
Crushing razors, hollow shells
That snap, that twitch, that cinch and rend
To hold the subject, bodily,
’Til mind blows soft and life meets end
- Song of the Alchemists (Alchemy Skill Book)
- On Apocrypha: Delving Pincers
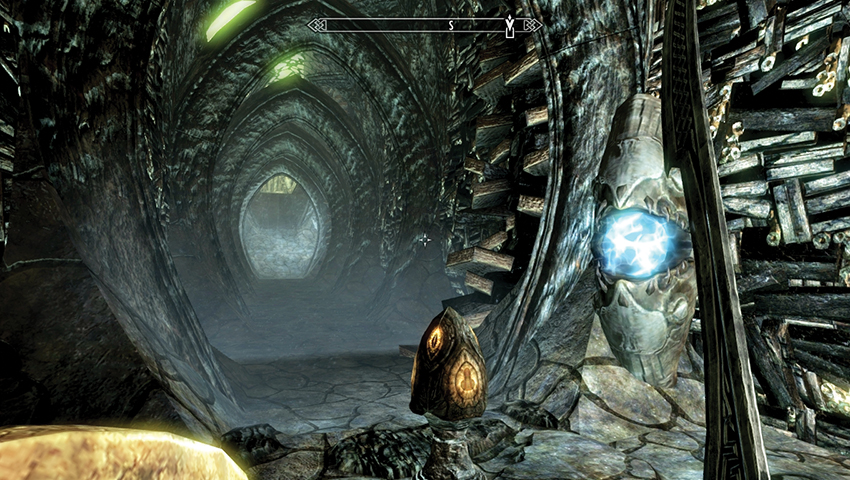
Retrace your steps along the corridor (southwest), to the book that leads back to Chapter II. Don’t read it, but instead look left (southeast) as the previously closed door opened when you took the ancient book. Step inside and activate the Scrye. This stretches out the corridor ahead of you. Head past a Magicka font, then another, stopping at the junction to inspect a table containing Catalogue of Weapon Enchantments (Enchanting Skill Book) and other books. Pass a Stamina font, and head right (southwest), back into Miraak’s tower chamber.
- Catalogue of Weapon Enchantments (Enchanting Skill Book)
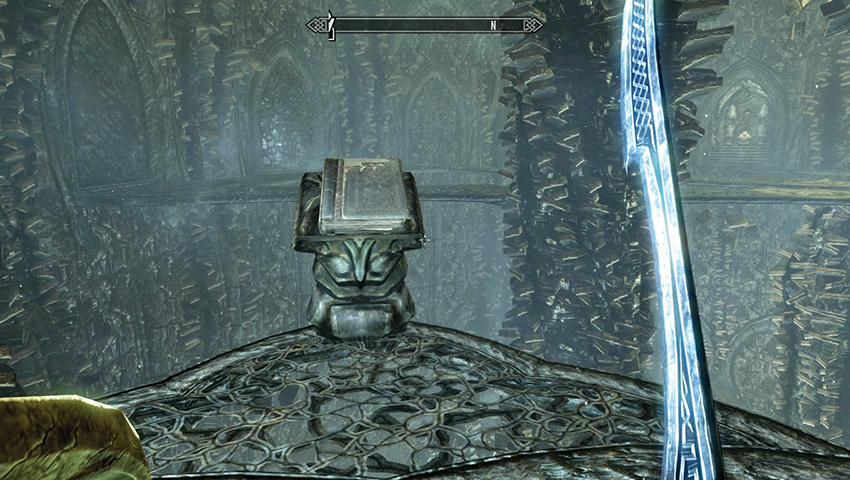
You’re a level above on a series of crisscrossing platforms. Head left (south), opening a pod and activating a nearby Scrye, which opens a door to the northwest (this leads to a small alcove with a vessel you can search for items). Now head along the main bridge platform, moving south and then right, passing a pod to a plinth with a Magicka font and another ancient tome. Remove Prying Orbs from its plinth, reading its strange inscription:
What takes the world in lightened sense
Can also seek the outward gleam
They rob the all of essence to
Report the nothing they have seen
Removing the book and pocketing it opens a gate in the western part of the chamber. After a Magicka and Stamina font, you reach Chapter IV.
- On Apocrypha: Prying Orbs
Chapter IV: Preferred Reading—Gnashing Blades
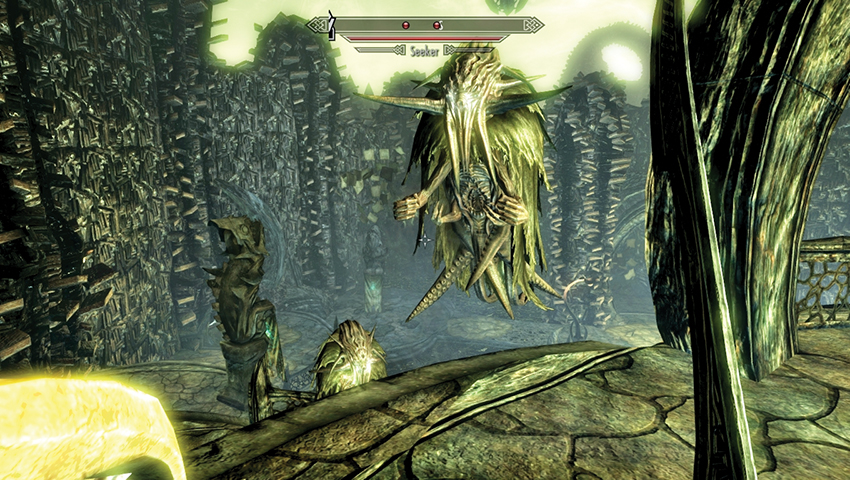
From your high position above a multitude of steps and shifting tunnel walls, turn right (west) and head down the steps, pausing to grab at the Stamina font above you. Directly in front of you is a low balcony fence, below which is a second Stamina font; access that from the top of the steps too. Then descend on either side, facing down two or three Seekers as you go. Don’t forget a pod on a southwest platform.
Head past the black table and the selection of books, then to the lower ground and a tattered banner. Enter the tunnel to the south, moving around the long left curve to a junction with a black table and two very long passages ahead (east) and right (south). The tunnel ahead with the Magicka and Stamina fonts retracts as you move down it, forcing you right, where a similar retraction occurs. Backtrack to the initial tunnel; it has turned to the opposite (south) direction, allowing you to move into an open area to face two more Seekers and traverse a stepped area to the west.
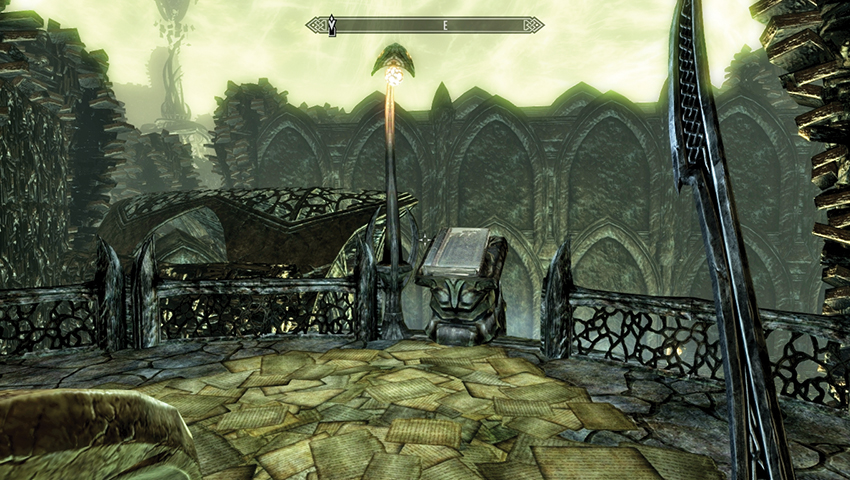
Climb the steps, passing two tables (one houses some scrolls) and a Magicka font near your fourth and final ancient book, nestled on a plinth just above a Stamina font (access it from up here). Grabbing Gnashing Blades opens a new path. Before you head down it, partake in a swift reading:
Bone extrusions gash and grind
In moistened depths of smacking heat
While tearing flesh from averse bone
The body while prepares to eat
- On Apocrypha: Gnashing Blades
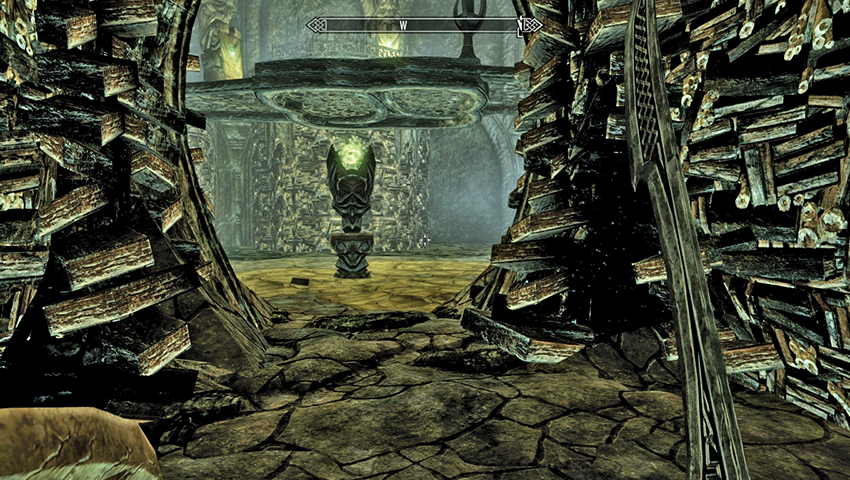
Move down the steps and head right (southeast) into a newly opened tunnel. This ends in a junction with an alcove to your right (south) with two black tables and a corridor that expands when you enter it, near two additional tables with more books to leaf through. Move ahead (east) down the long corridor to a pair of Stamina fonts and a pod. Continue down the left turn and into another chamber with a Stamina font under a walkway.
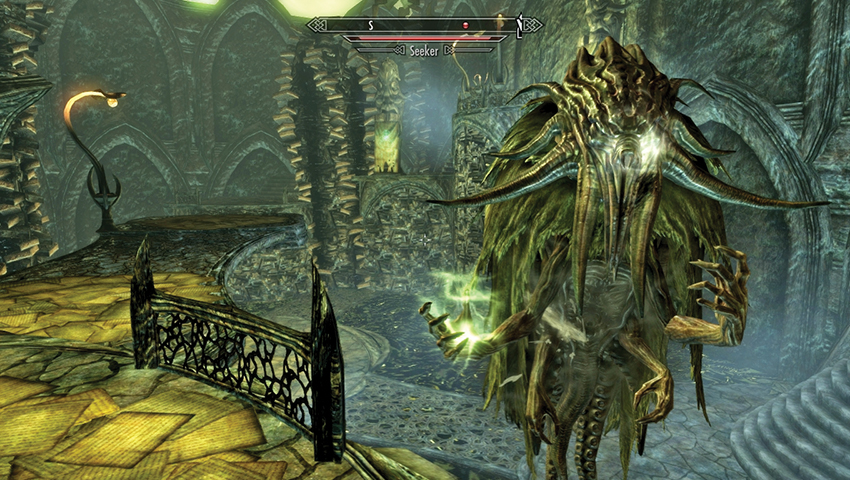
Avoid the black tentacles as you head northwest across the ground bridge, and engage two or three Seekers on the initial stepped balcony. Pass a black table, working your way along an upper bridge heading south and up more steps to a Scrye, which maneuvers a tunnel down below. Descend and enter the tunnel (heading east). Go down the long left curve past a small tentacle pool and up into a Lurker-summoning chamber. As the name suggests, one of these beasts is summoned as you near the circular black ooze in the middle.
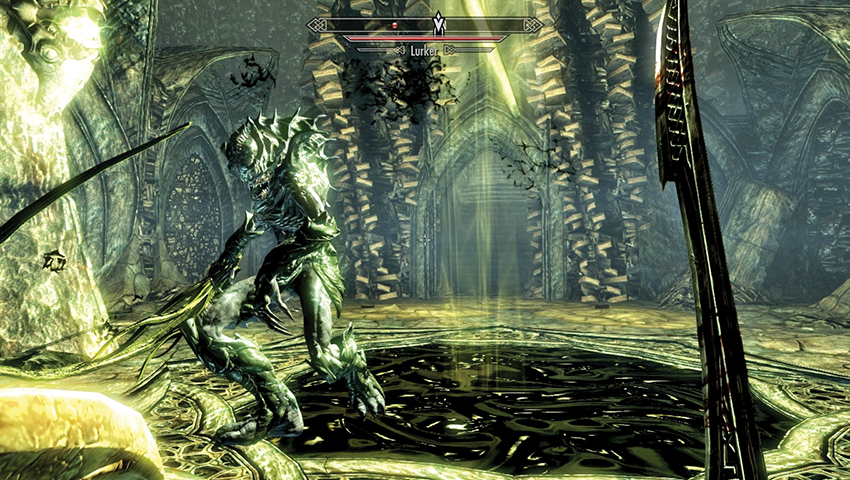
Aside from the Lurker to slay, there’s a Scrye in the northwest corner of the chamber that opens a cubbyhole with a vessel and black table in an adjacent corridor farther northwest (head around the corridor entrance to access it). Just before that cubbyhole is a second Scrye. Activate that and the chamber’s main door to the north swings open. Flee if you’re having trouble killing the Lurker, or slay the horror before proceeding. At the end of the corridor to the north is a Magicka font and access to Chapter V.
Chapter V: The Penultimate Chapter
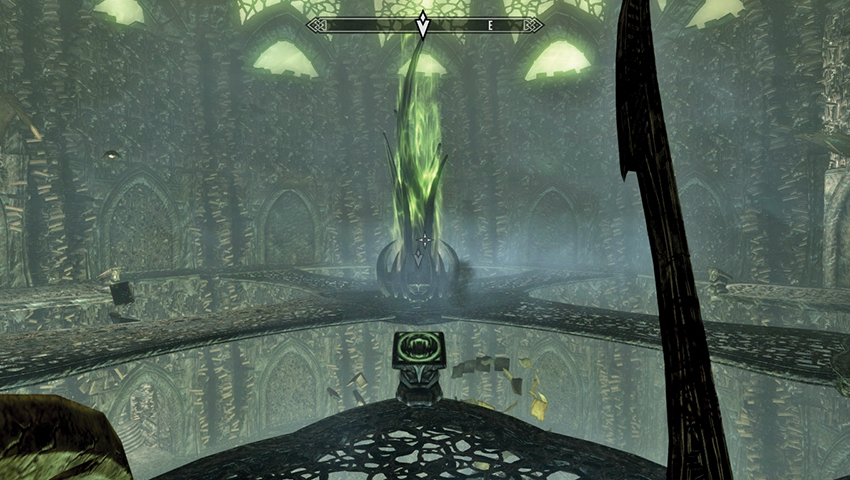
You are farther up in Miraak’s Tower. Begin by siphoning the Magicka font near the open book, before following the corridor up the steps, past a Stamina font, and out onto the upper walkways of the central tower chamber. Concern yourself with two immediate problems:
- Slay the three or four Seekers.
- Don’t fall off the walkways around the edge or middle of this chamber!
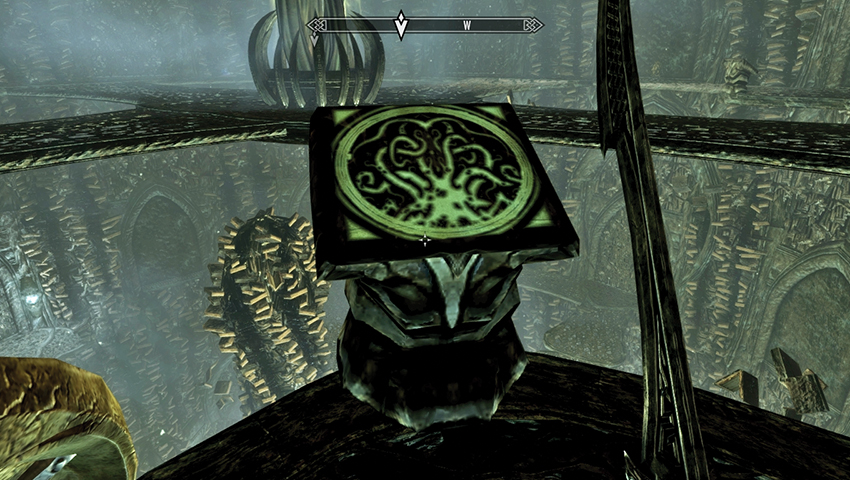
Once you’re successful with this plan, you can inspect the room at your leisure. The plinth in the central spine of the chamber houses access to Chapter VI. You need to access it by placing each of the four Apocrypha Books on their correct pedestals. Simply read the clues from the books and the books’ names and lay the tome on the image best associated with each book.
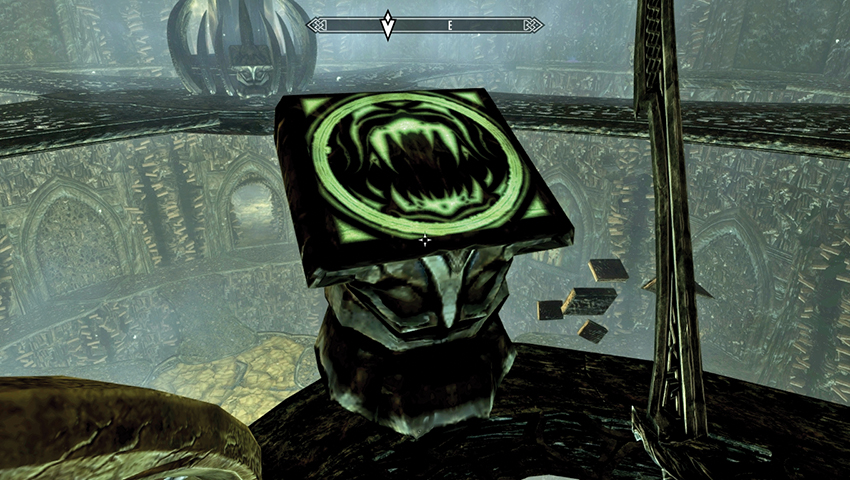
The pedestal with the fishlike gaping maw is closest to you. Place “Gnashing Blades” here.
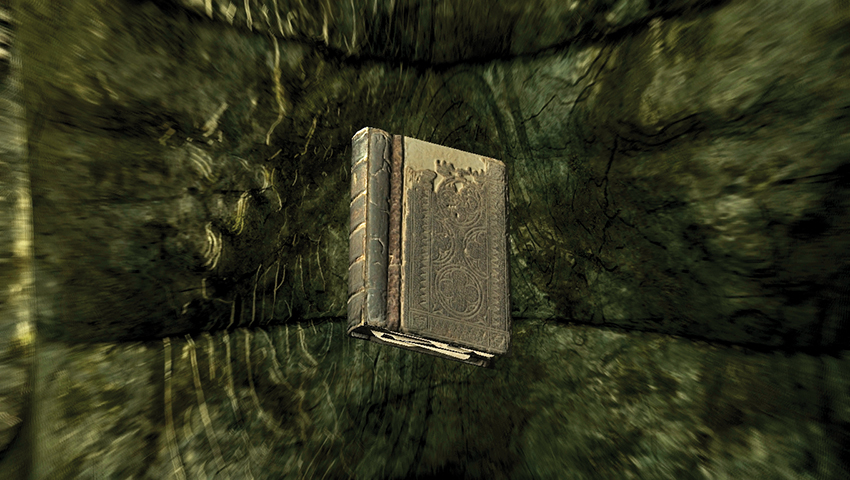
The pedestal with the two claws is nearby. Place “Delving Pincers” here. Expect Seekers to attack at this point.
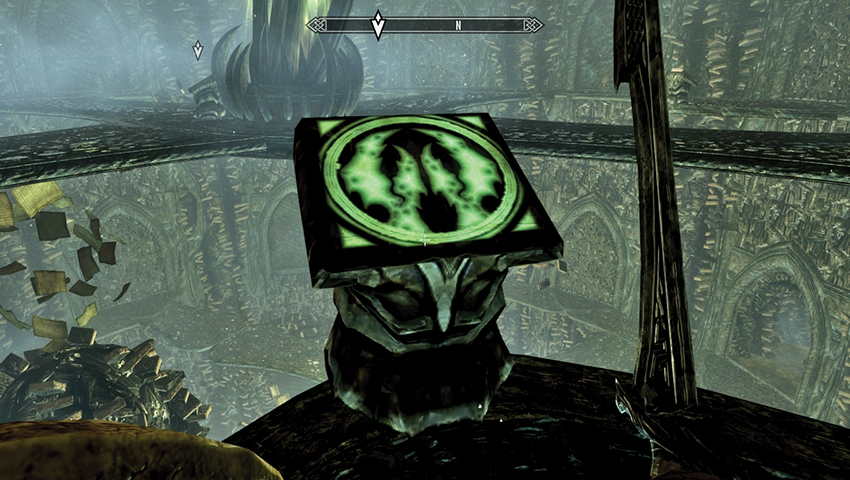
The pedestal with the mass of writhing tentacles is opposite the entrance. Place “Boneless Limbs” here.
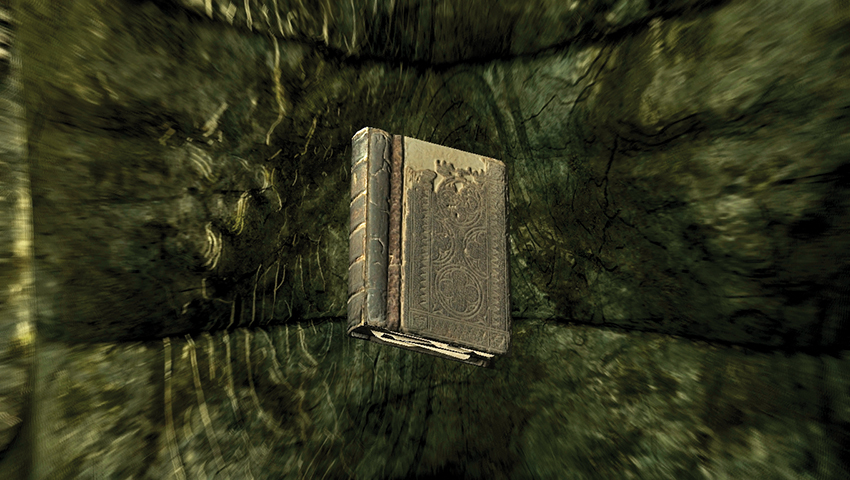
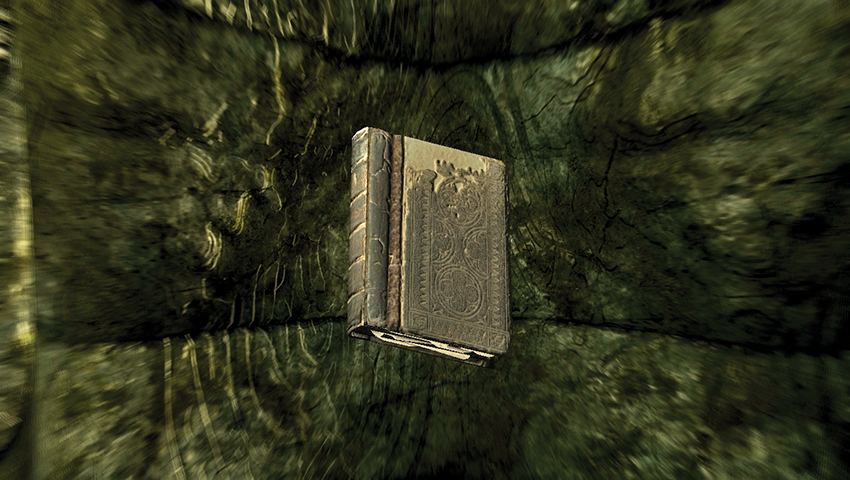
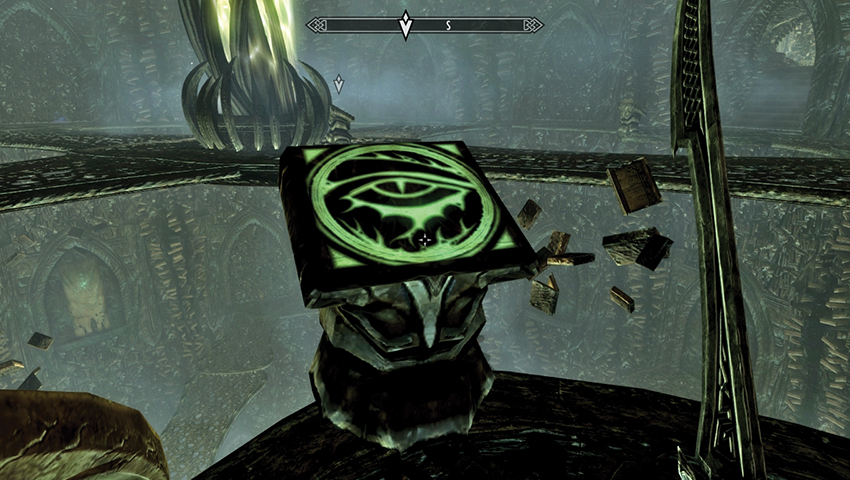
The pedestal with the strange evil fishlike eye is the last of the plinths to find. Place “Prying Orbs” here.
Chapter VI: Bending the Will of Sahrotaar
Exit via a small double corridor leading to a single tunnel. Grab The Art of War Magic (Destruction Skill Book) from the black table as you go. You emerge onto a large exterior platform amid the unspeakable ocean, bereft of life until you pass two Stamina fonts. Investigate two more and the curved stone edifice at the opposite end. This is a Word Wall!
- The Art of War Magic (Destruction Skill Book)
Approach the Word Wall and defeat the two Seekers that are summoned to prevent your progress. Learn the powerful new Thu’um, part of the Dragon Aspect Shout, and your objective updates.
- Word of Power: Dragon Aspect
- Objective: Use the “Bend Will” Shout to tame Sahrotaar
- Target: Sahrotaar, Chapter VI
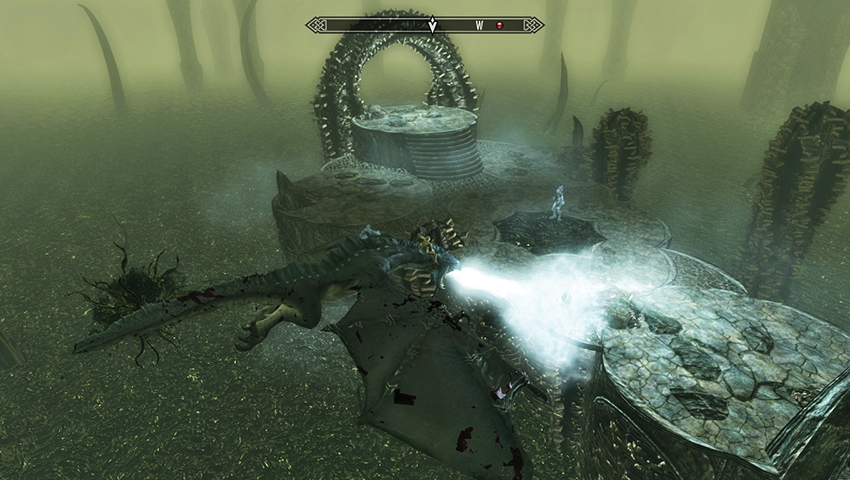
The moment you absorb this Shout, the mighty serpent dragon Sahrotaar swoops down to attack! Bellow the full Bend Will Shout (all three Words of Power) at the beast, and he lands, drops his head submissively, and offers to carry you to Miraak. Climb aboard and prepare to face your nemesis!
- Objective: Defeat Miraak
Chapter VI: First and Last and Always
You have a brief flight to reach the pinnacle of Miraak’s Tower. During this time, you are free to attack the various outcrops with Seekers and Lurkers within the unspeakable ocean. Remember you can:
- Lock on to a target and fire at it using your dragon’s ranged attack and your own ranged strikes.
- Switch targets and command your dragon to swoop in and attack a target.
After some one-sided razing, your mount glides toward a deranged high tower of epic dimensions and lands at the summit.
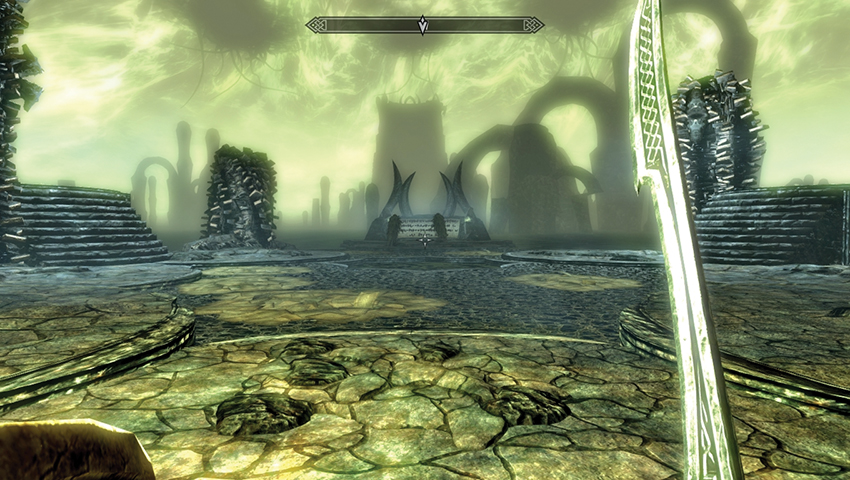
Miraak spits furious verbal bile at his disloyal mount as you land on the platform, then turns his attention to you. Whether it is the First Dragonborn or the Last Dragonborn, only one shall survive the epic battle at the summit of Apocrypha! After remarking that you are both here in your full power, he declares that he will be free of Hermaeus Mora once and for all. He calls the mighty dragons Kruziikrel and Relonikiv to his side, and the titanic struggle begins!
Initial Preparations
Prior to facing your nemesis, you must understand the magnitude of the foe you’re about to face:
- A Heavy Inventory: Miraak is formidable, so you should have stocked up on Health, Magicka, and Stamina potions before proceeding into this realm.
- A Poisonous Preamble: Although powerful, Miraak is still human and can be harmed by poisons. Paralysis will not affect him, but damage-health poisons are an excellent way to increase your melee damage.
- Roll Out With Your Scroll Out: The black tables throughout the previous chapters of Apocrypha included several Fast Healing scrolls that may come in handy during the fight.
- Know Your Scroll: That collection of scrolls you probably aren’t using or were saving for the perfect battle? Bring them along! Use any ritual or summoning scrolls (such as Scrolls of Fire Storm, Blizzard, or Dragonhide) you’ve been hoarding.
- Secrets of the Skaal: Before entering Apocrypha for your final battle with Miraak, visit the All-Maker Stones you freed from his influence during Dragonborn Main Quest: Cleansing the Stones. Their powers are formidable and can give you an edge in the battle against him.
- Long Flight to the Summit: There’s no rush to reach the top of the tower and face Miraak. The Bend Will Shout you just used on Sahrotaar has a very long cooldown time, so letting your mount meander and take a longer path to the tower will give you some time to recover.
Battle Tactics: Drawing First Blood
- Raising Your Defenses: Just prior to the battle commencing, Miraak takes a few moments to inflict a few verbal jabs. Use this chatter to your advantage by preparing your defenses; ideally strike with your most powerful spell, sneak attack, or power attack before he can react.
- Dart in Before Dragon Aspect: One of Miraak’s many powers is his Dragon Aspect Shout, which also raises his defenses. Striking with an excellent hit before he utilizes it is extremely beneficial.
- Showdown on Sahrotaar: You may wish to ride your mount during this battle. If you primarily cast spells, this is an excellent way to avoid receiving damage for a while. Employ Chain Lightning or Fireball spells, and rain down destruction from the sky. Also remember to use Shouts while riding your dragon.
Battle Tactics: Miraak’s Attacks