
Elder Scrolls V: Skyrim Guide Quests Dawnguard Quests
Regional Activities: Forgotten Vale
Ancient Falmer Tomes*
Initial Preparations
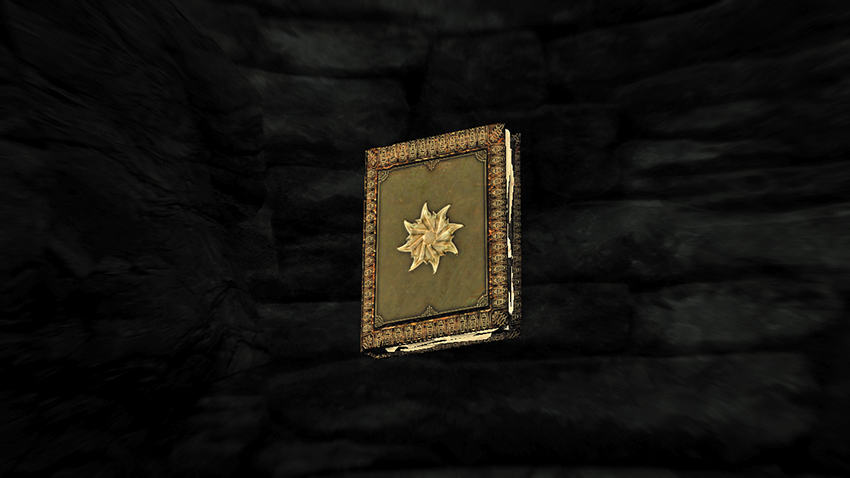
To activate this unmarked quest (which is just a Miscellaneous Objective once you find the first book), simply find one of the four Ancient Falmer Tomes (as shown, also known as “Unknown Books”) in the Forgotten Vale. These can be found in any order, and not all of them need to be found. However, you receive 1,000 gold for each book you find, so this is well worth your time.
Tome Gathering: Four Books Forgotten
In this section, we tell you where each of the books are located. They are listed in numerical order, although you won’t find them in that order without some backtracking through the Forgotten Vale. In each case, a picture of each location is shown, and each location is also named: The names are references to the Atlas section only (they don’t appear on your local map). Check the compass on each picture so you know from which direction to approach.
Unknown Book, Vol. I
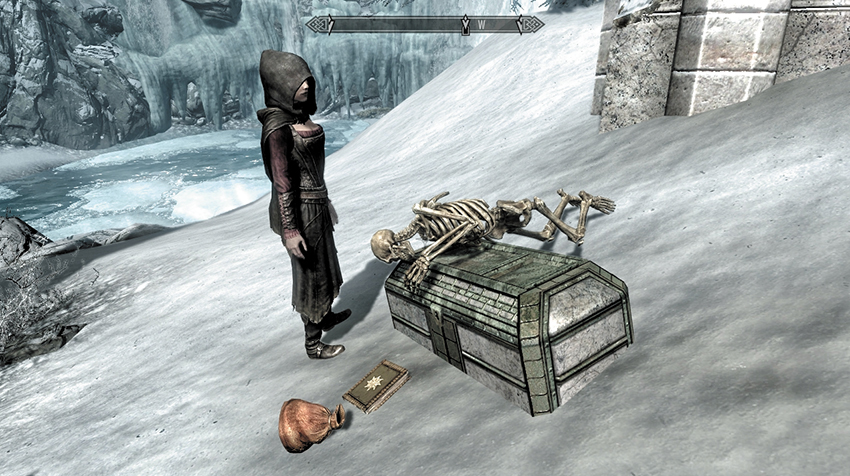
Snow Lake Entrance: The Sprawled Skeleton: When you reach the snowy hill and the Forgotten Vale lake, head south down the slope toward the water’s edge. Along the way, you’ll spot a skeletal corpse sprawled over a chest. Close to the chest is the book and a coin purse. This is usually the first book you’ll find.
- Unknown Book, Vol. I
Unknown Book, Vol. II
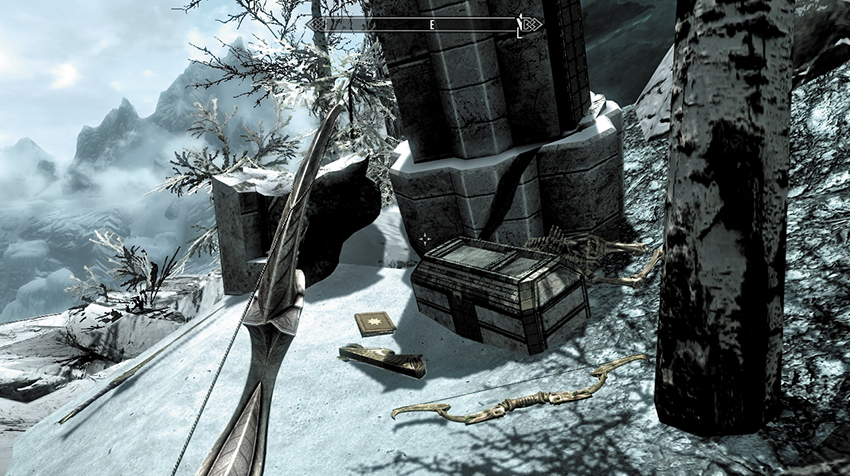
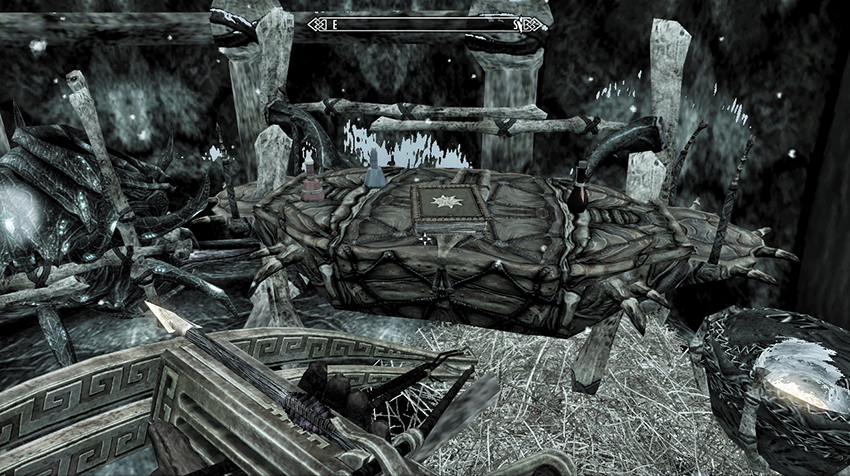
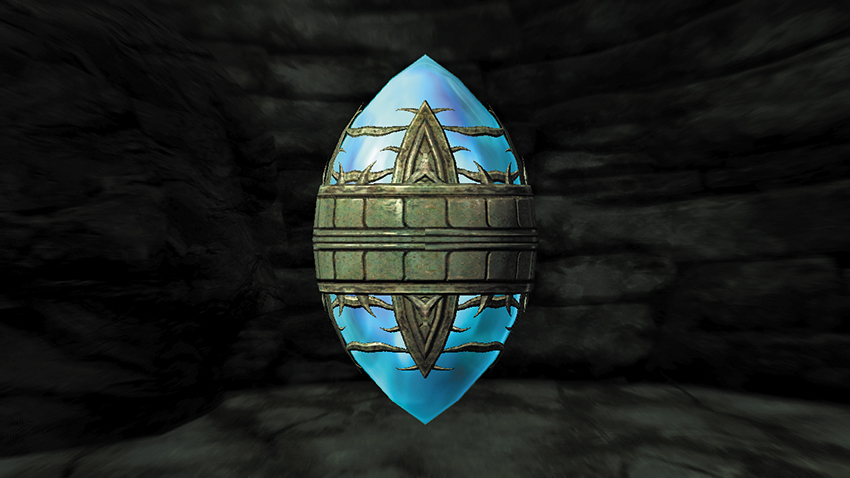
Upper Falls Overlook: This is the most difficult book to find. First you must trek to the location of the third Frost Giant, which is in the northern Falmer cliffs area that you traverse before reaching the Glacial Crevice. The Frost Giant lives by a shallow cave high above the main river fissure, off a circular Falmer path (see page 1001). Slay this foe and claim the Emerald Paragon from its corpse. Then (usually after completing the Dawnguard Main Quest) journey to the Paragon Portal Platform (see page 1000), close to the second Frost Giant’s location, and insert the Emerald Paragon. You emerge at Upper Falls Overlook, high above the Frozen Lake and close to the Temple Balcony. Head to the waterfall’s edge and look right (east). The book is by some arrows, a bow, a chest, and a skeleton. This is usually the last book you’ll find.
- Unknown Book, Vol. II
Unknown Book, Vol. III
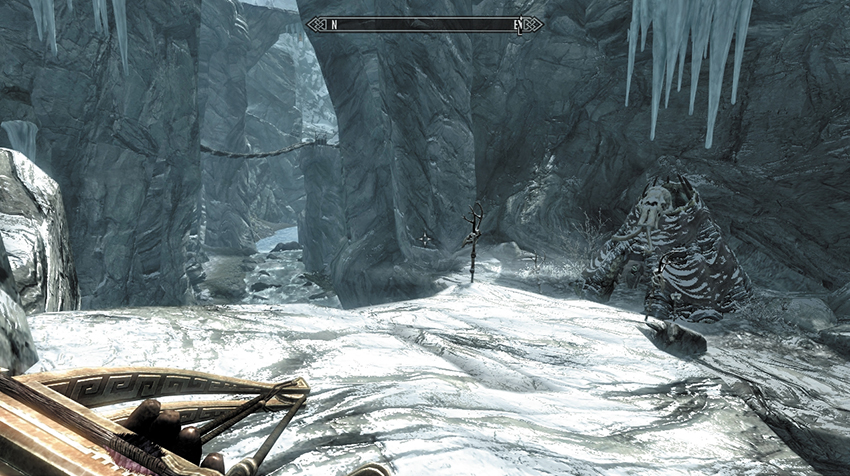
Falmer Hut, Dead-End Ledge: Journey across the northern Falmer cliffs, the area you must traverse before reaching the Glacial Crevice. On your descent, with the river below you and the Glacial Crevice to the south, head across a couple of bridges (one Falmer-made and the other natural). There’s a Falmer Hut with a mammoth skull adorning it. The book is on a table inside the hut, near some potions and other trinkets. This is usually the second book you’ll find.
- Unknown Book, Vol. III
Unknown Book, Vol. IV
Falmer Hut, the Falmer Fissure: After emerging from the Glacial Crevice, enter the Falmer Fissure, and fight your way to the second part of this location, with four huts to ransack and a group of Chaurus Hunter Fledglings to remove from their nests below. Be sure to check the hut on the upper walkway at this area’s far eastern end; the Unknown Book is here on a table near potions and a Falmer chest, just before you drop down and enter the sloping tunnel to the south. This is usually the third book you’ll find.
- Unknown Book, Vol. IV
Quest Conclusion
When you have one or more of these tomes, visit the College of Winterhold and seek out Urag gro-Shub in the Arcanaeum. Ask him if he has any interest in ancient Falmer tomes, and he agrees to purchase them from you for 1,000 gold, plus a translated version of the book. Collect all four for the following rewards:
- 1,000 gold (per book)
- The Betrayed (translated version of Vol. I)
- Journal of Mirtil Angoth (translated version of Vol. II)
- Diary of Faire Agarwen (translated version of Vol. III)
- Touching the Sky (translated version of Vol. IV)
Postquest Activities
Return to Urag gro-Shub if you missed any books, until you’ve found and sold all four and pocketed the translated copy and your “finder’s fee.”
Paragons of the Frost Giants*
Initial Preparations
Hidden throughout the Forgotten Vale are shallow caves where Frost Giants dwell. These huge and sinewy beasts each carry a unique Paragon Stone. The first part of this task is to gather all of the Paragons. The second part of this task is to utilize the Paragons at a special Portal, which can transport you to otherwise-inaccessible parts of the Vale. Collect as many (or as few) Paragons as you wish.
This task requires little preparation; in fact, it is recommended that you undertake it during Dawnguard Main Quest: Touching the Sky, as all of the Frost Giant locations are close to the route you take through Forgotten Vale. This is an unmarked quest, so there are no objectives to watch for.
In the following section, we describe where each of the Frost Giants are located. They are listed one to five, although you can face them in any order you choose. In each case, a picture of the location is shown, along with its name: The names are references to the Atlas section only (they don’t appear on your local map). Check the compass on each picture so you know from which direction to approach.
When facing a Frost Giant in combat, utilize the techniques you previously employed when fighting Giants. Beware of the Frost Giants’ club smash, which is devastating, and don’t get caught in the rocky terrain! It is wise to fire on these foes from a distance or let Serana (or any Armored Trolls, Huskies, or Death Hounds you’ve coaxed along with you) take the brunt of the hurting.
Part 1: Giant Killer—A Frosty Reception
Frost Giant 1
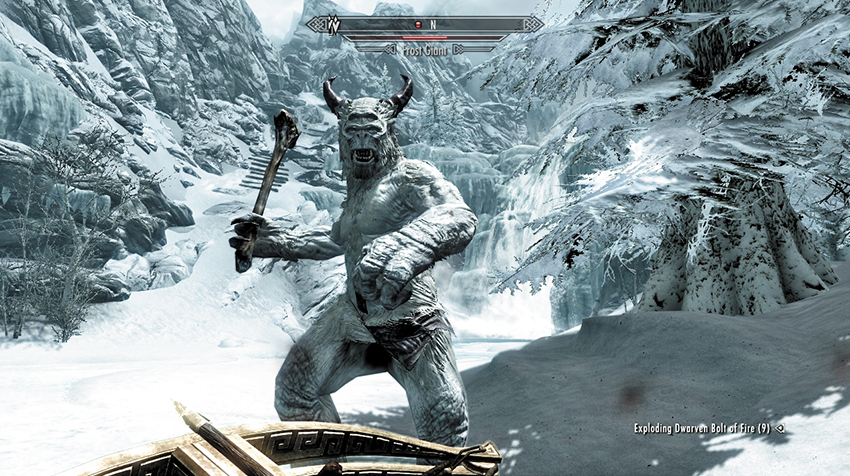
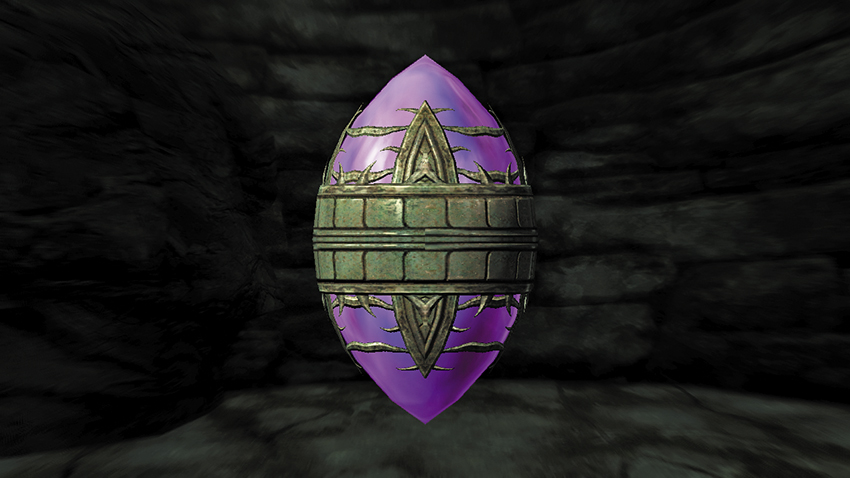
Frost Giant Lair (Lower Lake): From the entrance to the lower lake (where the first Unknown Book is located, just after the battle with the Frostbite Spiders), turn right (northwest) and work your way to the lake’s northwest end. The Frost Giant is close to a waterfall, in a shallow cave. There’s a snowy path northwest of here. Claim the Amethyst Paragon from its corpse.
- Amethyst Paragon
Frost Giant 2
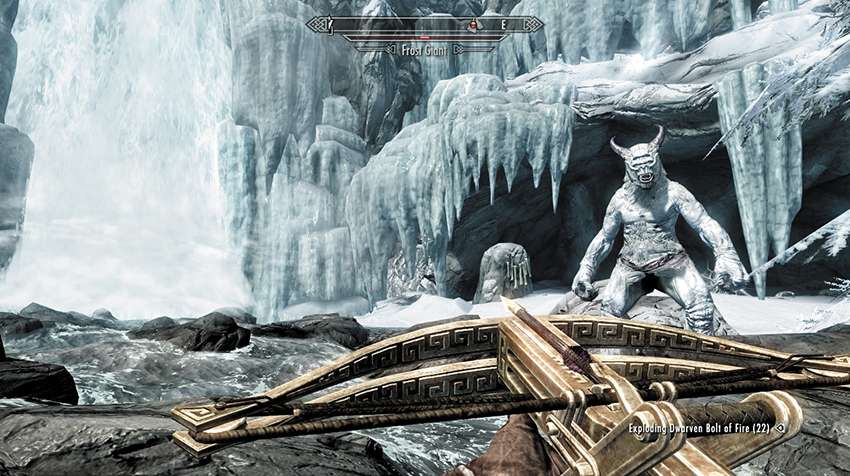
Frost Giant Lair (Paragon Portal Platform): After traversing the Frozen Lake and activating the Wayshrine of Resolution, head north toward a natural bridge. At the bridge’s other side, turn right (southeast), head along a previously unexplored path, and turn left (east) to an unexplored ridge. Move through rocky outcrops to a rushing river above the Lower Lake where you slew your first Frost Giant. This is where the snowy path (mentioned above) links to, and that’s another route here. Slay the Frost Giant at the shallow cave, and remove the Sapphire Paragon from the body.
- Sapphire Paragon
Frost Giant 3
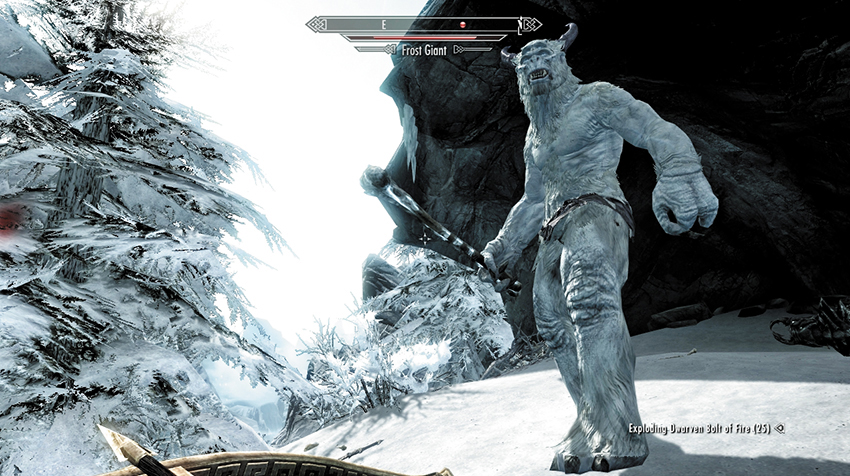
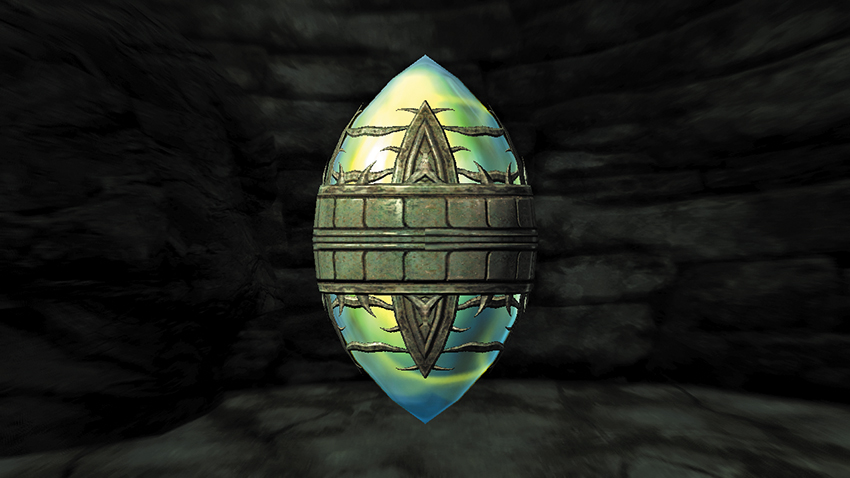
Frost Giant Lair (Falmer Cliffs—Circular Falmer Path): At the flapping banner marking the upper entrance to Sharpslope Cave, head southeast, down to a rickety bridge with a hut at the far end. Then climb the steep rocky path to the northeast. At the top is a circular path to the right (south) leading counterclockwise past the shallow cave with the third Frost Giant to face. Watch your step, as this path is precarious! Loot the Emerald Paragon from the dead giant.
- Emerald Paragon
Frost Giant 4
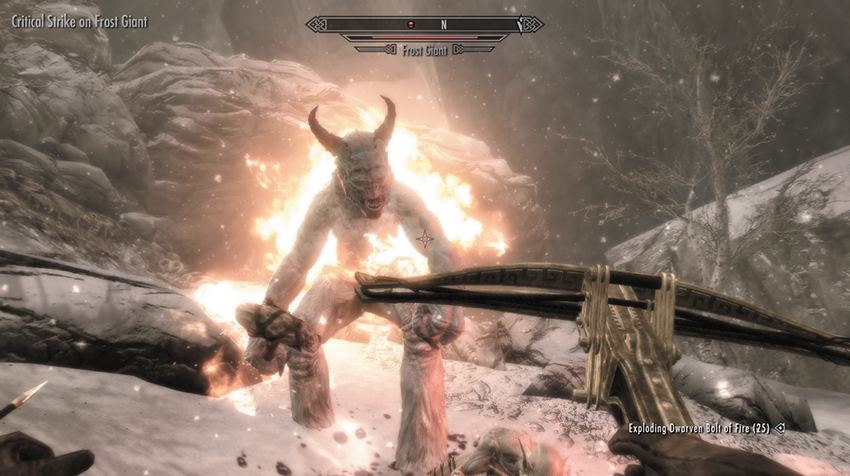
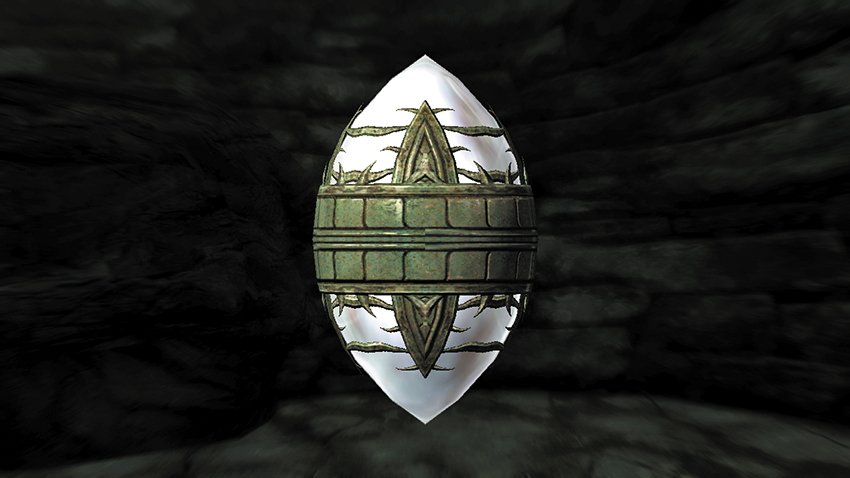
Frost Giant Lair (North Falmer Fissure): Having just navigated through the Glacial Crevice, enter the Falmer Fissure (a set of narrow crags where the Falmer have constructed numerous bridge pathways). Inspect the path leading north, past a bone rope and up through a gate to a steep ravine with a Frost Giant tending to his bone collection at the top. Slay him, and claim his Diamond Paragon.
- Diamond Paragon
Frost Giant 5
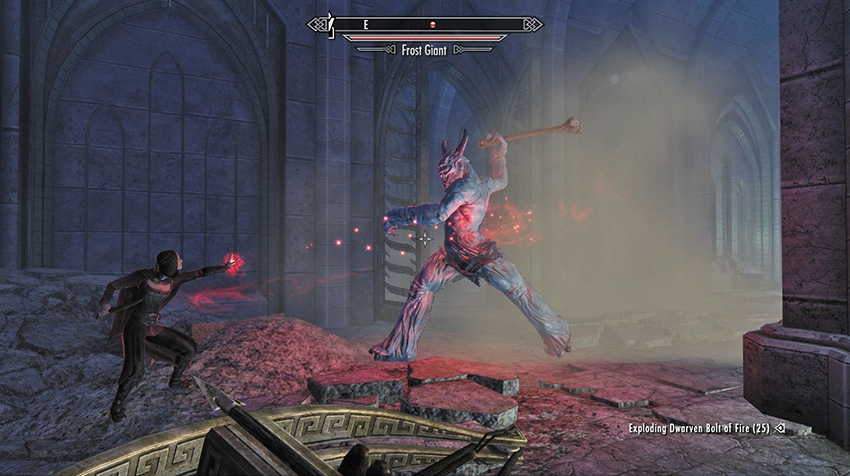
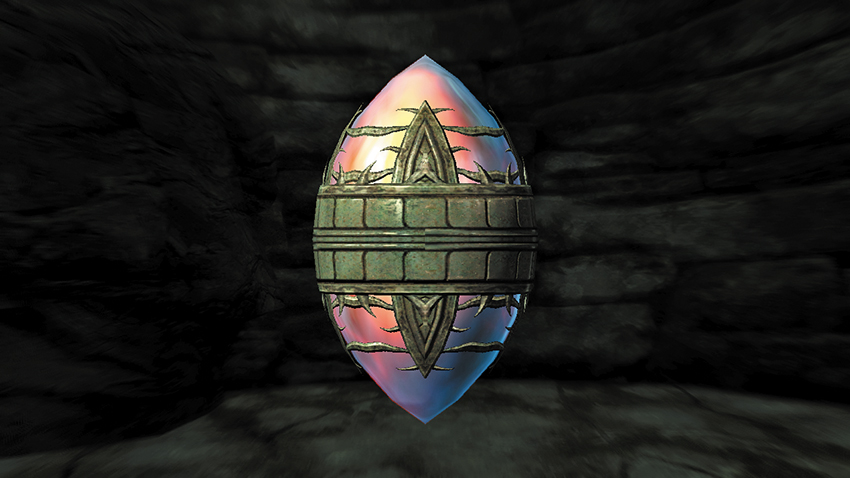
Frost Giant Lair (Inner Sanctum): Having entered the Inner Sanctum, in the initial chamber with the frozen Falmer, inspect an altar along the western wall of this temple entrance. Activate the altar and place your Ewer on it. This opens a secret door directly ahead of you. Step through, then turn around and grab the Ewer. Step back before the door closes.
Now investigate the secret passage you’ve found; it leads to an ice cave where you face the fifth and final Frost Giant. Claim the Ruby Paragon from its corpse before activating a second altar in the northern wall. Place the Ewer on the altar to access a second, smaller hidden chamber with a chest and a variety of potions and Elven Arrows. Check the entire area for skeletal remains and other items; then return to the first secret door, placing the Ewer on the side altar (grab it again afterward!) and stepping back through into the main temple entrance.
- Ruby Paragon
Part 2: The Really Forgotten Vale
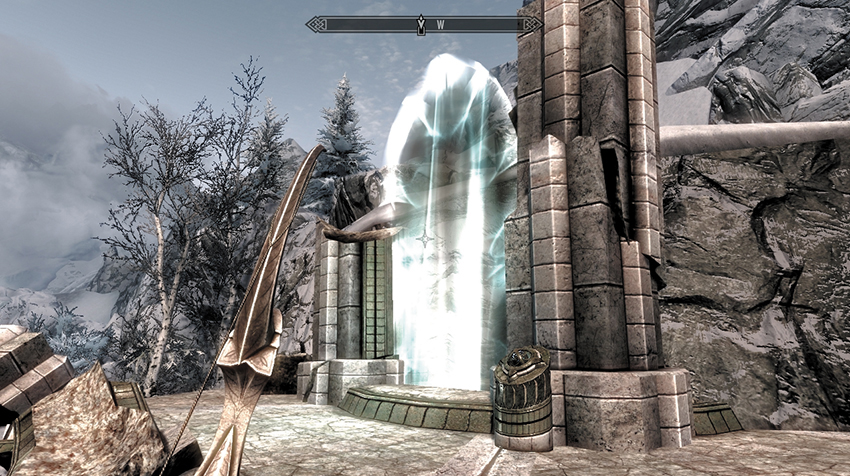
With one or more Paragons in your possession, return to the site where you defeated the second Frost Giant and claimed the Sapphire Paragon (by the rushing river and two waterfalls). Look for this partially ruined Paragon Portal Platform (pictured). Activate the Paragon Socket, and insert the Paragon of your choice. The structure glows, and an archway to an otherwise-inaccessible part of the Forgotten Vale becomes accessible. Step on through to the following areas:
Amethyst Paragon
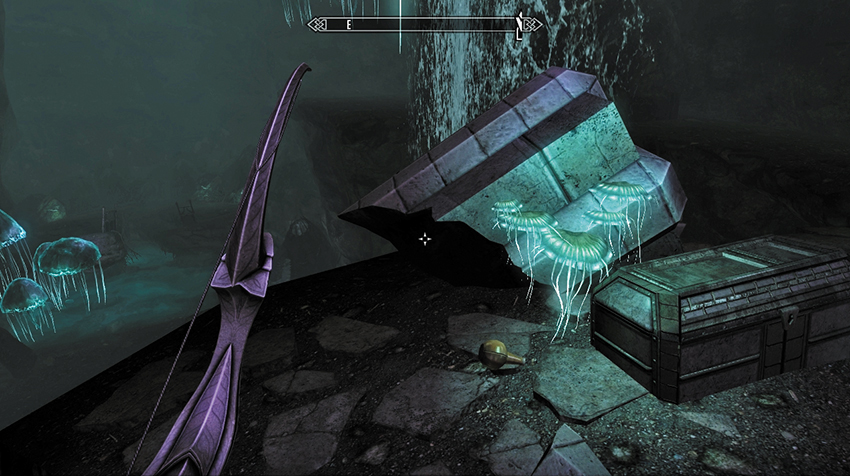
Darkfall Grotto (Paragon Portal): You’re teleported to a high rock ledge overlooking the waterfall that leads (after some enforced swimming) into Darkfall Grotto. Search the area for a chest and potion. You can dive into the water below or use the paragon arch to safely teleport back.
- Chest and Potion
Sapphire Paragon
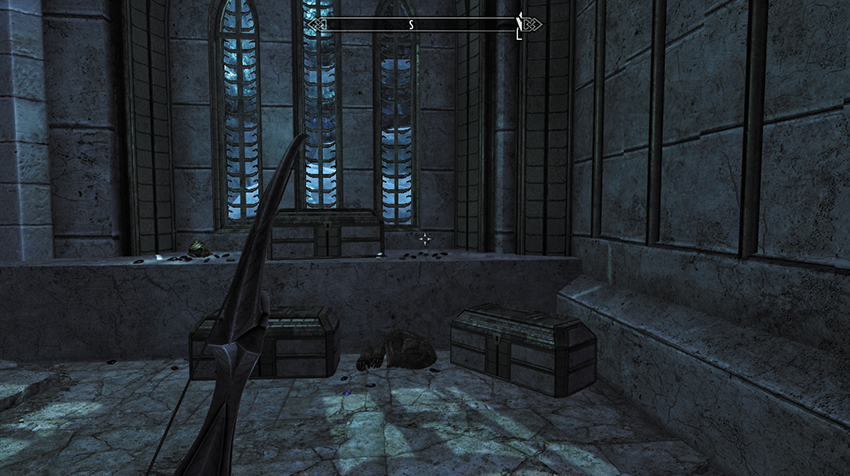
Inner Sanctum (Paragon Portal): You appear in a ruined section of the Inner Sanctum. On the other side of the room of arched windows are three chests, some well-made armor, and a scattering of valuable gems (including a diamond, amethysts, and various garnets). Now return to the Paragon Platform.
- Chest (3), and Gems
Emerald Paragon
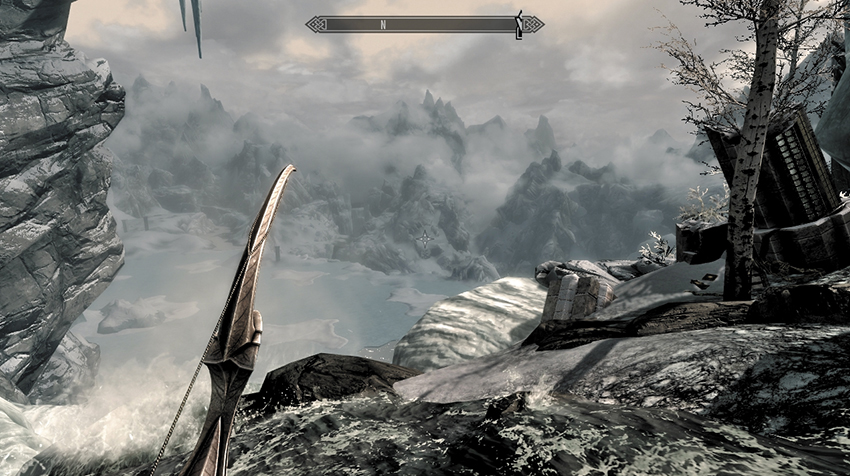
Forgotten Vale Overlook (Paragon Portal): You emerge at the highest point in the Forgotten Vale—a rushing river tumbling from a waterfall. Follow the river downstream, to the edge of a second waterfall. Don’t fall to your death here; instead, gaze out across the Frozen Lake (weather permitting) and check out Auriel’s Chapel Balcony (which can’t be reached either). Look east toward a small pillar ruin, a skeleton, a chest, arrows, a bow, and an Unknown Book (part of Regional Activity: Forgotten Vale: Ancient Falmer Tomes).*
- Chest, Arrows, and Bow
- Unknown Book, Vol. II
Diamond Paragon
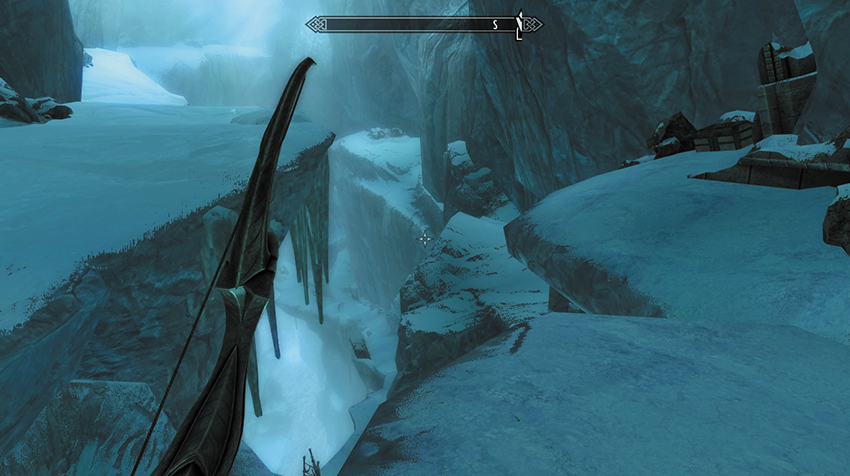
Glacial Crevice (Paragon Portal): You’re transported to a small, high ledge near the ceiling of the Glacial Crevice. Aside from a dangerous jump-off, there’s a single chest to ransack before you return.
- Chest
Ruby Paragon
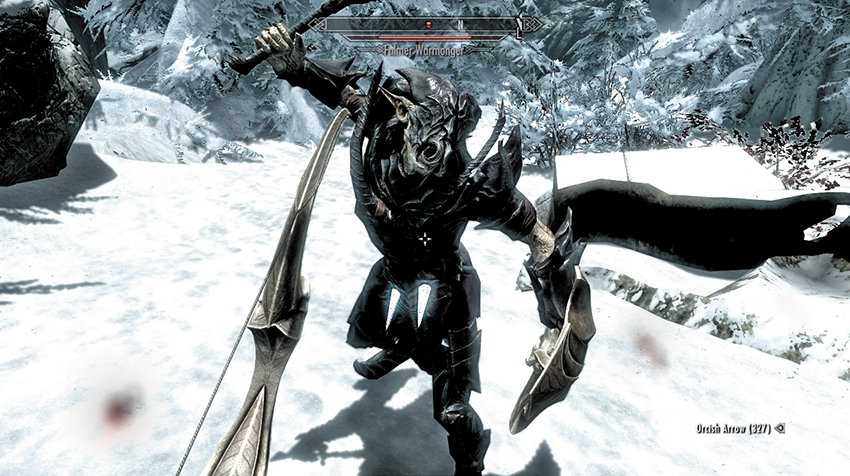
Forgotten Vale Forest (Paragon Portal): This location is the largest and consists of a sealed glade of thick woodland with sloping ground to the northwest that leads to a Frost Troll den. To the southwest, a powerful Falmer clad in fancy armor is finishing off the Frost Troll threat before turning his attention to you. Face the Falmer Warmonger in battle, and once you best him, peel off his armor and claim the legendary artifact he was carrying: Auriel’s Shield. This is a fine prize!
- Falmer Hardened Armor
- Falmer Hardened Helm
- Auriel’s Shield
Quest Conclusion
Slay any Frost Giants you may have missed, and fully investigate all five hidden areas to complete this quest.
Postquest Activities
The Ruby Paragon leads you to a location where you have the most to gain, as Auriel’s Shield is an exceptional item. Remember you can sell the Paragons you don’t want or need anymore, or you can display them in your home as a memento of this task.