
Elder Scrolls V: Skyrim Guide Quests Dawnguard Quests
Dawnguard Main Quest
Dawnguard
The New Recruit
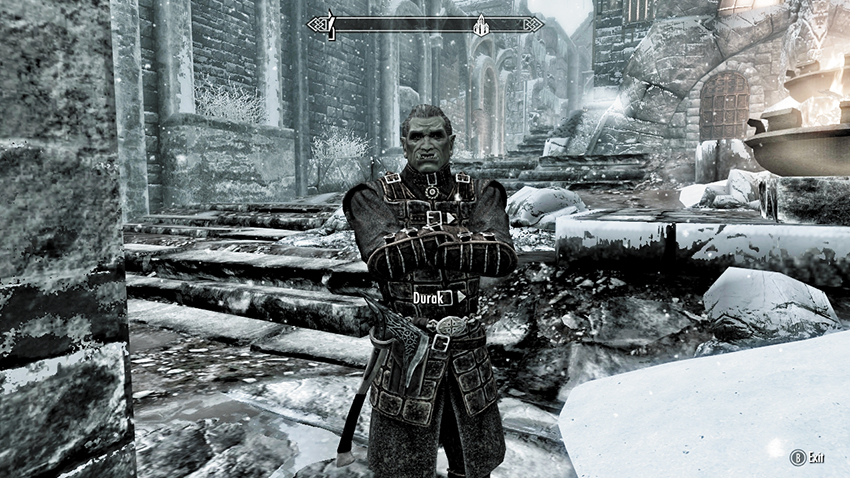
Rumor and scuttlebutt abound on your travels through Tamriel, and one piece of gossip going around concerns the reformation of a venerable band of vampire hunters known as the Dawnguard. Once you reach Level 10, you can find out more about this in one of three ways:
- By visiting any settlement with guards. Listen to their conversation, and you may hear one mentioning the re-forming of the Dawnguard “in the old fort near Riften.”
- By entering any settlement (such as a Hold Capital or a smaller town such as Ivarstead) and running across a member of the Dawnguard named Durak, an Orc clad in impressive buckled armor and who has a forthright attitude toward strangers. He wants you to fight against the growing vampire menace. Answer him how you wish, and with inquisitive responses, you’re told to find a man named Isran, who is ensconced at Fort Dawnguard, southeast of Riften.
- By stumbling upon the entrance to Dayspring Canyon (shown in the next picture), which leads to Fort Dawnguard, during your travels through the Rift. You do not need to be Level 10 for this to happen.
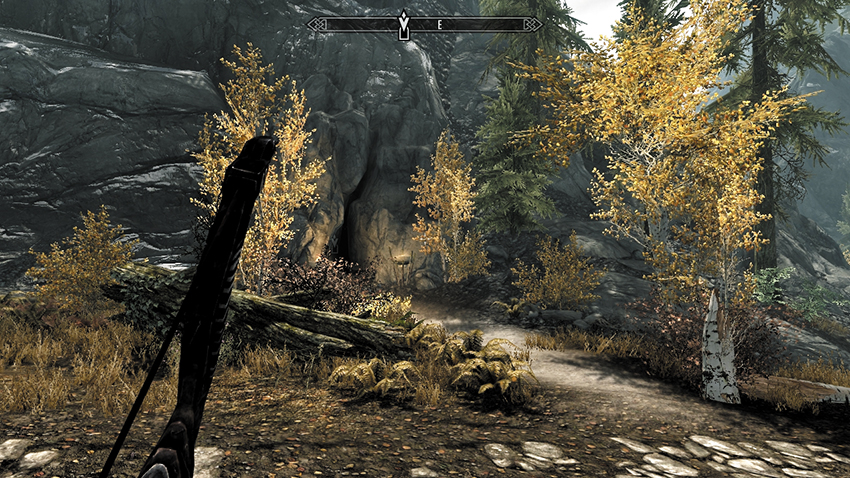
On the north–south road that runs along the Rift’s eastern border, southwest of Riften and Broken Helm Hollow, and just north of Stendarr’s Beacon, is a small vertical fissure in the mountainside, flanked by two torches. The crack opens up to an entrance leading to Dayspring Canyon. Step out into this previously unexplored glade, and follow the path past the waterfalls on your right (south). Along the way, you’ll meet a man named Agmaer, a nervous young farmer who wants to join the Dawnguard. You can keep pace with him (for further conversation), or leave him to reach Fort Dawnguard without a chaperone. Or, you can explore the glade without meeting Agmaer.
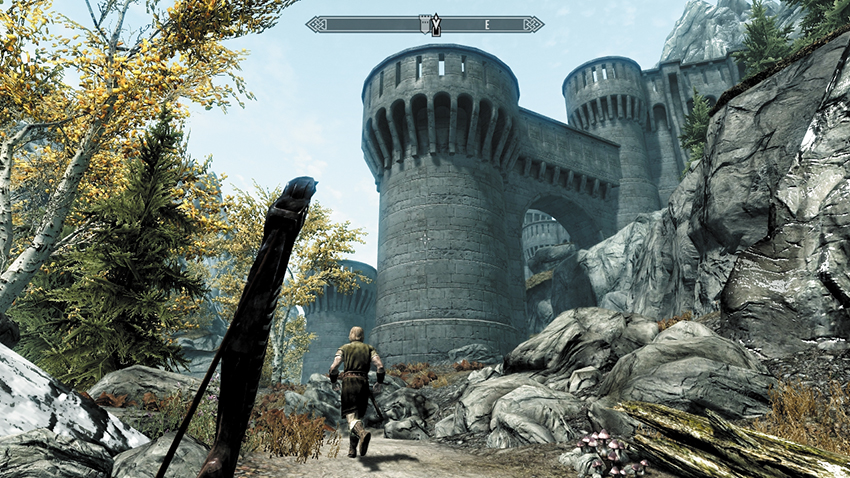
Farther along the path, as the glade becomes more rocky and unforgiving, a buttress tower appears—the first of the crenellations of Fort Dawnguard. Continue along the path (Agmaer remarks that the place is almost deserted), continuing east around the base of a second tower buttress, until you reach a familiar Orc practicing his skills with a strange new weapon. This is Durak, who tells you to meet Isran inside the fort. However, you can also:
- Ask him about why he joined the Dawnguard, Orc strongholds, and a distinct lack of a vampire menace.
- More importantly, you can also ask what he’s shooting with. He tells you it’s a crossbow, a Dawnguard specialty. He gives you one to try and says you’ll want to learn how to use it if you really plan on joining the cause.
- Crossbow and Steel Bolt (45)
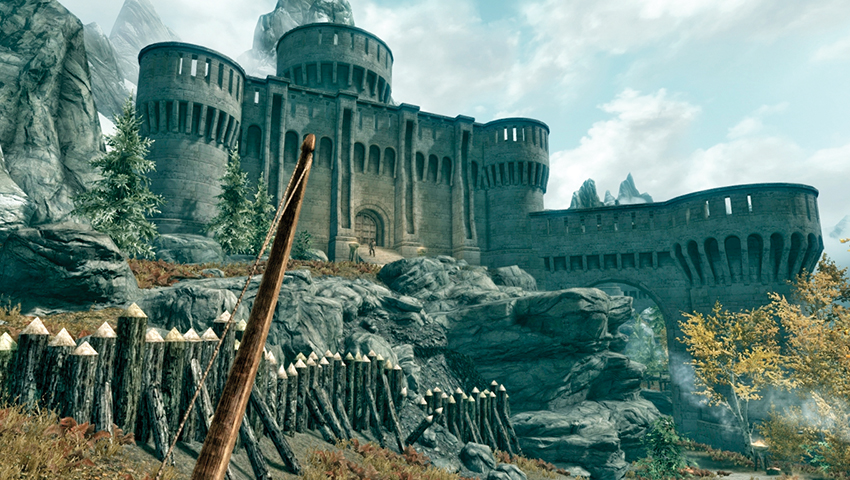
Follow the path to the imposing fortress entrance, passing a guard named Celann on the steps. You can stop and talk to him about his time with Isran when they were members of the Vigilants of Stendarr and about how he left after disagreeing with Isran’s “methods.” Now enter the fortress.
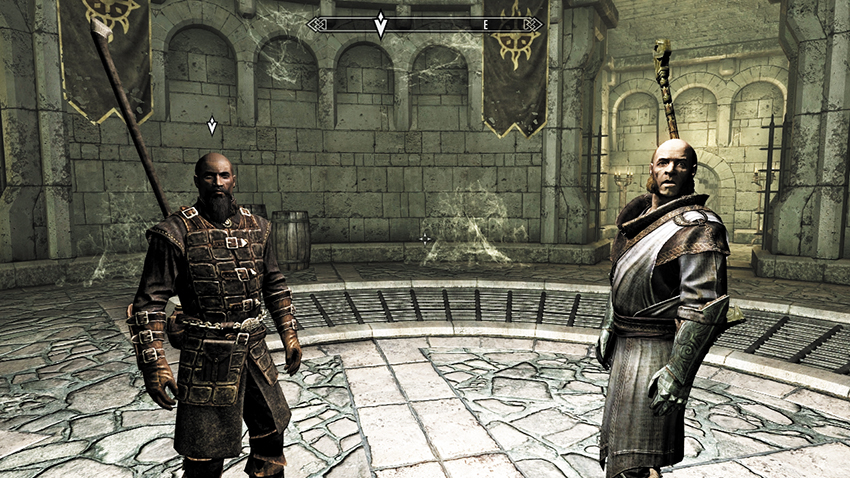
As you step into the circular entrance hall, you see the Dawnguard’s banners are unfurled, and while Agmaer waits nervously, you can watch an argument unfold between Isran and a Vigilant of Stendarr named Tolan. Both are proud and stubborn men, but the Vigilants are here to ask for protection, having seen their fortifications attacked by vampires in the last few days. Tolan has grim news to tell: The Hall of the Vigilant is razed, and all who worship there are dead or worse. With the other Vigilants scattered and in disarray, you may approach either man. Vigilant Tolan tells you more about the vampiric menace stalking these lands.
Isran asks if you’re ready to join the fight against the “damn vampires.” You may answer in any way you wish, but the quest continues only after you ask what you can do to help. Isran relates that Tolan told him about a cave the Vigilants were investigating and that the cave may have had something to do with the recent vampire attacks. Tolan identifies the location as Dimhollow Crypt and says that one of his brothers believed that the catacombs held a long-lost vampire artifact of some type.
You can also ask Isran for advice about a new vampire hunter, about the history of the Dawnguard, and about training in Heavy Armor.
Postquest Activities
At the end of the conversation with Isran, Dawnguard Quest: Awakening begins immediately.
Awakening
Stendarr Preserve Us
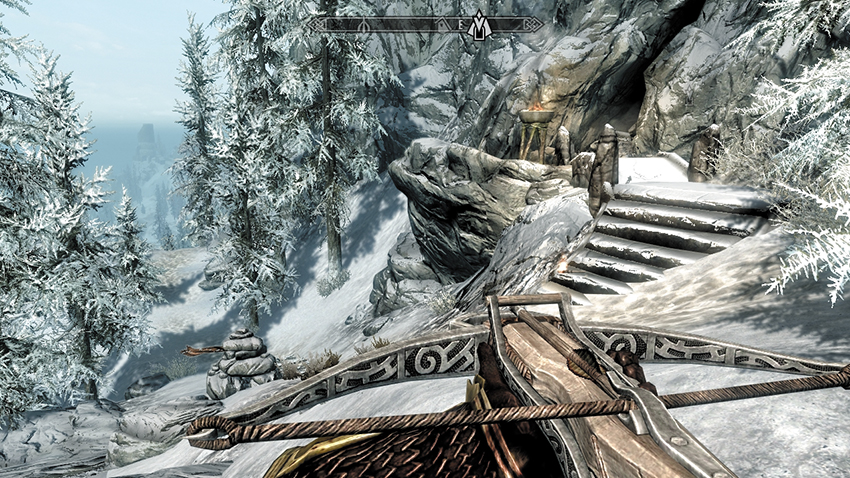
At the end of the initial conversation with Isran, this quest begins. Isran allows you to look around the fort and take anything you need. Grab what you wish, although most of the fort’s facilities (such as the Forge, Alchemy Lab, and Arcane Enchanter) are not yet available. In addition, you can:
- Listen to the end of the conversation between Isran and Vigilant Tolan, who decides to assist you and sets off to Dimhollow Crypt ahead of you.
- Watch as Agmaer nervously shuffles forward and requests training as a Dawnguard soldier. After some initial misgivings, Isran tests Agmaer in the arts of the crossbow and is a little more impressed. The next time you return to the fort, Agmaer will be wearing the garb of the Dawnguard.
- Speak to Durak if you haven’t already, and claim a crossbow if you want to use this weapon. If you have some skill with Smithing, take this opportunity to temper it as well.
When you’re ready, leave the fort and travel to Dimhollow Crypt. The entrance is on a lonely, snow-bound path just west of Frostmere Crypt and the Hall of the Vigilant, over in the Pale Hold. You can also get there by trekking down from the Lord Stone.
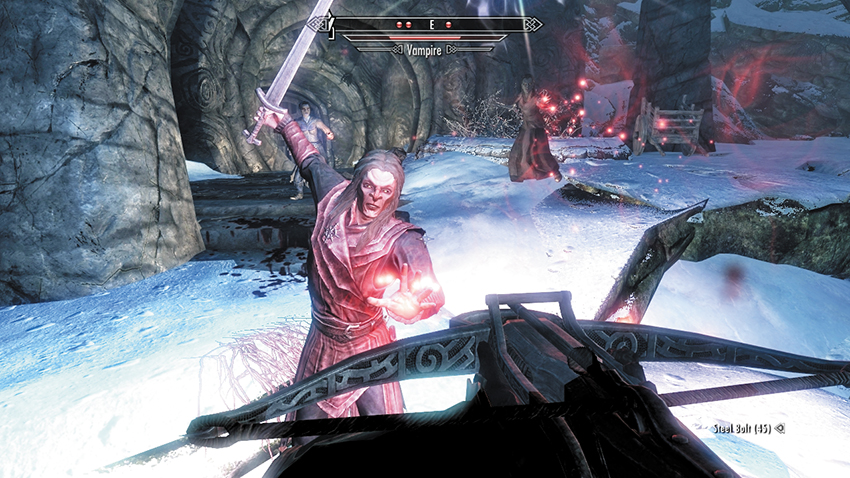
Head into the initial cavern, a grotto where you can listen to two vampires talk about culling yet another Vigilant of Stendarr. Employ whatever combat techniques you’re most proficient with. Watch out for any thralls the vampires may raise, as well as their thick-set, ravenous, and obsidian Death Hound. When combat is over, if you carefully inspect the corpses, you’ll see Vigilant Tolan is among the dead; he’d encountered a Master Vampire and fought valiantly, but ultimately he succumbed to the odds against him. Loot what you wish before heading south to the small stone tower. Activate the chain inside that opens the main interior entrance gate and go inside.
A Very Dim View of Proceedings
Pass into a dank burial chamber, where around four skeletons rise from their earthen tombs along with another vampire. Slaughter or sneak past them all. Head to slightly higher ground, pull the lever next to the gate in the western wall, and head down into a burial chamber, where another vampire is making short work of some Draugr. Kill any survivors, then investigate the four smaller gates with a chain by each of them. Pulling each chain opens the gate. Three of the gates lead to a narrow corridor ending in a Draugr fight, a chest, or a potion pedestal. The northwest gate has a passage that continues deeper into the crypt.
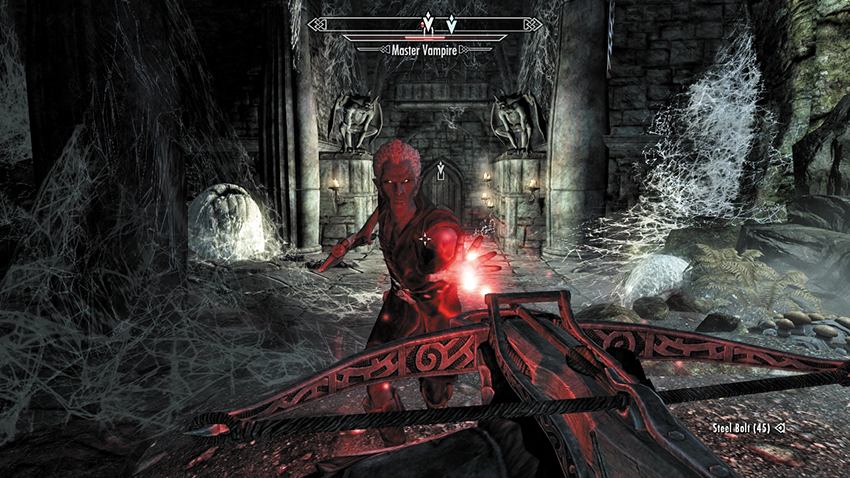
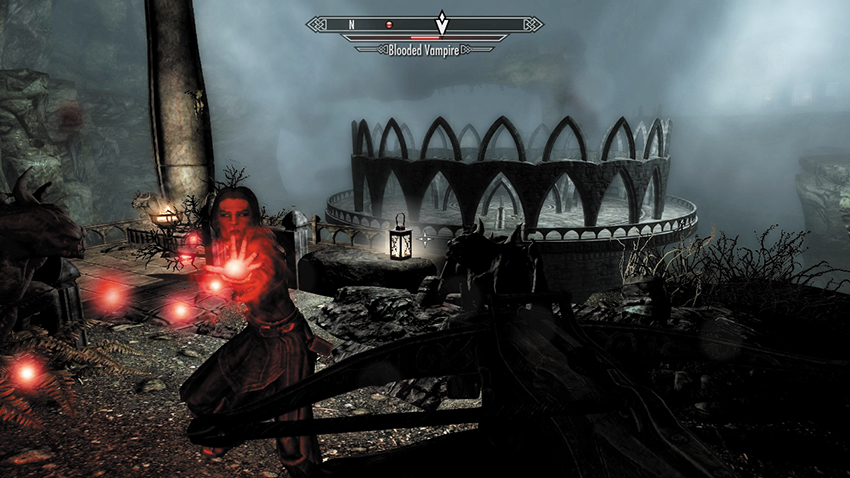
In the waterlogged cavern, a vampire and four more bags of bones are ready to thwart your progress. Defeat them as you wish, then look south to the top of the waterfall; there’s a gate there that you’ll eventually reach. For the moment, carefully maneuver up the soggy path and into Draugr catacombs, where two vampiric incursions must be met with force. The second encounter requires you to defeat two Death Hounds and their vampire master. Wind your way up to the gate you saw above the waterfall, and pull the lever to the gate’s left. A Master Vampire is slaying a Giant Frostbite Spider, before turning his attention (and his arcing shock attacks) to you. Retreat and use cover if his magic is too strong, then face him down (as shown). Next, open the door to Dimhollow Cavern.
Serana’s Subterranean Sarcophagus
Walk toward the pedestal (claiming the scroll if you wish), and pass the suspicious granitelike gargoyles on either side of the exit archway (the lever to the left simply shuts the archway, so keep it open). There’s little time to gaze out across the gloom to the central stone island surrounded by water; two vampires (one named Lokil) are interrogating the captive, Vigilant Adalvald. As you approach, Lokil kills him (there’s no way to save him). Turn right (southeast) and defeat the vampires using your height advantage before descending the stone steps. Then inspect the corpse of the dead Vigilant Adalvald, which lies near a book. Claim the book for your collection; it has some clues to the nature of this chamber.
According to the book, this chamber was constructed long after the Draugr crypt it was connected to was finished. A more sophisticated architecture seems to be based around the elaborate ceremonial construction in the middle of this ancient lake. Cross the stone bridge, making short work of a vampire’s thrall within the circular stone grounds. Head to the narrow pedestal in the middle of the structure. After pressing the button—which turns out to be more of a “skewer”—the grooves within the curved ground become imbued with an odd and fiery mauve light. Fortunately, the fire isn’t damaging, but rather is a puzzle to open this elaborate tomb.
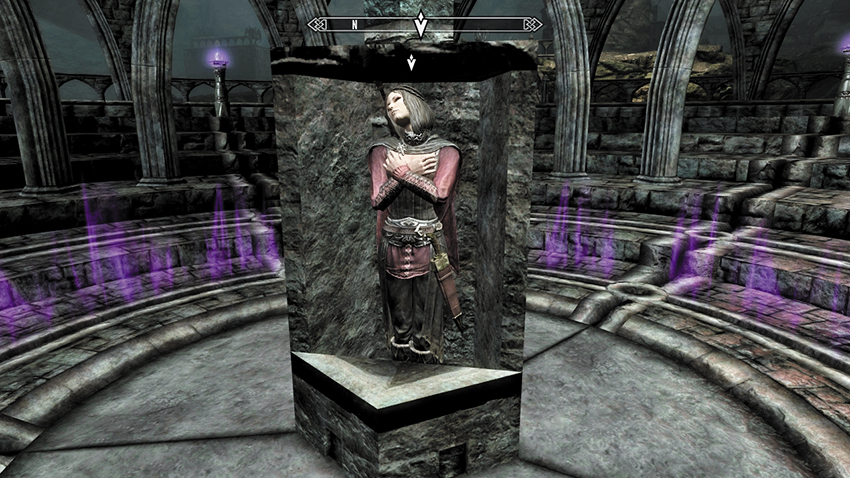
Puzzle Solution: Follow the single line of flames back from the circle, and find the brazier it passes through. Push the brazier to the outer base it slides onto, channeling the fire around. This leads to another brazier to shift, this one toward the base on an inner circle. Continue to follow the fire around, channeling it onward using the braziers (there are five to push or pull; the fire won’t move if you shove the brazier the wrong way). After the final brazier slots into place, the entire floor rumbles, collapsing from the middle outward and revealing a large stone monolith. Activate the monolith, and a section descends. A mysterious woman, who was sealed in this elaborate sarcophagus, falls out.
The mysterious woman is remarkably chipper considering her enforced slumber, but it soon becomes apparent she’s survived her imprisonment due to her vampiric characteristics. You can talk to her about any subject you wish. She soon strikes a bargain with you—keep her alive so you can both find out more about your predicament. She tells you that her family used to live on an island to the west of Solitude, and she hopes you’ll lead her there. She finally introduces herself as Serana.
Postquest Activities
During the conversation with Serana, Dawnguard Main Quest: Bloodline begins as soon as you ask, “Where do you need to go?”
Bloodline
Chaperoning Serana
Continue your conversation with Serana. Topics include figuring out how to escape this crypt, the reasons why she was locked away, details about her home, and the Elder Scroll she carries on her back. From your quizzing, you determine Serana has been locked away in this damp tomb for many years, especially as she has little knowledge of the current political situation across the realm. She’s unsure who she can trust, so she’s understandably cagey when you ask her who imprisoned her and why. When you’ve learned enough, Serana becomes your Follower.
- Follower: Serana
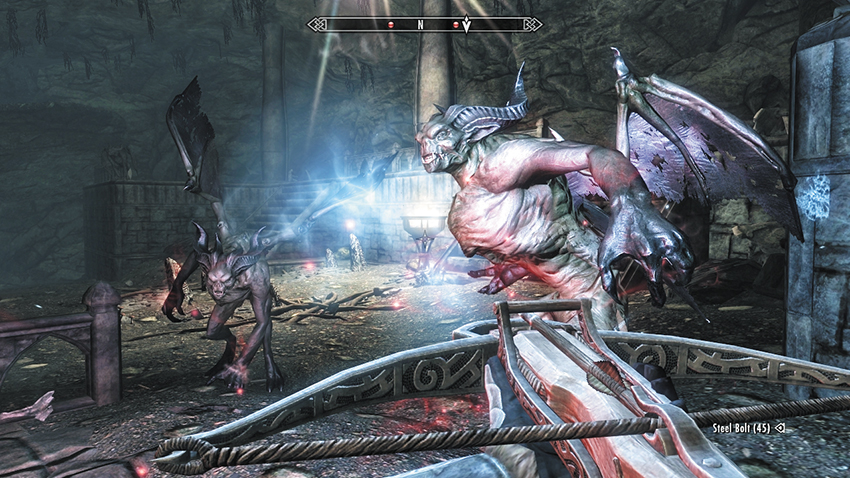
Exit the crypt using the bridge to the northeast. Your escape is soon interrupted as the two hunched gargoyle statues shatter, exposing the demonic beast within. Attack both fiends immediately, as fleeing is somewhat treacherous. Then head east up the earthen slope, opening a wooden door and continuing into an unexplored area of the crypt.
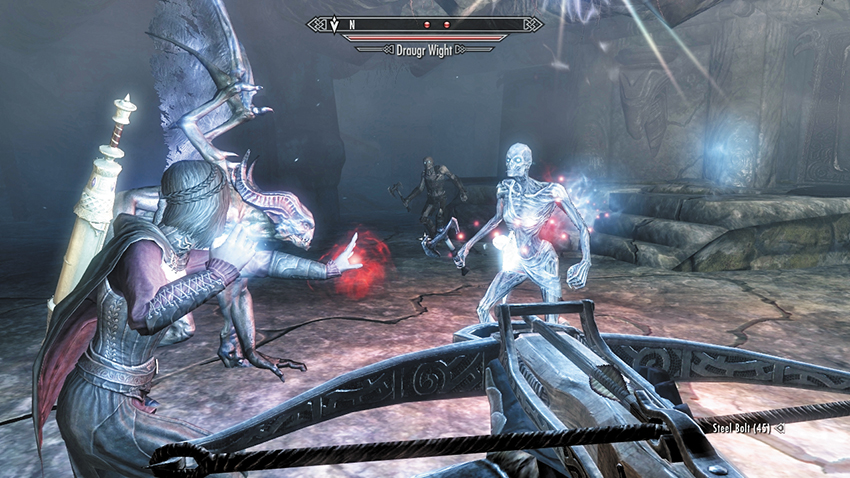
Enter the stepped chamber, climb to the top, and pull the lever. This raises an exit gate to the north and stirs a couple of Draugr from their slumber. Don’t attack any gargoyles she may have raised to help you! After defeating any remaining Draugr and skeletons, head through the open gate, moving north under the open portcullis to a ceremonial burning chamber.
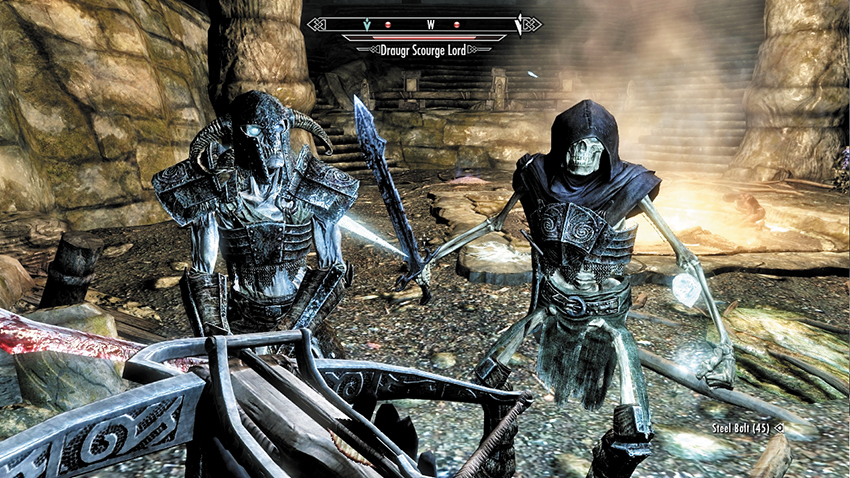
Their thrones may be crumbling, but these dangerous Draugr and skeletons are ready to attack. While you can use any tactic you wish to defeat them, stealth and ranged combat work well here: You can sneak around the top of the stepped area without attracting attention and escape this chamber, or you can pick off your foes one by one. Ridding the crypt of enemies is worth it; there’s a treasure chest and a Word Wall in the northeast corner with a Word of Power to learn.
- Word of Power: Drain Vitality
Head north through the iron door, and yank the chain to raise a final portcullis, allowing you to escape out onto the windswept surface of Skyrim.
Lair of Lord Harkon
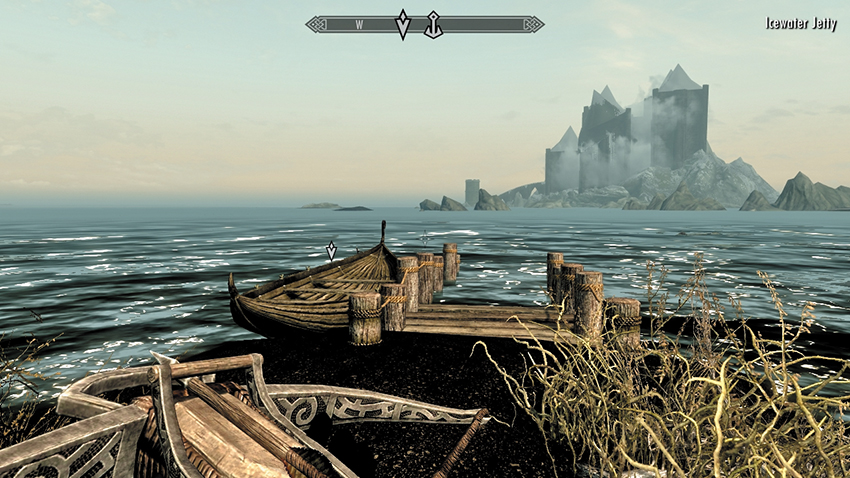
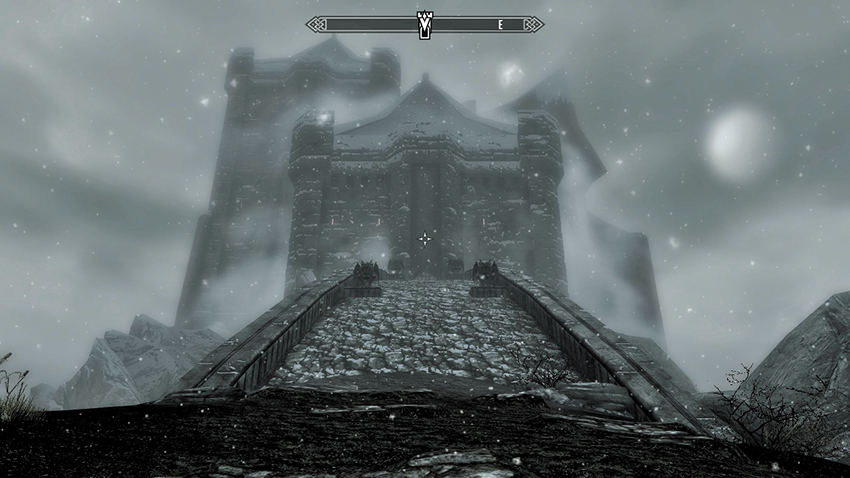
After you exit Dimhollow Crypt, you can figure out exactly where Serana needs to travel. A map marker in the northwestern corner of Haafingar Hold, close to Northwatch Keep and Rimerock Burrow, is your destination. If you’ve been to either location before (perhaps as part of Side Quest: Missing in Action), Fast-Travel there. Otherwise, the fastest way to reach your destination is to visit Solitude, Dawnstar, or Windhelm, where you ask the ferryman on the docks for a ride to “an island near the border of High Rock.” For a fee of 500 gold, he’ll let you off at Icewater Jetty. For more information on the ferry system.
After a long trek or a Fast-Travel, head past Northwatch Keep to discover Icewater Jetty, where a rowboat is moored. In the gloomy distance, a forbidding citadel rises from the Sea of Ghosts. Step into the boat (or, if you’re feeling foolish, start to swim) and travel to Castle Volkihar.
The impressive castle, guarded by a tall tower by the jetty (where you can take another rowboat back to the mainland), is both imposing and vast. Ascend the snow-lined cobblestones of the arched bridge, passing between (thankfully inert) gargoyles. Serana mentions that she won’t need to be chaperoned for much longer. After a shocked Watchman realizes who is standing by his gate—Lady Serana—he raises the portcullis, allowing you into Volkihar Keep.
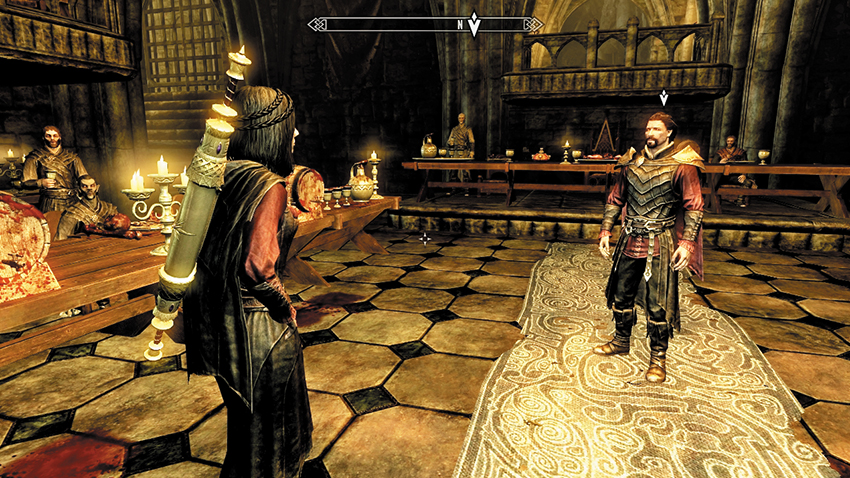
An angry vampire named Vingalmo stops you just inside the entrance. It takes but a moment for him to realize just who has returned. He quickly turns and moves to the balcony overlooking a large banquet hall and announces Serana’s arrival. Upon closer inspection, it seems the inhabitants of this castle are feasting on bloody mead and the innards of freshly culled thralls.
You quickly realize that the leader of the vampires within this keep—Lord Harkon—is Serana’s father. Judging by their somewhat acerbic conversation and Harkon’s matter-of-fact nature, it seems father and daughter are not on the best of terms. Harkon seems happier to see the safe return of the Elder Scroll Serana carries. He also curses Serana’s “traitor mother” before turning his attention to you.
He expresses his gratitude for his daughter’s safe return and asks your name. Answer how you wish, and give Harkon your impression of his faction. The conversation continues to the possibility of a reward for your services, and Harkon believes he has one equal in value to the Elder Scroll and his daughter. He offers you his blood and with it the greatest of powers!
Quest Conclusion: Bite or Flight
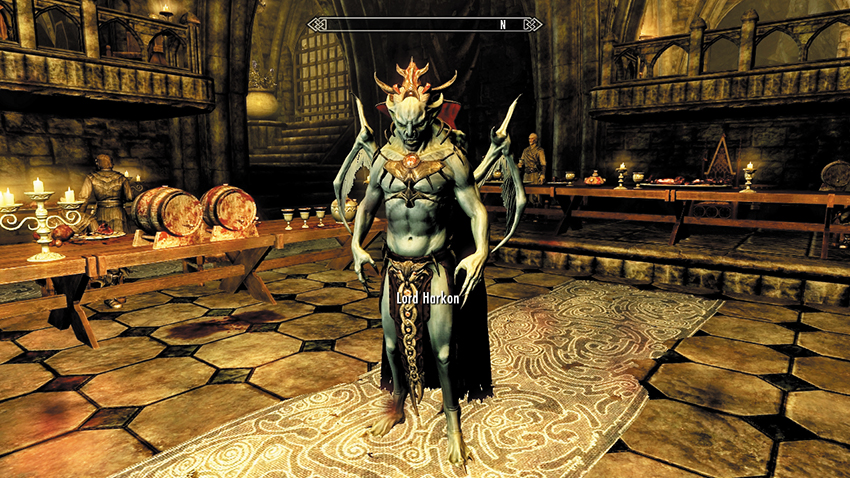
Lord Harkon reveals his true form: a winged demonic Vampire Lord that towers above his minions. Now you must make your choice!
You can:
-
 Accept his gift and become a vampire. Harkon clasps his jaws around your neck, and you lose consciousness.
-
 Refuse his gift, angering Harkon. He banishes you from the castle, and you lose consciousness.
Postquest Activities
When you wake up, Dawnguard Main Quest: Power of the Blood begins. Read that quest next.
When you wake up, Dawnguard Main Quest: A New Order begins. Read that quest next.
Power of the Blood*
Lord of Blood
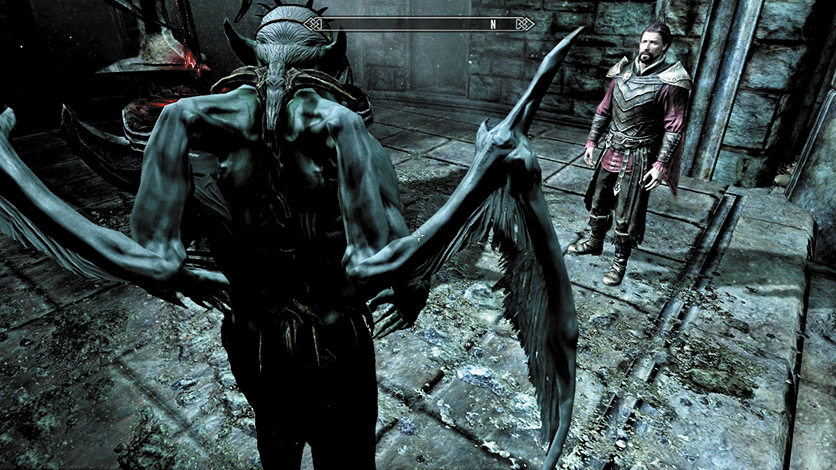
After your bite, you collapse and eventually awaken in a previously unexplored area of Castle Volkihar. This is Lord Harkon’s sanctum, where you must assume the mantle of the Vampire Lord: the true power of the ancient blood. After speaking with Harkon, he instructs you to transform into a Vampire Lord.
This is achieved by selecting Magic > Powers > Vampire Lord (consider adding it to your Favorites, along with Vampire’s Servant and Vampire’s Sight), and transforming. Moments later, your towering, sinewy gray form floats above the ground, and Harkon continues his instructions:
- In this form, you can drain life from your foes with your right hand (the red, glowing strike).
- In this form, you can wield the power of blood magic to raise the dead with your left hand (the blue, glowing conjuration).
- In this form, you can call upon the powers of the night to turn into a swarm of bats and reappear some distance away.
The attacks while in this fearsome form consume Magicka. Should you run out of Magicka, you must descend to the ground to fight in melee. Although your claws are sharp, your lack of access to blood magic makes this the weaker of the two stances. Harkon also informs you that over time, your powers will continue to grow. You’re asked to view the Vampire Lord perk tree. Gaze to the new heavens, and you learn that killing mortals with your bite attack or Drain Life ability will allow you to earn additional night powers and blood magic in the form of perks.
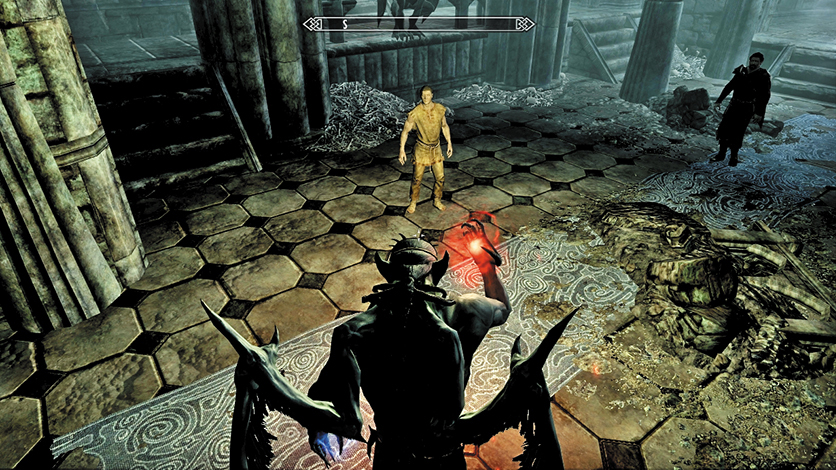
Although you have much to learn, if you master your powers, few will be able to stand against you. For the moment, though, Harkon says that you may visit the pens in the castle, where he keeps a selection of thralls should you need to feed to stave off the effects of the sun. One of these thralls is in the chamber with you. You can:
- Slay him with your Drain Life spell or Bite Power Attack to make progress toward your next perk.
- Return to your human form (Favorites > Revert Form) and interact with him to feed on him.
While you have the opportunity, practice turning into bats and swiftly moving about the chamber to get a feel for your new abilities.
Quest Conclusion
Harkon tells you he has a task for you to complete. You can repeat this tutorial if you wish, or tell him you’re ready to proceed. You should also check your Favorites Menu, select “Revert Form,” and change back to your mortal form before leaving this chamber.
Postquest Activities
As soon as you agree to complete the task, Harkon requests you meet with Garan Marethi and “tell him it is time.” Dawnguard Main Quest: The Bloodstone Chalice now commences.
The Bloodstone Chalice
Bloody Machinations
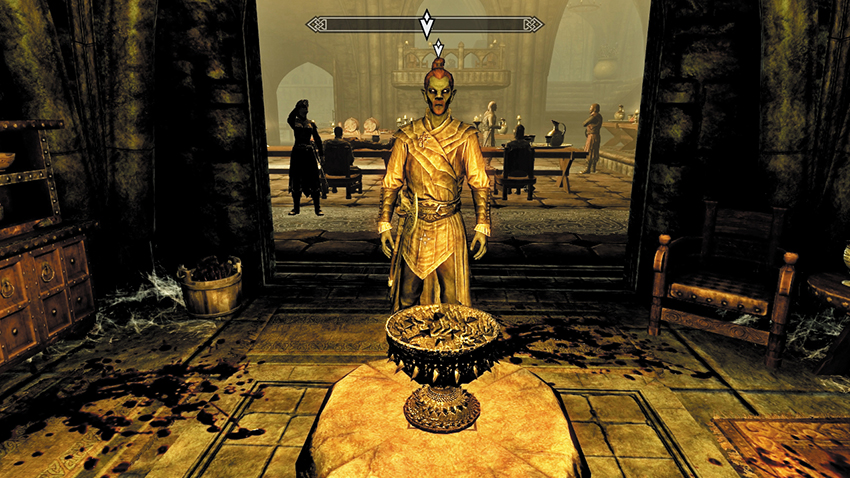
After instructing you on the use of your new and powerful form, Lord Harkon orders you to speak with Garan Marethi. Search out the Dark Elf, telling him, “It is time.” Garan remarks that his master wants the Bloodstone Chalice filled. Garan explains that, when used correctly, the chalice increases the potency of vampiric powers. If Harkon wants it filled, then great plans are afoot! You’re now encouraged to follow Garan.
Along the way, Garan encounters two other vampires—Vingalmo and Orthjolf—in the banqueting chamber. They are surprised at Garan and your actions and seem hell-bent on seething animosity without resorting to violence, as Harkon wouldn’t stand for it. They are also surprised by the mission you’ve been asked to undertake. You can speak to them for further insight into the inner workings of the court.
Meanwhile, Garan has reached the alcove off the banqueting room, where an ornate and ancient chalice sits on a low pedestal. Garan explains the chalice needs to be filled directly from the bloodspring in Redwater Den; then the blood of a powerful vampire also needs to be added to it to increase its potency. Garan also warns you that Redwater Den has fallen into disrepute and offers two plans: attack or deal with its inhabitants using more peaceful means.
- Bloodstone Chalice
A Den of Iniquity
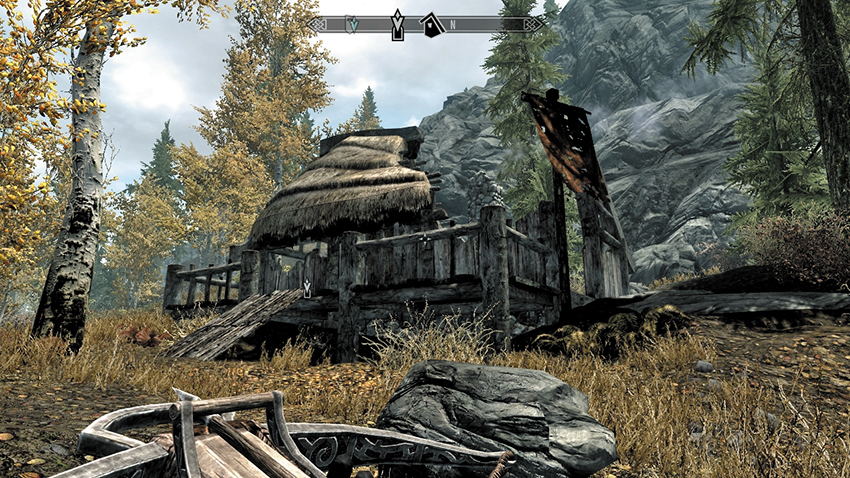
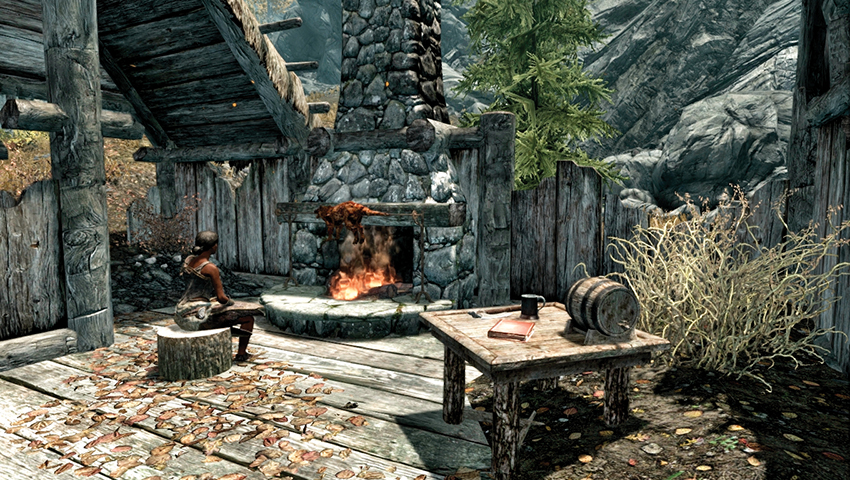
Head to the Rift, to the Secondary Location formerly known as Bandit’s Shack: Autumnshade. This is now marked as Redwater Den on your world map. Clamber through the ruined walls, passing the roasting Skeever on the fireplace spit, and open the previously inaccessible trapdoor that leads into the subterranean den. In the cellar, a doorman stops you, telling you to keep your weapons to yourself. From this point on, you can employ one of three main plans in your investigation.
Plan 1: Skooma Swigging
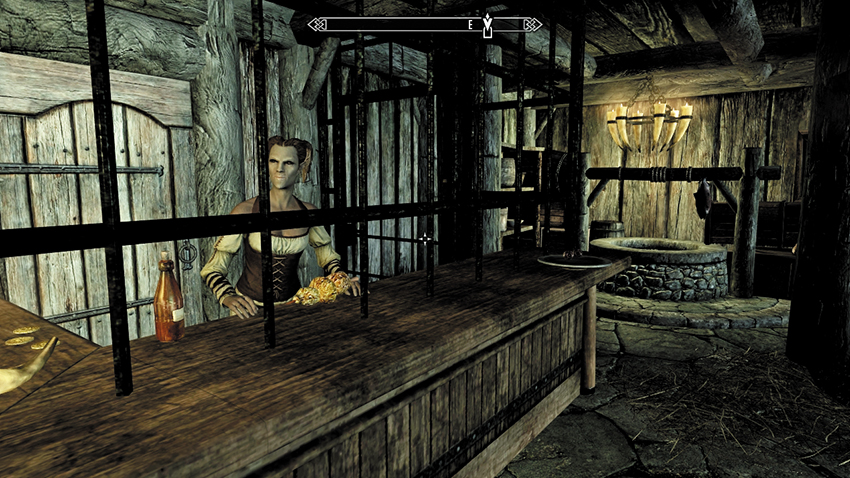
If bloodshed isn’t on your mind, sheathe your weapon and mosey on over to the dealer behind the barred bar. She notices a bad hunger in your eyes. She offers to sell you some Skooma, which is what several visitors in various states of inebriation seem to have partaken in. Your next task is to obtain some Skooma. You can:
- (Persuade) Ask for a free sample.
- Purchase Skooma from the dealer.
- Or ask more information about what makes the dealer’s Skooma so special.
- Redwater Skooma
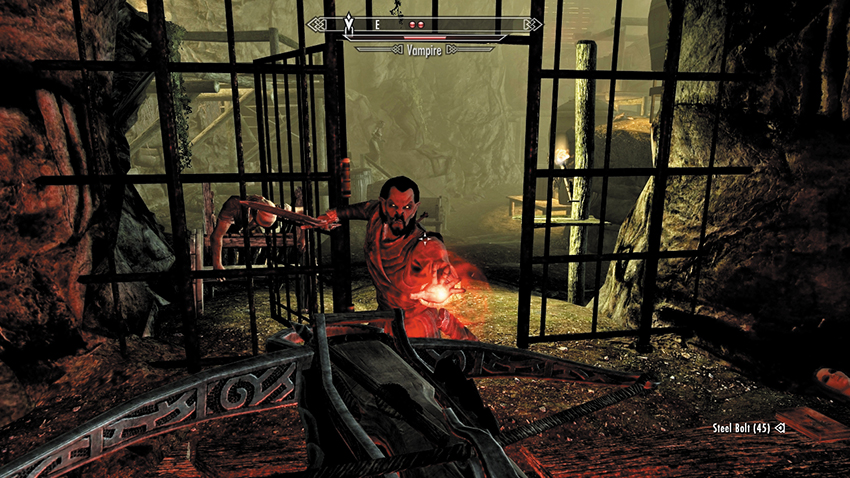
With the Redwater Skooma in hand, take a swig (Items > Potions), optionally moving to one of the alcoves for a bit of privacy. As your vision fades to black, you swear you can hear the dealer talk about her “dosed Skooma.” You wake up in a cage near the den’s distillery. A vampire is speaking to the dealer about the springwater that makes the Skooma so much more potent. They are using it to capture citizens and easily turn them to thralls. The time has come to make your escape. You can:
- Attack your jailor. He’ll rush into the cell, inadvertently freeing you.
- Pick the lock on the cell door [Adept], then begin to slaughter the vampires in the area.
- Learn the Telekinesis spell by reading the tome on the floor (next to the corpse). Use it to snag the key from the table just outside your cell, and use the key to unlock the door.
- (Pickpocket) Or silently sidle up to the vampire guarding the cell and remove the Redwater Den Backrooms Key. Use it to open the door.
Regardless of how you get out, you’ll face another thrall and the dealer inside the distillery chamber. Ensure that everyone meets a grisly end. Pick up the Redwater Den Backrooms Key (from one of their corpses or from the table outside your cell) before you make your way deeper into the dungeon.
- Redwater Den Backrooms Key
Turning into a Vampire Lord while confined in this cell isn’t wise, as it’s difficult to exit through the door. Instead, save this for when you’re outside the cell.
Plan 2: Skewering and Slaughtering
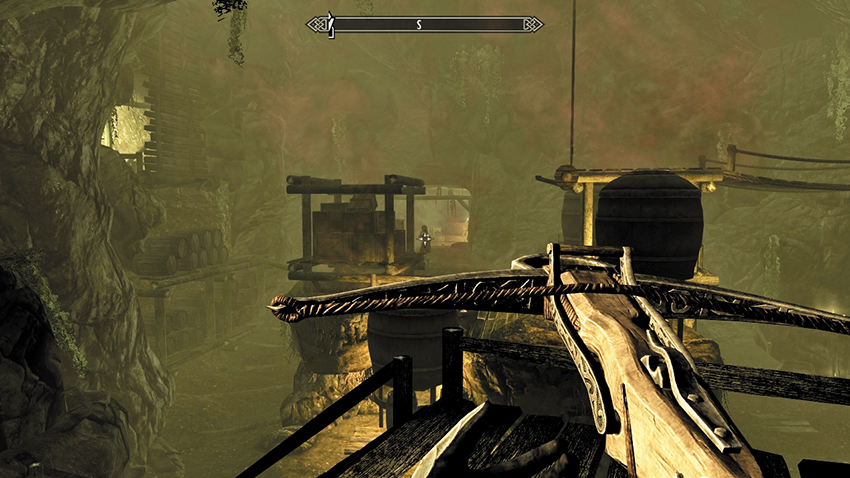
If bloodshed is on your mind, keep your weapon drawn as you meet the doorman and introduce him to the afterlife. Next, descend into a seedy Skooma den and dispatch the dealer and an attendant who attempts to stop you. Search either corpse for the Redwater Den Backrooms Key, which opens the barred bar gate [Expert], allowing you into a back room with some items to scour (this room is also the exit from the lower dungeon area, but that exit is currently inaccessible). Pillage what you need, ignoring the Skooma-addled customers (unless you wish to feed in Vampire Lord form), and head south, opening the gate [Adept] that leads into the distillery chamber. Wipe out any vampires and thralls you see roaming the platforms and stone paths around this large chamber.
Plan 3: Swift and Sneaky
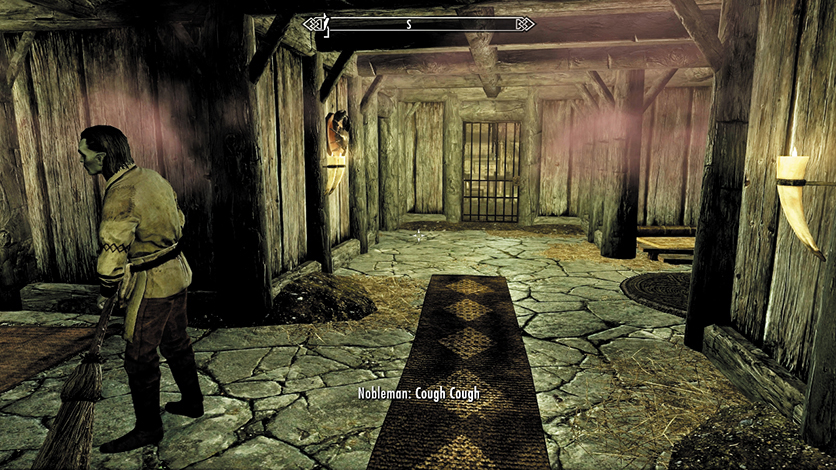
If you prefer stealth to bloodshed, ignore the dealer as you enter the Skooma den and proceed directly to the locked door at the hall’s far end. Start sneaking (perhaps using your Embrace of Shadows power or an Invisibility spell to better cloak yourself), wait for the attendant to pass you by, and then pick the lock [Adept] to enter the distillery. Be careful: If either the dealer or the attendant sees you sneaking through this way, they become hostile and attack you on sight.
Merged Path: Upward and Inward
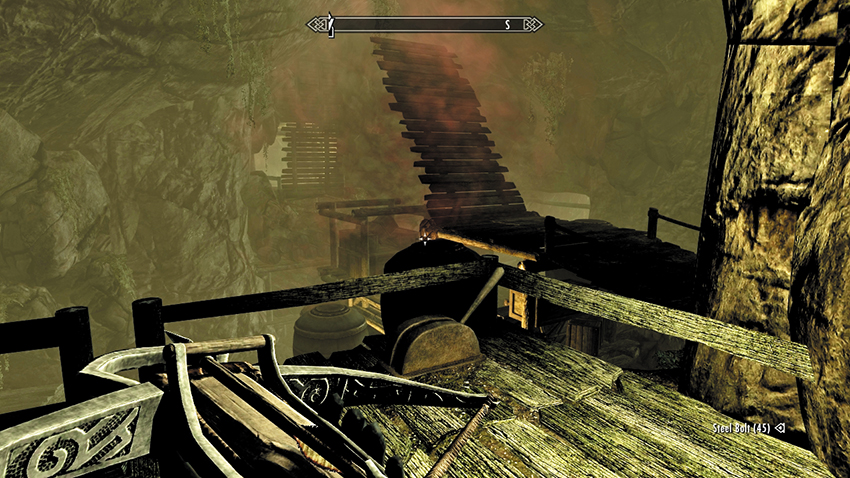
Ascend the perimeter of the distillery room via the sloping mine tunnel along the southwestern area of the chamber (as shown). Head up, dealing with any foes you encounter, passing by (and optionally reading) a copy of the Aetherium Wars on a crate as you go. Pass the forge and locate a lever on a ledge above the distillery, which lowers an adjacent bridge. Defeat the thrall as you descend into some old mine workings on the opposite side to the north, which have broken through into an old Draugr crypt.
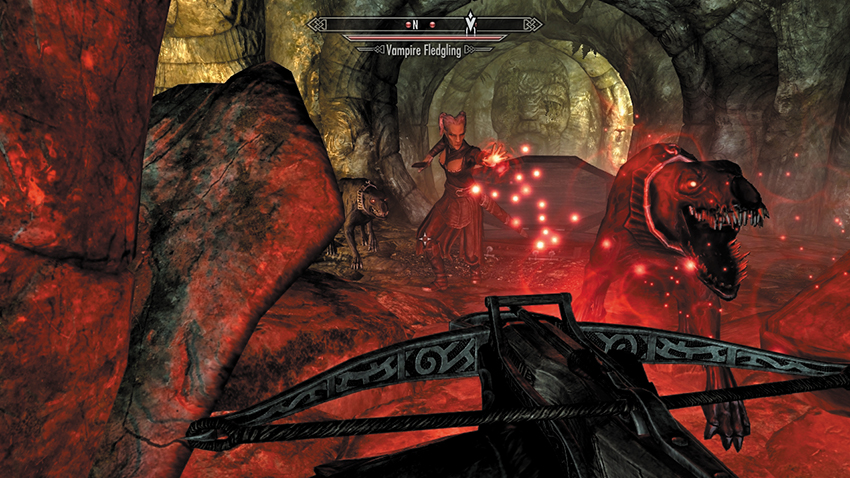
Step onto the stone ground of the Draugr tomb, following the path as it turns back on itself to the south. Drop the skeleton and thrall (using weapons or the flaming pots hanging above), then activate the chain to open a secret tunnel leading to a vampire’s coffin. Slay the night stalker and two Death Hounds in this area before locating the steps up to the large double doors leading to Redwater Spring.
Bloodshed in the Bloodspring
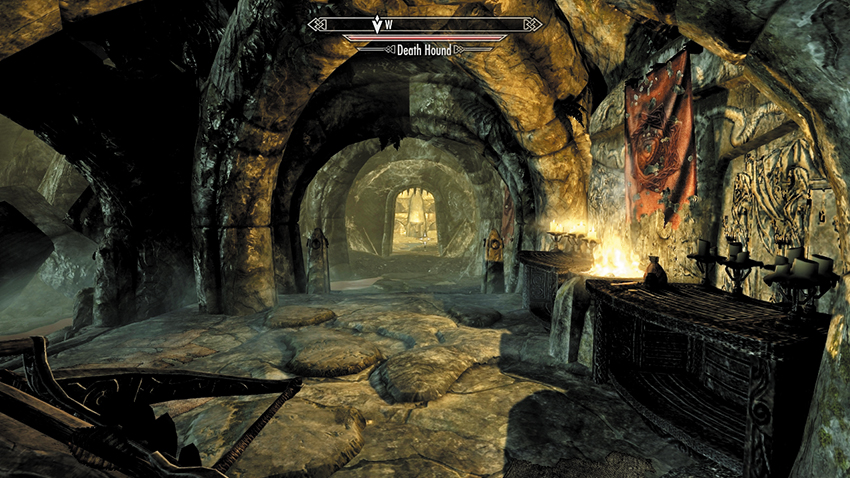
On the shelf at the first intersection you reach, search for Venarus Vulpin’s Journal near some coins; it contains notes on the history of the place and the fate of those who first found the sealed-off Bloodspring. As the exit to your left (west) is closed, and the chain is visible (but not reachable) through the oval gap to the right (east), this area requires further exploration. To the north, you’ll hear voices. They are coming from a large chamber partially covered by wooden barricades. Two foes lurk there; shoot the flaming pots down on them or charge down the steps to intercept them. Be careful you don’t step on the floor grating as you enter the chamber or you’ll fall down a spiked pit!
- Venarus Vulpin’s Journal
The two Death Hounds are safely in a caged pen, so you can ignore (or slay) them before climbing the spiral steps around the column, crossing the small bridge heading east, and heading around the bookcases and over the pen to the oval window. Pull the chain to open the portcullis next to it and the one to the west you couldn’t previously reach.
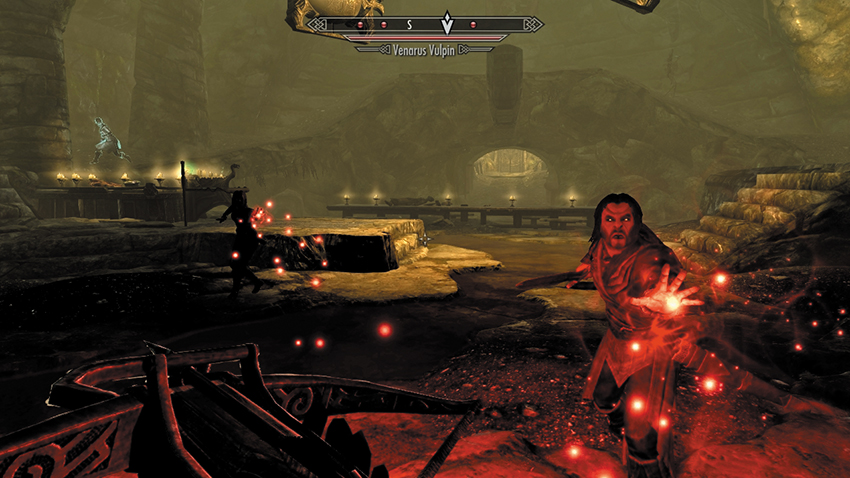
This leads to a large Draugr crypt, which has more recently been reappropriated by vampires. Coffins line the alcoves of this tomb, and a Master Vampire, Death Hounds, and other night stalkers wait to attack. Set fire to the oily earth if you wish, watch for vampires emerging from their coffins, and work your way around the chamber and up the steps to the eventual exit in the northwest corner. Pull the chain to raise the gate. Enter the altar chamber with the Alchemy Lab, and look at the three doors ahead of you. The one on the altar’s right side simply flays spears in your face. The wooden door opens a small cupboard. The left side door is the one to take; it leads to a connecting passage with three nasty gate spiked traps to avoid (don’t step on the floor plates!).
This takes you to a door that opens into a grand altar chamber. Here you will discover Venarus Vulpin’s fate; he drank from the Bloodspring and is now a feral vampire. Attack! Once your foes lie oozing into the damp stone ground, inspect Venarus Vulpin’s corpse, and pry out the Redwater Wellspring Key. It opens the door to the north [Master]. Open it.
- Redwater Wellspring Key
Blood of the Ancients
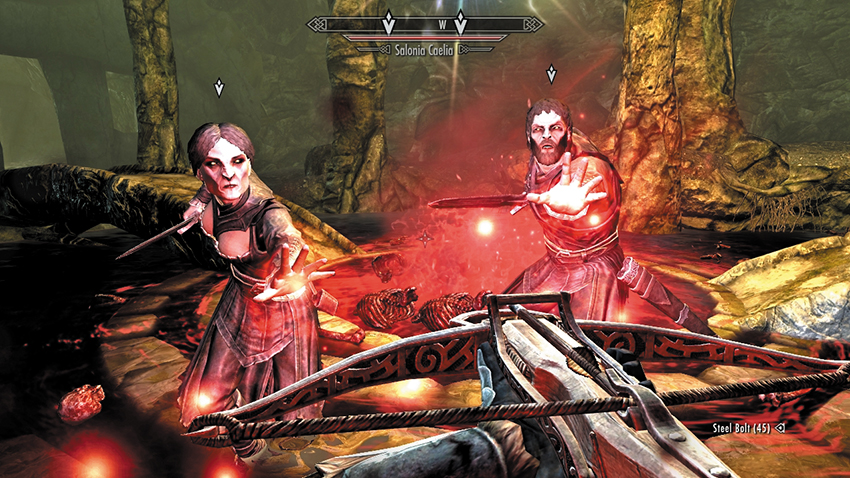
You have arrived at the wellspring. Step down into the bloodred water filled with the flesh of the fallen, and activate the Bloodspring. You’re prompted to return to Garan, but the door to the south is sealed. Out of the shadows, two vampires appear. Salonia Caelia mocks you about a “little accident” you’re about to have. Stalf agrees. Salonia remarks that she was sent to retrieve the chalice for Vingalmo, who will turn it over to Harkon. Stalf is taken aback: He has followed and is about to kill you so Orthjolf could claim the chalice. This violent scrabbling for power is indicative of how Lord Harkon rules his chaotic court. But social politics shouldn’t be pondered right now: The swift execution of these disloyal curs should occur instead. Have at them!
When both of the vampires lie dead, collect blood from either of them to further fill the chalice. Then exit this place via the short crypt to the south that brings you (via a secret door) back to the Skooma den.
Quest Conclusion
Back at Castle Volkihar, seek out Garan and hand over the chalice. Garan suspected Stalf and Salonia might follow you. Welcome to the politics of Lord Harkon’s court: Your actions have usurped power from Orthjolf and Vingalmo while improving your own standing.
Postquest Activities: General
Lord Harkon wishes to speak with you. Dawnguard Main Quest: Prophet now begins. You may also wish to gain further knowledge about the court by speaking with Orthjolf and Vingalmo.
Postquest Activities: Blood of the Ancients
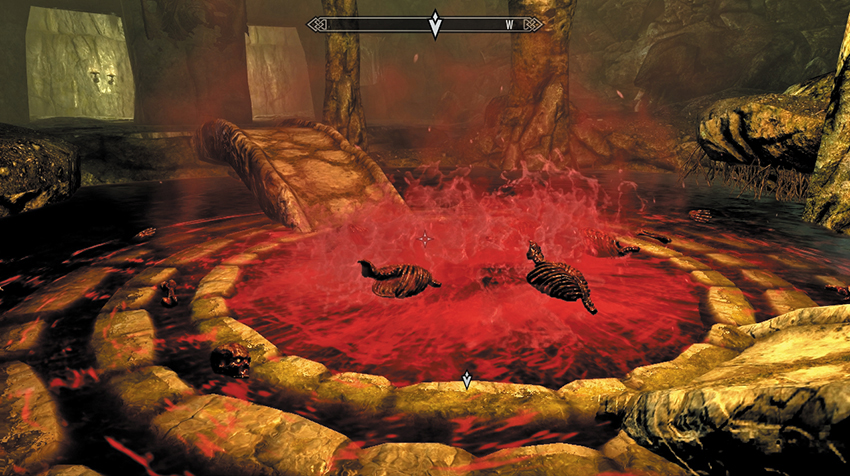
Redwater Spring, in Redwater Den, has some unusual properties (although once you have the Bloodstone Chalice filled, it is both more convenient and powerful than the spring itself).
If you happen to drink from it directly:
- If you are a vampire, you receive the Tainted Blood of the Ancients ability. For one day, your Vampiric Drain will absorb Magicka and Stamina, but your maximum health will be reduced by 30.
- If you are not a vampire (you’re exploring Redwater Den independently of this quest), you have a chance of contracting Sanguinare Vampiris (the vampire disease) or another disease. Keep drinking from the spring, and you can contract any number of unpleasant poxes: This isn’t exactly sanitary!
You can also drink from the Bloodstone Chalice, which gives you the improved form of this ability:
- If you are a vampire, you receive the Blood of the Ancients ability from the chalice, which causes your Vampiric Drain to absorb Magicka and Stamina. The duration of this ability grows each time you complete Vampire Faction Quest: Ancient Power.
A New Order
Brazen Incursions at Fort Dawnguard
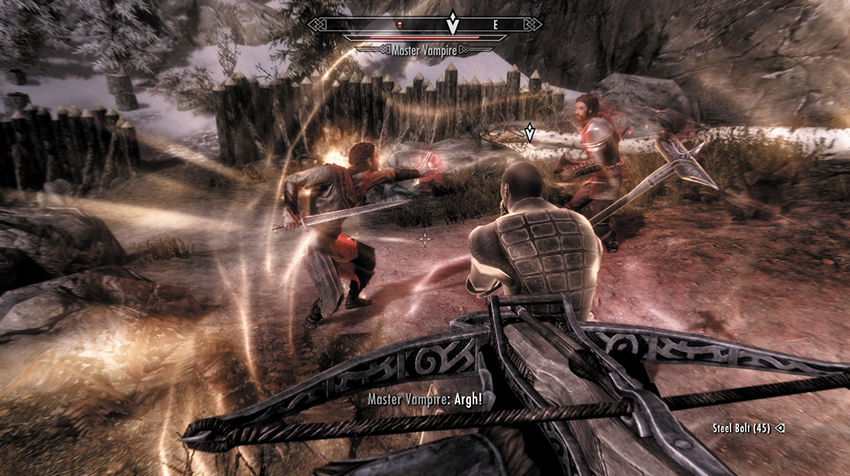
Once you’ve been dismissed from Lord Harkon’s court and you’re back at the castle’s jetty, return to Fort Dawnguard via an extensive trek, or Fast-Travel there. As you near the castle, you may run into Vori (another of Isran’s trusted forces, and a woman of few words). However, keep your wits about you as you reach the castle’s entrance; a vampire menace has infiltrated Dayspring Canyon. Expect combat, with Isran showing his prowess with a mighty Dawnguard hammer against three vampire interlopers. Join the battle, then speak to Isran. He isn’t confident you’re bringing him good news.
You tell him about Serana, trapped in Dimhollow Crypt, and her bloodline. Isran’s demeanor is even less jovial once you mention Serana’s Elder Scroll—and your failure to obtain it. He curtly explains that the vampires “have everything they wanted, and we’re left with nothing.” But all is not lost: Isran knows people who he’s met, worked with, and, astoundingly, hasn’t alienated. He wants you to find a woman named Sorine Jurand, who is “whip-smart and good with tinkering.” You’re also tasked with locating Gunmar, a “big brute of a Nord” who is an accomplished blacksmith and animal trainer. Finish your conversation with Isran, and the quest updates.
Gunmar: Inducting the Trainer of Trolls
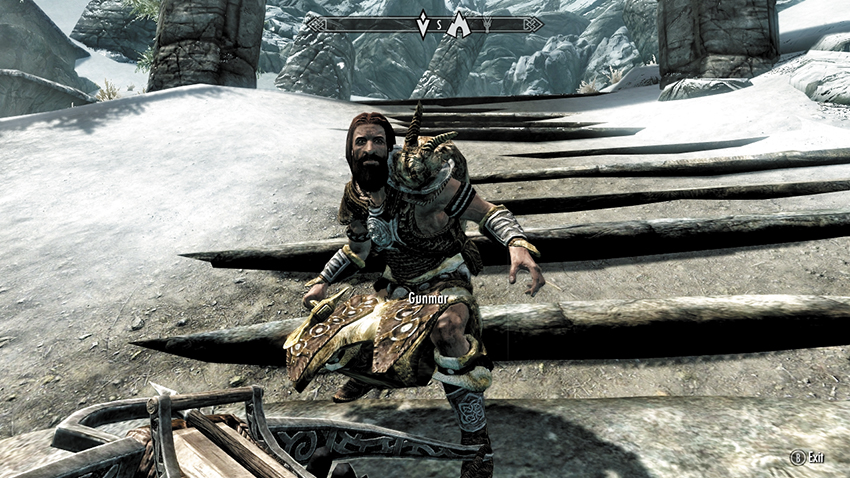
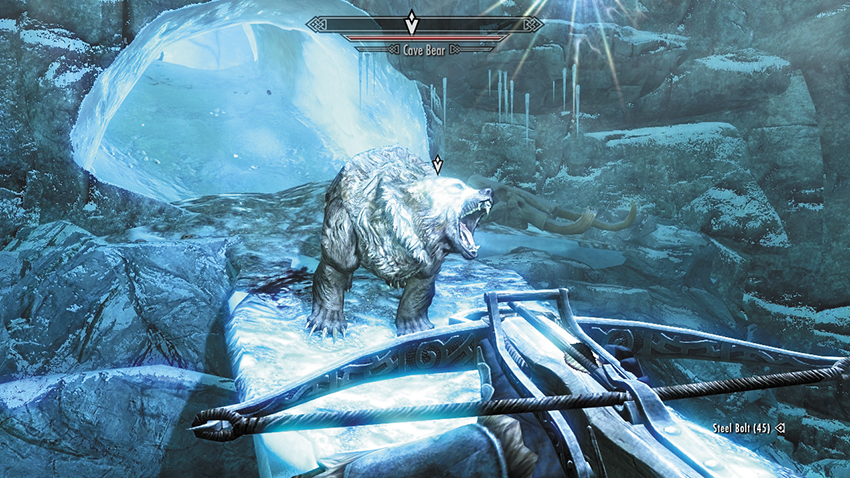
Look to your map to pinpoint the position of Gunmar, who can be found outside an Animal Den. When you approach, Gunmar immediately cautions you to hold fast, telling you he’s been tracking a murderous bear for two weeks. When you mention Isran, Gunmar seems nonplussed; he’s moved on with his life. Change his mind by mentioning the vampires and their Elder Scroll, and Gunmar realizes the predicament that could befall the realm. He agrees to help, but only after you both defeat the bear lurking within.
At this point, you can:
- Enter the den, fend off any wild animals you encounter, hunt down the bear, and slay it in whatever method you deem appropriate.
- Enter the den, wait for Gunmar, and follow him into combat, lending him support while he “bears” the brunt of the attacks.
- Inform Gunmar that you’ve already killed the bear yourself (if you went in without speaking to him). He’s suitably impressed.
Once the bear is dead, speak to Gunmar, and he agrees to meet you back at Fort Dawnguard. He will be there the next time you visit; there’s no need to follow him.
Sorine Jurard: Drafting the Dwemer Tinkerer
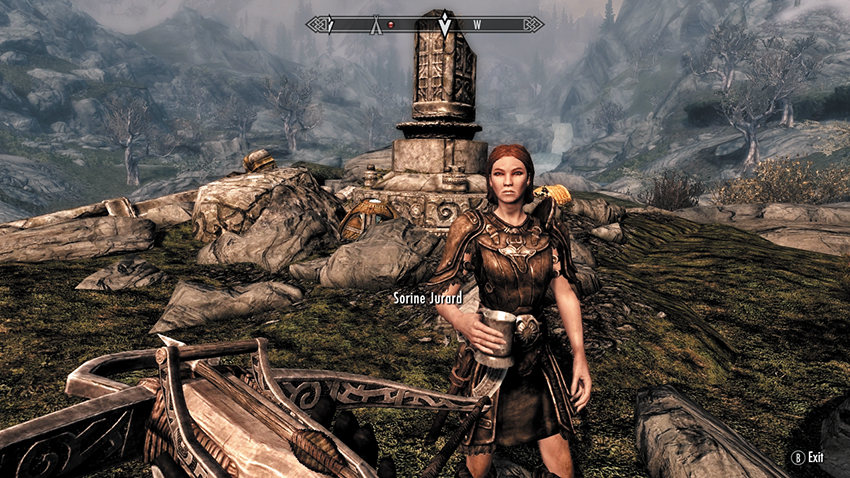
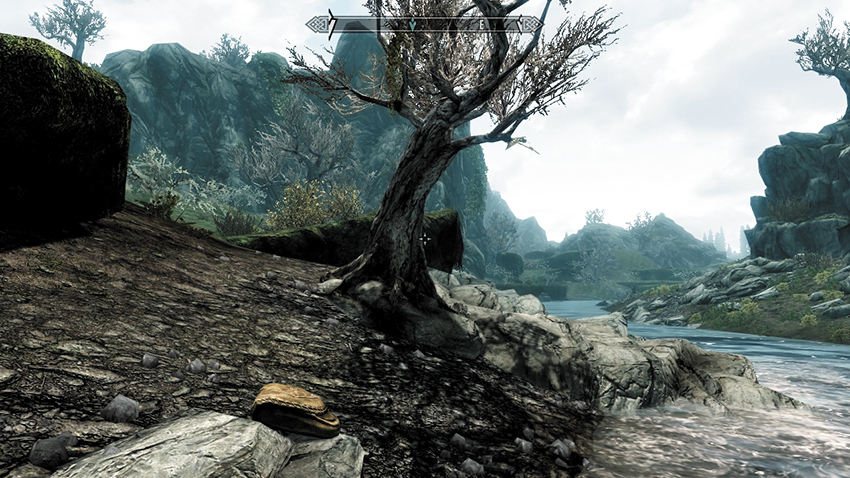
Look to your map to pinpoint Sorine’s location. She can be found in the Reach, in a remote location south of the Orc stronghold of Mor Khazgur and north of Druadach Redoubt, at Secondary Location: Dwarven Rubble: Druadach. As you begin talking with her, she seems a little preoccupied with a sack of Dwarven Gyros she has misplaced. After you inform her of Isran’s request, she tells you Isran’s hurtful comments at the end of their last meeting have dampened her enthusiasm for him, to say the least. But explain the dire situation regarding the vampires, and Sorine is a little more receptive. But she still requires at least one Dwarven Gyro for her research. At this point, you can:
- (Persuade) Tell her there’s little time to waste. Don’t be surprised if Sorine doesn’t share your urgency.
- Hand over a Dwarven Gyro you may be carrying already.
- Startle the Mudcrabs and beat back the odd Forsworn incursion as you search for her lost “sack” along the riverbed. The bag is actually a satchel, lying close to a tree on the riverbank (see picture). There are seven Dwarven Gyros inside Sorine’s satchel, but you need give her only one.
- Or go in search of a Dwarven Gyro on your own. You can visit any dwarven city in Skyrim (these locations are flagged throughout the Atlas) and manually search chests, tables, and shelves for a Dwarven Gyro. You can also pilfer them from Markarth’s Understone Keep, including one right next to Calcelmo, the court wizard. Calcelmo also has several in his museum and quarters in the keep’s upper levels. You need acquire only one, then return it to Sorine.
- Dwarven Gyro
With the Dwarven Gyro secured, return to Sorine Jurard and hand it over to her. She agrees to meet you back at Fort Dawnguard and will be there the next time you visit. There’s no need to shadow her progress by following her.
Once both parties have been recruited, your quest updates:
An Unwelcome Guest
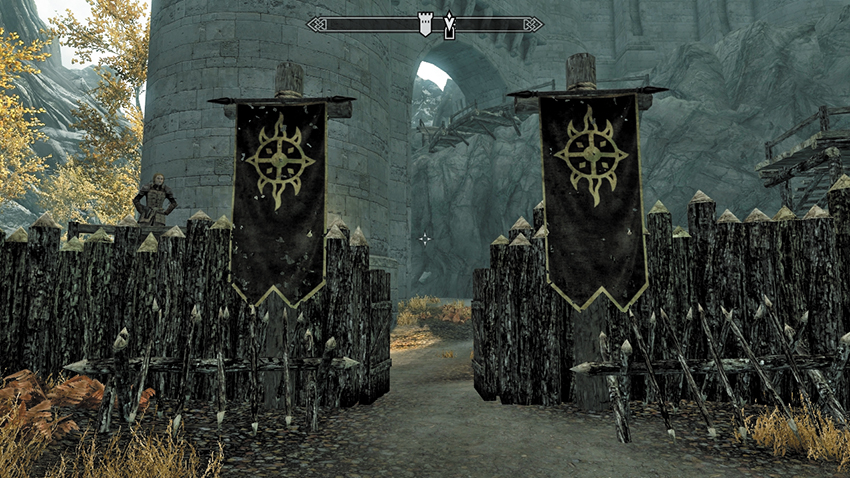
Upon your return to Fort Dawnguard, you’ll see Isran and his cohorts have been busy setting up barricades and perimeter defenses. A Dawnguard agent named Tilde usually mans the gate. Speak to her and to Vori (who is patrolling nearby) if you wish. Enter the fort, and both Gunmar and Sorine are waiting in the circular entrance hall. Isran is on an upper balcony and bathes the ground in a strange writhing light. He is testing to see whether the three of you are tainted with vampirism:
- If you haven’t contracted vampirism, the quest continues.
- If you have contracted vampirism, Isran refuses to let you into the fort, and the gates to the rest of the structure remain sealed. At this point, the only way to proceed is to cure yourself by completing Side Quest: Rising at Dawn or being turned into a werewolf (see the Companions Quest: The Silver Hand).
When Isran has three healthy helpers, he instructs Gunmar to pen up some armored trolls to use as shock troops, while Sorine is to continue her research on improving the crossbow design. Meanwhile, you have more immediate concerns: A vampire has shown up at the fort, looking for you!
Postquest Activities
As soon as Isran mentions that a vampire is looking for you, Dawnguard Main Quest: Prophet begins.
Prophet
Vampires: A Prequel to Prophecy
Once you’ve spoken to Garan Marethi and explained your successes during Dawnguard Main Quest: The Bloodstone Chalice, the Dark Elf tells you to locate Lord Harkon, who wishes to speak with you. You’ll find Harkon in one of his private chambers. Harkon reveals his true ambitions, stating that the vampire’s greatest weakness is the sun, an enemy they’ve had no way to fight—that is, until he found an old prophecy written by a Moth Priest, the scholars who read the Elder Scrolls.
Harkon has been obsessed with the prophecy ever since, as it tells of a time when the vampires gain power over the sun itself. He believes Serana’s Elder Scroll is the key to unraveling that prophecy. He has ordered his court to assemble and has a new task for all of them to carry out, including you.
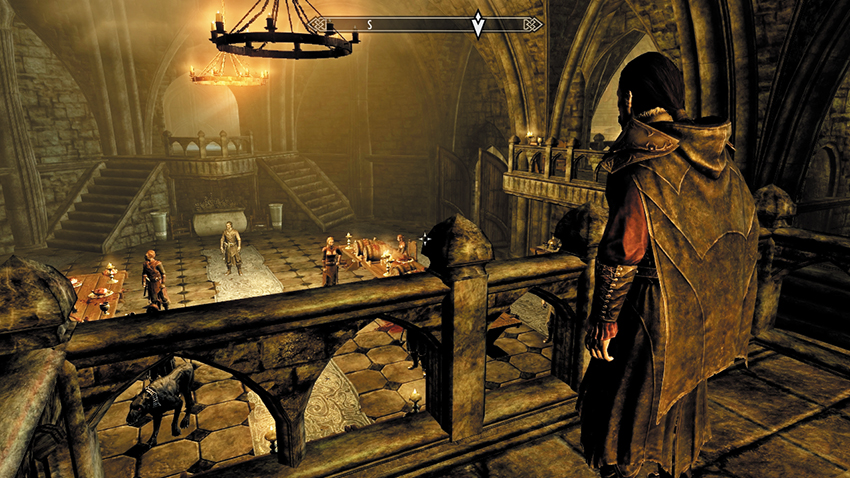
Follow Lord Harkon to his balcony overlooking the banquet hall. He hails his scions of the night, proclaiming that the prophesied time is upon them. Now that the Elder Scroll is in their possession, Harkon requires a Moth Priest to read it. To this end, he has spread false rumors about the discovery of an Elder Scroll in Skyrim to lure a Moth Priest to these parts, and now his minions must search the land to see if one can be found. He wants his brood to look to the cities, speaking to innkeepers, carriage drivers, anyone who would meet a traveler. That is his command.
After the proclamation, Serana approaches you. Ask for her opinion, and she recommends asking a mage at the College of Winterhold. The quest updates with the following objectives, after which you can quiz Serana on her knowledge of the Elder Scrolls and on her life as a vampire.
Dawnguard: An Uneasy Alliance
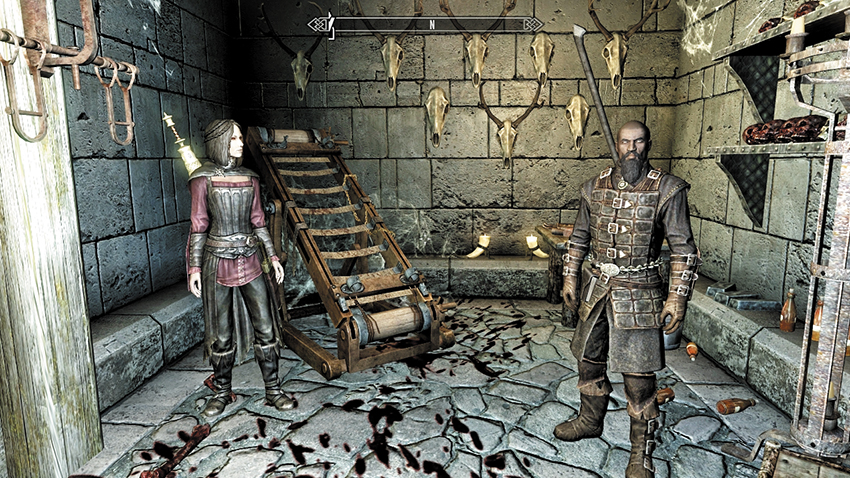
Once Isran has verified that none of his new brethren are night stalkers, he beckons you upstairs to a chamber with a rack and a collection of severed heads. Here you must deal with a vampire that actually had the gall to enter the fort looking for you. Lady Serana is waiting here, much to Isran’s chagrin. Apparently, Serana has something really important to say to you.
Serana begs you to listen, before Isran loses his patience: She has important information regarding the Elder Scroll she was buried with. She explains that her father, an unpleasant character even by vampiric standards, has stumbled onto an obscure prophecy and lost himself in it. She doesn’t know the details, except that Lord Harkon has become obsessed with part of the prophecy, stating that vampires would no longer need to fear the sun. He wishes to control the sun and wreck havoc across the world. Serana’s mother wasn’t happy with the prospect of a war with all of Tamriel, so she tried to stop him, which is why Serana was sealed away in the first place. Serana wants to finish what her mother started. But for that to happen, the Dawnguard need to embrace her. In a nonvampiric way, naturally.
Your conversation with Isran begins with him violently opposed to Serana. Respond as you wish, and Isran gives in just a little. Instead of out-and-out hostility, he figures Serana must have a death wish or is insane. Neither matters to him. But he’ll tolerate her until the moment she lays a finger on anyone here.
After some barbed comments with Isran, Serana turns and explains that the Elder Scroll she carries cannot be read by either of you. Only the Moth Priests have this ability, but she has no idea where to find one. Isran interjects at this point, mentioning an Imperial scholar he saw in Skyrim a few days ago. But he isn’t about to waste men trying to find him. However, he suggests you ask innkeepers, carriage drivers, and the like for clues as to the scholar’s whereabouts. Ask Serana for her opinion, and she recommends asking a mage over at the College of Winterhold. The quest updates with the following objectives, after which you can quiz Serana on her knowledge of the Elder Scrolls and on her life as a vampire.
To Catch a Moth Priest
Optional Plan 1
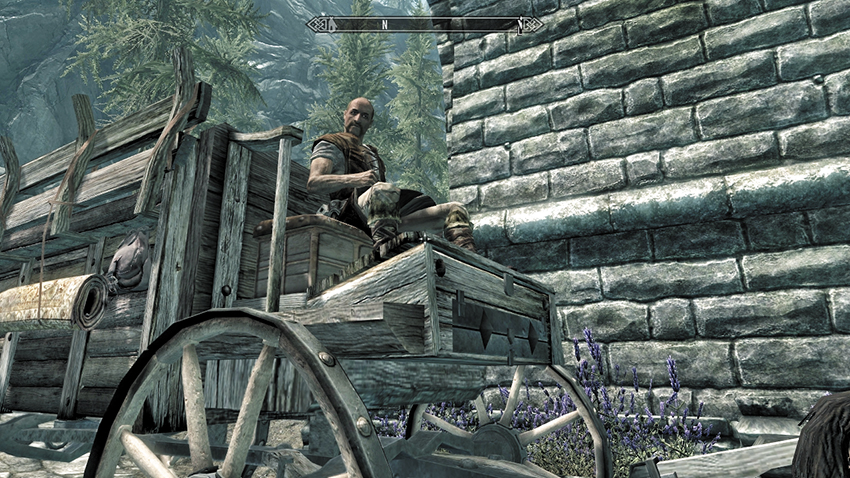
Carriage drivers: One plan is to see whether a carriage driver has seen a Moth Priest on their travels. Simply approach one of them (say, Thaer outside of Solitude) and ask. He describes the scholar with impressive precision but then conveniently “forgets” any specific details. You can:
- (Persuade) Try pleading, telling him it’s vital you find him.
- (Bribe) Offer a considerable sum of septims to reveal his knowledge.
- Ignore him and try one of the other plans.
If either option is successful, you need not complete the other optional plans. Head to Dragon Bridge, where the driver mentions the Moth Priest was last seen.
Optional Plan 2
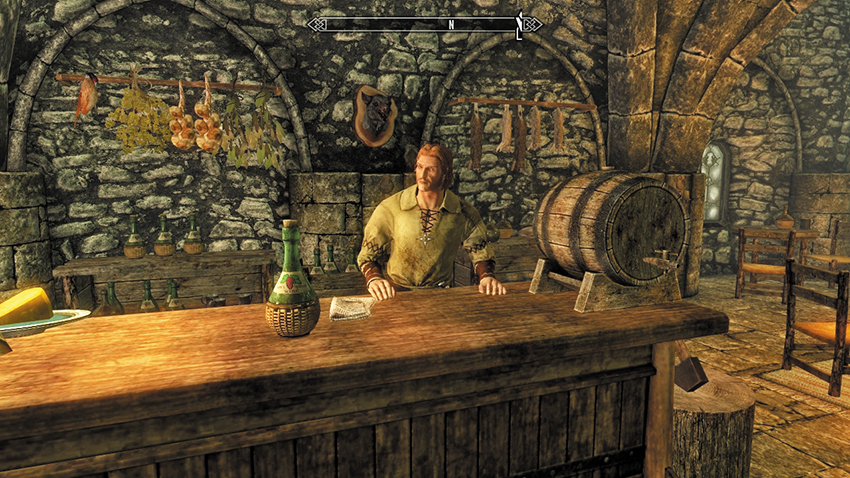
Innkeepers: Another option is to press the innkeepers in any of the cities for scuttlebutt about new Imperial arrivals. You can easily travel to any of them and ask about a Moth Priest passing through. Most haven’t seen one, but Corpulus Vinius, owner of the Winking Skeever in Solitude, is more circumspect. You can:
- (Persuade) Tell him it’s important you find him straightaway.
- (Bribe) Offer some coinage for his troubles.
- Try your luck elsewhere with one of the other plans.
If one of the options is successful, you do not need to finish either of the other optional plans and can visit Dragon Bridge now.
Optional Plan 3
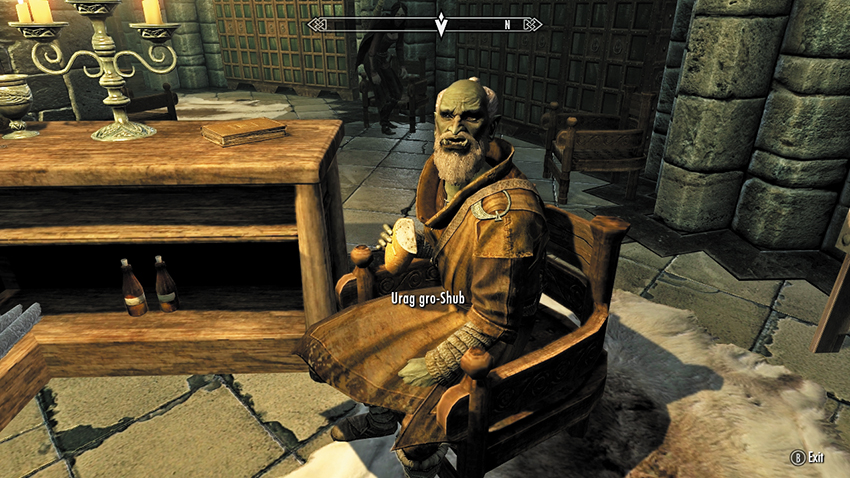
The College of Winterhold: This option is much easier if you’ve already completed College of Winterhold Quest: First Lessons or Main Quest: Elder Knowledge and you’ve already gained entrance to the College. If you haven’t, read over the College Quest and prepare the spell for Faralda, who guards the bridge to the College. Once inside the College, head to the Arcanaeum and locate the Lorekeeper, Urag gro-Shub. Inform him you’re trying to find a Moth Priest.
Urag gro-Shub tells you that the Priest stopped to research some texts in his library before setting out for Dragon Bridge. Head there now, as you don’t need to complete the other two optional plans.
After you complete Optional Plans 1, 2, or 3 (you need finish only one or simply skip them and head straight to Dragon Bridge), the following objective becomes available:
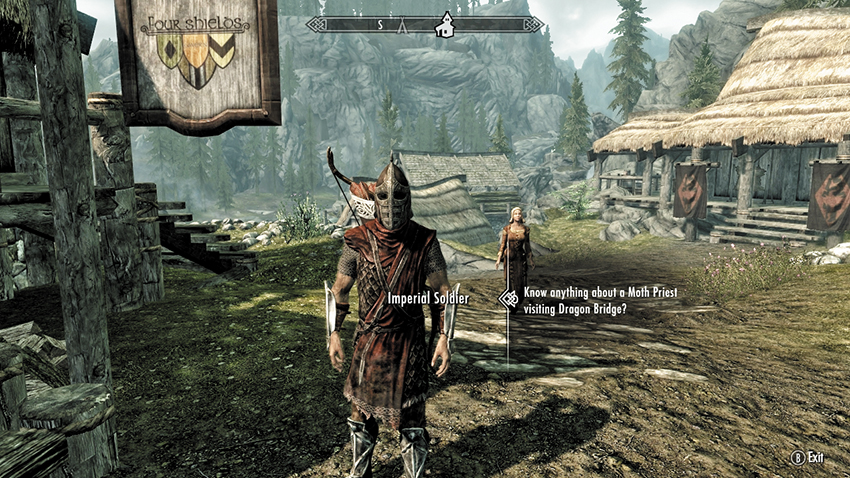
Divulging at Dragon Bridge: Whether you’ve completed the optional objectives or not, set out for Dragon Bridge and ask around town about a Moth Priest visiting the place. The best bet is to stop and speak to an Imperial Soldier stationed here. He tells you the priest rode through town with an escort of soldiers not long ago. They were headed south.
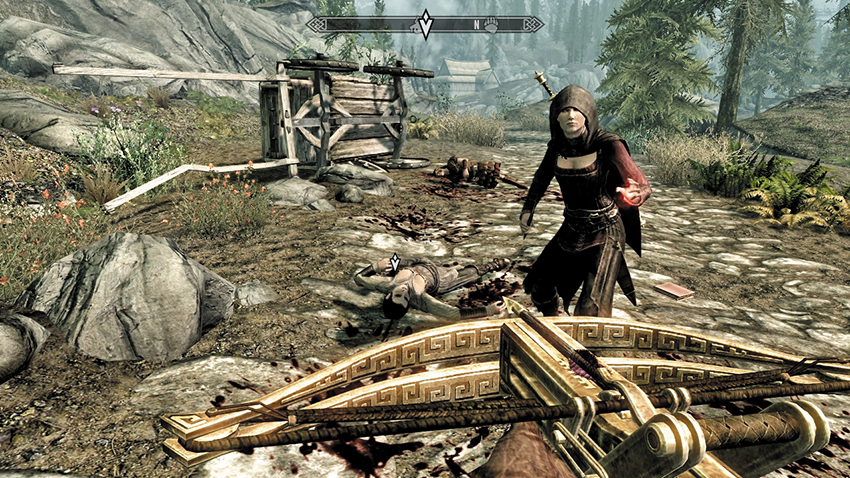
Move south across the Dragon Bridge and into Hjaalmarch Hold, following the cobblestone road. Your heart sinks as you spot an overturned carriage and bodies strewn near the next bridge. Your quest updates. Among the dead and a scattered copy of Effects of the Elder Scrolls is a vampire’s corpse. Search it and read the Vampire’s Note; it is from a man named Malkus giving orders for the ambush. The Moth Priest has been taken to the nearby Forebears’ Holdout, a new location close by.
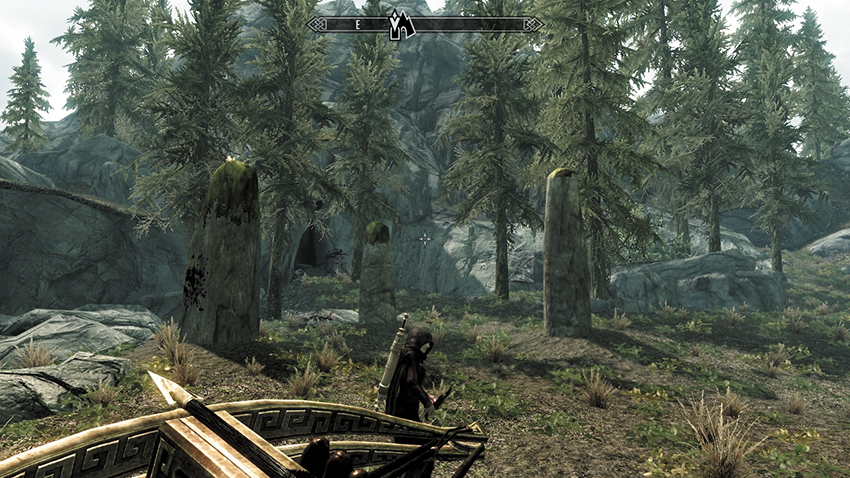
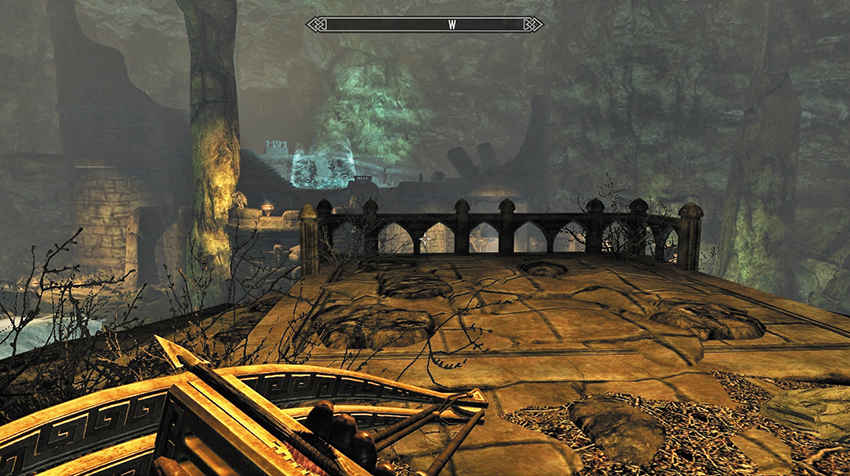
Over the bridge and in the low foothills is a collection of standing stones marking the entrance to Forebears’ Holdout. The narrow rocky tunnel opens up to a much larger subterranean fortification (second picture), with a strange stone plateau upon which a shimmering barrier has been conjured. Take care, as the place is populated by enemies.
Vanquishing Vanik’s Dawnguard
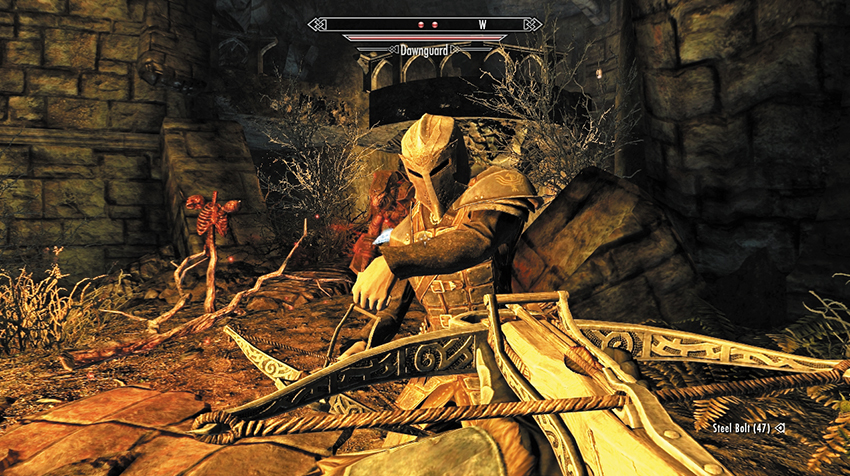
You may attack from range, at the initial balcony. Turn left (south), and walk through the giant stalagmites to the stone bridge, bringing down Armored Huskies as you go. Continue along the opposite riverbank, sneaking or battling your way into a large and roughly circular bailey, with a giant bonfire in the middle of it. Engage the Dawnguard and their Armored Troll as you fight up onto the crenellations, toward a strange and shimmering magical barrier. A vampire named Malkus has been slain by the Dawnguard’s leader, a foe named Vanik; you must vanquish him at this upper stone summoning plateau. Then search Malkus’s corpse for a Weystone Focus.
- Weystone Focus
Climb the stone steps to the balcony overlooking the magical barrier surrounded by open coffins, and press the Weystone Focus into the Source. The Weystones imprisoning the figure inside the vortex recede, releasing a man named Dexion Evicus, the fabled Moth Priest you’ve been searching for. He is quite hostile toward you and must be faced in combat. Fight him until he falls to his knees.
Dexion’s Enthralled Ruminations
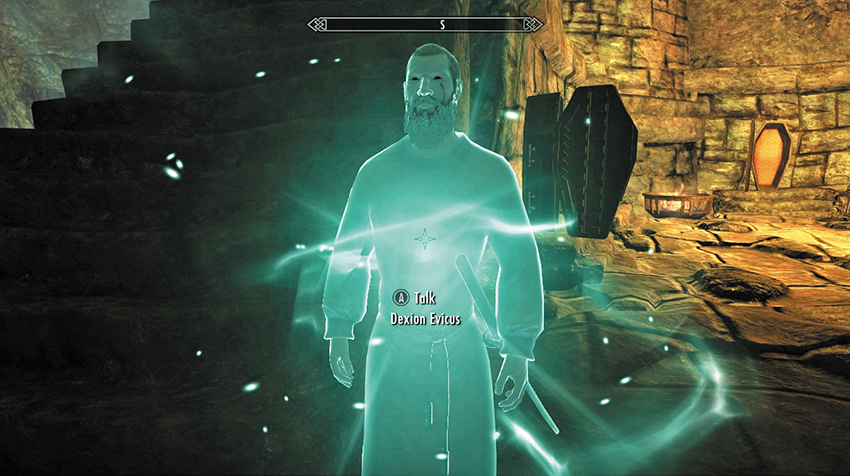
Once the Moth Priest yields but is still hostile to your actions, you are prompted to employ your Vampire’s Seduction (Magic > Powers) on him. Once he’s bathed in green light, talk to Dexion Evicus and feed on him. Once you’ve sunk your teeth into his neck and fed, speak to him again. He has been blinded by your majesty and must obey you! Command him to travel to Castle Volkihar. He agrees and sets off shortly. You may also wish to ask him about what exactly it is he does and about the Elder Scrolls. You need not chaperone him; he will be at the castle the next time you’re there.
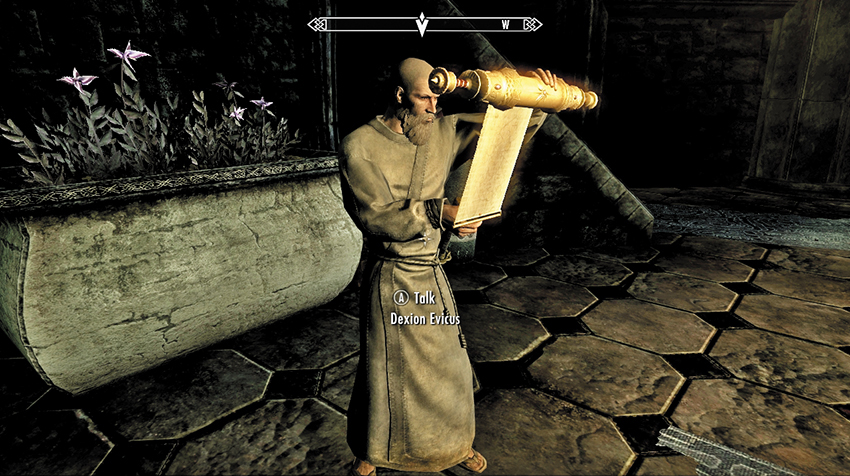
Back inside Volkihar Castle’s keep, stride toward Lord Harkon, who is already congratulating you and Serana on locating the Moth Priest. Tell Harkon you’ve made the Moth Priest your thrall, mentioning the Dawnguard you fought to reach him (any answer is fine). Harkon then wishes you would command your puppet to read the words of the prophecy.
Head over to the Moth Priest and request he read Serana’s Elder Scroll. He unfurls the scroll parchment and begins his vision. He sees a great weapon called Auriel’s Bow. He reads the scroll aloud, foretelling “darkness mingling with light and the night and day will be as one.” The secret to the bow’s power is written elsewhere, recorded in other scrolls. One contains the ancient secrets of the dragons, while the other speaks of the potency of ancient blood. Dexion’s vision fades, and he tells you that to complete the prophecy, the other two scrolls must be obtained.
Quest Conclusion: Three Scrolls to Find
Lord Harkon could best be described as “nonplussed” when you return to him, as the reading gave far less information than he was expecting. Ask him where these other scrolls are, and he admits his “traitor wife” stole one of them before disappearing. As for the other? He believes it was lost in the bowels of a Dwemer ruin. This quest now concludes.
Vanquishing Malkus’s Vampires
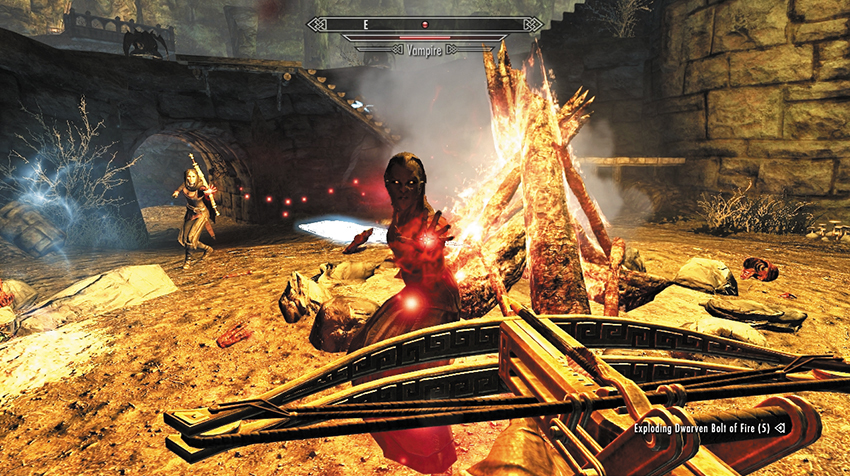
You can try ranged attacks from the initial balcony. Turn left (south), and walk down through the giant stalagmites to the stone bridge, bringing down Death Hounds as you go. Continue along the opposite riverbank, sneaking or battling into a large and roughly circular bailey, with a giant bonfire in the middle of it. Engage vampires and Vampire Thralls as you fight up onto the crenellations, toward a strange and shimmering magical barrier. An unclean vampire named Malkus is waiting to thwart you at this upper stone summoning plateau. Defeat him, then search his corpse for a Weystone Focus.
- Weystone Focus
Climb the stone steps to the balcony overlooking the magical barrier surrounded by open coffins, and press the Weystone Focus into the Source. The Weystones imprisoning the figure inside the vortex recede, freeing a man named Dexion Evicus, the fabled Moth Priest you’ve been searching for. Unfortunately, he is still under the power of the vampire and must be thwarted in combat. Fight him until he crumples to his knees.
Dexion’s Imprecise Ponderings
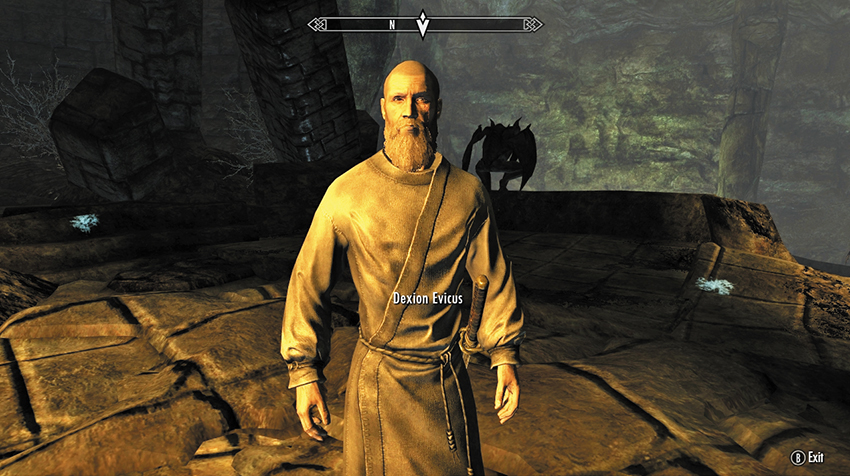
Once the Moth Priest yields, he begs you to forgive him, saying that wasn’t him you were fighting—he was being controlled by others. But now that you’ve broken the foul vampire’s hold over him, Dexion Evicus is most grateful. Ask him if he’s all right, and inform him that you’re after him for the same purpose. Answer how you wish, encouraging Dexion to visit Fort Dawnguard. He agrees and sets off shortly. You may also ask him about what it is he does exactly and about the Elder Scrolls. You need not chaperone him; he will be at the castle the next time you’re there.
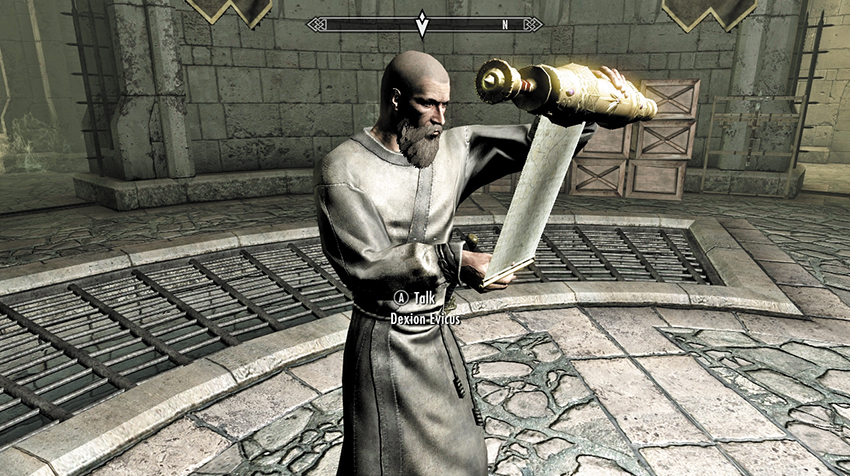
Back inside Fort Dawnguard’s keep, walk toward Isran, who is already congratulating you and Serana on locating the Moth Priest. Ask Isran if he has the Scroll and if everything is ready, and Isran answers in the affirmative, telling you to speak to the Moth Priest when you’re ready to listen to his ruminations.
Approach the Moth Priest and ask if he’s ready to read the Elder Scroll. He appears to be, asking everyone to quiet down so he can concentrate. He unfurls the scroll parchment and begins his vision. He sees a great weapon called Auriel’s Bow. He reads the scroll aloud, foretelling “darkness mingling with light and the night and day will be as one.” The secret to the bow’s power is written elsewhere, recorded in other scrolls. One contains the ancient secrets of the dragons, while the other speaks of the potency of ancient blood. Dexion’s vision fades, and he tells you that to complete the prophecy, the other two scrolls must be obtained.
Quest Conclusion: A Trio of Scrolls to Source
The Moth Priest heads off to rest, and Isran leaves to attend to other matters, leaving you and Serana to ponder the location of the other scrolls. Serana admits her mother stole one of them before disappearing. As for the other? She believes it to be lost in the catacombs of an ancient Dwemer ruin. This quest now concludes.
Postquest Activities
As soon as you finish speaking with either Lord Harkon (Vampires) or Isran (Dawnguard), this quest concludes, and at least three new Dawnguard Main Quests may commence: Seeking Disclosure (which tracks when both remaining Elder Scrolls are found), Chasing Echoes (the quest to find the Elder Scroll [Blood]), and Scroll Scouting (the quest to find the Elder Scroll [Dragons], if you don’t already have it). The latter two quests can be attempted in either order.
Seeking Disclosure
Unraveling the Elder Scrolls
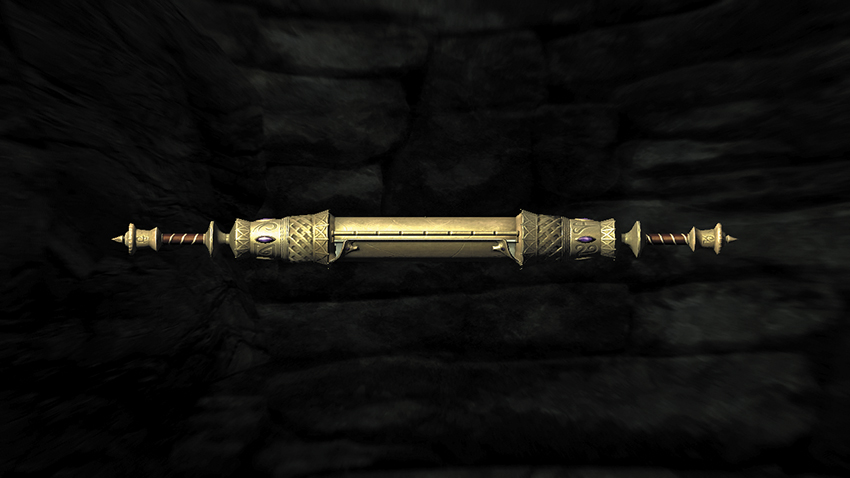
The Elder Scroll (Blood): Found with Serana’s mother, deep within the otherworldly Soul Cairn, at the zenith of Dawnguard Main Quest: Beyond Death.
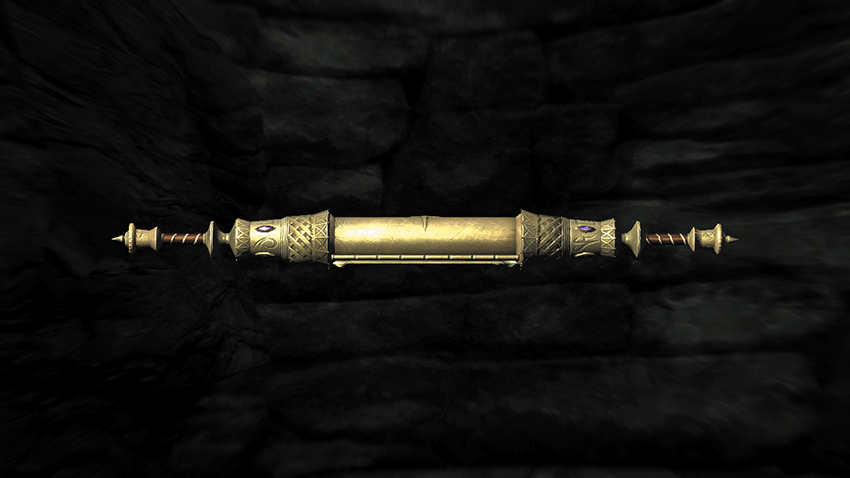
The Elder Scroll (Dragon): Found within the Dwemer Ruin known as the Tower of Mzark.
This is an “overview” quest, designed to help you keep track of your overall objectives from this point forward: To locate both remaining Elder Scrolls and bring them to Dexion Evicus. This runs concurrently with the specific quests related to each Elder Scroll in question. This quest concludes once both Elder Scrolls are in your possession and you’ve visited the Moth Priest. The specific quests to obtain both Scrolls can be completed in either order. Refer to the following quests to find each Scroll and conclude this quest:
| Type | Quest Name | Relevant Elder Scroll |
|---|---|---|
| Dawnguard Main Quest | Scroll Scouting* | Dragon |
| Main Quest | Elder Knowledge* | Dragon |
| Daedric Quest | Discerning the Transmundane* | Dragon |
| Dawnguard Main Quest | Chasing Echoes** | Blood |
| Dawnguard Main Quest | Beyond Death** | Blood |
Scroll Scouting
Prelude: No Need to Repeat Yourself
In order to begin this quest, you must answer this all-important question: Have you already secured the Elder Scroll (Dragon)? There are three possible answers:
- “No, I’ve never had it.” This activates the following quest, and you must complete Plan 1 of it.
- “Yes, I am carrying it.” This quest does not activate; you skip it entirely. Begin Chasing Echoes instead.
- “Yes, but I sold it.” This quest activates, but you can skip to Plan 2 and buy back the Scroll from Urag gro-Shub.
Plan 1: Hunting the Scroll—Scouting for Septimus Signus
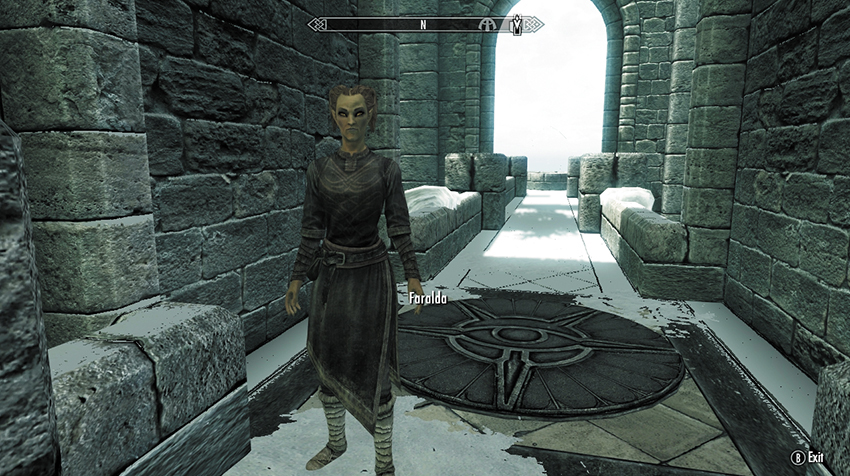
After you talk with Serana, your map marker has flagged the College of Winterhold, where Serana believes you should begin your search. Journey to the College. At the bridge’s near end, Faralda, a High Elf wizard, guards the entrance. She stops you, warning that it’s not safe to cross the bridge and that you will be denied entrance to the College. Although she has some complaints about the College, which you can ask her about, you really just want to gain entry. Ask if this is possible, and she asks why. Choose the answer that best suits your demeanor. She requires that you take a test to show you’re at least competent in the use of magic. You can:
- Walk right in without dealing with Faralda, if you’re already a member of the College of Winterhold.
- (Persuade) Tell her that you both know you’ll be successful.
- Agree to take the test. When the test begins, Faralda requests you aim a spell at the seal on the ground near her.
- Ask if she would grant entry to the Dragonborn. Faralda asks if you really have the Voice. If you have completed Main Quest: Dragon Rising, simply demonstrate any Shout you have.
Spell Casting: Bring up your Magic inventory and choose the spell Faralda has requested. She can choose Firebolt, Magelight, Fury, Conjure Flame Atronach, or Healing Hands, depending on your available spells and knowledge of particular magic styles. Aim at the seal and cast the spell. After a successful casting, Faralda tells you to find Mirabelle Ervine inside the College. If you don’t have the spell Faralda requests, simply purchase it from her.
Dragon Shouting: Bring up your Shout inventory, choose any Shout (a good choice is Fire Breath), aim it at the seal, and bellow. After you strike the seal, Faralda tells you there is much you both can learn from each other and that you’d be a superb addition to the College.
You can now ask Faralda more questions about Mirabelle and the College, or even receive training in the arts of Destruction Magic. The College of Winterhold Quest: First Lessons is now active, and you are told to report to Mirabelle Ervine. However, this is not required or even part of the Scroll Scouting Quest. Cross the bridge, enter the College’s exterior courtyard, open the grand doors, and enter the Hall of the Elements. Immediately make a right (east) turn and enter the Arcanaeum.
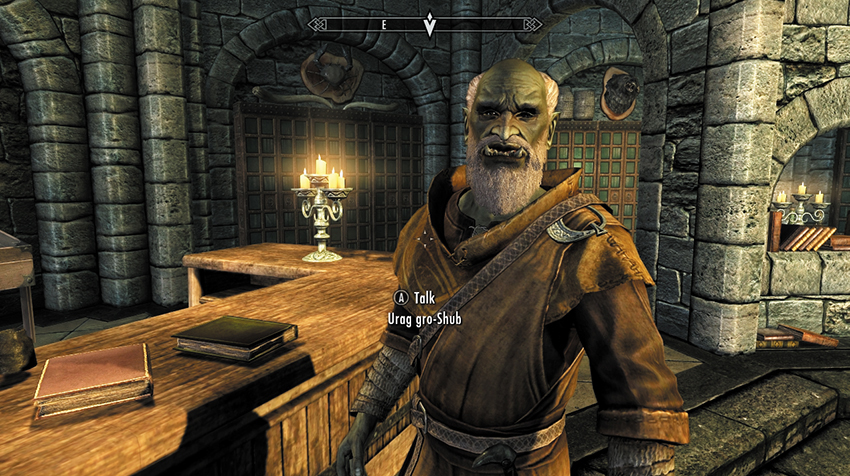
Look for the Orc Mage named Urag gro-Shub, who runs the Arcanaeum; you may have already run into him during Dawnguard Main Quest: Prophet. Although you can ask to assist him in College business, you’re really here to ask him about the Elder Scroll. Urag isn’t too happy with you offhandedly inquiring about such a powerful artifact. You may listen to an overview of the Scrolls before asking if there’s an Elder Scroll you could use. Urag laughs at this question; he wouldn’t show the likes of you, even if he obtained one. Ask if he at least has any information on them. He agrees to locate a couple of arcane tomes that may have some clues. But mostly they contain lies leavened with rumors.
Urag gro-Shub locates and places two tomes on the nearby desk: Effects of the Elder Scrolls and Ruminations on the Elder Scrolls. After reading both books (which you may keep or leave on the desk), you find that the Ruminations tome is the work of a madman. Daedric Quest: Discerning the Transmundane is now active, providing its prerequisites have been met.
- Effects of the Elder Scrolls
- Ruminations on the Elder Scrolls
Speak with Urag again and let him know that the Ruminations book is incomprehensible. He doesn’t seem surprised. After all, this book was the work of Septimus Signus. Although Signus is the world’s leading scholar on the nature of the Elder Scrolls, Urag tells you he’s “been gone for a long while.” You suspect he means both mentally and physically. He currently resides north of the College in the treacherous Ice Fields. This quest now concludes, and Daedric Quest: Discerning the Transmundane starts. For your convenience, the rest of that quest is now detailed:
- Daedric Quest Objective: Find Septimus Signus
- Target: Septimus Signus’s Outpost
The Hermit of Hermaeus Mora
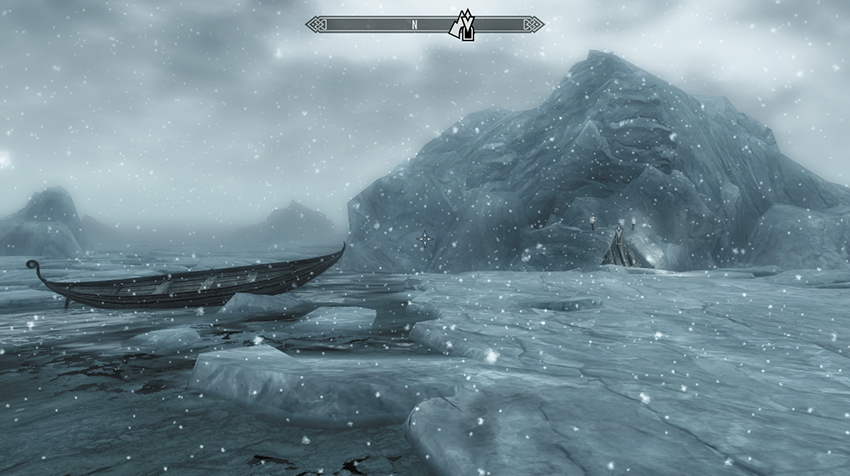
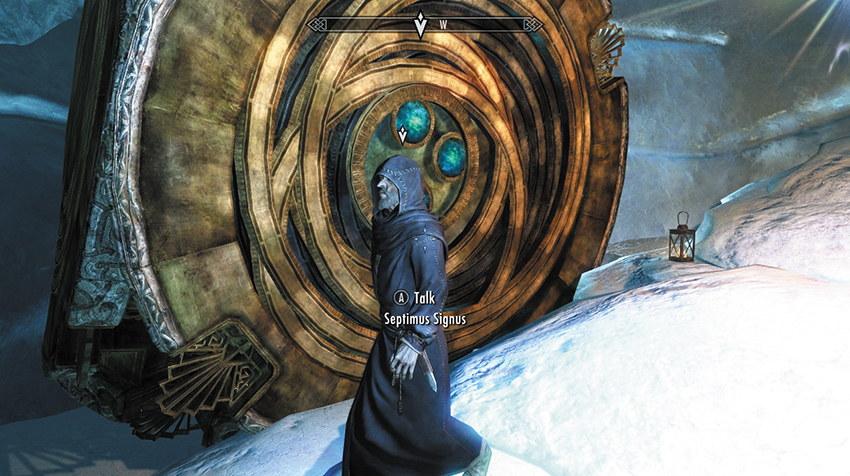
The giant chunks of ice floating off the Northern Coast are your next destination. Exit the College and run down to the frigid coastal waters. Hop across any floating ice that you can, navigating your way north. Expect to slice into a few Horkers along the way, and you may encounter wolves and Ice Wolves.
Septimus Signus’s Outpost is cut into one of the hill-sized icebergs, close to a moored rowboat. Climb down the ladder and the slope to reach a lone mage in a chamber of ice. He appears to be guarding some kind of Dwemer box about the size of a house.
Asking Septimus about the Elder Scrolls results in a torrent of knowledge. Ask where the Scroll is, and after receiving moderately useless information, ask once more (either pleasantly or with a more threatening tone). Septimus agrees to tell you, but in return, you must venture into Blackreach, a strange underground Dwemer city that lies below Alftand.
Ask about getting into Blackreach. Septimus keeps up his riddle-based prattling and hands you two items: The first is an odd-edged lexicon, used by the Dwemer for inscribing. The second is an Attunement Sphere, which apparently “sings” when you near an important Dwemer door. Once these are in your grasp, your Main Quest updates. Stay and speak further with Septimus if your sanity can stand it.
- Attunement Sphere
- Blank Lexicon
Trek to the Tower
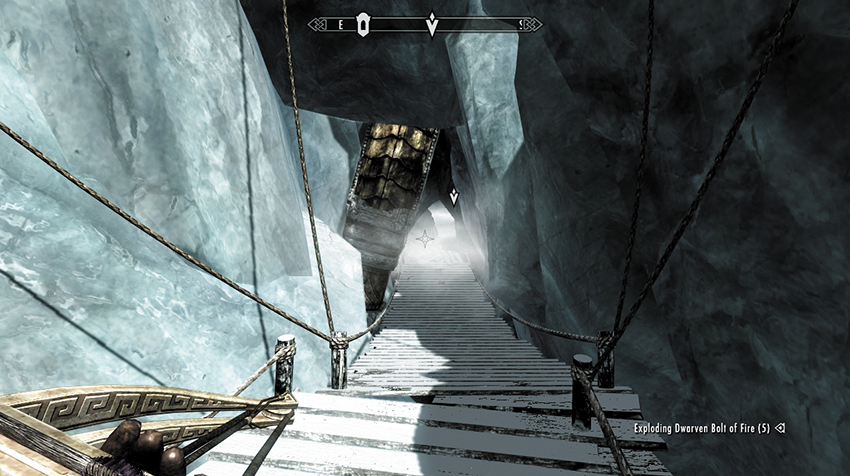
Alftand is located on the glacial mountains southwest of Winterhold. Your trek there is usually interrupted by wild animal attacks. The exterior of Alftand is a series of dotted structures, both Dwarven and Nordic in nature. Below the glaciers is the Alftand Ruined Tower, which offers a dangerous route to the glacier’s top. A much better way is to stay outside to reach the two windswept huts, an inaccessible Dwarven tower, and a precarious platform on the side of the glacier that winds down and around the rooftops. Head down the planked bridges near the shack on the glacier’s edge until you reach the entrance to the Alftand Glacial Ruins. This is the way to go.
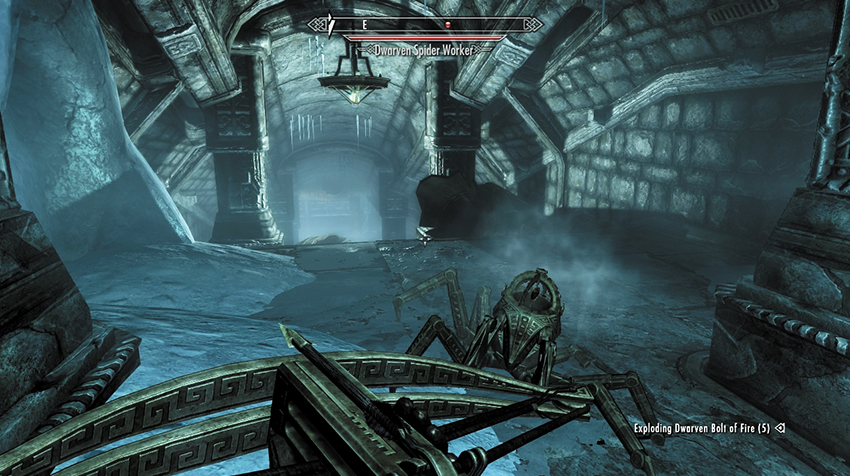
Wind through the glacial tunnels that have been mined out and left in a real mess, with debris and cooking equipment strewn about and the signs of fighting everywhere you look. Follow the tunnel down until you reach the beginnings of the Dwarven architecture, a stone tunnel that ends in a connecting room with a stone table and a large barred doorway to the north. This can only be unlocked from the other side. On the nearby table you’ll find Research Notes. Whoever wrote it thought he saw a strange human figure on the other side of the barred doorway.
- Research Notes
At this point, the passage west heads up a ramp and down the other side, into another glacial intrusion. Watch for attacks from a Dwarven Spider as you go. A Skooma-addled Khajiit is shouting about being trapped here and attacks if he sees you. Drop him, and continue down into the start of the main Dwarven ruins. The ceilings tower above you as you reach a cog and piston room with a raised center and two Dwarven Spheres appearing from their wall holes to attack.
Continue north to a vent chamber with a locked gate (Novice) leading to a few scraps of treasure. Head through the gold door and up to a Dwarven Spider–infested passage stretching south. This leads to a locked (Apprentice) gold door with items to steal behind it and a main path around to the east, which brings you back into the cog and piston room. This time, you’re above the raised center. Navigate the pistons (jump over them, or you risk being pushed off by them) in a counterclockwise route to the short corridor and door to the Alftand Animonculory.
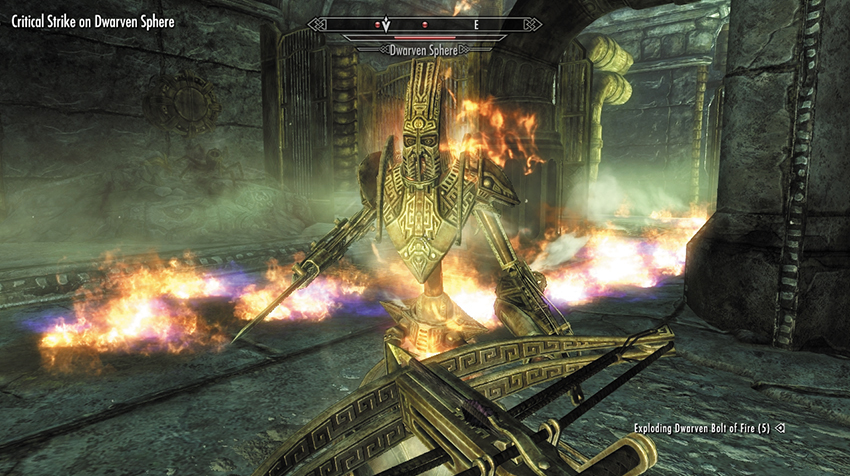
Move through the green-tinged corridor to an opening on your left (east). This leads to a large pipeworks corridor. Avoid two Dwarven Spheres by staying on the low ground, and head through the gap in the gold fencing to the left of the stone steps. Otherwise, head up the steps, over the pipes, and up the ramp with the central slit. Walk on the slit so you don’t trigger a blade trap by stepping on the pressure plates. At the barred doorway, use the lever on your right to lower the bars. The lever behind the bars raises them, which isn’t necessary unless you’re being pursued and want to halt your attackers. Step out into the grand Animonculory shaft—a long vertical drop you must descend without falling. Remove any Dwarven Spider threats, and head down the sloping stone walkway to an arched entrance platform. The gold door here (Apprentice) just leads to a dead end and more treasure.
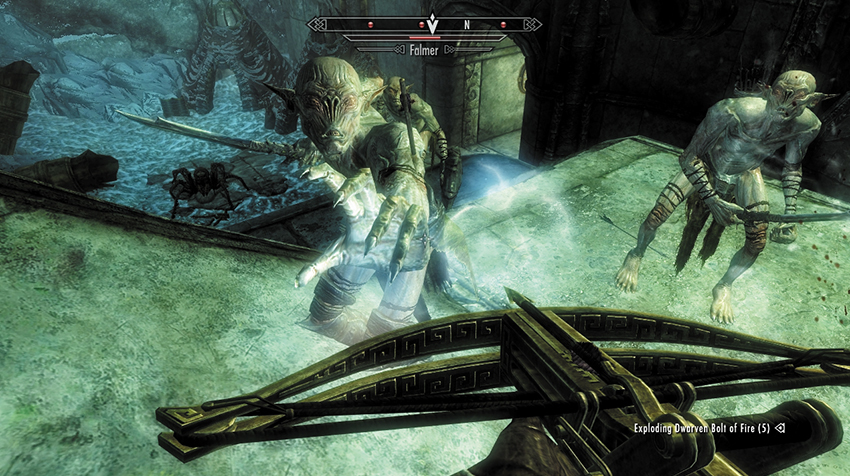
Peer over the edge of the stone platform facing into the shaft. The walkway below has crumbled, forcing you to drop onto the jutting gold pipe and then the rubble platform. There is a walkway to the west that leads to a precarious ledge, a Dwarven Spider battle, and a piston that can push you over the edge. The way forward and down is to the northeast. Look for the lantern and falling water, as the sloping walkway is hidden.
As you descend, something horrific shuffles out of the shadows: an eyeless figure, thought to be myth. These are Falmer, the degenerate remnants of the original Elven inhabitants of Skyrim! Dispatch four of them as you follow the winding platform down. Take care not to lose your footing and fall to your death. Next, face the jet of fire blasting the entrance to a gold door. Dart through or around, and enter a Falmer nest.
Falmer appear from their huts, forcing you to fight or sneak by. Follow the passage down to a second set of Falmer in a boiler chamber. Watch for those rattling, hanging bones if you’re sneaking, as these startle the Falmer into finding you. Head down the steps, watching for Skeever attacks, and look for a gold door on the southeast wall. This is the way onward, but you may wish to turn to the northwest, open a gate, and enter an ancient Dwarven Elevator. Pull the lever and you ascend to the Alftand Glacial Ruins.
Step around the rubble and to the barred doorway where you found the Research Notes. Pull a wall lever here so the bars retract. This allows you to easily navigate up and down the Animonculory if you explore here in the future. For now, use the elevator to head back down, and open the gold door in the southeast wall. This leads down to the shaft’s bottom, where you encounter another Falmer attack and face a Frostbite Spider. From here, you have only one set of corridor steps and a claw trap (move around the trip wire) before you enter the Alftand Cathedral.
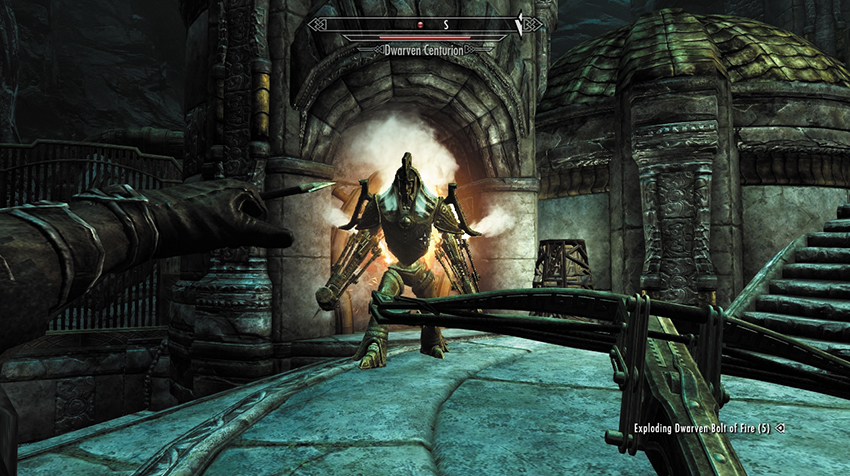
Battle a Falmer and navigate some floor trigger plates to reach a gold door that leads out into the main cathedral chamber—a massive echoing cavern with a central structure and a doorway barred with spears. Check the area for Falmer and the steps to your left (south) before heading to a gold lever above the entrance from which you came.
This raises the spears, enabling you to enter the cathedral platform, where a giant steam-powered mechanical monster roars to life. This Dwarven Centurion is a frightening form, but you should defeat it, as it carries a handy key.
- Key to Alftand Lift
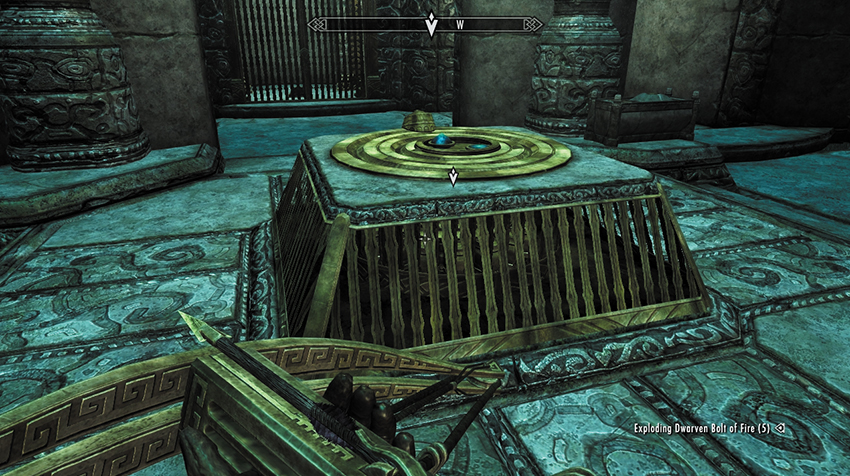
Climb to the gate (southwest) at the platform’s top, open it, and listen to the arguments of two thieves, Sulla and Umana. You must slay them, as there’s no reasoning with them. Now open the gate beyond the strange Dwarven Mechanism. This leads to the top of the Alftand glacier, a tower you couldn’t access when you first reached here.
Open the gate from the inside using the wall lever (so you can access the cathedral directly from the surface during future adventures); then travel back down to the cathedral. Approach the Dwarven Mechanism now, and insert the Attunement Sphere Septimus gave you. The floor parts, revealing stairs down to a hidden gold door and an entrance into the mysterious undercity of Blackreach.
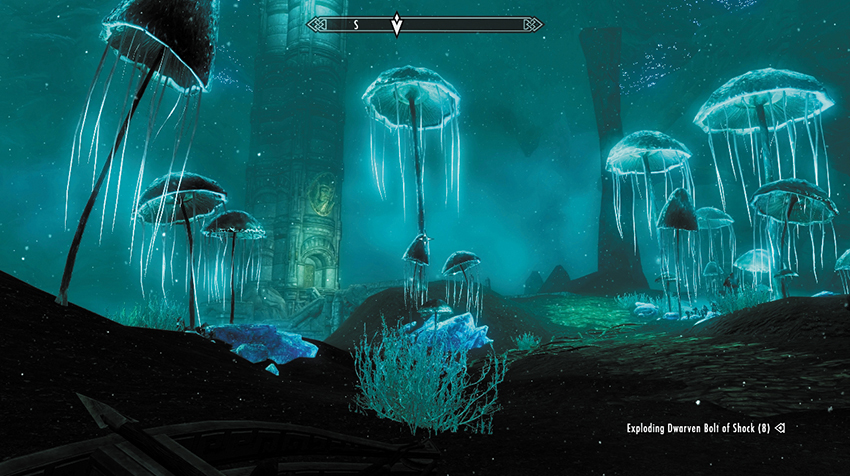
Head west to exit Blackreach using the appropriate Dwarven Elevator. First, though, you may wish to head southeast, to a golden button encased on a Dwarven head pedestal. Press it, and the elevator behind lights up, allowing you to ascend back to the exterior. Open the gate, allowing you to enter from the Great Lift at Alftand (a tower entrance northeast of Nightgate Inn). Return to Blackreach and find the cobblestone path heading roughly west. Follow it past ancient structures and towering luminescent fungi. Continue with a giant lake and cascading waterfalls to your left (south), heading over a stone bridge. Go west and turn left (south) to reach a colossal elevator that allows you to ascend into the Tower of Mzark, your destination.
Oculory Operation
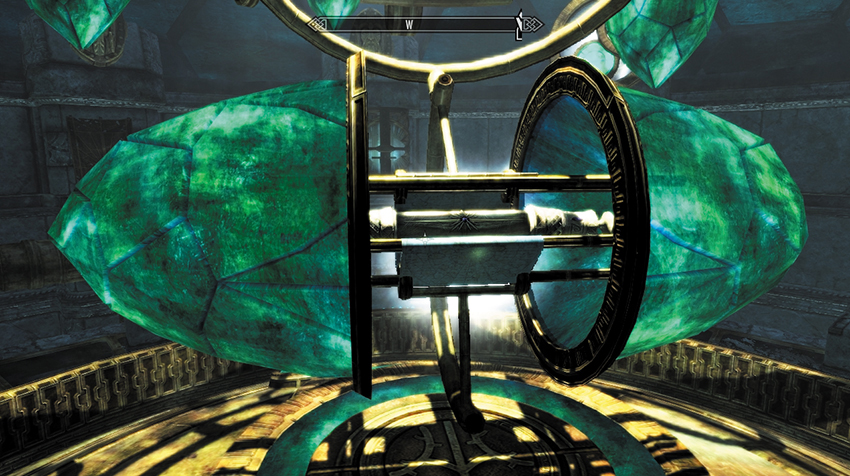
Venture along a corridor with a burst steam pipe and small camping area, and go through gold doors into a gigantic, circular Aedrome chamber, which is dominated by a huge sphere. This appears to be some kind of massive Oculory, with a variety of focusing lenses and other golden machinery attached.
Head to the cluster of controls on the platform above the Oculory. The controls are comprised of five cylindrical devices: a lexicon receptacle and four positioning buttons embedded in pedestals. There is a certain way to use these devices to produce something hidden in one of the lenses.
Puzzle solution: Activate the lexicon receptacle, so the blank lexicon rests on top of it. The two pedestals to the receptacle’s right—the only ones currently active—open and close the Oculory lenses. Press the taller of the two pedestals (right of the middle one with the lens chart on it) three or four times, until the pedestal with the blue button to the left of the middle one starts to glow. Move to this new pedestal (at this point, the blank lexicon may be glowing blue). The two pedestals to the receptacle’s left—the taller of which is now active—control the ceiling lens array. Press the button of the taller, left pedestal twice, until the button on the far left, smaller pedestal begins to glow. Now press that button, and a large set of lens crystals descends from the ceiling and stops. The main crystal rotates and splits apart to reveal the Elder Scroll in a jeweled scroll holder.
Quest Conclusion
Drop from the balcony controls and approach the open lens crystal. Take the Elder Scroll from its elaborate compartment. Then exit using the door under the lexicon receptacle. This leads to one final Dwarven Elevator, which allows you to open the gate from the Tower of Mzark, step out into the exterior, and add another possible entrance to Blackreach, if you decide to return.
- The Elder Scroll (Dragon)
Plan 2: Buying the Scroll— Urag Drives a Hard Bargain
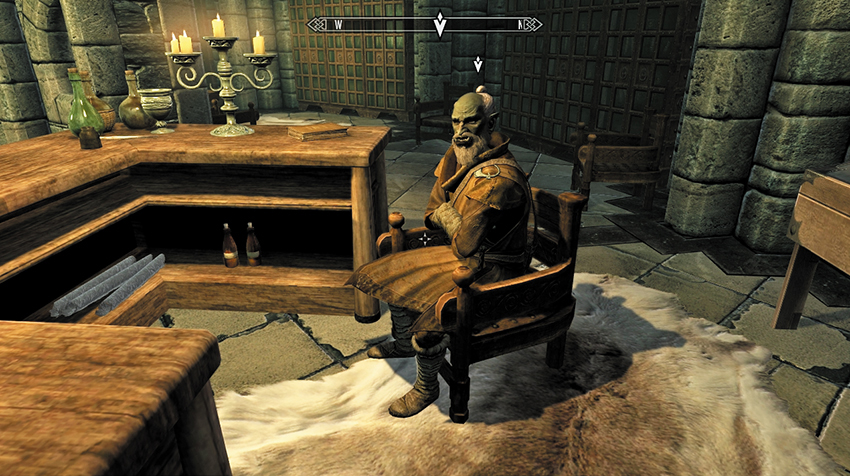
If you previously completed Main Quest: Elder Knowledge, used the Scroll during Main Quest: Alduin’s Bane, and you’ve sold the Scroll to Urag gro-Shub, a new objective appears:
Visit the Lorekeeper, and explain your predicament to him. Somewhat understandably, he isn’t happy to hand over such a precious piece of parchment. You’ll need to pay for your mistake. You can:
- Pay the 4,000 gold Urag gro-Shub is asking for the Elder Scroll.
- (Persuade) Sweet-talk the Orc into lowering his asking price to 3,000 gold.
- Or, if you’ve completed all the College of Winterhold Quests, and you’ve been granted the title of Arch-Mage, you can insist that Urag sell it back to you for its original purchase price of 2,000 gold.
- The Elder Scroll (Dragon)
Postquest Activities
Once you acquire the Elder Scroll, you are free to return to the giant underground city of Blackreach or continue Daedric Quest: Discerning the Transmundane. Consult that quest for further information. For now, though, you should rendezvous with Serana to begin Dawnguard Main Quest: Chasing Echoes (if the other Elder Scroll is yet to be found) or Dawnguard Main Quest: Unseen Visions (if you now have all three Elder Scrolls in your possession).
Chasing Echoes
A Rummage Through Valerica’s Undercroft
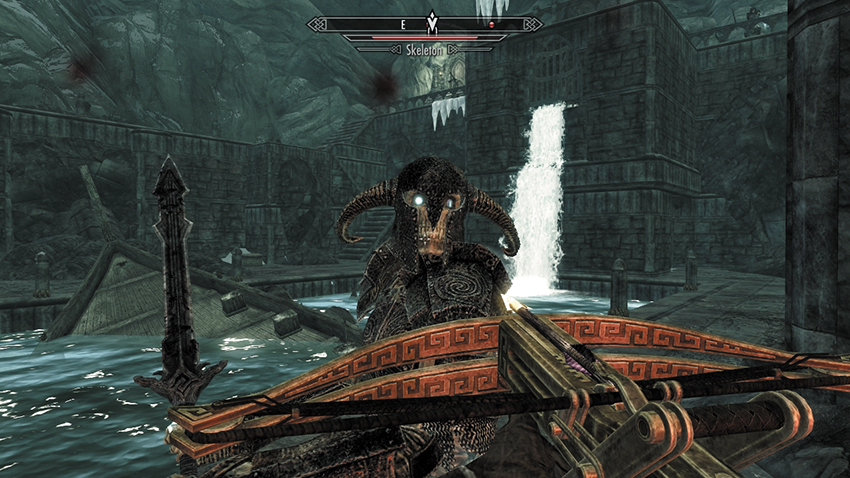
At the culmination of Dawnguard Main Quest: Prophet, when prying ears are away from the pair of you, Serana asks, “Do you have a moment to talk?” Indulge her. When you ask about the Elder Scroll, she says she firmly believes her mother, Valerica, holds the key to its whereabouts, but unfortunately, she only knows that Valerica left to go “somewhere safe.” Prompt her to think of Castle Volkihar, and she excitedly tells you of a courtyard in the castle where she used to tend a garden. She also knows of a back way you can reach the courtyard without arousing suspicion.
Return to the exterior of Castle Volkihar, then head to the left (northern) side of the bridge from the jetty watchtower, toward an unused inlet on the northern side of the island once used to bring supplies into the castle. It seems the previous owners left a skeleton crew—literally, as you’re attacked by three or four bony fiends as you clamber onto the U-shaped jetty. Use the stone balconies to gain height and cover, before climbing the steps to enter Volkihar Undercroft.
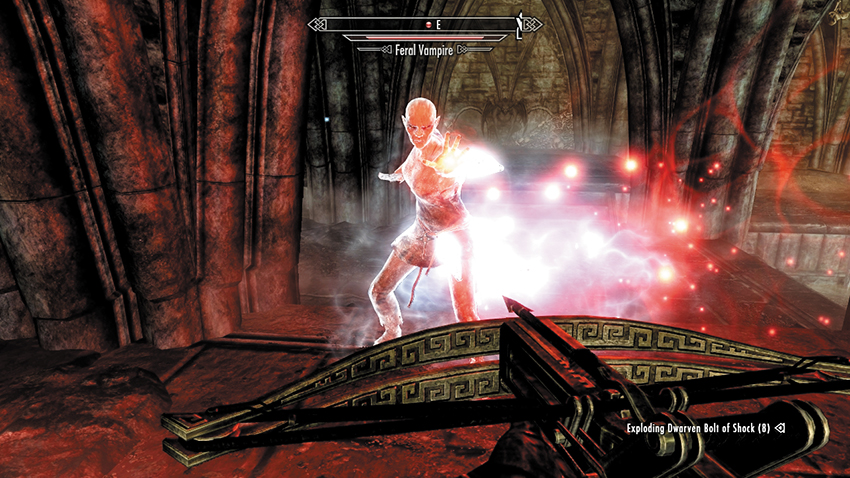
An air of dank fetidness greets you as you head down a set of narrow steps and balconies, pausing to rid the ground of Skeever vermin. A look across the balcony (or via the door you open) reveals a gloomy interior dock filled with supporting buttresses and the soft, padded footsteps of Death Hounds. Bring your finest fiend-culling equipment to bear and begin defeating the hounds and their mistress, a Feral Vampire cast down from Harkon’s court (you can read her scribblings on a Journal Fragment contained on her corpse). Pass by her shelves and small Alchemy Lab, up the steps to the west. Here you’ll find an upper platform of mead barrels, a small table with a copy of the Aetherium Wars on it, and a nearby lever that opens a portcullis below and to your right (west). You can now progress deeper into the Undercroft.
- Journal Fragment
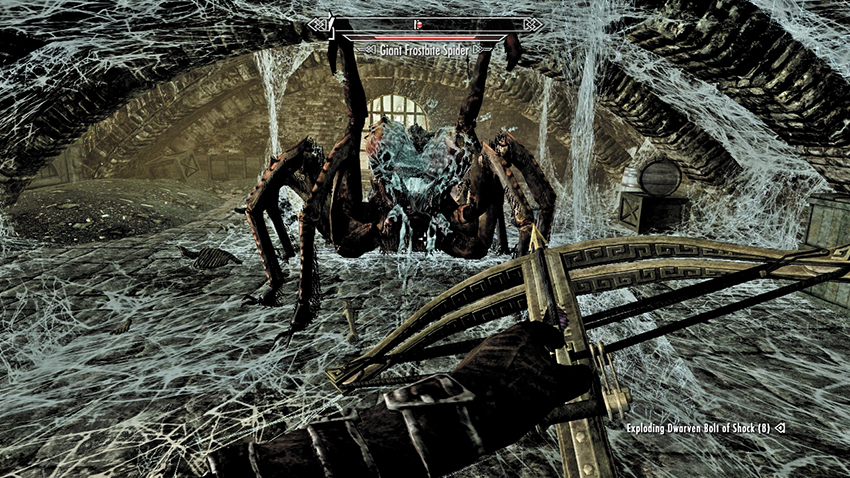
Serana warns you to take a left at the bridge, with exits left and right; her father has built a security measure to negotiate. Heading to the right (north) takes you through a tunnel of bear traps, down to the spiked watery lower level with no exit, and sometimes a lone Skeever to fight. Instead, head down the left (south) tunnel, avoiding the dangling spike traps, to engage a trio of Death Hounds sniffing around several bone piles in this waterlogged catacomb. Then step out into the bone pile room, sloshing about in the water and noting the open grating above from which prisoners were once dropped.
Head south, up the narrow steps and past the cabinets and manacled skeleton with the loose skull. Work your way around to the upper catacombs heading north, hacking your way through thick spiderwebs (there’s an alcove to the right with a chest [Adept] in it). The source of the webbing is soon revealed—a Giant Frostbite Spider, which you must negate. Beyond the arachnid is a lever and a view of the bridged area you came from. The lever lowers a wooden bridge, allowing access to the western tunnel.
Proceed through the wooden door to the lever’s left, and you emerge onto a balcony above the bone-strewn chamber. If you are a Vampire Lord (with Bats Power) or possess the Whirlwind Sprint Shout, use either to cross the gap to the opposite balcony, where you can acquire some otherwise inaccessible loot, including a large chest.
In any case, jump down, retrace your steps to the bridge, cross it, and then climb the sloping tunnel steps to the arched door leading out to Volkihar Courtyard.
Moondial Wiring Club
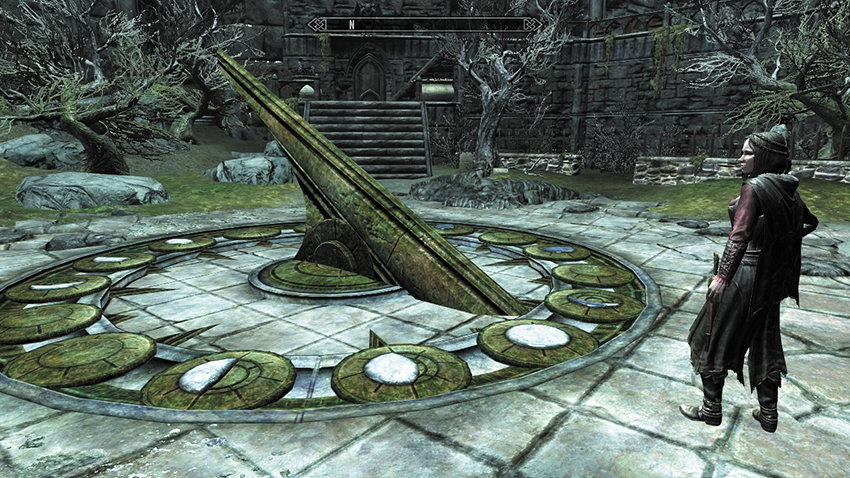
Serana’s initial excitement about seeing the courtyard gardens she tended is tempered somewhat by the general decrepitude of the place. She takes a measured walk around the grounds, lamenting the death of the gardens that had been tended for hundreds of years. Your way seems unsure until Serana spots the glint of the central moondial and notices that three of the crests showing the phases of the moon have been misplaced. Perhaps her mother removed them as a clue?
Sure enough, the moondial has gaps where three phases of the moon should be. Finding them is deceptively simple:
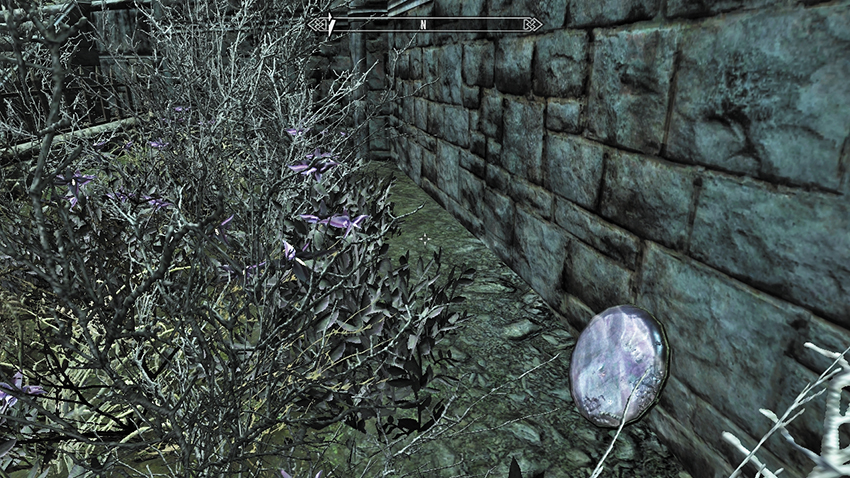
- The Full-Moon Crest is propped against a wall to the rear of the small walled garden, to the east behind the nightshade.
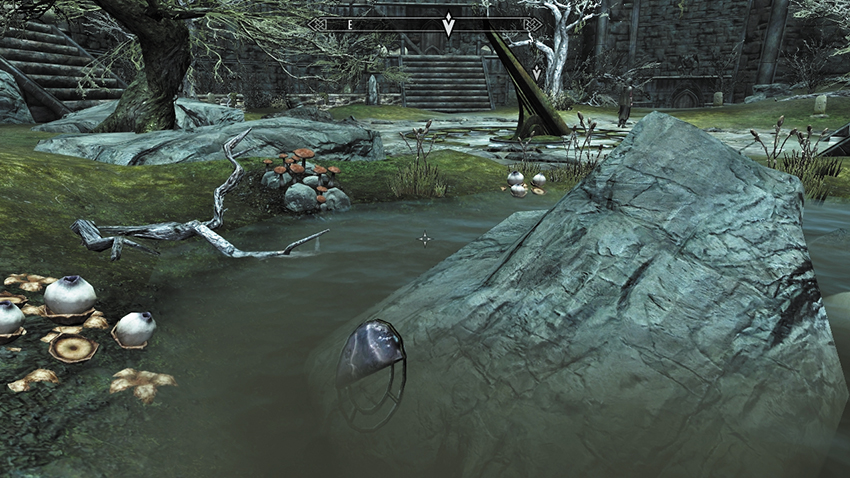
The Half-Moon Crest is partially submerged against a rock in the pond to the northwest.
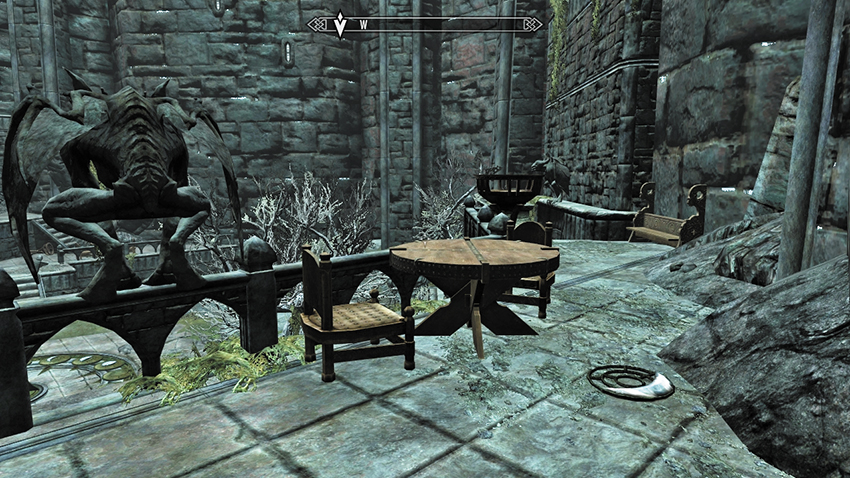
The Crescent-Moon Crest is on the stone balcony near a gargoyle statue and small table, in the northeast of the courtyard.
- Full-Moon Crest
- Half-Moon Crest
- Crescent-Moon Crest
Return to the moondial, and slot each of the missing moon crests into place. The central segments of the moondial disconnect and form a spiral staircase into the ground. Serana commends the cleverness of her mother. Head down and open the arched door to Volkihar Ruins.
The courtyard also contains three other exits. One leads to the main keep but has been blocked by rubble and is inaccessible until the end of the questline (see Postquest Activities). You can also enter the castle’s north and east towers from here, although these are essentially wild-goose chases. The east tower leads to rubble and a skeleton with a few valuables, while the north tower leads to a large banquet hall with skeletons and a gargoyle to face. Neither has an exit, or any moon crests, so these locations are completely optional.
Onward and Upward
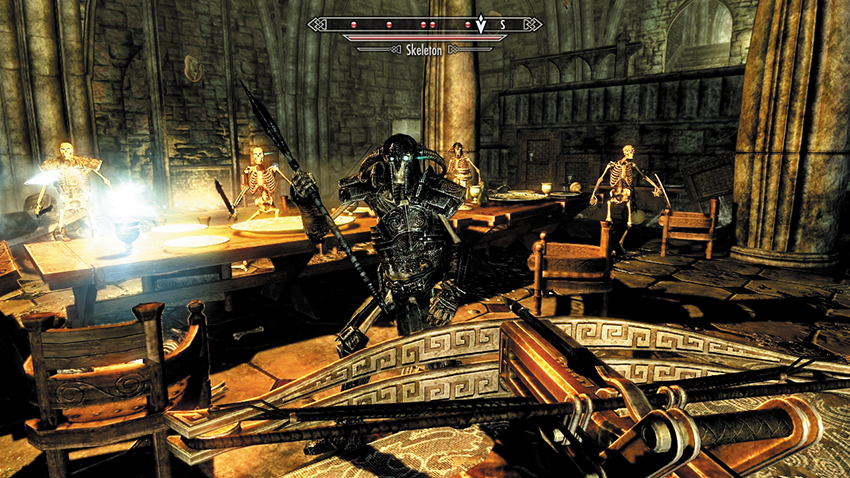
The door leads up a short flight to steps that lead to...a dead end—that is, until you pull the chain and open the secret door leading out into a ruined kitchen with a bloody wooden table. Serana warns you that even she hasn’t visited this part of the castle. Edge forward, up the stairs to the east and into a banqueting hall where six slumbering skeletons soon rise to greet you. After an optional rummage around, leave via the upper stairs to the south. These take you to a low-roofed crypt, where a gargoyle splits from its stone facade and attempts to maul you. Watch the hanging spike traps as you defeat it. Then take the arched door as you continue up the tower.
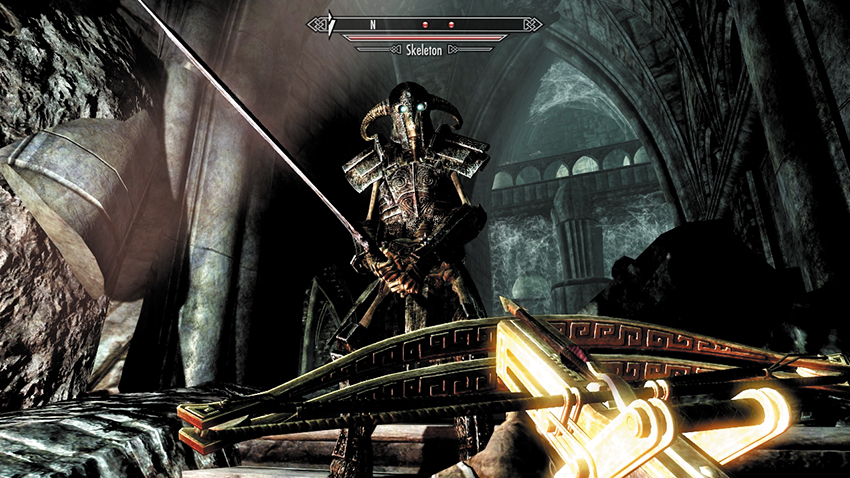
Defeat the two skeletons atop the steps, and optionally wrestle with a small closet lock [Adept] before heading southeast up the stairs. Torches, lit by unseen hands, burn bright as you move through a narrow chamber with vaulted ceilings. Another gargoyle bursts from its stony shell in front of you. Maneuver between the fallen stone buttress sections, dropping two more skeletons as you climb the stairs to the northeast. Turn around to a landing with a door and stairs ahead. The door [Adept] leads to a balcony with a chest, while the stairs allow you upward access, past some shelves and a few ruined rooms to stairs leading northeast to another arched door.
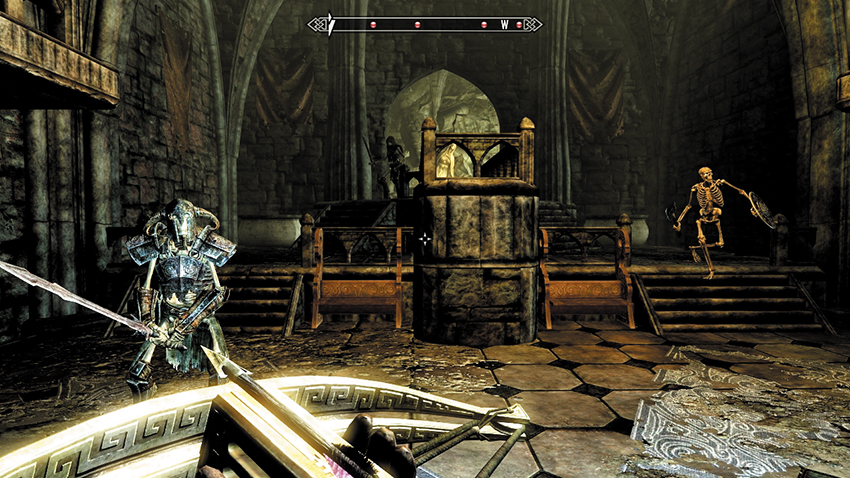
This door opens to a grand vaulted chamber where your mettle is tested against four armored skeletons. Tackle them all before crossing the chamber to the upper mezzanine level. To the left (northeast) is a portcullis, and the chain to release it is directly ahead (southeast), just behind the suspiciously stone-faced gargoyle. Sure enough, when you edge in to pull the chain, the gargoyle’s stone skin shatters, and it attacks! Defeat the beast, then head through the open archway and up the stairs—dealing with skeletal and gargoyle threats along the way—to a large gated archway and a smaller locked arched door [Expert]. These are both entrances to the tower’s chapel.
There are two ways to navigate through this tumbledown chapel to Mara, which now houses a group of four or five skeletons:
- You can unlock the door, following the side passage around to a bridge that crosses the main chapel floor, and cross it above the chapel with minimal combat (and maximum chance for sneak attacks).
- Or, you can pull the chain, stride through the larger arch, and systematically slaughter the undead throughout this once-hallowed place. After you slay all skeletons, quickly reconnoiter the place; there’s a weapons room to inspect. But you’re here to move through the side passage to the bridge, heading southeast across it, then turning right (southwest).
Follow the corridor up the steps to the southwest, through a strange examination room with a wolf’s head on the wall and a (deceased) skeleton on the table. Open the arched door, and head up the steps to a much more imposing double arched door and open it.
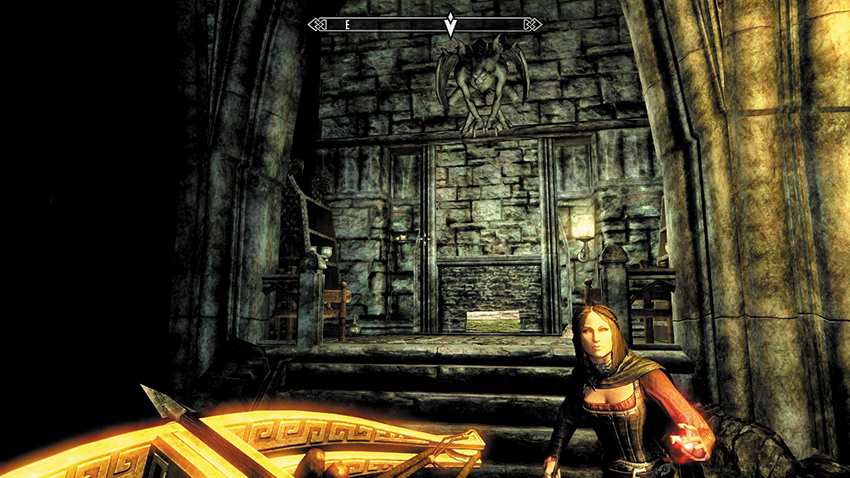
An upper chamber in the tower is home to a group of carved gargoyles, one of which hasn’t been completed. The other three are fully imbued with magic, however, so expect combat with three of them as you advance into the room. After the fighting subsides, make a sweep of the area. Among the coffins and vampire clothing is a seeming dead end. But Serana remarks that you haven’t reached the top of the tower yet. She bets there’s a secret passage somewhere around here, and she’s right: Approach the hearth to the southeast with the (inert) gargoyle above it (as shown), and inspect the left wall candlestick. Turn it and the fireplace rumbles open, revealing another set of winding steps to an arched door.
Soul Cairn Searching
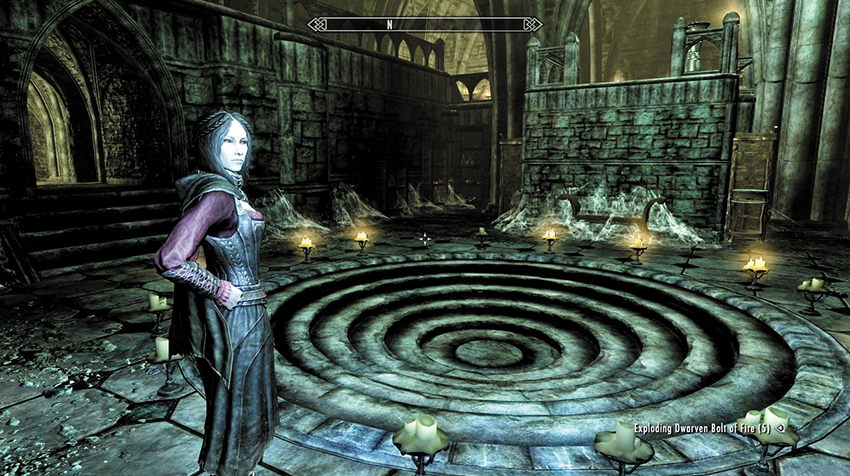
Serana is surprised as you step into an impressive laboratory dominated with a strange sunken circular array. She urges you to look around for a clue to where Valerica has gone. Before you begin rummaging, you can ask Serana more about gargoyles and the laboratory itself.
The bookshelves in the chamber’s western corner look promising, and they are indeed: Leaning on one of the shelves is Valerica’s Journal. Read it before speaking with Serana, as the tome offers some potentially incredible leads:
- The sunken circle in the laboratory floor is a portal to a place known as the Soul Cairn.
- Valerica has made her way there but has sealed the portal behind her.
- To open the portal, an offering needs to be placed in the vessel overlooking the portal.
- Valerica’s Journal
Return to Serana and inform her that you’ve found her mother’s notes. She explains her mother’s theory about Soul Gems, that after a Soul Gem uses the soul trapped inside it, that soul is banished to the Soul Cairn. In turn, Necromancers use the Soul Cairn to receive powers of their own from “very powerful beings” that inhabit this increasingly terrifying-sounding place. The journal gives a list of ingredients to mix into the offering in order to open the portal. However, Valerica’s blood, which is needed for the incantation, isn’t available. Suggest that Serana make do with her own. Now to find the items:
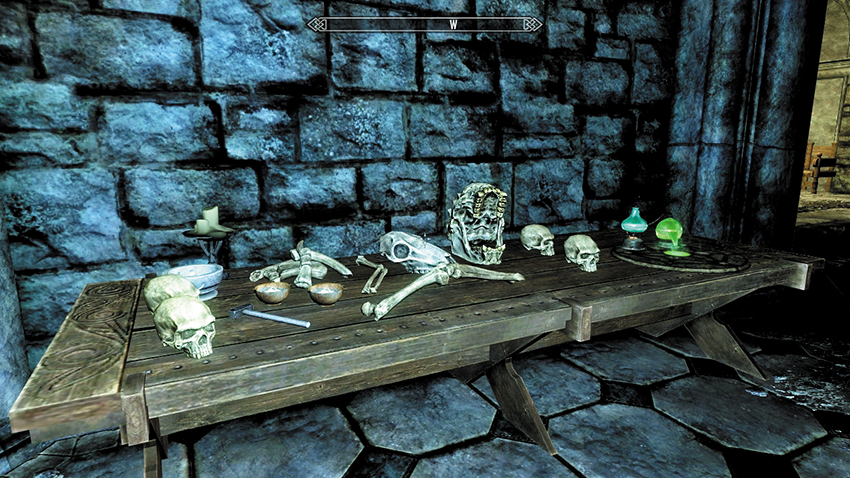
Finely Ground Bone Meal: Check the table of skulls and other assorted bone fragments on the southwest wall. The mortar behind the two human skulls holds the Finely Ground Bone Meal.
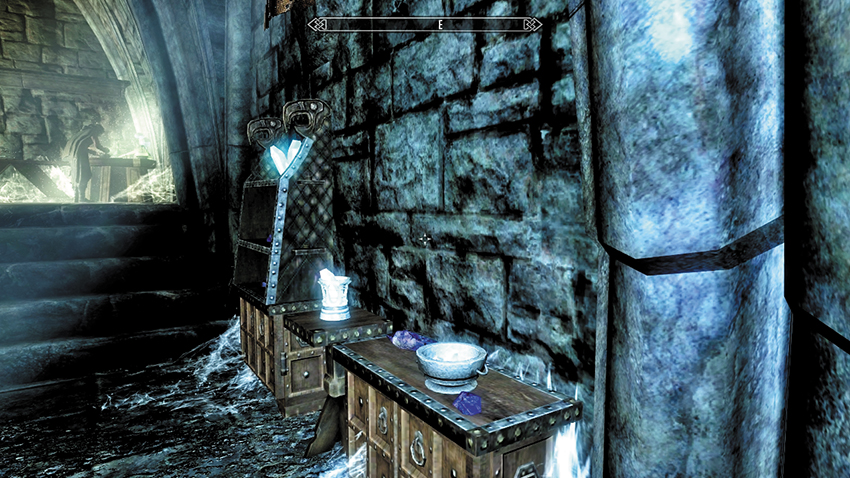
Soul Gem Shards: Head up the steps along the southeast wall. Between the two sets of steps are two low cabinets, one of which has a bowl on it. The Soul Gem Shards are in this bowl.
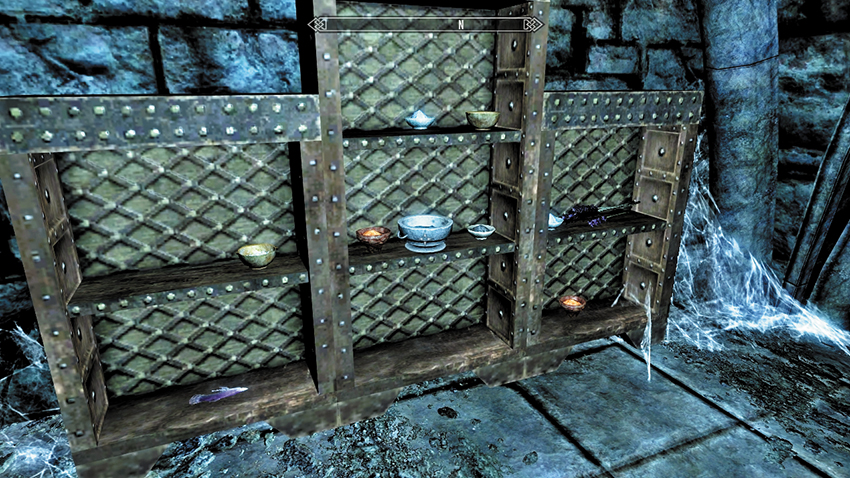
Purified Void Salts: Head around the balcony to the northwest wall, and find the shelving. The Purified Void Salts are in the largest mortar, on the center-middle shelf. Don’t take the Void Salts by mistake!
- Finely Ground Bone Meal
- Soul Gem Shards
- Purified Void Salts
Into the Otherworldly Graveyard
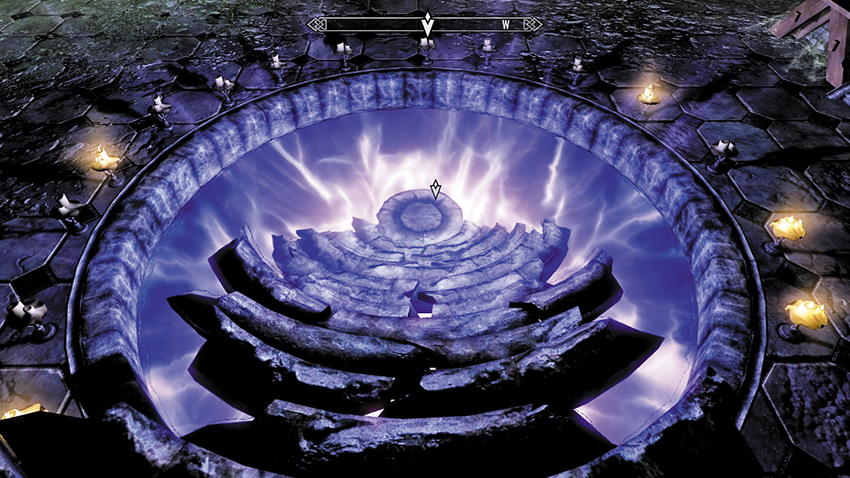
Set the ingredients into the portal vessel overlooking the sunken circles. Then, when you’re ready to proceed, speak to Serana, letting her know you’re ready for her to add her blood to the mixture. The Soul Cairn is a frightening place, so you may need to prepare.
However, once you inform Serana that you’re ready, she bites her wrist, letting her blood drip into the vessel. Her bloodline is true; with a crackle of purple soul energy, the sunken circle splits apart and great sections of stone rotate to form rudimentary steps down into the void. The portal to the Soul Cairn has opened!
Quest Conclusion
Take a few tentative steps down into the Soul Cairn’s entrance. However, there are stipulations regarding whether you can enter the Soul Cairn. These are based on which alliance you’ve picked and your general demeanor:
-
If you’re already a vampire and have thrown your lot in with Lord Harkon, you can simply walk down the steps and enter the Soul Cairn.
-
If you’ve sided with the Dawnguard but have contracted Vampirism since Isran tested you for this disease, you can enter the Soul Cairn.
-
If you’ve sided with the Dawnguard and haven’t contracted Vampirism, you are drained of some health and a solid wall of force blocks your way as you try to enter the Soul Cairn. Speak with Serana, who realizes the Soul Cairn isn’t a place for a “normal” living being. Serana isn’t affected like you, as she’s a vampire. However, you’re not so “lucky.” You are now presented with a choice. You can:
- Step forward, let Serana embrace you and sink her teeth into you, and turn yourself into a vampire (with all their benefits and shortcomings). You may now enter the Soul Cairn.
- If you insist on maintaining your mortal state, Serana can partially Soul Trap you. This weakens you (reduces your health) while you are in the Soul Cairn. However, during Dawnguard Main Quest: Beyond Death, you can ask Valerica for the location where you can gain back the piece of your soul Serana has taken from you. This is the only way to enter the Soul Cairn without becoming a vampire. Your health is unaffected when traveling anywhere other than the Soul Cairn.
-
If you’ve sided with the Dawnguard, haven’t contracted Vampirism, but don’t want Serana to bite you or remove part of your soul, you can temporarily halt this quest, contract Vampirism by the usual means (from a Vampire’s Drain Life ability), and return afterward. This is possible, but there’s little point in trying it.
Postquest Activities
Whatever your decision, once you enter the Soul Cairn, Dawnguard Quest: Beyond Death commences immediately.
If you sided with the Dawnguard but agree to let Serana transform you, note that you are now a member of Harkon’s bloodline, with full access to the Vampire Lord form and all its powers. Consult the Vampire Lord section for more details on your new abilities, as you won’t receive the same primer on them that vampire-allied players received from Harkon.
Note that you will need to cure yourself of Vampirism before you can accept quests from the Dawnguard again (see Side Quest: Rising at Dawn).
Beyond Death
Initial Preparations
During your exploration of the Soul Cairn, there are several different Regional Activities and Side Quests that you can undertake. It is well worth reading up on these so you don’t miss anything. They are listed below. You should also check the Atlas to familiarize yourself with the topography of this eerie otherworld.
- Regional Activity: Arvak the Spectral Steed*
- Regional Activity: Dark Conjurations*
- Regional Activity: (Don’t Fear) The Reaper*
- Regional Activity: The Soul Husk Merchant*
- Regional Activity: Valerica’s Concoction*
- Regional Activity: The Whole Soul*
- Side Quest: Durnehviir
- Side Quest: Impatience of a Saint
The Clouds, the Sky...Everything’s Wrong
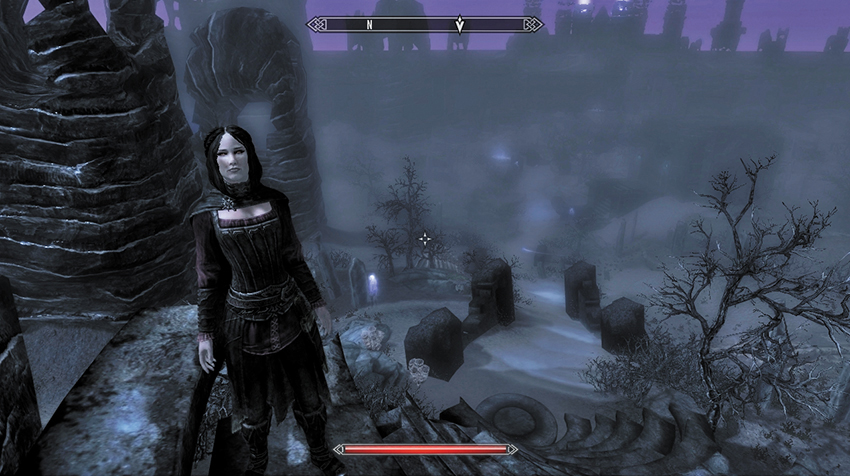
After manifesting in the Soul Cairn, descend the ethereal stone steps as Serana remarks about the suffering of the dead that end up here for eternity. You can ask her about Valerica and the Elder Scroll, and more about this place (including why Necromancers collect souls from here). Now look to the northeast; in the distance is a giant black wall with massive gouts of purple flames spilling into the darkened skies. For the moment, concentrate on the rudimentary pathway, heading northeast toward a small chapel. You may encounter the first of the many ghostly souls trapped here. Talk if you wish, then optionally gaze up at the black chapel.
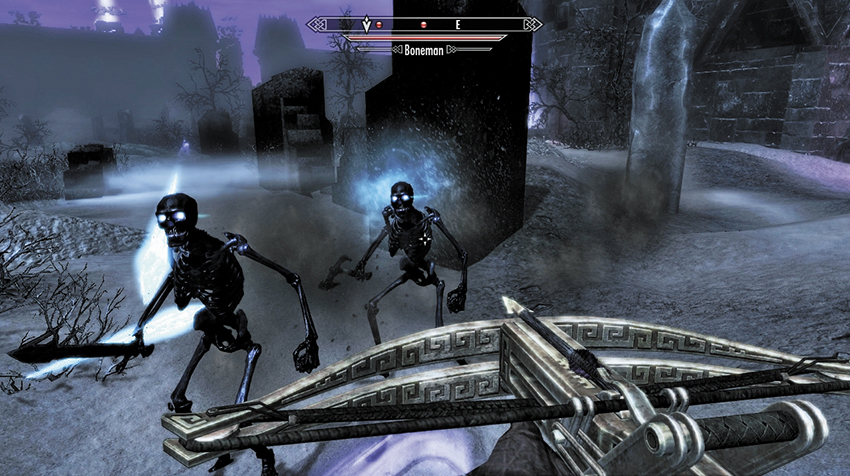
To continue this quest, head down the slight slope into an eerie area of low fog blanketing the ground. Two terrifying black skeletal forms—known as Bonemen—ooze out of the earth to attack. Dispatch them, then continue across the foggy earth, past a soul distraught at losing a horse named Arvak, and go toward a set of steps hewn through the giant wall. You’re quite welcome to delay this quest by inspecting the outer side of the wall. Otherwise, head over the stepped opening, passing through a black gatehouse, as the path becomes less distinct.
If you stop and speak to the soul who has lost Arvak, you’re prompted to search for the horse’s skull. You may also see a strange and frightening skeletal steed galloping through the Soul Cairn from time to time. You can’t rescue this horse by chasing it. Consult Regional Activity: Arvak the Spectral Steed for more information.
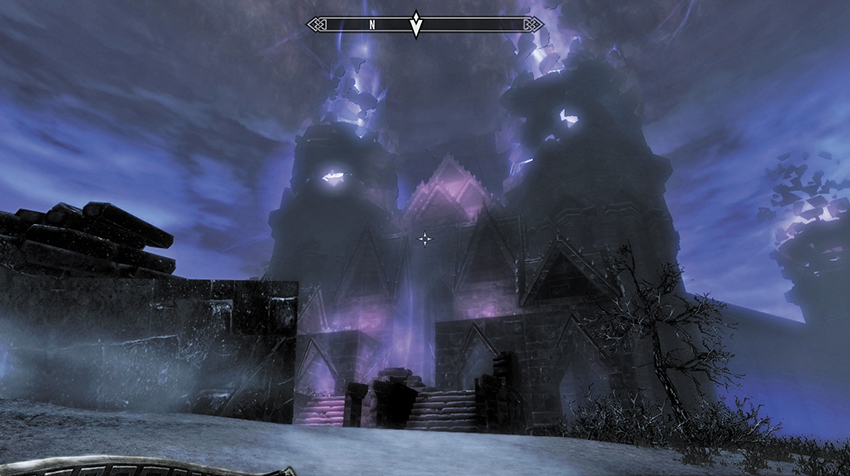
Keep an eye on the horizon as you pass through another black gatehouse. You slowly approach a large and crumbling prison with two shooting flames jetting from the main towers. Continue your maneuvering northeast, across the foundations of a long-lost structure, and back onto the pathway as lightning arcs through the ominous skies. At the next gatehouse, your movements attract the attention of more Bonemen. Slow to deal with three of them escaping from the bone piles and earth at the side of the path, and then step through the gatehouse. Climb the hill to the ornate and looming prison facade. As you reach the steps and view an impenetrable barrier, Serana sees a familiar face.
Not Your Mother’s Keeper
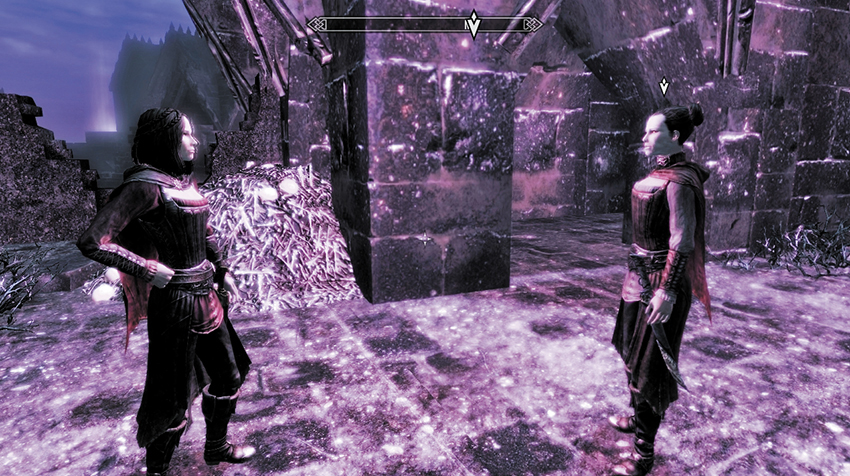
Serana is ecstatic to finally see her mother. Valerica instantly thinks something is wrong, that Harkon has found a way to decipher the prophecy, but Serana assures her you’re both here to stop him, to make everything right. The thought of strangers darkens Valerica’s mood, and she orders you to speak with her.
Valerica is suspicious you’re here to kill her. You may answer her in any way you wish. Eventually, she reveals that the real key to the Prophecy of the Tyranny of the Sun is Serana herself. The second Elder Scroll that Valerica fled Castle Volkihar with declared that “the Blood of Coldharbour’s Daughter will blind the eye of the Dragon.” Both Serana and Valerica are “Daughters of Coldharbour” women who offer themselves to the Daedric Prince Molag Bal.
Other revelations abound: Serana’s blood is integral to fulfilling the prophecy that Harkon seeks to complete, which is why both mother and daughter fled from Harkon in the first place. But now Harkon grows stronger. The conversation ends with you mentioning you’re here for the Elder Scroll and Valerica telling Serana you’re here for your own ends.
This talk infuriates Serana, who reveals how dedicated you’ve been to her in the short time you’ve known her, especially compared to being placed alive in a sarcophagus by her own mother! After more heated discussions, Valerica comes to an uneasy understanding with her daughter but agrees to assist you both. She has the Elder Scroll safely locked away in her prison, and you’re fortunately in a position to breach the barrier that surrounds her.
You must locate the tallest of the rocky spires that surround these prison ruins. Each spire is tended by a Keeper, and destroying all three will release the barrier. Valerica also has one more word of warning: There is a dragon called Durnehviir roaming the Soul Cairn. You are to watch for him; the Ideal Masters have charged him with overseeing the Keepers, and he will intervene if he perceives you as a threat. Your quest updates, and you can ask Valerica for much more information (about her imprisonment, the Soul Cairn, and who the Ideal Masters are).
Freeing a Kept Woman
You may speak to Serana at length about her mother, then check your compass and notice three new markers: These are the locations of the three Keepers. If you’re attempting to find the Keepers without the markers, look to the horizon for the tallest rocky spires in the Soul Cairn, with the disintegrating brickwork swirling into the sky.
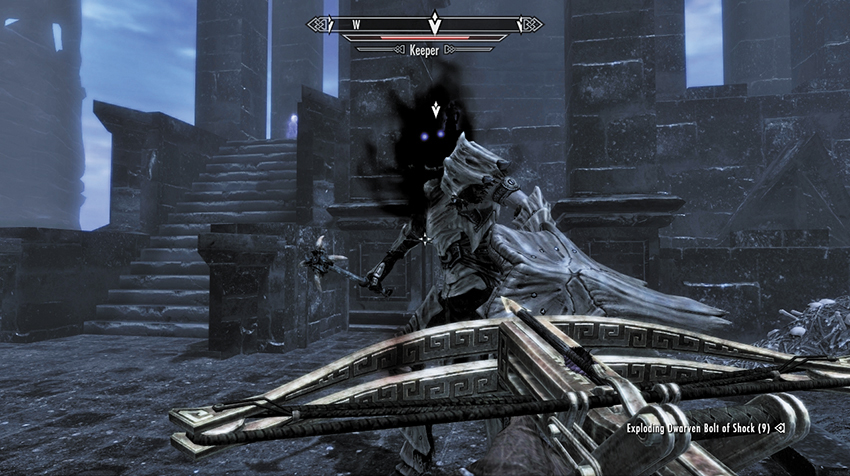
Keeper 1: The spire is located west of Valerica’s location. The Keeper here sits on a massive throne in a large courtyard, surrounded by pillars and other structures. These obstacles provide plenty of hiding opportunities and allow you to duck behind cover to avoid his incredibly damaging weapon swings. Defeat the Keeper, claiming a Black Soul Gem (Grand) and potentially a Dragonbone weapon (at higher levels) from the dust he leaves behind.
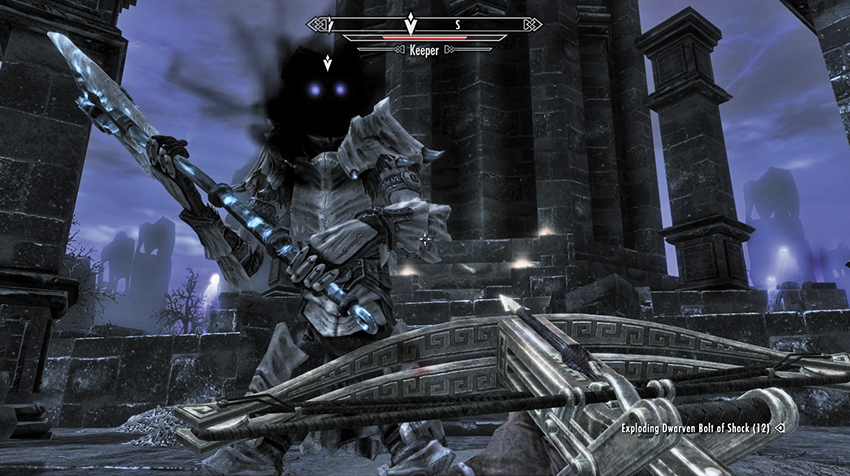
Keeper 2: Take the path heading east from the first Keeper. Fight through the low hills of scrub and Bonemen to the next crumbling spire to the southeast. Before you reach the Keeper, deal with any Wrathmen appearing along the path prior to the spire. There are fewer structures to hide behind here, but the Keeper is visible at a greater distance, making ranged attacks much easier.
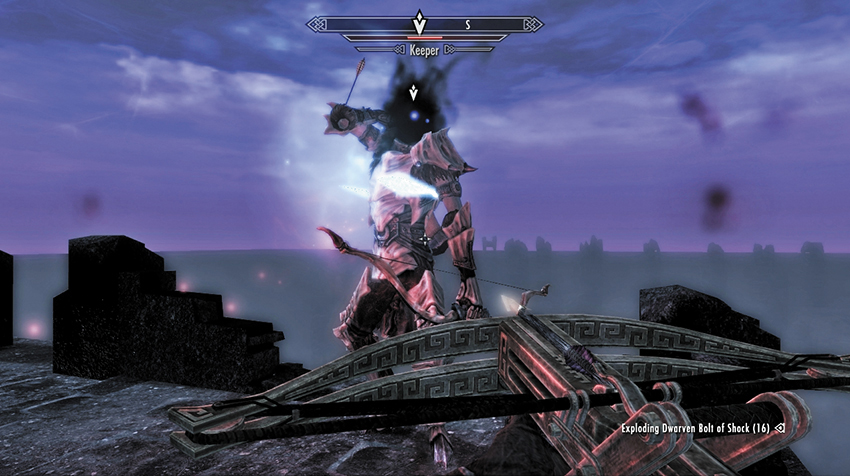
Keeper 3: Head northeast from the second Keeper. Among the twisted and gnarled trees, as well as the Bonemen and Wrathmen attacks, you may stumble across a soul named Jiub (Side Quest: Impatience of a Saint). Farther northeast is a small tower with an altar inside. Guarded by Mistmen (floating apparitions of skeletal blackness), and attracting lightning as you get close, this altar has Arvak’s Skull atop it. Pick it up to complete Regional Activity: Arvak the Spectral Steed.
Continue on a rough path to the northeast, through more Bonemen and Wrathmen combat, toward a circular Teleporter guarded by foes. As the third Keeper’s spire has already detached itself from the earth, you must step into the purple Teleporter to reach the spire. Do not fall at this point; instead, head counterclockwise around the edge of the spire and up the steps until you face down the third Keeper, who carries a bow that can drop you with a single arrow. Time ranged attacks to strike before the Keeper can fire his bow, or use the environment for cover. When the third Keeper bursts out of existence, return to Valerica.
Battle for the Boneyard
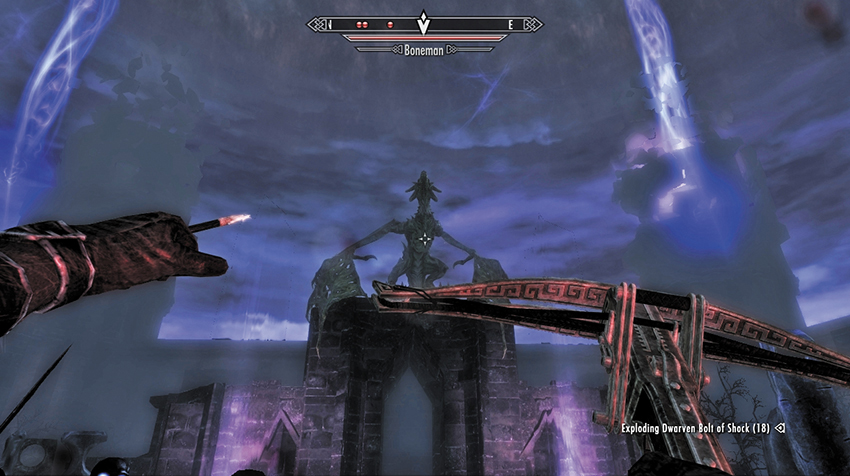
Return to Valerica, who is impressed at your mettle. With the prison barrier down, Valerica warns you to keep an eye out for Durnehviir. You’re then instructed to follow her. Pause at the Alchemy Lab or at Valerica’s small collection of books before watching her open the giant doors that lead into her prison. This area, known as the Boneyard, is a massive graveyard sealed by a huge perimeter wall of black stone and spires. Suddenly, Serana spots movement. A giant, tattered dragon lands on an arch across the stone yard, enslaved by the Ideal Masters so it can challenge you to combat!
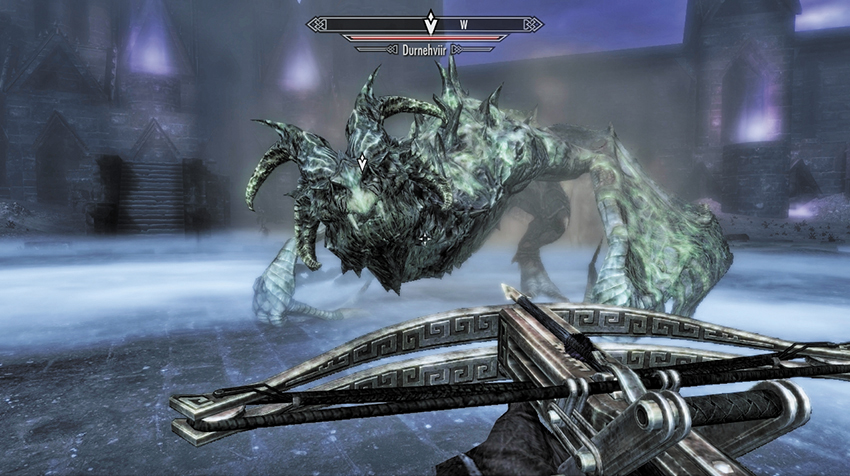
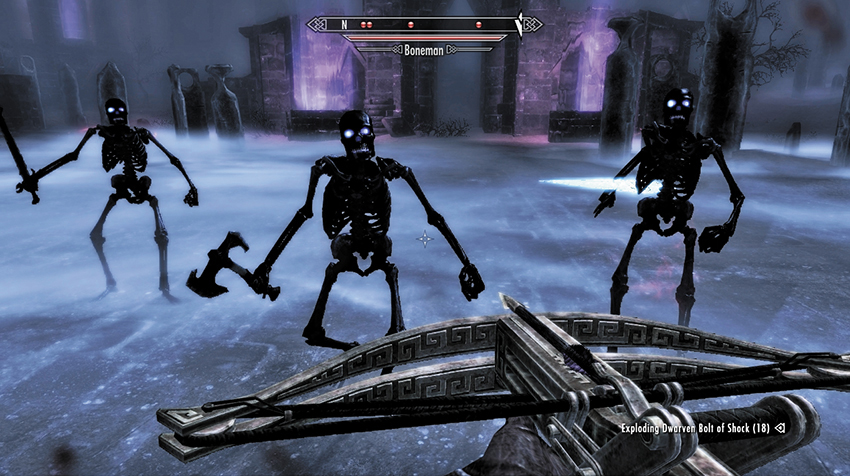
Durnehviir (picture 1) has attack patterns much like the other dragons you may have fought. His breath is more of a bolt of soul energy, which is just as damaging as fire or frost. The biggest problem are the Bonemen he conjures (shown in the second picture). Deal with them before they swarm you, ideally as Durnehviir circles overhead. Concentrate on the dragon when he lands or hovers close to your location. You may also wish to stay close to Serana and Valerica, letting them deal with the Bonemen or dragon while you provide supporting strikes at the other foe. Once Durnehviir is slain, his body collapses in on itself, but this is only one aspect of the beast, and you aren’t rewarded with Durnehviir’s soul.
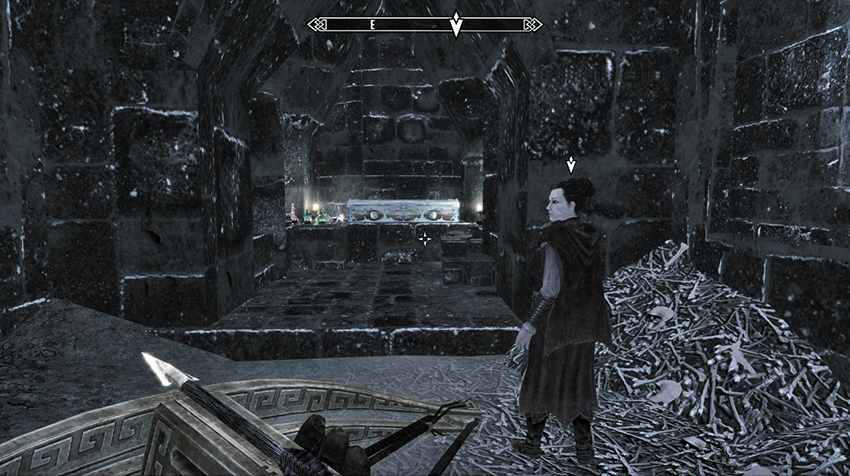
Valerica walks to an alcove on the lower wall on the Boneyard’s eastern side. Speak with her, and she admits astonishment that Durnehviir was slain...unless the dragon’s soul was more resilient than its host body. In fact, the beast may be reconstituting itself. Valerica suggests you take the Elder Scroll and be on your way. Oblige her, and walk to the alcove she’s leading you to. Wait for her to unlock a long, ornate chest. Gather the Elder Scroll and any nearby potion concoctions you wish.
- Elder Scroll (Blood)
At this point, if you had Serana trap part of your soul to allow you to enter the Soul Cairn, you can ask Valerica for help in retrieving it (Regional Activity: The Whole Soul*). Simply follow the marker on your compass to the soul fragment’s location and reclaim it, restoring you to full health again.
Quest Conclusion
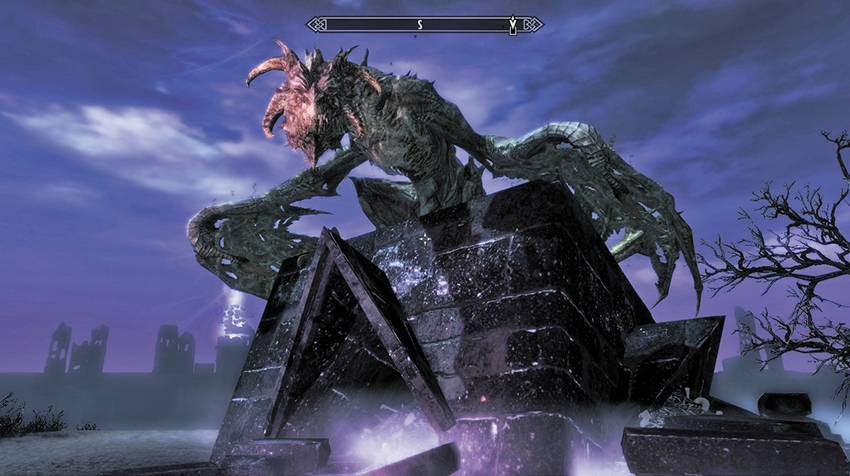
As a Daughter of Coldharbour, Valerica feels she must remain here, as returning to Tamriel increases Harkon’s chances of bringing the Tyranny of the Sun to fruition. Say your good-byes, then begin to retrace your steps back to Tamriel. Head southwest out of the Boneyard and toward the devastated plains of the Soul Cairn. As you’re about to leave, a large dragon startles you. Durnehviir has returned, only on this occasion, he wishes you to stay your weapons and listen awhile.
Durnehviir reveals he isn’t dead but is trapped between “laas and dinok” (life and death). If you’re willing to hear him out, Durnehviir honors you with the name “Qahnaarin” or “Vanquisher.” At this point, Side Quest: Durnehviir begins, as the dragon asks a favor of you: to call him while you’re in Tamriel, freeing him from this place. To this end, he gives you the three words of a Shout that will summon him.
- Word of Power: Curse, Summon Durnehviir
- Word of Power: Never, Summon Durnehviir
- Word of Power: Dying, Summon Durnehviir
Once you’ve finished speaking with Durnehviir, travel in a vaguely southwest direction through the Soul Cairn, retracing your steps back up into Volkihar Ruins to complete this quest.
Postquest Activities: Seeking Disclosure
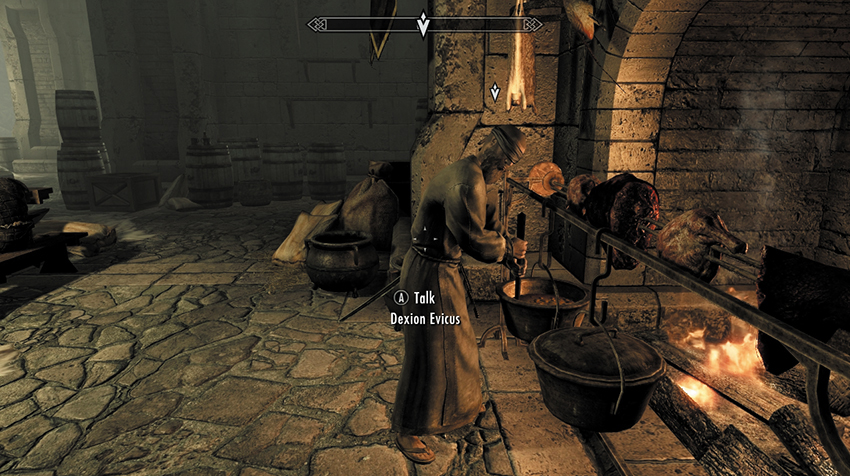
Dawnguard Quest: Seeking Disclosure is still active (as is Scroll Scouting if you haven’t found the Elder Scroll [Dragon] yet). Exit the ruins via the door in the southwest corner of Valerica’s laboratory and out onto the Castle Volkihar Balcony. From here, Fast-Travel to your next destination: to start the search for the Elder Scroll (Dragon) or, if you have both Elder Scrolls, to the fortress where Dexion Evicus awaits you.
When you meet with Dexion, his eyes are bandaged. This isn’t a good sign, and the news gets worse: In his haste to read the first Elder Scroll (Sun), the Moth Priest neglected proper preparation. But you’re not finished; it all depends on how much you’re willing to risk to find Auriel’s Bow. Dawnguard Main Quest: Unseen Visions now begins.
Unseen Visions
Setting New Sights
Back at the fortress, once you realize Dexion Evicus cannot read the Elder Scrolls you’ve assembled, ask him what you need to do to unlock the knowledge contained in the Scrolls. He tells you that Tamriel has a scattering of secluded locations known as Ancestor Glades. The one in Skyrim is located in the Pine Forest. Performing the “Ritual of the Ancestor Moth” within the glade should provide the answers you seek. The ritual involves carefully removing bark from a Canticle Tree, which then attracts Ancestor Moths to you. When seven swarms of moths are following, they provide you with second sight, which you need to decipher the Scrolls. You’re welcome to ask Dexion additional questions about his blindness, but for now you have the location of the Ancestor Glade.
- Elder Scroll (Blood)
- Elder Scroll (Dragon)
- Elder Scroll (Sun)
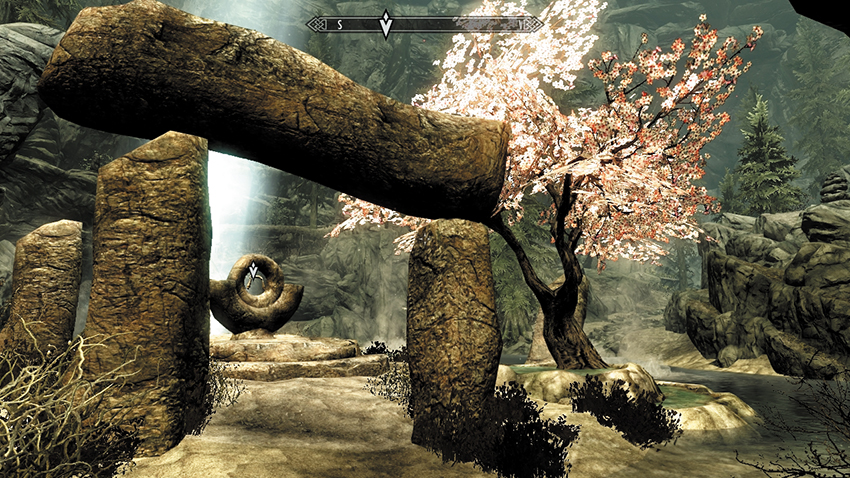
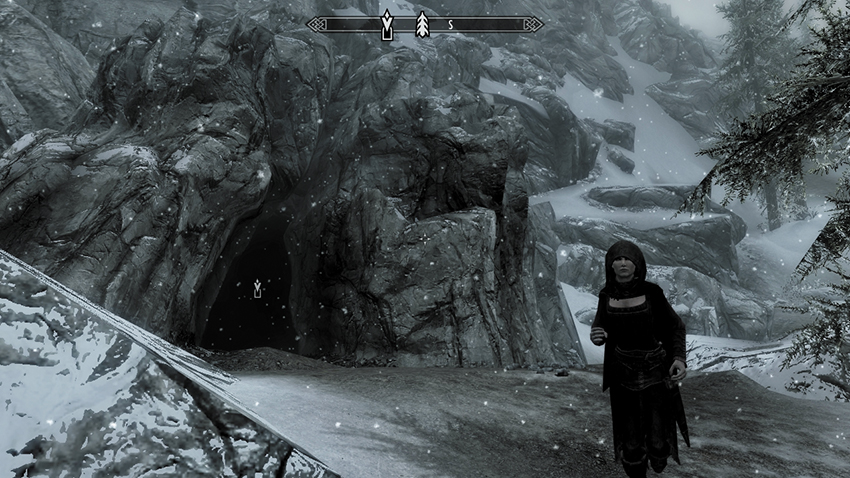
With all three Elder Scrolls on your person, set out from your fortress, heading toward Falkreath Hold and the Ancestor’s Glade. It is located high in the southern mountains close to Pale Pass, near the Bloodlet Throne, and is easily accessible from Angi’s Camp (but not from the woodland below Peak’s Shade Tower). A small copse of trees and a stone route marker are the only clues to this hidden grove.
Enter the crack in the mountain and into a small cavern; step across the fallen log and through the small winding tunnel, and the glade’s majesty soon becomes apparent. Although you’re free to fully explore the turquoise mineral pools and splash about in the water, simply follow the ancient stone steps down and around to the glade itself. No one has been here for centuries. Duck under the three ancient henges to reach a carved pedestal shaped like the insignia of the Moth Priests. Floating in the middle of it is the Draw Knife. Take it.
- Draw Knife
Locate one of the Canticle Trees (there’s one just to the right of the pedestal, although any of the pink-blossoming trees within the Ancestor Glade will do), and begin to carefully scrape away, harvesting the Canticle Bark until you have enough and your quest updates.
- Canticle Bark
Elder Apparitions
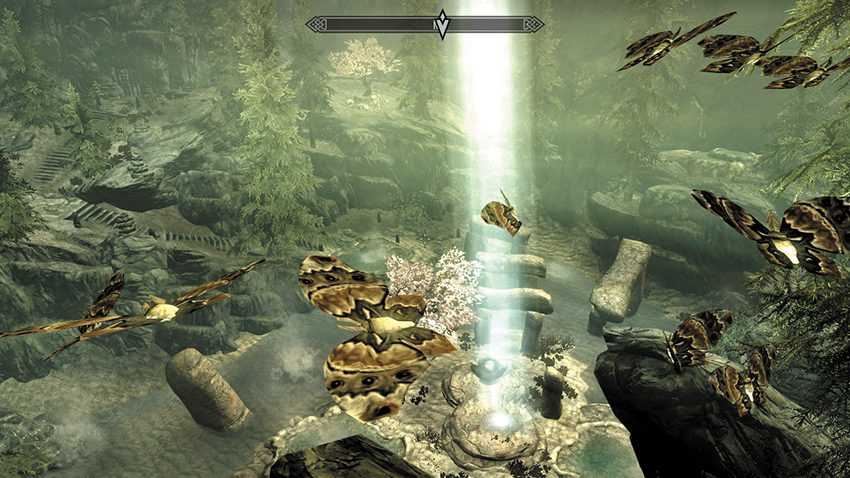
Dotted about the glade are several Ancestor Moth swarms. They are friendly (very friendly, once you walk into their cloud of fluttering wings), and there are more than the seven swarms you need to attract. Simply walk the rest of the path as it winds through the glade’s rocky outcrops, looking for swarms as you go. You can retrace your steps back up to the glade entrance if you wish. But don’t lose your footing on the slightly treacherous terrain if you decide to explore off the beaten track. Once the seventh swarm has found you, a beam of bright light emanates from the pedestal altar where you found the Draw Knife.
Stand in the middle of the light (you may wish to speak to Serana about the wondrous tranquility you’re experiencing), and then access your Items > Books Menu and read the Elder Scroll (Blood). Your vision swims with light and ancient knowledge. You automatically bring out the other Scrolls and your vision changes. It is as if you’re gazing down from the heavens, looking at the Reach and Haafingar Holds. The runes of Markarth (to the southwest) and Solitude (to the northeast) are visible, glowing red. Between the two, in the Druadach Mountains close to a Karth River tributary, is a third rune. The rune marks the place to uncover and the entrance to the location of Auriel’s Bow!
Quest Conclusion
Serana was worried—you were as white as a Snow Elf—but after conversing with her, you are imbued with the knowledge of a place called Darkfall Cave. Serana reckons you both should set off immediately, before the forces against you are able to track you down. The quest now concludes.
Postquest Activities
Dawnguard Main Quest: Touching the Sky begins immediately. You can ask Serana about her knowledge of Auriel’s Bow before leaving this place. On your way out, prepare for an ambush!
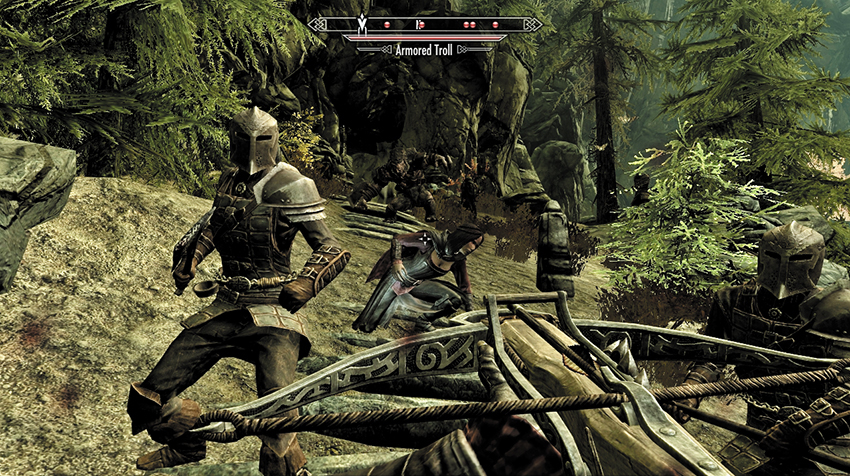
A complement of Dawnguard soldiers, including an Armored Troll, descend from the entrance, determined to thwart your deviant progress. Cull them or flee if their might becomes too much for you.
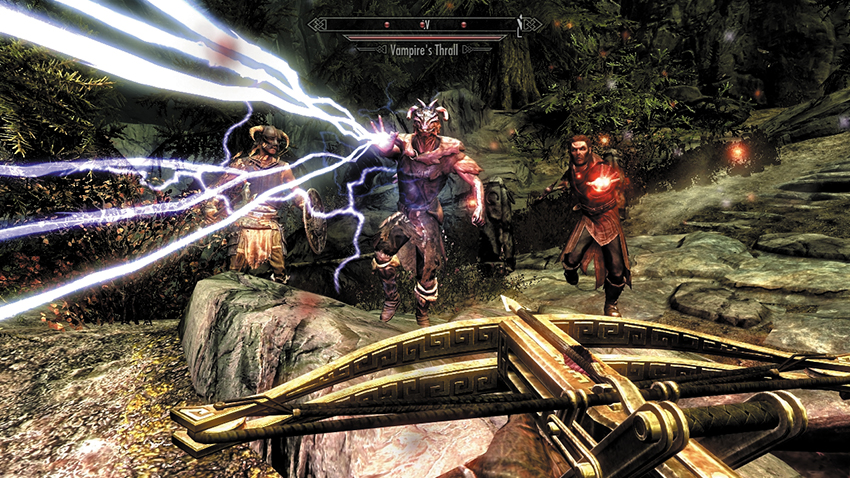
A half-dozen Vampire Thralls, controlled by a Master Vampire, head down from the entrance, with only one purpose in mind: to crush your hopes of progress. Defeat these night stalkers or flee before them.
Touching the Sky
Auriel’s Odyssey
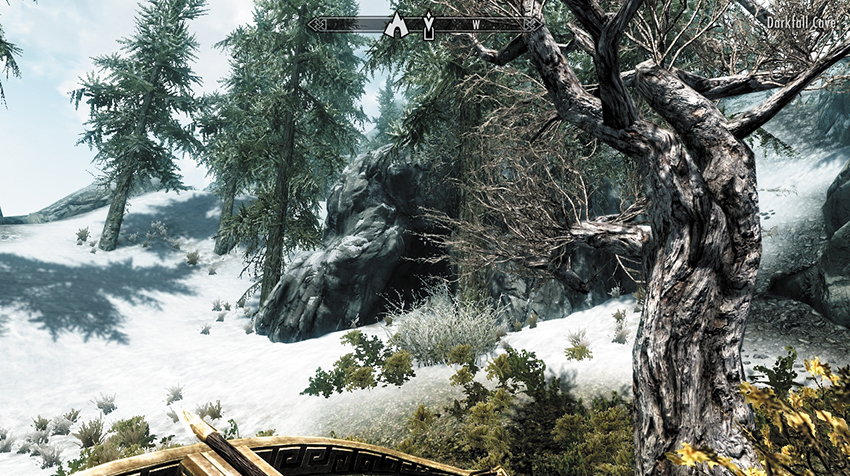
After defeating (or fleeing from) the “unwelcoming committee” that confronts you as you leave Ancestor’s Glade, head outside, then look to your world map. Your next destination, Darkfall Cave, is located south of Mor Khazgur and north of Druadach Redoubt, in the northern part of the Reach. The cave entrance protrudes from the snow level, above some sloping and uneven ground dotted with trees.
Once inside the cave, follow the narrow tunnel around the waterfall, past a Frostbite Spider and web-spun alcove, before heading west across a rickety wooden bridge. The trail goes cold here, until you look down. The way forward lies in the fast-flowing water below.
Face south and drop into the underground torrent, riding it into a plunge pool and over a waterfall to a pair of rushing streams. A few Frostbite Spiders follow you into this dark and dank environment. Deal with them now, as there’s a Giant Frostbite Spider in an alcove to the east (it guards a skeleton draped over a chest), a little farther along the cavern. Continue north, following the tunnel as it narrows. Follow the trail of torches up to a campfire. A dead Breton lies here next to a chest. He carries a note detailing his inability to deal peaceably with trolls.
- Darkfall Cave Note
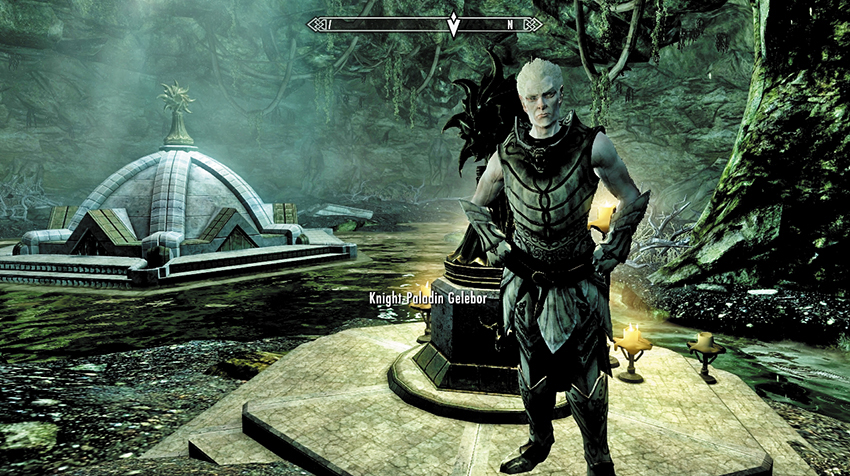
There’s a tunnel that slopes up to the west (which returns you to Skyrim’s surface), but you should head down, to the east. Avoid the trip wire (unless you enjoy being bruised by falling rocks), and follow the tunnel as it bends around to the north and opens into a larger, waterlogged cavern. Amid the gloom, stare north to some bloody remains, a torch, and a chest guarded by two trolls. Ignore or defeat them (a little too late for the Breton whose corpse you just rifled through), and splash through the rest of the cavern heading west. It is here you spot a very pale elf, standing in worship to an effigy of the sun. Gelebor beckons you forward; you have nothing to fear here.
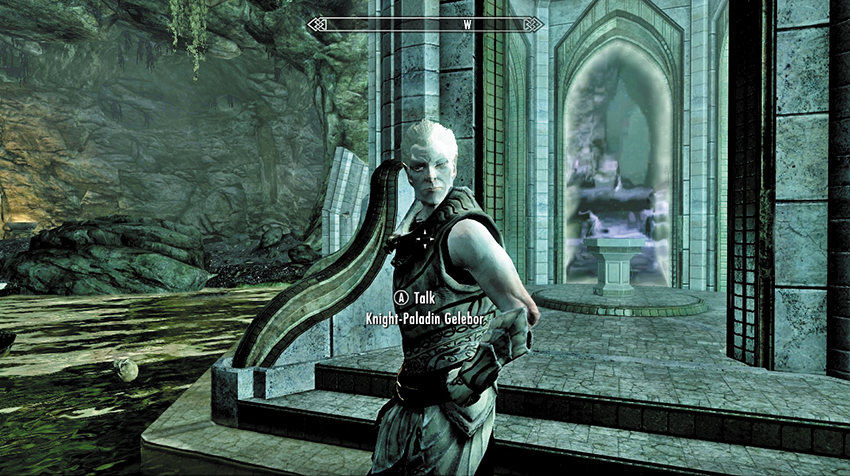
Knight-Paladin Gelebor welcomes you to the Great Chantry of Auri-El, otherwise known as Alkosh, Akatosh, or Auriel; there are many names for the foremost of the gods. Gelebor is among the last of his race, a Snow Elf not “turned” or betrayed like the rest of the Falmer you have faced. Gelebor knows why you’re here, but before he grants you clues to the Bow’s location, he requires your assistance: You must kill Arch-Curate Vyrthur, his brother.
Gelebor believes the Betrayed (Falmer) have done something to Vyrthur, and previous Falmer incursions have resulted in much loss of life: The Falmer stormed the Inner Sanctum of the Chantry and (Gelebor believes) corrupted his brother. Gelebor cannot go to his brother’s aid, as he has vowed never to leave the Wayshrines unguarded. With that, Gelebor conjures a ball of light and casts it at the carved sun in the center of the pool. A large, elven-made shrine rumbles out of the ground. Impressive. Gelebor explains that this Wayshrine was used for meditation and transport long ago, when the Chantry was a place of enlightenment.
Serana asks about the basin, which was used by initiates once their mantras were spoken. They dipped a ceremonial ewer into the basin at each Wayshrine before proceeding to the next. Upon reaching the sanctum, the initiates could present their ewer, filled with the water of all the Wayshrines, allowing them to enter the temple and gain an audience with the Arch-Curate himself. Serana isn’t too interested in this symbolism. However, you’ll have to be, as this is the only method of accessing the Sanctum to reach Vyrthur! There are five Wayshrines to find, and each requires you to use the ewer to retrieve and mix the sacred waters. You’re handed the ewer, and Gelebor wishes you well.
- Initiate’s Ewer
Before you depart, you can speak to Gelebor at length about the spectral Prelates who guard each Wayshrine, find out more about the Chantry, and learn more about the Snow Elves. Then step into the first Wayshrine (which you don’t need to extract water from) and into the Portal to Darkfall Passage.
Seeking Passage and Light
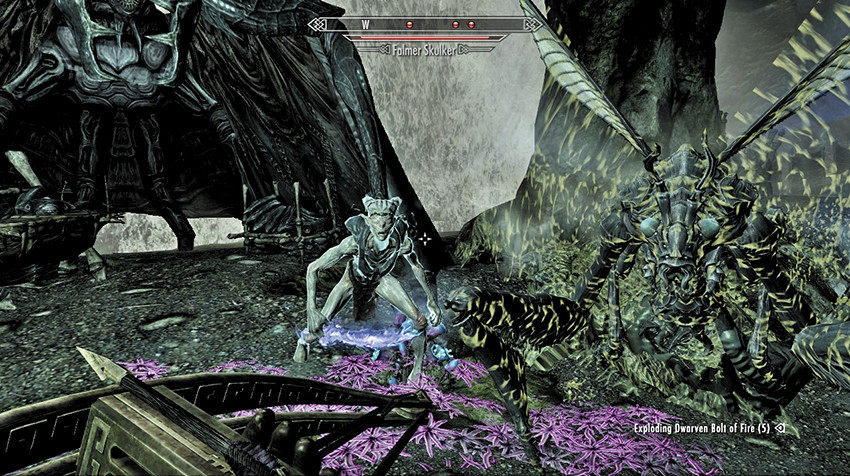
Stepping into Darkfall Passage, head down the narrow tunnel. The odd, luminous fungus plants recede as you approach, plunging you into gloom. These plants retract when you approach or strike them, reducing the light level in their immediate vicinity. Depending on your combat style, you may wish to keep your Vampire’s Sight or a light spell active to improve visibility, or take advantage of the darkness by sneaking past the enemies that lie ahead. The Falmer, being blind, are unaffected by the light, but you may find it slightly easier to sneak by the Chaurus in darkness.
Keep your wits about you as a Chaurus Hunter bursts from its ground cocoon. Strike down two Falmer as you reach a small grotto where you must defeat another of the Betrayed, along with a couple of their Chaurus pets. Head down the tunnel to the west, turning north and avoiding the trip wire or you’ll receive a Falmer claw trap to the face.
The tunnel turns to the southwest, opening up to a Falmer camp. Make short work of the four or five Falmer foes here, along with another Hunter as you close in on a subterranean waterfall. Then maneuver around to the waterfall’s opposite side, edging along the ledge and heading north to a second Falmer camp. After you clear this immediate area of another couple of foes, inspect the chest below the Falmer bridge. Harvest the Gleamblossom if you wish, but remove the chest’s trap trigger [Apprentice] or face a skewering from a trap.
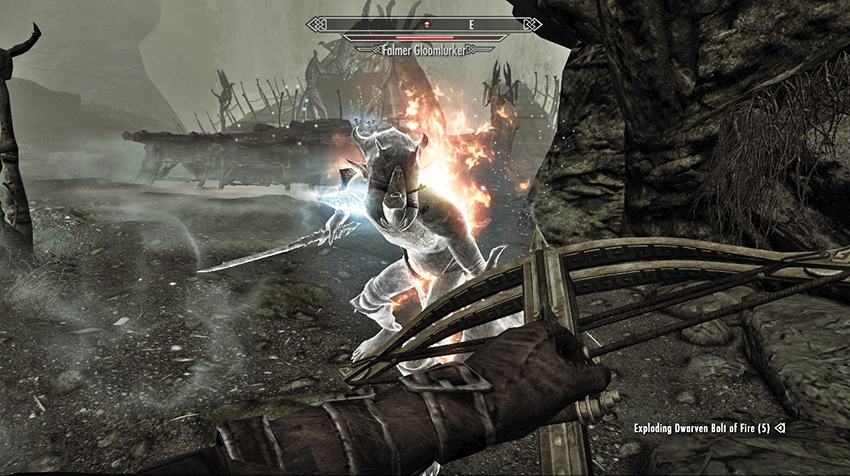
Cross the bridge to the makeshift altar of skeletal remains, repelling four more Falmer foes as you head west, avoiding the bones that alert foes ahead. Pass the large glowing crystals, moving south and then east up a tunnel to another Falmer camp. This area has a Chaurus pen (attack the two beasts from range for easy takedowns) and a toughened Falmer to face. Then drop two more Falmer who enter via both of the two waterfall bridges behind the hut. With the coast clear, head through the water (or drop to a lower ledge, which is flagged in the Atlas). To the southeast is a dead-end chamber with a trip wire and claw trap and Chaurus Hunters to fight. You don’t have to go this way; continue past the skeletal remains and down the windy tunnel.
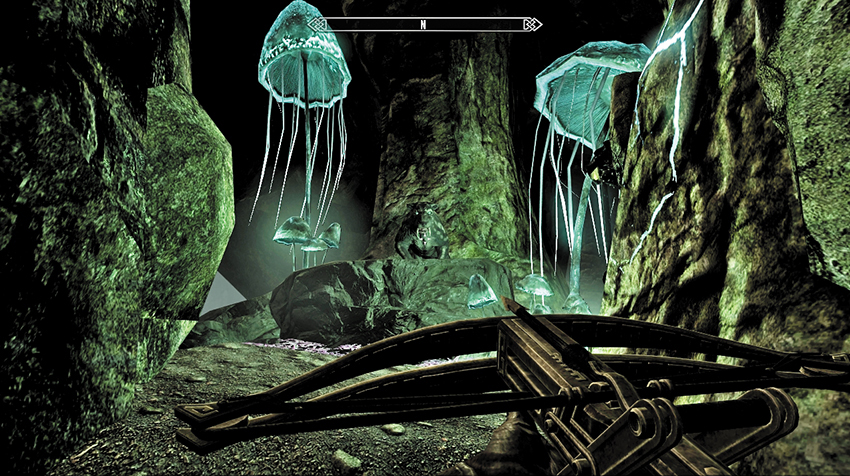
Finally, you reach two rope releases, and some traps set into the ceiling. Serana comments that whatever is on the other side of this, the Falmer wanted to keep it there. Activate the left rope release, and a rock wall to the right (north) rumbles open. Ahead is a strange, catlike predator. Either react and kill it immediately, or pull the other rope release and hope to skewer it with the multitude of traps (a claw, spears, and darts) it lets loose. You’ve brought down a Vale Sabre Cat. Now to find out what it was guarding....
Wayshrine of Illumination: Into the Gloomy Grotto
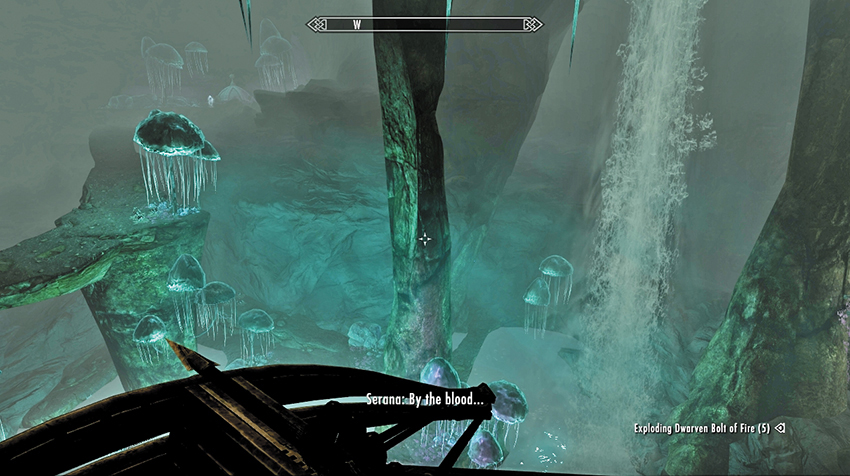
Step through into the giant Darkfall Grotto. Serana is suitably impressed. Stop at the initial vista point and look to the west. On the grotto’s other side is a Wayshrine! To reach it, you can dive off into the water below, risking a death plummet, and then scramble onto dry land. Or, you can take a more sedate (and safer) route to the right (northeast), heading down the sloping path, past some glowing plants and crystals, and startling some Vale Deer (which are skittish but not hostile). Follow the narrow path across the grotto water and up to a shallow cave bathed in purple light, where you must face another Vale Sabre Cat. Wind your way north, to the grotto’s opposite side, where your quest finally updates:
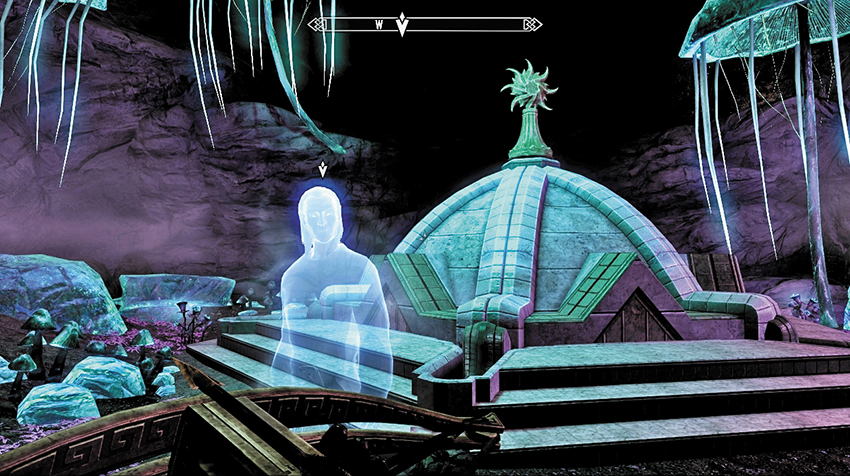
You are greeted at the Wayshrine by spectral Prelate Sidanyis. He welcomes you to the Wayshrine of Illumination. Answer that yes, you are prepared to honor the mantras of Auri-El and fill your vessel with his enlightenment. He raises the Wayshrine. Step inside and draw water at the basin (this is very important!). Then step through the Portal to Forgotten Vale.
- Objective Complete: Fill the Initiate’s Ewer (1/5)
Wayshrine of Sight: A Whole Other World
- Regional Activity: Ancient Falmer Tomes*
- Regional Activity: Paragon of the Frost Giants*
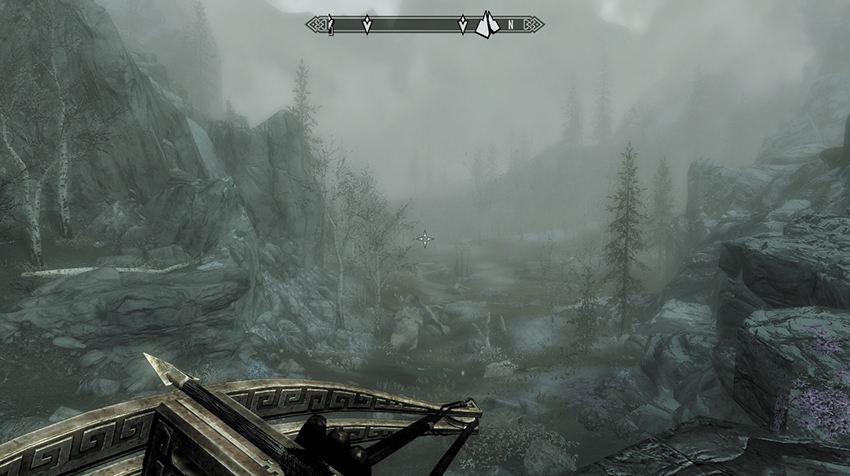
You’re now in completely unfamiliar territory, somewhere beyond Skyrim’s western borders and seemingly in the middle of a giant, rocky pit. Pass the luminous rocks and plants as you wind through the tunnel. You end up at the top of the pit and out into Forgotten Vale itself. The initial valley is usually shrouded in faint mist, with Vale Deer (and the odd Vale Sabre Cat) to do with as you wish. If you want to explore a bit, a Frost Troll lives in a small den up the snowy foothill to your left (southwest). But mainly stay on the valley floor, heading northwest through the old archway ruin and up the rough steps before turning right (northeast). Serana spots a second Wayshrine.
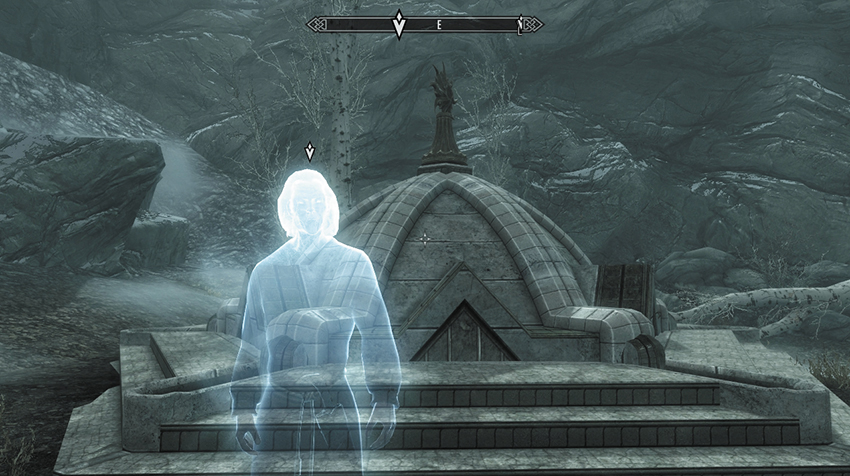
You are greeted by Prelate Athring, who welcomes you to the Wayshrine of Sight. Answer that you are ready to fill your vessel and the prelate opens the Wayshrine. Dip your ewer into the water basin before heading back down the hill. Don’t return to Darkfall Cave; instead, press on, exploring farther into the Forgotten Vale.
- Objective Complete: Fill the Initiate’s Ewer (2/5)
Wayshrine of Learning: A Vale Revealed
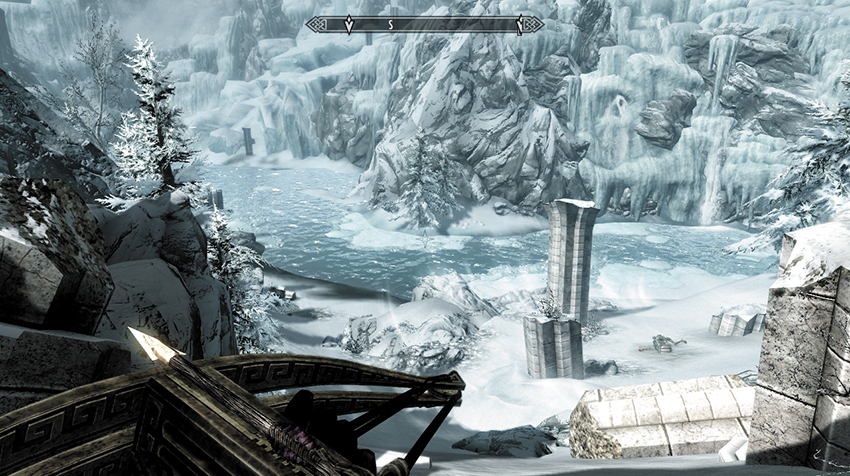
Head down the hill to the southwest, through another archway and up a hill encased in snow. A group of Frostbite Spiders (and a bigger one behind them) stand between you and the opening to the rest of Forgotten Vale—a massive and sprawling ice-encrusted land dotted with the remains of Snow Elf architecture. It is easy to get lost in this huge valley, with a massive frozen lake to the southwest and many more surprises to come.
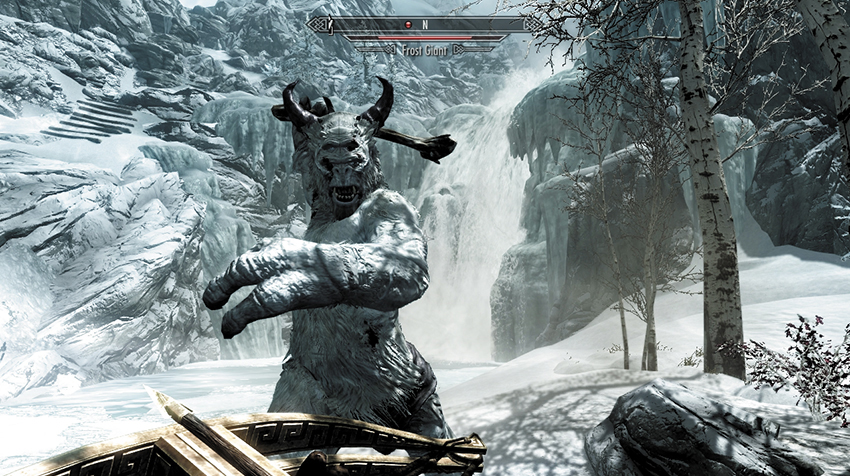
Head south down the slope toward the water’s edge. Along the way you’ll spot a skeletal corpse sprawled over a chest ([FV2.A] Snow Lake Entrance: The Sprawled Skeleton). Close to the chest is a strange book; this is one of four unknown books you can gather while you’re here, as part of the Regional Activity: Ancient Falmer Tomes.* You can optionally turn right (northwest), working your way to the lake’s northwest end. Here, you’ll face the first of five Frost Giants (as part of Regional Activity: Paragon of the Frost Giants*) close to a waterfall. Claim the Amethyst Paragon from its corpse. There’s a snowy path northwest of here, but you’re missing some crucial locations if you take it.
- Unknown Book, Vol. I
- Amethyst Paragon
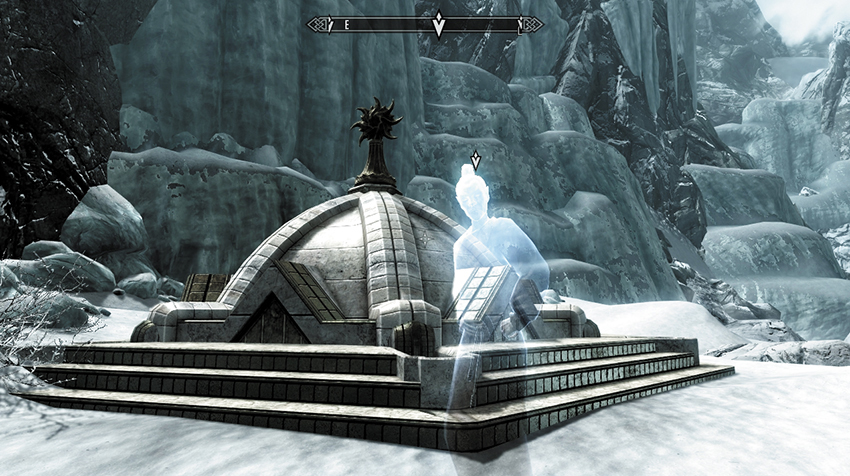
For now, head to the lake’s edge and look to the left (south). Search for the pointed archway ruin ahead of you, along the lake’s left side, and head toward it. Just before you pass through it, there’s a Wayshrine on a snowy bank to your left. This one is guarded by the ghostly form of Prelate Celegriath. He welcomes you to the Wayshrine of Learning. Agree to fill the vessel, step into the Wayshrine once it is revealed, and draw from the basin.
- Objective Complete: Fill the Initiate’s Ewer (3/5)
Wayshrine of Resolution: Awake at the Lake
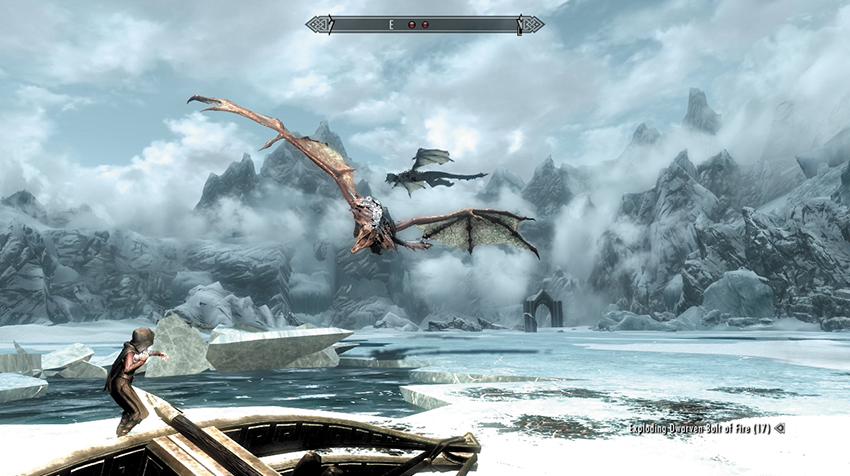
From the last Wayshrine, look to the southwest, toward a snaking snow path up through the frozen rocks. This is your next destination, although you can investigate a waterfall to the southeast, which empties the water from the lake down into a subterranean area with Falmer to face and a final watery plummet back down to Darkfall Grotto and the Wayshrine of Illumination. If you fall down the waterfall, use the Wayshrine portal to return to the third Wayshrine, instead of traipsing all the way back.
Now climb the snaking snow path to the giant frozen lake on a huge plateau overlooking the water below. Gaze above to Auriel’s Chapel Temple Balcony, visible high on the cliffs to the south. But not before the guardians of the lake make their appearance! The following combat is optional (as you don’t need to investigate the frozen lake) and occurs only if you’ve completed Main Quest: Dragon Rising.
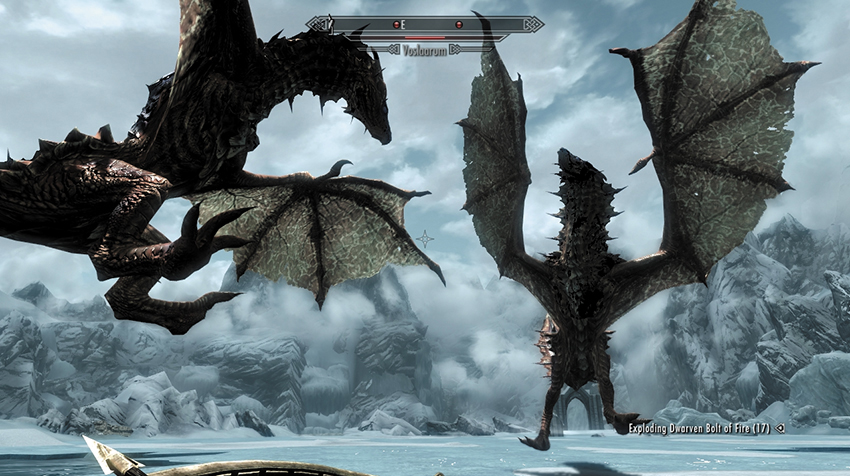
A wary Serana notices a rumble below the ice, and moments later, two dragons—Naaslaarum and Voslaarum—burst up through the lake and begin to dive-bomb the ice, and your position! This combat is tricky, as you are fighting two dragons simultaneously, in an area where you have no cover but they often do (as they dive through the ice). After you slay both dragons, investigate the rock formation on the eastern edge of the frozen lake, close to the waterfalls. A Word of Power is seared into the stone.
- Dragon Soul (2)
- Word of Power: Drain Vitality
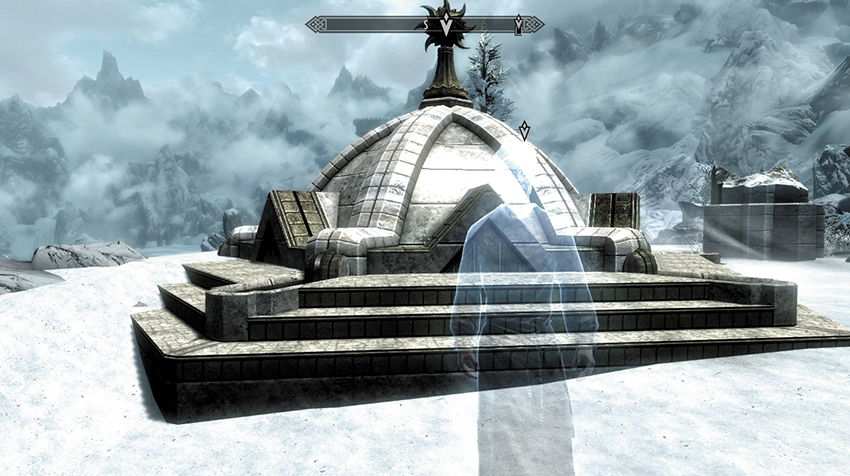
Head north and northwest to the opposite end of the frozen lake, looking for an arch and steps to climb. North along the path, past the skeletal remains and other ruined debris, is your next Wayshrine. Greet Prelate Nirilor in the usual manner, requesting he raise the Wayshrine of Resolution. Then fill your ewer for the fourth time.
- Objective Complete: Fill the Initiate’s Ewer (4/5)
Wayshrine of Radiance: An Epic Trek
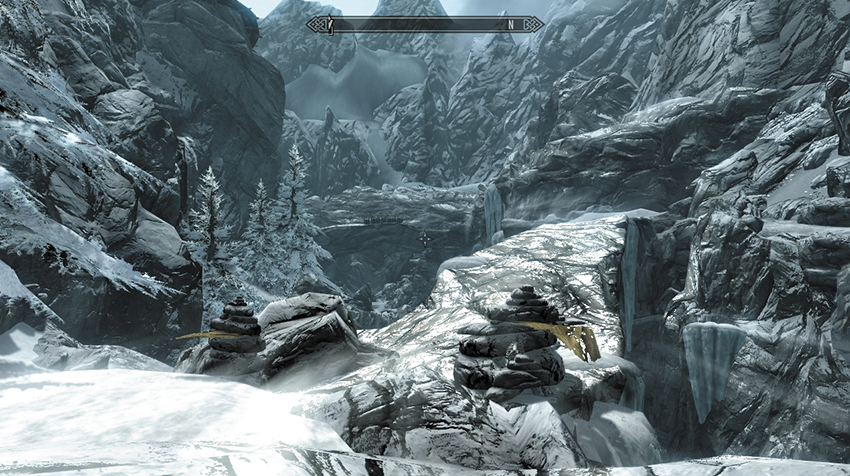
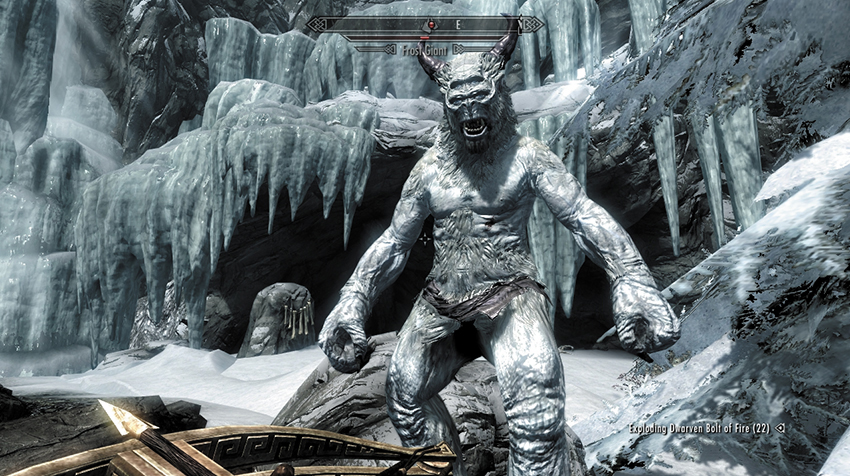
The final Wayshrine requires a considerable trek, so take a moment to survey the scenery. Head north, toward a natural bridge, and cross it (picture 1). At the other side of the bridge, you can optionally turn right (southeast), head along the previously unexplored path, and turn left (east) to follow a narrow path over the ridgeline. Move through the rocky outcrops to an area above the waterfall where you slew your first Frost Giant, where the snowy path links up. There is a second waterfall here, along with a shallow cave and a second Frost Giant to slay (picture 2). Remove the Sapphire Paragon from the corpse. Both Paragons can be used on the Snow Elf Paragon Portal on the river’s northwestern side, across from the shallow cave. Where you end up is revealed in Regional Activity: Paragon of the Frost Giants.
- Sapphire Paragon
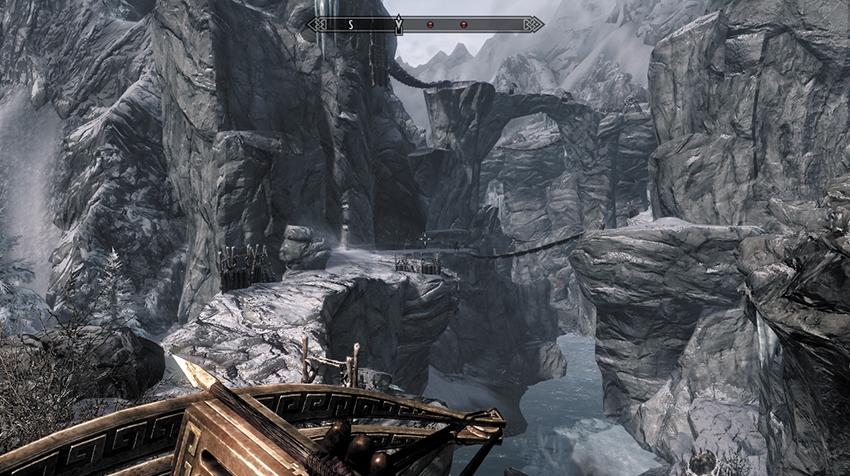
Backtrack to the natural bridge and head west, down the rocky ledge to a Falmer hut. Although you can continue to slog your way upstream (and locate Falmer firing down on you from above, Chaurus Hunters hatching on the banks of the rocky river, and the entrance to Sharpslope Cave), it is safer and easier to turn northeast, open the Falmer gate, and follow a zigzagging path to a second hut, killing Falmer as you see them. Then swing around to face the southwest (as shown). A series of treacherous cliffs and rickety bridges await!
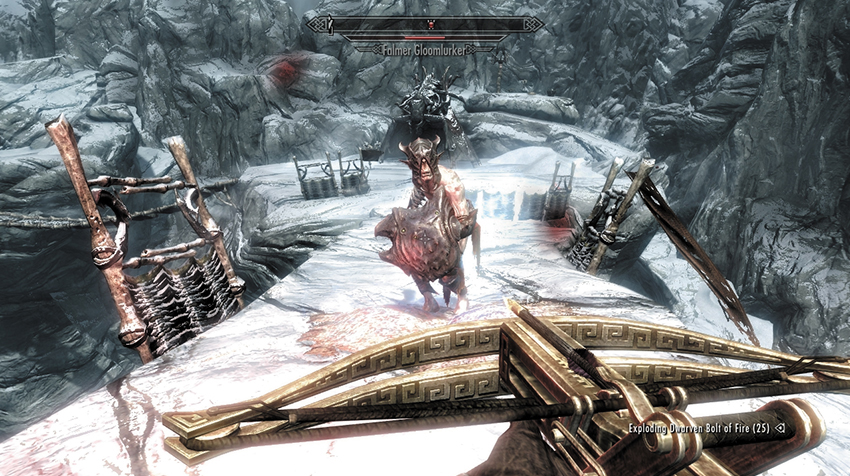
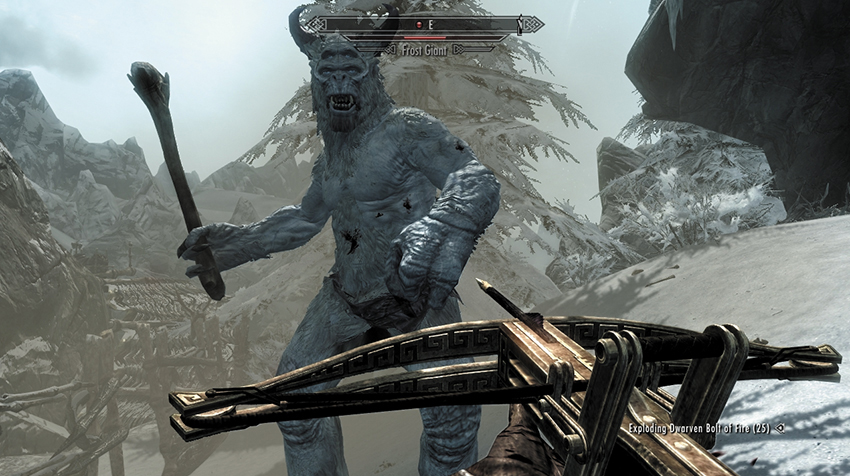
Expect Falmer bowmen along the rock ledges, bridges, and crags as you progress southwest. You cross a rickety bridge and a rocky bridge heading west. At the flapping banner (marking the upper entrance to Sharpslope Cave), turn and look southeast. The Falmer have been busy creating bridges and huts throughout this gigantic fissure. Clamber slowly down to a bridge with a hut at the far end (picture 1). Then climb the steep, rocky path to the northeast. There are chests and long-range takedown options along the way. At the top is a circular path to the right (south) leading counterclockwise past a shallow cave with a third Frost Giant to face (picture 2). This foe carries the Emerald Paragon.
- Emerald Paragon
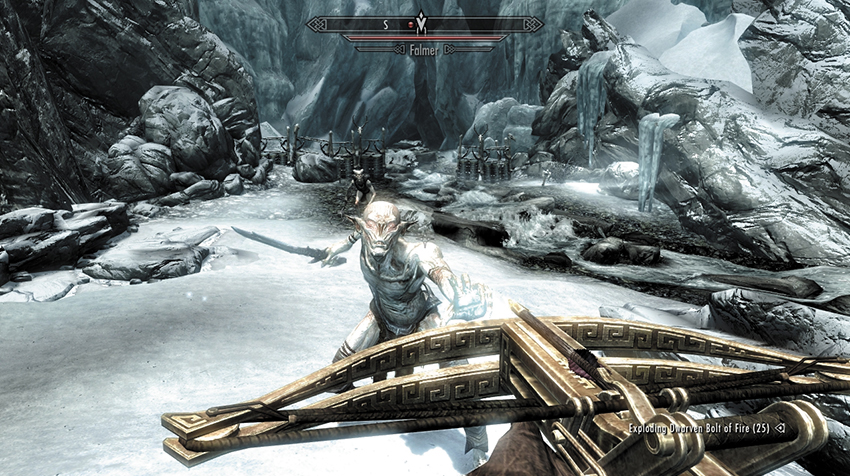
Continue counterclockwise, past the precariously placed chest. Head roughly west across a rickety bridge, then to a rock bridge to a Falmer hut. Cut down the Falmer that emerges before crossing another bridge to the south. There are two more huts (check the bridges to come and the general area for foes as you progress) and more Falmer bridges downhill heading east, past another hut. Then switch back to the west, to a dead-end ledge with another hut (which has Unknown Book, Vol. III inside). Now descend south, to the river’s edge. To the east is a snowy hill you can climb to find Moonstone Ore Veins and a great view of the Frozen Lake. But your main path is upstream, south past a trio of Falmer, toward a thin gap in a giant glacier hanging over the river. Enter the Glacial Crevice.
- Unknown Book, Vol. III
Glacial Crevice: An Icy Pilgrimage
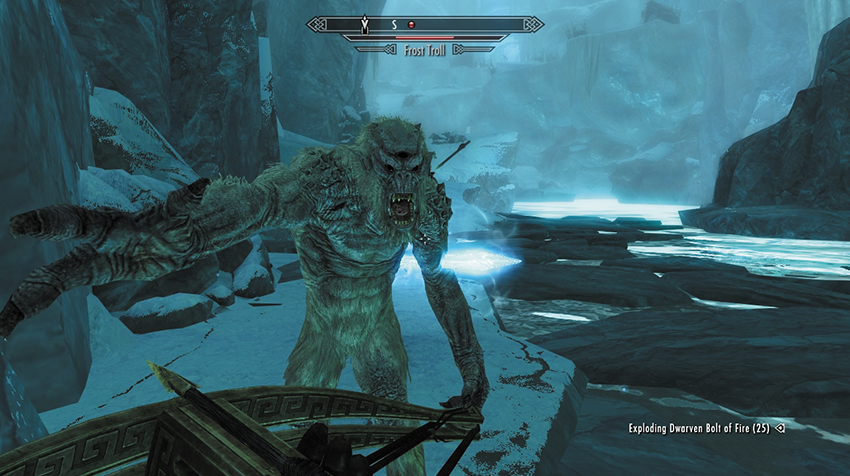
Wade south through the waist-deep icy water until the tunnel opens up to a massive interior chamber. Up ahead, a Frost Troll is stomping around, and two Falmer appear on the snowy bank on the left side. Wait for them to fight it out, then finish up the remains. Continue up the snowy bank to the remains of the bridge. Cross it to the icy ledges and work your way along the path, past two huts with Falmer to deal with, and into a tunnel with a gate at the far end. This brings you out at an incredibly tall ice fissure with water at the bottom. Step over or deactivate the trip wire so you aren’t clawed. Then head west along the fissure ledge.
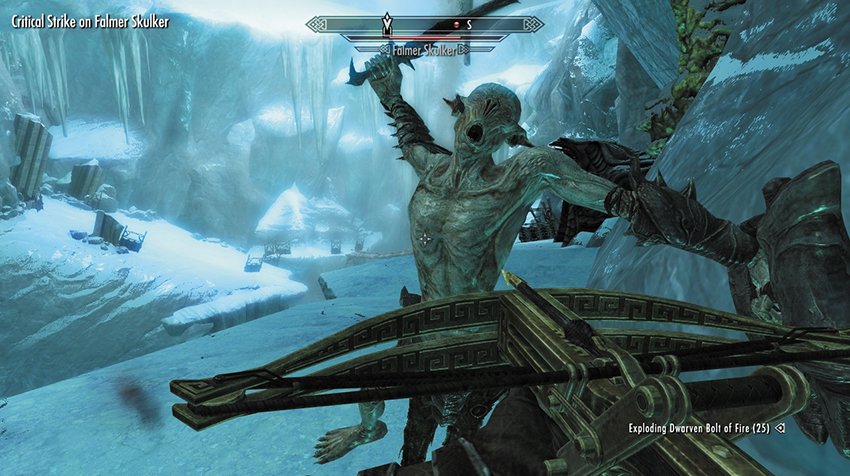
Remove the Giant Frostbite Spider blocking the ledge in front of you. Then scan the Falmer hut and bridge at the fissure’s far end, tackling the two foes patrolling. Cross to the opposite side, optionally heading back to a dead end and another foe. Push open the gate in the fissure’s northern wall, entering a narrow L-shaped tunnel with a trip wire in the middle (watch that claw!). Head into the next section of the crevice, killing two more Falmer. You can then descend to more huts for more combat or head east through another gate.
This leads to a hut and a path curving around to the east and out to another large crevice area with a huge drop to your left. You have excellent visibility for long-range strikes. There are also two huts to inspect, a bridge to fight your way across at the far end, and one more tunnel section to the east, which finally brings you out into Forgotten Vale again.
Return to Forgotten Vale
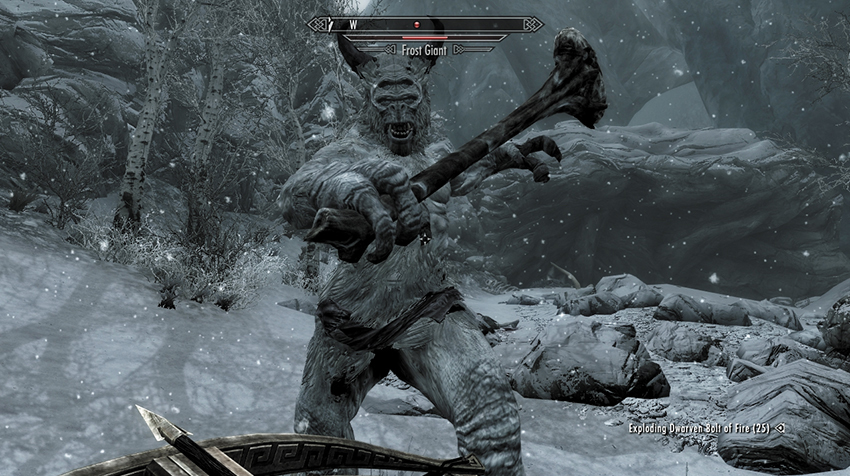
Face your fourth Frost Giant on steep, rocky ground. Welcome to the Falmer fissure, a set of narrow crags where the Falmer have constructed numerous bridge pathways. But first, inspect the path leading north, past a strand of bones and up through a gate to a steep ravine with a Frost Giant tending to his bone collection at the top. Slay him, and any Falmer in your way, and claim the Diamond Paragon from the corpse.
- Diamond Paragon
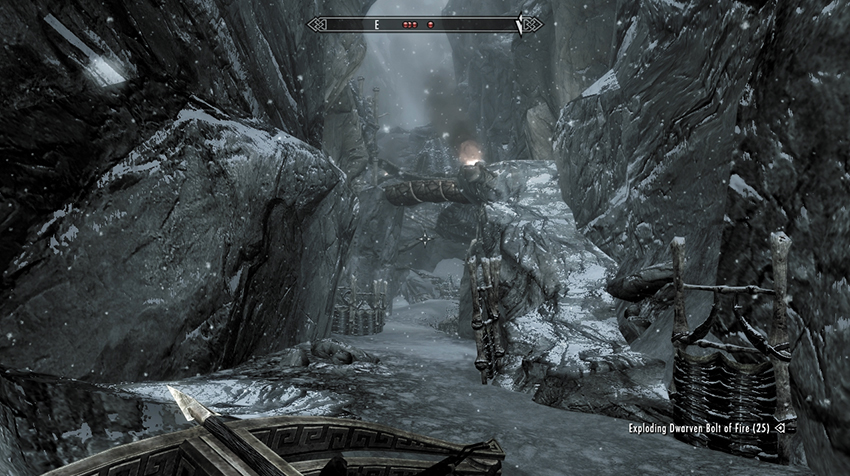
Return to the fissure and inspect the first two huts for items. Then drop down to ground level and gaze east; there are a couple of trip wires (and claw traps), as well as Falmer that attack from their upper walkways. Slowly fight your way along this narrow pass, killing Falmer as you go and checking huts for items and using them as cover. There’s Quicksilver Ore to mine at the far end under the huts, but the exit is up above.
Take the walkway southeast to the second part of the fissure, with four huts to ransack and a group of Chaurus Hunters to remove from their nests below. Check the hut on the upper walkway at this area’s far eastern end; there’s an Unknown Book to claim here. Then drop down and find the gate into a sloping tunnel to the south. Climb the sloping tunnel, passing a hut and a Quicksilver Ore Vein, and trigger the trip wire so the subsequent rockfall passes harmlessly by. There are more Hunters to face, and more Ore Veins, as you reach the tunnel summit.
- Unknown Book, Vol. IV
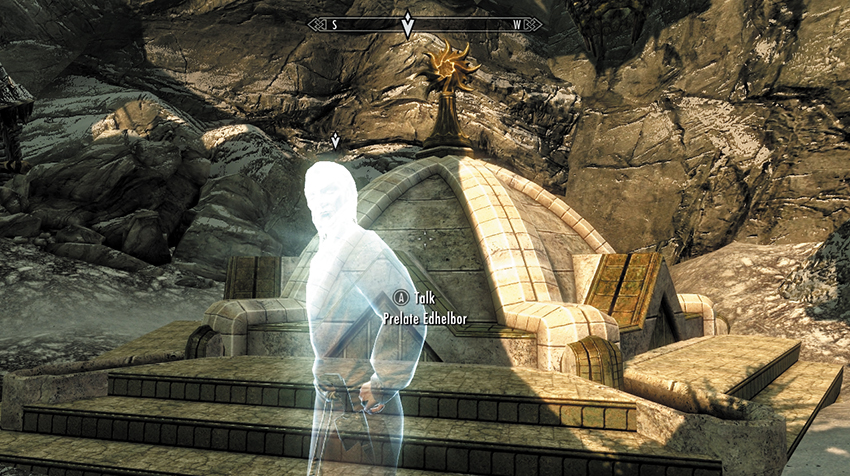
The last Wayshrine lies under some Falmer walkways and huts. It is tended by Prelate Edhelbor. Agree to his request, and he opens the Wayshrine of Radiance for you. Dip the ewer into the last basin: You now have the offering needed to unlock the door to the Inner Sanctum. Then inspect the Falmer huts above the Wayshrine; the top one has potions to grab.
Purging the Inner Sanctum
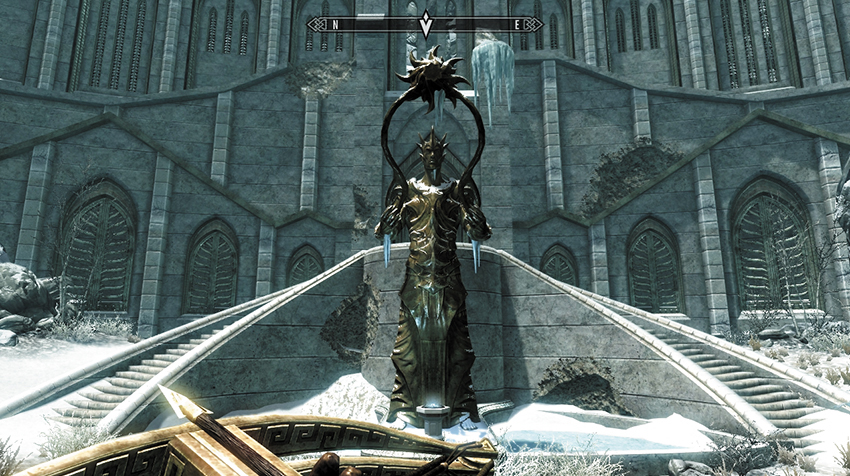
It is but a short walk to the magnificent Inner Sanctum of the Snow Elves. Cross the bridge, which is still mostly intact, and enter an ornate courtyard. While in decay, the place still holds a sense of grandeur, in part due to the statue of Auriel that dominates the temple grounds. Climb the curved steps behind the statue, and empty the ewer into the water basin. The ceremonial water runs down three channels, to Auriel’s crest, and a faintly green light shines forth, unlocking the Sanctum’s entrance.
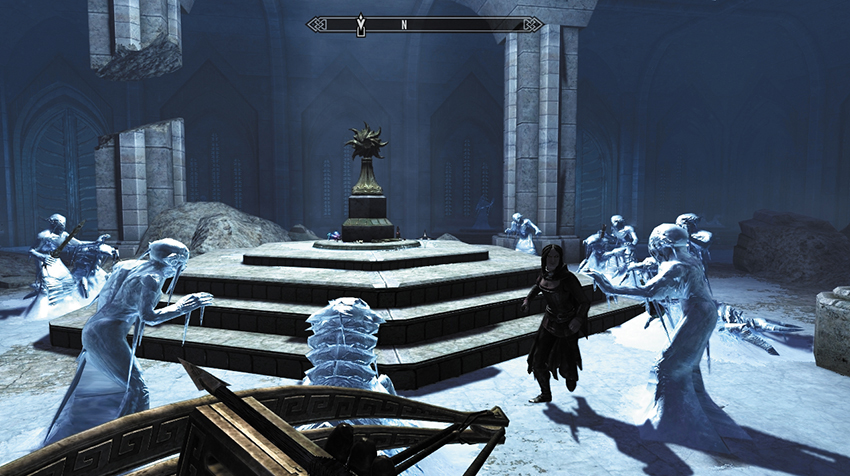
You’re greeted by a multitude of Falmer. But fortunately, these hapless Betrayed have been frozen in ice and pose no immediate threat. Many are clustered around a central shrine to Auriel. There are gifts to Auriel that you can take at the foot of the pedestal, as well as items to pry from the hands of the Falmer. But be warned—your actions may rouse them from their torpor, causing them to attack!
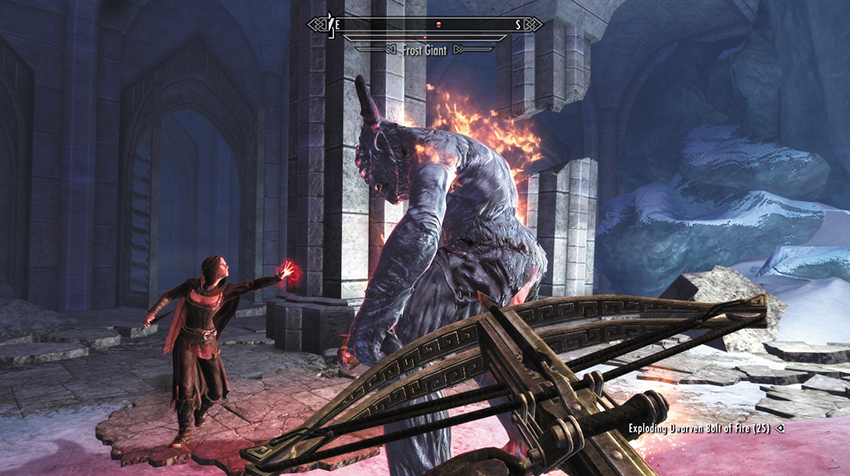
Next, inspect an altar along the western wall of the temple entrance. Activate the altar, and you place your ewer onto it; this opens a secret door directly ahead of you. Step through, then turn around and grab the ewer and step back before the door closes. Now investigate the secret passage you’ve found; it leads to an ice cave where the fifth and final Frost Giant dwells. Claim the Ruby Paragon from his corpse, then activate a second altar in the northern wall. Place the ewer on the altar to access a second, smaller hidden chamber with a chest, a variety of potions, and Elven Arrows. Check the entire area for skeletal remains and other items, before returning to the first secret door. Place the ewer on the side altar (grab it again afterward!), and step back through into the main temple entrance.
- Ruby Paragon
- Elven Arrows (30)
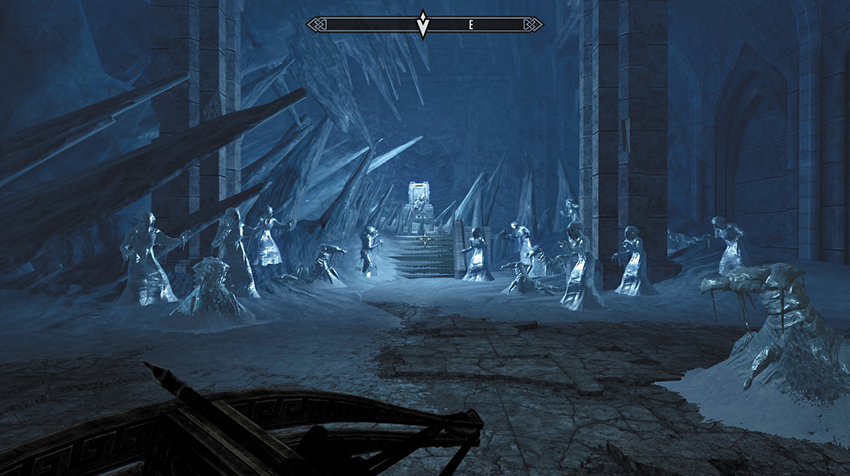
When you’re ready to proceed, open the ceremonial doors in the northern wall and head through, following the large corridor past more frozen Falmer. They each carry items that may interest you, though again, disturbing them may cause them to awaken. Check for a chest along this corridor, too, and continue winding through the corridor to an icy hole in the northwest corner as the corridor’s structural integrity increasingly weakens.
Head into a rocky passage with a side cave to your left (southeast) containing a chest. Then continue down the passage and into Auriel’s Chapel. The icy passage drops into frozen ruins and a very narrow corridor to your left (northeast). Step out into the chapel, where Arch-Curate Vyrthur is waiting on his throne, surrounded by frozen Falmer.
Vyrthur’s Minions: Chapel Battle
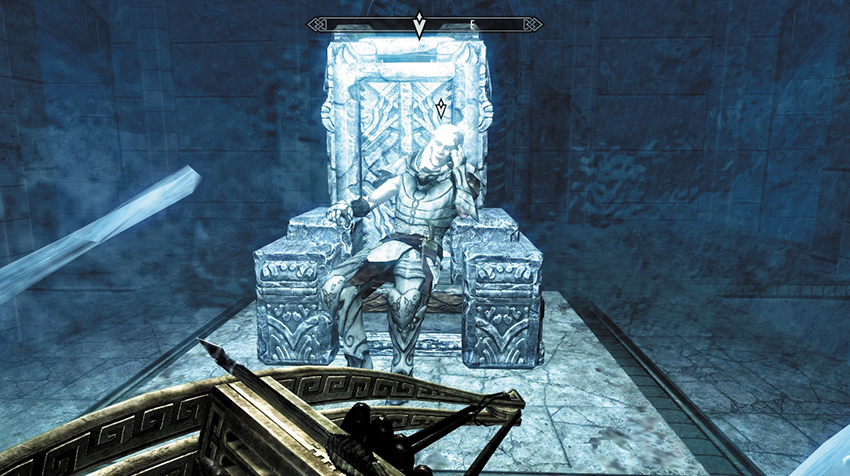
Vyrthur has sealed himself behind large shards of ice and a magical barrier. As you approach, he mockingly refuses to hand the bow over and is actually happy you’ve brought your “fetching companion” to him. What he wants with Serana is something of a mystery, but there’s little time to ponder as he waves his arm and many of the previously frozen Falmer shatter back to life!
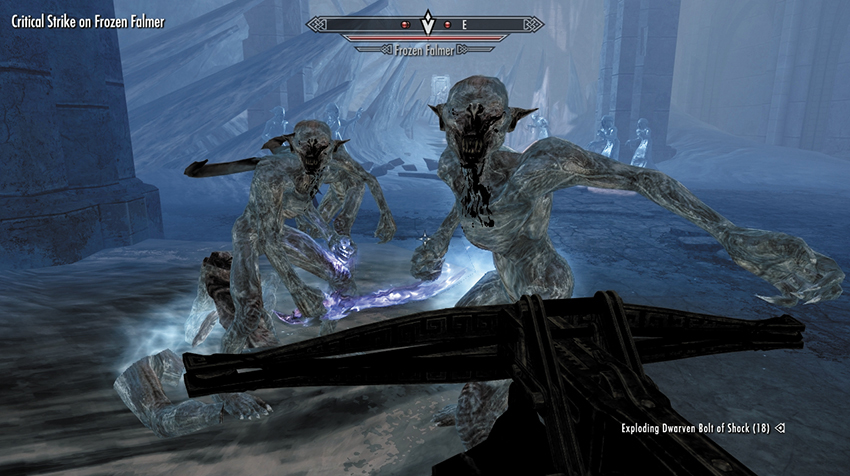
You’re immediately assaulted by around eight Frozen Chauruses. Use the relatively large size of the chapel to your benefit, staying on the move while slaying each Chaurus one at a time. Vyrthur then activates six Frozen Falmers; you must deal with them quickly, using swift movement to dodge their attacks. Once you dispatch these initial waves of foes, Vyrthur calls your combat a wasted effort. The battle intensifies!
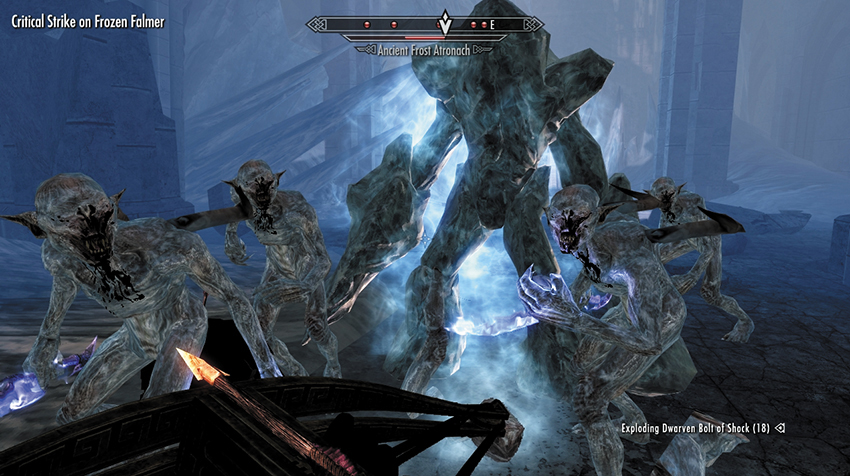
When Vyrthur begins to pull down the ceiling, dodge the falling debris, then repel five more Frozen Falmer (including a Shaman) before more sections of ceiling and support columns come crashing down. Fend off the next wave of Falmer, and Vyrthur conjures an Ancient Frost Atronach, along with around eight remaining Falmer. Combat becomes exceptionally fraught at this point, as you battle to slay all the frozen foes you can. Aside from being swift of foot, you may wish to attempt some of the following tactics to gain the advantage:
When Vyrthur starts pulling down the ceiling and destroying columns, he only does it if you move to a new part of the chapel. So if you can focus the fight in one part of the room, you won’t have to worry about him dropping the ceiling on you.
Alternatively, if you can coax the Falmer (and the Ancient Frost Atronach) and maneuver them around the room correctly, you can actually get Vyrthur to pull the ceiling and columns down on his own minions: Let them take the damage, instead of you.
If you’re having trouble with the Ancient Frost Atronach, employ both strategies. Focus the early stages of the fight in one area of the room; then when he is summoned, begin pulling him under the fallen roof and column masonry that are being destroyed.
The narrow entrance hall can be a death trap (as it’s a dead end), but it does force the enemy to fight you one at a time. It’s worth firing on your foes from here (as you won’t be struck by falling chapel sections) and then backing up if you’re swarmed.
If you have access to Rune Spells (especially the Fire Rune spell), you may wish to lay some at the foot of the throne steps so the Ancient Frost Atronach suffers damage after being summoned. If you’re in the entry corridor, firing from range and casting exploding runes, you can severely weaken your foes before they reach you.
If all else fails, stay close to Serana, then step behind her so she absorbs most of the enemy aggression. She soon stumbles, but this can afford you some time to heal or launch your own attacks.
Let Twilight Fall and Blood Spill: Temple Balcony Battle
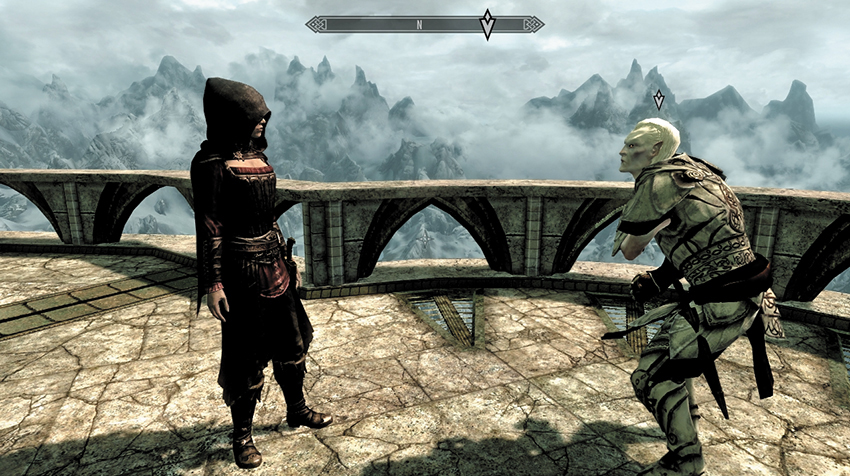
When all of Vyrthur’s minions have fallen, the Snow Elf is most put out and intends to bring the entire chapel down around you all. Before you can react, he does just that. Serana helps you to your feet as you follow her toward a sealed Wayshrine and the Temple Balcony, which overlooks the frozen lake far below. But you’re not here for the vistas: Head up the steps to the balcony edge, and watch as Serana firmly requests the bow.
A wounded Vyrthur spits back that Gelebor’s story (that Vyrthur had been corrupted by the Betrayed) is nothing close to the truth: A look into Vyrthur’s eyes verifies he is actually a vampire! The moment he was infected by one of his own initiates, he tells you both that Auri-El turned away from him. Vyrthur sought revenge on the god, not by facing Auri-El directly but by chipping away at the god’s influence across the world. He needed the blood of a vampire and the god’s own weapon—Auriel’s Bow. And thus the prophecy was born; the Tyranny of the Sun was created by Vyrthur but lacked a vital ingredient: the blood of a pure vampire. The blood of a Daughter of Coldharbour! It seems a final combat is inevitable, as Vyrthur suddenly breaks free of Serana’s grasp.
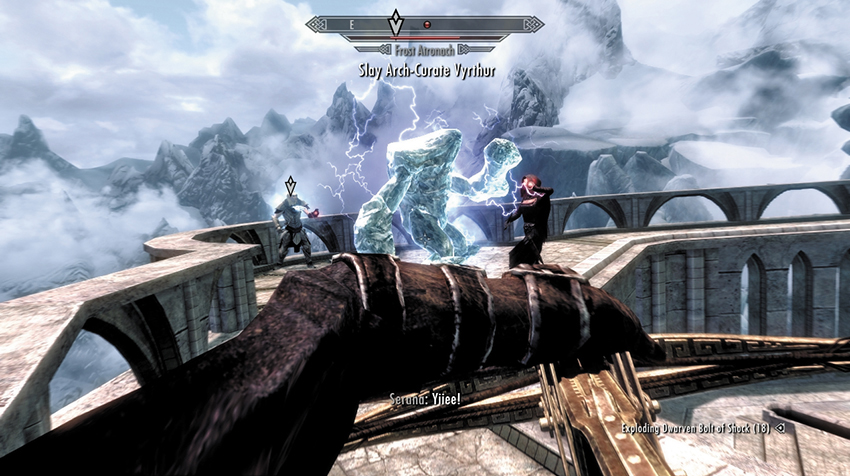
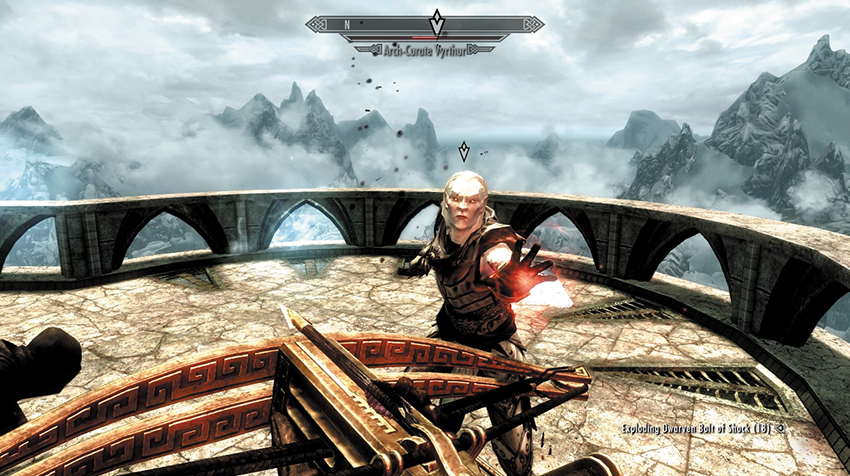
Vyrthur has an extremely nasty shock attack that can floor you in seconds. But the advantage here is that he’s outnumbered: Provided you can dispatch any creatures he conjures, you can work together with Serana to bring him down. Step behind her if you need a moment to heal or recover, and use your own healing spells to keep her on her feet. Ranged weapons are easy to hit with, but watch out for Vyrthur’s dagger assaults if you choose to face him in melee. Eventually the Prelate falls. Inspect his form before heading down the steps to find Gelebor waiting for you.
- Ancient Falmer Cuirass
- Ancient Falmer Boots
- Ancient Falmer Gauntlets
Quest Conclusion
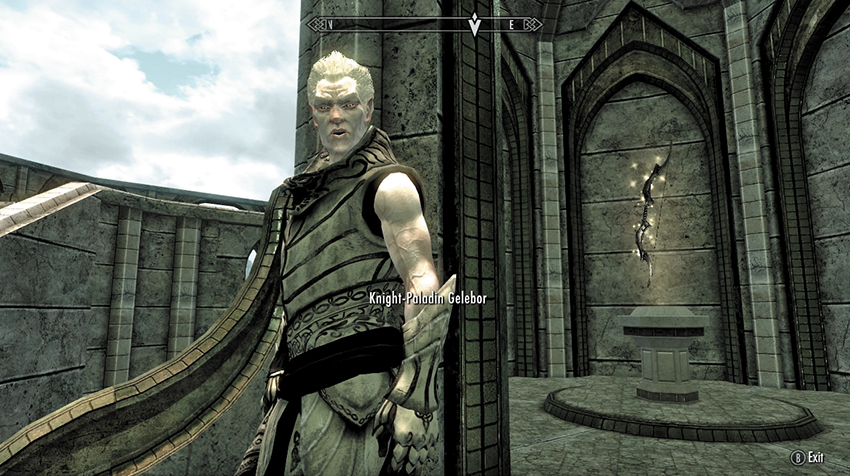
Speak to Gelebor, who has summoned the Wayshrine at the temple balcony. He knows that the restoration of this Wayshrine means Vyrthur must be dead. After you explain the Betrayed weren’t to blame, Gelebor is actually pleased, as he hopes his brethren might shed their hatred and believe in Auri-Ei once again. As for now, you’ve restored the Chantry, you have the right to wield Auriel’s Bow, and Gelebor is happy to help bless any Elven Arrows you have, transforming them to fabled Sunhallowed Arrows!
You can question Gelebor further about what his plans are, but to finish this quest, claim the sparkling bow in the Wayshrine. Have Gelebor create Sunhallowed Arrows (from Elven Arrows in groups of up to 20 at a time). Ask Gelebor about Auriel’s Bow once you have it, and you’re told that vampire’s blood can also affect arrows fired from this bow. Speak to Serana (after starting the next quest), and she (reluctantly) agrees to treat any Elven Arrows you may have with her blood, creating Bloodcursed Elven Arrows (in groups of up to 20 at a time).
- Auriel’s Bow
- Sunhallowed Arrows (20 or more)
- Bloodcursed Arrows (20 or more)
Postquest Activities
Dawnguard Main Quest: Kindred Judgment begins the moment you speak to Serana. You’re also free to complete any remaining Regional Quests before leaving Forgotten Vale (don’t forget to insert all five Paragons into the portal). The fourth Unknown Book (Vol. II) is located in an area only accessible via the Paragon Portal.
Kindred Judgment
Auriel’s Light Shines
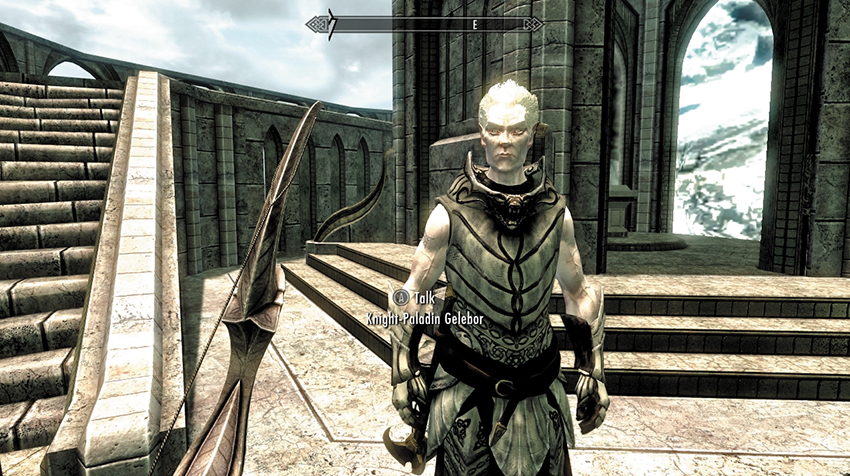
After your talk with Gelebor, turn and speak with Serana. She tells you that it’s time to face her father.
After what her mother told her, Serana realizes she can’t trust her father. His death is the only option. You can proceed to Castle Volkihar at your earliest convenience.
Bringing the fight to Harkon is easier than letting him relentlessly stalk you both, but you will need allies in order to assault the castle. Serana suggests you head back to Isran and let him view the prize you’ve attained. He’s likely to lend a sword or two to the cause.
Fast-Travel away from the temple balcony. Your next destination depends on your alliance.
Dawnguard: A New Dawn Rises
Travel back to Fort Dawnguard. Here, Isran is uncharacteristically incredulous, marveling at the beauty of Auriel’s Bow. After one final nod toward the trustworthiness of Serana, Isran agrees to address the Dawnguard; his men deserve to know they’ve gained the upper hand. Wait a few moments for the Dawnguard to assemble (including the friends you may have made completing the Faction Quests), and listen to Isran as he rouses his forces. The time has come to march on the lair of these wretched abominations and wipe them out once and for all! Isran promises to meet you outside Castle Volkihar.
Twilight Over Castle Volkihar
Whenever you are ready, travel to Castle Volkihar.
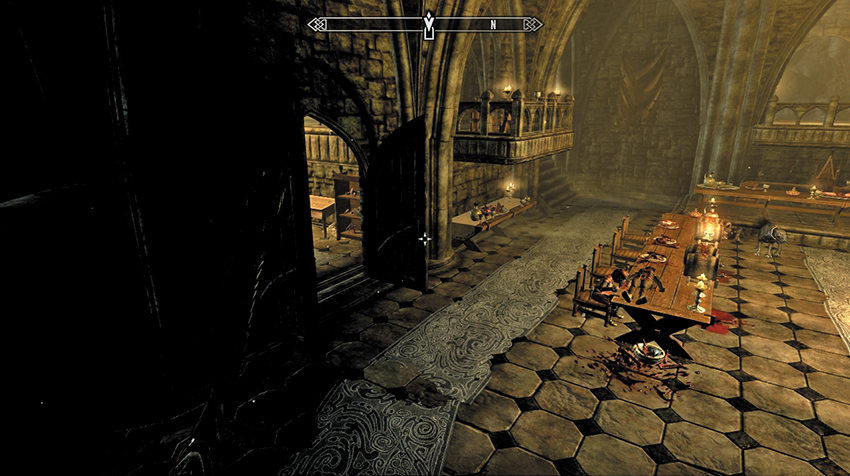
If you’re allied with the vampires, simply head inside the castle as you have countless times before, passing your brethren in the banqueting hall. Take the stairs to the left (northwest), activating the pull chain and opening the double doors to Volkihar Cathedral. Harkon is there, in Vampire Lord form, waiting for you.
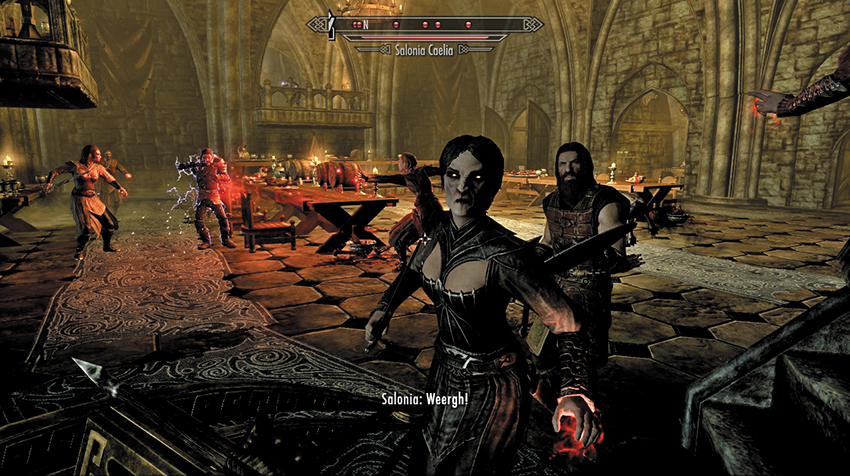
If you’re allied with the Dawnguard, when you arrive at the jetty and watchtower, a full complement of Dawnguard troops, including your friends and Armored Trolls, are readying their weapons under the command of Isran. Assault the vampires charging across the bridge, with their hated Death Hounds and gargoyles. Fight your way up to the main door, then into the keep. You may elect to lead the charge or provide supporting fire for the more melee-focused members of the Dawnguard. In any case, the combat is likely to be confusing and hectic, but it is worth spending the time to systematically slaughter every vampire you see across the feasting hall and any that retreat into the side chambers. When the Dawnguard have the upper hand, pass your friends in the banqueting hall and climb the stairs to the northwest, activating the pull chain to reach the double doors leading to Volkihar Cathedral. Harkon is there, in Vampire Lord form, waiting for you.
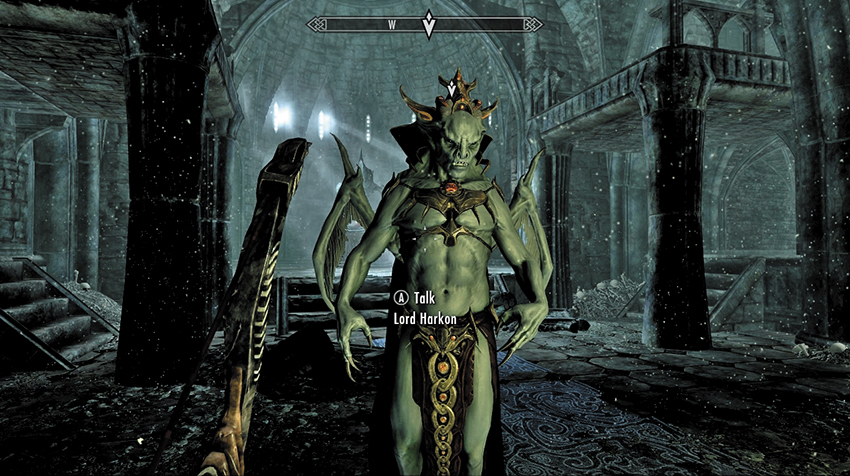
You can attack Harkon immediately, if you wish. Otherwise, you must listen to a barrage of offensive comments about your relationship with Serana. She stands her ground, estranging herself once and for all. Harkon now turns his attention to you, challenging your intentions. After further belittling, Harkon offers you a chance: a single opportunity to hand over Auriel’s Bow to him. You can:
- Refuse, beginning combat.
- Or agree, giving over Auriel’s Bow. He attacks you anyway, but you are now deprived of the power of Auriel’s Bow.
Your confrontation with Harkon begins now!
Harkon’s Lament
Lord Harkon is a formidable opponent, regardless of how experienced you are. He’s fast, evasive, powerful, and almost all of his attacks drain your Health and restore his own. Below are the best methods of defeating him.
Initial Preparations
Before returning to Castle Volkihar, make sure to do the following:
- Stock up! Unless you plan on fighting Harkon as a Werewolf or Vampire Lord, you should bring with you a sizable number of Health, Magicka, and Stamina potions, as needed.
- Choose weapons or spells that take advantage of Harkon’s weaknesses. The Dawnguard’s weapons, especially the Runic ones (from Dawnguard Faction Quest: Lost Relic) work well against him. Spells that do fire damage or that damage undead also work well against him. However, note that spells that normally turn or repel undead will not cause Harkon to flee.
- Speak to Knight-Paladin Gelebor and have him make you some Sunhallowed Arrows before leaving the Forgotten Vale. These inflict extra damage on Harkon when they break his Shadow Shield.
Before the Battle
The following tactics work well just after entering Volkihar Cathedral:
- Listen to the poignant scene between father and daughter. But you should also take advantage of Harkon’s static position by striking him with your best shot. You’ll increase your chances considerably by starting the fight with a Fire Storm or a Sneak attack at point-blank range before Harkon can retaliate.
- This should be painfully obvious, but...don’t hand over Auriel’s Bow to Harkon. You may not live to regret it.
General Battle Tactics
As a Vampire Lord, Harkon has several powerful attacks and strategies:
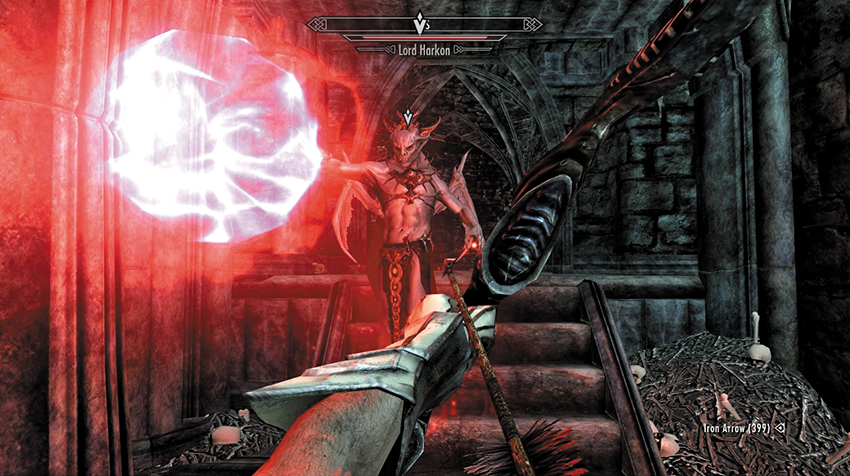
- He uses Drain Life to suck the health from you, increasing his health in the process (picture 1).
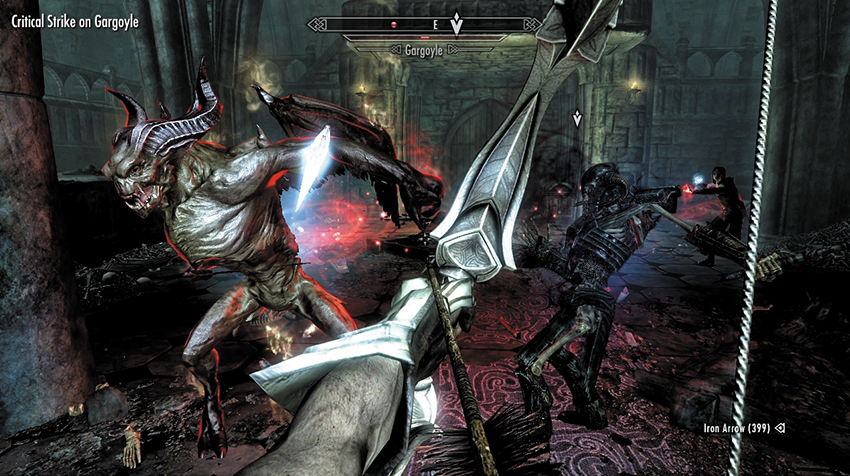
- He uses Raise Dead to summon skeletons from the bone piles around the room, and he can raise them a second time to continue their assault (picture 2). Periodically, gargoyles will also break from their stone shrouds to attack. Deal with them first.
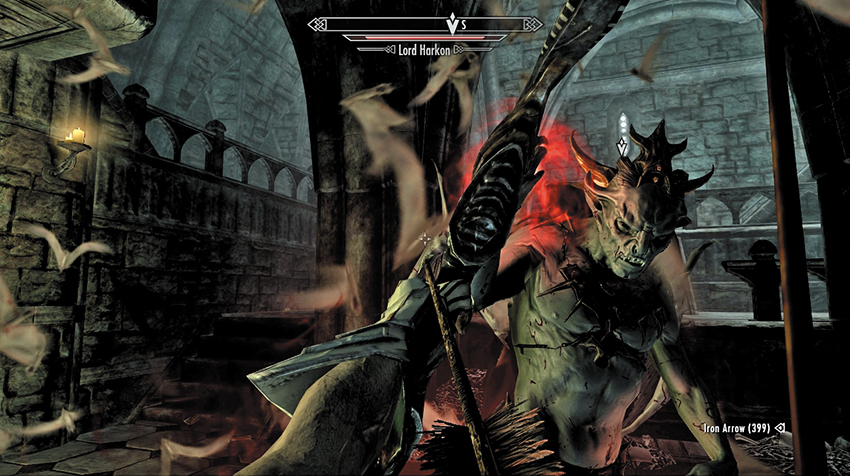
- He tends to glide rapidly across the room, making him difficult to hit (picture 3).
- He uses the power of bats to teleport short distances. This allows him to evade your attacks and prevents him from becoming pinned down. It also dispels any long-duration effects (like burning or slow) you may have inflicted on him. He typically employs this after absorbing too much punishment (usually in a short period of time) or after time passes.
- Although you may not think it, Harkon doesn’t have all that much health. However, he has several ways to regenerate and evade your attacks. Use his lack of health to your advantage by striking him with single, powerful attacks instead of with many less-effective swipes, as the latter just causes him to turn into bat form and flee.
- Harkon prefers his “Magic” (rather than “Melee”) Vampire Lord form, floating quickly around the tiered room. Don’t waste valuable arrows or projectile spells when he’s shifting about, as you’re likely to miss. Save them instead for when Harkon comes to a stop. When this happens, however briefly, unload with as many strikes as you can muster.
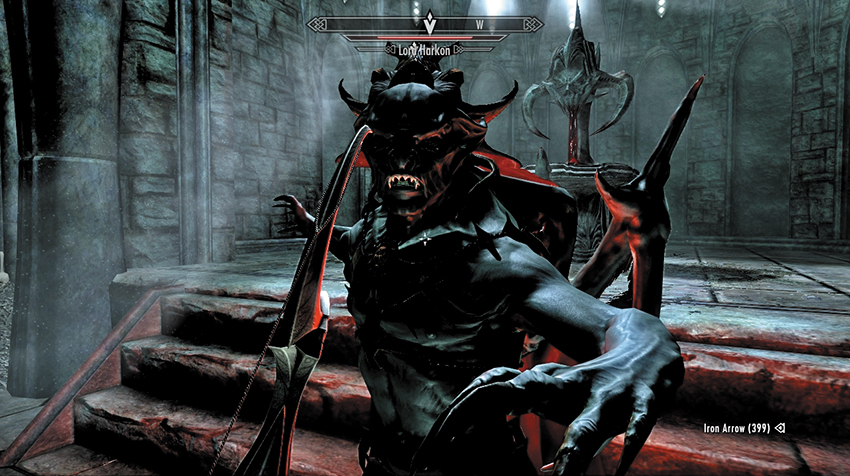
- Occasionally, Harkon shifts to his melee stance and attacks with his claws (picture 4). This is your best opportunity to attack, especially with your own melee weapons.
- Has Harkon disappeared? Then he is attempting to regenerate his health in Mistform (although this doesn’t occur as rapidly as it does when you’re in Vampire Lord form and use this technique). Quickly dispatch any surviving minions to force him back into combat.
Serana is also a force to be reckoned with. And if Harkon or one of his skeleton or gargoyle minions are concentrating their attacks on her, allowing you some easier strikes, then so much the better.
Combating Harkon’s Shadow Shield
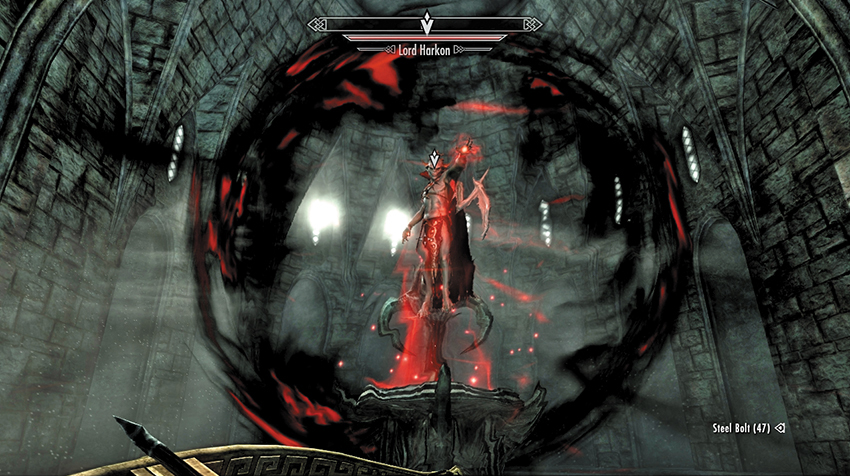
When Harkon takes damage, he retreats to his blood shrine and casts Shadow Shield (picture 5). When this occurs, use Auriel’s Bow and fire an arrow (of any kind) to immediately bring the shield down. Harkon draws energy from the shrine to replenish his health while the shield is up, so removing it is vital for gaining the upper hand and reducing Harkon’s power and the length of the battle.
The one time when you might consider leaving Harkon behind his Shadow Shield is when the gargoyles are attacking, as they can be formidable to face on their own. You have two (or three at higher levels) gargoyles to face, so remove all but the last one, break the shield, and face the final gargoyle. Then turn your attention back to Harkon.
When firing Auriel’s Bow at the Shadow Shield, employ Sunhallowed Arrows if you have any, as they inflict extra damage to Harkon.
Are you all out of arrows? Then rush the shrine and bash the Shadow Shield with Auriel’s Bow; this also dissipates it. This isn’t an elegant solution, but it’s effective.
Did you give Auriel’s Bow to Harkon? Then you deserve every extra attack inflicted upon you! Expect a lengthy combat, as you have no way to force Harkon from his Shadow Shield. The battle is not impossible, though: Harkon will use Shadow Shield only three times. After the third casting, you can defeat him.
Getting Hairy: Werewolf Form
Fighting Harkon as a werewolf is a challenge. Your speed and high-damage attacks work well against him, but his spells sap your health quickly, and you have few (or no) opportunities to feed. You also can’t use Auriel’s Bow to break his shield.
As much as possible, avoid Harkon while he’s in Magic form to conserve your strength, or let Serana act as a distraction. Match him claw-for-claw in Melee form.
If you have the Savage Feeding perk, the gargoyles that emerge midway through the battle are your only feeding opportunity. Dig in quickly, before Harkon or Serana resurrect them.
Harkon’s Mistake: Vampire Lord Form
As a Vampire Lord, you can match Harkon spell for spell and attack for attack. Your abilities may differ in some cases—he has Shadow Shield and a more versatile Bats power, while you have the benefits conferred by your perks and quest items (such as the Amulets of Night power from the Faction Quest). But without the use of Auriel’s Bow, you’re in for a long, drawn-out fight.
Depending on your aim, you may find it easier to match your Melee form against his Magic form (he’s hard to hit with Drain Life while on the move), and your Magic form against his Melee (he’s easy to hit while he’s running right at you).
Summoned gargoyles and resurrected minions are effective decoys, but remember that Harkon can drain their health as well. Use them judiciously, or they may end up just prolonging the battle.
The epic struggle continues until Lord Harkon’s health is sapped, his crushing verbal abuse snuffed out, and his vampire form tears itself apart. Shrieking his final words to his daughter, his bones collapse in a pool of ash and gore at the foot of his blood shrine. Sift through his remains to secure Harkon’s Sword—and Auriel’s Bow if you were foolish enough to give to him.
- Harkon’s Sword
Quest Conclusion
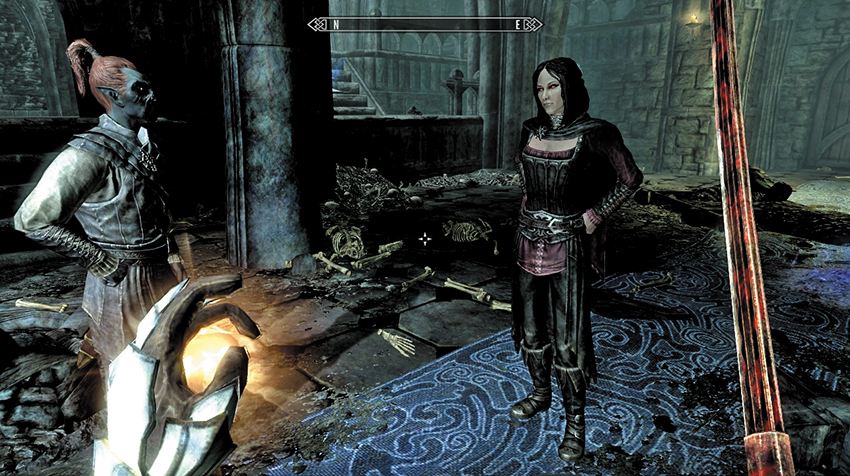
Once you’ve picked through the pool of blood and offal, Garan Marethi walks forth into the cathedral, offering his sympathies to Serana. Then he turns your way, congratulating you on being the superior vampire.
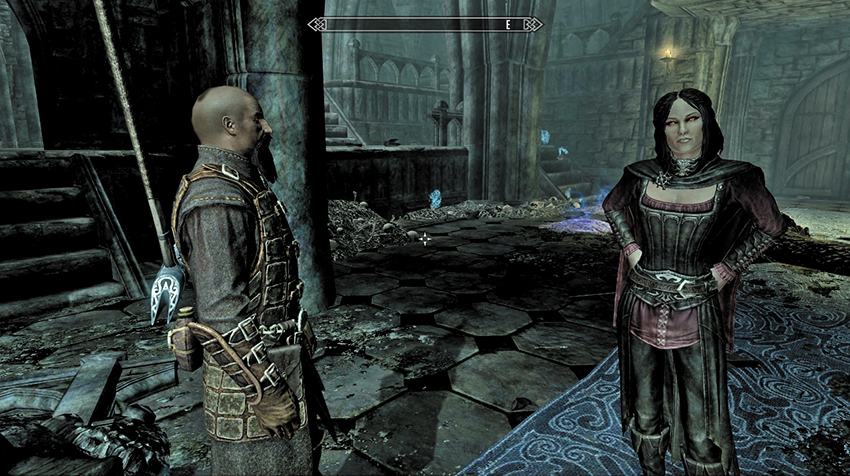
Once you’ve sorted through the heap of bones and blood, Isran walks into the cathedral and finally realizes his debt to Serana. Then he turns to you, vowing that the prophecy of Auriel’s Bow will never come to pass.
Postquest Activities
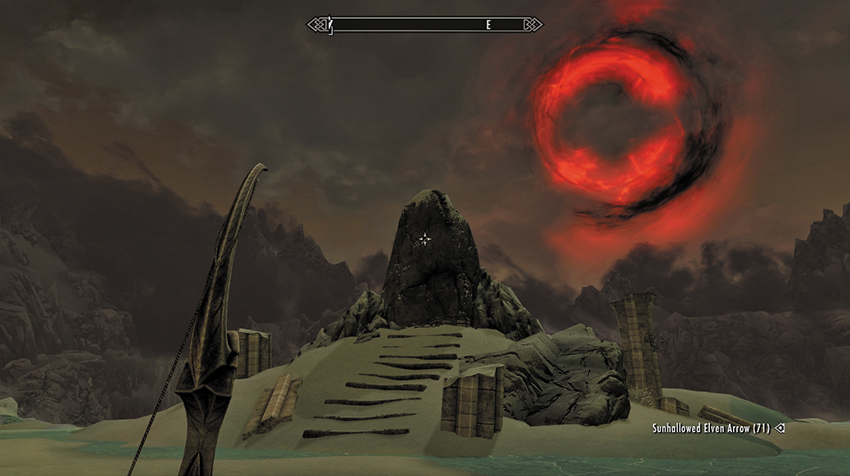
You may now continue adventuring, with or without Serana (who stays at the castle). As the new master of the vampires, you may continue their Faction Quests. And now, when adventuring during daylight hours, your Bloodcursed Arrows can turn the lands into perpetual darkness (as shown, although you can use Sunhallowed Arrows too). May your reign of terror last for the ages!
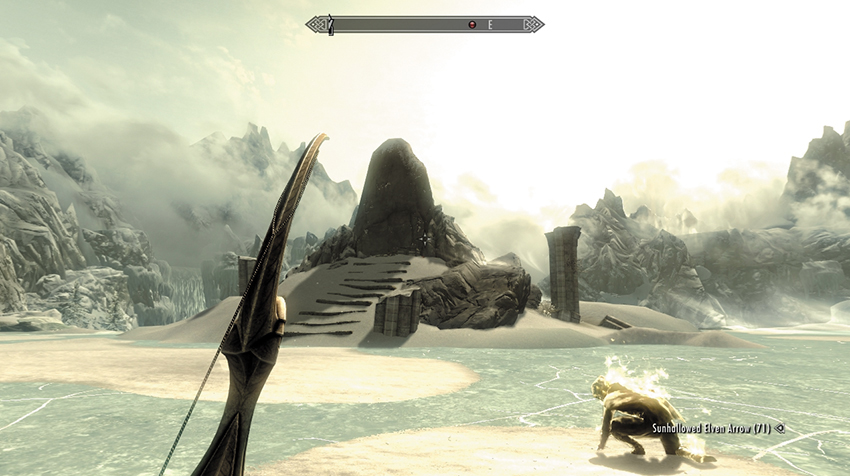
You may now continue adventuring, with or without Serana (who stays at Fort Dawnguard). As the hero of the Dawnguard, you may continue their Faction Quests. And now, when adventuring during daylight hours, your Sunhallowed Arrows can call down a powerful volley of sunfire, turning enemies into immolated husks (as shown, although you can use Bloodcursed Arrows as well)! May tales of your valor be told through the lands!