
Elder Scrolls V: Skyrim Guide Quests Dawnguard Quests
Dawnguard Side Quests
Overview
Optimal Quest Start
Most Side Quests are available from the moment you begin your adventure, although it is wise to learn if there are prerequisites to complete first. As Side Quests aren’t usually linked to one another (with a couple of exceptions), you can start them at your leisure.
Available Quests
There are a total of four Dawnguard Side Quests available. Aside from the exceptions detailed below, most of these quests are independent of one another and can be completed whenever you encounter them.
| Quest Name | Related Settlement | Prerequisites |
|---|---|---|
| Dawnguard Side Quest: Durnehviir | None | Complete Dawnguard Main Quest: Beyond Death |
| Dawnguard Side Quest: Face-to-Face* | Riften | None |
| Dawnguard Side Quest: Impatience of a Saint | Soul Cairn | Commence Dawnguard Main Quest: Beyond Death |
| Dawnguard Side Quest: The Great Skyrim Cache Grab* | None | Complete Dawnguard Main Quest: The Bloodstone Chalice OR A New Order |
Durnehviir
Important Character
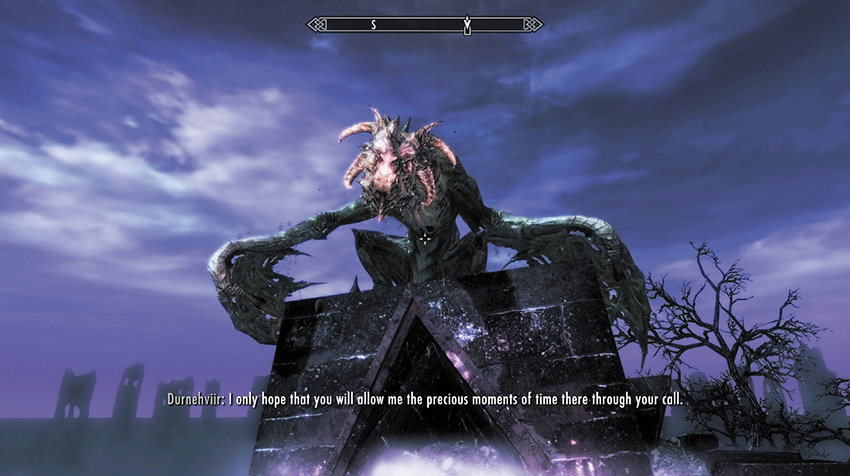
Durnehviir (“Curse Never Dying”) is a dragon that has been trapped within the Soul Cairn for an untold amount of time. He was once a vibrantly colored beast soaring through the skies of Tamriel, but he was tricked by the Ideal Masters and trapped in the Soul Cairn. The Cairn has taken its toll on him, rendering his formally colorful scales mottled, gray, and flayed. Once known by a different name he’s long forgotten, Durnehviir now roams the Soul Cairn attempting to find any way he can to once again breathe the clear air above Tamriel and leave this land of undeath behind.
Initial Preparations
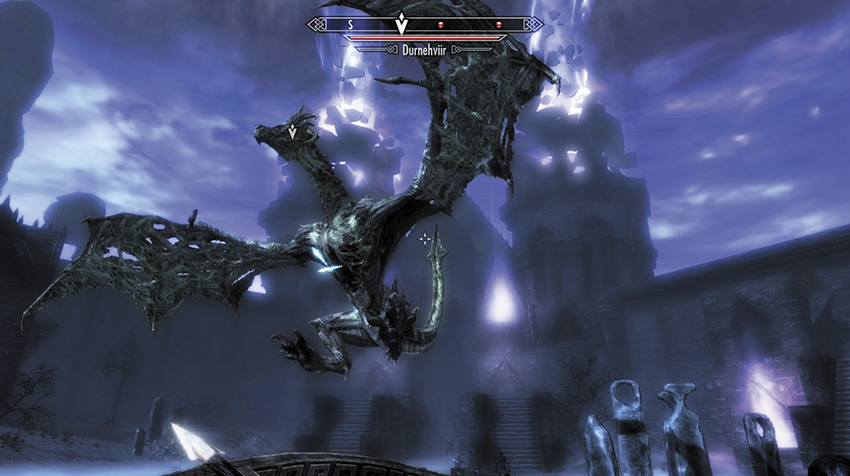
Durnehviir is a dragon trapped inside the Soul Cairn, guarding the Boneyard where Valerica (Serana’s mother) is trapped. While on Dawnguard Main Quest: Beyond Death, you free Valerica from her barrier by killing the three Keepers. Next, you head into the Boneyard and face Durnehviir as part of the quest. Once you defeat him, retrieve the Elder Scroll (Blood) and depart the Boneyard. Head southwest out of the Boneyard, and travel to the devastated plains of the Soul Cairn. As you’re about to leave, Durnehviir startles you. He has returned, but on this occasion he wishes you to stay your weapons and listen awhile.
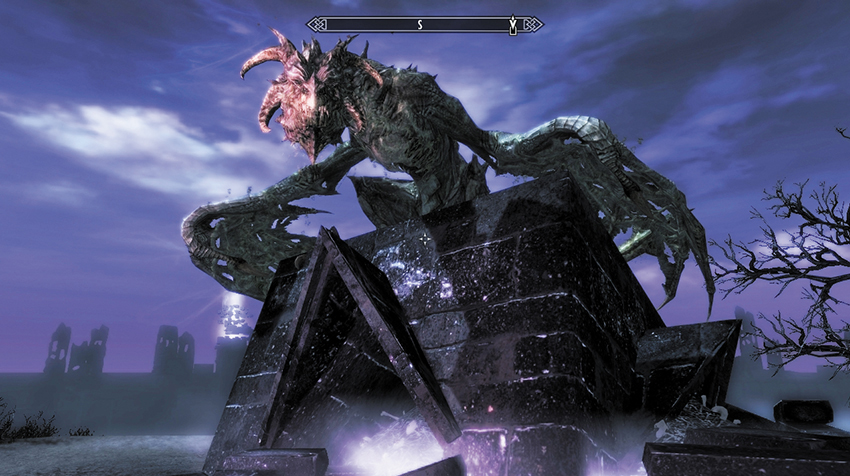
Durnehviir reveals he isn’t dead but is trapped between “laas and dinok” (life and death). If you’re willing to hear him out, Durnehviir honors you with the name “Qahnaarin” or “Vanquisher.” At this point, Side Quest: Durnehviir begins, as the dragon asks a favor of you—to call him while you’re in Tamriel and free him from this place. To this end, he gives you the three words of a Shout that will summon him.
- Word of Power: Curse, Summon Durnehviir
- Word of Power: Never, Summon Durnehviir
- Word of Power: Dying, Summon Durnehviir
Now conclude your adventures in the Soul Cairn, return to Skyrim, and begin this quest in earnest.
Torn from the Soul Cairn
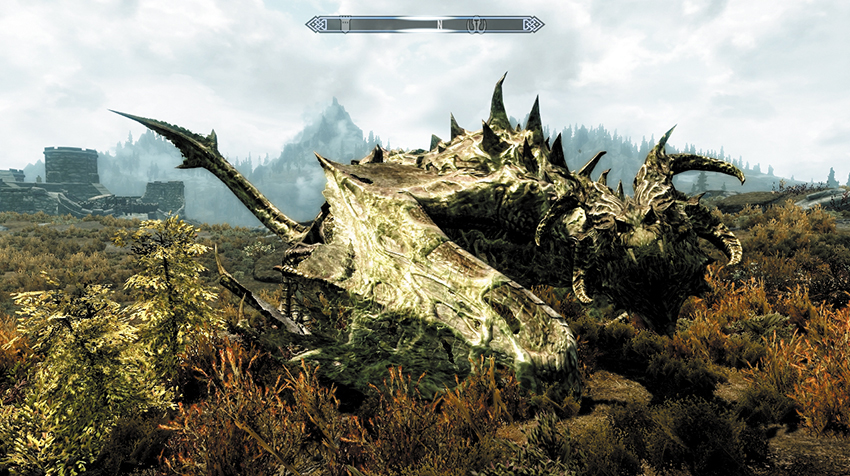
You will need to spend three Dragon Souls to unlock all three words of Durnehviir’s name. Then select this Shout and summon him back into the world of the living (Magic > Shouts > Summon Durnehviir).
Simply locate an area of land that is flat and wide enough to accommodate a dragon, such as the tundra plains west of Whiterun (as shown in the previous picture). You can call Durnehviir in any exterior location but not inside dungeons or spaces with high cliff walls (such as Eldergleam Sanctuary or the Ancestor’s Glade).
The tattered dragon breathes the free air of Vus once more and offers more than simple gratitude. He teaches you the first word of the Soul Tear Shout.
- Word of Power: Essence, Soul Tear
Now wait until you recover, and summon Durnehviir for a second time. He awards you the second word of the Soul Tear Thu’um.
- Word of Power: Tear, Soul Tear
Finally, summon the dragon one last time, after which he gathers enough strength to break free of the psychic control of the Ideal Masters. He also teaches you the final word:
- Word of Power: Zombie, Soul Tear
Your Thu’um cuts through flesh and shatters souls, commanding the will of the fallen.
Postquest Activities
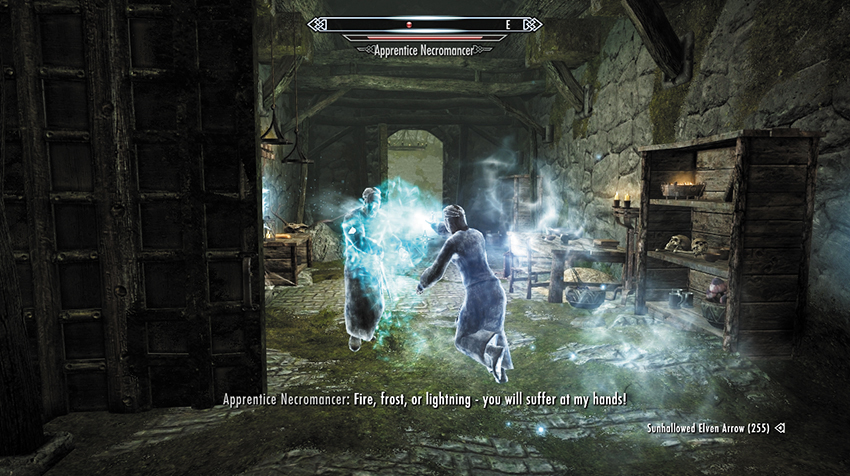
Try out the Soul Tear Shout: Expend up to three Dragon Souls to gain the most potent form of this Thu’um, which damages foes, sucks their souls from their forms (and transfers them into any Soul Gems you may be carrying), and—at its most devastating—raises the foe you just slew to act as a zombified thrall!
Face to Face*
Under the Knife
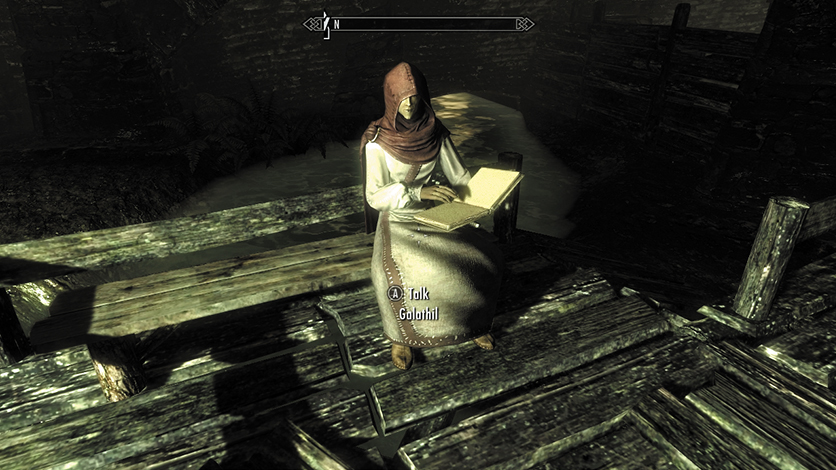
On your journeys through Skyrim, you can speak to many a barkeep (such as Hulda in Whiterun) and learn much from their gossiping (Miscellaneous Objective: Innkeepers). Visit any innkeeper outside of Riften, and they may mention a rumor that someone living in Riften has the amazing ability to “change your face.”
Or, if you’re wandering through Riften, you may chance upon a city guard who mentions knowledge of the “face sculptor” visiting the Ragged Flagon. You receive a Miscellaneous Objective:
Enter the Ratway, and make your way to the Thieves’ Guild hideout and infamous tavern, the Ragged Flagon. The cowled Dark Elf sitting on the water deck is the infamous face sculptor Galathil, who utilizes a mixture of magic and deft cutting to rearrange your features for a (potentially) reasonable fee of 1,000 gold. Pay her the septims, and the following occurs:
- You can completely change your facial appearance, just like you did prior to your escape from Helgen at the very start of your adventure.
- You cannot change your race or sex. If you’re a female Khajiit, you stay one.
- If you’ve contracted vampirism, Galathil notices this straightaway. Her techniques work only on the living, so you’ll have to seek a cure before she agrees to work on you. Consult Side Quest: Rising at Dawn if you wish to be cured.
Postquest Activities
You can change your face as often as you wish, as long as you have the funds to pay Galathil.
Impatience of a Saint
Important Character
Jiub (the Eradicator)
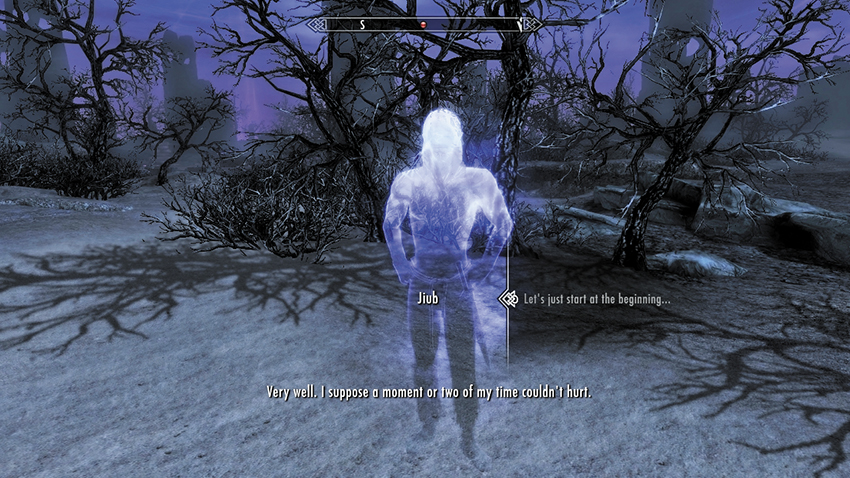
If you’ve ever adventured in Morrowind and woken up on a ship near a fellow prisoner, you’ll already have met Jiub. After your initial introduction to the Dark Elf, you never see him again. However, during the time of Oblivion, he is referred to as Saint Jiub, a mysterious hero who tells you he somehow drove all the Cliff Racers from Vvardenfell. Jiub ended up in the Soul Cairn when his soul became trapped inside a Black Soul Gem.
Spending hundreds of years as a soul in the Soul Cairn has taken its toll on poor Jiub. He’s now completely obsessed with authoring his books. Due to his current state (dead), he can never leave the Soul Cairn, nor can he be “slain.” Once you make him aware of his predicament, Jiub hopes you’ll spread the word of his face when you return to Tamriel.
The Rise and Fall of Saint Jiub
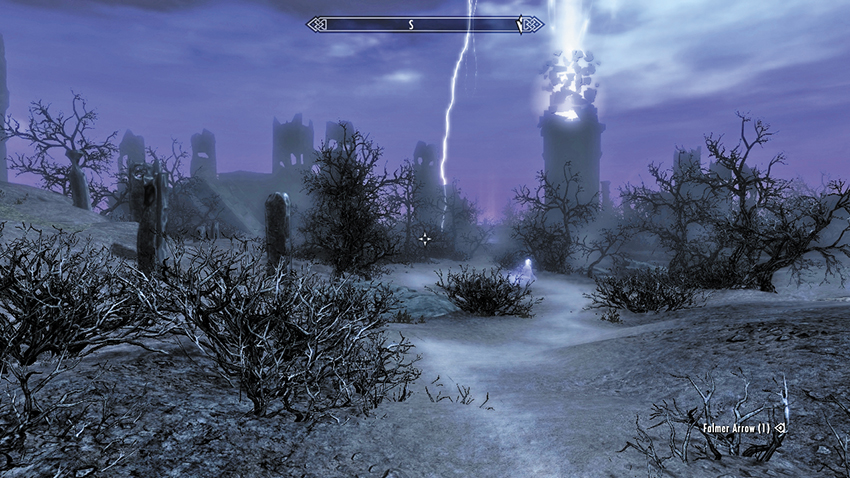
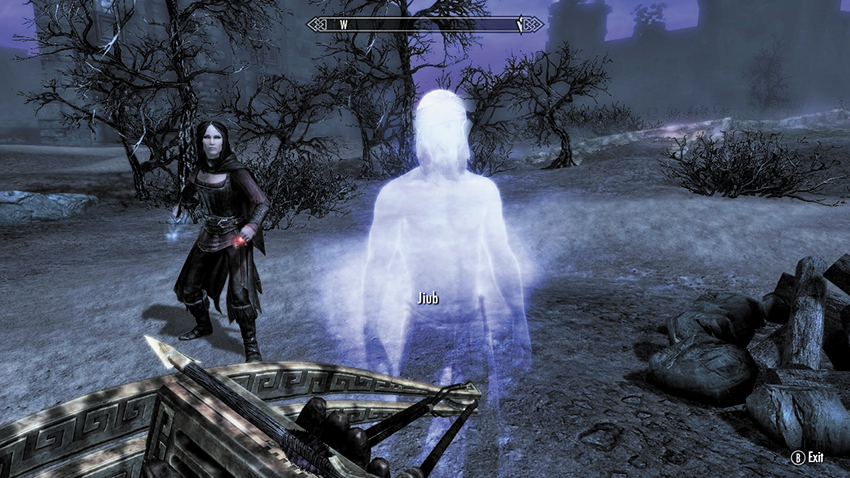
In order to find Jiub, see the walkthrough for Dawnguard Main Quest: Beyond Death, as Jiub is located on a main thoroughfare between the towers guarded by Keepers 2 and 3. Find the Location: Gnarled Glade where a lone ghost is waiting by a burned-out campfire. As you approach, the ghost is babbling about publishing books and becoming rich. Talk to him, and he speaks of his “opus.” After further questioning, he informs you he’s in quite the predicament, having lost all of the pages of his life’s work. Carry on the chat, as he reveals more of his background, and you reveal that he’s actually dead.
Crestfallen, Jiub realizes his writings can no longer be seen, until you both agree that you could carry his work out of the Soul Cairn for him. However, in order to write the second volume of his opus, he requires notes from his first volume. Those are the pages you are to gather for him.
Page Gathering: The Patience of an Adventurer
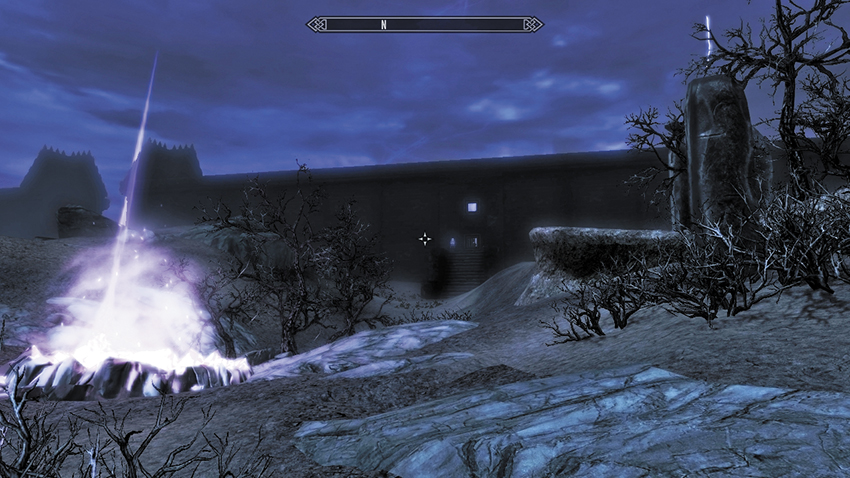
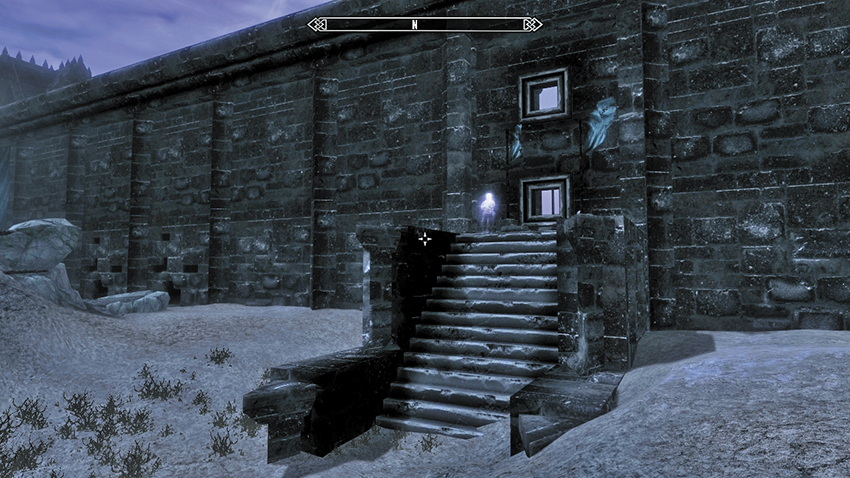
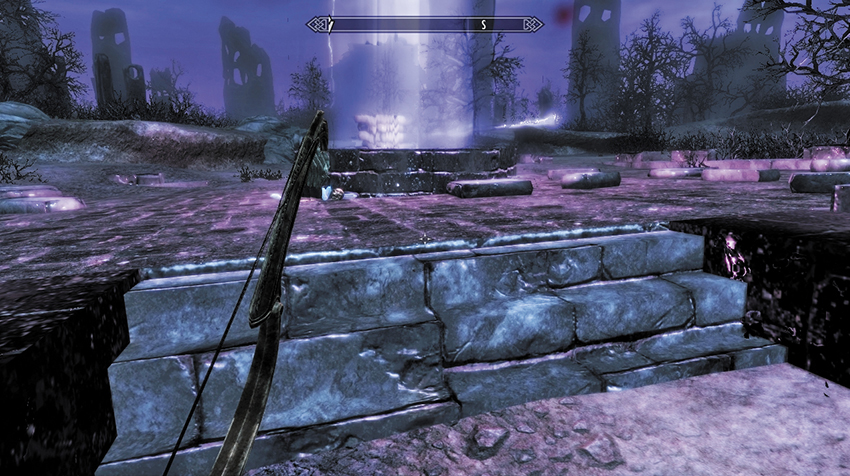
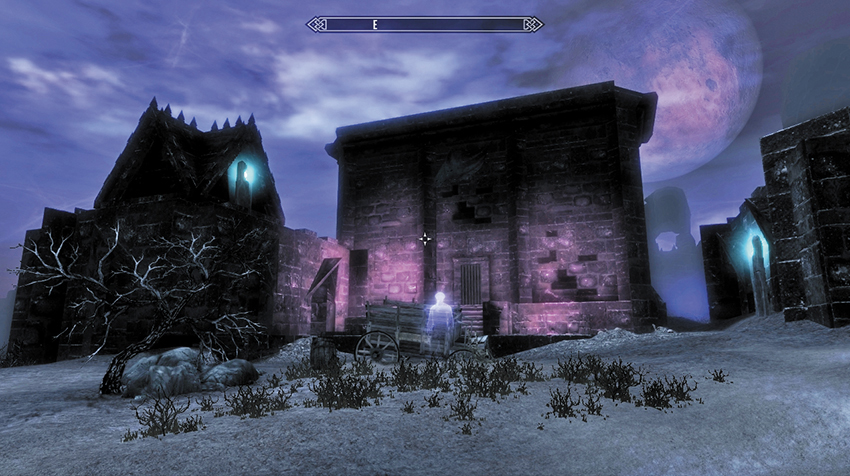
What follows is a description of where each of the pages are located. They are listed from 1 to 10, although you won’t find them in that order without significant backtracking across the Soul Cairn. In each case, three pictures are shown: They reveal the location from a distance, as you close in on the location, and finally at the location itself. Each location is also named: The names are references to the Atlas only (they don’t appear on your local map). Check the compass direction on each picture so you know from which direction to approach. For precise map locations of each page and its number, check the map in the Atlas.
Jiub’s Opus: Page 1
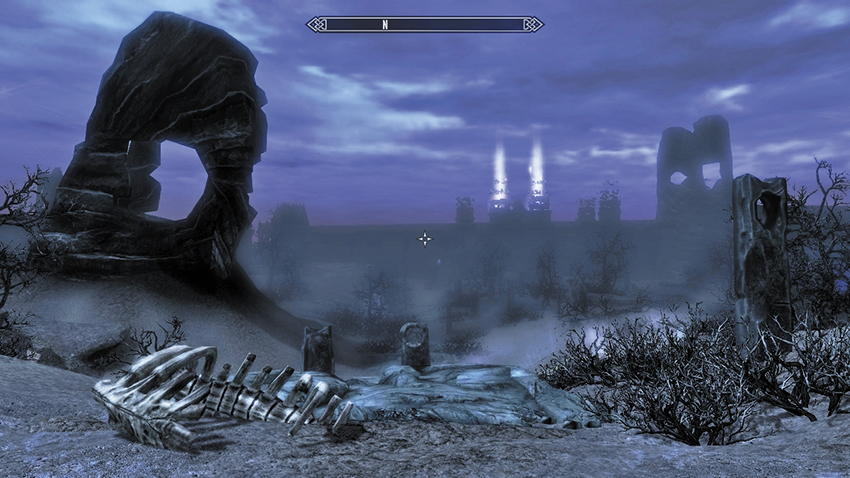
Steps of the Barrier Wall: These are located on the southern (initial side) of the barrier wall, just southeast of the stepped gap in the wall where the main path leads you from the start of the Soul Cairn. The page is next to the window atop the steps, to the right of a Soul. On the window’s right side is The Book of Life and Service and a Soul Gem.
- Jiub’s Opus (Page 1)
Jiub’s Opus: Page 2
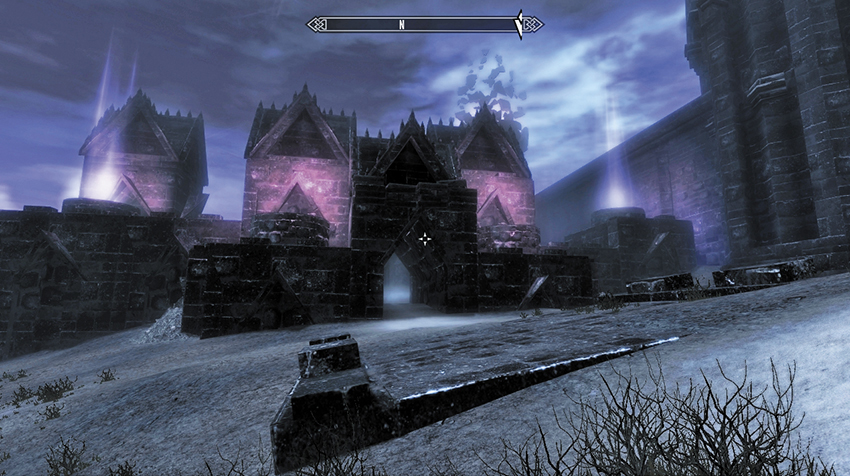
The Black Folly, Fallen Word Wall: The Black Folly, on the western side of the Boneyard wall, is just left (west) of where Valerica is imprisoned. Head through the entrance with the purple soul pools glowing on either side, and inspect the fallen Word Wall once you’re inside. The page is next to a treasure chest, with a ruby and coin purse, half hidden in the low mist.
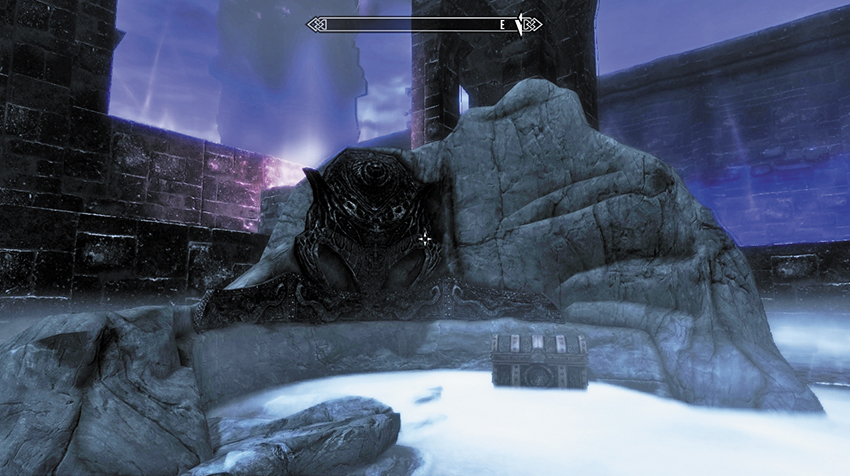
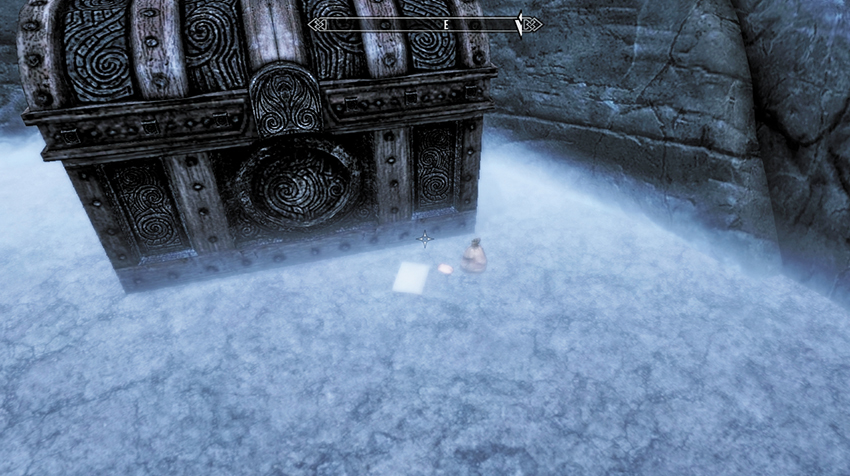
- Jiub’s Opus (Page 2)
Jiub’s Opus: Page 3
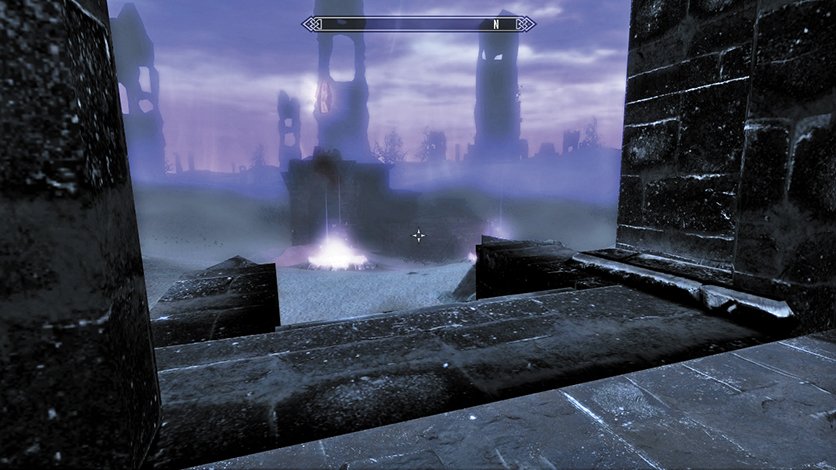
Ideal Masters Crystal Folly: Find this small Folly on the barrier wall’s far left (northeast). This is accessed via an entrance just off the main path, on the wall’s south side. Brave the Bonemen and climb to the chest with the Crystal above it. The page is located at the foot of the chest, next to a circlet.
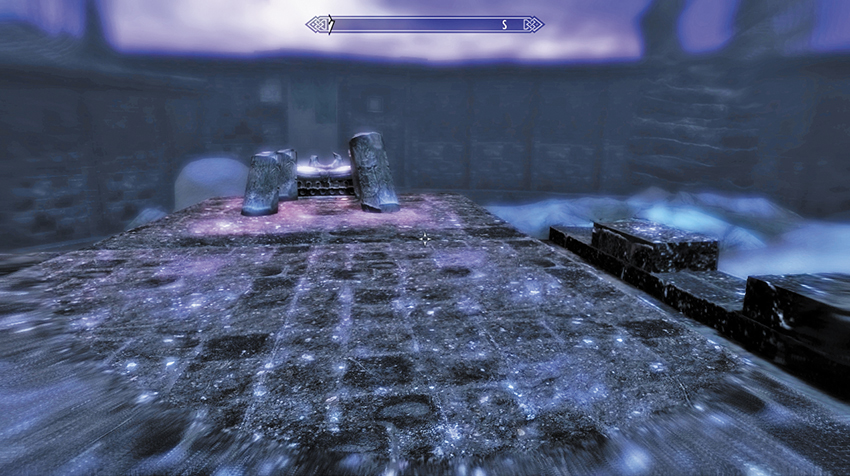
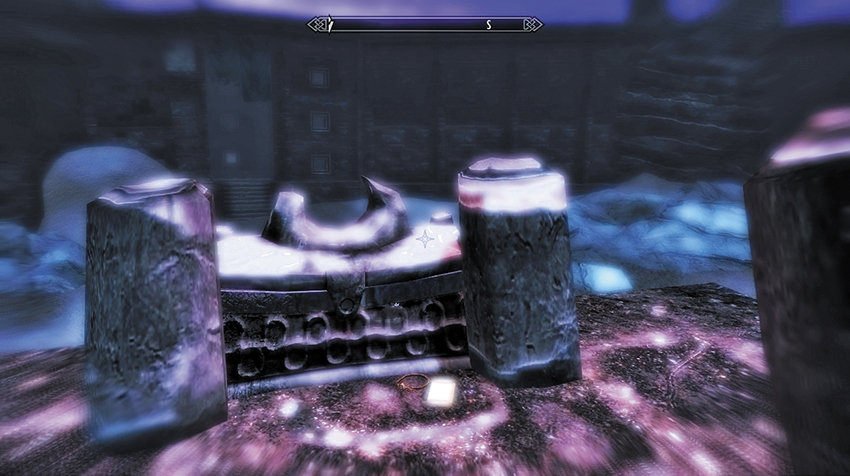
- Jiub’s Opus (Page 3)
Jiub’s Opus: Page 4
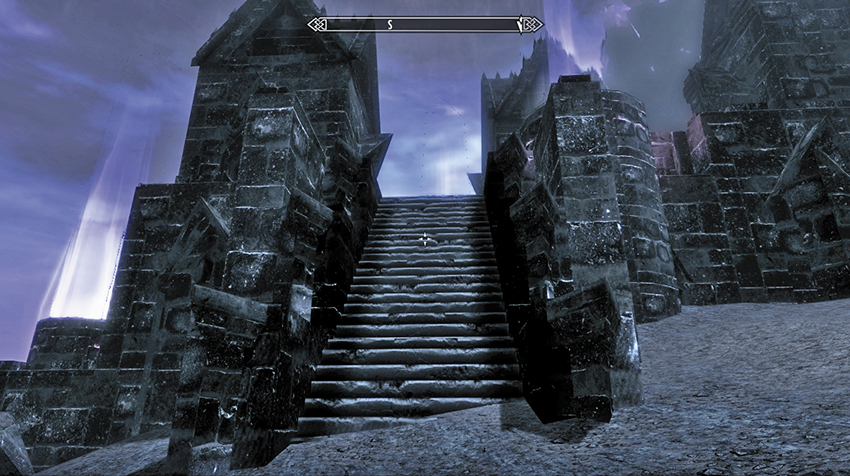
Boneyard Citadel: Travel to the Boneyard entrance where Valerica is imprisoned. Head right (east), around the exterior Boneyard wall, to the fortification attached to the wall. Climb the steep steps, and locate the page beside a chest inside the highest of the small spires. It is guarded by a Mistman.
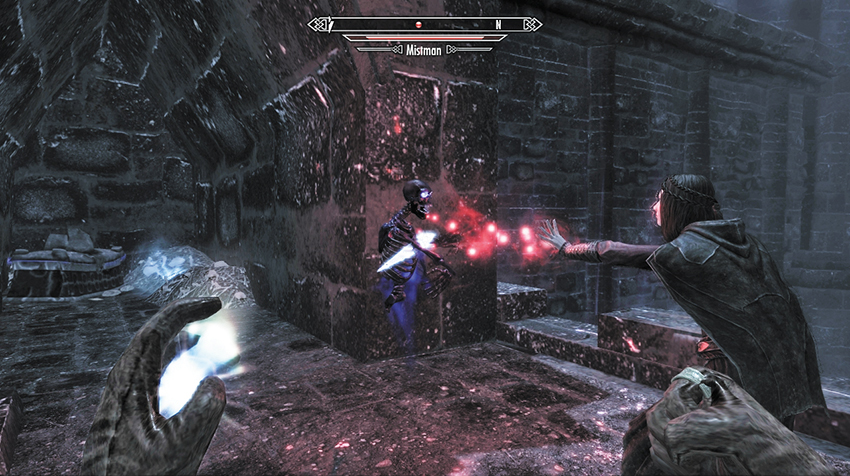
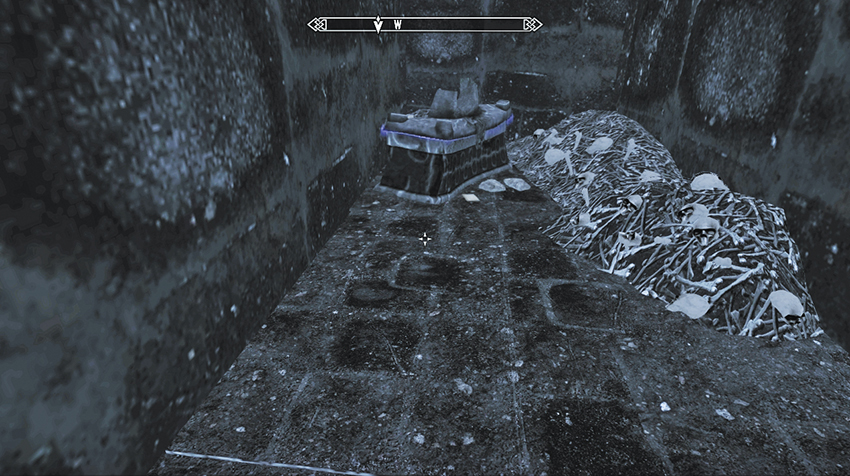
- Jiub’s Opus (Page 4)
Jiub’s Opus: Page 5
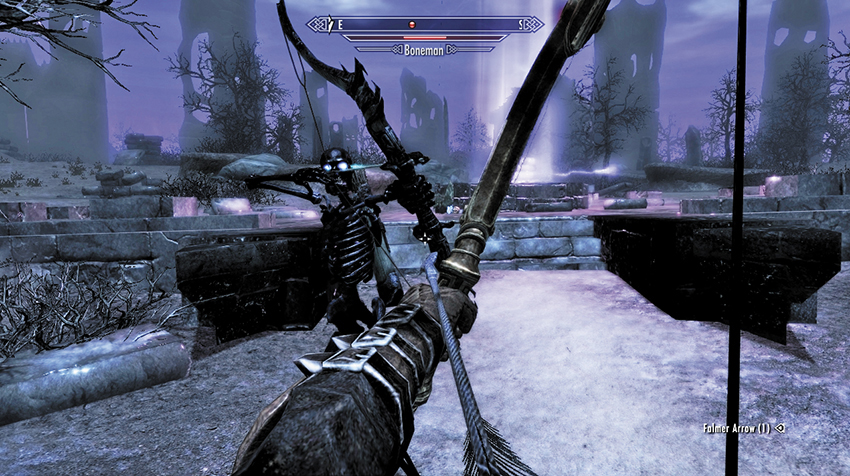
Soul Pool Foundation: This is on the route between Keepers 2 and 3, just south of where Jiub is located. The area consists of relatively flat scrubland, with low steps up to a stone foundation and circular soul pool. The page is on the ground, near an Elven Shield, a skull and some Soul Gems on the outside of the circular soul pool.
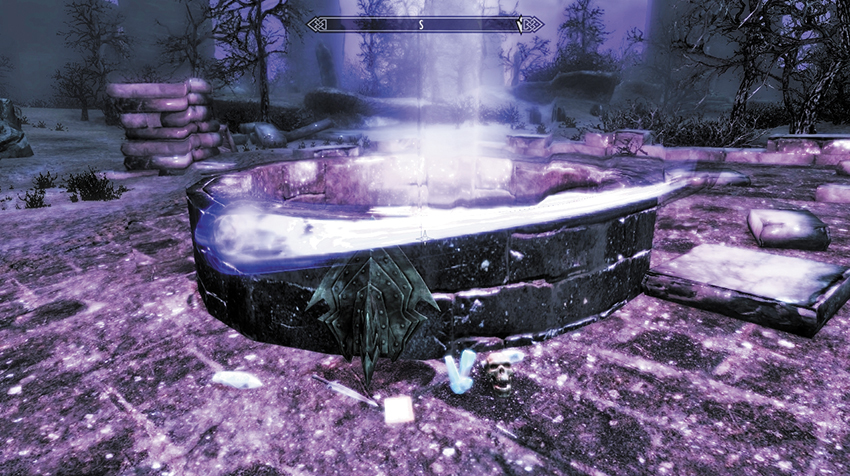
- Jiub’s Opus (Page 5)
Jiub’s Opus: Page 6
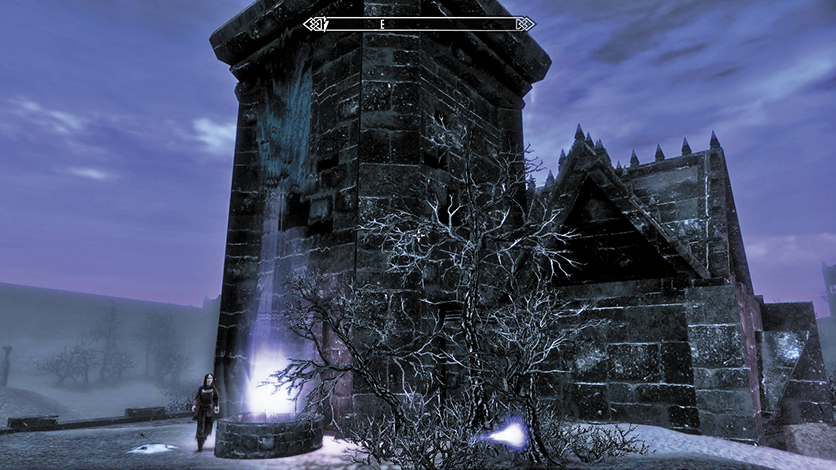
The Black Church: While on the main path from the Soul Cairn entrance, en route to the barrier wall, close to where the soul that lost Arvak is located, look to your right (east). Just north of the Black Chapel is the Black Church, an obsidian stone structure with four entrances into a small inner room. The the page lies here, next to a chest, coin purse, and Soul Gem.
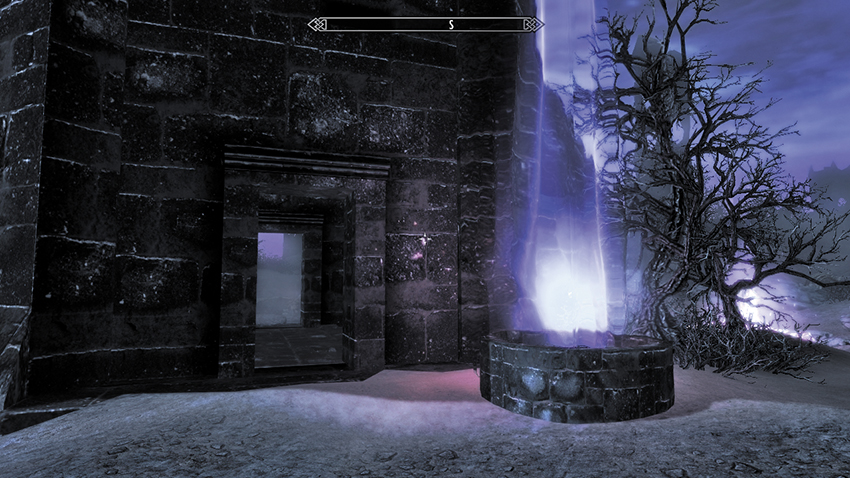
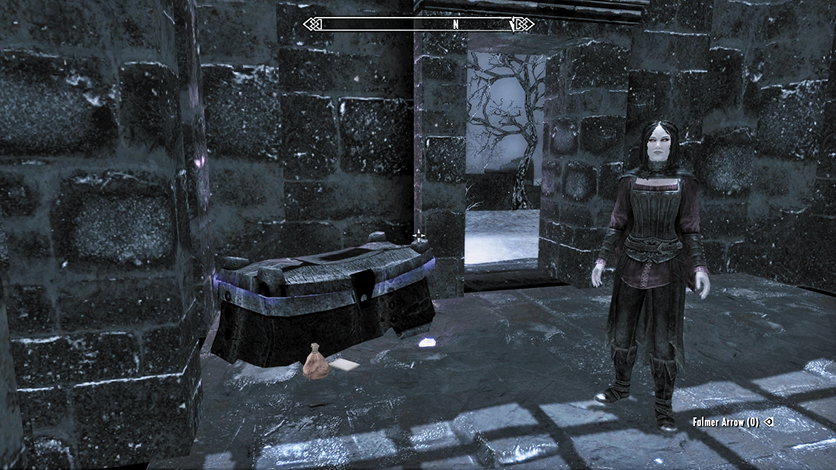
- Jiub’s Opus (Page 6)
Jiub’s Opus: Page 7
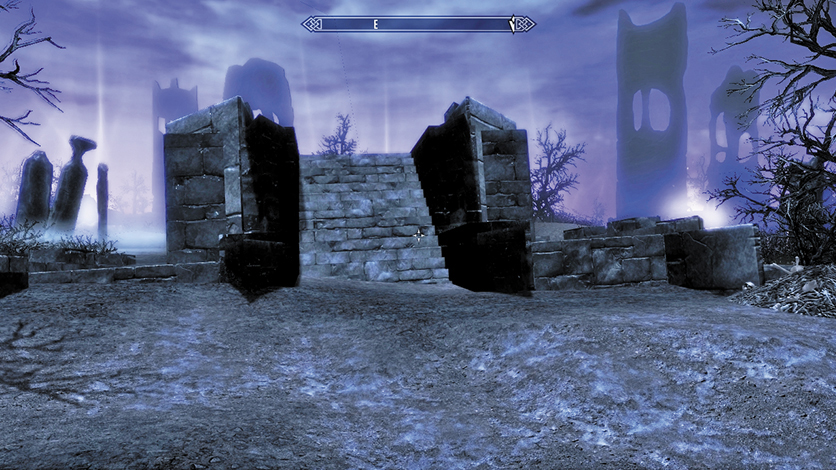
Foundation Altar: Southeast of the Boneyard Citadel and northeast of Arvak’s Skull is a stepped area leading to an open altar, close to the perimeter barrier (to the east) and just east of the teleport to Keeper 3. Beware of Bonemen guarding this altar, which has Spell Tome: Conjure Mistman on it. Below it is the page, next to a coin purse and Soul Gem.
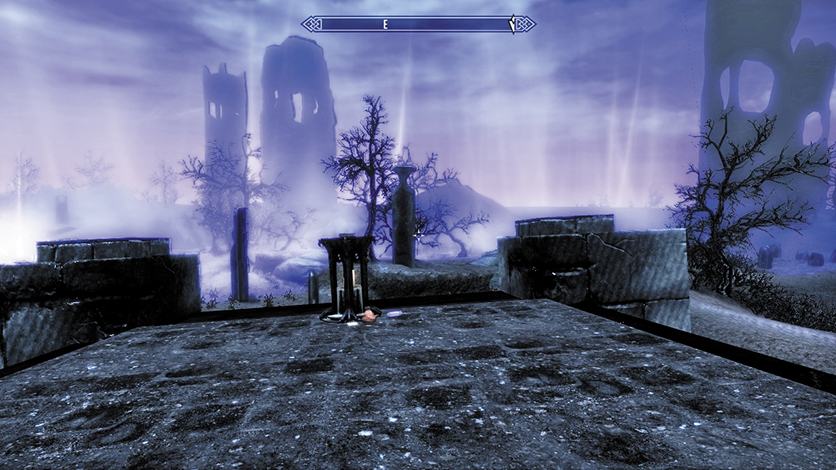
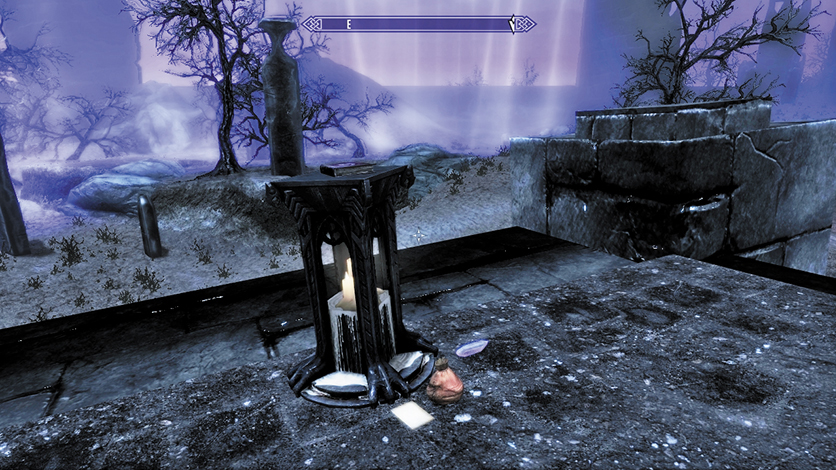
- Jiub’s Opus (Page 7)
Jiub’s Opus: Page 8
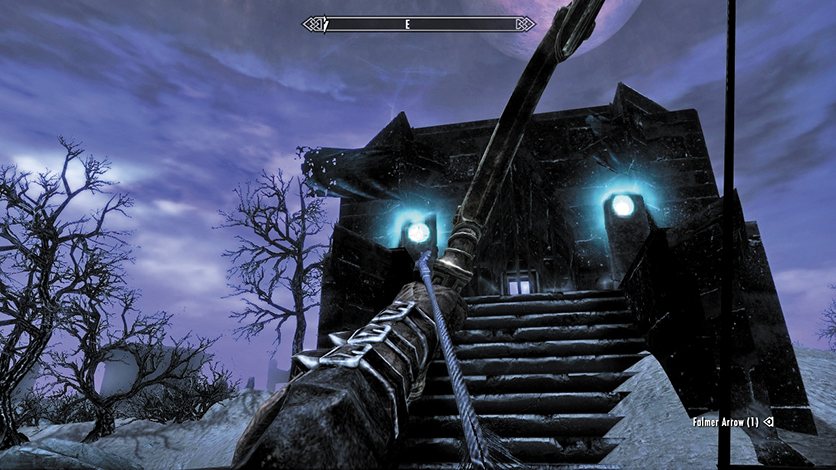
The Black Chapel: After climbing down the entrance steps from Volkihar Ruins, facing northeast and walking down the main path, the first building you see on your right (east) is the Black Chapel. Shoot an arrow into each turquoise orb so the bars at the chapel entrance recede. Then climb to the page inside, at the foot of a chest, next to a dagger and coin purse.
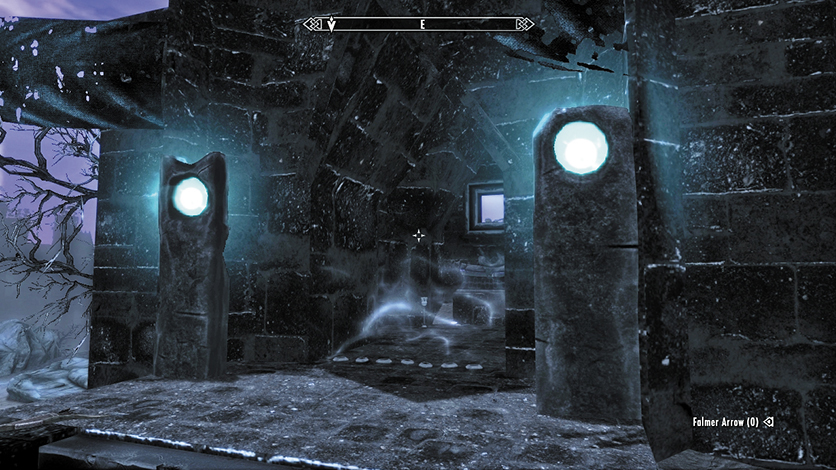
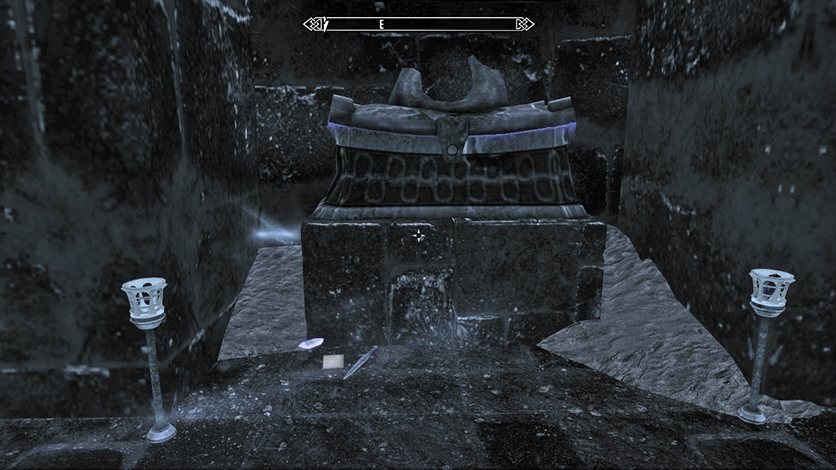
- Jiub’s Opus (Page 8)
Jiub’s Opus: Page 9
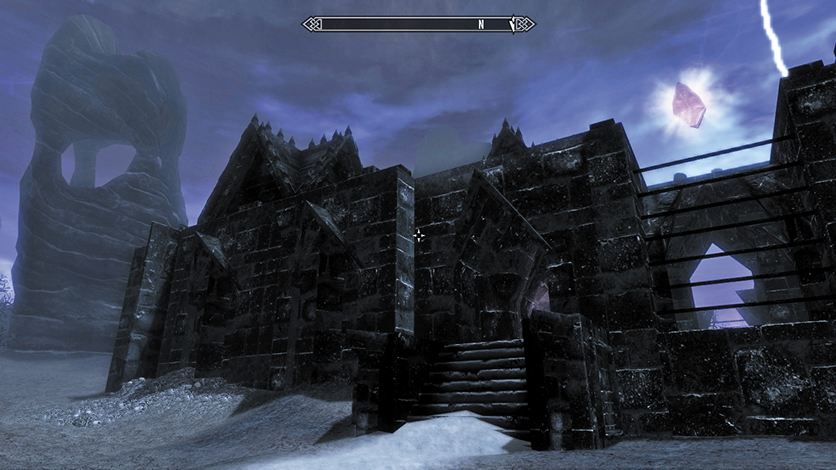
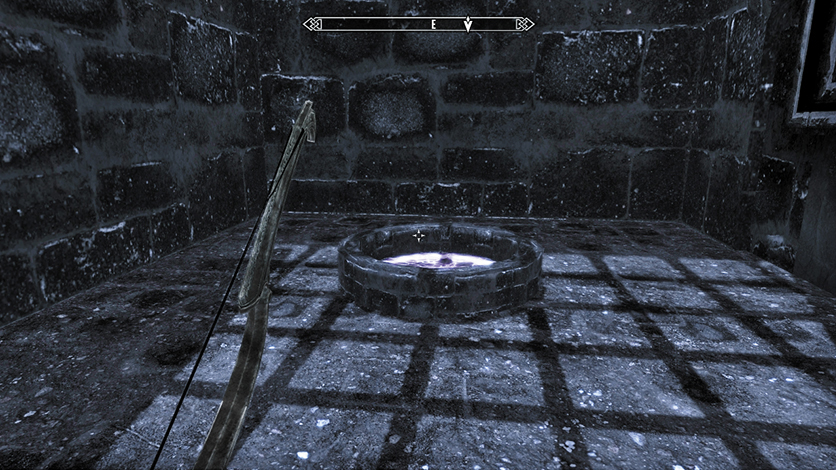
The Black Minster: After stepping across the barrier wall, locate the ruined foundations with four pathways off it. Face northwest and follow the path as it winds around to the north. Pass two black structures with Master Crystals atop them. Ignore those, and instead head for the largest structure on the northern edge of the Soul Cairn. It has a stepped entrance and a barred opening to the right of that. Enter the Minster, wandering the maze of corridors until you reach a teleport to the roof. The page is by a chest below the Crystal, near a Soul Gem.
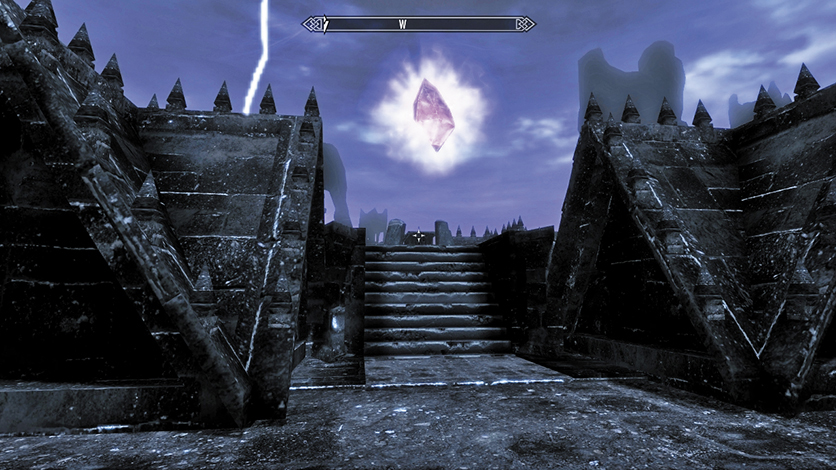
- Jiub’s Opus (Page 9)
Jiub’s Opus: Page 10
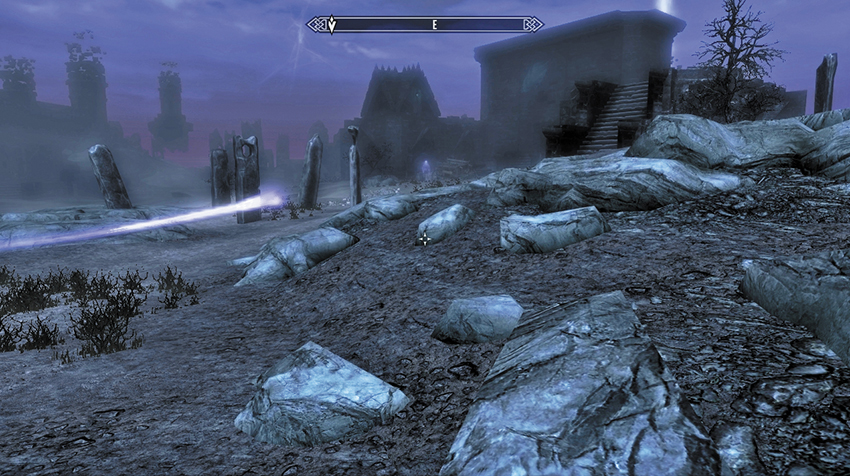
Morven Stroud: Soul Husk Merchant: After you cross the barrier wall, turn right (east) and wander to the remains of a cart where a ghostly trader named Morven Stroud resides. The page is on one of the barrels close to his cart.
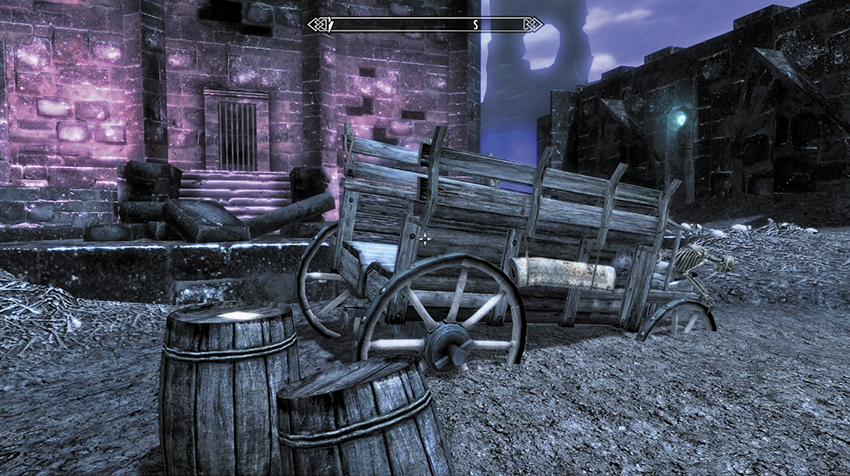
- Jiub’s Opus (Page 10)
Quest Conclusion
After you gather all of Jiub’s pages, revisit the poor fellow and offer the parchments to him. He is most excited and rewards you with a pristine copy of his first volume. Now his words can be read back in Tamriel! As an added bonus, Jiub also gives you his Locket.
- Saint Jiub’s Opus
- Locket of Saint Jiub
Postquest Activities
You can read Saint Jiub’s Opus or sell it for a tidy profit.
The Great Skyrim Cache Grab*
A Lack of Cartographical Evidence
There are a huge number of Wilderness Encounters that can occur during your adventures in Skyrim (a complete list can be found on page 682). However, three of them (Dawnguard Novice, Dawnguard Outrider, and Dawnguard Remains) lead to this unmarked quest.
Like all Wilderness Encounters, these three are also random, so patience is necessary (and the encounters may take a while to occur). These particular encounters will occur only after you’ve completed Dawnguard Main Quest: The Bloodstone Chalice (Vampires) or Dawnguard Main Quest: A New Order (Dawnguard).
In each case, you find a member of the Dawnguard (or what’s left of them) and a note, detailing the locations of three Wilderness Caches—dead drops set up by the Dawnguard to resupply their agents in the field. After reading the note, you can now find these hidden chests and claim the items they contain.
Caches 1–3: Dawnguard Novice
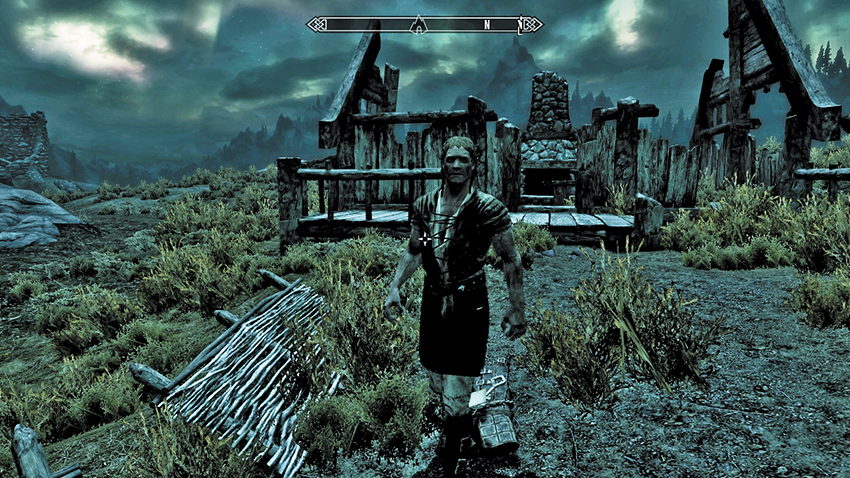
This Wilderness Encounter occurs only late at night (try between 11:00 p.m. and 1:00 a.m.) and only in Whiterun Hold. Dawnguard Novice Hakar is running from two vampires. Save him, and he abruptly resigns from the order, drops his items (which includes his Dawnguard Armor, orders, and a Cache Key), and flees for Rorikstead. Reading his note reveals the location of the Dawnguard Caches in Whiterun Hold (see below). You can also claim the orders and Cache Key from his corpse if he dies. You can now find Wilderness Caches 1, 2, and 3. If you don’t take the Cache Key, the strongboxes are all locked [Expert]. The last of the three Caches you find contains a Scroll.
- Dawnguard Orders: Hakar
- Dawnguard Cache Key
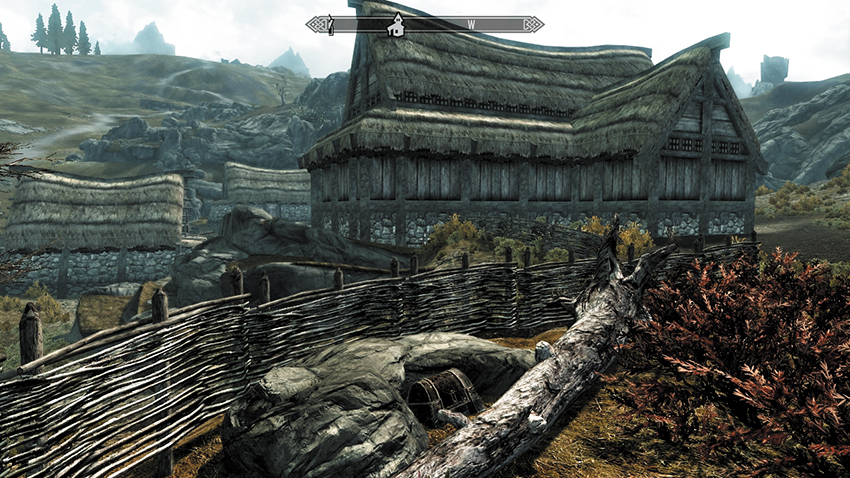
Cache 1: “In Rorikstead, in the pasture behind Frostfruit Inn.” Simple and direct. This cache is hidden between a fallen log and some large rocks in the pasture.
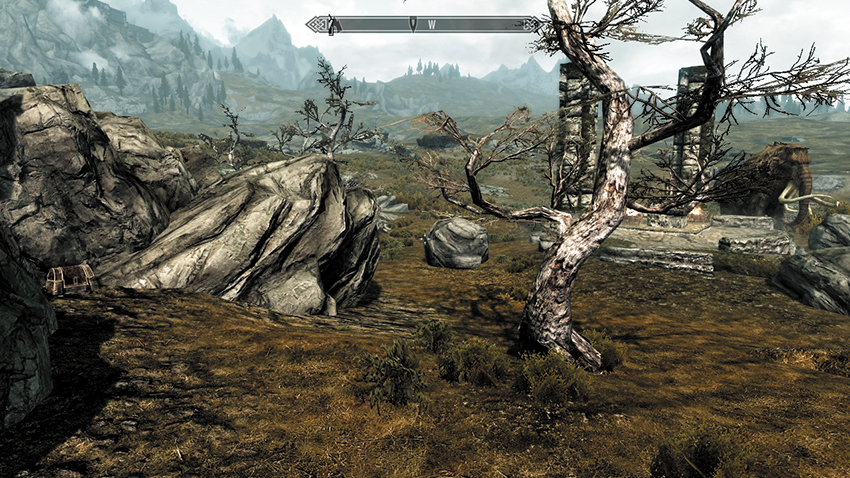
Cache 2: “Near Stendarr’s Shrine in the center of the tundra.” The shrine in question is Secondary Location [6.I]: Shrine of Stendarr: The Two Pillars. The cache is up against the rocks just behind the shrine.
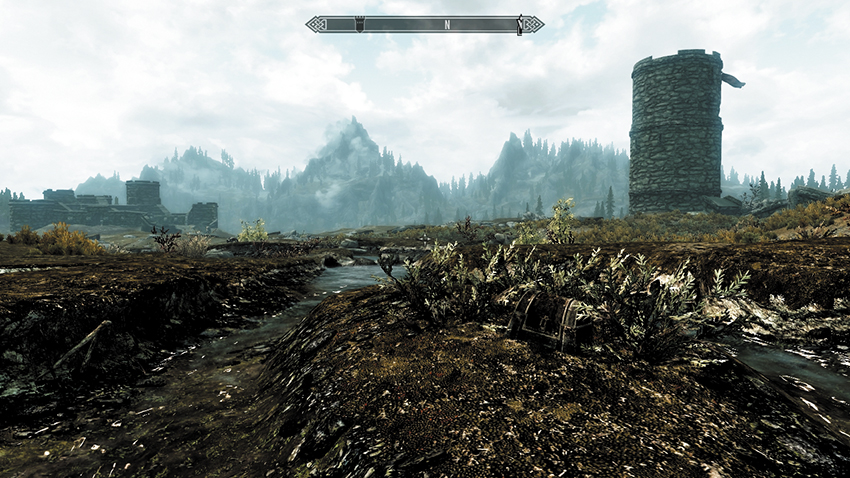
Cache 3: “South of Whiterun’s Western Watchtower.” This cache is located on a small island in a stream south of the watchtower.
Caches 4–6: Dawnguard Outrider
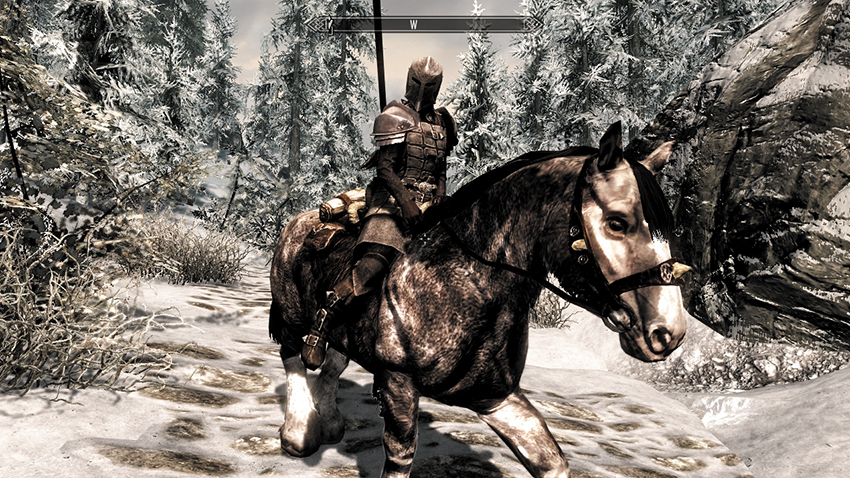
This Wilderness Encounter occurs only in Hjaalmarch, the Pale, or Winterhold Holds. Dawnguard Saliah rides by you on horseback. If you try to talk to her, she quickly brushes you off—she has no time for conversation. Kill or pickpocket her for her orders (which reveal the Caches in Hjaalmarch, the Pale, and Winterhold) and a Cache Key. You can now search for Wilderness Caches 4, 5, and 6. If you don’t take the Cache Key, the strongboxes are all locked [Expert]. The last of the three Caches you find contains a Scroll.
- Dawnguard Orders: Saliah
- Dawnguard Cache Key
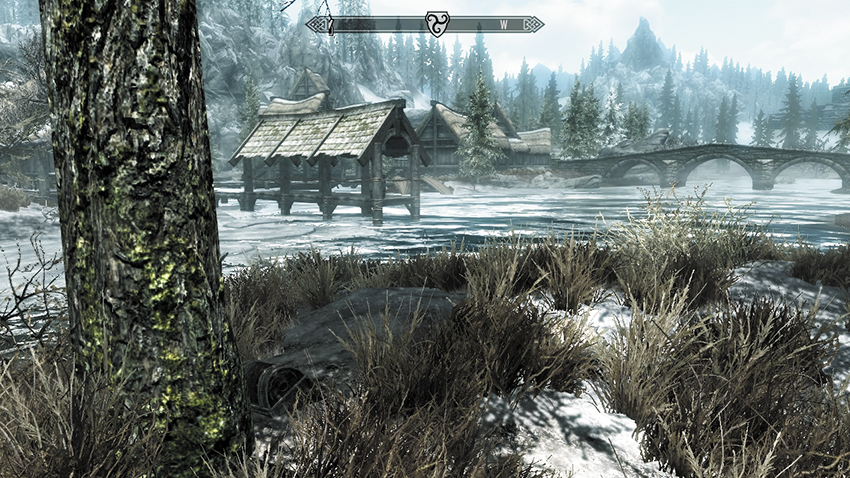
Cache 4: “In Morthal, on the islet due east of the mill.” It’s easy to get lost in the marsh, but these directions are clear: carefully walk due east from the mill to find this cache up against a tree.
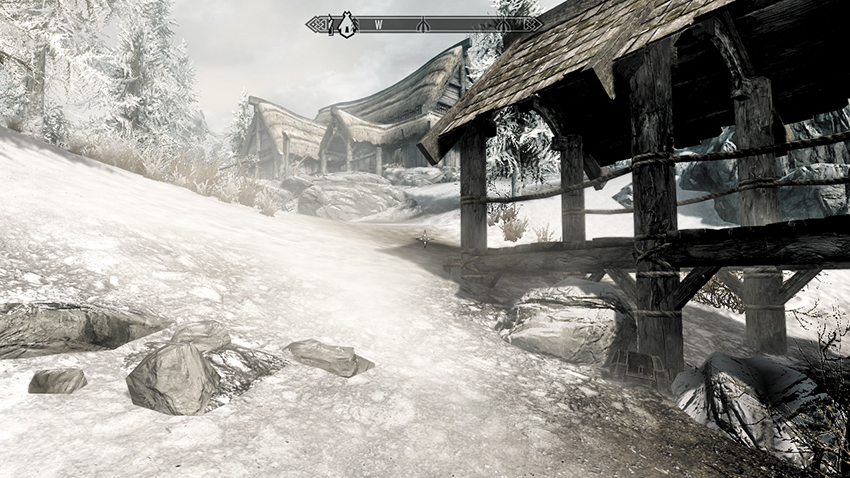
Cache 5: “Outside Nightgate Inn, at the foot of the pier.” The cache is nestled among the rocks on the south side of the pier.
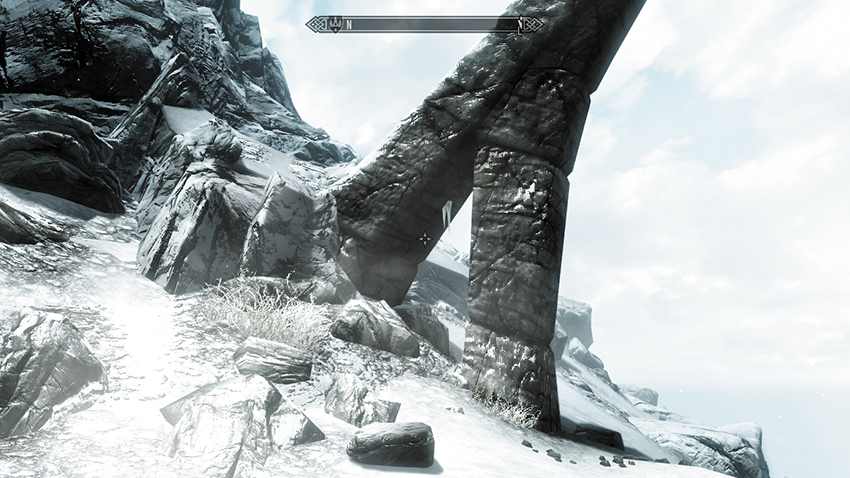
Cache 6: “Near Winterhold, under the great arch.” The arch itself is not a marked location, but it’s easy to spot from the road as you make your way south from Winterhold. The cache is buried in the snow at the foot of the arch.
Caches 7–9: Dawnguard Remains
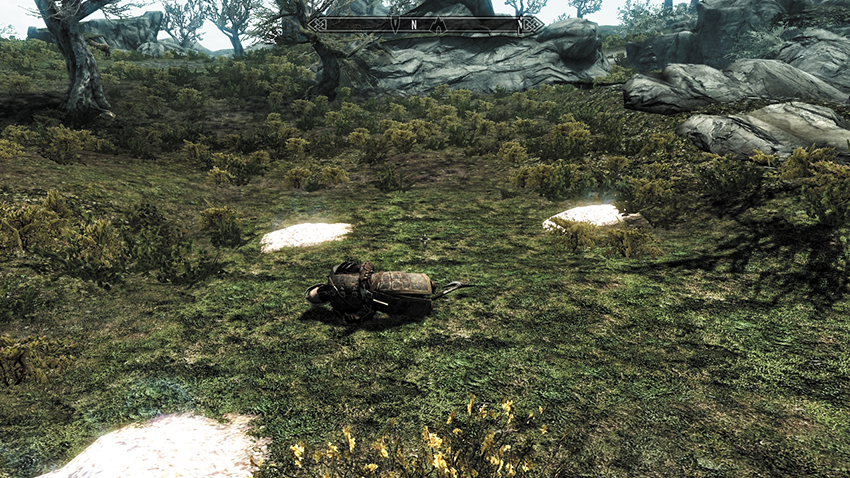
This Wilderness Encounter occurs only in Haafingar or the Reach. Dawnguard Lynoit lies dead on the ground, surrounded by three smoldering vampire ash piles. Loot his body for his orders, which reveal the Caches in Haafingar and the Reach. You can now locate Wilderness Caches 7, 8, and 9. If you don’t take the Cache Key, the strongboxes are all locked [Expert]. The last of the three Caches you find contains a Scroll.
- Dawnguard Orders: Lynoit
- Dawnguard Cache Key
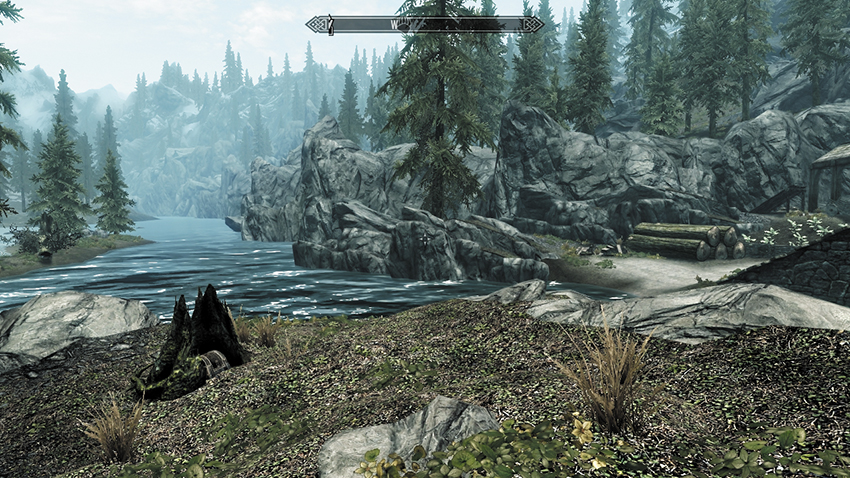
Cache 7: “On the small island south of Solitude Sawmill.” This is the island out in the middle of the Karth River. It requires a short swim, but it’s not hard to find.
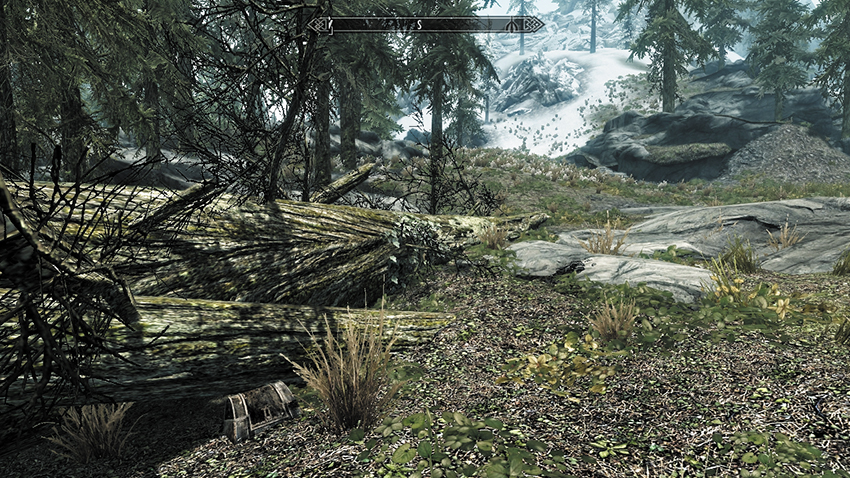
Cache 8: “Due east of the entrance to the ruin Volskygge.” The cache is up against a fallen log east of Volskygge.
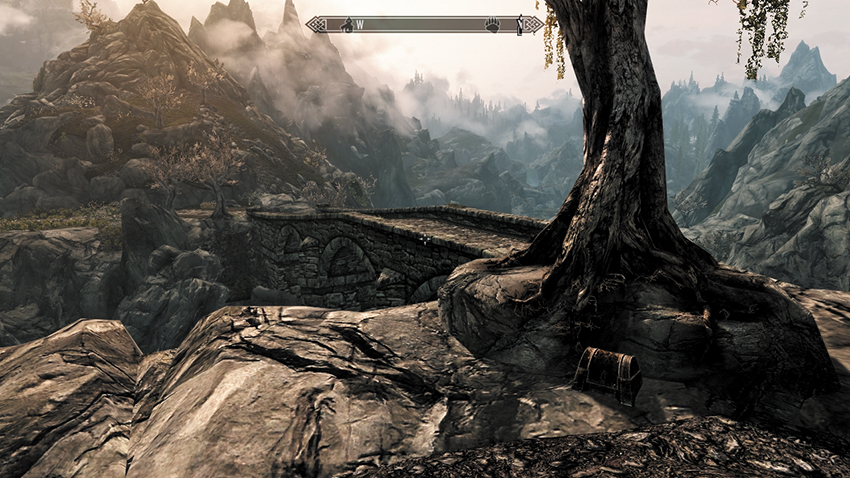
Cache 9: “On the east side of Karthwasten Bridge.” After crossing the bridge, search the rocks around the dead tree to find this cache.
Quest Conclusion
Continue your adventuring until you’ve pried open all nine caches and recovered their treasure!