
Elder Scrolls V: Skyrim Guide The Atlas Solstheim: Northern Mountains
Solstheim: Northern Mountains
Topographical Overview
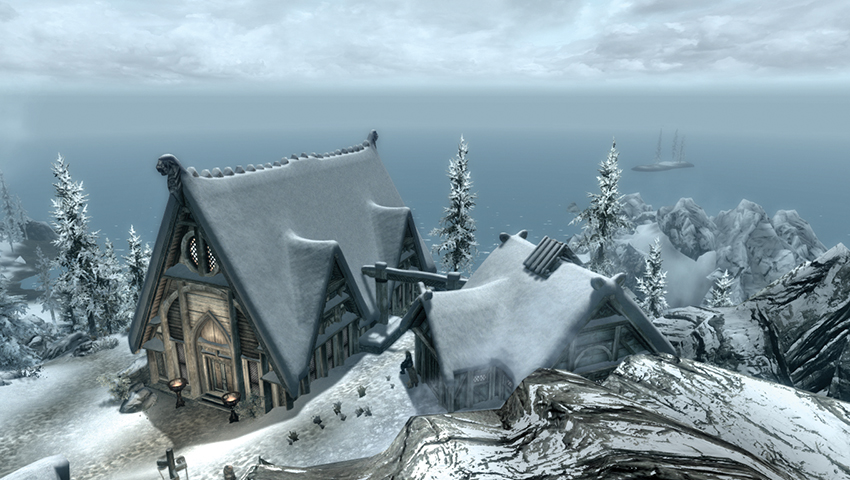
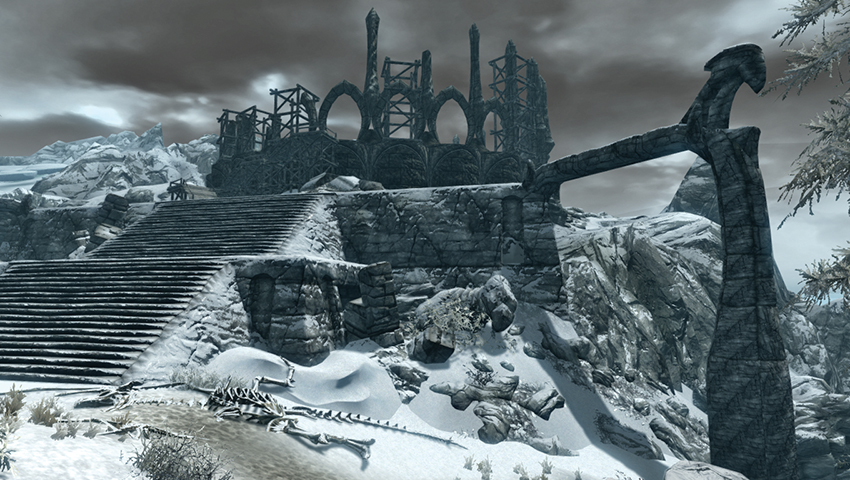
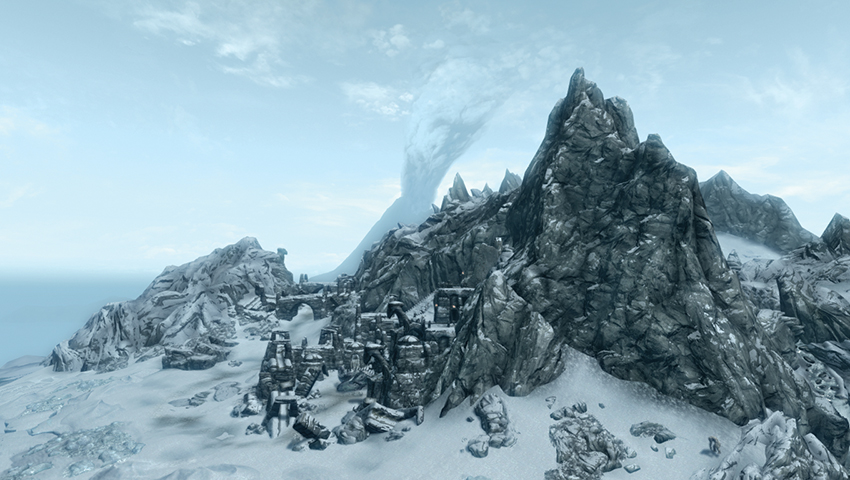
In some ways, the northern climbs of Solstheim are slightly more hospitable than the southern wastes, since the ash storms do not reach them. Instead, adventurers are left to traverse rocky and snow-swept landscapes, with more scree and dirt along the coastline. Farther inland, there are soaring peaks and a grand temple to the new usurper of this realm, and farther north still is a large glacier field, within which an ancient castle to a long-dead frost giant still stands. Rieklings dominate many of the locations up here, but the Skaal people also call this home; their village is set amid the frozen peaks to the northeast. Finally, a number of islands, unmarked to the regular traveler, offer danger and treasure to those wishing to swim through the Sea of Ghosts to reach them.
Routes and Pathways
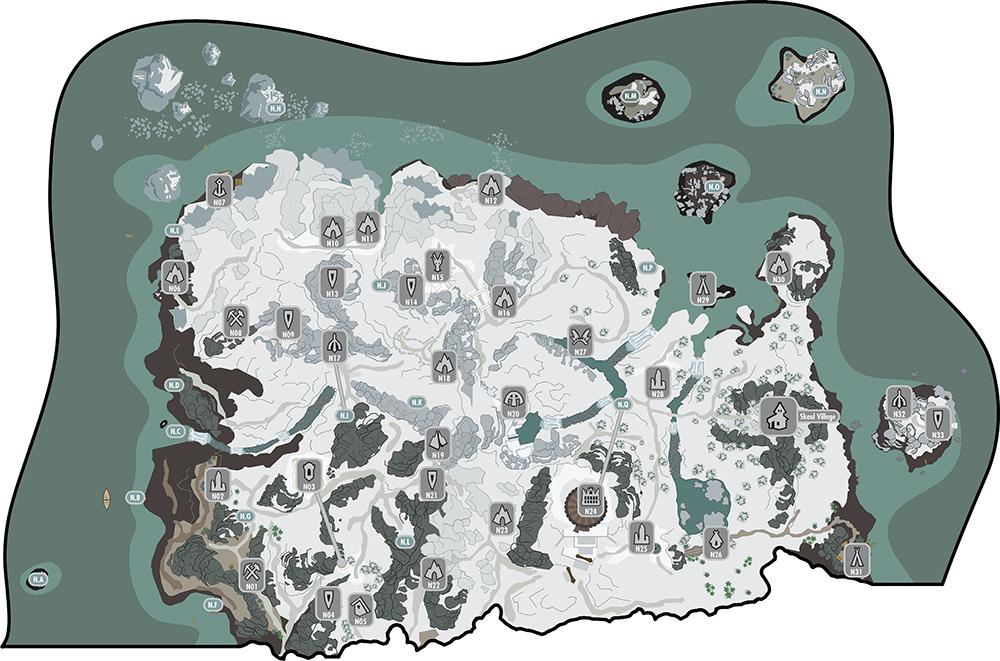
With no roads to find, you must rely on goat trails and the gaps between rocky ridges when maneuvering around the northern parts of Solstheim. It’s helpful to work your way around the coast, perhaps starting at Bujold’s Retreat and moving counterclockwise from there. Split the area into more manageable chunks: The far north offers treacherous movement over glaciers and a rugged coast with iceberg and rock islands. Farther inland are the high peaks and familiar barrow arches of Nordic crypts. Then there’s the massive circular Temple of Miraak, where the bones of dragons rest and your main quest begins.
Available Services, Crafting, and Collectibles
Services
- Followers: [DB2/7]
- Houses for Sale: [DB0/1]
- Marriage Prospects: [DB3/3]
- Skill Trainers: [DB2/5]
- Alchemy: [0/0]
- Alteration: [0/0]
- Archery: [0/0]
- Block: [0/0]
- Conjuration: [DB0/1]
- Destruction: [0/0]
- Enchanting: [DB0/1]
- Heavy Armor: [DB1/1]
- Illusion: [0/0]
- Light Armor: [0/0]
- Lockpicking: [0/0]
- One-Handed: [0/0]
- Pickpocket: [0/0]
- Restoration: [DB0/1]
- Smithing: [0/0]
- Sneak: [0/0]
- Speech: [0/0]
- Two-Handed: [DB1/1]
- Traders: [DB4/16]
- Apothecary: [DB1/3]
- Bartender: [0/0]
- Blacksmith: [DB2/3]
- Carriage Driver: [0/0]
- Fence: [0/0]
- Ferryman: [DB0/1]
- Fletcher: [0/0]
- Food Vendor: [DB0/1]
- General Goods: [DB0/4]
- Innkeeper: [DB0/1]
- Jeweler: [0/0]
- Special: [DB1/1]
- Spell Vendor: [DB0/2]
- Stablemaster: [0/0]
Collectibles
- Dragon Claws: [DB0/2]
- Acolyte Priest Masks: [DB1/4]
- East Empire Strongboxes: [DB14/33]
- Treasure Maps: [DB1/1]
- Unique Items: [DB9/31]
- Unique Weapons: [DB3/11]
Special Objects
- Shrines: [DB1/5]
- Kynareth: [DB0/1]
- Zenithar: [DB1/1]
- Azura: [DB0/1]
- Boethiah: [DB0/1]
- Mephala: [DB0/1]
- Sacred Stones: [4/6]
- Water Stone
- Temple of Miraak (Tree Stone)
- Beast Stone
- Wind Stone
- Word Walls: [DB4/10]
- Battle Fury: [DB0/3]
- Bend Will: [DB1/1]
- Cyclone: [DB2/3]
- Dragon Aspect: [DB1/3]
Solstheim Crafting Stations: Northern Mountains
| Type | Location A | Location B |
|---|---|---|
| Alchemy Lab | Skaal Village (Shaman’s Hut) | Skaal Village (Edla’s House) |
| Arcane Enchanter | Skaal Village (Shaman’s Hut) | Altar of Thrond |
| Anvil or Blacksmith Forge | Skaal Village (Baldor Iron-Shaper’s House) | Thirsk Mead Hall |
| Cooking Pot and Spit | Skaal Village (Greathall) | Skaal Village (Baldor Iron-Shaper’s House) |
| Grindstone | Skaal Village (Baldor Iron-Shaper’s House) | None |
| Smelter | Skaal Village (Baldor Iron-Shaper’s House) | Damphall Mine |
| Staff Enchanter | None | None |
| Tanning Rack | Skaal Village (Barrier Focusing Stones and Well) | Skaal Village (Baldor Iron-Shaper’s House) |
| Wood Chopping Block | Skaal Village (Deor Woodcutter’s House) | Damphall Mine |
| Workbench | Skaal Village (Baldor Iron-Shaper’s House) | None |
Primary Locations
- Total 34--Skaal VIllage and 33 locations
[S.N00] Skaal Village
Chieftain: Fanari Strong-Voice
[S.N01] Damphall Mine
[S.N02] Water Stone
[S.N03] Fahlbtharz
[S.N04] Hvitkald Peak
[S.N05] Abandoned Lodge
[S.N06] Bristleback Cave
[S.N07] Northshore Landing
[S.N08] Broken Tusk Mine
[S.N09] Stalhrim Source
[S.N10] Castle Karstaag Ruins
[S.N11] Castle Karstaag Caverns
[S.N12] Glacial Cave
[S.N13] Mortrag Peak
[S.N14] Frykte Peak
[S.N15] Saering’s Watch
[S.N16] Benkongerike
[S.N17] White Ridge Barrow
[S.N18] Hrothmund’s Barrow
[S.N19] Moesring Pass
[S.N20] Snowclad Ruins
[S.N21] Mount Moesring
[S.N22] Frostmoon Crag
[S.N23] Altar of Thrond
[S.N24] Temple of Miraak (Tree Stone)
[S.N25] Beast Stone
[S.N26] Thirsk Mead Hall
[S.N27] Headwaters of Harstrad
[S.N28] Wind Stone
[S.N29] Haknir’s Shoal
[S.N30] Frossel
[S.N31] Bujold’s Retreat
[S.N32] Gyldenhul Barrow
[S.N33] Horker Island
Secondary Locations
- Total: 17 Points of Interest
[S.NA] Spiky Grass Island
[S.NB] The Ever-Abandoned Ship
[S.NC] Waterfall and Grazing Netch
[S.ND] Mudcrab Tidal Pools
[S.NE] Riekling Chest
[S.NF] The Fisherman’s Haul
[S.NG] Riekling Barrel Hoard
[S.NH] Horker Iceberg
[S.NI] White Ridge Barrow Hut
[S.NJ] Forgotten Spoils
[S.NK] Desolate Hunter’s Camp
[S.NL] Shrine of Zenithar
[S.NM] Dragon Mound: Frozen Shoals
[S.NN] Giant Nirnroot Island
[S.NO] Riekling Outpost Island
[S.NP] Lurker Ambush (Tidal Pool)
[S.NQ] Temple of Miraak: Secret Exit