
Elder Scrolls V: Skyrim Guide The Atlas Hold 3: The Pale
Secondary Locations
[3.A] Horker Standing Stones
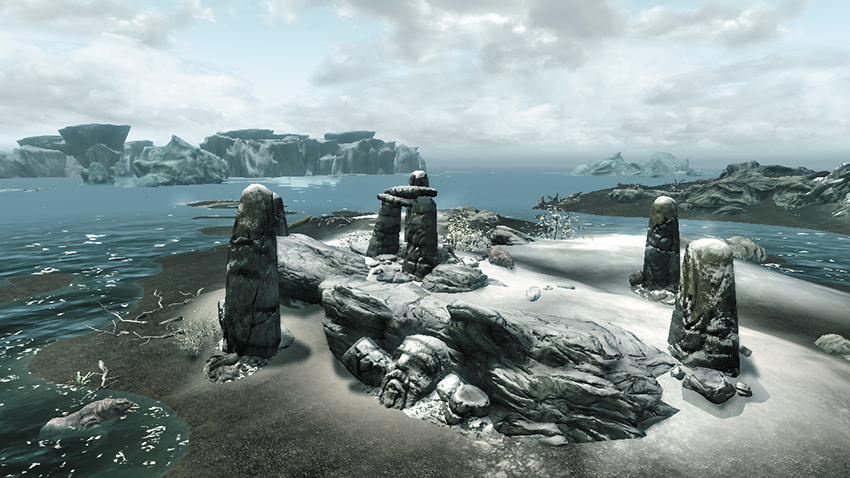
On one of the tidal islands just north of High Gate Ruins is a cluster of dilapidated Nordic standing stones. Thieves have long since departed with anything of value (aside from a chiming Nirnroot at the water’s edge). The place is now home to Horkers.
[3.B] Sunken Treasures
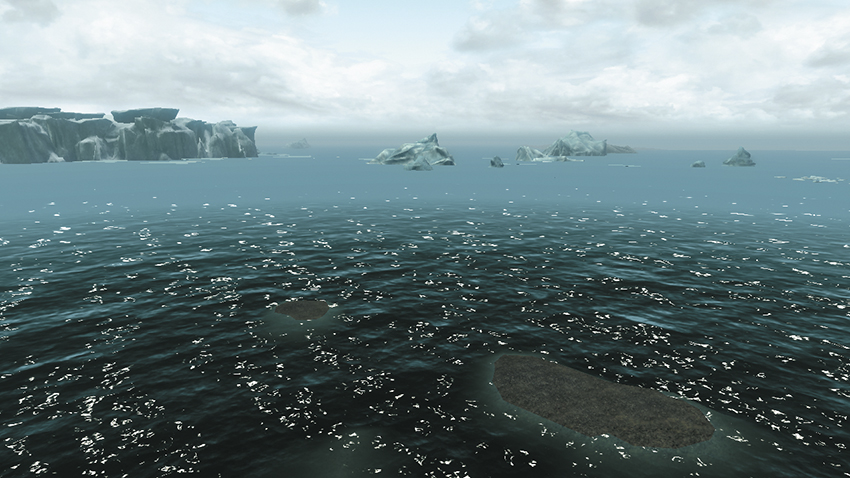
In the frigid waters of the Sea of Ghosts, north and a little west of the Wreck of the Brinehammer, are two tiny flat islands. Face due north on the smaller (western) one, and swim until you reach a sunken chest (Expert). Beware of Slaughterfish!
- Chest (Expert)
[3.C] Bandit’s Hovel
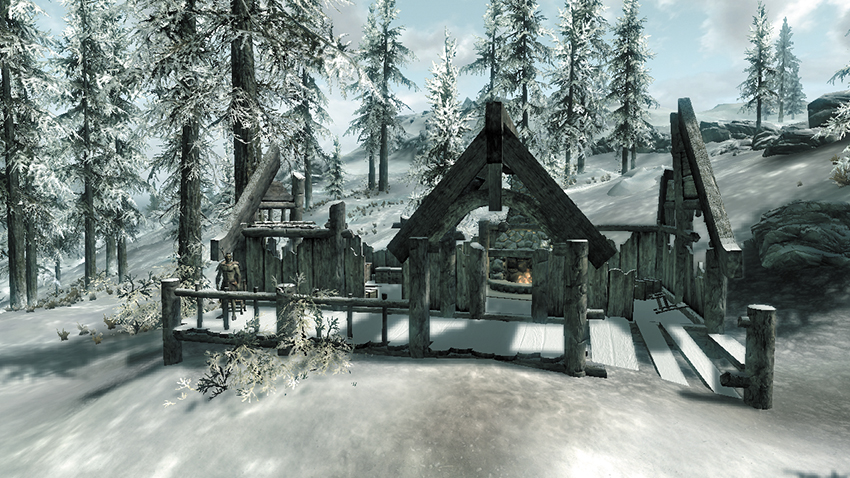
A recently destroyed hunter’s lodge is now home to a roaming bandit. The fire is still hot in the hearth, but the building itself is ruined and the contents picked clean aside from a chest with a dusting of snow on it.
- Chest
[3.D] Dragon Mound: Sea Shore Foothills
Related Quest: Main Quest: Elder Knowledge
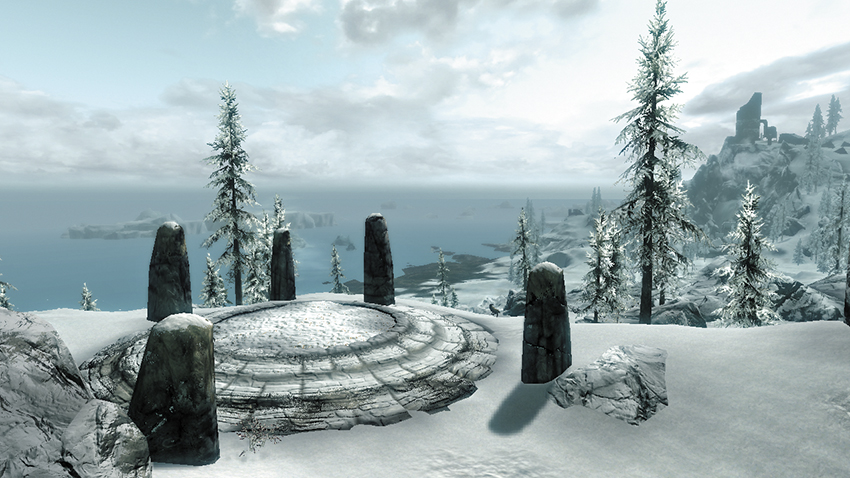
This Dragon Mound is initially sealed. It opens during Main Quest: Elder Knowledge, and if you visit during or after this point in the Main Quest, the resurrected dragon will likely still be in the area. Engage!
[3.E] Barnacle Boat
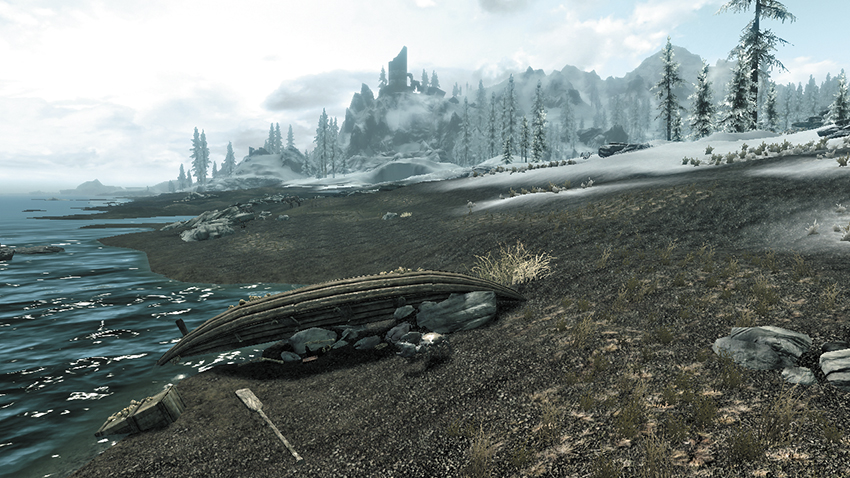
Southwest from the Wreck of the Brinehammer, along the shore of the Sea of Ghosts, is a small upturned fishing boat. Now home to Mudcrabs, clear them out, and take the Fine Boots and Nordic Barnacle Clusters if you wish. But the real prize is the book.
- Skill Book [Alteration]: Daughter of the Niben
- Scimitar
[3.F] Shoreline Bandit Camp
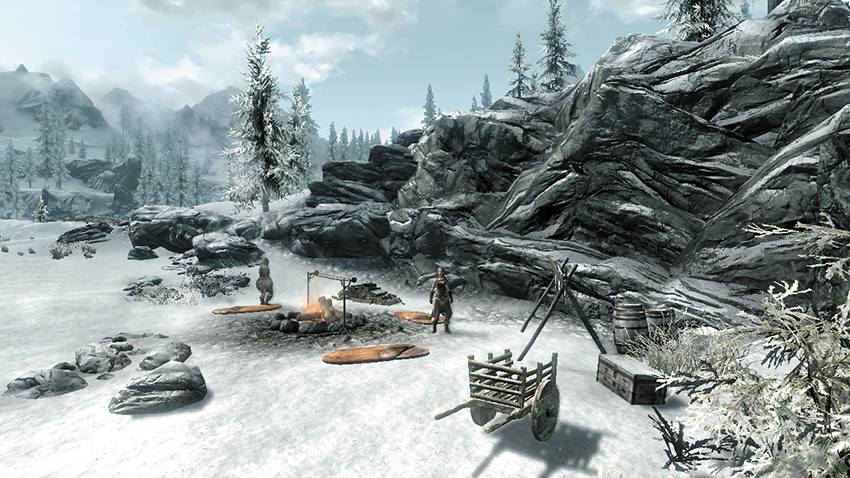
On the northern shoreline side of a low rocky buttress north of the east-west path and northwest of Windward Ruins is a small fish-drying camp where three bandits are resting. Beware of bowmen here, and find a Skill Book resting atop a barrel
- Skill Book [Destruction]: A Hypothetical Treachery
- Chest
[3.G] Dawnstar Frost Troll Den
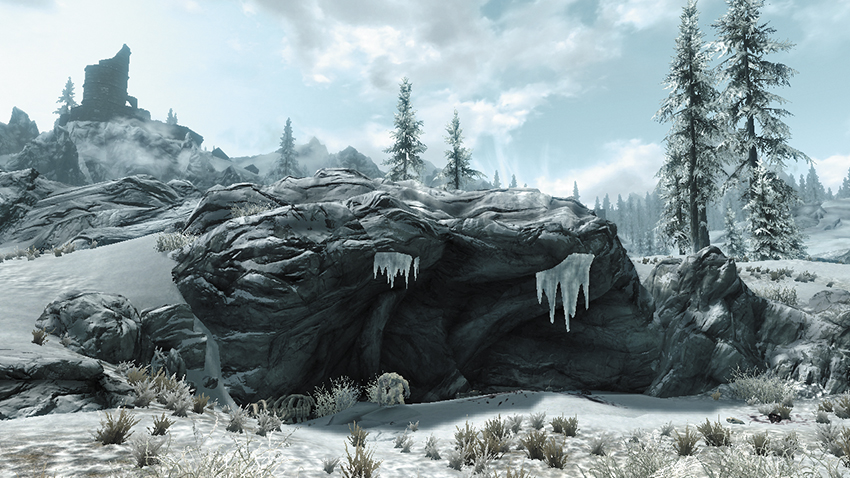
If you’re following the shoreline or taking the main road north to Dawnstar, then head along the rough snow path northwest and around to a shoreline overhang. Face down (or sneak behind) a Frost Troll for a chest with a Skill Book on it.
- Enemy: Frost Troll
- Skill Book [Block]: Death Blow of Abernanit
- Chest
[3.H] Shoreline Lovers’ Tent
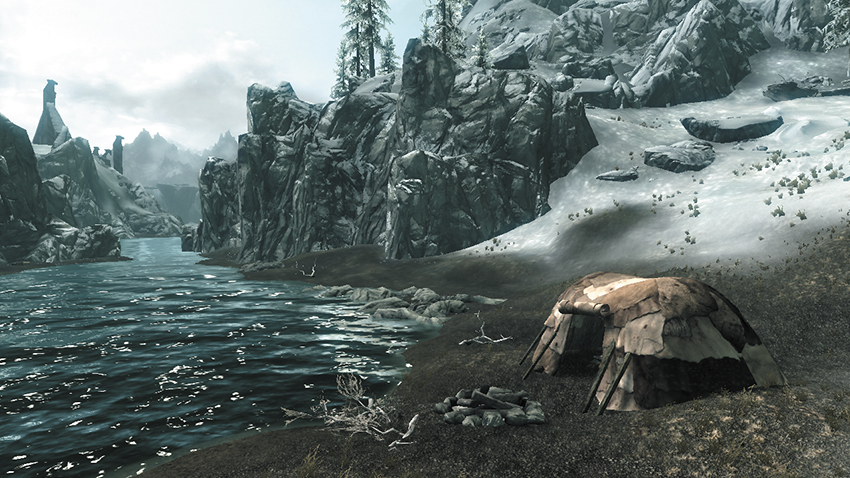
Follow the shoreline from Dawnstar Sanctuary to the east, passing Horkers, and step into an animal-skin tent with two bedrolls, some empty wine bottles, an Amulet of Mara, and a scattering of Red Mountain Flowers. The lovers who erected this tent are nowhere to be seen.
[3.I] A Bloody Trail
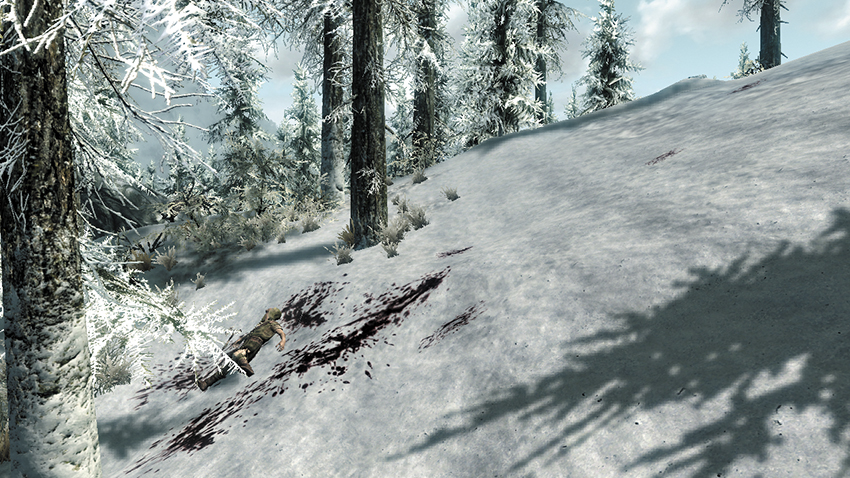
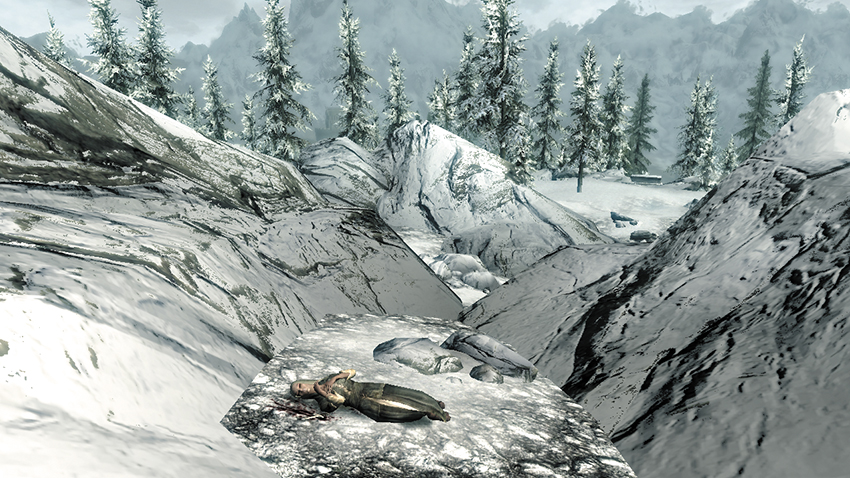
Side Quest: The Great Skyrim Treasure Hunt*
Approach this upper peak northward from Volunruud. Search the forested slopes for a bloodied male Wood Elf corpse. Follow the trail of blood upward, passing a long bow, into an area of rugged rocks, where another Wood Elf corpse lies.
- Treasure Map VI [1/11]
- Loose gear
[3.J] Border Corner: Roadside Shrine of Mara
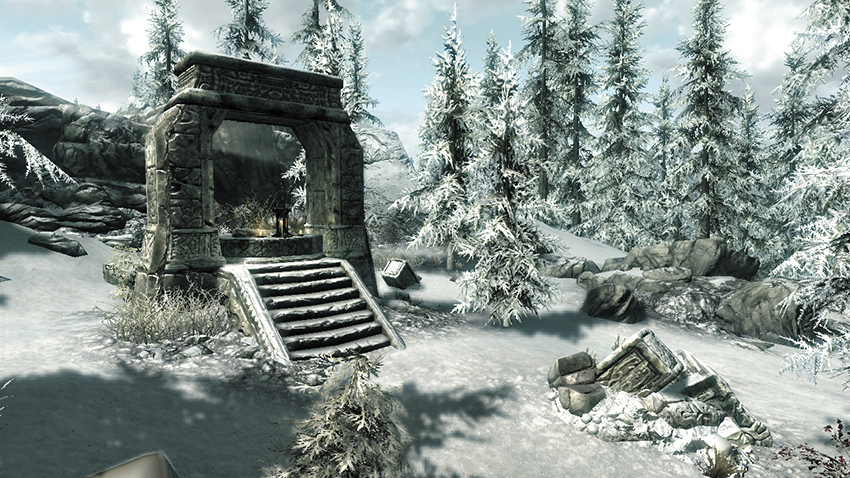
Decorated with a sprig of Snowberry, this Shrine to Mara marks the general location of the borders between Hjaalmarch, the Pale, and Whiterun. Visit it easily if you head northeast from the path that takes you up and into Labyrinthian.
- Shrine of Mara [3/5]
[3.K] Mammoth Graveyard
Related Quests
- Side Quest: Kyne’s Sacred Trials
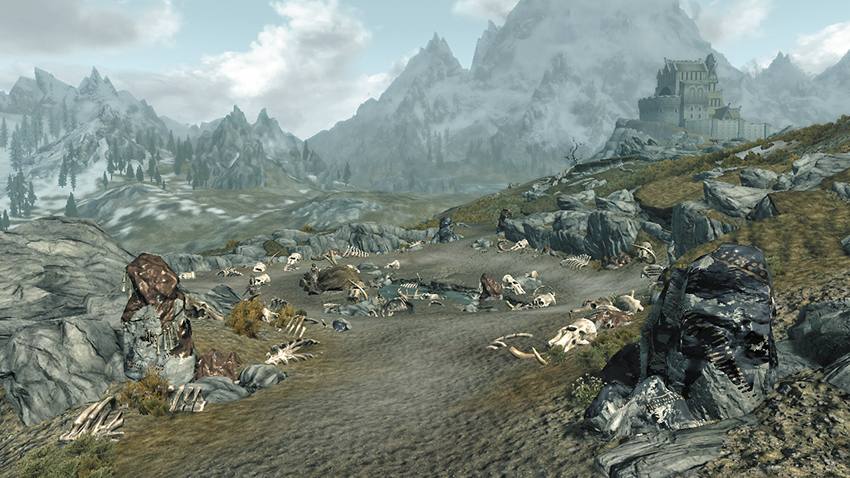
West of Loreius Farm, on the fringe of Whiterun Hold, lies a Mammoth Graveyard, where generations of these creatures have come to die. Giant stones and bone ornaments flank the entrance to this sacred site. A more recent corpse is being picked over by poachers when you arrive. If you are sent here for Kyne’s Sacred Trials, you will face the Mammoth Guardian Spirit in this desolate place.
[3.L] Ice Shard Wild Animal Den
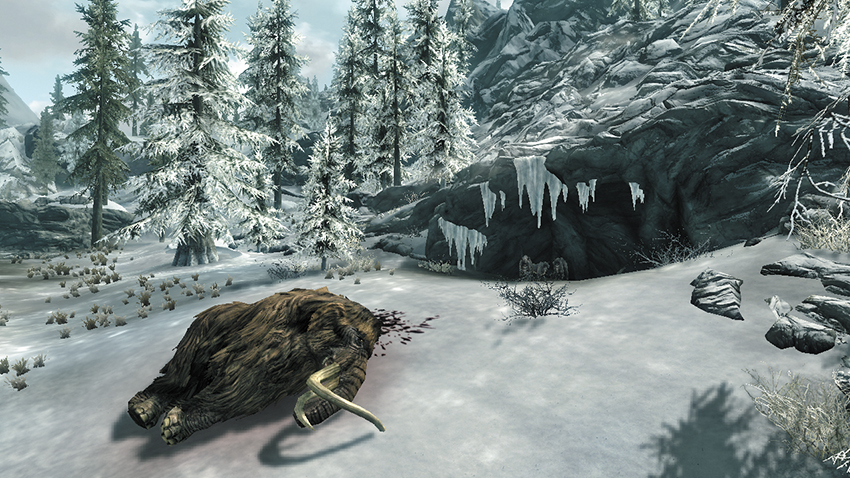
Off the beaten track and south of Fort Dunstad is a wooded area with deep snow and a wild animal den, usually populated with wolves. Shelter from the perpetual cold here, as the prey the wolves have dragged back have little worth looting.
[3.M] Dragon Mound: Shimmermist Hills
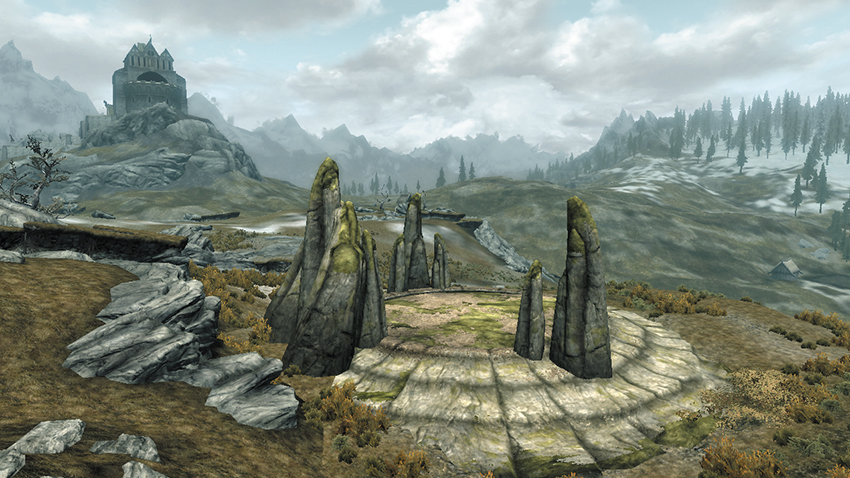
Related Quest: Main Quest: Elder Knowledge
This Dragon Mound is initially sealed. It opens during Main Quest: Elder Knowledge, and if you visit during or after this point in the Main Quest, the resurrected dragon will likely be circling this location. To battle!
[3.N] Julianos’s Fallen
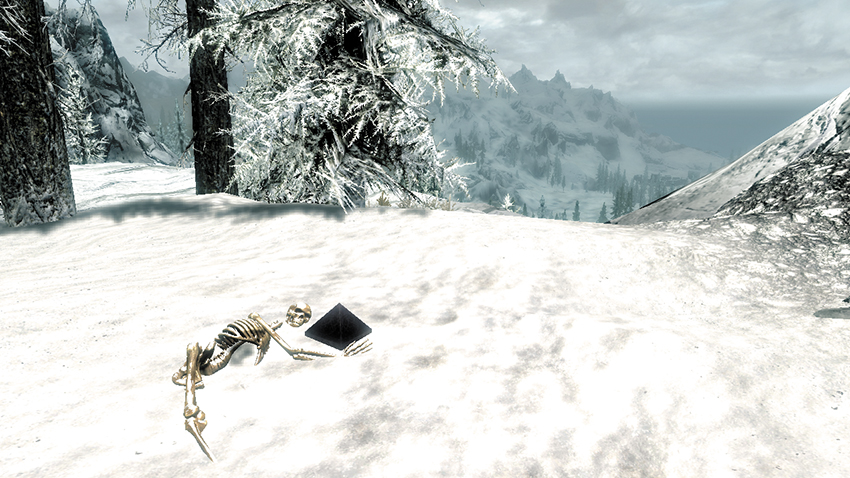
A half-buried skeleton is easy to miss, lying on a precarious abutment north of Shearpoint, overlooking the Lake Yorgrim basin below. This follower of Julianos was carrying a small shrine, which is also embedded in the ground.
- Shrine of Julianos [2/5]
[3.O] Yorgrim Forest Spider Trap
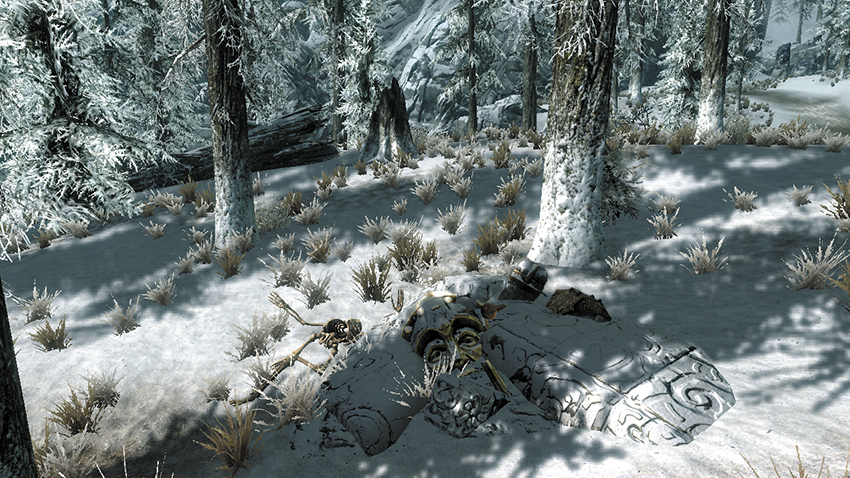
Among the trees just off the path that winds just northeast of Tumble Arch Pass are the remains of a section of dwarven masonry. Embedded into this stone is a chest. Approach, and around six Frostbite Spiders ambush you from the trees above!
- Chest
[3.P] Wayward Peak Summit
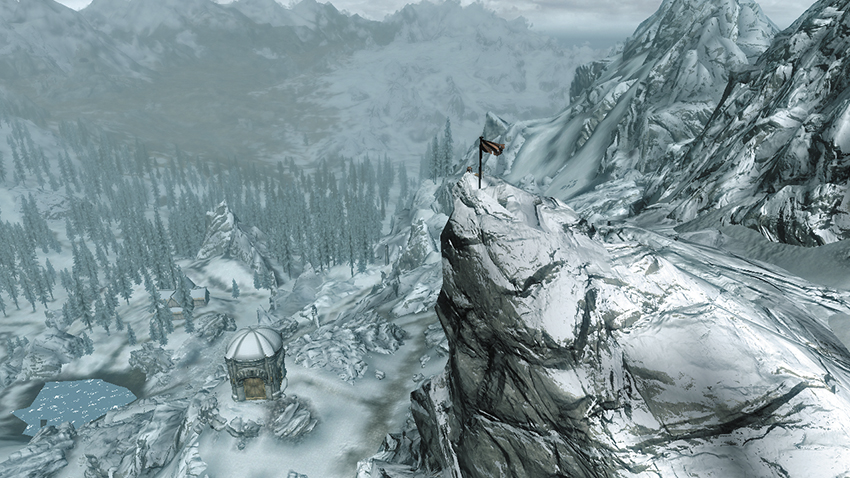
Above the tower to Blackreach and Forsaken Cave, you may be able to make out a tattered flag. If you manage to clamber up to the top, there’s some equipment and an excellent view across the Yorgrim basin.
- Satchel
- Loose gear
[3.Q] Dragon Mound: Yorgrim Resurrection
Related Quest: Main Quest: Elder Knowledge
Related Quest: Main Quest: Alduin’s Bane
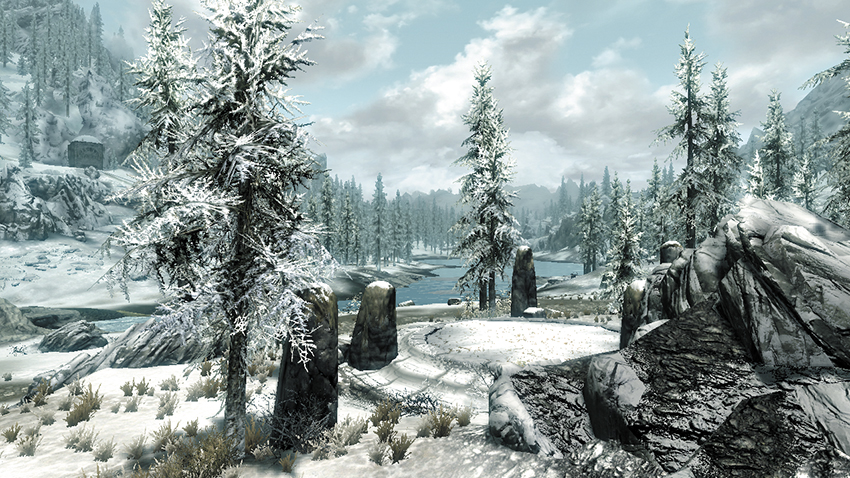
This Dragon Mound is initially sealed. It opens during Main Quest: Elder Knowledge, once you learn that you need an Elder Scroll. After this point, but before you learn the Dragonrend Shout, Alduin will appear here and resurrect the dragon Viinturuth. Alduin cannot be harmed; he resurrects his brethren and flies off. But slay Viinturuth and claim his power for your own.