
Elder Scrolls V: Skyrim Guide The Atlas Soul Cairn
Forgotten Vale Minor Locations
[FV1.A] Forgotten Vale: Pilgrim’s Path
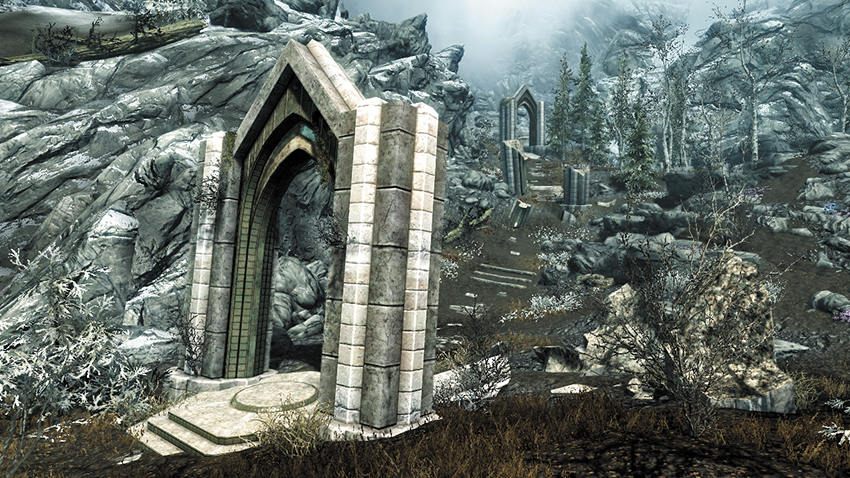
After centuries of neglect, only a few fragments of Snow Elf masonry remains, forming a faint path northwest through the Vale. Watch for Vale Sabre Cats attacking from the sides as you head through the arch and up the steps.
[FV1.B] Vale Sabre Cat Lair
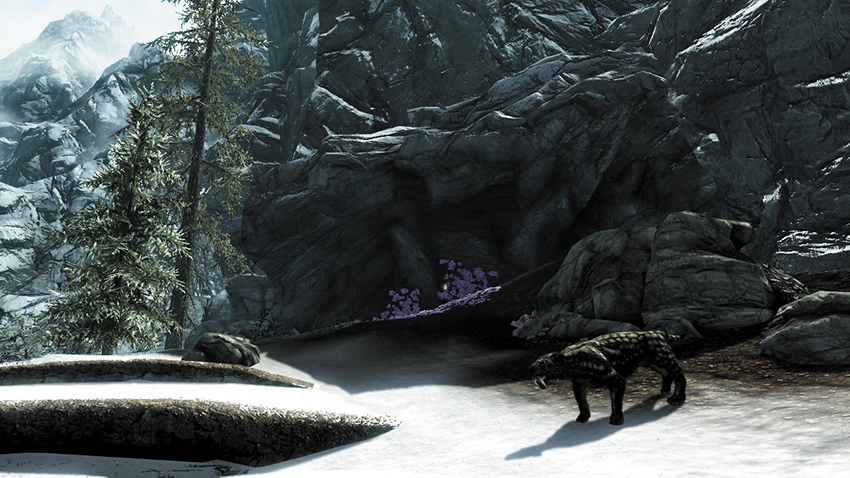
Above the frozen pond along the rocky outcrops on the Vale’s eastern side is a shallow cave with a Vale Sabre Cat watching your progress, ready to pounce. Just beyond is a small vein of silver.
- Silver Ore Vein
[FV1.C] Frost Troll Den
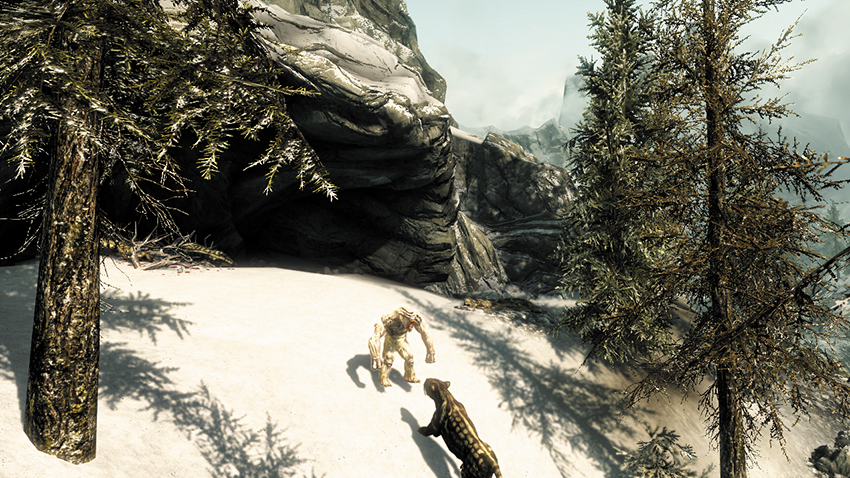
Clamber up a steep rise to the southwest to engage a Frost Troll, the blood of his last Vale Deer meal still smattering his lips. He’s standing near a Silver Ore Vein (and a collection of carcasses).
- Silver Ore Vein
[FV1.D] Southwest Vale Scar
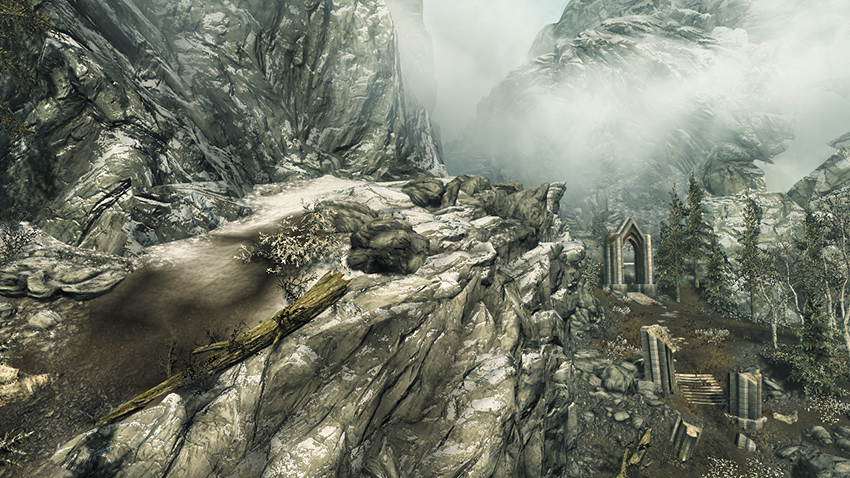
You may wish to maneuver along the ridge above the Vale floor to negate a Vale Sabre Cat ambush. If you do, bring a pickaxe with you:
- Silver Ore Vein (2)
- Gold Ore Vein
[FV1.E] Forgotten Vale Cave
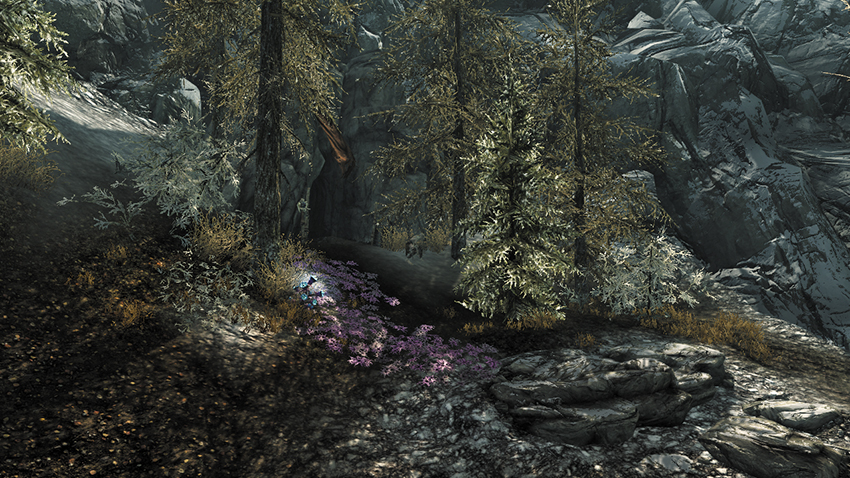
Expect a brief battle with a Falmer on the glade slope outside this cave entrance. Once inside, navigate past the bone trap that alerts the Chaurus in the pen, and slay them. Head to the back of the cave, pausing to step onto the deck and pull a rope release. This reveals a hidden chamber in the back (west) wall of the hatchery. Then tackle any additional hunters before investigating the cave. Mine Shellbug Chitin from the rotund Shellbug mass back here.
- Danger: Bone Trap
- Shellbug Chitin
[FV1.F] Pilgrim’s Path: Frostbite Spider Attack
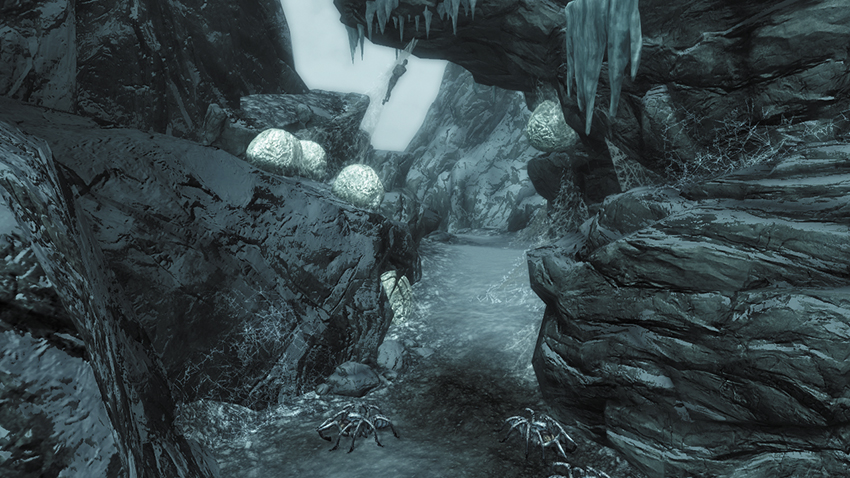
To progress deeper into the Vale, you must head through the narrow gorge to the west. Prepare for a few Frostbite Spiders, followed by a larger one. Check the desiccated corpses as you go for a little loot.
- Gold Ore Vein
Area 2: Snow Lake and Frozen Lake
The main area of the Vale consists of two bodies of water: an upper Frozen Lake where two dragons may lurk and a lower Snow Lake that has more free-flowing water and two ferocious Frost Giants. Explore as much or as little of this area as you wish, but be sure to enter both Wayshrines en route to the fissure to the north.
Major Locations
[FV2.1] Wayshrine of Learning
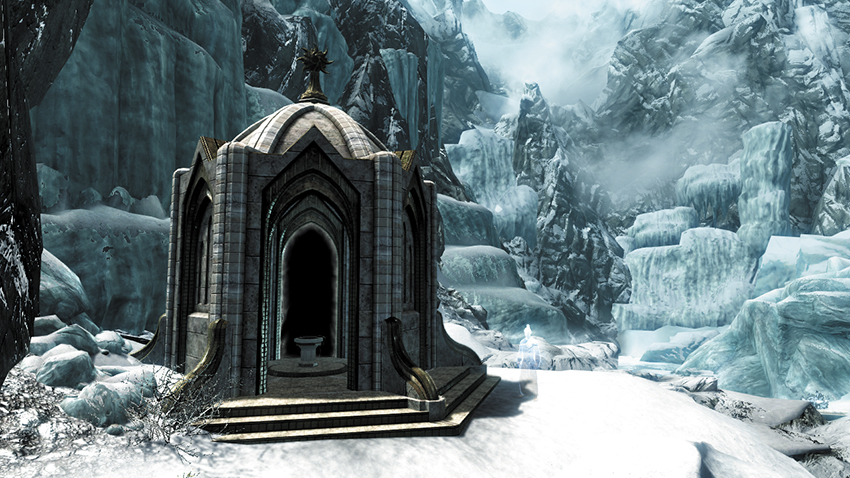
- Related Quest: Dawnguard Main Quest: Touching the Sky
- Prelate Celegriath
Prelate Celegriath welcomes you to this Wayshrine (the third of the five to find), where you can scoop water into your ewer and continue your pilgrimage. Eventually, you can teleport to five locations from here, depending on the other Wayshrines you have opened. Here’s where you can warp toward:
- Darkfall Passage
- Shrine of Radiance
- Shrine of Resolution
- Shrine of Sight
- Temple Balcony
- Wayshrine [3/5]
[FV2.2] Wayshrine of Resolution
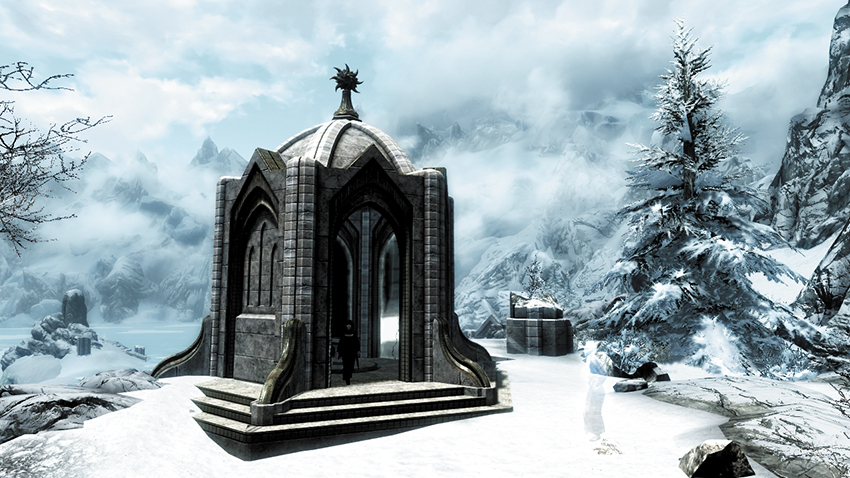
- Related Quest: Dawnguard Main Quest: Touching the Sky
- Prelate Nirilor
Prelate Nirilor grants you safe passage through this Wayshrine (the fourth of the five to find), where your ewer becomes ever more full and your pilgrimage continues. Eventually, you can teleport to five locations from here, depending on the other Wayshrines you have opened. Here’s where you can seek out:
- Darkfall Passage
- Shrine of Learning
- Shrine of Radiance
- Shrine of Sight
- Temple Balcony
- Wayshrine [4/5]
Minor Locations
[FV2.A] Snow Lake Entrance: The Sprawled Skeleton
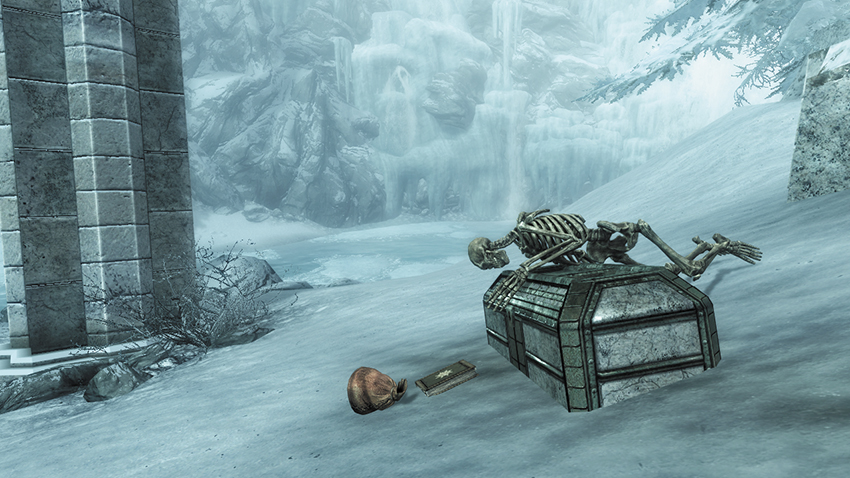
- Related Regional Activity: Ancient Falmer Tomes*
Head south down the slope toward the water’s edge. Between three ruined pillars is a skeleton sprawled across a chest. Just out of its reach is a tome written in an ancient language, one of four Falmer texts you can collect.
- Chest
- Unknown Book, Vol. I [1/4]
[FV2.B] Ice Falls Alcove (North)
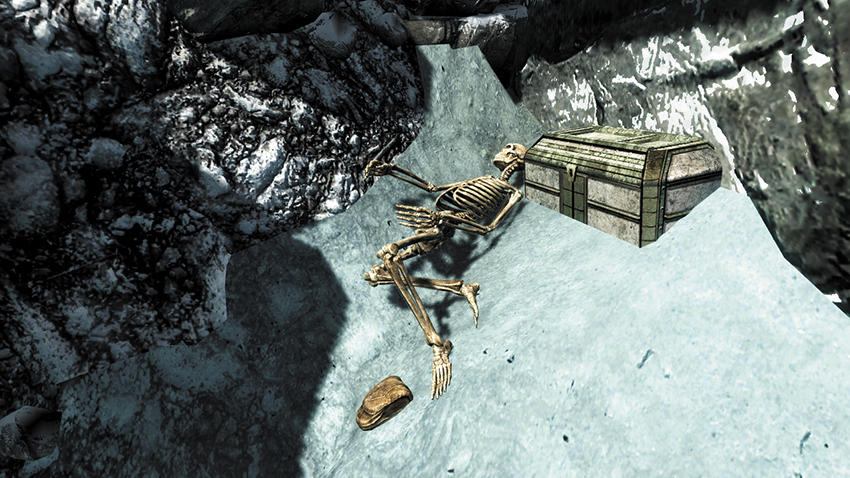
Across the southwestern side of the Snow Lake, below the partly frozen falls, is an alcove where a skeleton lies close to a chest [Novice] and a satchel. Watch for an Ice Wraith attack as you emerge on the lake bank. Then check farther along the bank for a Malachite Ore Vein.
- Chest (2)
- Malachite Ore Vein
[FV2.C] Ice Falls Alcove (South)
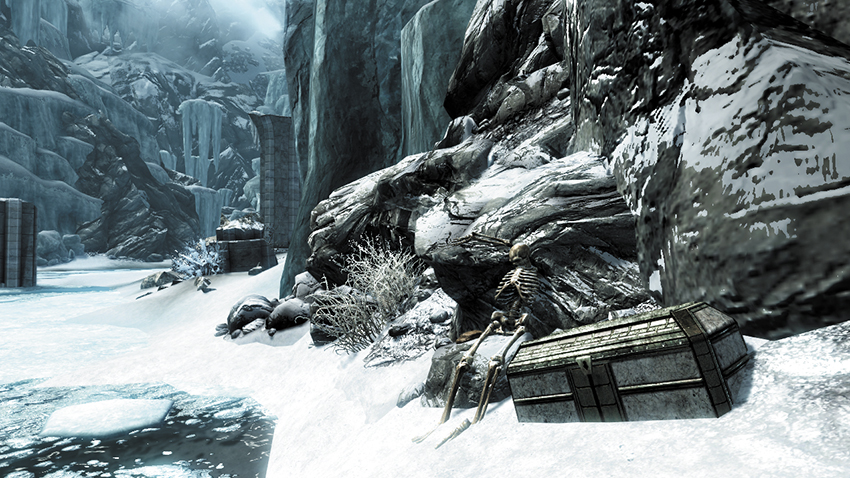
On the opposite bank of the Snow Lake from the Wayshrine of Learning is a skeleton slumped on a rock. A satchel and chest [Apprentice] are nearby. Beware of an Ice Wraith attack after you inspect it. Then check farther northwest for a Malachite Ore Vein.
- Chest (2)
- Loose gear
- Malachite Ore Vein
[FV2.D] Waterfall to Darkfall Grotto
- Related Regional Activity: Paragons of the Frost Giants*
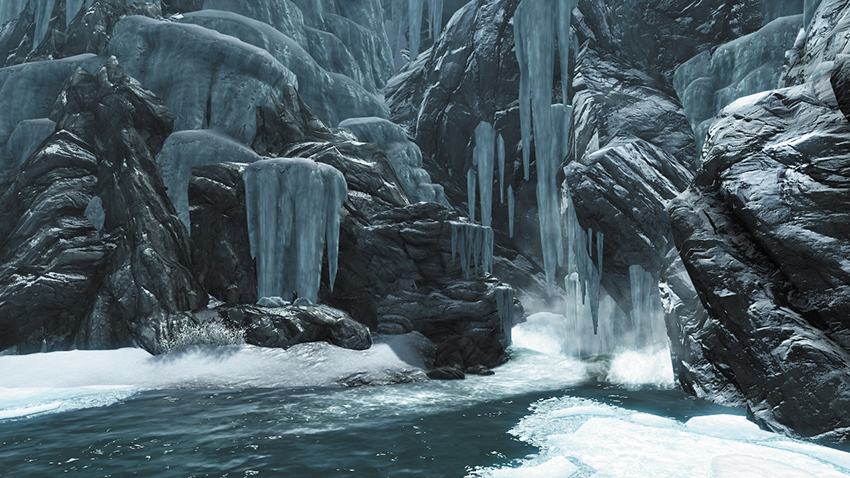
At the southern end of Snow Lake, the lake plunges into a terrifying maw. Fall into the hole, and you plummet past a Paragon Portal exit (where you teleport to if you enter the Paragon Portal using the Amethyst Paragon), and land in the water below. On the right bank is a Falmer camp with Feral Falmers, driven mad in this tiny cleft between the Vale and Grotto.
Follow the river (by letting the current take you), choosing either of the small river tunnels as they both spit you out into a second, lower river tunnel that drops you out over the main Darkfall Grotto area (Location [DG.11]), close to where you found the first Wayshrine.
- Chest (3)
Amethyst Paragon Portal: Step out onto the tall stalagmite island and claim a potion and items from a chest.
- Chest
[FV2.E] Snow Path to Frozen Lake
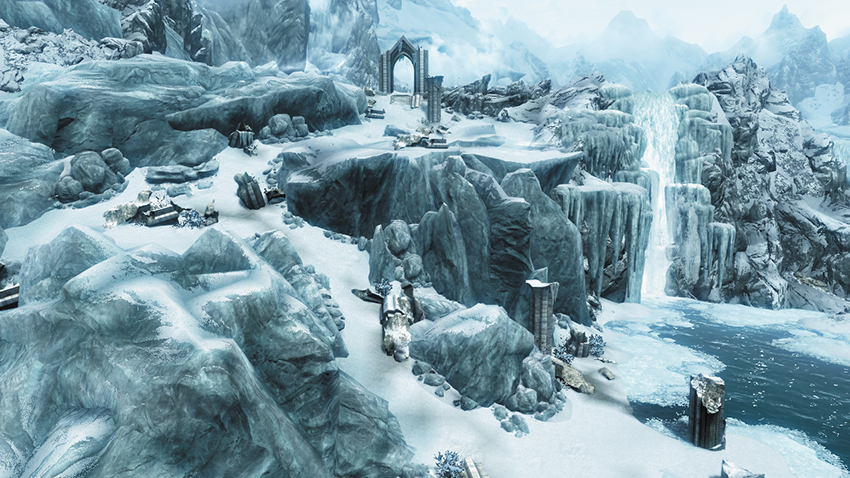
A steep path up through the rocks is the quickest way to reach the Frozen Lake from the south. Step through the archway at the top.
- Malachite Ore Vein
[FV2.F] Snowbound Skeletons
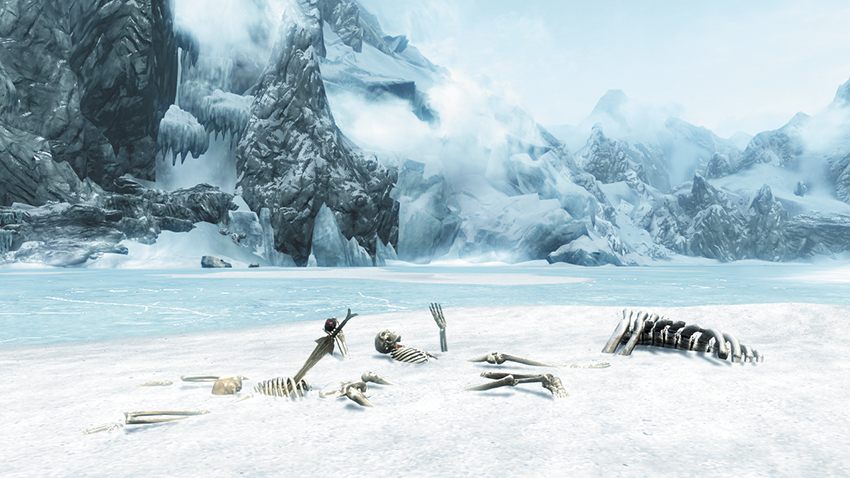
Two skeletons are half-buried in the snow, close to the arch. The potions are usually helpful if the lake dragons are readying their attacks.
- Loose gear
- Potions
[FV2.G] Emerald Paragon Portal
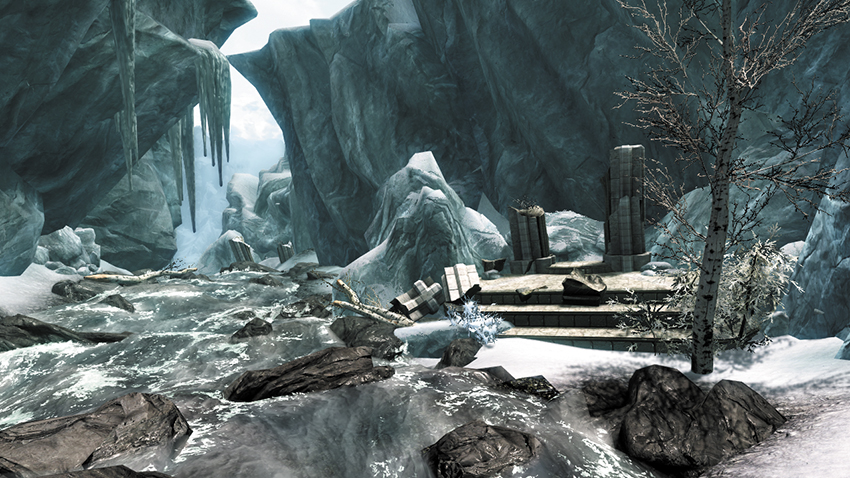
- Related Regional Activity: Paragons of the Frost Giants*
If you use the Emerald Paragon at the portal, you emerge at the highest point in Forgotten Vale—a rushing river tumbling from a waterfall.
[FV2.H] Forgotten Vale Overlook: Vista
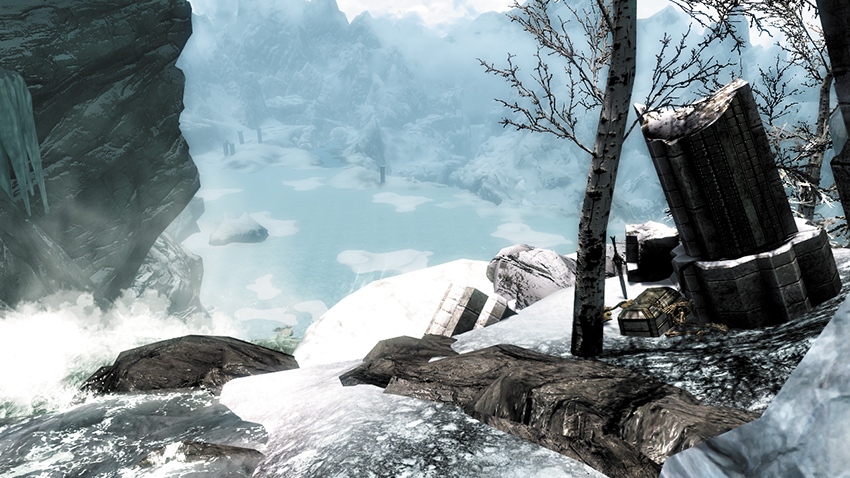
- Related Regional Activity: Paragons of the Frost Giants*
Follow the river downstream from the portal to the edge of a second waterfall that plunges into the Frozen Lake. From the vista, you can check out the temple balcony of Auriel’s Chapel. Look east to a small pillar ruin with a skeleton and the following:
- Chest
- Loose Gear
- Unknown Book, Vol. II [2/4]
[FV2.I] Waterfall Chest
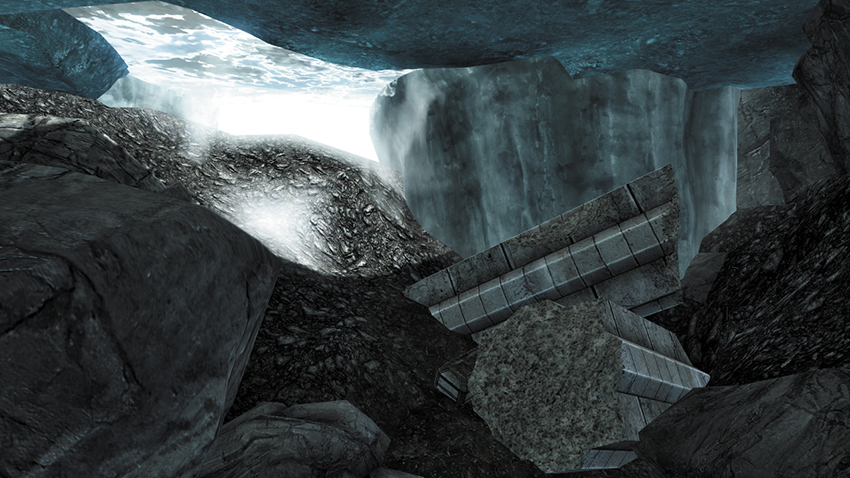
At the base of the second waterfall from the Overlook is a hole in the ice. Plunge into the icy lake and search for a submerged chest.
- Chest
[FV2.J] Frozen Lakeshore
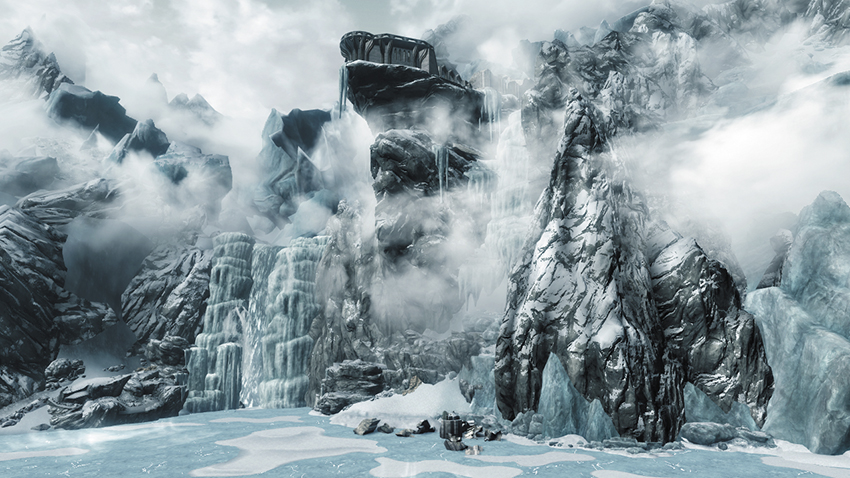
Far below the temple balcony, and periodically dotted around the edge of the lake, are a number of ore veins to mine.
- Malachite Ore Vein
[FV2.K] Lake Bed: The Heavy Chest
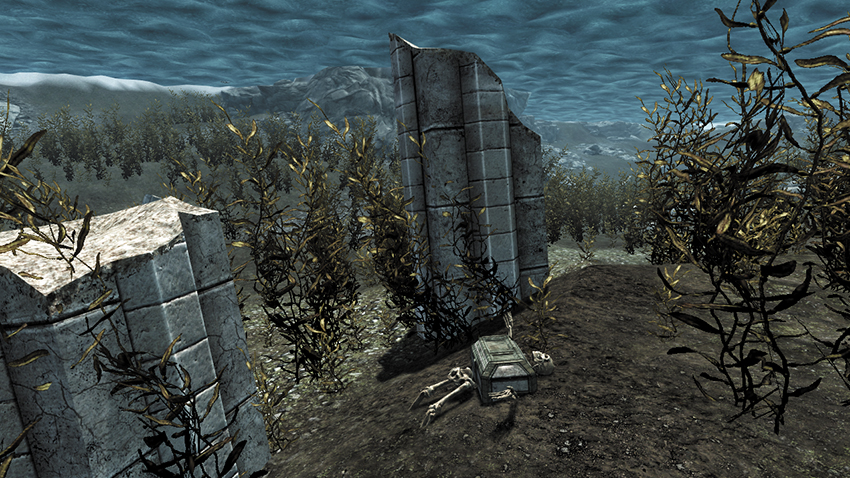
A swim along the base of the lake reveals that this area may have been dry land at one point; numerous Snow Elf ruins from the old pilgrim path are dotted throughout. Check this area in particular for a skeleton, crushed beneath a chest.
- Chest
[FV2.L] The Frozen Lake
- Related Main Quest: Dragon Rising
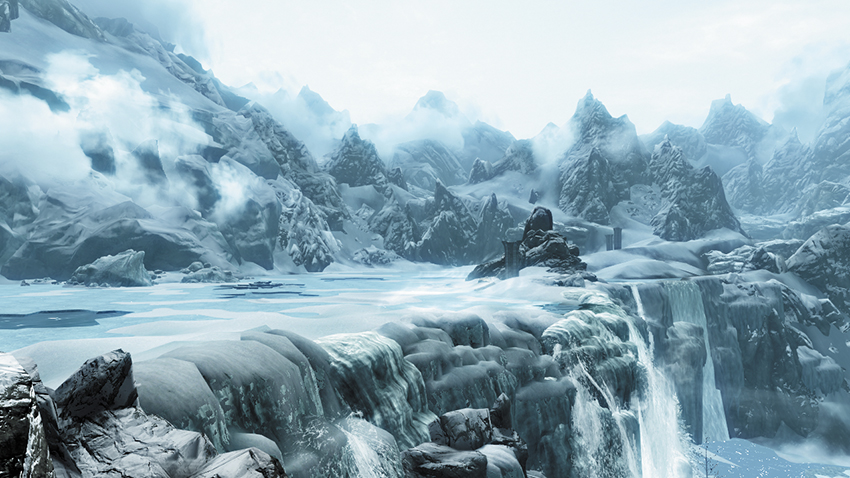
The Frozen Lake is sometimes quiet and serene. However, if you’ve completed Main Quest: Dragon Rising, two dragons—Naaslaarum and Voslaarum—burst up through the lake and begin their attack, dive-bombing the ice only to emerge from it a moment later! This combat is tricky, as you have two dragons to face, but it is otherwise the same as your previous experience defeating them (aside from the limited locations you can hide in).
- Dragon Soul (2)
[FV2.M] Word Wall: Frozen Lake
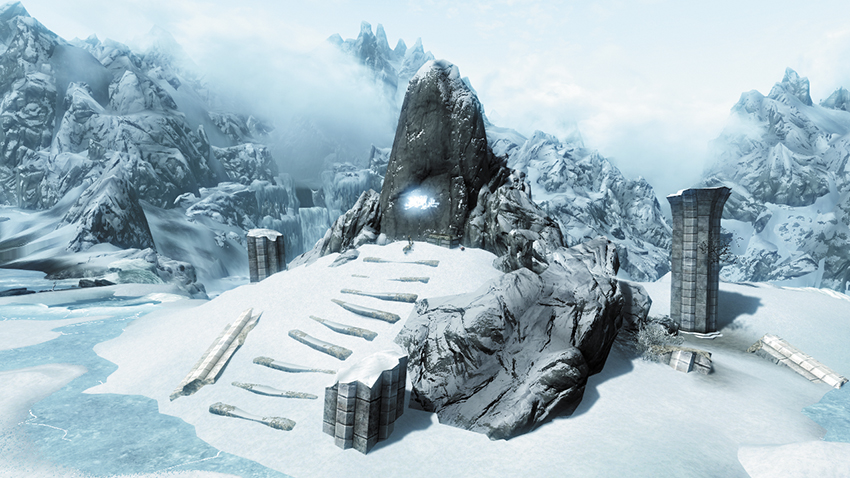
Perched on the edge of a lake is a carved rock with a single Word of Power set into it. Learn the Word, then search the skeletal remains for the following:
- Chest
- Potions
- Word of Power: Drain Vitality [DG1/3]
[FV2.N] Pilgrim’s Path: Frozen Lake
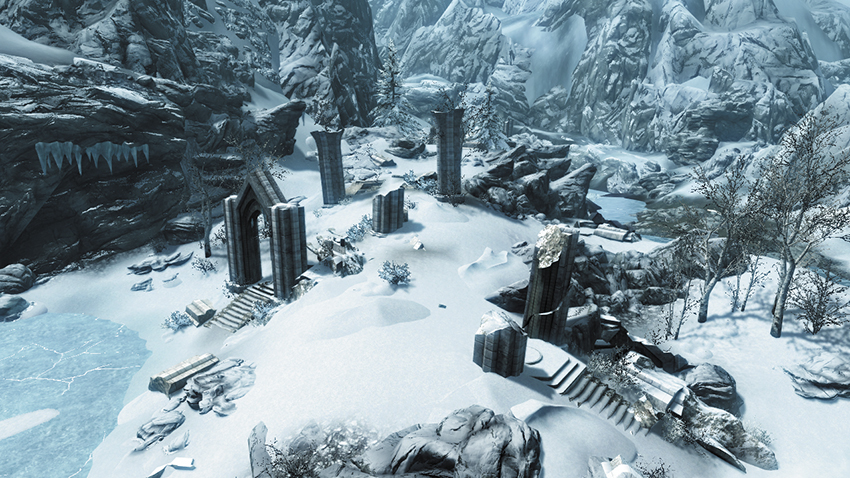
At the north end of the Frozen Lake, the pilgrim’s path begins again. Follow the rudimentary path under the arch, toward Area 3. At the start is a skeleton under the arch.
- Potions
[FV2.O] Frost Giant Lair (Lower Lake)
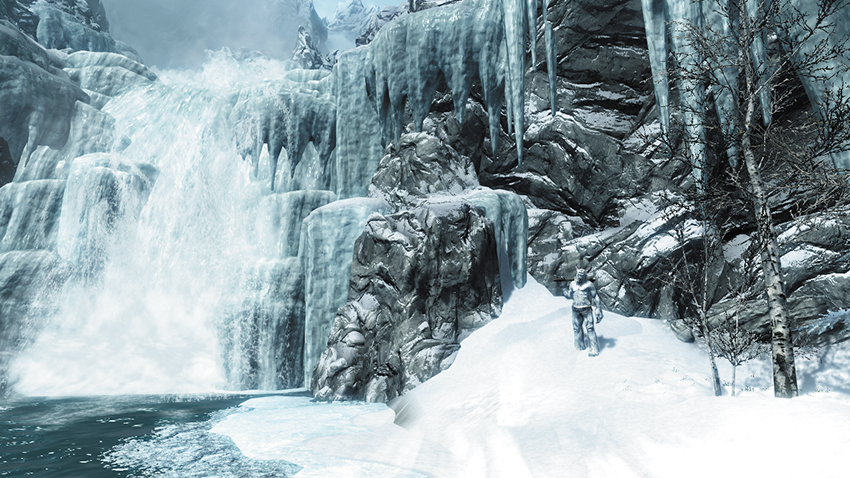
- Related Regional Activity: Paragons of the Frost Giants*
The lake’s northwest end has a waterfall with a Frost Giant close to it, in a shallow cave. There’s a snowy path northwest of here. Defeat the giant, then claim the following from its corpse.
- Unique Item: Amethyst Paragon [1/5]
[FV2.P] Frost Giant Lair (Paragon Portal Platform)
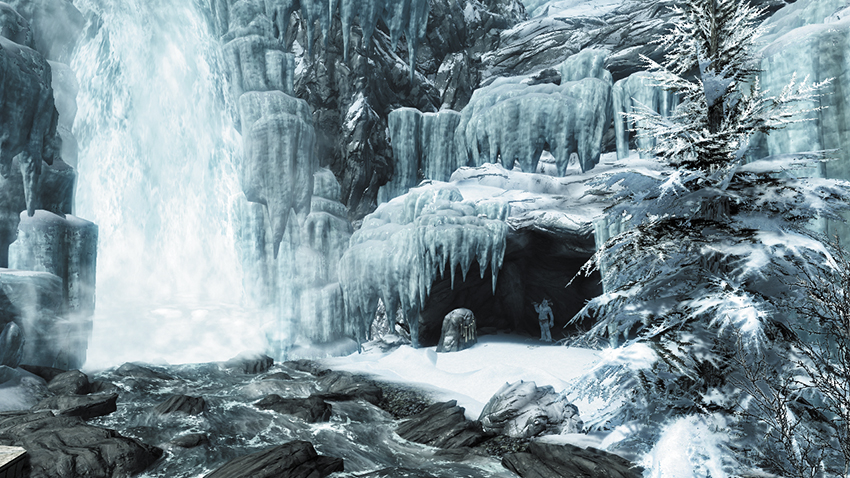
- Related Regional Activity: Paragons of the Frost Giants*
Located at a shallow cave close to the rushing river above the Snow Lake waterfall. Take the Paragon from its body.
- Unique Item: Sapphire Paragon [2/5]
[FV2.Q] Paragon Portal Platform
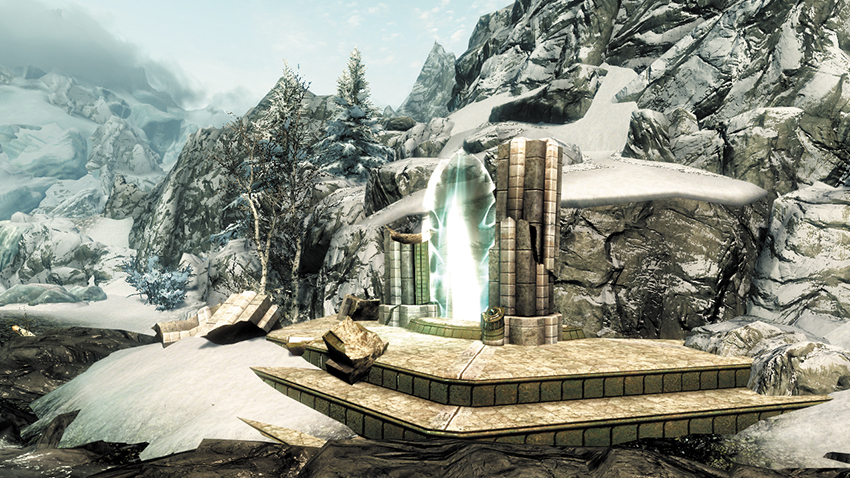
- Related Regional Activity: Paragons of the Frost Giants*
This arch connects you to five other locations within the Forgotten Vale, allowing you to visit otherwise-inaccessible areas. Provided you have a Paragon (taken from each of the five Frost Giants), you can insert one into the socket, activate the Paragon Portal, and step through to the following locations:
| Paragon | Location |
|---|---|
| Amethyst | [DG.11] Darkfall Grotto (Paragon Portal) |
| Sapphire | [FV5.1] Inner Sanctum (Paragon Portal) |
| Emerald | [FV2.G] Forgotten Vale Overlook (Paragon Portal) |
| Diamond | [FV3.1] Glacial Crevice (Paragon Portal) |
| Ruby | [FV6.A] Forgotten Vale Forest (Paragon Portal) |
[FV2.R] Natural Bridge to Forgotten Vale Fissure
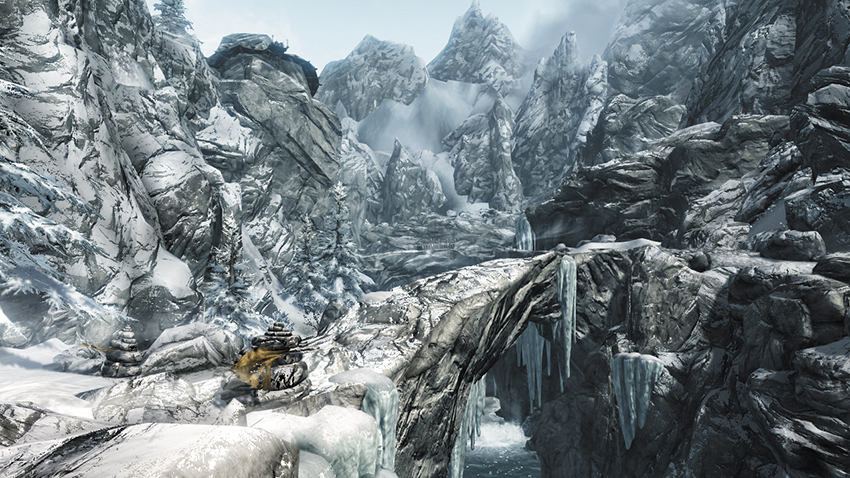
Enter Area 3 by crossing this natural rock bridge, then begin your trek through a large and twisting series of ledges and bridges all the way to the Glacial Crevice.
Area 3: Forgotten Vale Fissure and Glacial Crevice
Once you’ve explored the lake, you can make your way toward the lengthy and dangerous fissure, carved by the fast-flowing river. Here, you’ll encounter numerous Falmer, cross bridges, and follow narrow ledges until you reach the Glacial Crevice (the Major Location, listed after the Minor ones in this case). You will traverse even more ledges until you reach the other side of the Forgotten Vale.
Minor Locations
[FV3.A] Fissure Ledges
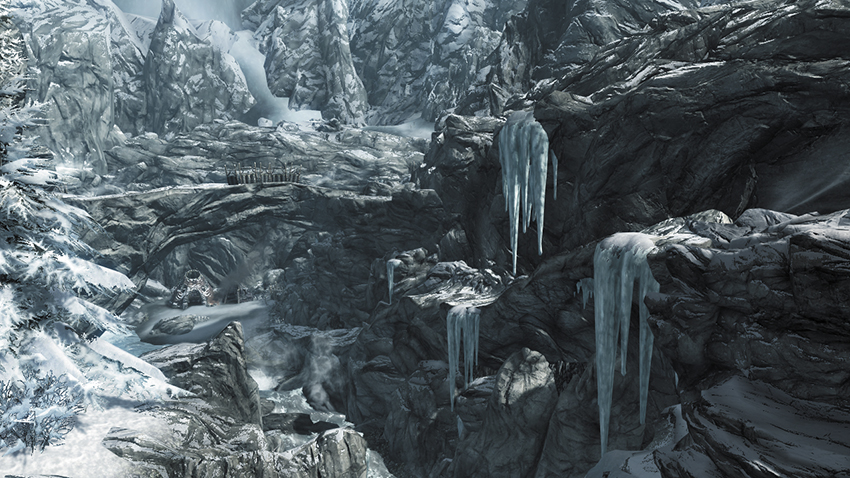
Cross from Area 2 and head down the ledge, the first of many you’ll navigate on your journey to the Glacial Crevice.
[FV3.B] Falmer Camp (River)
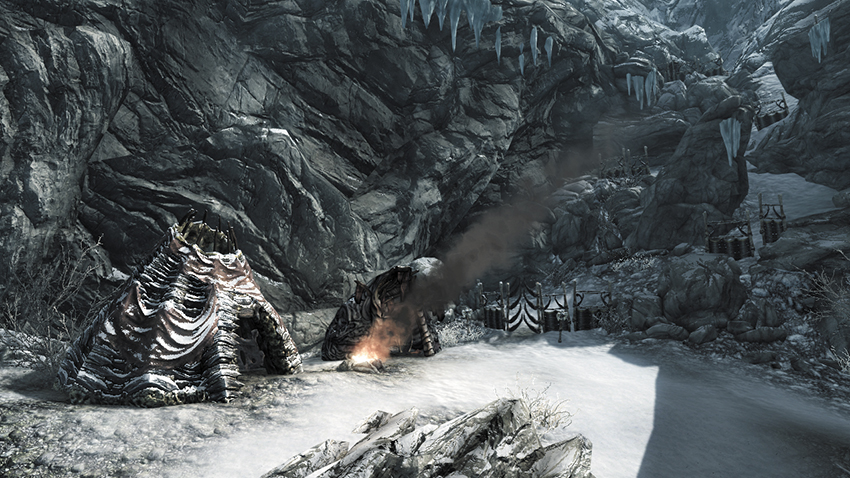
Down at the river is a small Falmer camp with two huts. From here you can head along the river, or travel up through the gate, toward the next natural bridge.
- Potions
[FV3.C] Falmer Camp and Graveyard
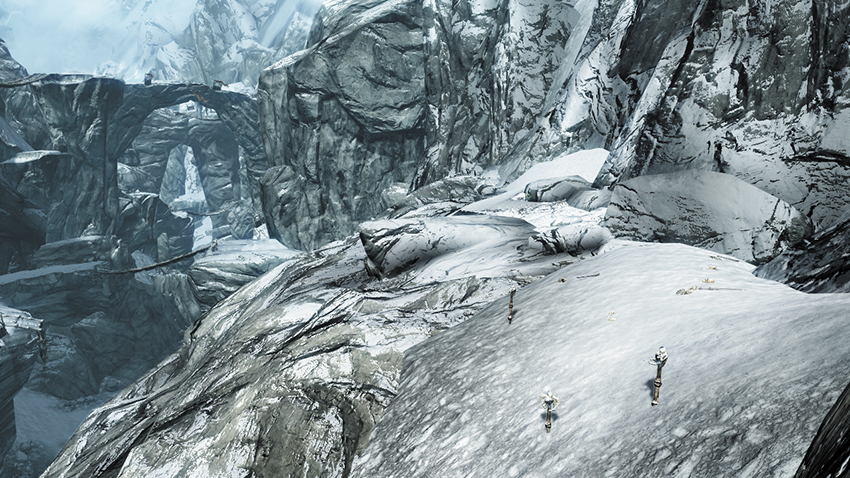
Atop the short, steep path is another hut, with a chest in it. Above that is a small Falmer graveyard with a few weapons to scavenge.
- Chest
- Loose gear
[FV3.D] Natural Fissure Bridge (North)
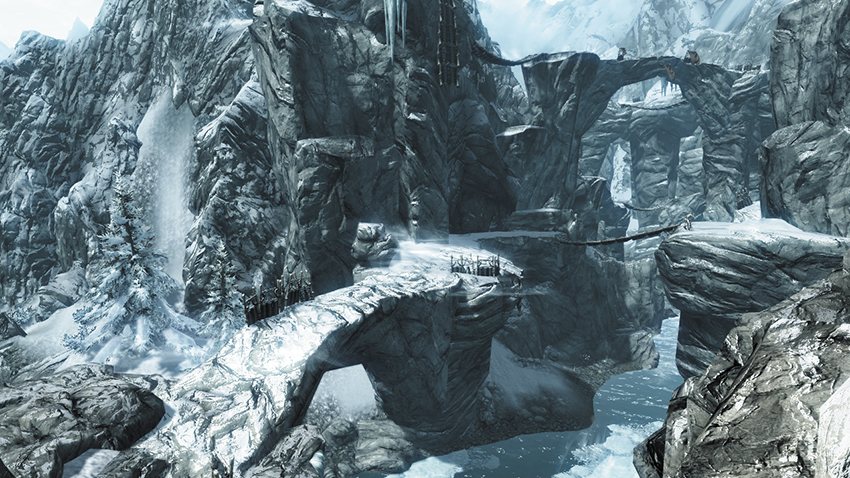
The real expedition into the fissure begins now, as Falmer on the upper rock islands can see and fire down at you. Cross this bridge to begin your journey.
- Loose gear
[FV3.E] Path Ascent and Mining Remains
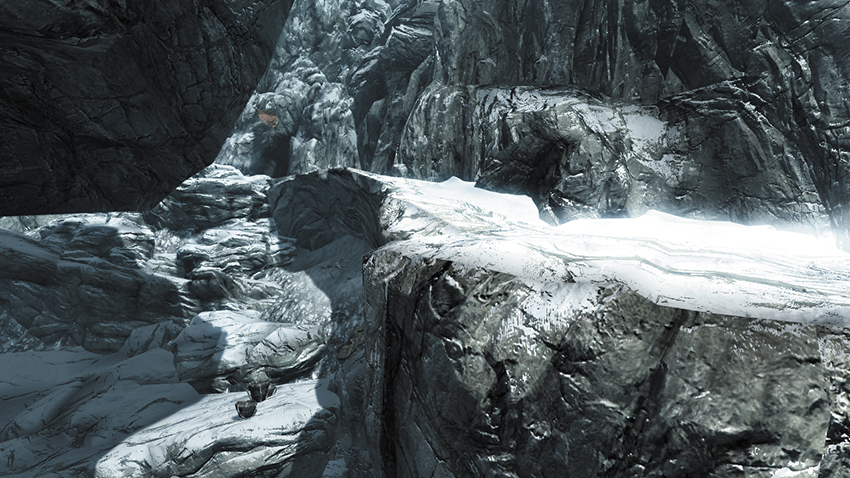
Continue up the natural ledges and bridges toward the entrance to Sharpslope Cave. Below it are skeletal remains, some Rock Warbler Eggs in a basket, and gold to grab.
- Gold Ore Vein and Gold Ore (2)
- Loose gear
- Lots o’ Gold!
[FV3.F] Sharpslope Cave Entrance (Upper)
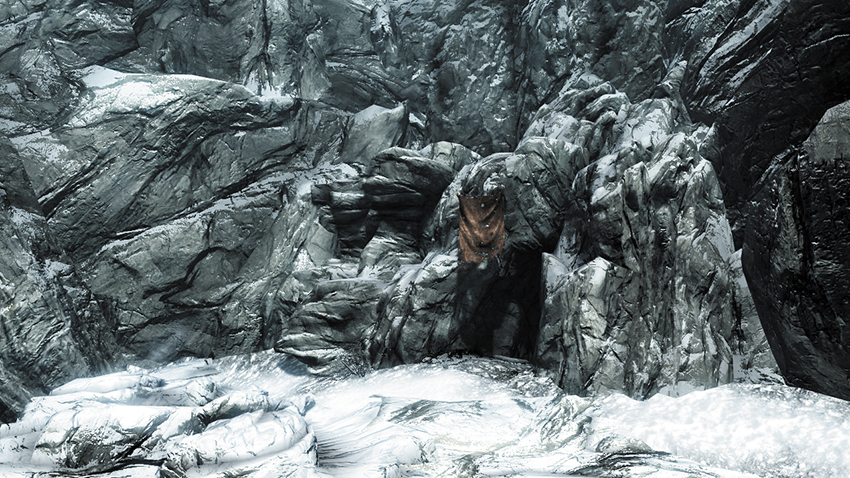
This connects to Location [3.G] via the Sharpslope Cave. This area is optional and leads to a large hole with a Falmer tower in the middle of it and a curved path that leads to a small cave camp with a hut and Falmer and Chaurus to face before exiting at Location [3.G]. However, halfway down the curved tower path is an easily missed opening in the perimeter wall. Step through into a side chamber with a Shellbug to mine.
- Chest
- Shellbug Chitin
[FV3.G] Sharpslope Cave Entrance (River)
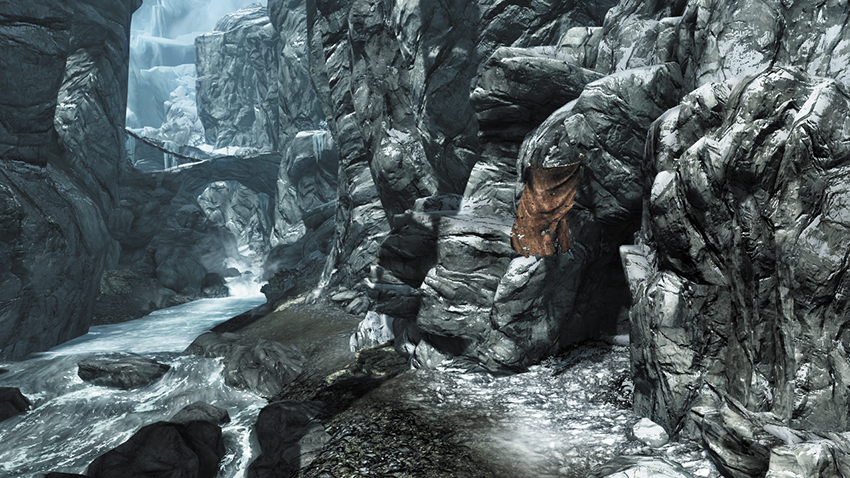
This entrance to the cave is located close to the river rapids, where a number of Chaurus Hunters may hatch. You can also force your way up the river (south) and ignore the upper fissure area entirely.
- Orichalcum Ore Vein (3)
[FV3.H] Steep Slope
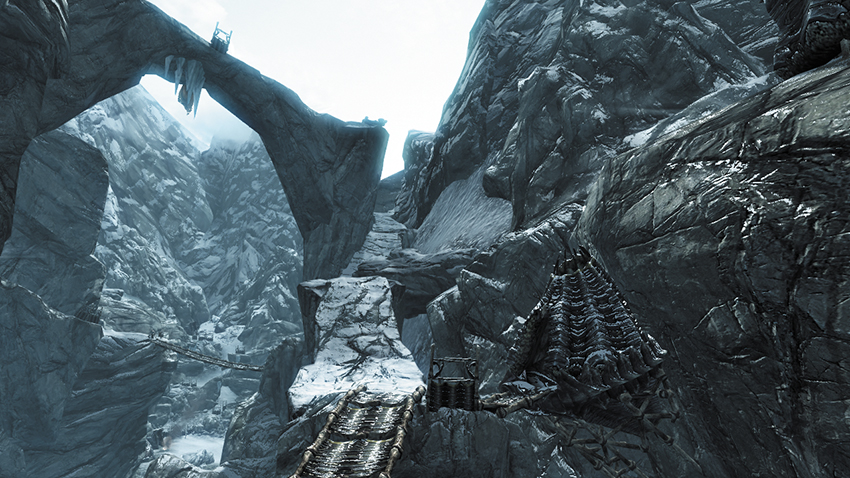
After crossing the Falmer bridge, check the hut (with potions inside) before ascending the steep rock path, past a chest.
- Chest
- Potions
[FV3.I] Frost Giant Lair: Falmer Cliffs
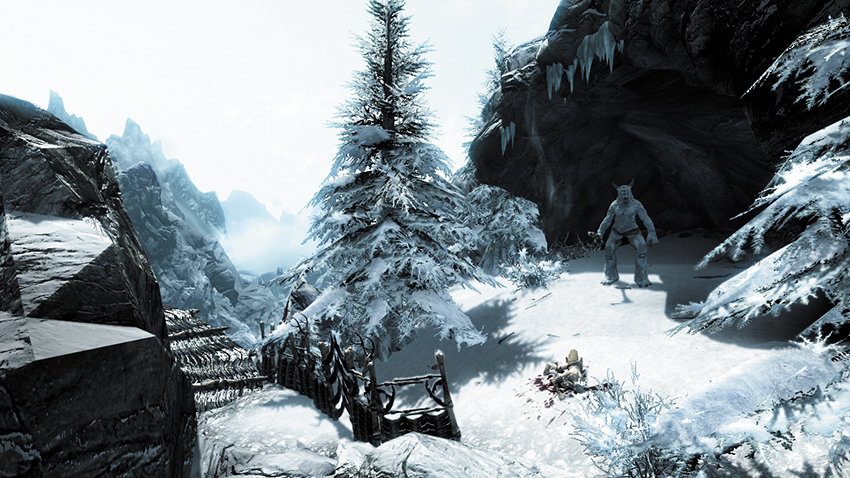
- Related Regional Activity: Paragon of the Frost Giants*
At the top of the steep rocky path is a circular path to the right (south) that leads counterclockwise past the shallow cave with the third Frost Giant to tackle. Watch your step, as this path is precarious! If you wish, you can climb atop the mountain the curved platform is fixed to and attack from range.
- Chest
- Unique Item: Emerald Paragon [3/5]
[FV3.J] Falmer Village: Rock Island (North)
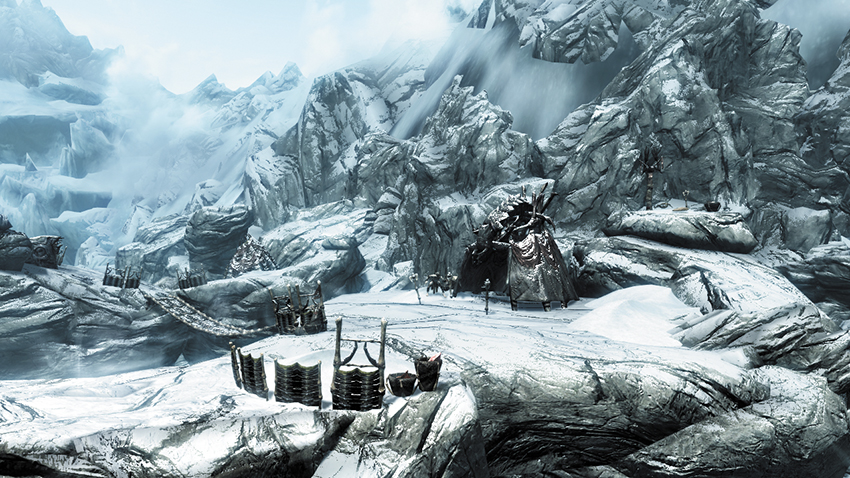
A lone hut (usually with a shaman) is at the end of the natural bridge. Nearby is a Falmer bridge to the south.
- Chest
- Loose gear
[FV3.K] Falmer Village: Rock Island (South)
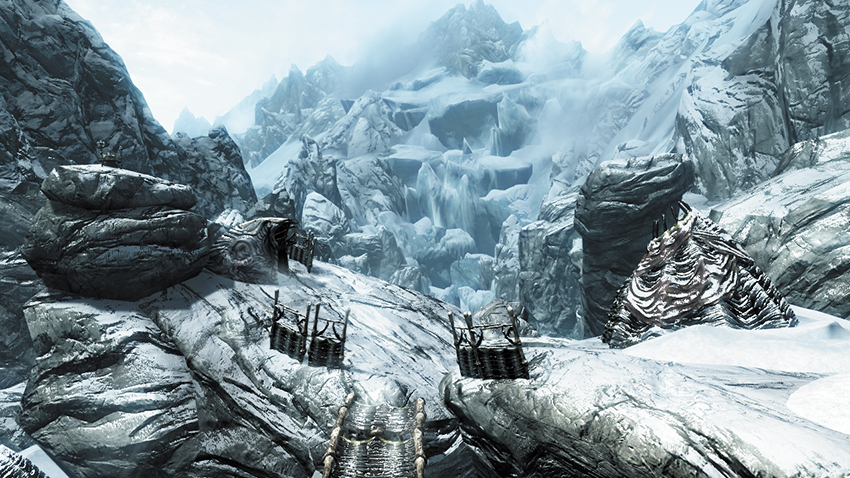
The collection of huts continues at the south end of the Falmer bridge. There are two huts (and a troll skull with gems above it on a high rock). After navigating the next Falmer bridge, there is a third hut and pen directly underneath. As always, Falmer are here to be thwarted.
- Loose gear
- Lots o’ Gold
[FV3.L] Natural Bridges
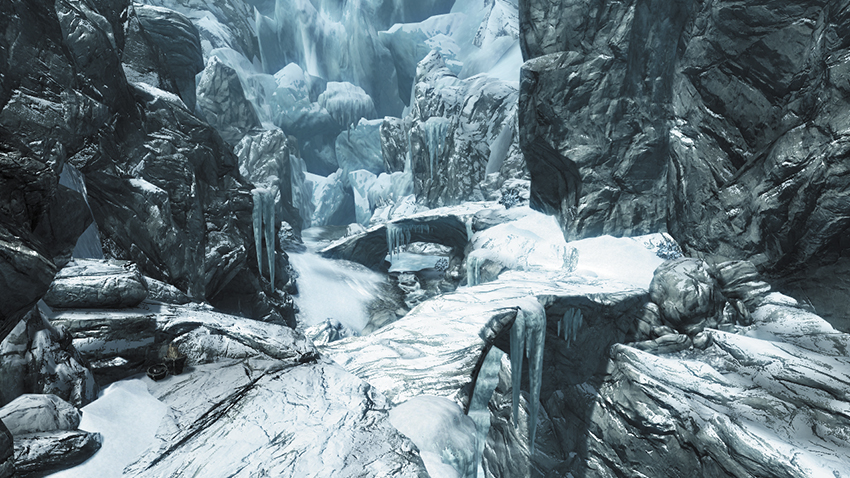
The last part of the fissure consists of natural stone bridges down to the river level. Expect more Falmer trouble as you descend.
[FV3.M] Falmer Hut, Dead-End Ledge
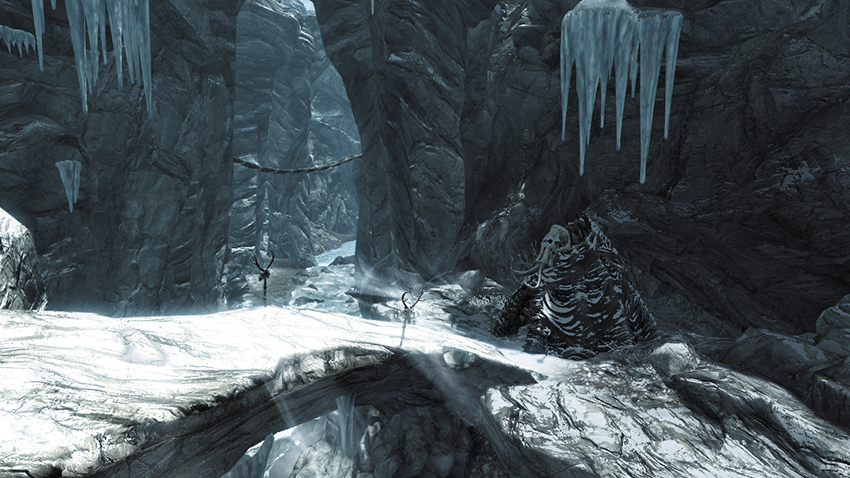
- Related Regional Activity: Ancient Falmer Tomes*
Head across the two bridges (one natural, one made by the Falmer) to a hut with a mammoth skull on it. There’s an Unknown Book to collect on the table, near some potions.
- Unique Item: Unknown Book, Vol. III [3/4]
[FV3.N] Fledgling Nest and River Rapids (River)
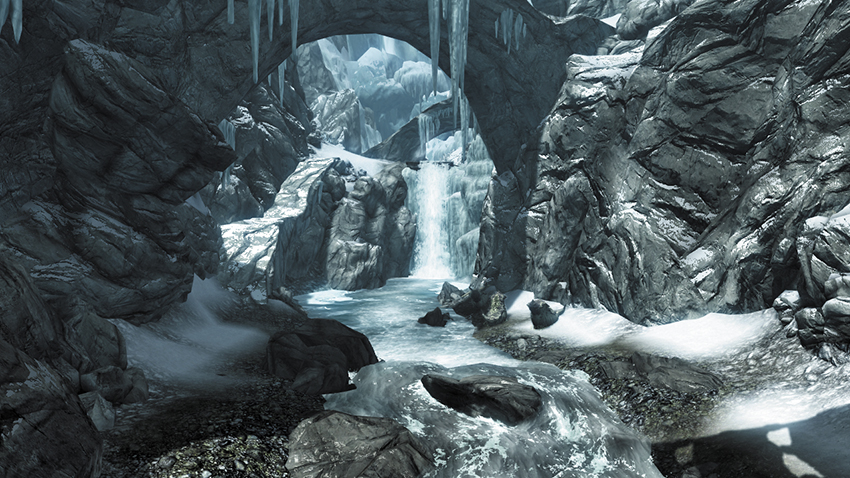
Below the final part of the pathway throughout the fissure is an optional area to investigate or to reach if you’ve slogged along the riverbed instead. Expect Chaurus Hunters to hatch and attack close to the rapids.
[FV3.O] Frozen Lake Ridge (Shortcut)
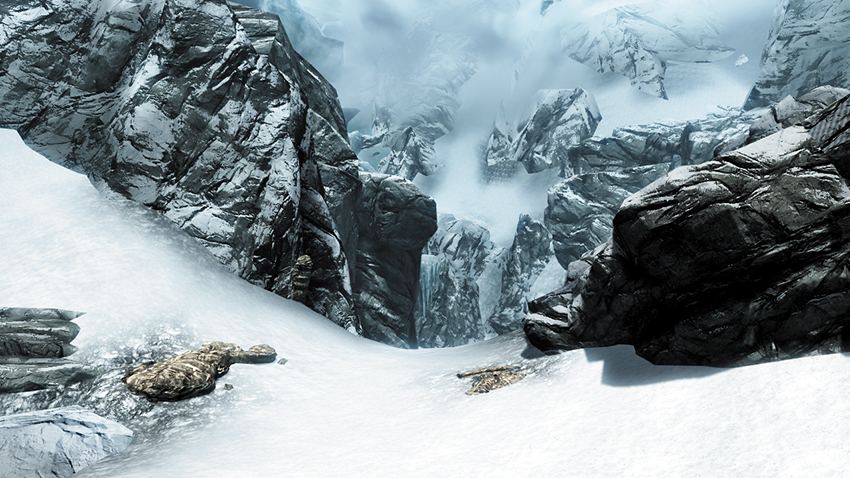
To circumvent almost this entire area, use this snowy slope to a ridge overlooking the Frozen Lake, if approached from the lake. Along the way, you can mine some Moonstone Ore.
- Moonstone Ore Vein (3)
[FV3.P] Entrance to Glacial Crevice
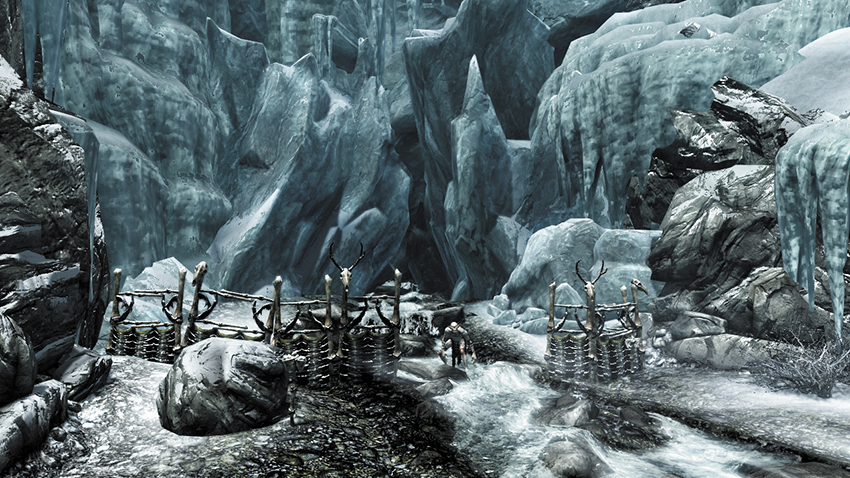
At the end of this exterior fissure, step into the river and fight two Falmer before heading through the open gate and into Area 4: Falmer Fissure (which is inside the mountain you’re entering). The Forgotten Vale exterior continues on the other side of the Crevice.
[3.1] Glacial Crevice (Interior)
Related Quests
- Dawnguard Main Quest: Touching the Sky
- Regional Activity: Paragons of the Frost Giants
Recommended Level: 18
Faction: Falmer
- Chaurus
- Falmer
- Frost Troll
Dangers
- Claw Trap
Miscellaneous
- Chest
- Loose gear
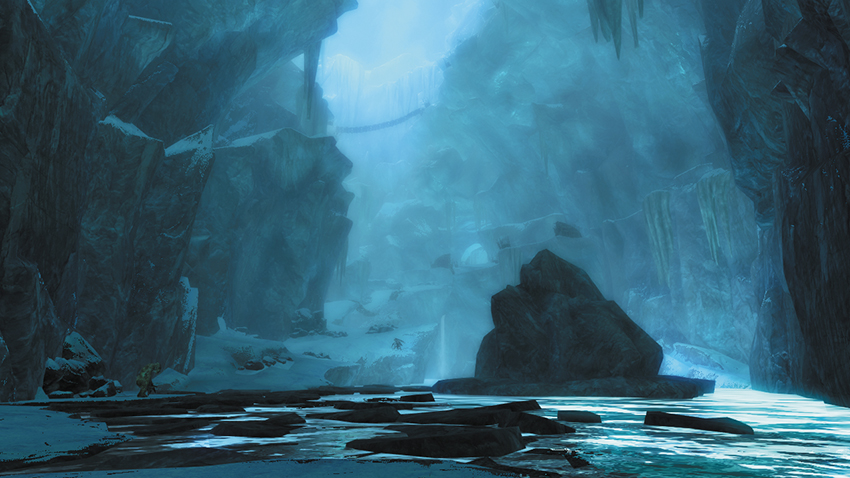
A glacial crevice formed during tens of thousands of years of water flow from the high peaks of the Haafingar Mountains, this area is now populated by Falmer and provides a critical path between two of the areas of Forgotten Vale.
Interior
 Exit to Forgotten Vale
 Iceberg Cavern (Lower)
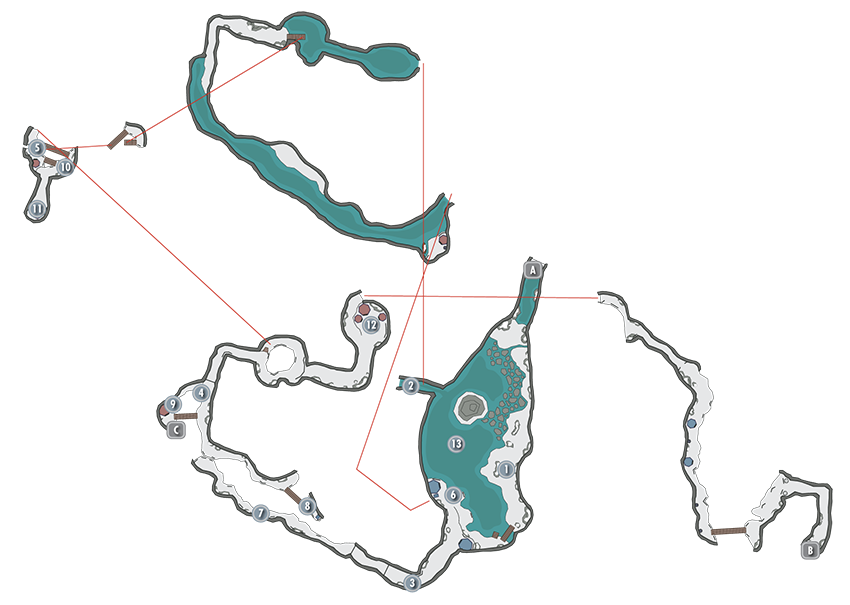
This expansive cavern has a Frost Troll and a couple of Falmer to tackle along the icy ledges to the south (Location 6). This is the optimal path through the Crevice, although there’s a lower river tunnel (Locations 3, 4, and 5) and a smaller, underwater tunnel to the west, which leads to Location 5.
 Water Tunnel (Lower)
Swim through this narrow tunnel from either Location 1 or 5. There’s a small cave with a dead Falmer, a chest, and loose gear to the west of the tunnel entrance.
- Chest
- Loose gear
 Crevice River (Lower)
If you swim along the river’s surface from Location 1, you pass by a Falmer tent and a small (inaccessible) boat. Check the hut, then optionally continue along the base of the crevice to Location 4. Directly above are the ledges (Locations 7 and 8).
- Chest
 Lower Tunnel
Almost directly under the main exit tunnel from the first crevice is a tunnel leading up from the water’s edge. It leads directly to Location 5.
 Falmer Hole (Lower)
This large ice hole with Falmer bridges across it is accessible from the lower or middle levels. The middle level is Location 10. From here you can head farther east, up and into the deeper crevice areas.
 Iceberg Cavern Promontory (Middle)
Check the tents before exiting along to the ledges above the river (Location 7).
- Chest
- Loose gear
 Crevice Ledge (Middle)
Enter the narrow crevice ledges above Location 3, and watch for a trip wire as you enter. Continue along the ledge, fighting a Chaurus and Falmer as you go.
- Danger! Claw Trap
 Crevice Outlook (Middle)
Halfway along the ledge, the fissure ledges connect. Investigate the ledge to the east on the opposite side to engage another Falmer.
- Chest
 Crevice Falmer Hut (Middle)
The far end of the crevice holds a connecting tunnel to Location 10, a short bridge to a hut, a Falmer, and a chest. Enter the tunnel, watching for a trip wire as you step around the corner.
- Chest
- Danger! Claw Trap
 Falmer Hole (Middle)
This large ice hole with Falmer bridges across it is accessible from the lower or middle levels. The lower level is Location 5. From here you can head farther east, up and into the deeper crevice areas. You can also access a small tunnel below you (Location 11). As you climb the ledge, enter a tunnel.
 Falmer Tunnel (Middle)
A small tunnel with a hut and a Falmer at the end.
- Chest (2)
 Falmer Lair (Middle and Upper)
Watch for foes, and climb the ledge up and around. Enter the narrow tunnel to the east, leading out to Location 13.
- Chest
 Iceberg Cavern Ledge (Upper)
This ledge is actually above the first chamber you entered. Navigate a long ledge with four Falmers (and nests). Check one of the tents for a chest.
- Chest
 Ruined Snow Elf Arch (Upper)
The remains of a stone arch marks the exit back to the next part of Forgotten Vale.
 Exit to Forgotten Vale
 Diamond Paragon Portal (Upper)
Enter the Paragon Portal (see Regional Activity: Paragons of the Frost Giants), and you’re transported to a small, high ledge near the ceiling of the Glacial Crevice. Aside from a dangerous jump down, there’s a single chest to ransack before you return.
- Chest
Area 4: Falmer Fissure
This is a tight and narrow fissure where the Falmer have made their home. Expect combat all along the maze of snaking bridgework, a long subterranean cave leading up to the final Wayshrine, and a final crossing above the fissure to the Snow Elf Inner Sanctum, where only those pilgrims who have attained enlightenment can enter.
Major Locations
[FV4.1] Wayshrine of Radiance
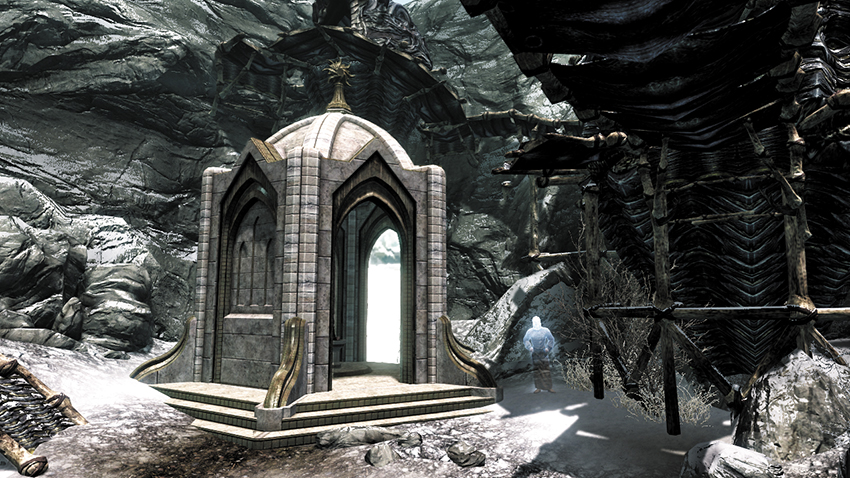
- Related Quest: Dawnguard Main Quest: Touching the Sky
- Prelate Edhelbor
Prelate Edhelbor allows you to commune with this Wayshrine (the fifth and final one to find), where your ewer is filled to brimming. Eventually, five locations can be accessed from here, depending on the other Wayshrines you have opened. Here’s where you can be:
- Darkfall Passage
- Shrine of Learning
- Shrine of Resolution
- Shrine of Sight
- Temple Balcony
- Wayshrine [5/5]
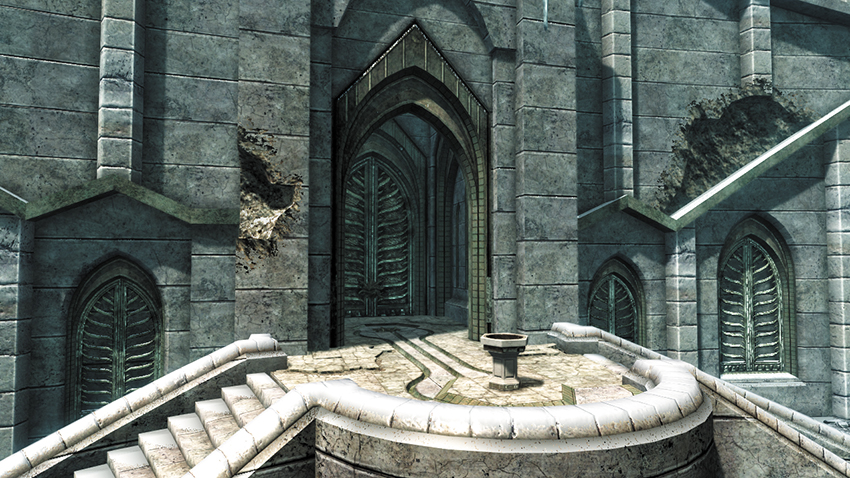
[FV4.2] Entrance to the Inner Sanctum
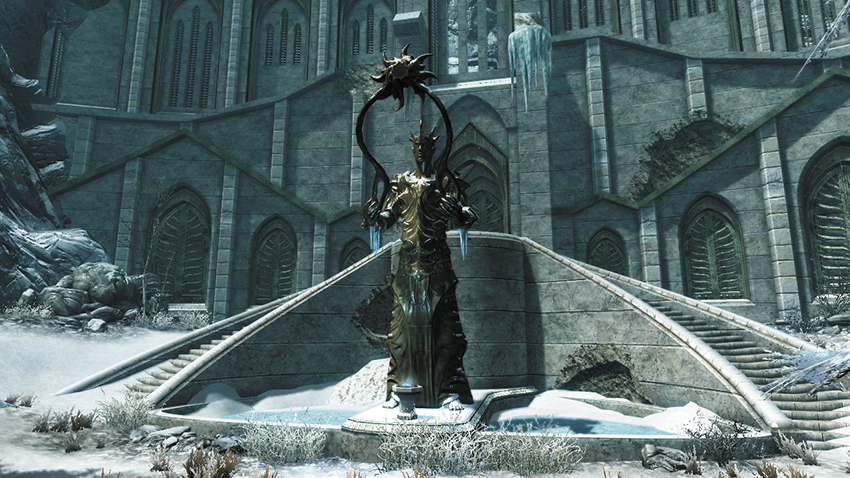
- Related Quest: Dawnguard Main Quest: Touching the Sky
The imposing Snow Elf Inner Sanctum, accessed at the end of this area, is a marvel of Snow Elf construction. Stride through the grand arch, and you’re greeted by a towering statue of the great Auriel. To enter the Sanctum, ascend the steps, pour the water you’ve collected from the five Wayshrines into the receptacle, and the door will open. There are no other ways to pry open this door.
Minor Locations
[FV4.A] Glacial Crevice Exit
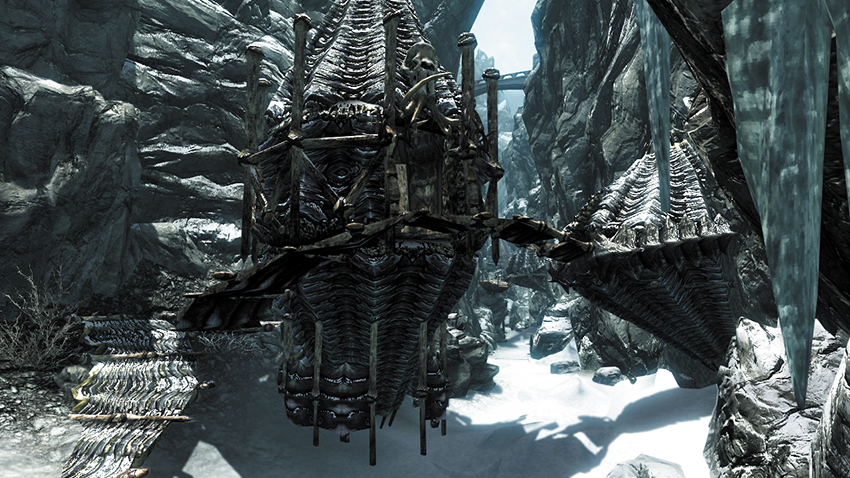
The main fissure route between here and Location [4.E] (along the ground) has you checking two raised Falmer Huts (one with a chest) and navigating a couple of trip wires along the ground as you pass under a third hut. The path splits here and has two stone ramps on either side at Location [4.E].
- Chest
- Danger! Claw Trap (2)
[FV4.B] Frost Giant Lair (North Falmer Fissure)
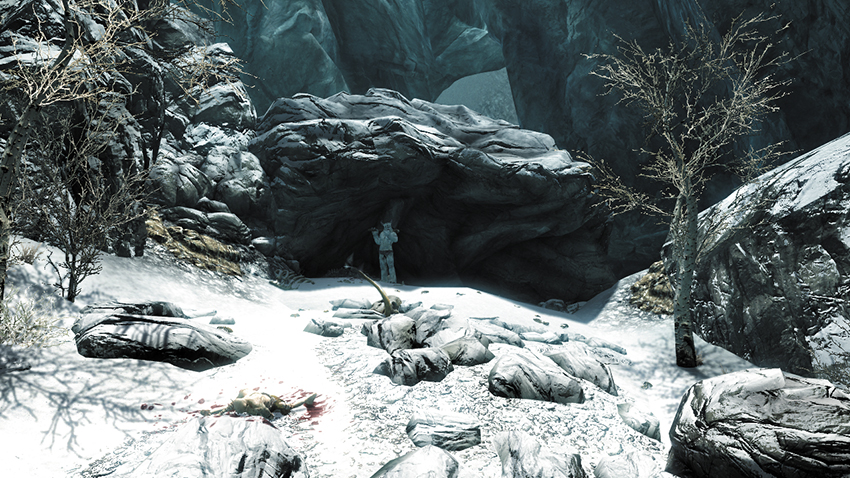
- Related Regional Activity: Paragon of the Frost Giants*
After navigating the bone trap strung across the path, head through the gate and engage the Falmer, or wait for them to perish as they battle a Frost Giant. Defeat anything left alive, as the giant carries the Diamond Paragon you’re after.
- Danger! Bone Trap
- Unique Item: Diamond Paragon [4/5]
[FV4.C] Upper Fissure Walls
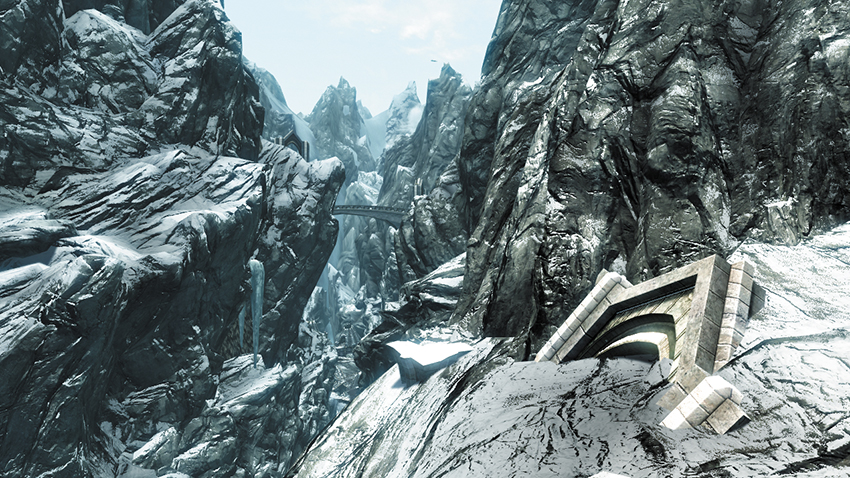
If you continue to climb from the Frost Giant’s location, past the mammoth skull to the remains of a Snow Elf arch, you reach the upper fissure. The going here is treacherous, but you can edge along above the Falmer huts, all the way to Location [4.D].
- Quicksilver Ore Vein (2)
[FV4.D] The Overexuberant Ore Extractor
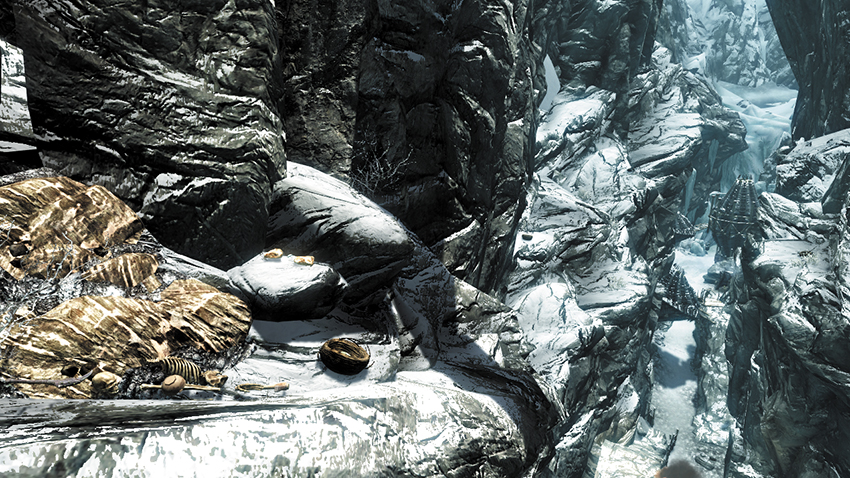
With some careful maneuvering from Location [4.C], you can slowly step along the fissure walls, using Bats (Vampire Lord) or Whirlwind Sprint (Shout) to dash across to the opposite side if you’re in the habit of gathering Bird Nests (there are 13 to find all along here). The real prize is under the Sanctum Bridge: a nook with a Gold Ore Vein and the skeletal remains of a miner who came a cropper here. Gather two Flawless Diamonds too!
- Bird’s Nest (13)
- Diamond
- Flawless Diamond (2)
- Gold Ore (2)
- Gold Ore Vein
- Loose Gear
- Lots o’ Gold!
[FV4.E] Falmer Fissure Village (Part 1)
[FV4.F] Falmer Fissure Village (Part 2)
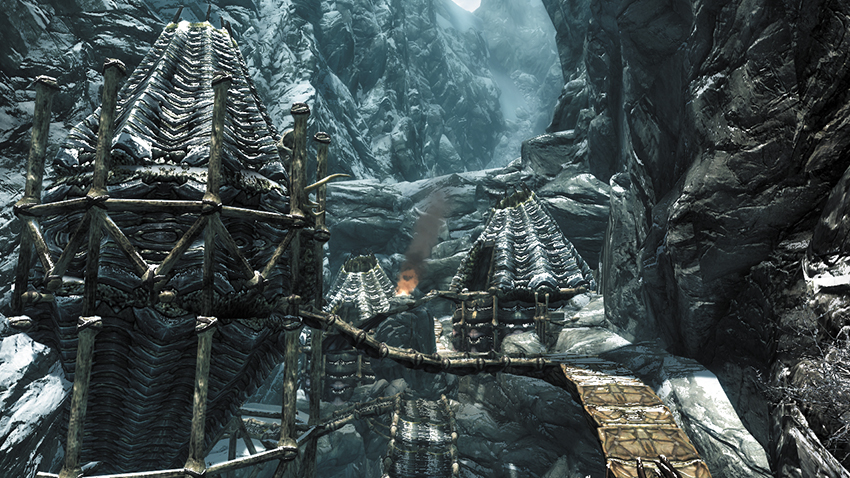
Expect Falmer battles throughout. Two stone ramps appear along the bottom of the fissure; check each one. The left (north) ramp leads to a hut. The right (south) one enables you to reach the bridges crossing the huts, and the path on the ground leads to a Quicksilver Ore Vein. Check each hut (one has an Emerald, for example). Then the path narrows through to the second village area.
- Alchemy Lab
- Danger! Bone Trap
- Lots o’ Gold!
- Potions
- Quicksilver Ore (2)
- Quicksilver Ore Vein
[FV4.G] Falmer Fissure Village (Part 3)
- Related Regional Activity: Ancient Falmer Tomes*
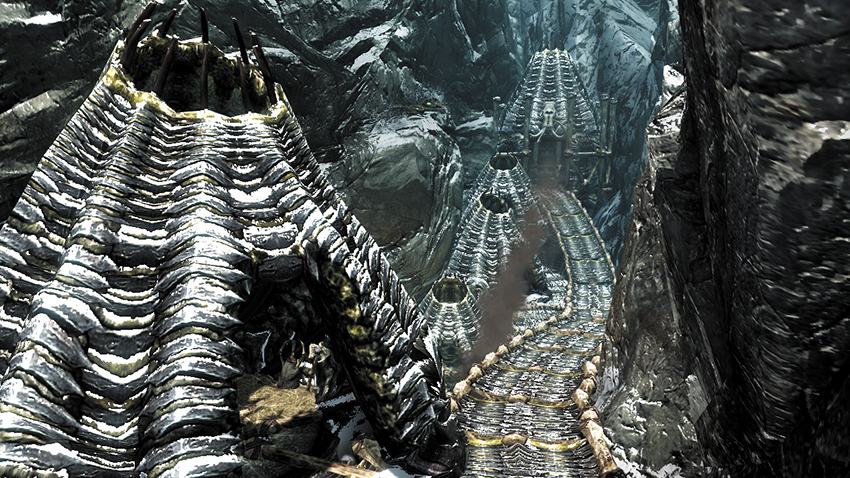
Expect Falmer battles throughout. This narrower fissure leads to a subterranean tunnel at Location [4.H], with huts to search along the ramped area and a Chaurus Hunter or three to fight on the ground below. Once you’ve secured the last Unknown Book from the farthest hut, drop down and enter the tunnel.
- Chest
- Potions
- Unique Item: Unknown Book Vol. IV [4/4]
[FV4.H] Fissure Tunnel (Part 1)
[FV4.I] Fissure Tunnel (Part 2)
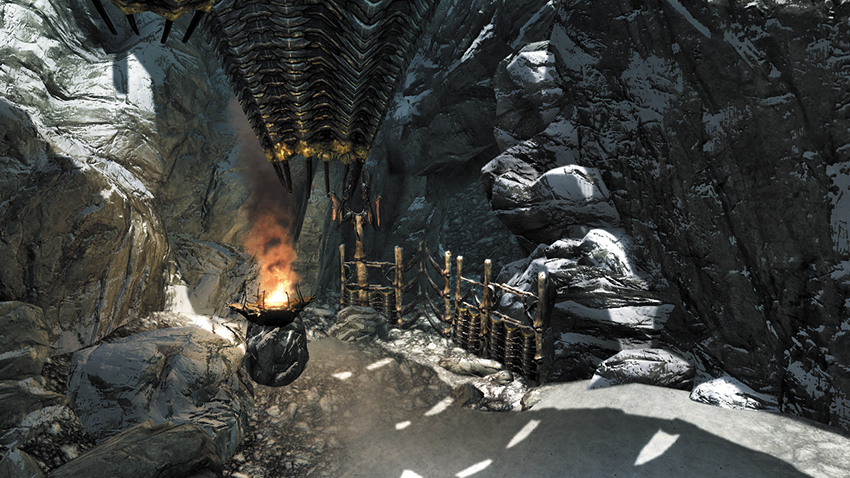
This lengthy, uphill tunnel has Falmer burrows throughout and a trip wire to avoid (unless you wish to be buffeted by rocks). The tunnel’s exit is close to the final Wayshrine [4.1].
- Danger! Falling Rocks
- Quicksilver Ore Vein (4)
[FV4.J] Wayshrine Falmer Camp
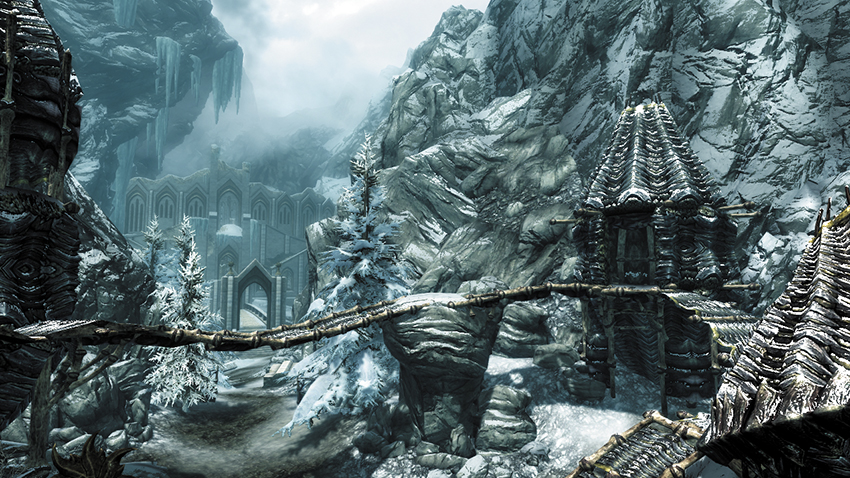
Above the last Wayshrine are a few bridges and Falmer huts to search through. Try the top one for the following:
- Potions aplenty
[FV4.K] Bridge to the Inner Sanctum
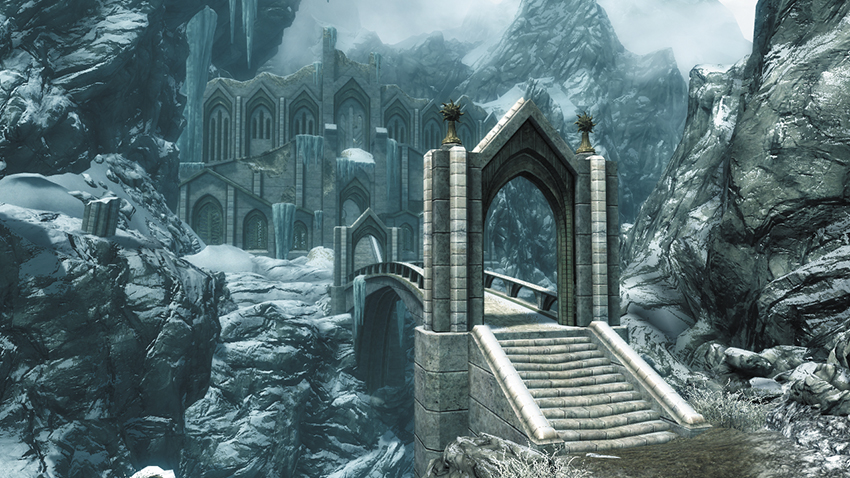
One of the few pieces of Snow Elf architecture that remain intact, this bridge spans the fissure you’ve just crossed. Optionally, you can take your life into your hands and try Whirlwind Sprinting to the bird nest on the broken column nearby. Or try some mining.
- Bird Nest
- Quicksilver Ore Vein
[FV4.L] Auriel’s Lookout
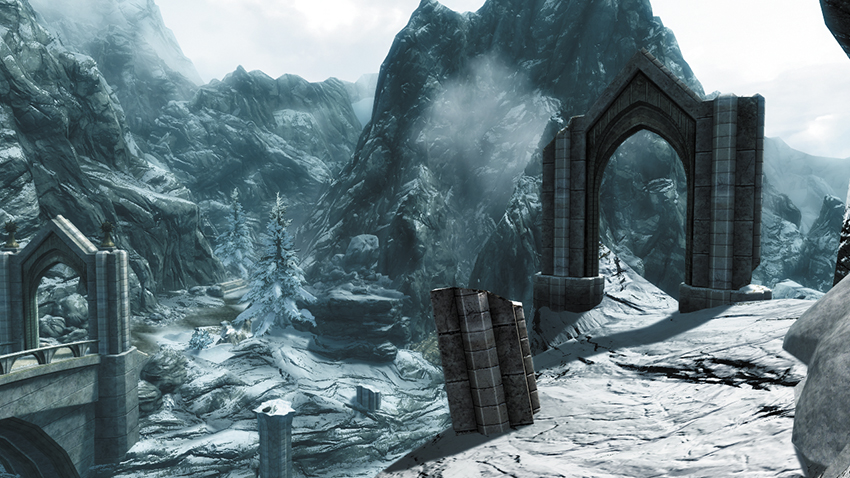
A rocky promontory with a Snow Elf arch leads to a half-buried skeleton of a person who was once of some stature, as evidenced by the remains of a crown with three valuable gems. Keep the gems from rolling into the fissure! Then continue to Location [4.2].
- Flawless Ruby (2)
- Flawless Sapphire
- Loose Gear
- Lots o’ Gold!
Area 5: Falmer Temple: Inner Sanctum and Chapel
These two interior areas (with their own maps) are the culmination of your expedition.
Major Locations
[5.1] Falmer Temple
Related Quests
- Dawnguard Main Quest: Touching the Sky
- Regional Activity: Paragons of the Frost Giants
Recommended Level: 20
Faction: Falmer Hive
- Ancient Frost Atronach
- Arch-Curate Vyrthur
- Frozen Chaurus
- Frozen Falmer
- Frozen Shaman
Special Area
- Shrine of Auriel [2/2]
Dangers
- Falling Ceiling
Collectibles
- Unique Item: Ancient Falmer Boots [DG5/17]
- Unique Item: Ancient Falmer Cuirass [DG6/17]
- Unique Item: Ancient Falmer Gauntlets [DG7/17]
- Unique Weapon: Auriel’s Bow [DG5/7]
- Unique Item: Ruby Paragon
Miscellaneous
- Area is locked
- Chest
- Loose gear
- Lots o’ Gold
- Potions aplenty
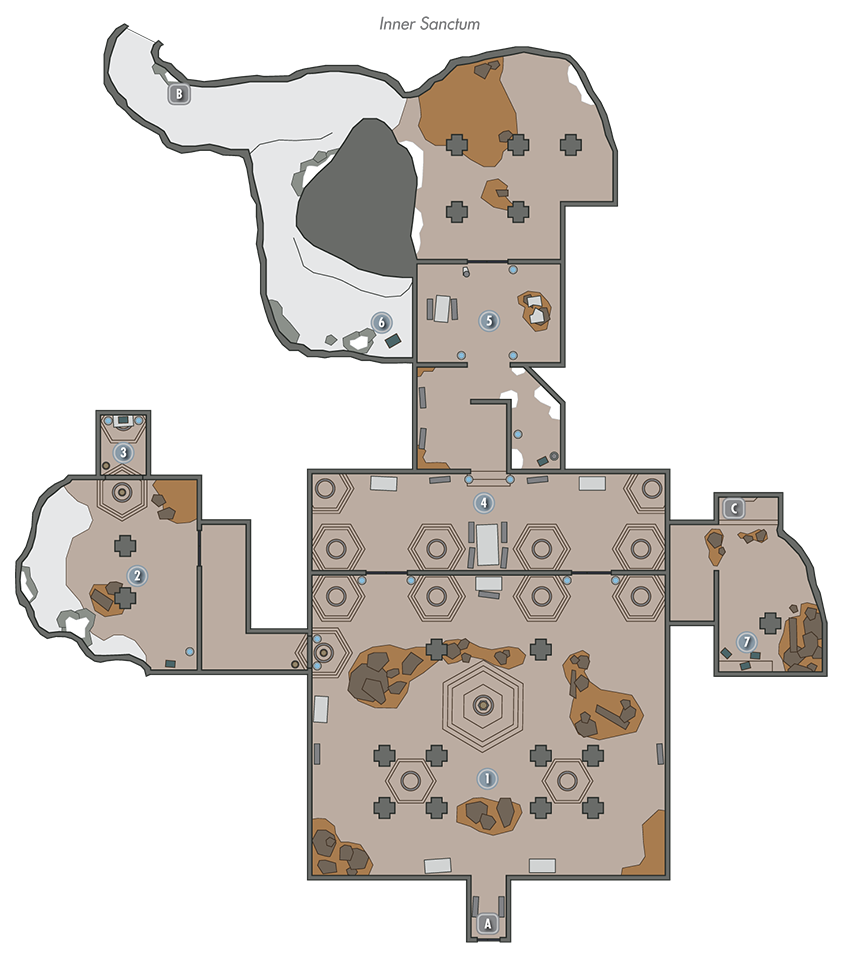
Inner Sanctum
The most sacred temple of the Snow Elves, the Inner Sanctum is now reduced to a ruin and the lair of Arch-Curate Vyrthur. This is the culmination of your lengthy expedition across the Forgotten Vale and Dawnguard Main Quest: Touching the Sky.
Exit to Forgotten Vale
Sanctum of the Betrayed
A host of frozen Falmer are gathered around a Shrine of Auriel. Seek the blessing of the shrine if you wish, and gather the numerous items still held by frozen foes and those you find around the room. But be warned: Taking these items may cause them to awaken. The doors to the north are your way forward, but there is a hidden chamber to the left (west). Place the ewer on the pedestal to reach it.
- Loose gear
- Potions
- Shrine of Auriel [2/2]
Frost Giant Lair
After a short corridor, the temple gives way to a cave where a Frost Giant lurks. It carries the last of the Paragons. Be sure to pick it up before inspecting the chests by the four skeletons.
- Chest
- Unique Item: Ruby Paragon
Hidden Antechamber
A pedestal in the northern wall (accessed with the ewer; return to claim it if you don’t have it) unlocks a hidden chamber with the following items:
- Chest
- Loose gear
- Potions
Connecting Corridor
A corridor connecting the north and south sections of the Sanctum contains several frozen Falmer and skeletons. Collect the following along the way:
- Loose gear
- Potions
Northern Corridor
Visit the southeast corner of this area, which has an antechamber with a chest and potions. Then head north, passing a table and more frozen Falmer as the Sanctum gives way to an ice cave. Take the tunnel to the northwest.
- Chest
- Loose gear
- Potions
Ice Tunnel
On your way out of the Sanctum, take the side tunnel to the left (south) to reach a hidden area with a chest to open.
- Chest
- Potions
Exit to Auriel’s Chapel
Sapphire Paragon Portal
Hidden Passage
The only way to reach this side chamber is to enter via the portal, having opened it using the Sapphire Paragon. Inside is a ruined passage with the following:
- Chest (3)
- Loose gear
- Lots o’ Gold
[5.2] Auriel’s Chapel and Temple Balcony
Exit to Inner Sanctum
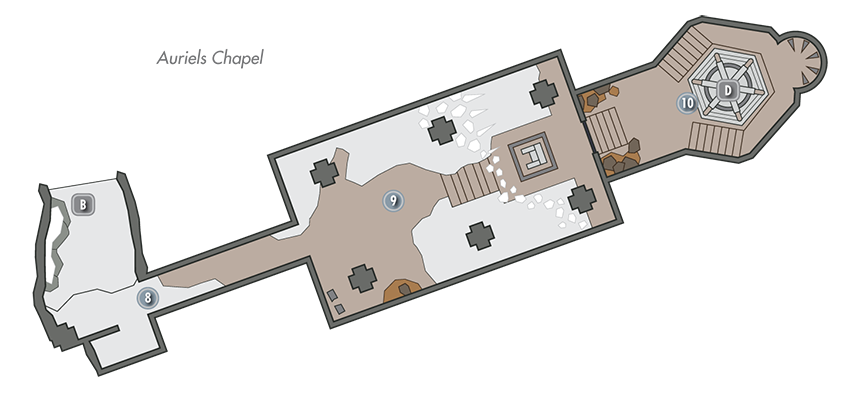
Chapel Passage
A narrow passage leading into the chapel. You can also use this as a place to hide during the next battle.
Great Chapel
The battle within the chapel (which soon goes from indoors to outdoors) begins here. Expect heavy concentrations of foes, including Frozen Falmer and an Ancient Storm Atronach.
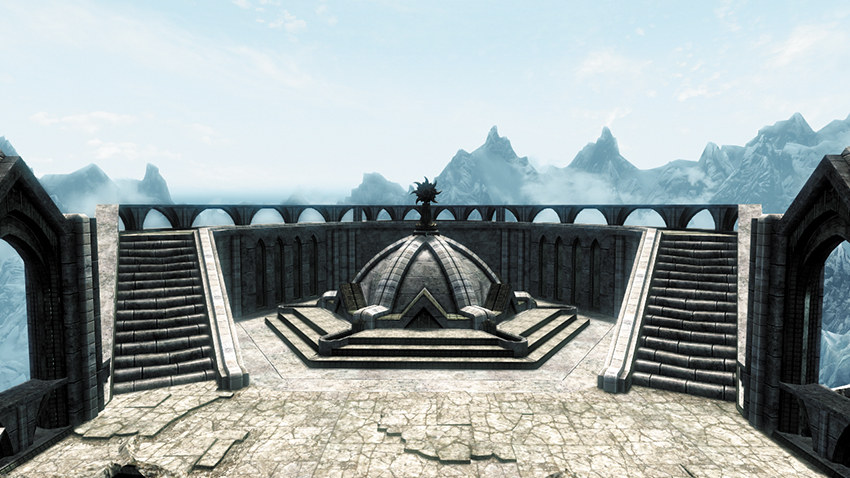
Temple Balcony
This is where you face Vyrthur in a battle to the death. Once the fight is over, the final Wayshrine opens, and you can claim Auriel’s Bow from within. If you have Elven Arrows, you can ask Gelebor for a blessing (creating Sunhallowed Arrows) or ask Serana for her blood (creating Bloodcursed Arrows). Then spend a moment looking over the frozen lake from the vista balcony.
- Unique Item: Ancient Falmer Boots [DG5/17]
- Unique Item: Ancient Falmer Cuirass [DG6/17]
- Unique Item: Ancient Falmer Gauntlets [DG7/17]
- Unique Weapon: Auriel’s Bow [DG5/7]
 Wayshrine Portal to Forgotten Vale
Area 6: Forgotten Vale Forest
- Related Regional Activity: Paragons of the Frost Giants*
This sacred glade is unknown to all but the most meticulous of adventurers; it is accessible only after inserting the Ruby Paragon into the Paragon Platform socket. There are no critical Major Locations to find here.
Minor Locations
[FV6.A] Ruby Paragon Portal
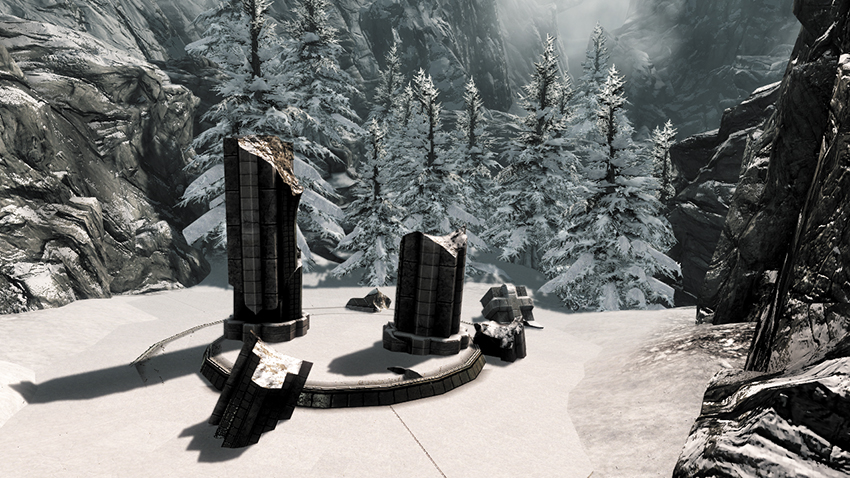
This Snow Elf arch provides instant transportation between the Paragon Portal Platform and here, provided you have the Ruby Paragon.
[FV6.B] Frost Troll Den
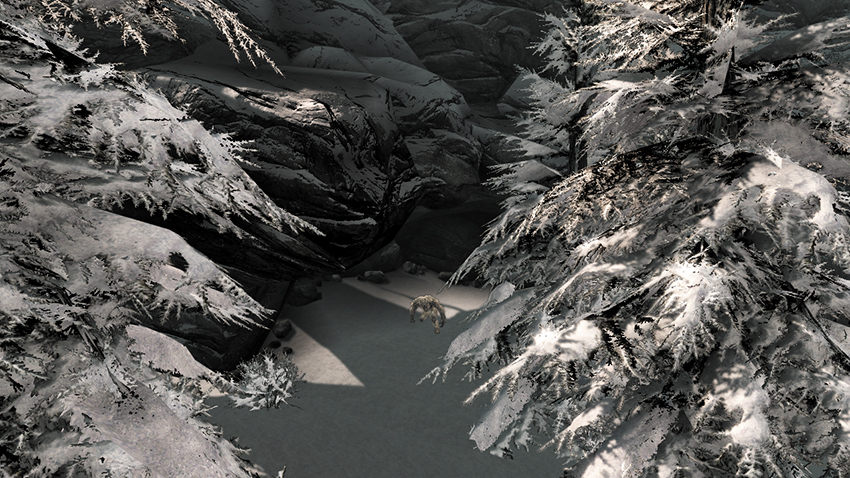
If Frost Trolls haven’t lumbered out of the thick woodland to intercept you, they can be found here, in a shallow cave with little debris but well hidden in this glade.
[FV6.C] Falmer Warmonger
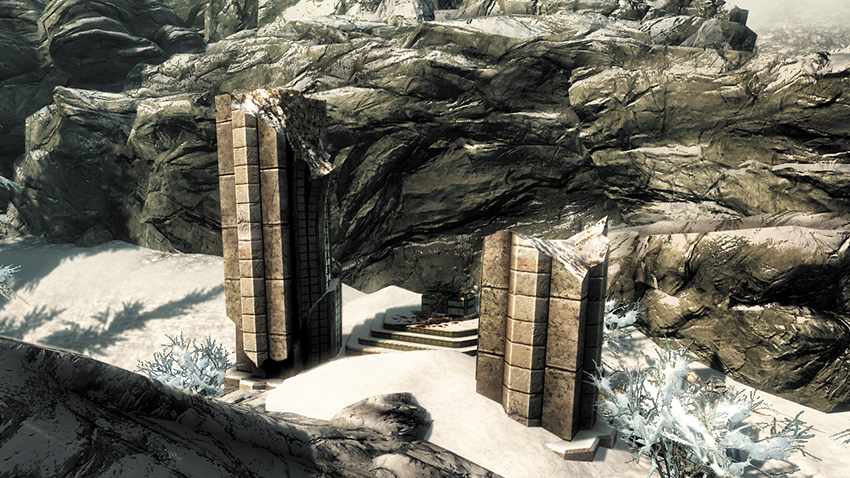
To the southwest, a powerful Falmer clad in fancy armor is finishing off the Frost Troll threat. Face the Falmer Warmonger in battle. After you best him, peel off his armor and take the powerful artifact he was carrying. Auriel’s Shield stores the energy of blocked attacks. Performing a power bash will release the stored energy.
- Chest
- Unique Item: Auriel’s Shield [DG8/17]