Gears of War 4 Guide Multiplayer Multiplayer Maps
Lift
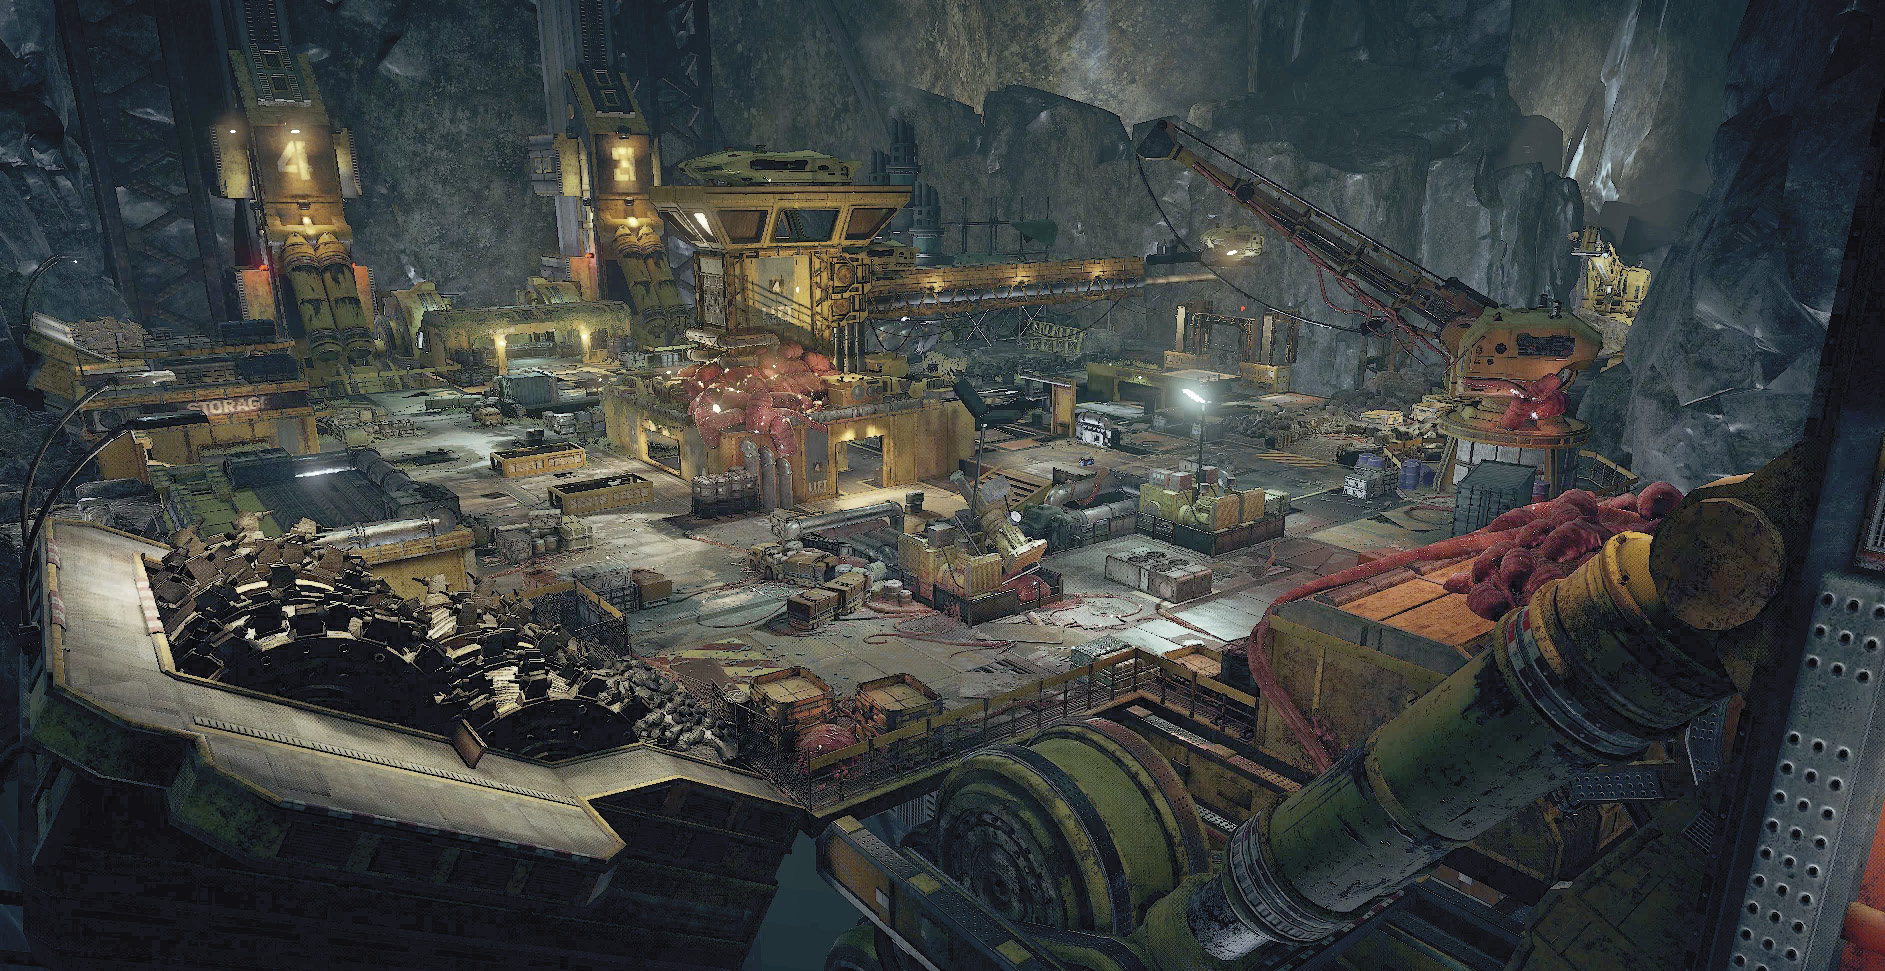
An enormous mining elevator that descends into the depths of Sera. New locations open up once the platform reaches the bottom of the shaft.
Points of Interest
Control Room
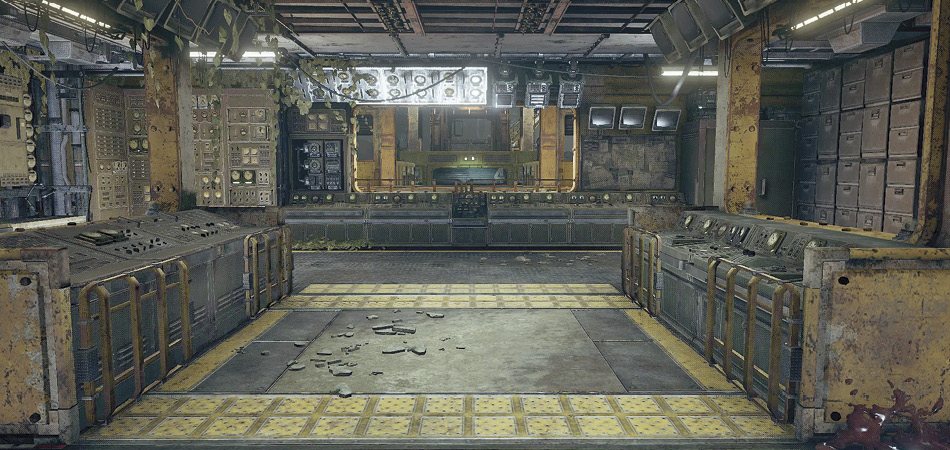
The Control Room has openings on every side making it a high risk place to settle down. The center of the Control Room will be an empty hole until the lift reaches the end of its journey. The two windows of this room cannot be vaulted or mantled, but will still leave you open to be shot at.
Crane
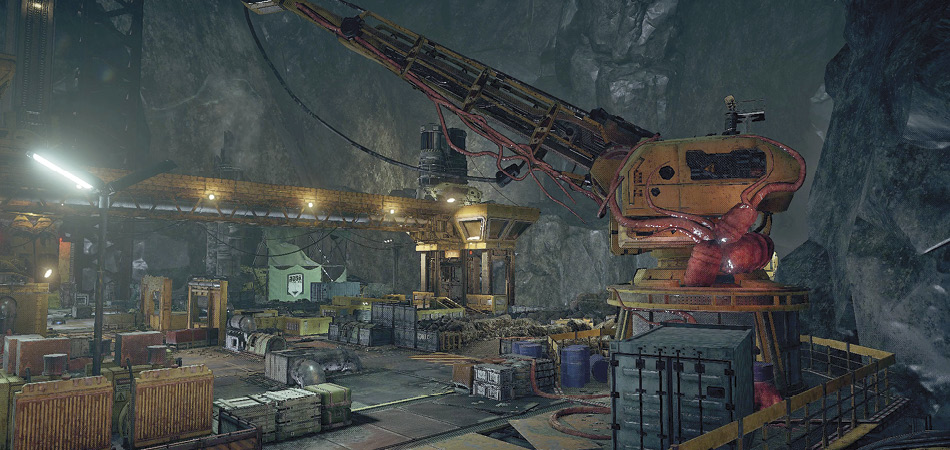
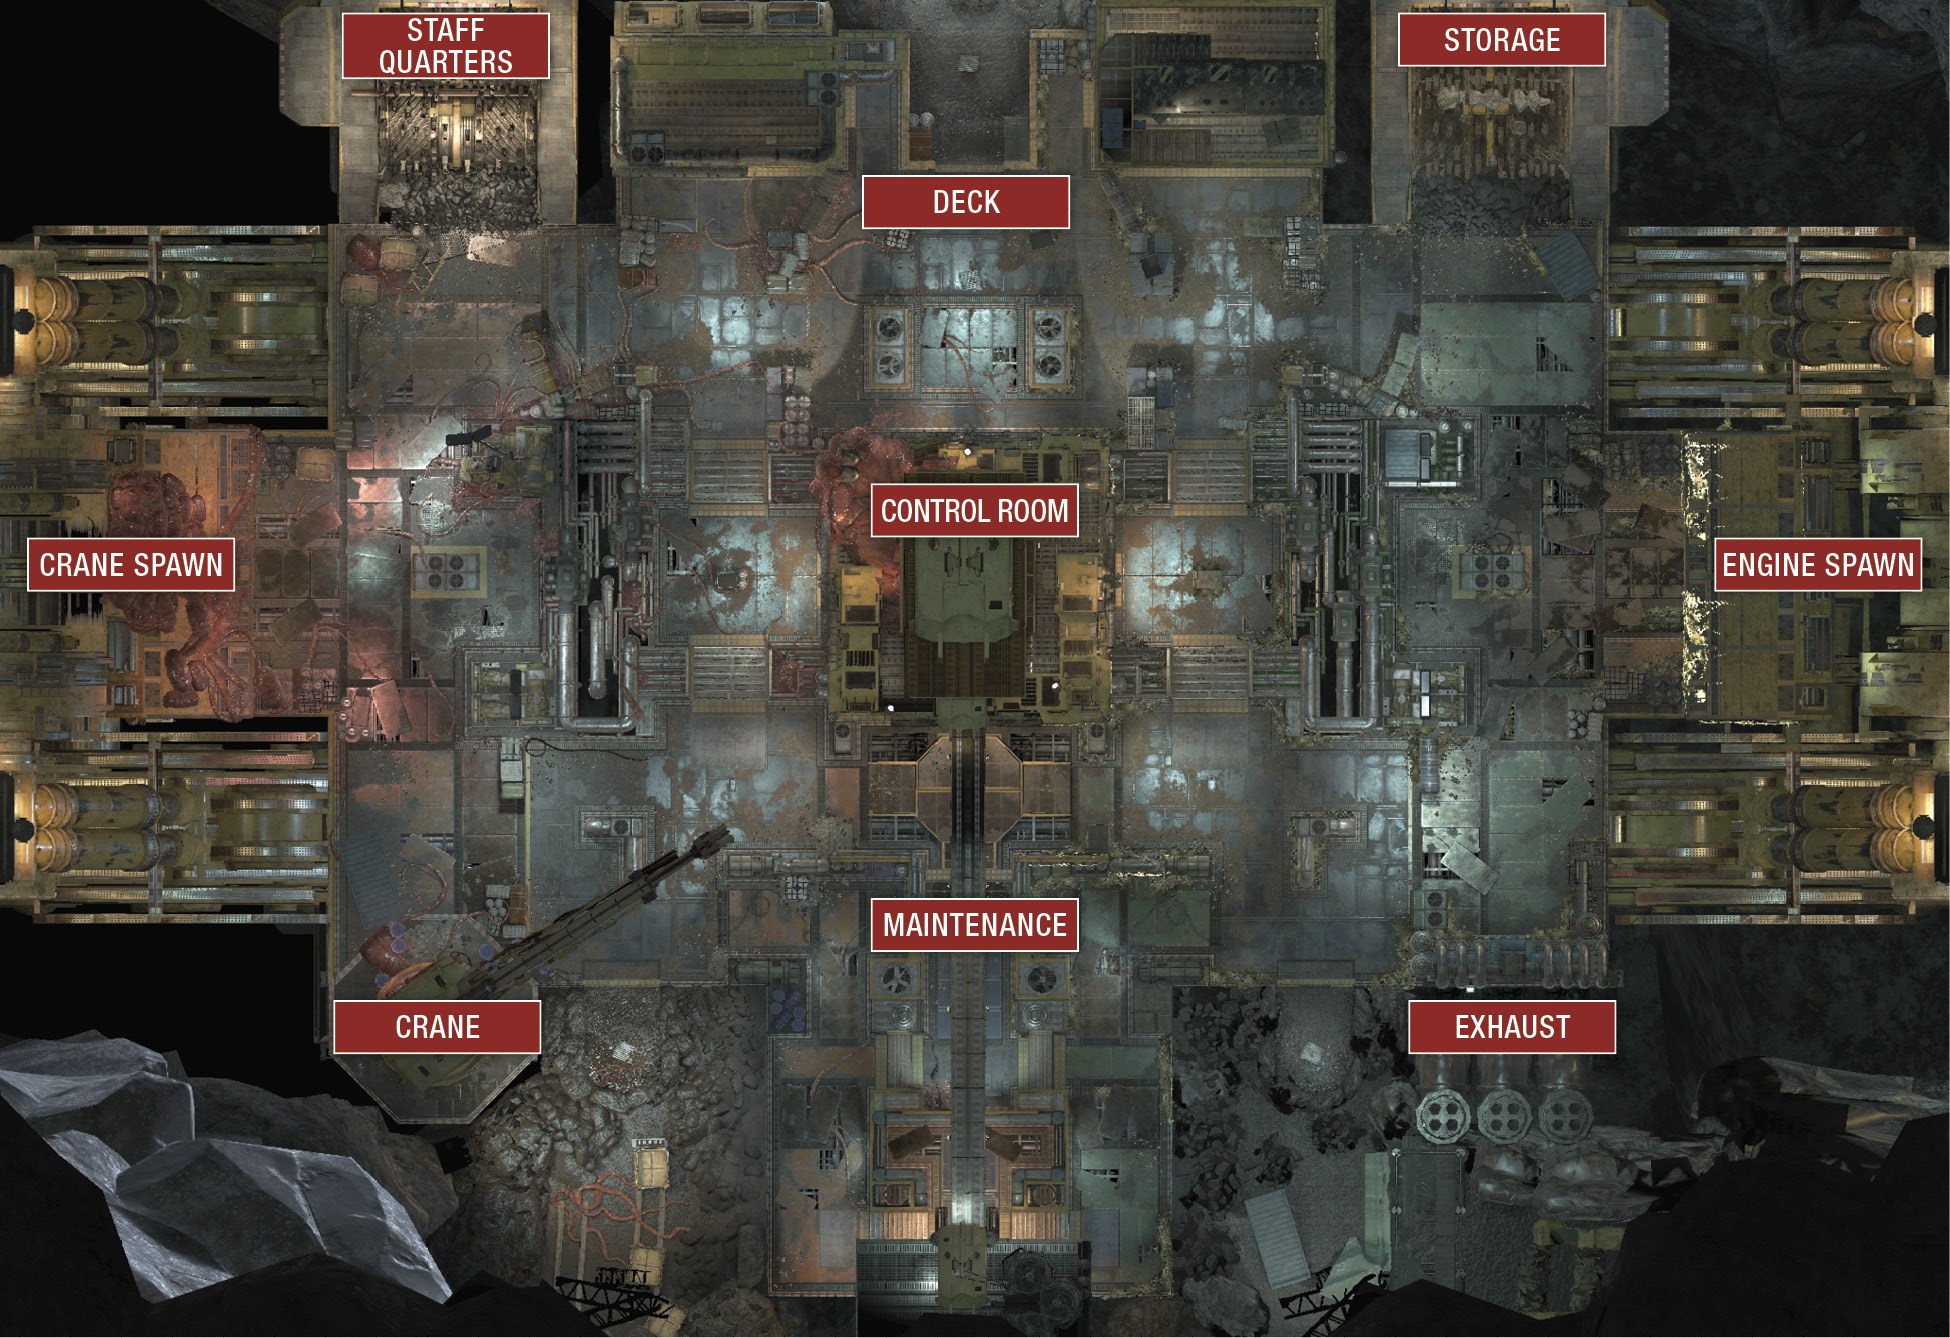
The Crane is hard to miss as it is one of the larger object on this map. Small bits of pipes and other materials provide a mix of low cover underneath the Crane’s arm. A small spot of land near the base of the Crane will open once the Lift reaches the bottom of the mineshaft, this will reveal a weapon spawn.
Crane Spawn
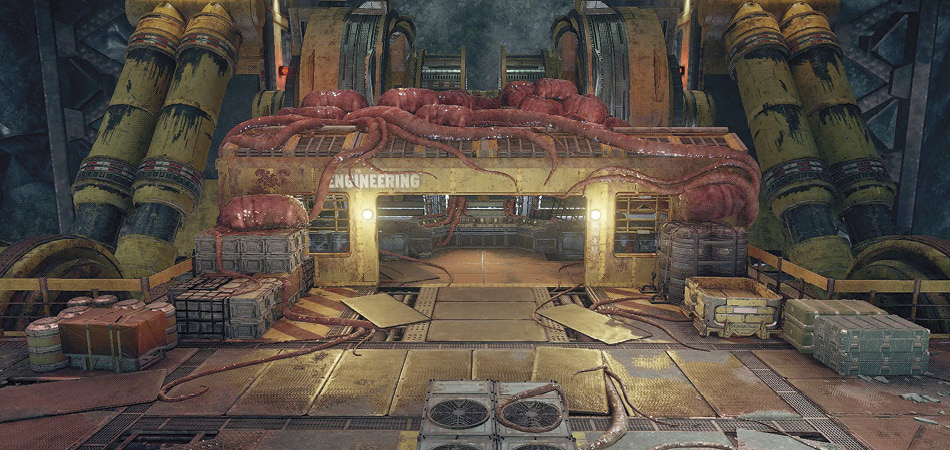
This Engineering room is covered in biological growth. Labeled the Crane Spawn due to its close proximity to the Crane, features a small room which can be used as cover, but chances of any action happening this close to the spawn are relatively low.
Deck
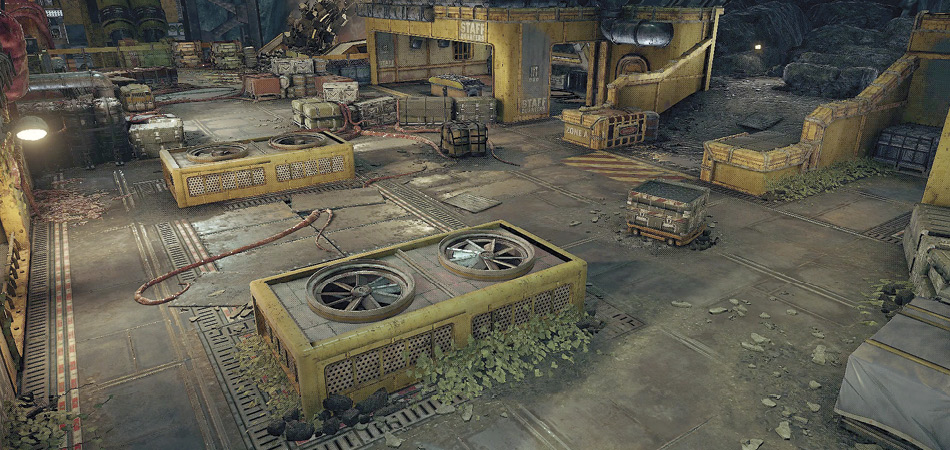
The Deck sits in front of the Staff Quarters and Storage buildings. Air vents and containers make great cover in this mostly open area. Beware enemies at longer ranges, the lack of high cover will make it hard to sneak by without getting shot at. A small area with a spot of cover and a weapon spawn will open between the Staff Quarters and Storage rooms once the Lift hits rock bottom.
Engine Spawn
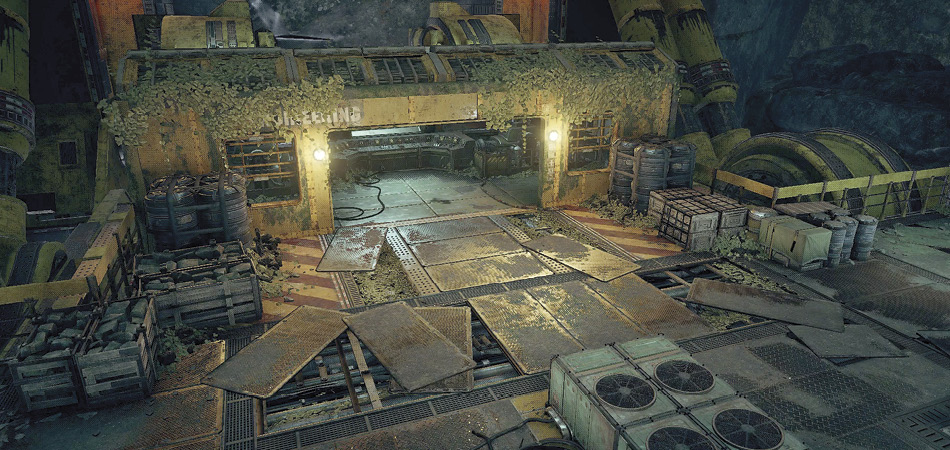
Ivy is slowly taking over this Engineering room. Quickly running for the Storage or Exhaust areas make for a much better plan than setting up shop in this lonely room.
Exhaust
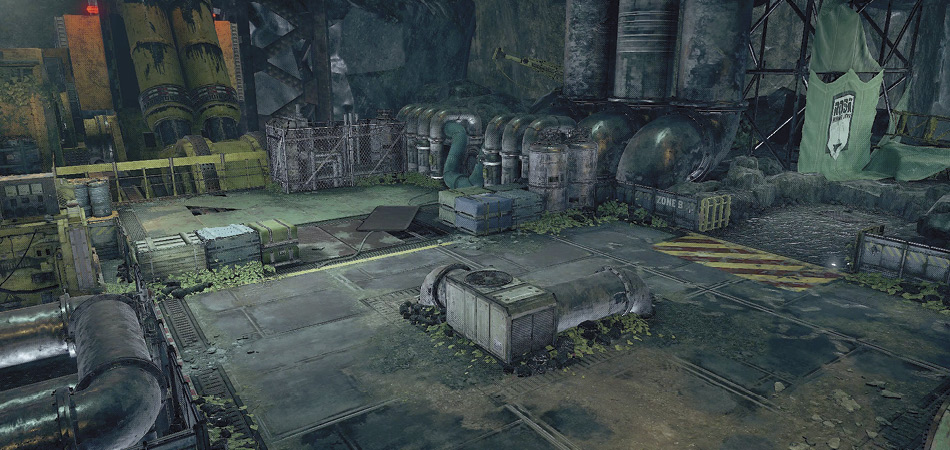
Exhaust features a few bits of low cover that can easily be vaulted if you are on the run. A small bit of land and a weapon spawn open up once the Lift hits the bottom. Use this area to set up an attack on the Control room from one of its vulnerable sides.
Maintenance
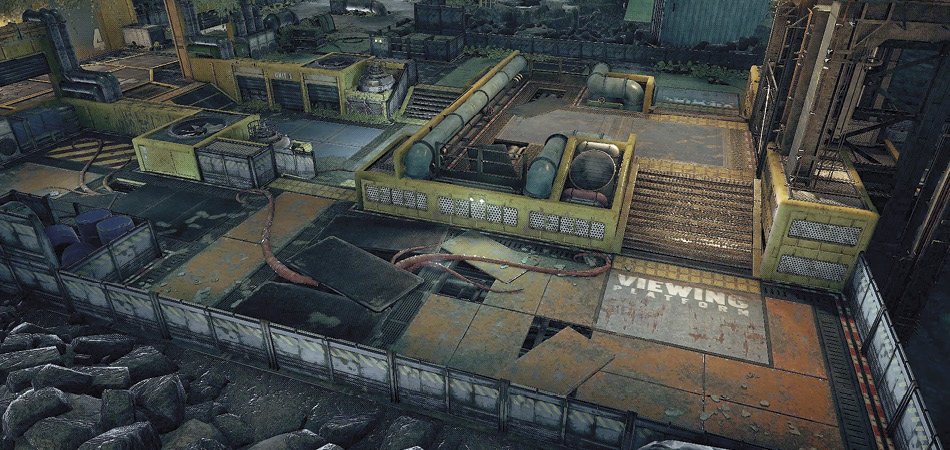
Maintenance is a labyrinth of close quarters and medium range fighting. This is due to the maze of low cover and tight corners, mixed with the upper level area at the far end of the map. Setting up on the platform is a great strategy, but enemies can easily shoot you through the holes in the low cover from either side if they sneak by you.
Staff Quarters
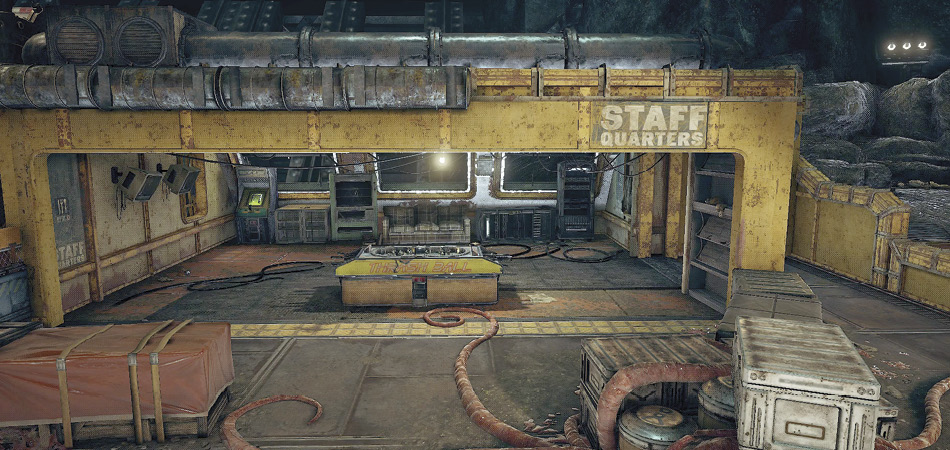
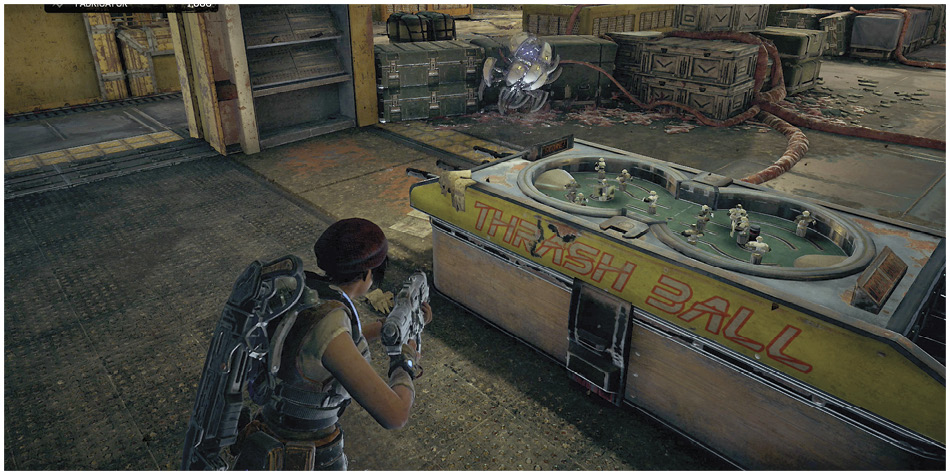
While the Staff Quarters does feature a couch, you may find more interest in sitting down behind the Thrash Ball table. With a player set up there, teammates can get behind the containers in front of the room for a nice well rounded defensive position. With this place locked down, you’ll have access to all the games, so be ready to fight off waves of enemies.
Storage
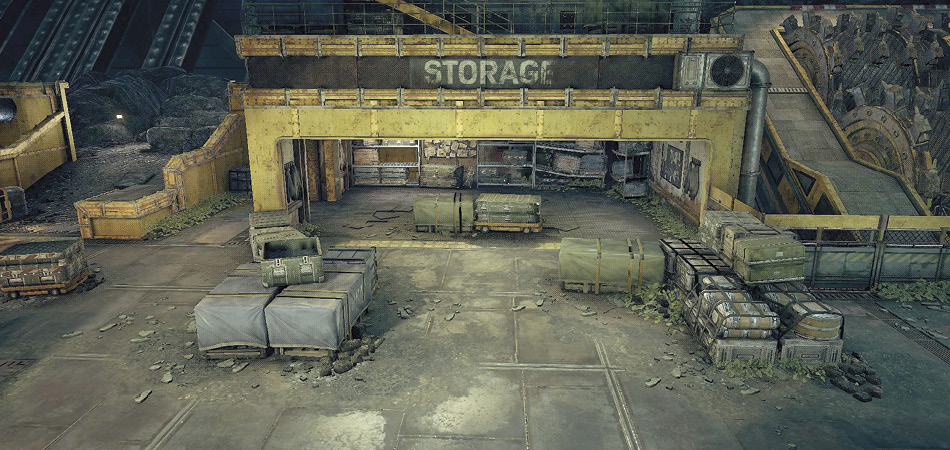
Storage is a great defensive position if you have a few teammates. A great place to set up if you’re waiting for the Lift to finish its descent and you want to grab the power weapon that spawns in the area just outside.
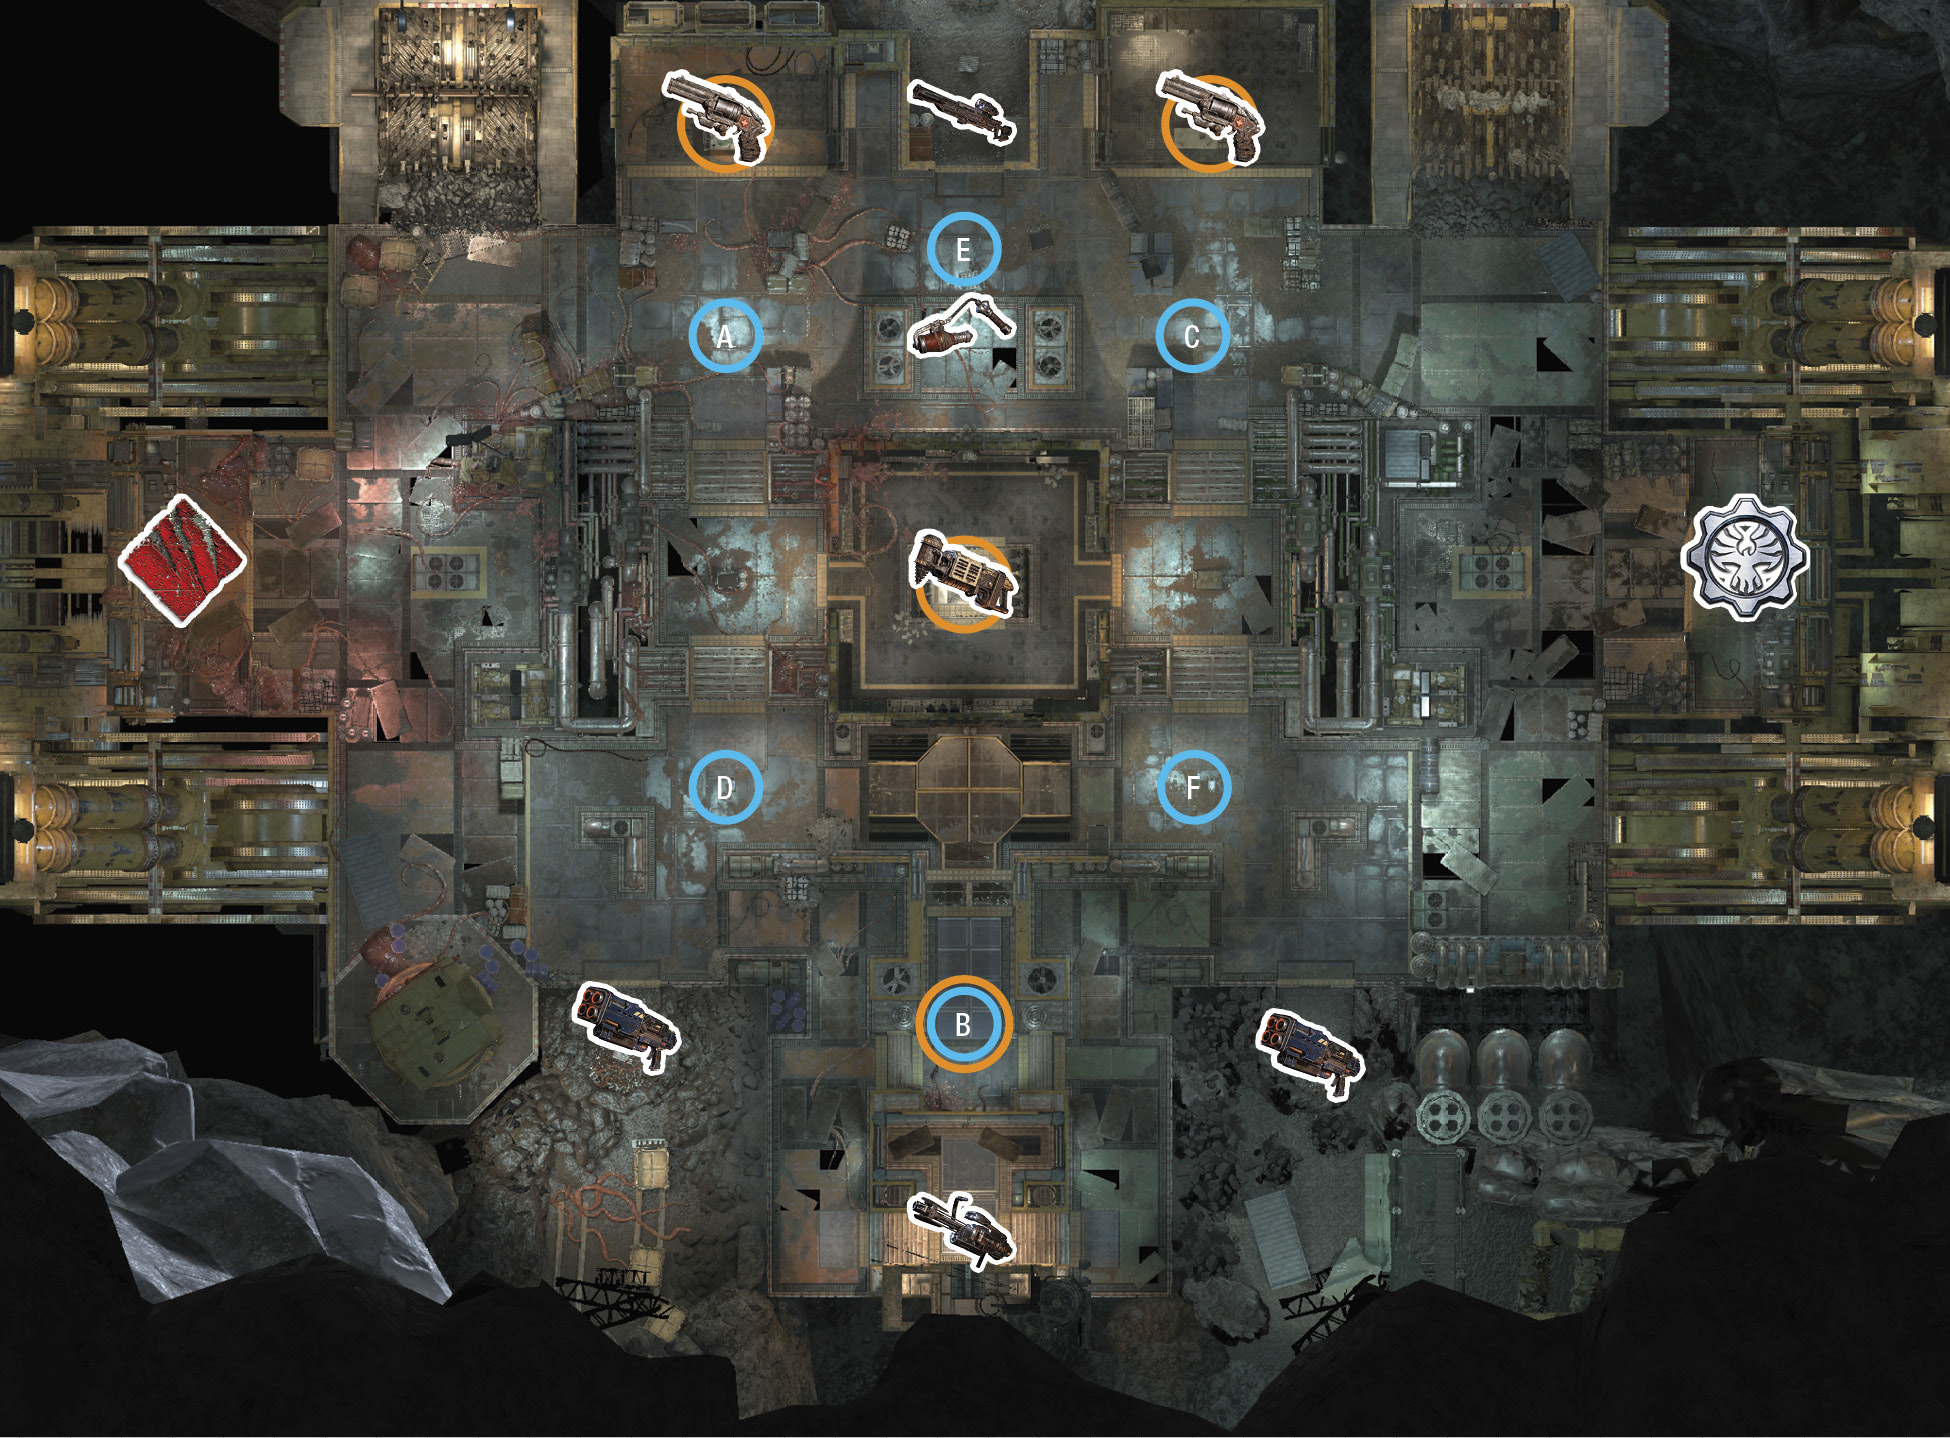
Versus Callouts 1
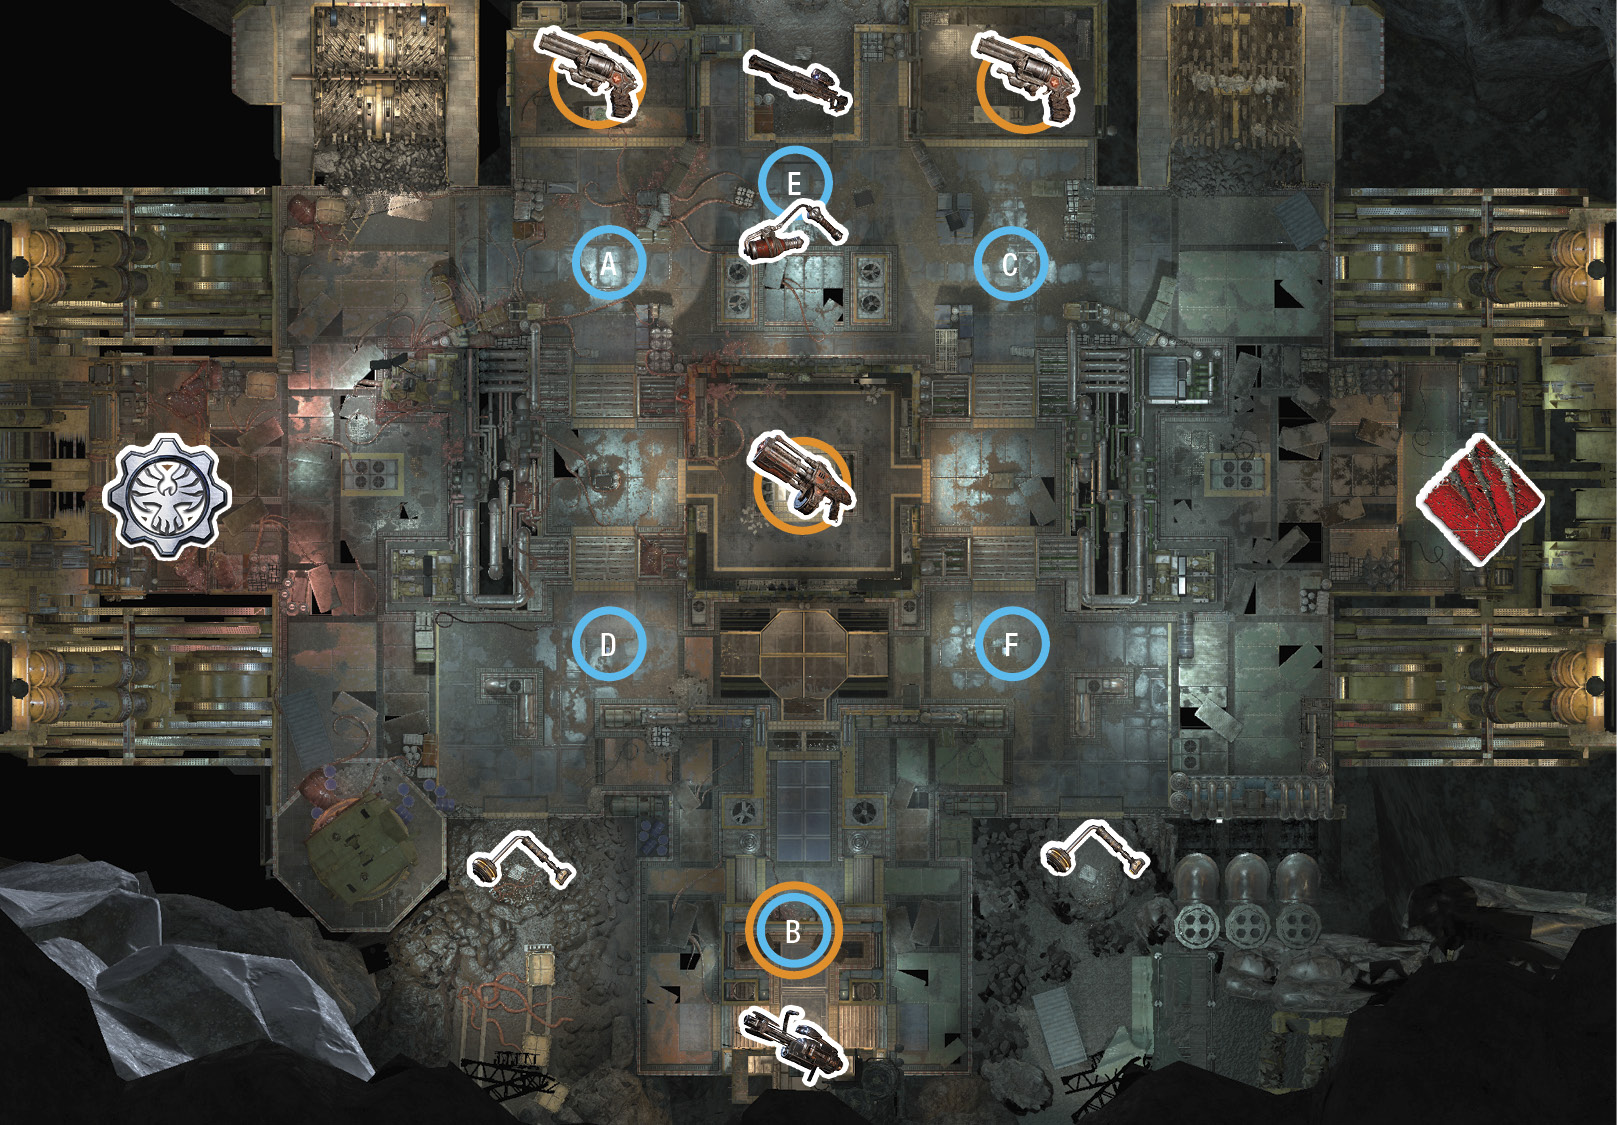
Versus Callouts 2
Horde Callouts
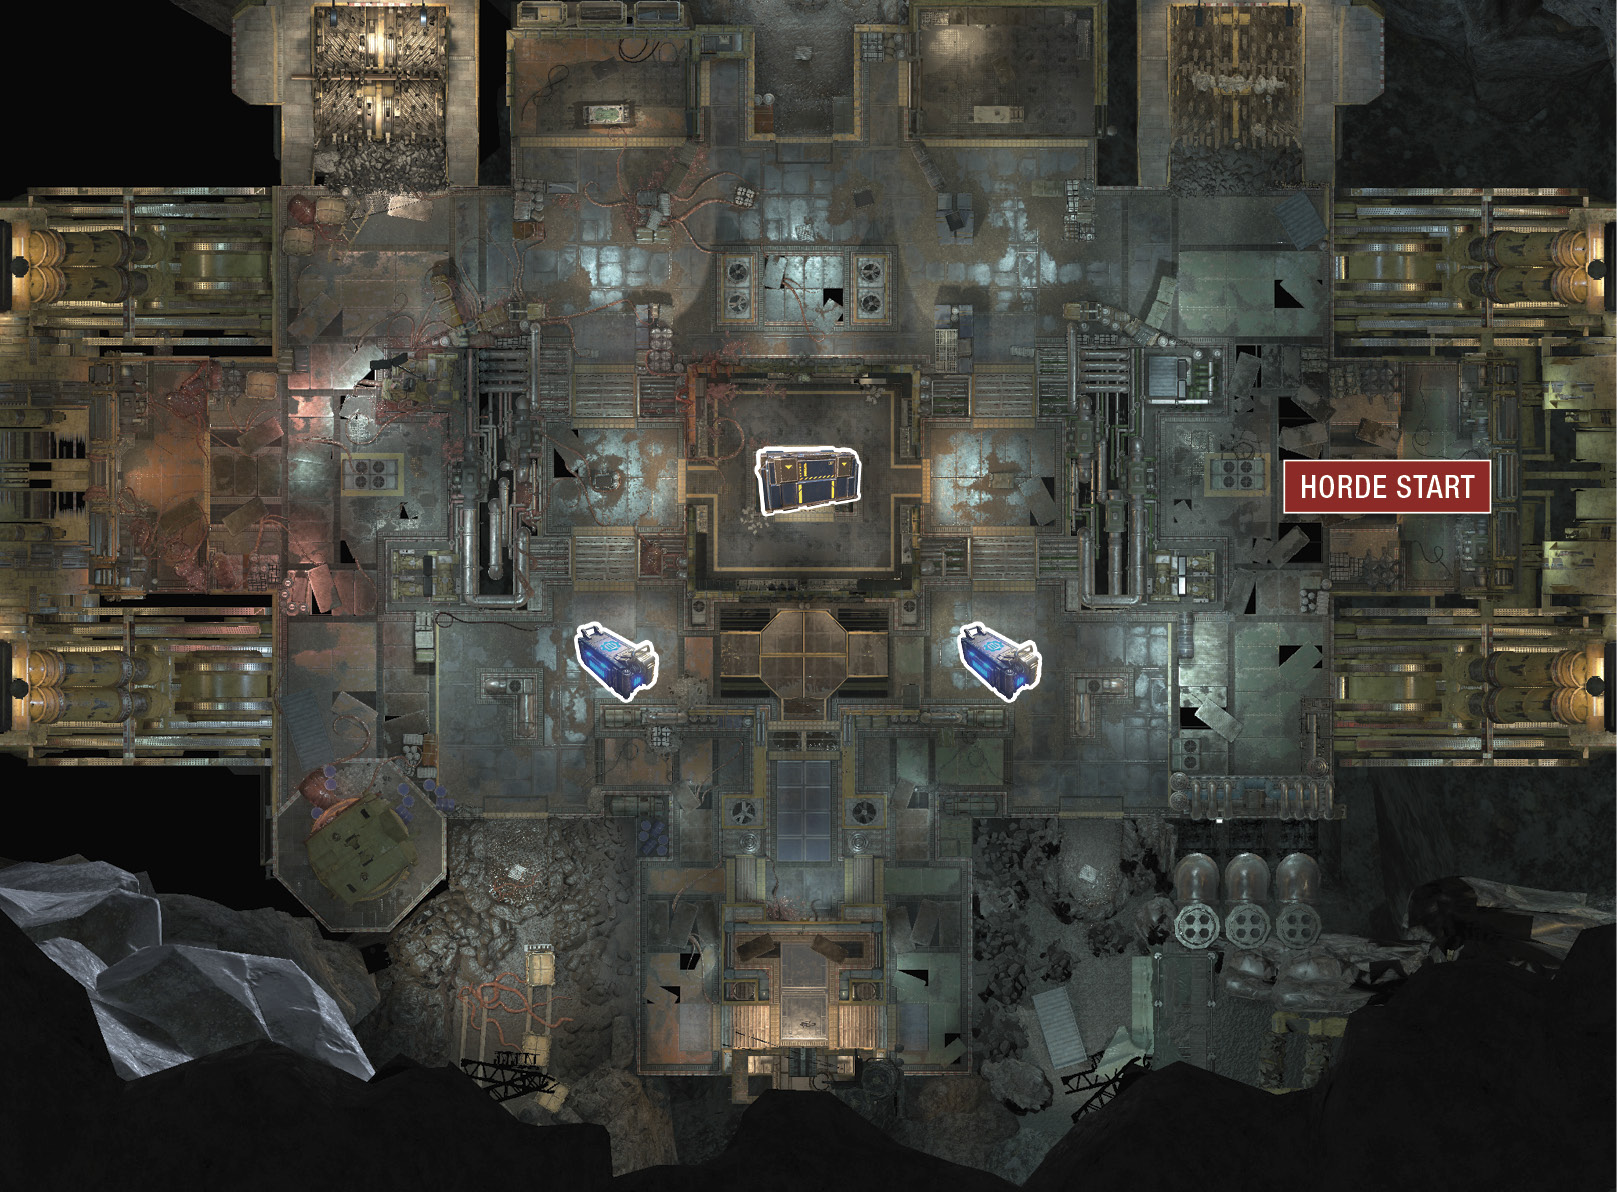
In Horde mode, the Lift has already come to rest at the bottom of the shaft; so all areas are readily available. The Fabricator rests inside the Control Room, where openings on all sides make it a tough base to hold down. Move it out of the room and pull it into one of the outlying areas, such as the Staff Quarters. Place it just outside, and use the crates and Thrash Ball table as cover as the enemy charges your location.